This cake was supposed to be easy. I was going to brag about how fast I whipped it out. Ha Ha Ha. Oh the irony. One thing got in the way. That stupid virtue. You know the one. Patience. I’m scowling at the word as I type.
This recipe is easy. You just have to be patient. Don’t worry—I was impatient for you. I’ll let you know when you’re about to derail this simple recipe, making it complicated.
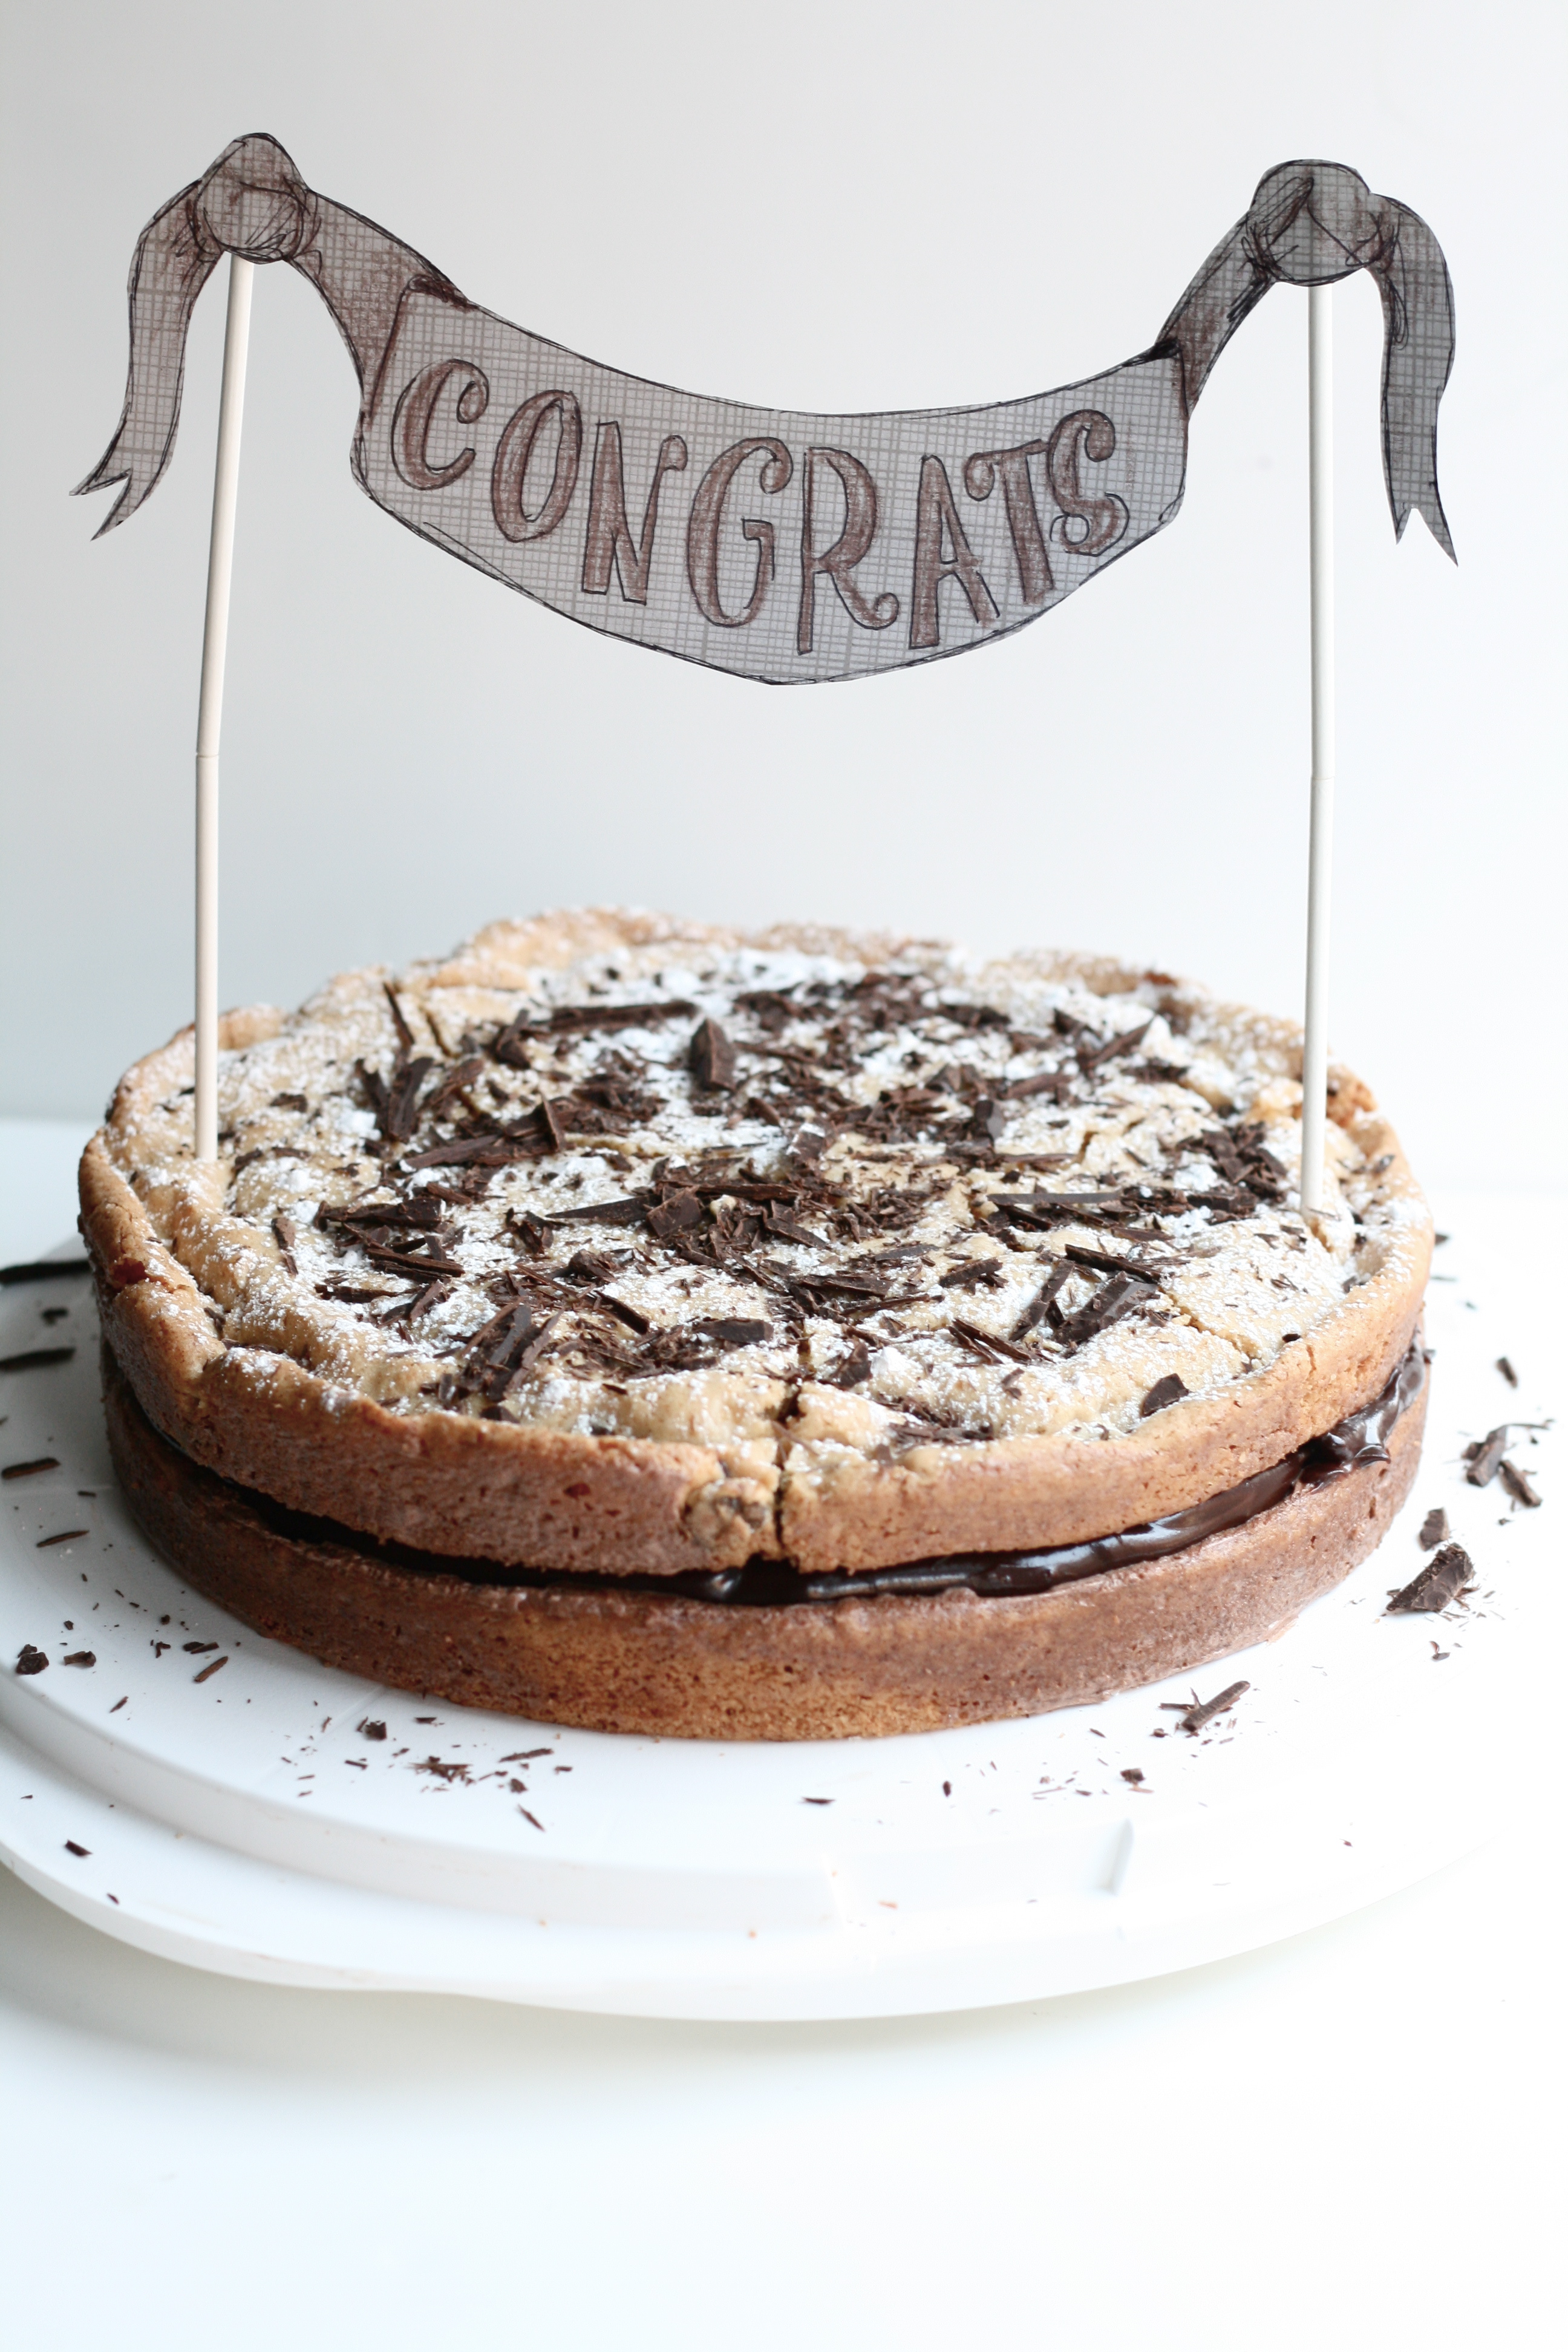
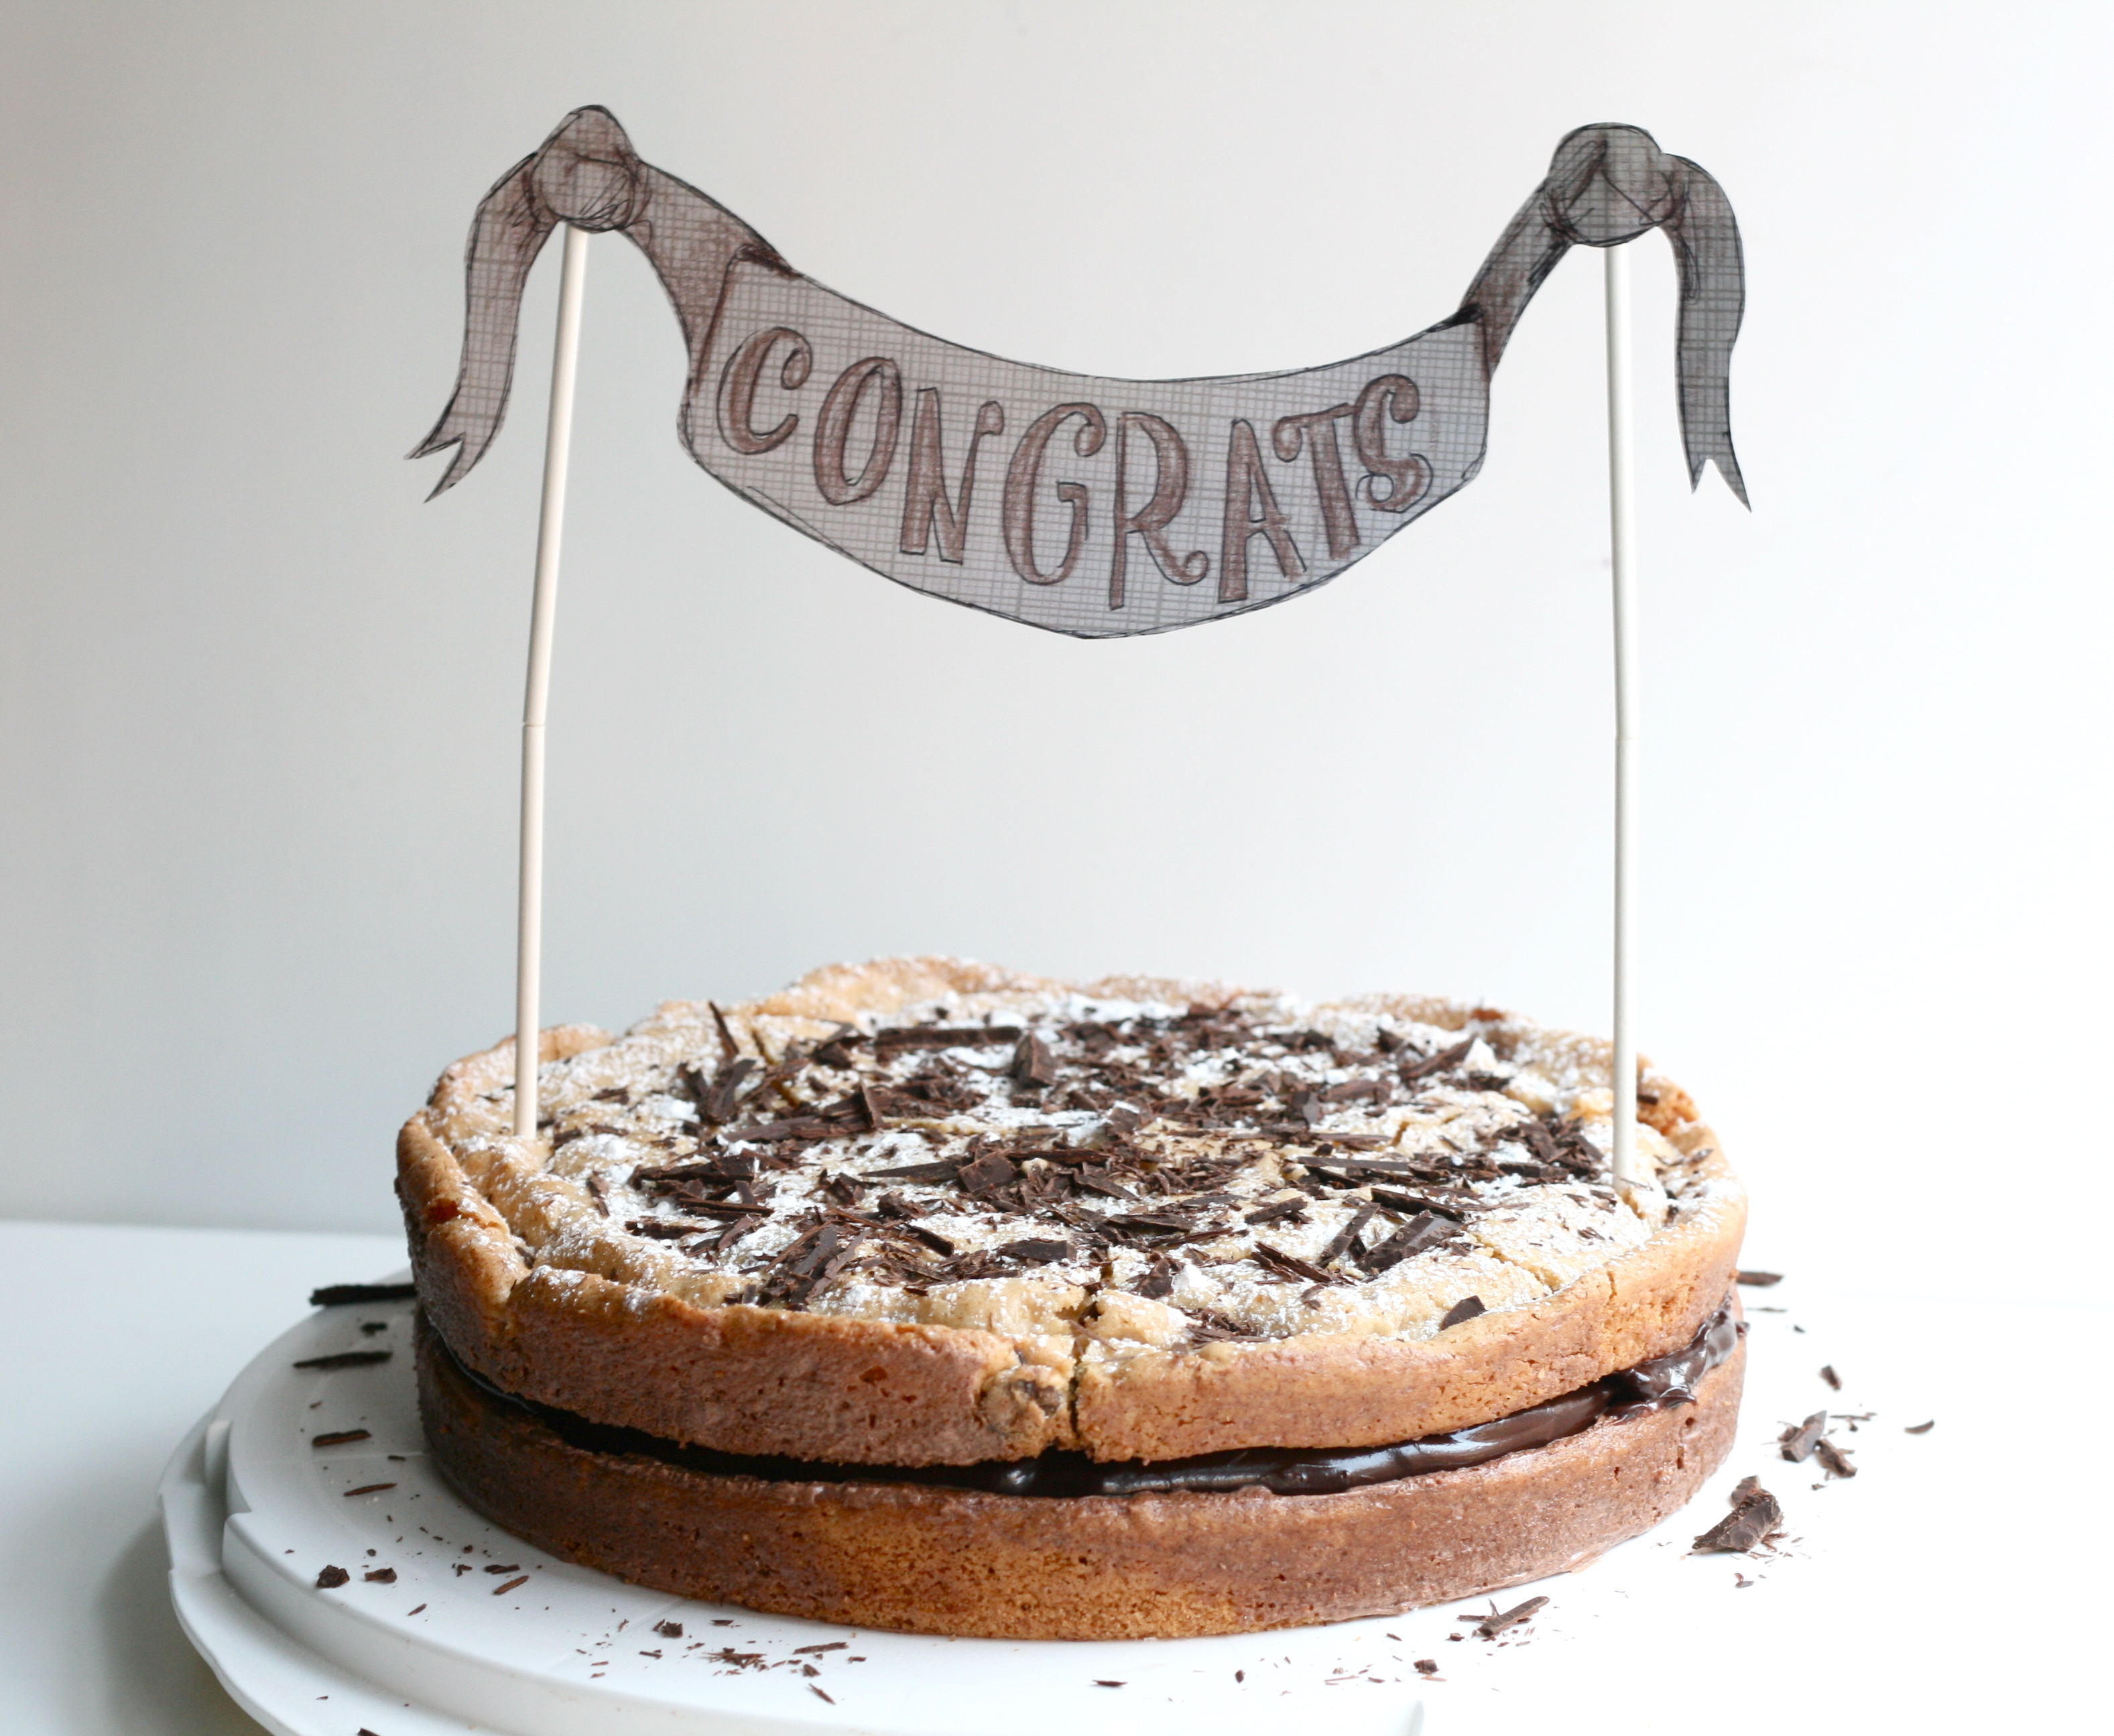
I really needed this cake to be simple. I got home from work at 5:30 pm, and had to be somewhere by 7:43 pm—leaving me a little over 2 hours to make a cake. Not bad. So while I made the cake, graduate school husband went to the grocery store to pick up the goods for the icing. Made the cake, no problem. I was home by 11 and ready to whip up a quick icing. In my defense, the word ‘icing’ was deceiving. Ganache would have been a better word choice. Needless to say, I exercised impatience. The icing wasn’t thickening as fast as I wanted to go to bed. So, I whipped up a meringue and added it to the icing thinking it would help it to stabilize. It was a runny mess. However, I proceeded to pour it all over the cake. What was I thinking? Meanwhile I looked at the remnants of the bowl with the orignal chocolate icing. Guess what. It had thickened up. In an abnormally calm manner, I directed graduate school husband to make another batch of ganache. He normally doesn’t involve himself in my baking adventures, but he was so helpful. I proceeded to scrape the cake of the runny chocolate mess. No lie, I wiped it down with a wet paper towel. We let the ganache set overnight and went to bed. 12:30pm. By morning, the ganache was perfect, so I re-iced the cake. Sprinkled with powdered sugar and shaved dark chocolate.
I was so thankful the cake was still salvageable. I’m not sure if this congrats sign ended up being for me or for my graduate school husband, although it was intended for him. He and his coworkers just finished up their practicum for the year and had a BBQ to celebrate/say goodbye. I’m going to miss those guys. They welcomed me into the group as if I were one of them. They gave me a nickname. They ate my food.
And they devoured this cake. Thank the Lord it turned out. I promise to be more virtuous.
WET INGREDIENTS 1/4 c. milk 2 tsp. vanilla extract
DRY INGREDIENTS 2 c. AP unbleached flour 1 tsp. baking powder 1/2 tsp. sea salt 1/2 c. semi-sweet chocolate chips
CREAMING INGREDIENTS 10 tbsp. unsalted butter, room temp 1 1/4 c. sugar 3/4 c. lightly packed brown sugar 1 large egg 1 egg yolk
1. Preheat oven to 335° and place rack in middle position. Line the bottom of two 9-inch round pans with parchment paper. 2. Combine wet ingredients in a bowl. Combine dry ingredients, except the chocolate chips, in separate bowl. Set aside. 3. Using a spatula, toss 2 tablespoons of the wet ingredients with the chocolate chips in a small bowl. Add 1/4 cup of the dry ingredients. Toss again to coat evenly. This will keep the chocolate chips from sinking to the bottom of the cake. 4. Mix butter and sugars in the bowl of a standing mixer fitted with paddle attachment until well creamed, about 3 minutes. 5. Add egg and egg yolk one at a time. 6. Alternately add dry and wet mixtures about a quarter at a time without pausing between additions. 7. Removed the bowl and fold in the chocolate chips with a spatula. The dough will be thick—more like cookie dough than cake batter. 8. Divide dough into prepared pans. It will be too thick to fill the pan to the edges, but will spread under the heat of the oven. Bake for 30-35 minutes or until edges crown and surface is browned. 9. Cool the cakes in pans to room temperature, then invert them using a small offset spatula to release edges. 10. Make ganache. Spread thick layer between the two cakes. Dust the top with confectioners sugar. Shave dark chocolate and sprinkle on top.
Chocolate Icing/Ganache
1 c. heavy cream 1/4 c. sugar 1 stick unsalted butter, softened 10 oz. bittersweet chocolate 2 tsp. vanilla extract dash of sea salt
1. In a saucepan over medium heat, bring cream and sugar to a light simmer, stirring occasionally. Place the butter, chocolate, vanilla, and sea salt in a large bowl. 2. Pour hot cream over ingredients in the bowl and let stand for a few minutes to melt the chocolate. Whisk until smooth and set aside to cool, but do not refrigerate. Here’s the part where you may derail if you neglect that virtue. Be patient. It will set up. 3. Once the icing has thickened, stir it with a flexible spatula to a spreadable consistency.
For a downloadable PDF of the cake banner and instructions, click here.
Remember when I redid my post on Spinach Quiche a couple weeks ago? Well, I’m at it again. But I promise this is the last re-do for awhile. Brand spanking new content is on the way.
By the way, sorry I’ve been MIA this week. I’ve been working on a couple freelance design projects. Not only have I neglected the blog, but I’ve neglected dinner. We’ve been ordering pizza or scrambling eggs every night. Don’t judge. This week will probably be no better. I’ll be spending the week at the HOW Design Conference.
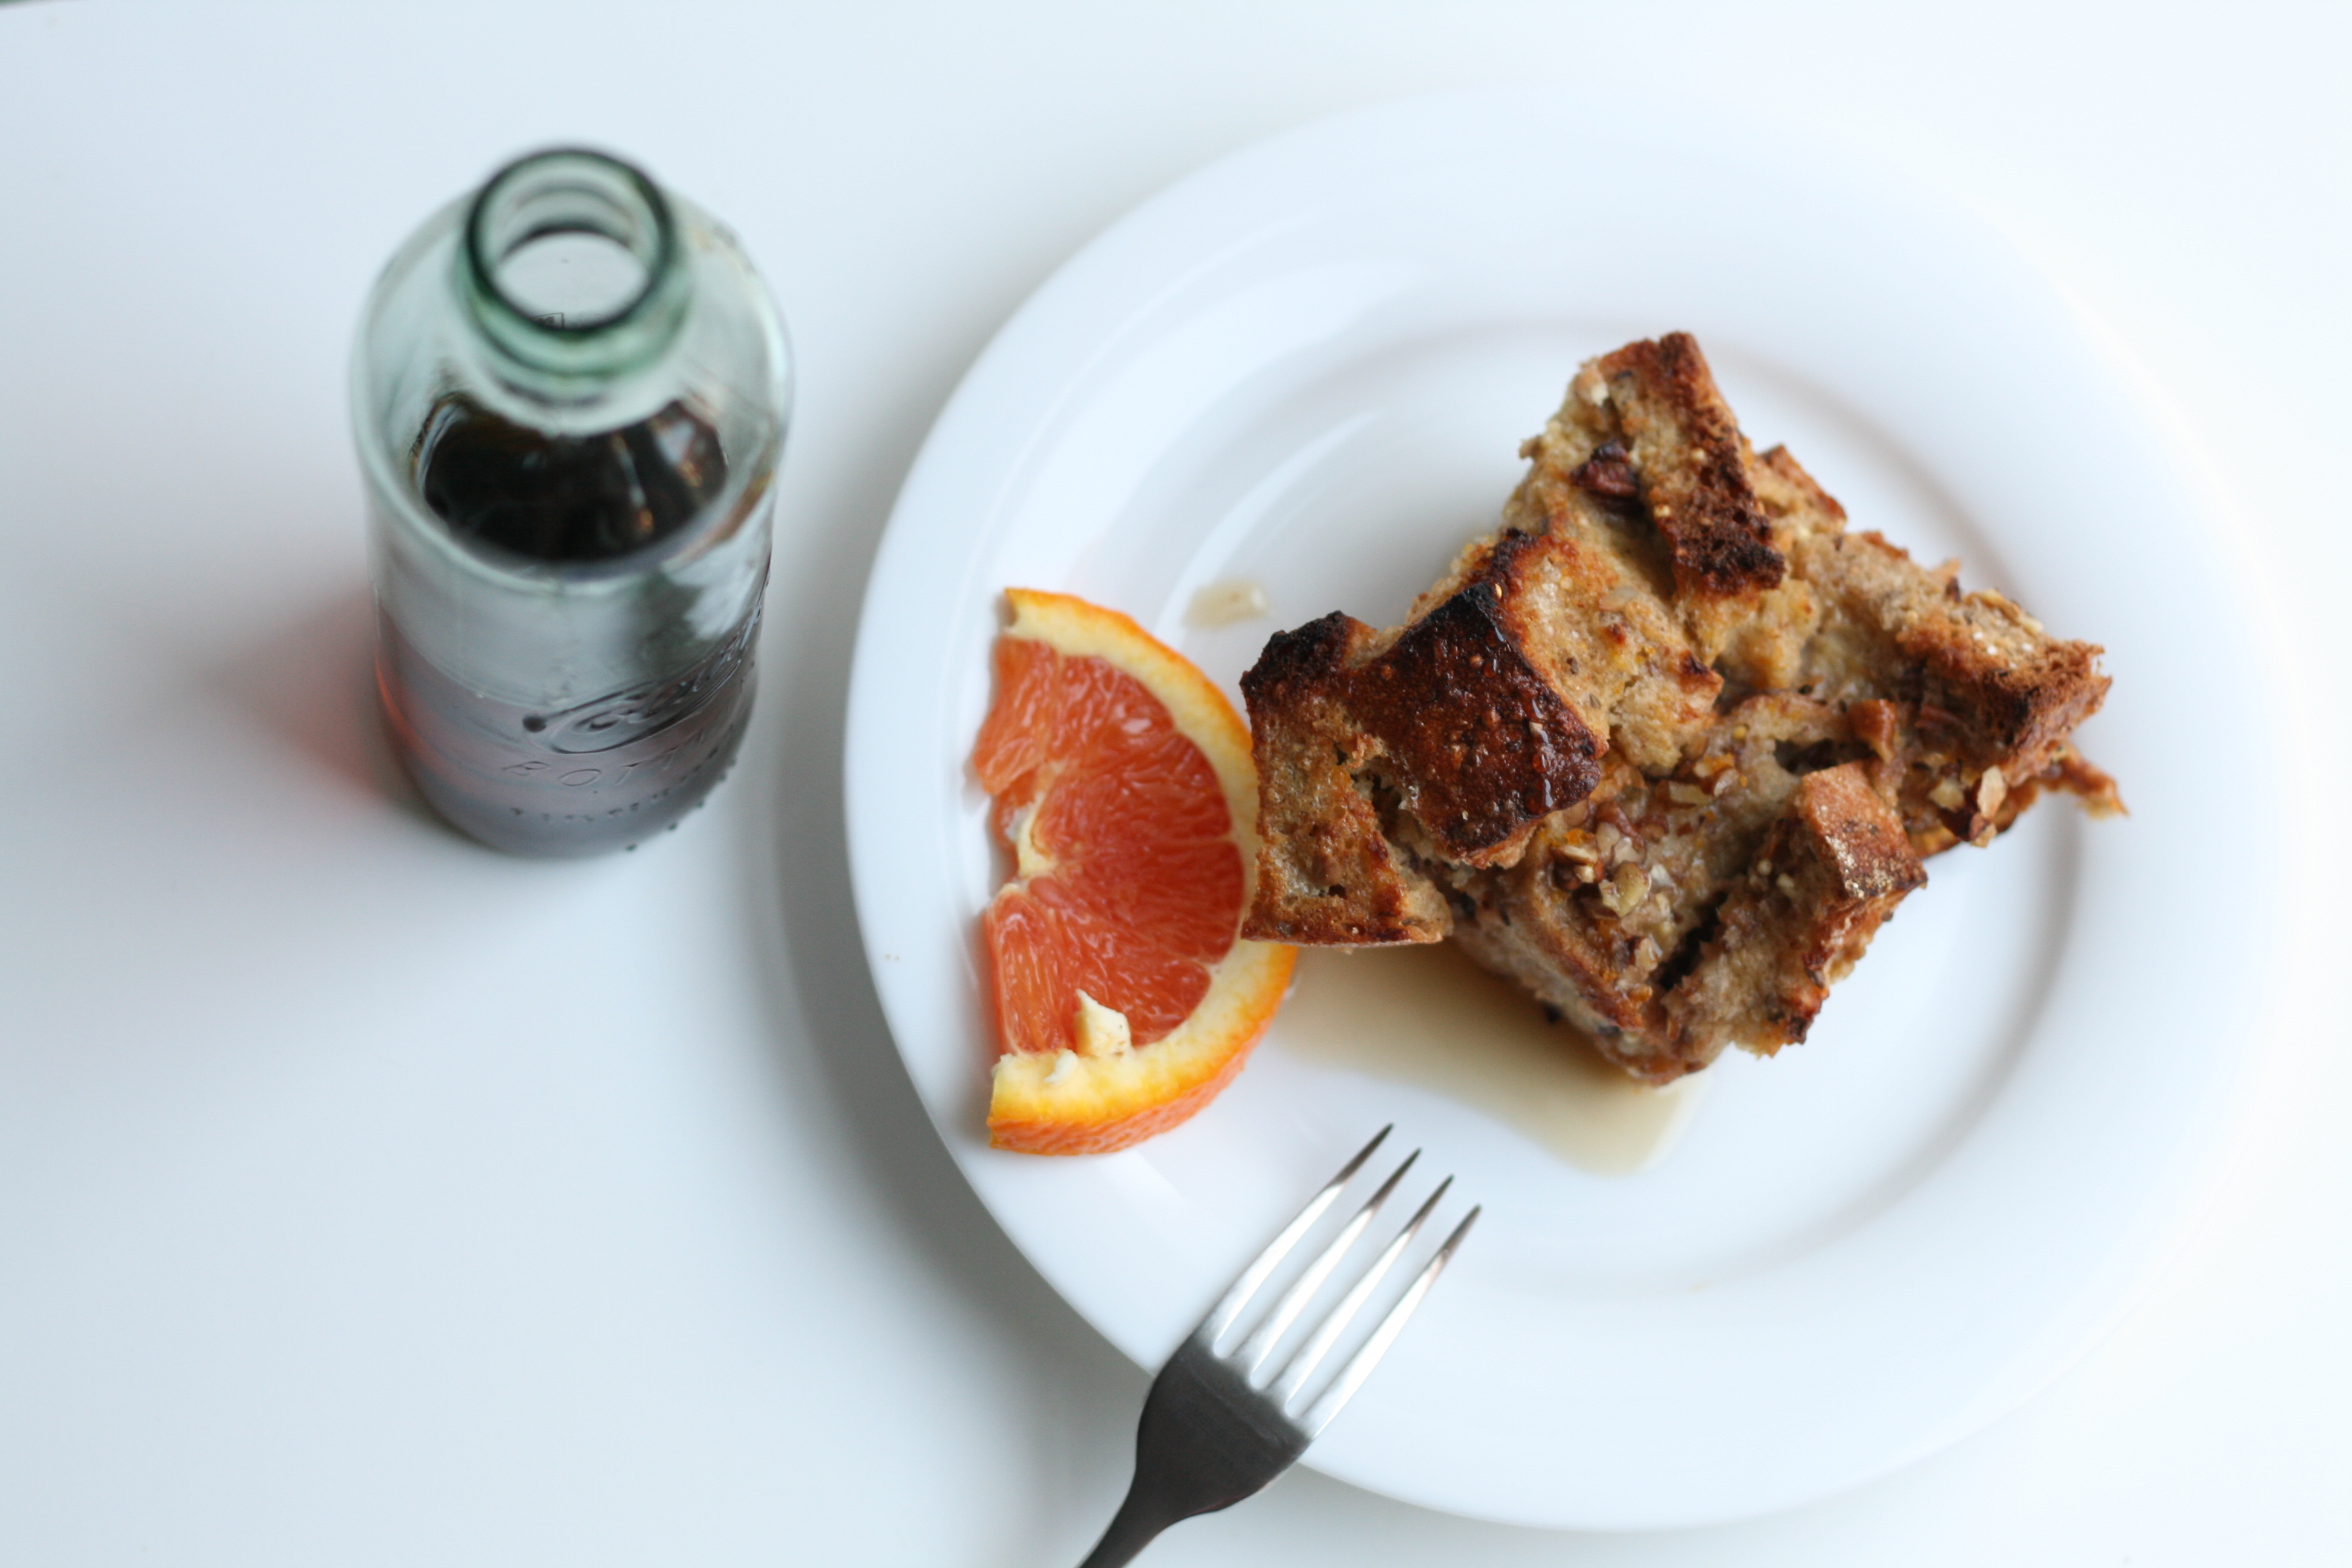
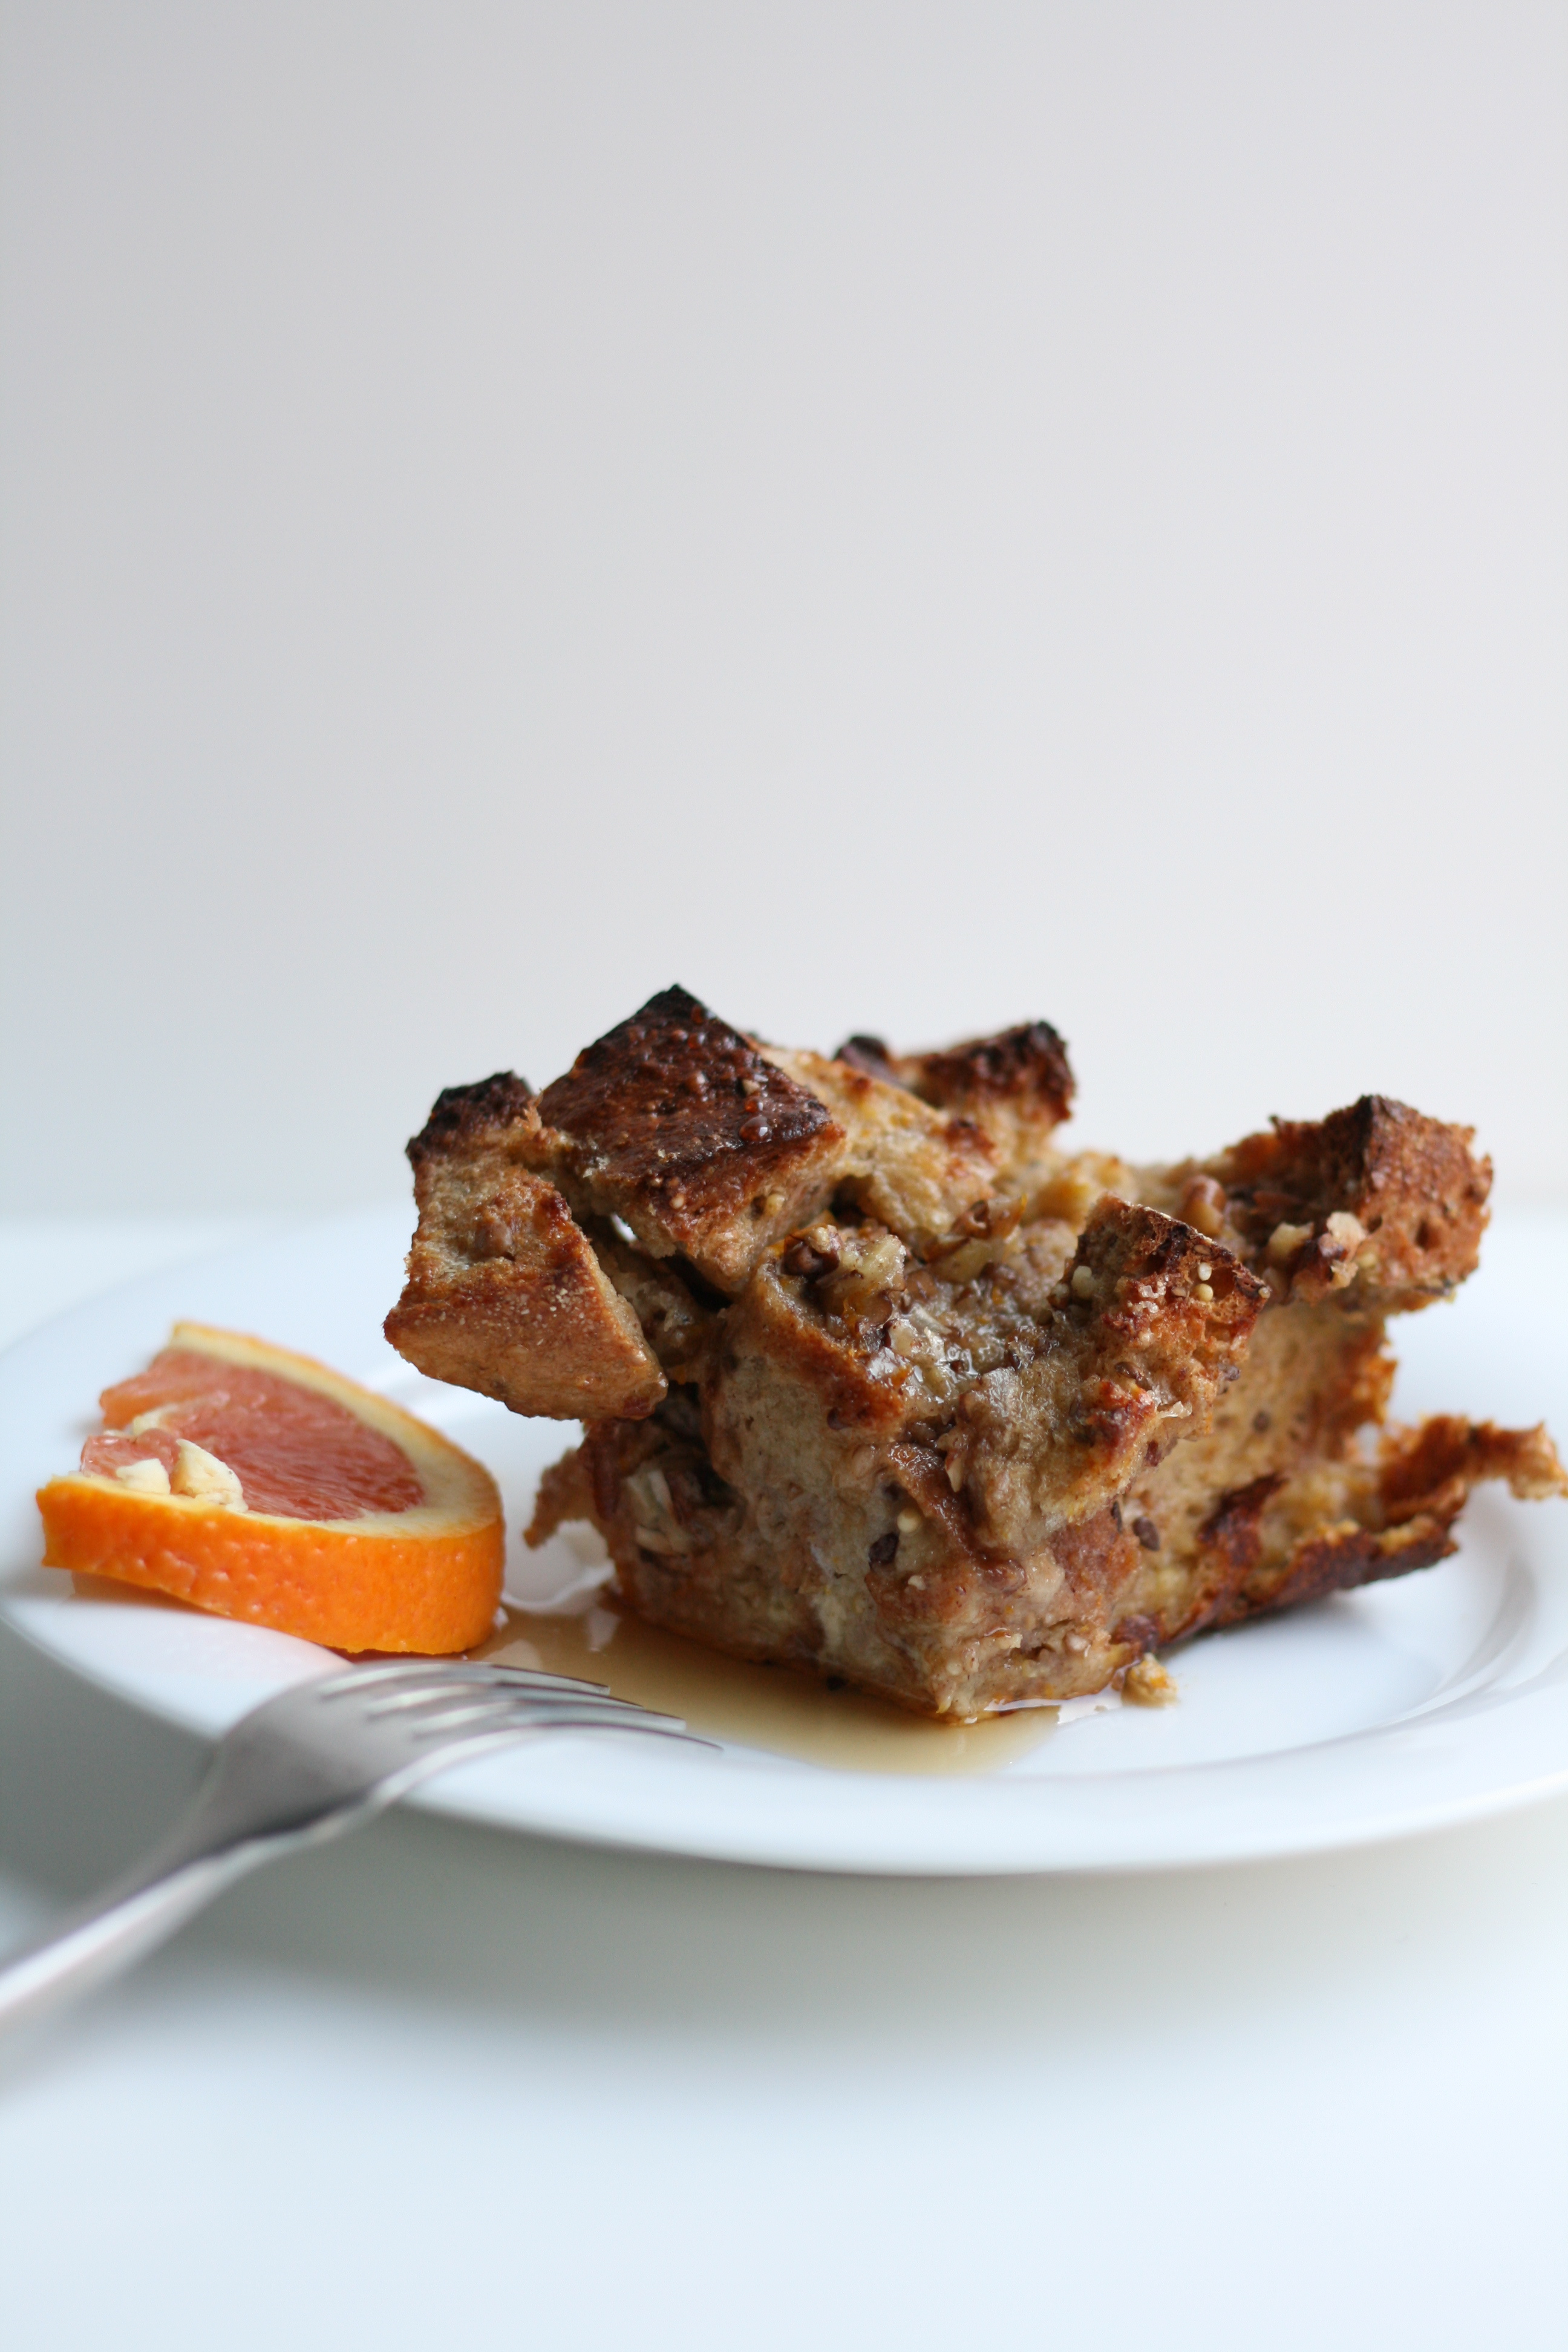
Enough about work. Let’s talk about Baked French Toast. It’s a classy breakfast casserole in my book, if you can even call it a casserole. It’s wonderfully versatile. The best part about baked french toast—you prepare it the night before and bake it in the morning. I don’t know about you, but I’m not much of a morning person. The less work I have to do in the AM, the better. How do all you mom’s do it? I can barely get myself out of the door in the morning. Needless to say, baked french toast makes my mornings easier. And on the weekends, it lets me sleep in longer. Baked French Toast, I love you.
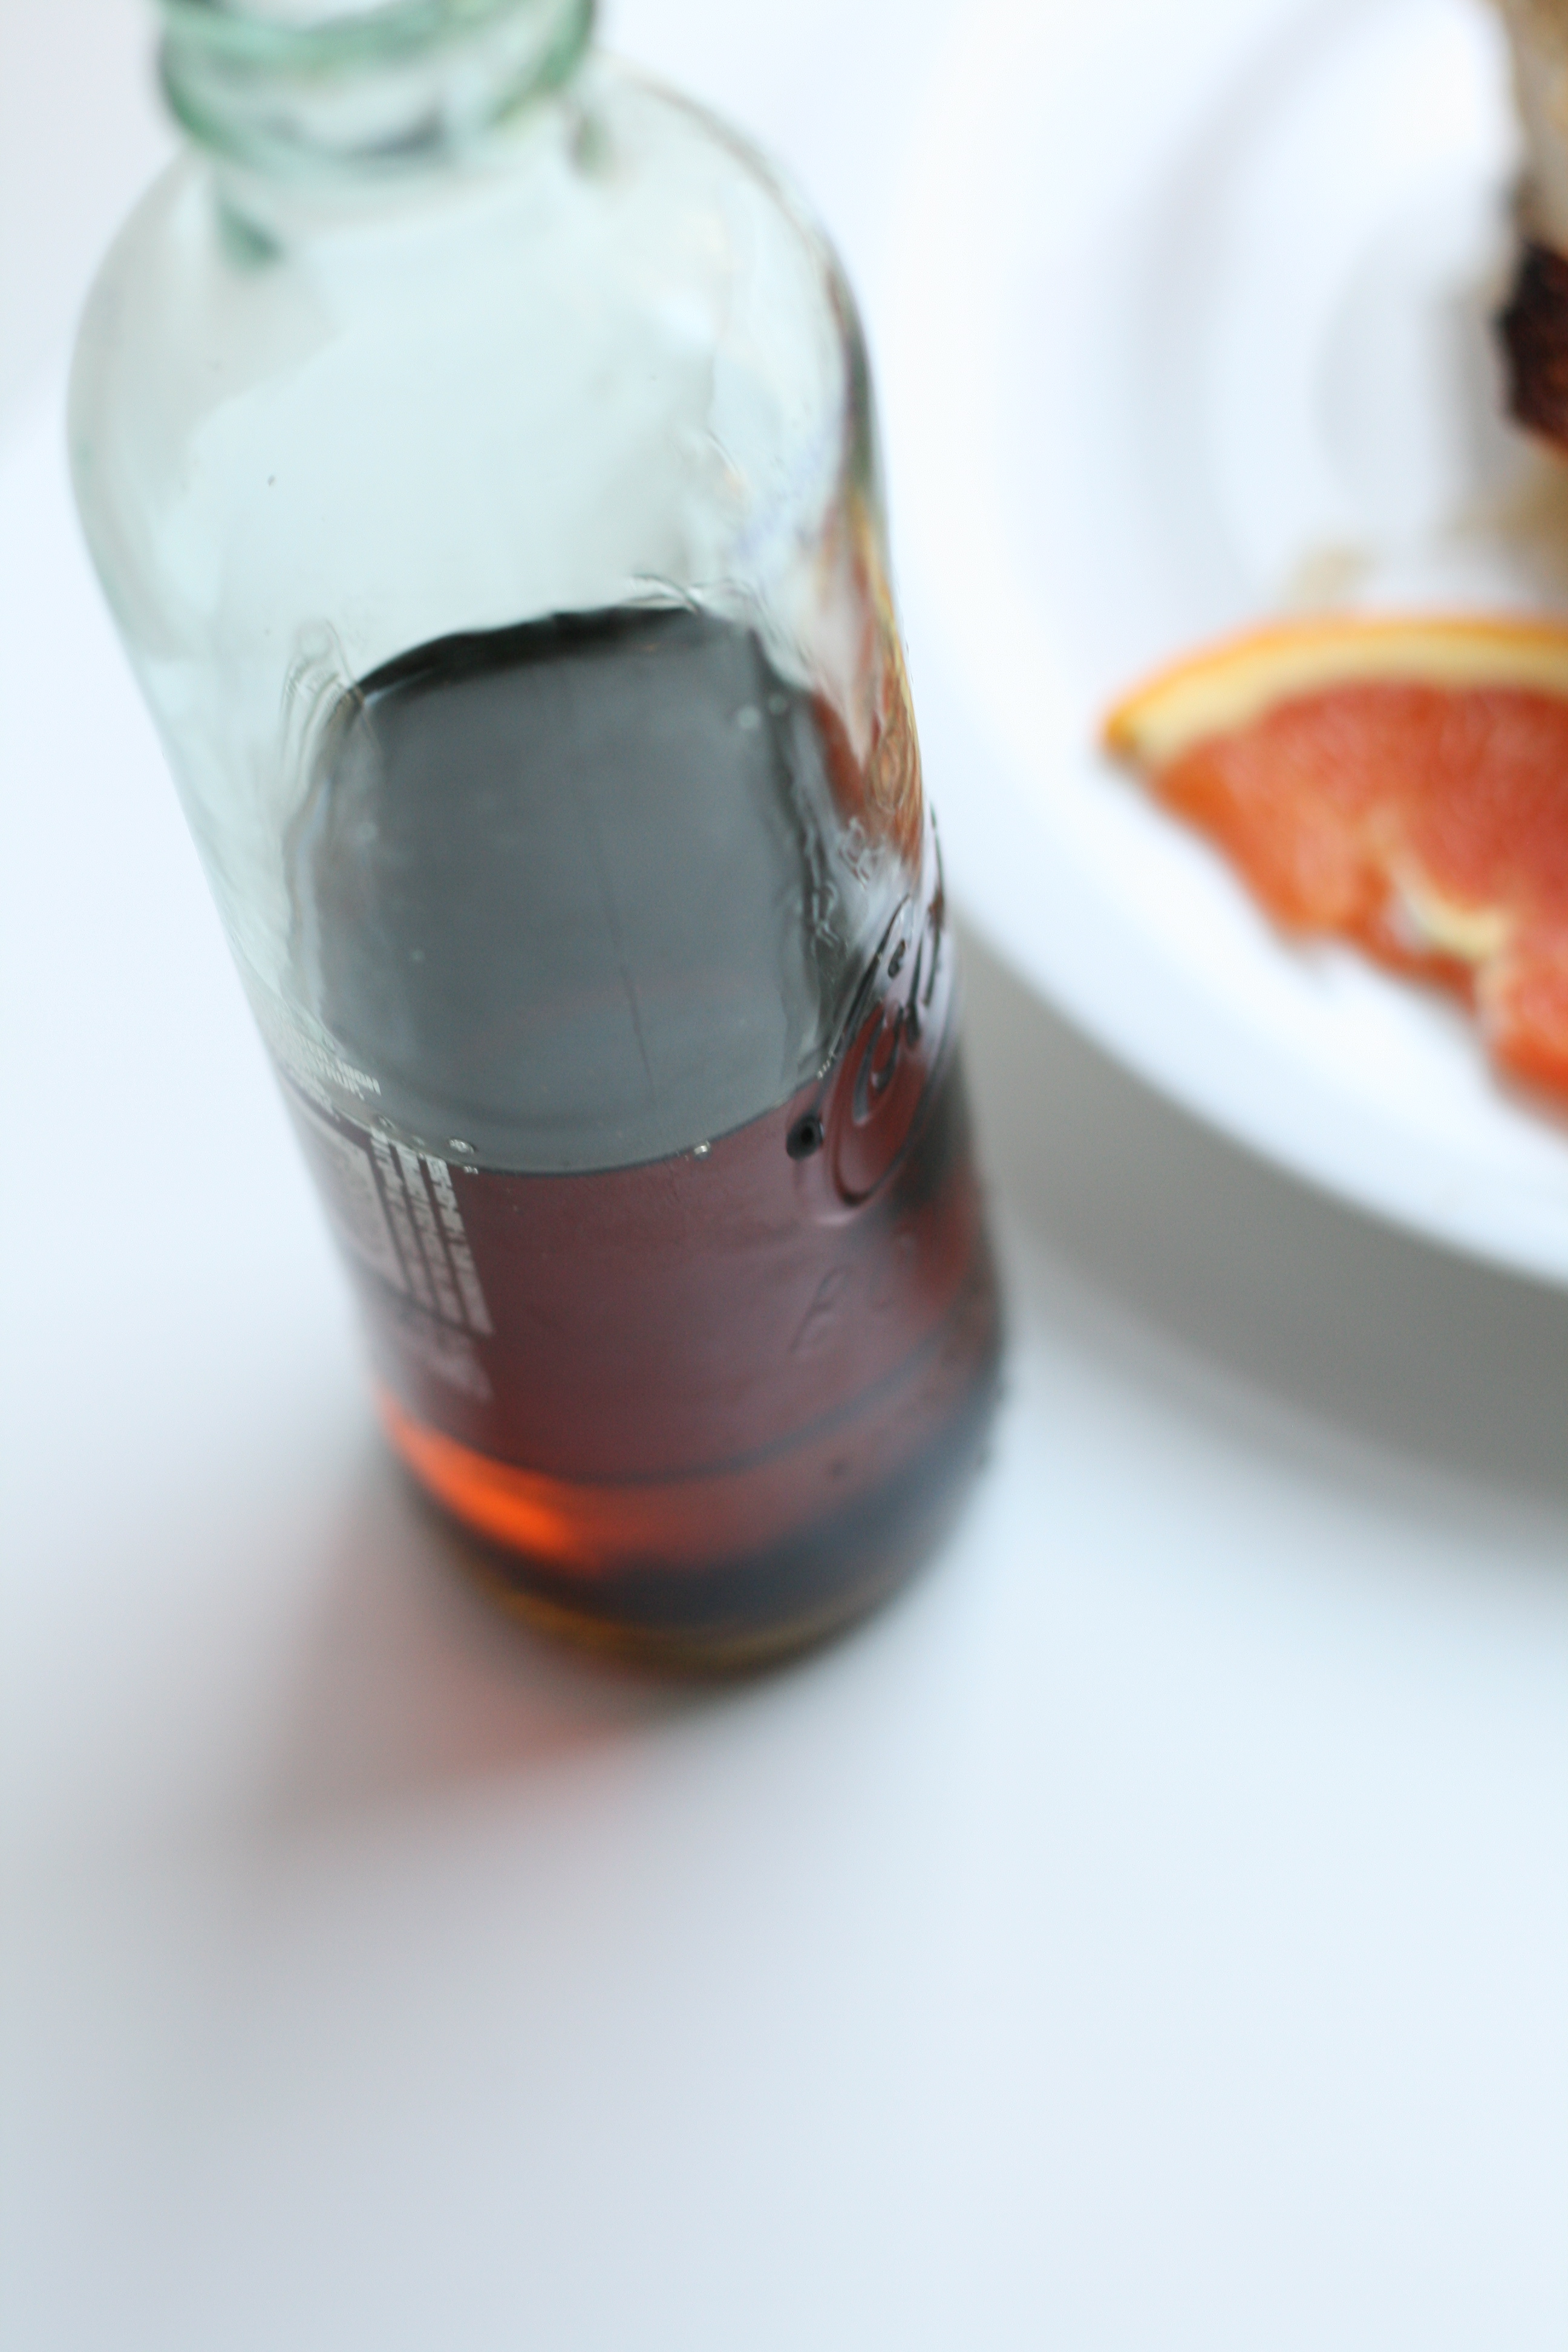
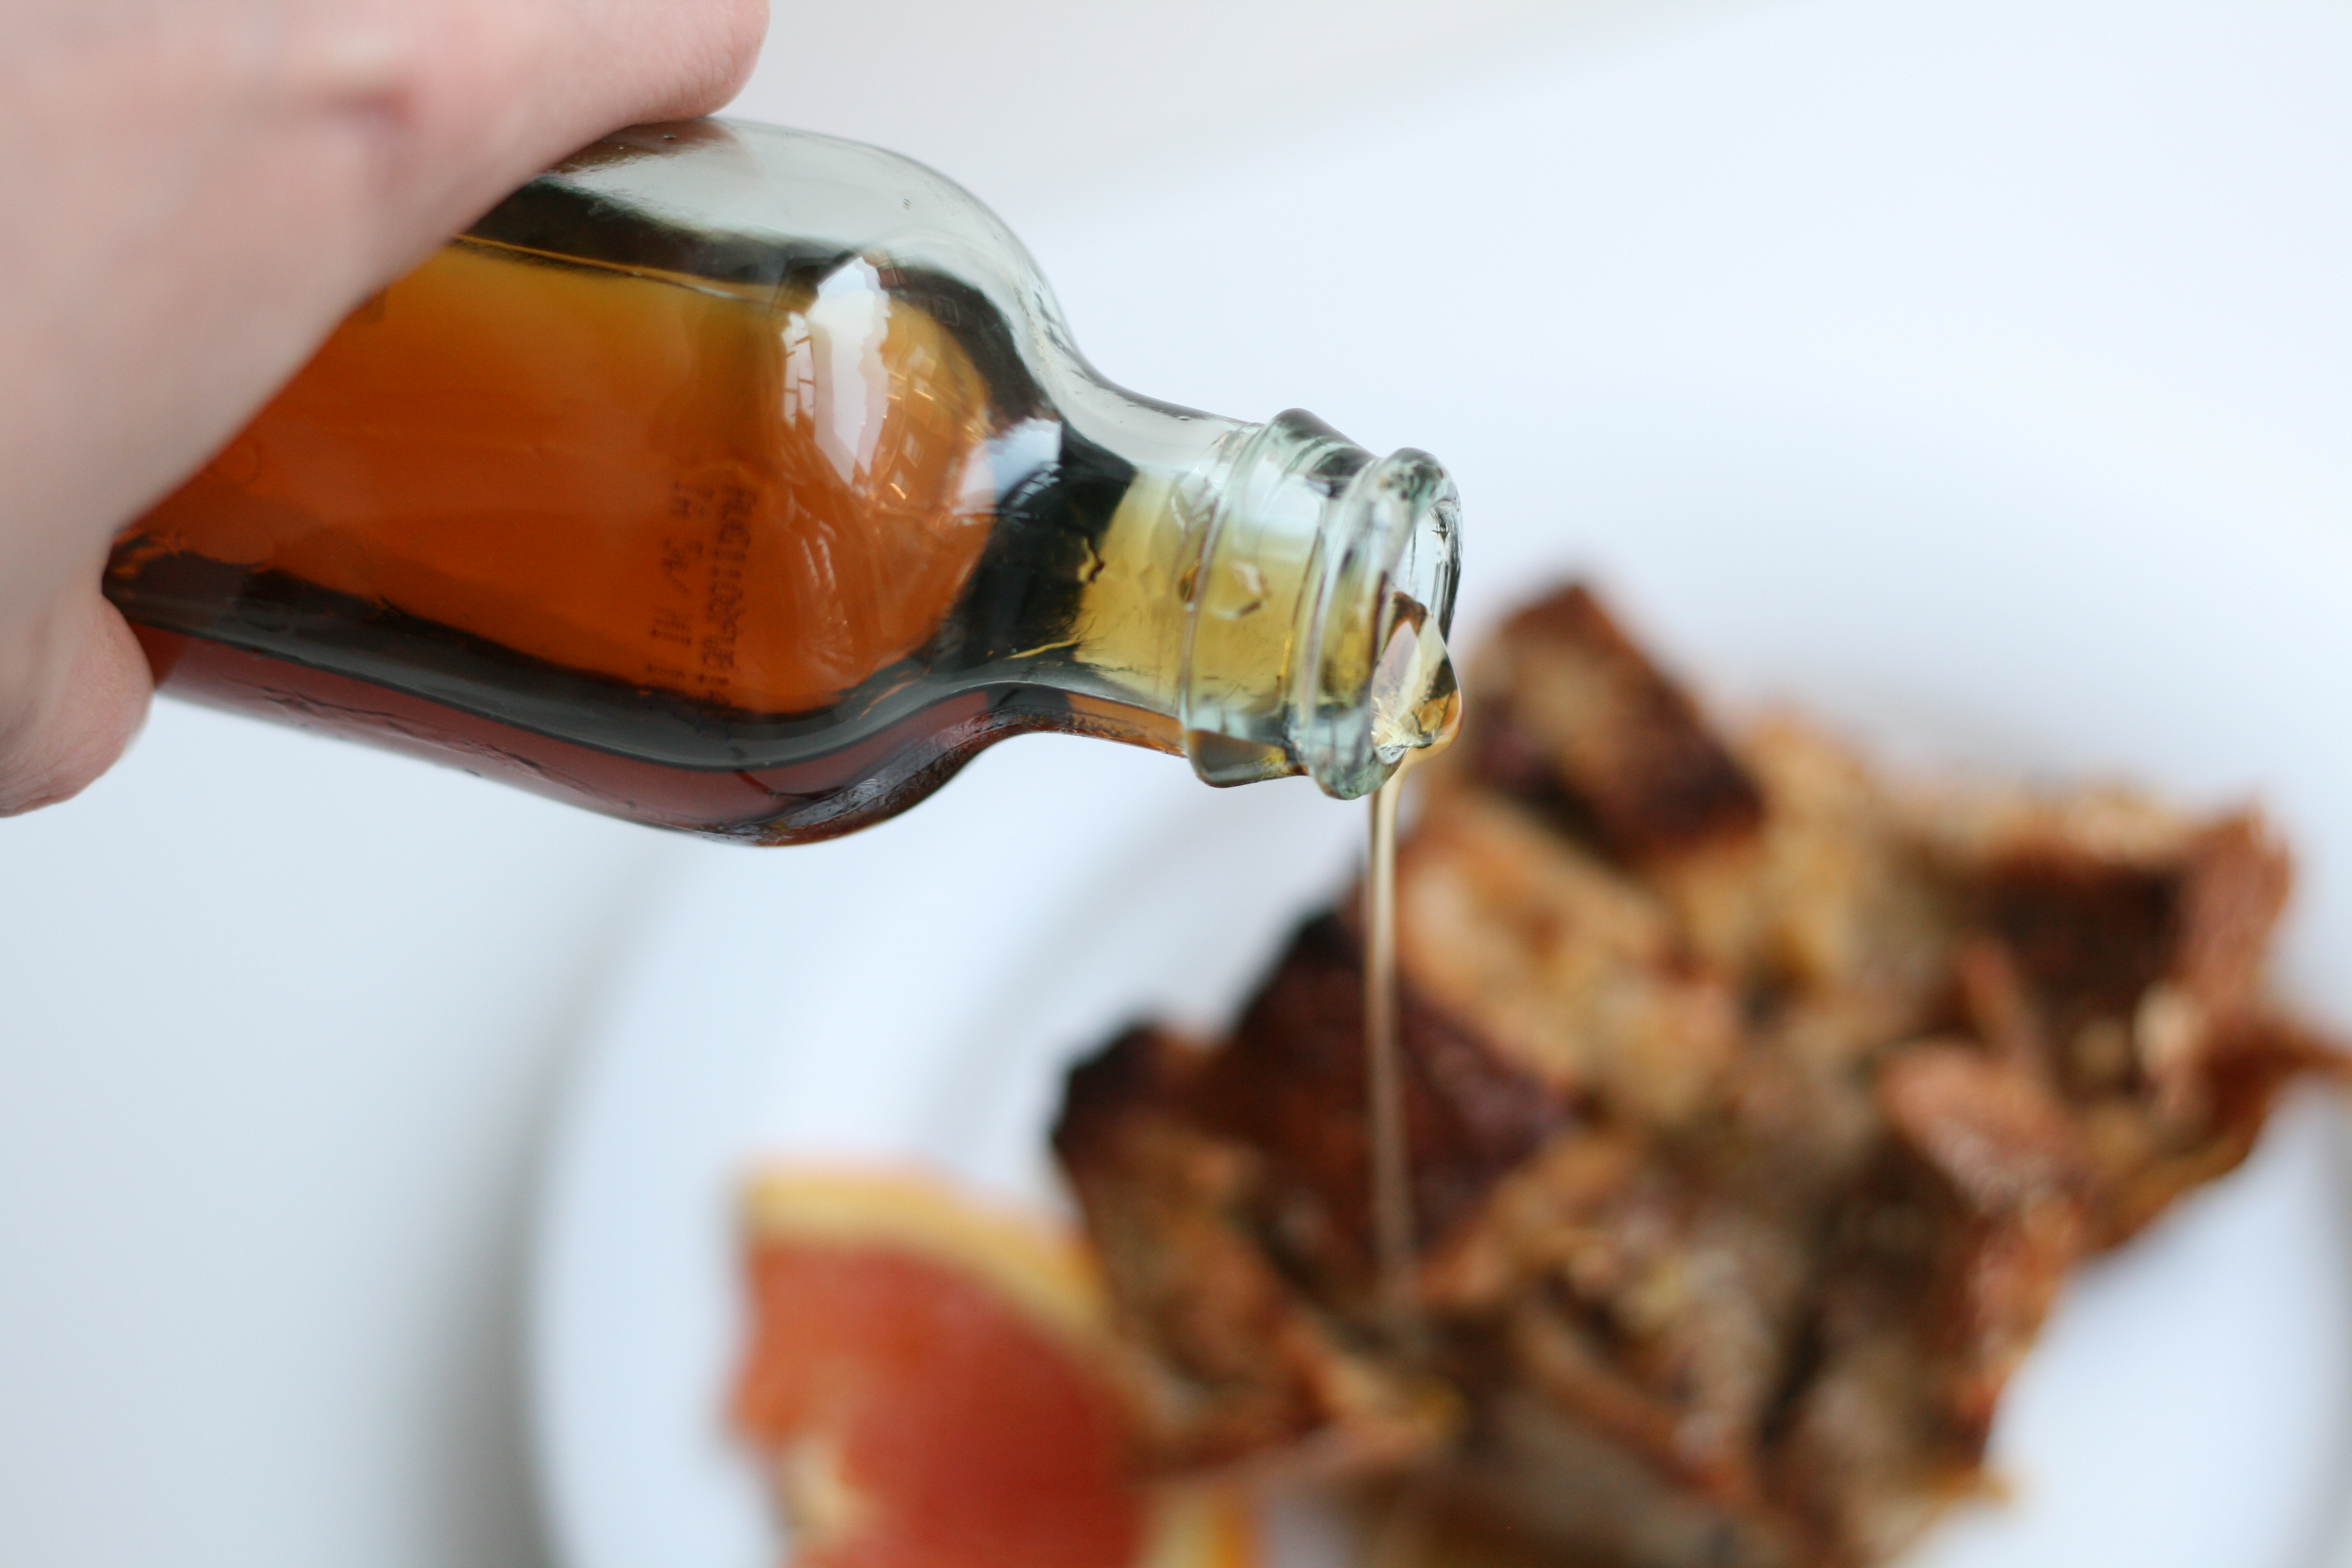
This recipe has a simple nutty orange flavor. I am a little obsessed with orange right now. I think it may be the new lemon. May I suggest that you serve it with 100% pure maple syrup? I made the switch a couple years ago. Once you go pure, you’ll never go back. And yes, that is a Coke bottle I’m serving the syrup in. It’s time invest in a syrup dispenser.
1/2 loaf of thick, hearty whole wheat bread cut in large cubes (about 2 cups)
small hand full of crushed pecans (about 1/3 c.)
3 c. of milk
4 eggs
2 tbsp. butter, melted
1 tbsp. turbinado
1 1/2 tsp. cinnamon
1 tsp. of vanilla extract
zest of half an orange
juice of half an orange
dash of sea salt
Instructions
Prep the night before serving. Cut bread and place in an 11 x 7 baking dish. Sprinkle with chopped nuts.
Whisk together milk, eggs, butter, turbinado, cinnamon, vanilla, zest, juice, and salt in a separate bowl.
Pour mixture over bread. It should almost cover bread.
Cover and let sit and soak overnight in fridge.
Morning of, preheat oven to 425°. Sprinkle top with a pinch of turbinado. Bake for 30 minutes or until liquid is set. Cover with foil after 15 minutes to prevent burning.
Enjoy with warmed 100% pure maple syrup.
Recipe Card powered by
Did I mention the new Facebook page? Click ‘Like’ to receive even more updates and chat!
If I tell you a secret, will you promise to keep reading?
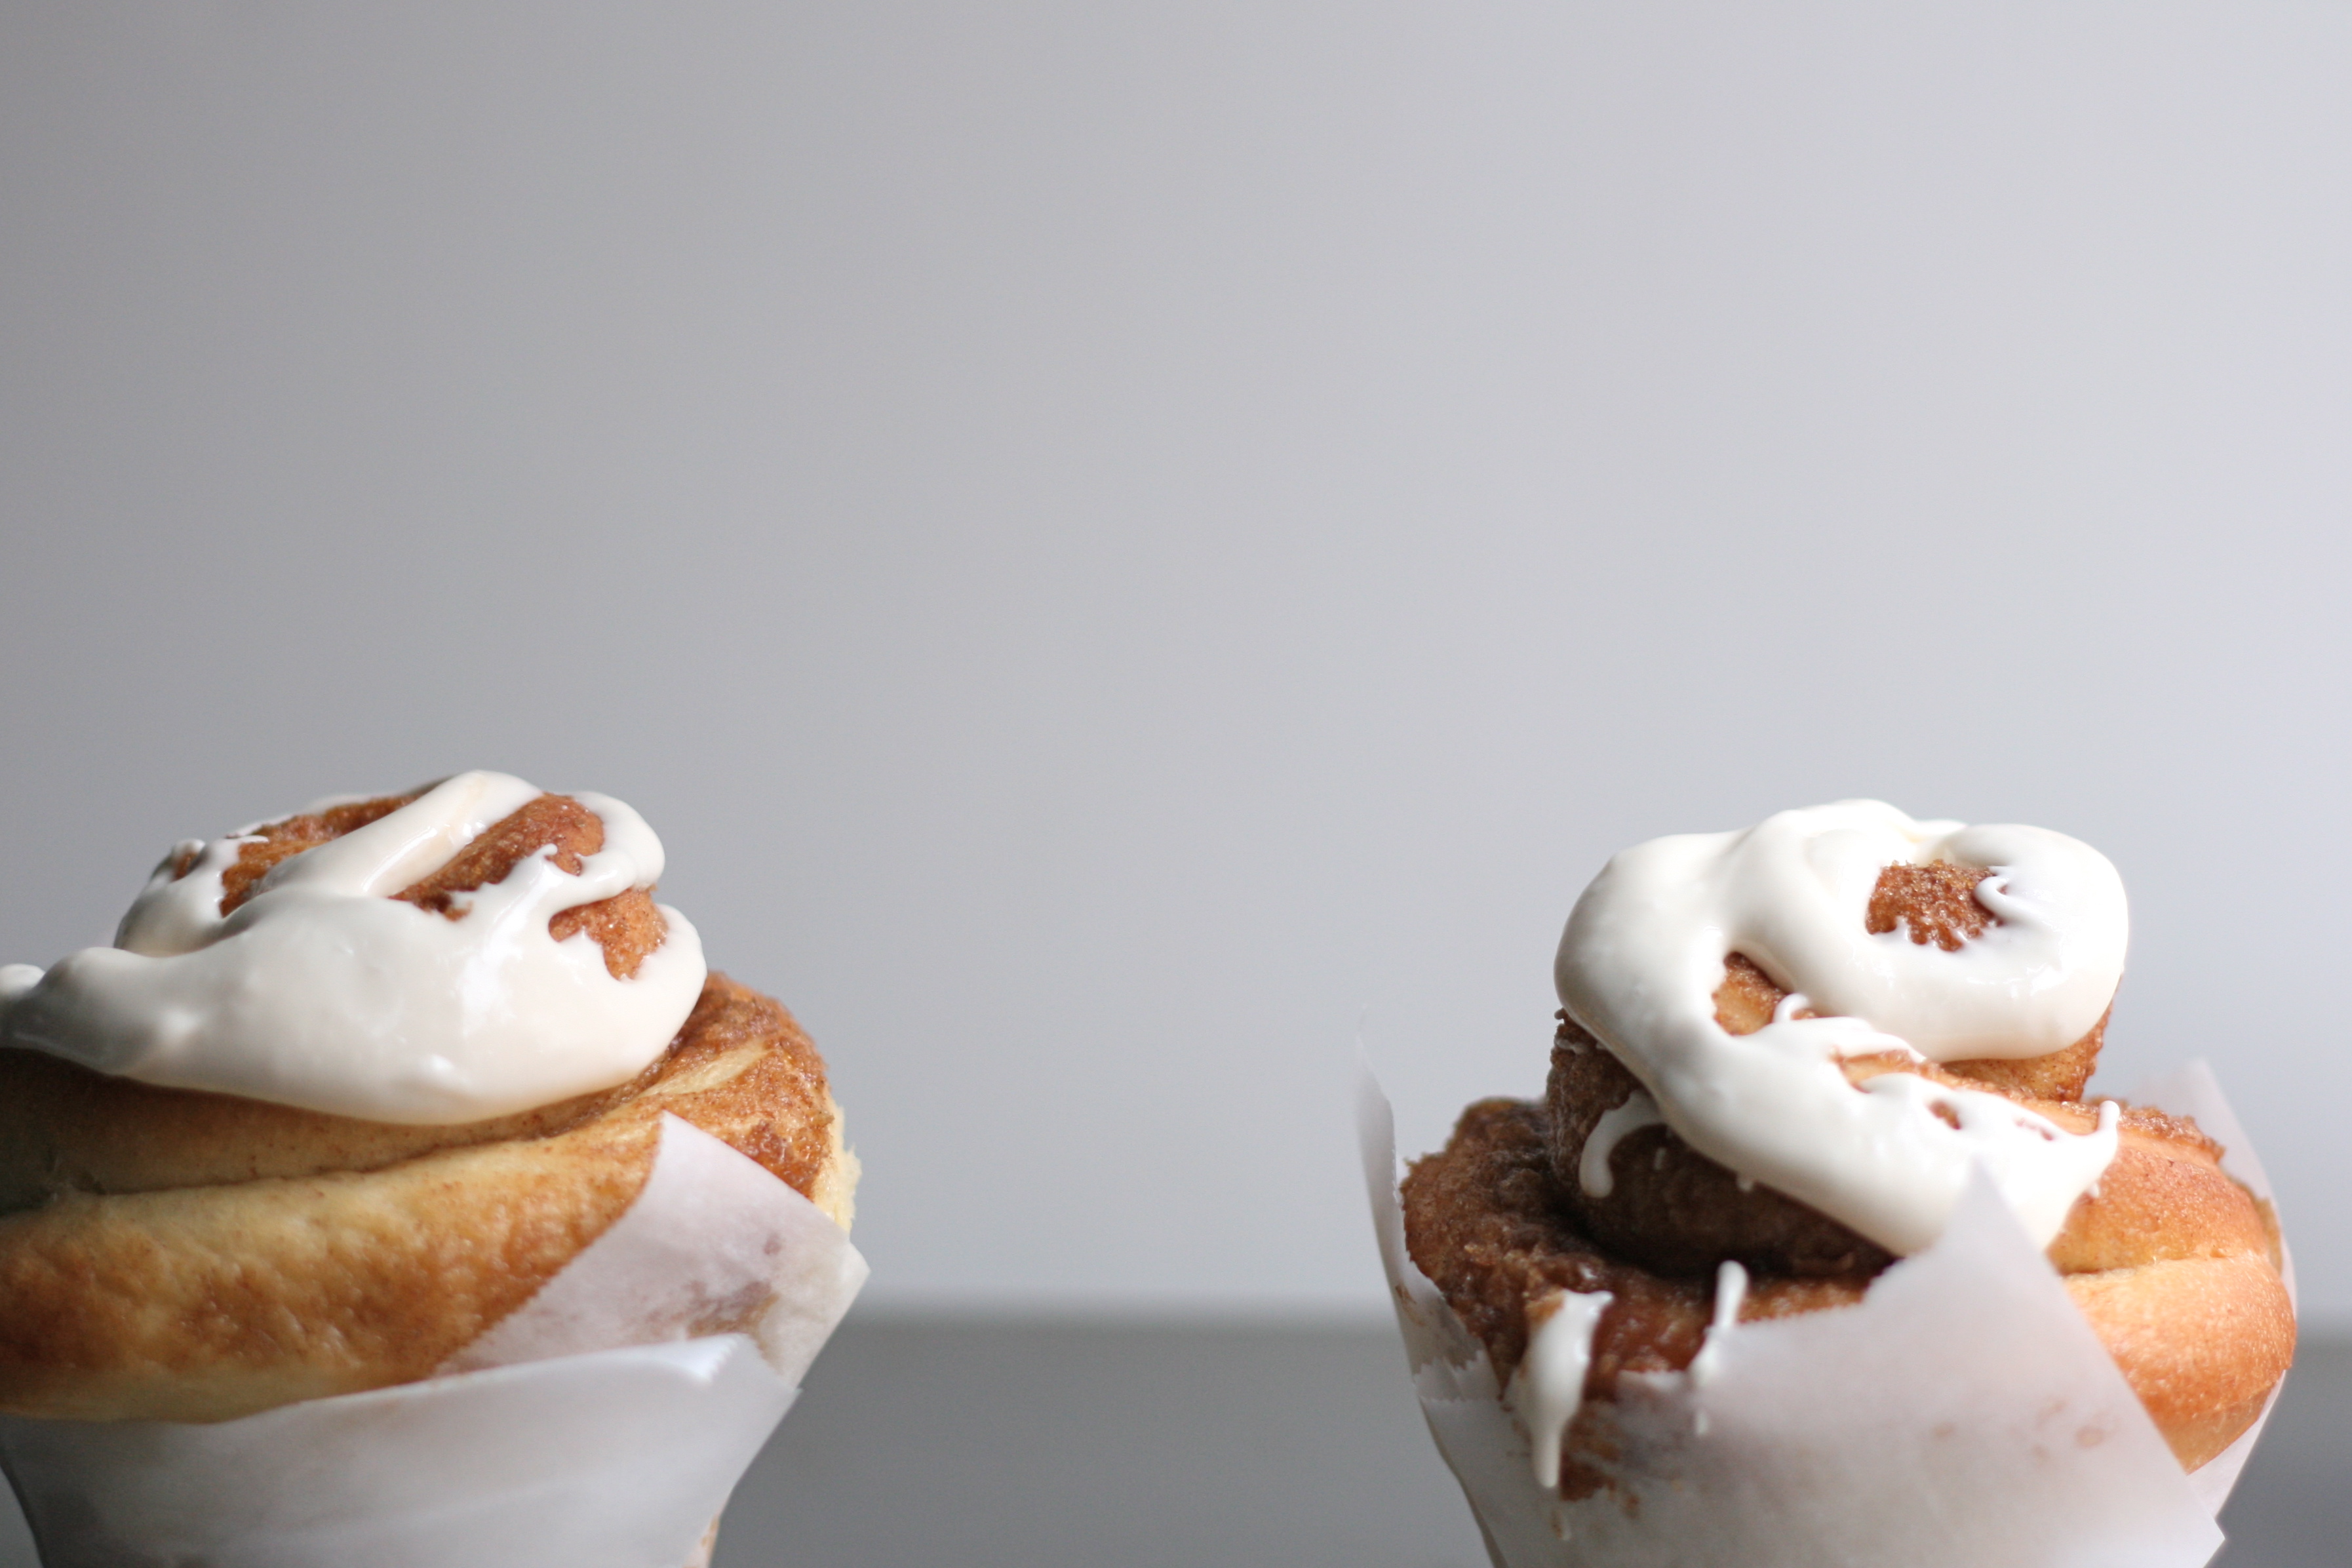
I don’t really like cinnamon rolls.
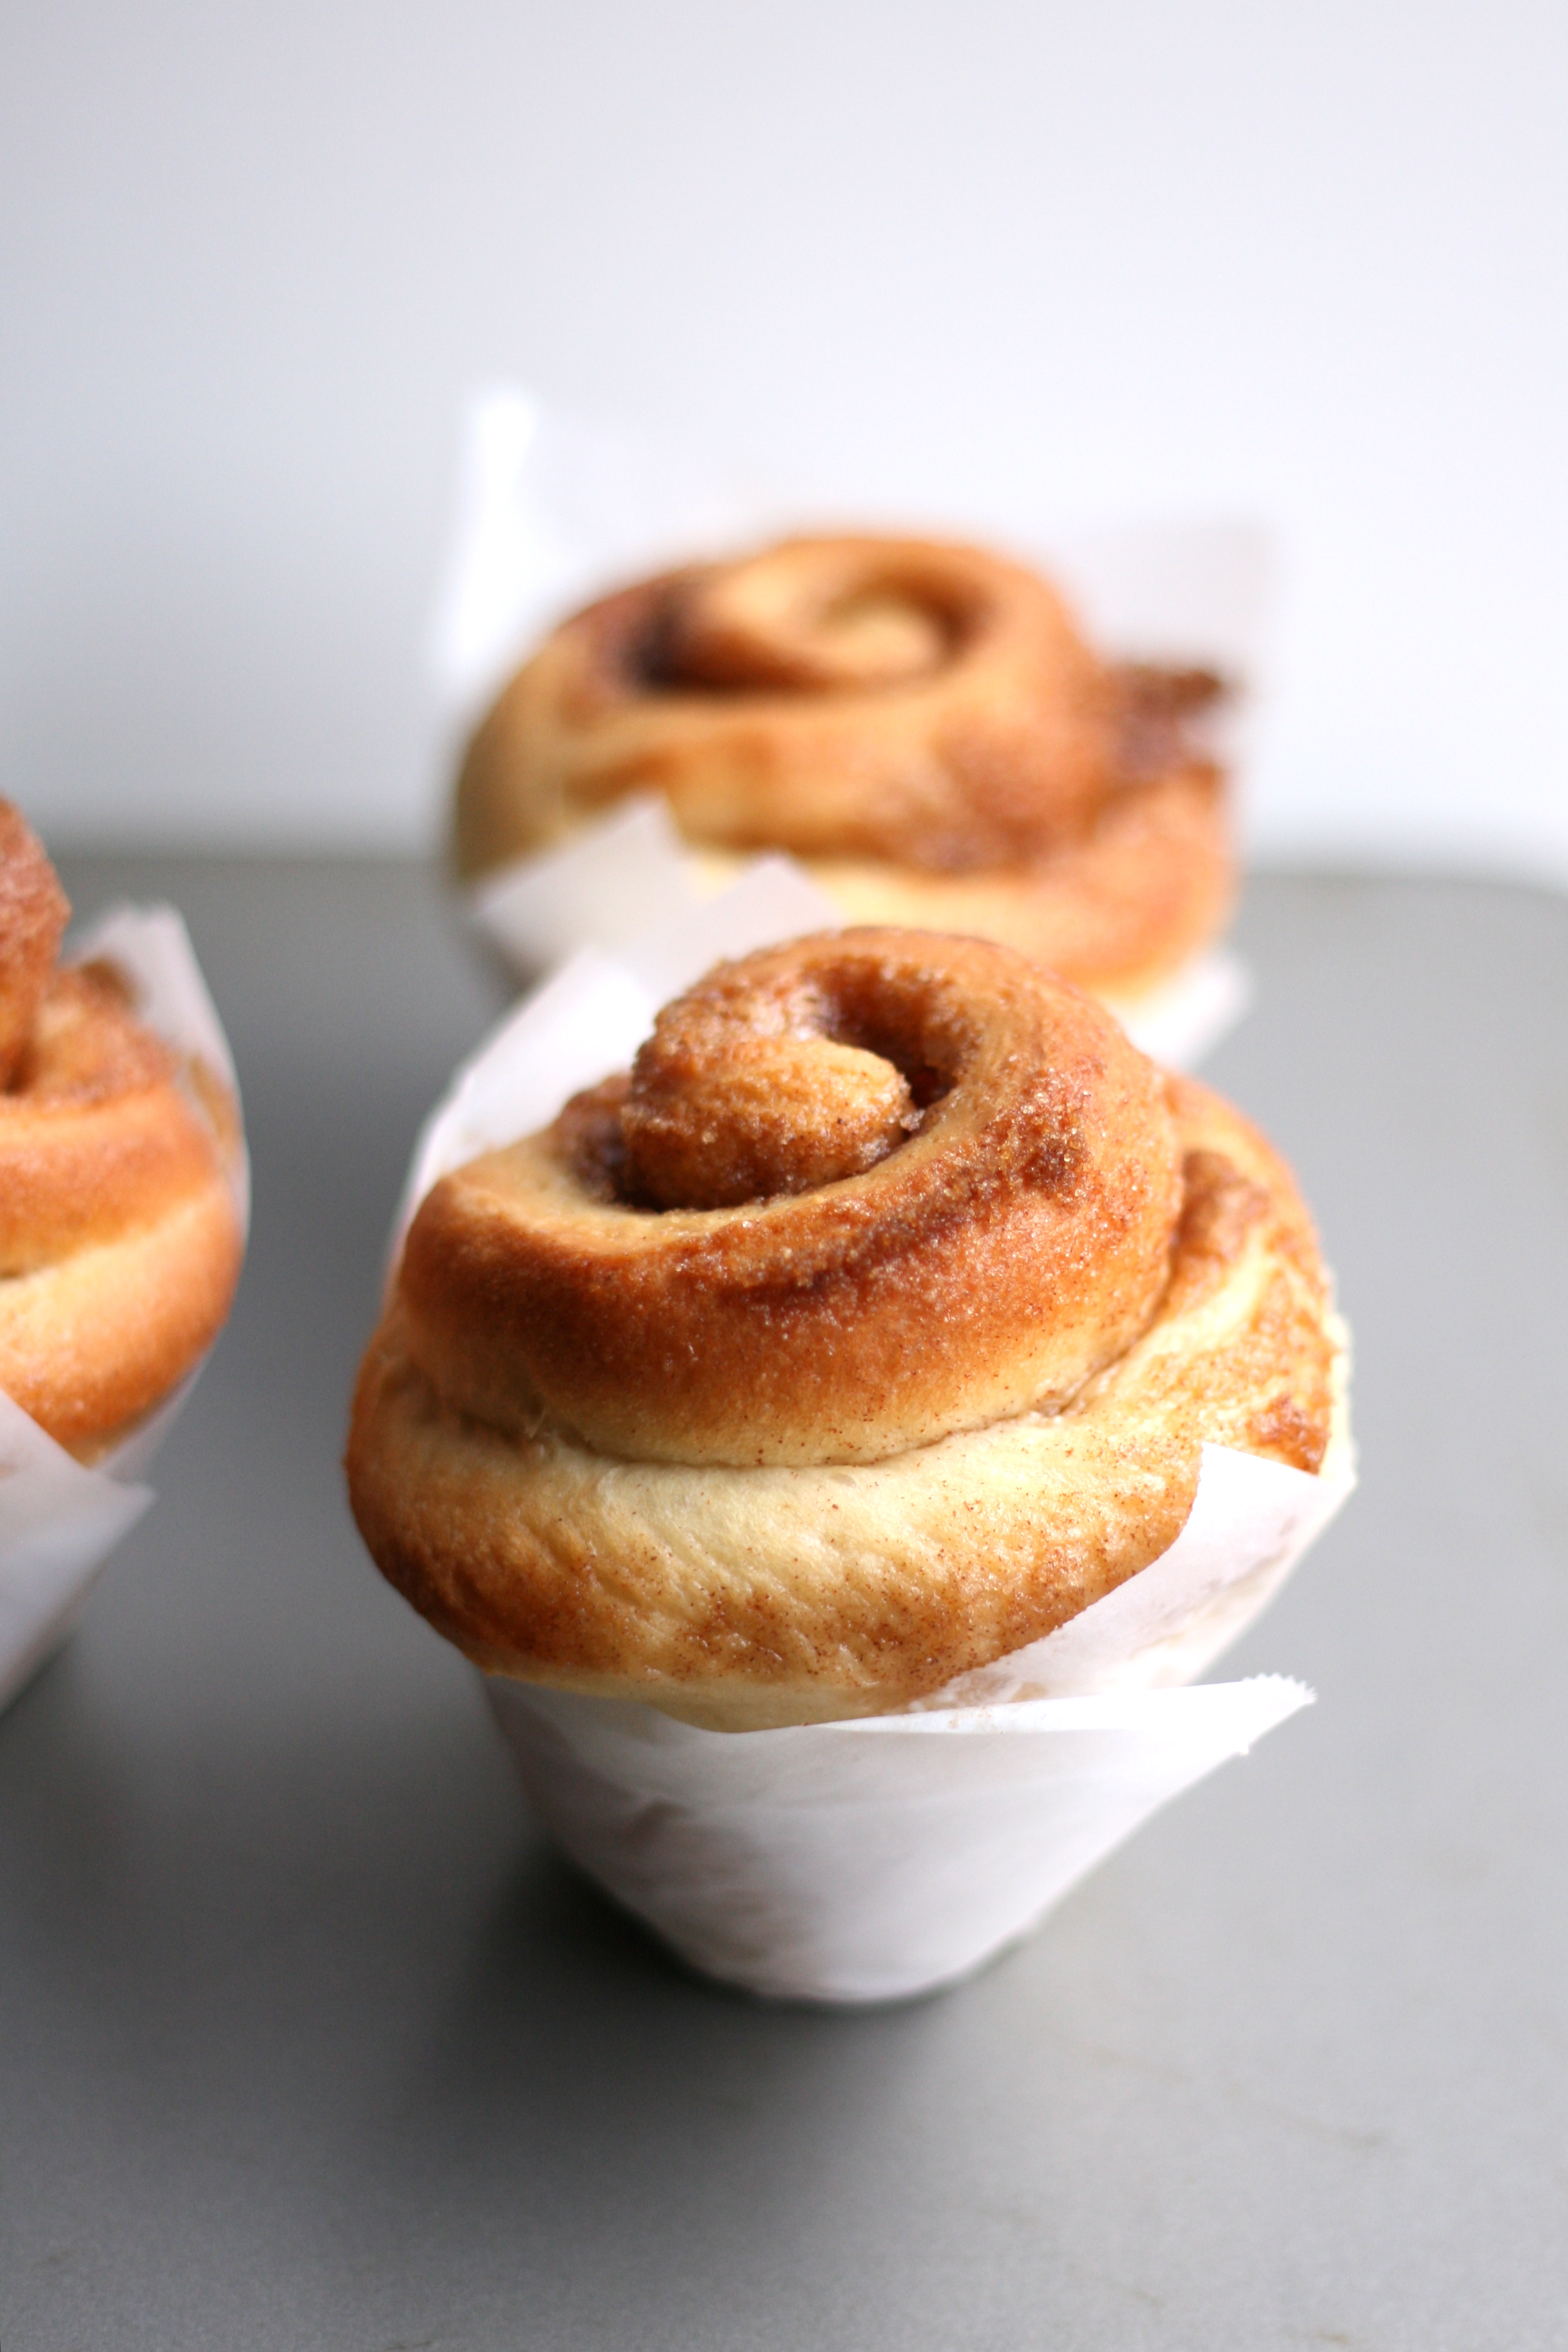
I can hear the gasps and the cars outside screeching to a halt. I know it’s a sin not to like these. But if I eat anything too sweet first thing in the morning, my blood sugar is off the rest of the day. And then I’m grumpy. With a headache. Please forgive me? Luckily, my husband and his co-workers love cinnamon rolls. They devoured these little muffins.
I use the term muffin loosely literally. Graduate school husband had to transport these guys to work—problem #1. And, with no plates or forks around at work, they needed to be edible by hand—problem #2. So I came up with the parchment paper muffin idea. I’m sure it’s been done before, but it’s new to me. Not to mention, they’re kinda cute served individually.
Please forgive me, but I hope you enjoy these more than I did. Dang blood sugar.
SWEET DOUGH 3/4 c. whole milk, warmed to 110° 1 envelope (2 1/4 tsp.) rapid rise yeast* 6 tbsp. unsalted butter, melted and cooled 3 large eggs 4 c. AP unbleached flour 1/4 c. sugar 1 1/4 tsp. salt
1. Add a pinch of sugar to the warmed milk. Add yeast and allow to proof for 5 minutes until foamy. 2. Whisk together melted butter and eggs. 3. Combine 3 1/2 cups of the flour, sugar, and salt together in a standing mixer fitted with the dough hook. With the mixer on low speed, add the yeast mixture and the egg mixture, and mix until the dough comes together, about 2 minutes. 4. Increase the mixer speed to medium and knead until the dough is smooth and elastic, about 10 minutes. If after 5 minutes more flour is needed, add the remaining a little bit at a time until the dough clears the side of the bowl but sticks to the bottom (The more flour you add, the tougher the dough. Try to add as little as possible). 5. Turn the dough out onto a clean surface and knead by hand to form a smooth, round ball. Place dough in a bowl and wrap tightly with plastic wrap. Let rise in a warm draft free place until doubled in size, about 2 hours. (For the procrastinator method, click here.)
*If using instant yeast, there’s no need to activate the yeast with warmed milk. Use chilled milk instead.
SWEET CINNAMON MIXTURE 3/4 c. packed brown sugar 2 tsp. cinnamon 1/4 tsp. cloves Pinch of salt 2 tbsp. butter, melted and cooled
1. After dough has doubled in size, mix dry ingredients together in a small bowl. 2. Turn the dough out onto a lightly floured surface. Roll it out to a 16″ x 12″ rectangle (about the size of a Silpat). 3. Leaving a 3/4″ border along the top edge, brush the dough with the melted butter. Sprinkle with sweet cinnamon mixture, and press to adhere it to the dough. 4. Loosen the dough from the counter using a bench scraper, and roll the dough into a tight log. Pinch the seam closed and roll log seam side down. 5. Slice the cylinder into 12 evenly sized rolls using a serrated knife. Arrange the rolls cut side down in a 13″ x 9″ baking pan. OR, cut 12 squares of parchment paper and press into muffin tin. 6. Cover and let rise until doubled in size, 1 to 1 1/2 hours. (If making ahead of time, forgo the second rise and place the rolls in the fridge. Allow for second rise in the morning before baking.) 7. Adjust oven rack to middle position and heat oven to 350°. Bake 25-30 if baking normal style or 15-20 minutes if baking muffin style.
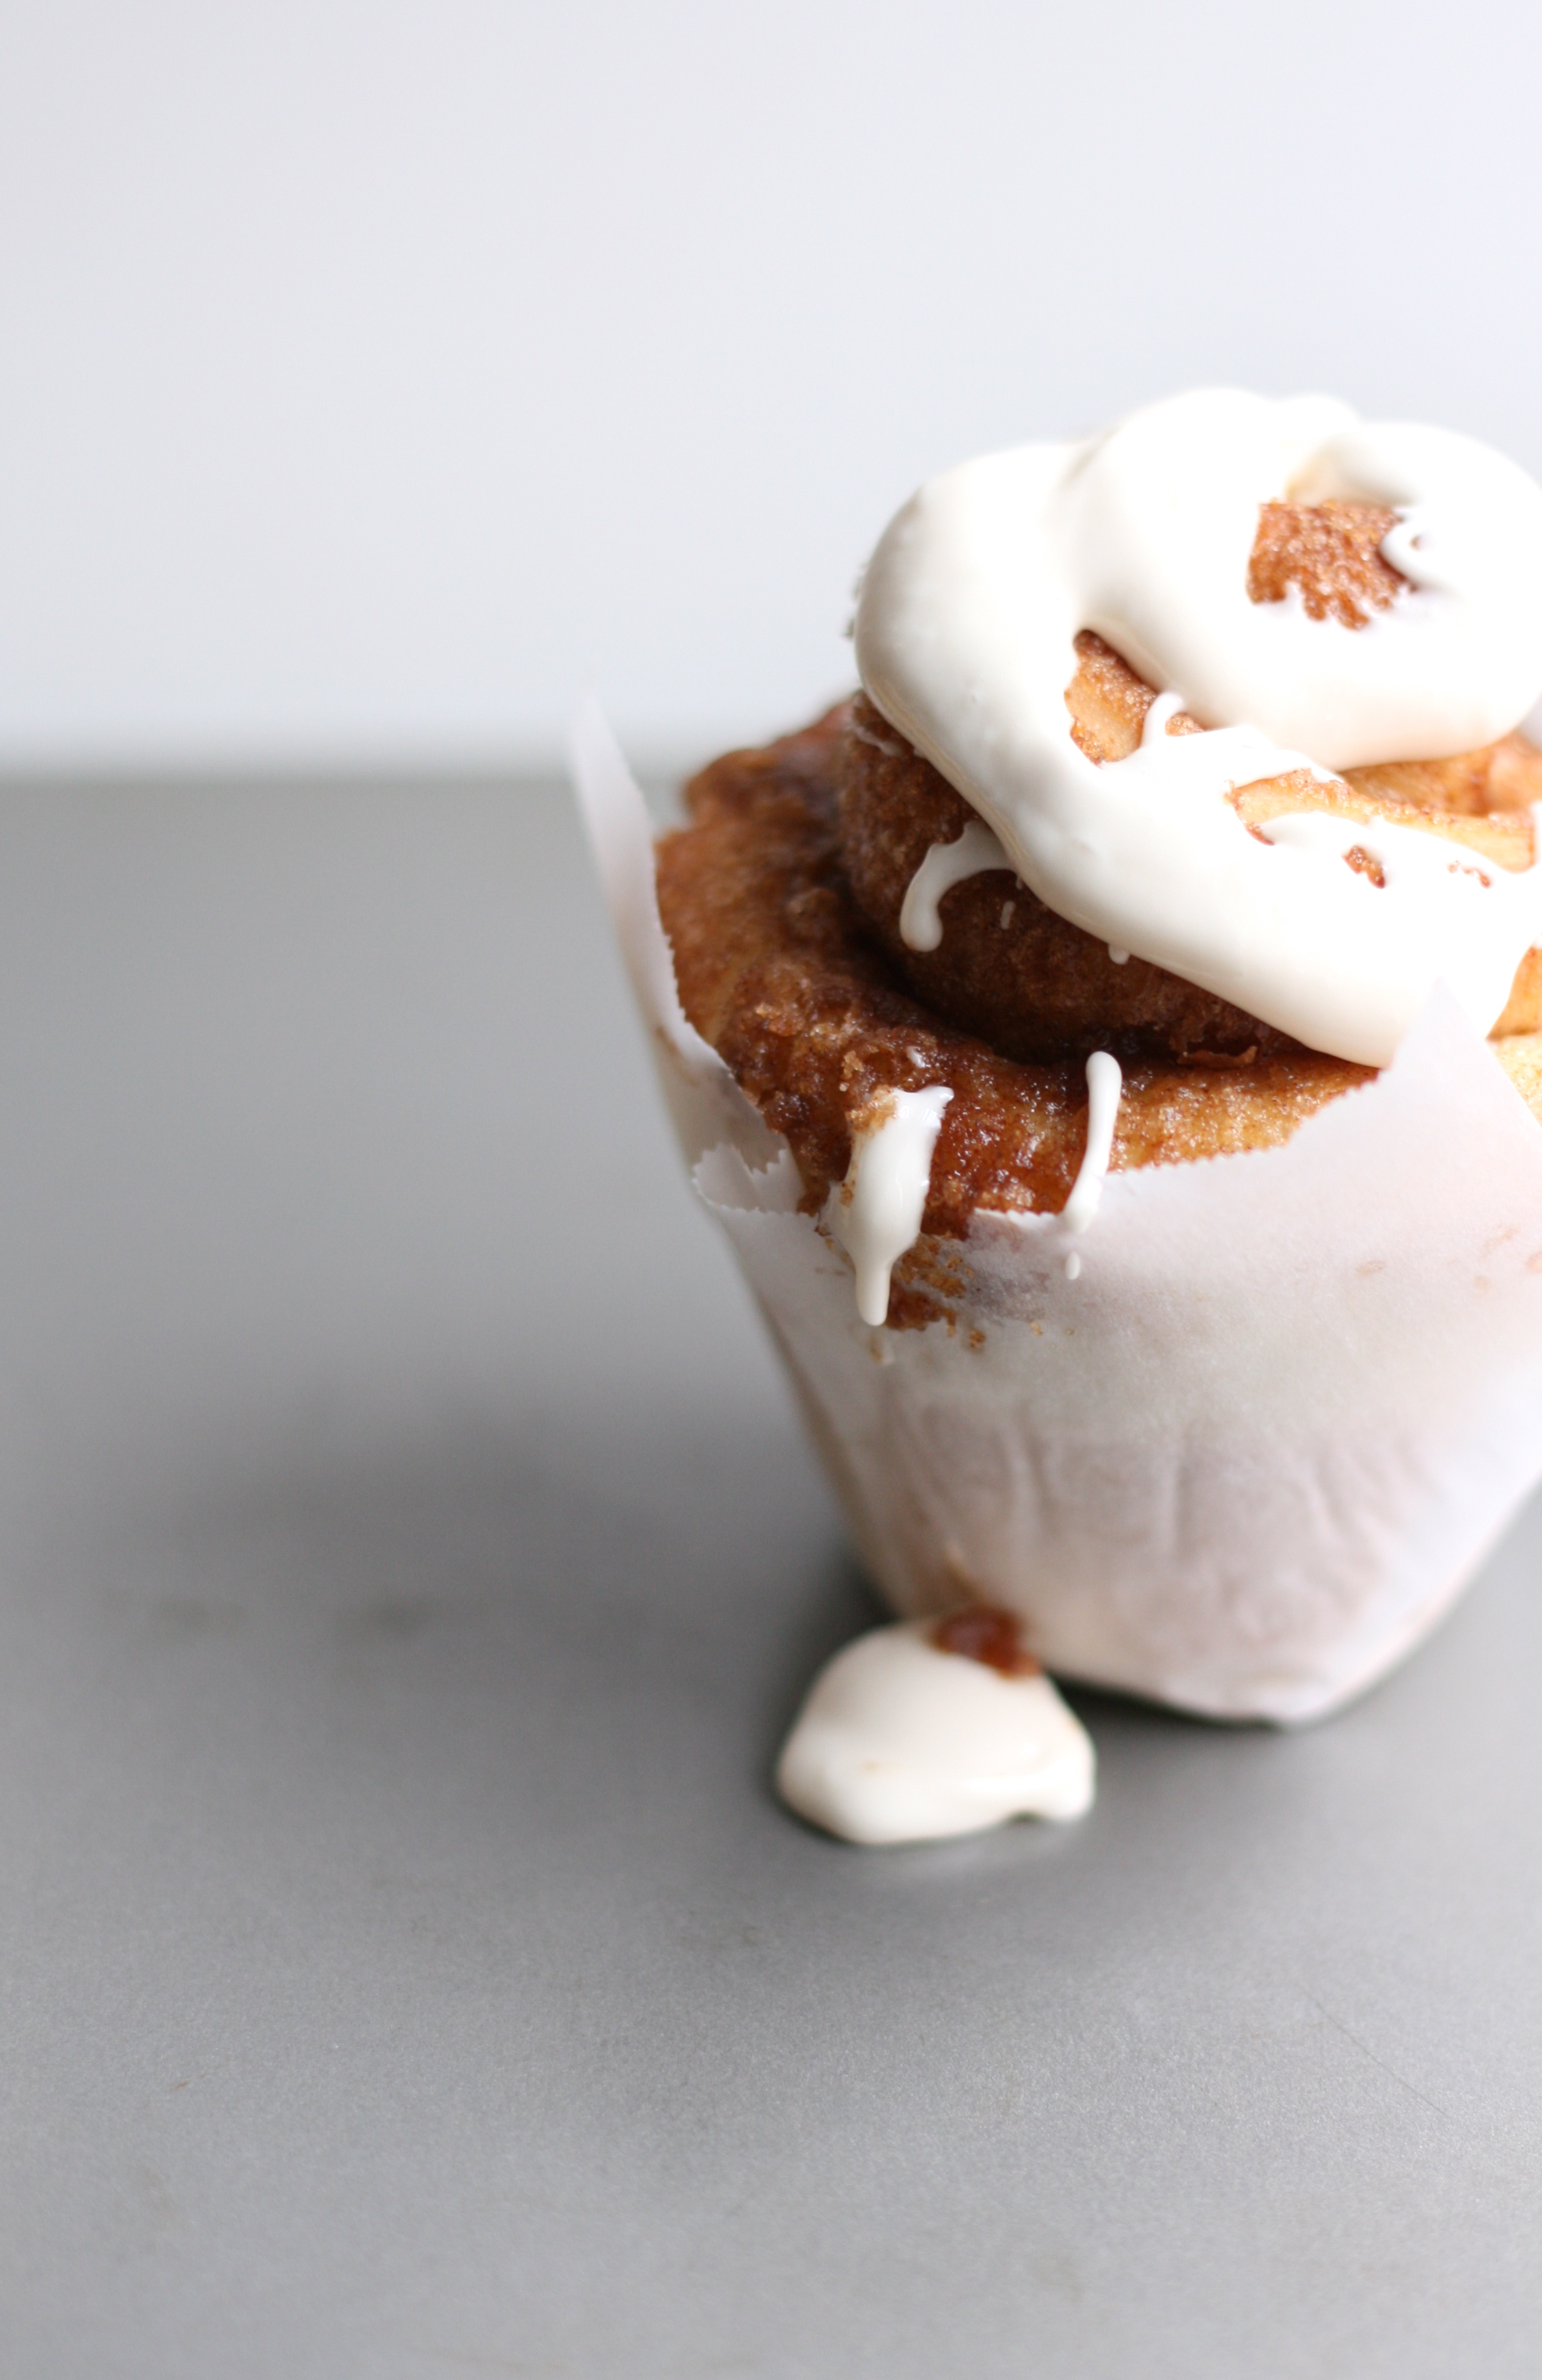
GLAZE 1 1/2 c. confectioners’ sugar 3 tbsp. cream cheese, softened 3 tbsp. of heavy cream, half and half, or milk 1/2 tsp. vanilla extract
1. Allow rolls to cool for at least 5 minutes. (I made my rolls the night before, warmed them up for about 5 minutes in a 350° oven the morning of, and then iced them.) 2. Using an electric mixer, mix together the confectioners’ sugar, softened cream cheese, cream, and vanilla in a medium bowl until smooth. To thicken, add more powdered sugar. To thin add more cream. 3. Drizzle with the glaze and serve.
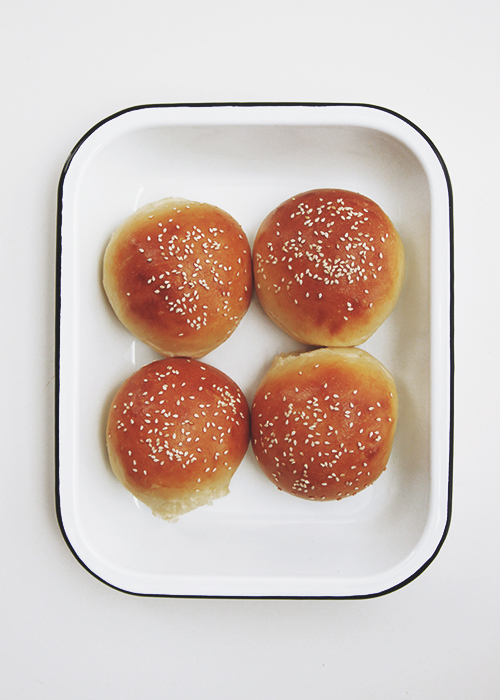
Finally, it’s that season again. I think. We had a horribly long winter in Chicago. And spring has been anything but spring. Depending on the day, it’s felt more like winter, summer, and fall. We were supposed to go camping this weekend, but the cold rainy weather kept us away. Saturday night, when I should have been roasting marshmallows, I tried to will the weather warmer by making burgers on the indoor grill. According to the 5-day forecast, it’s working! Read more
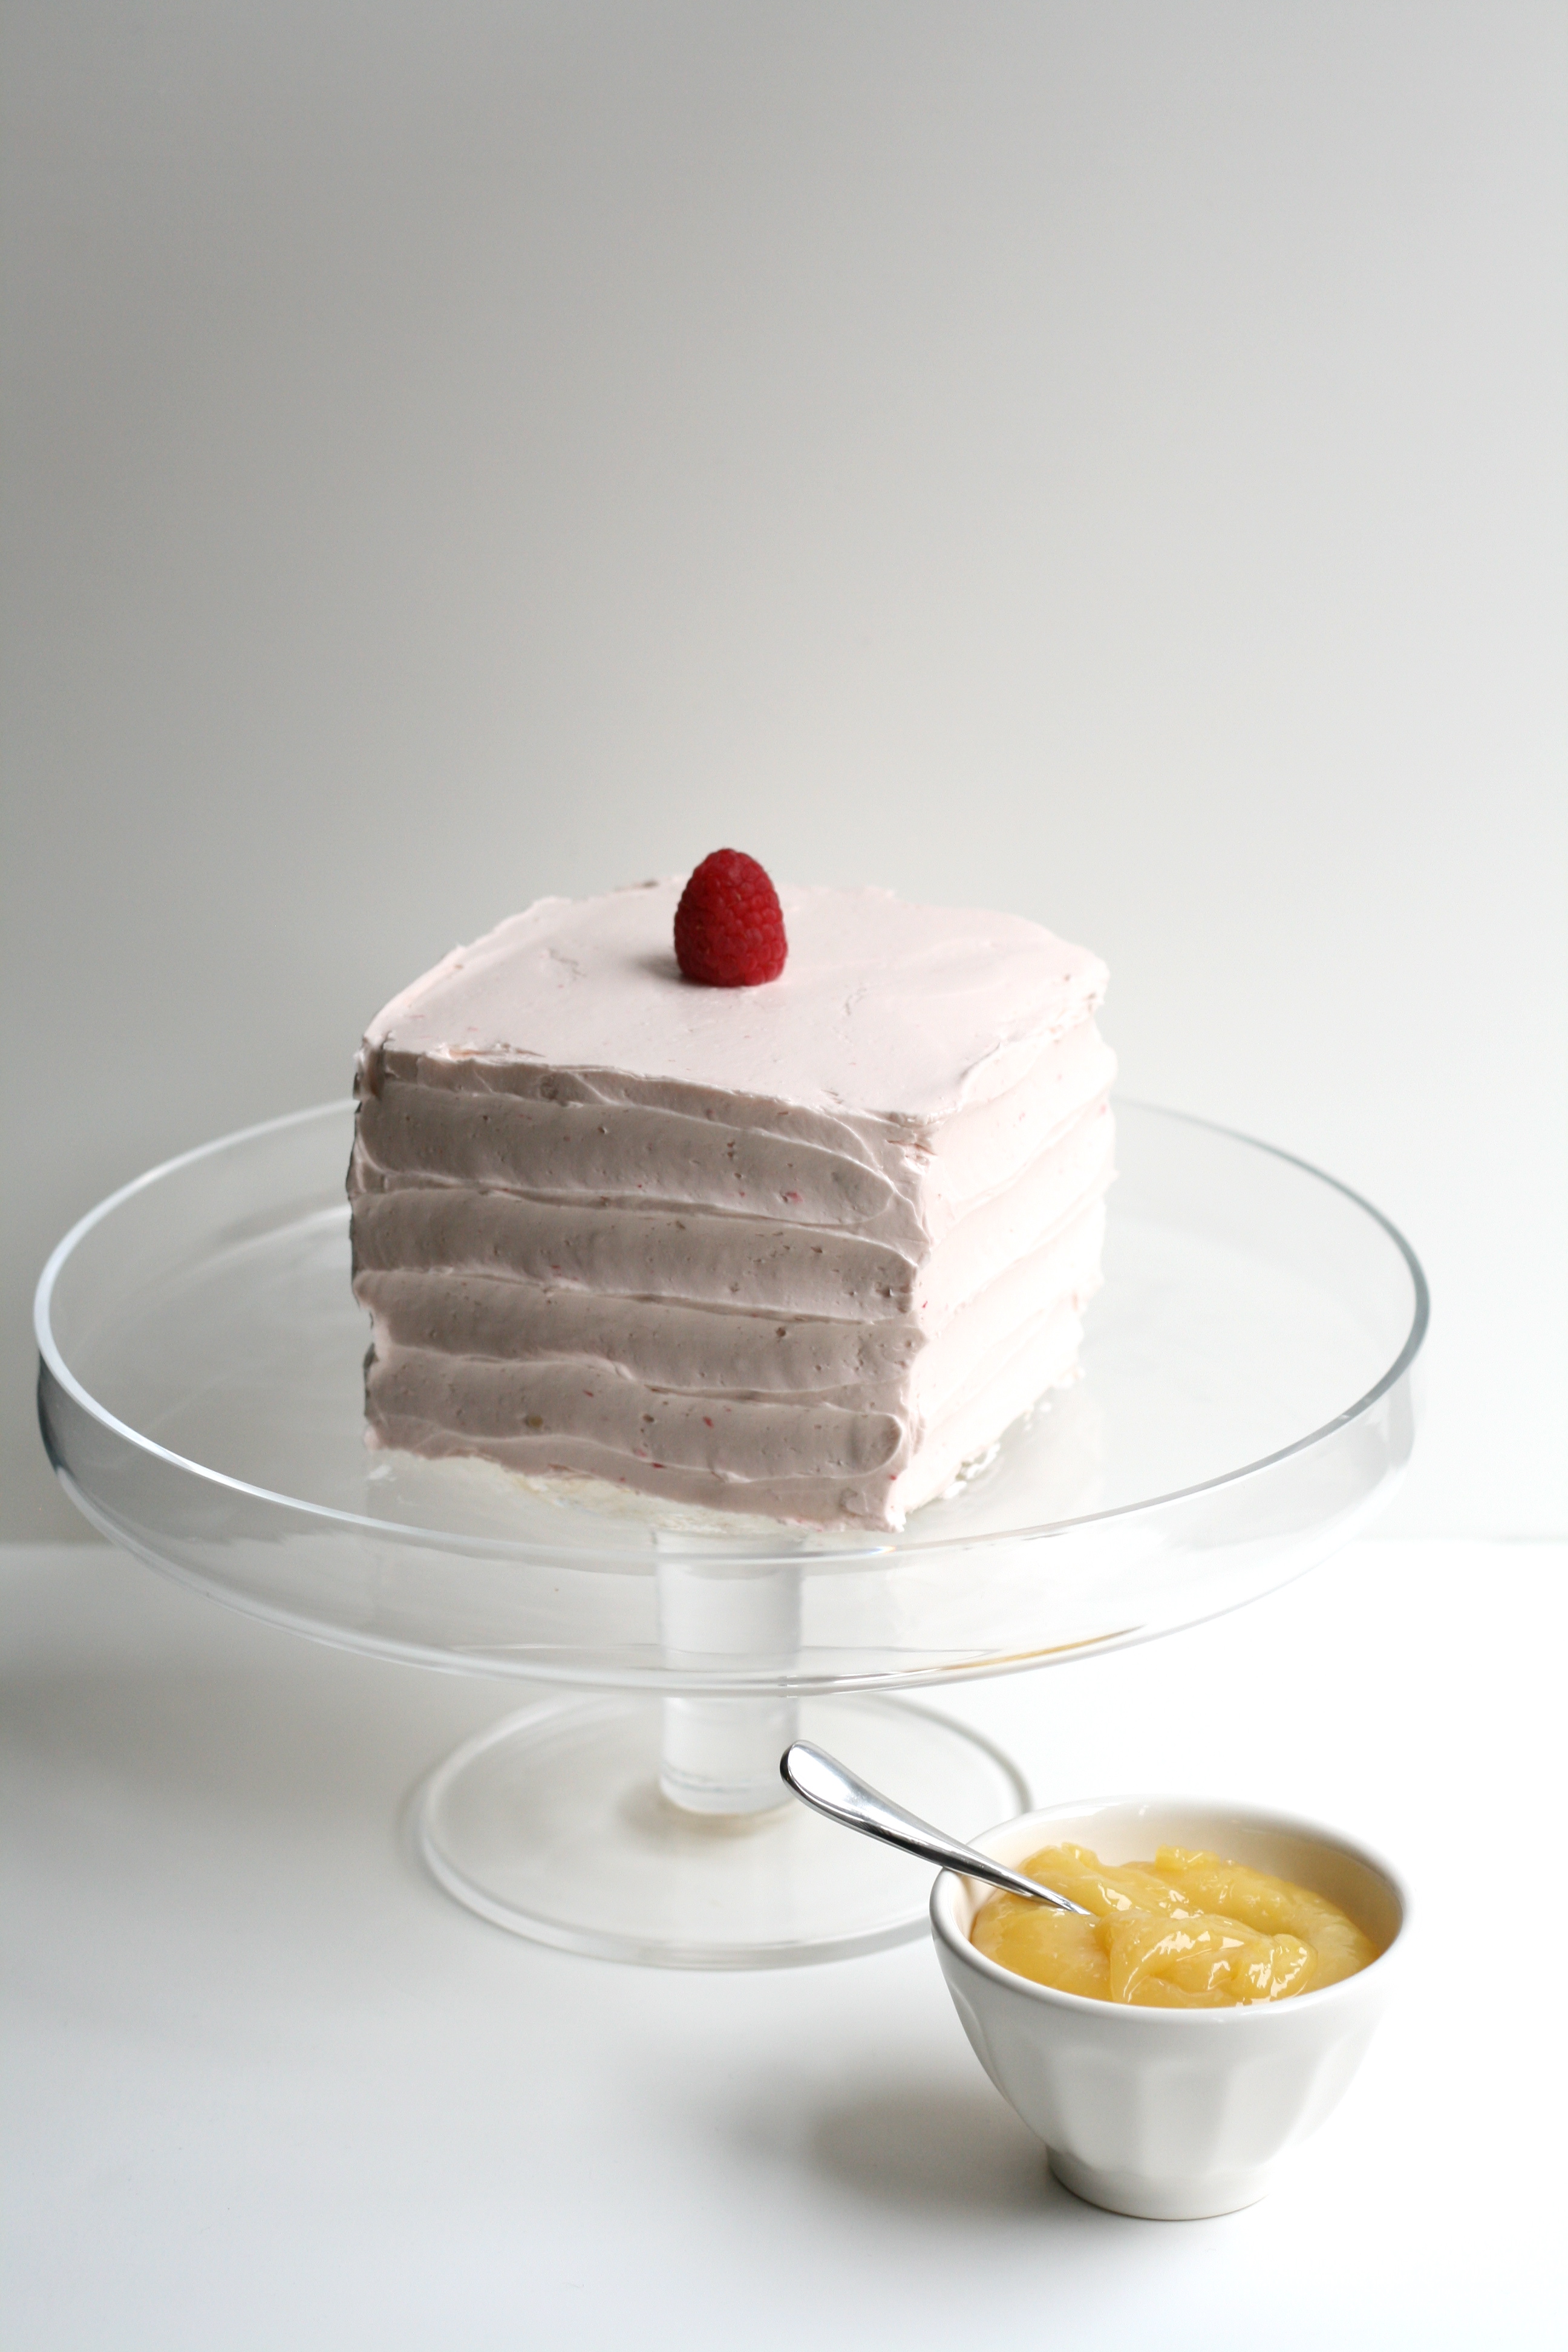
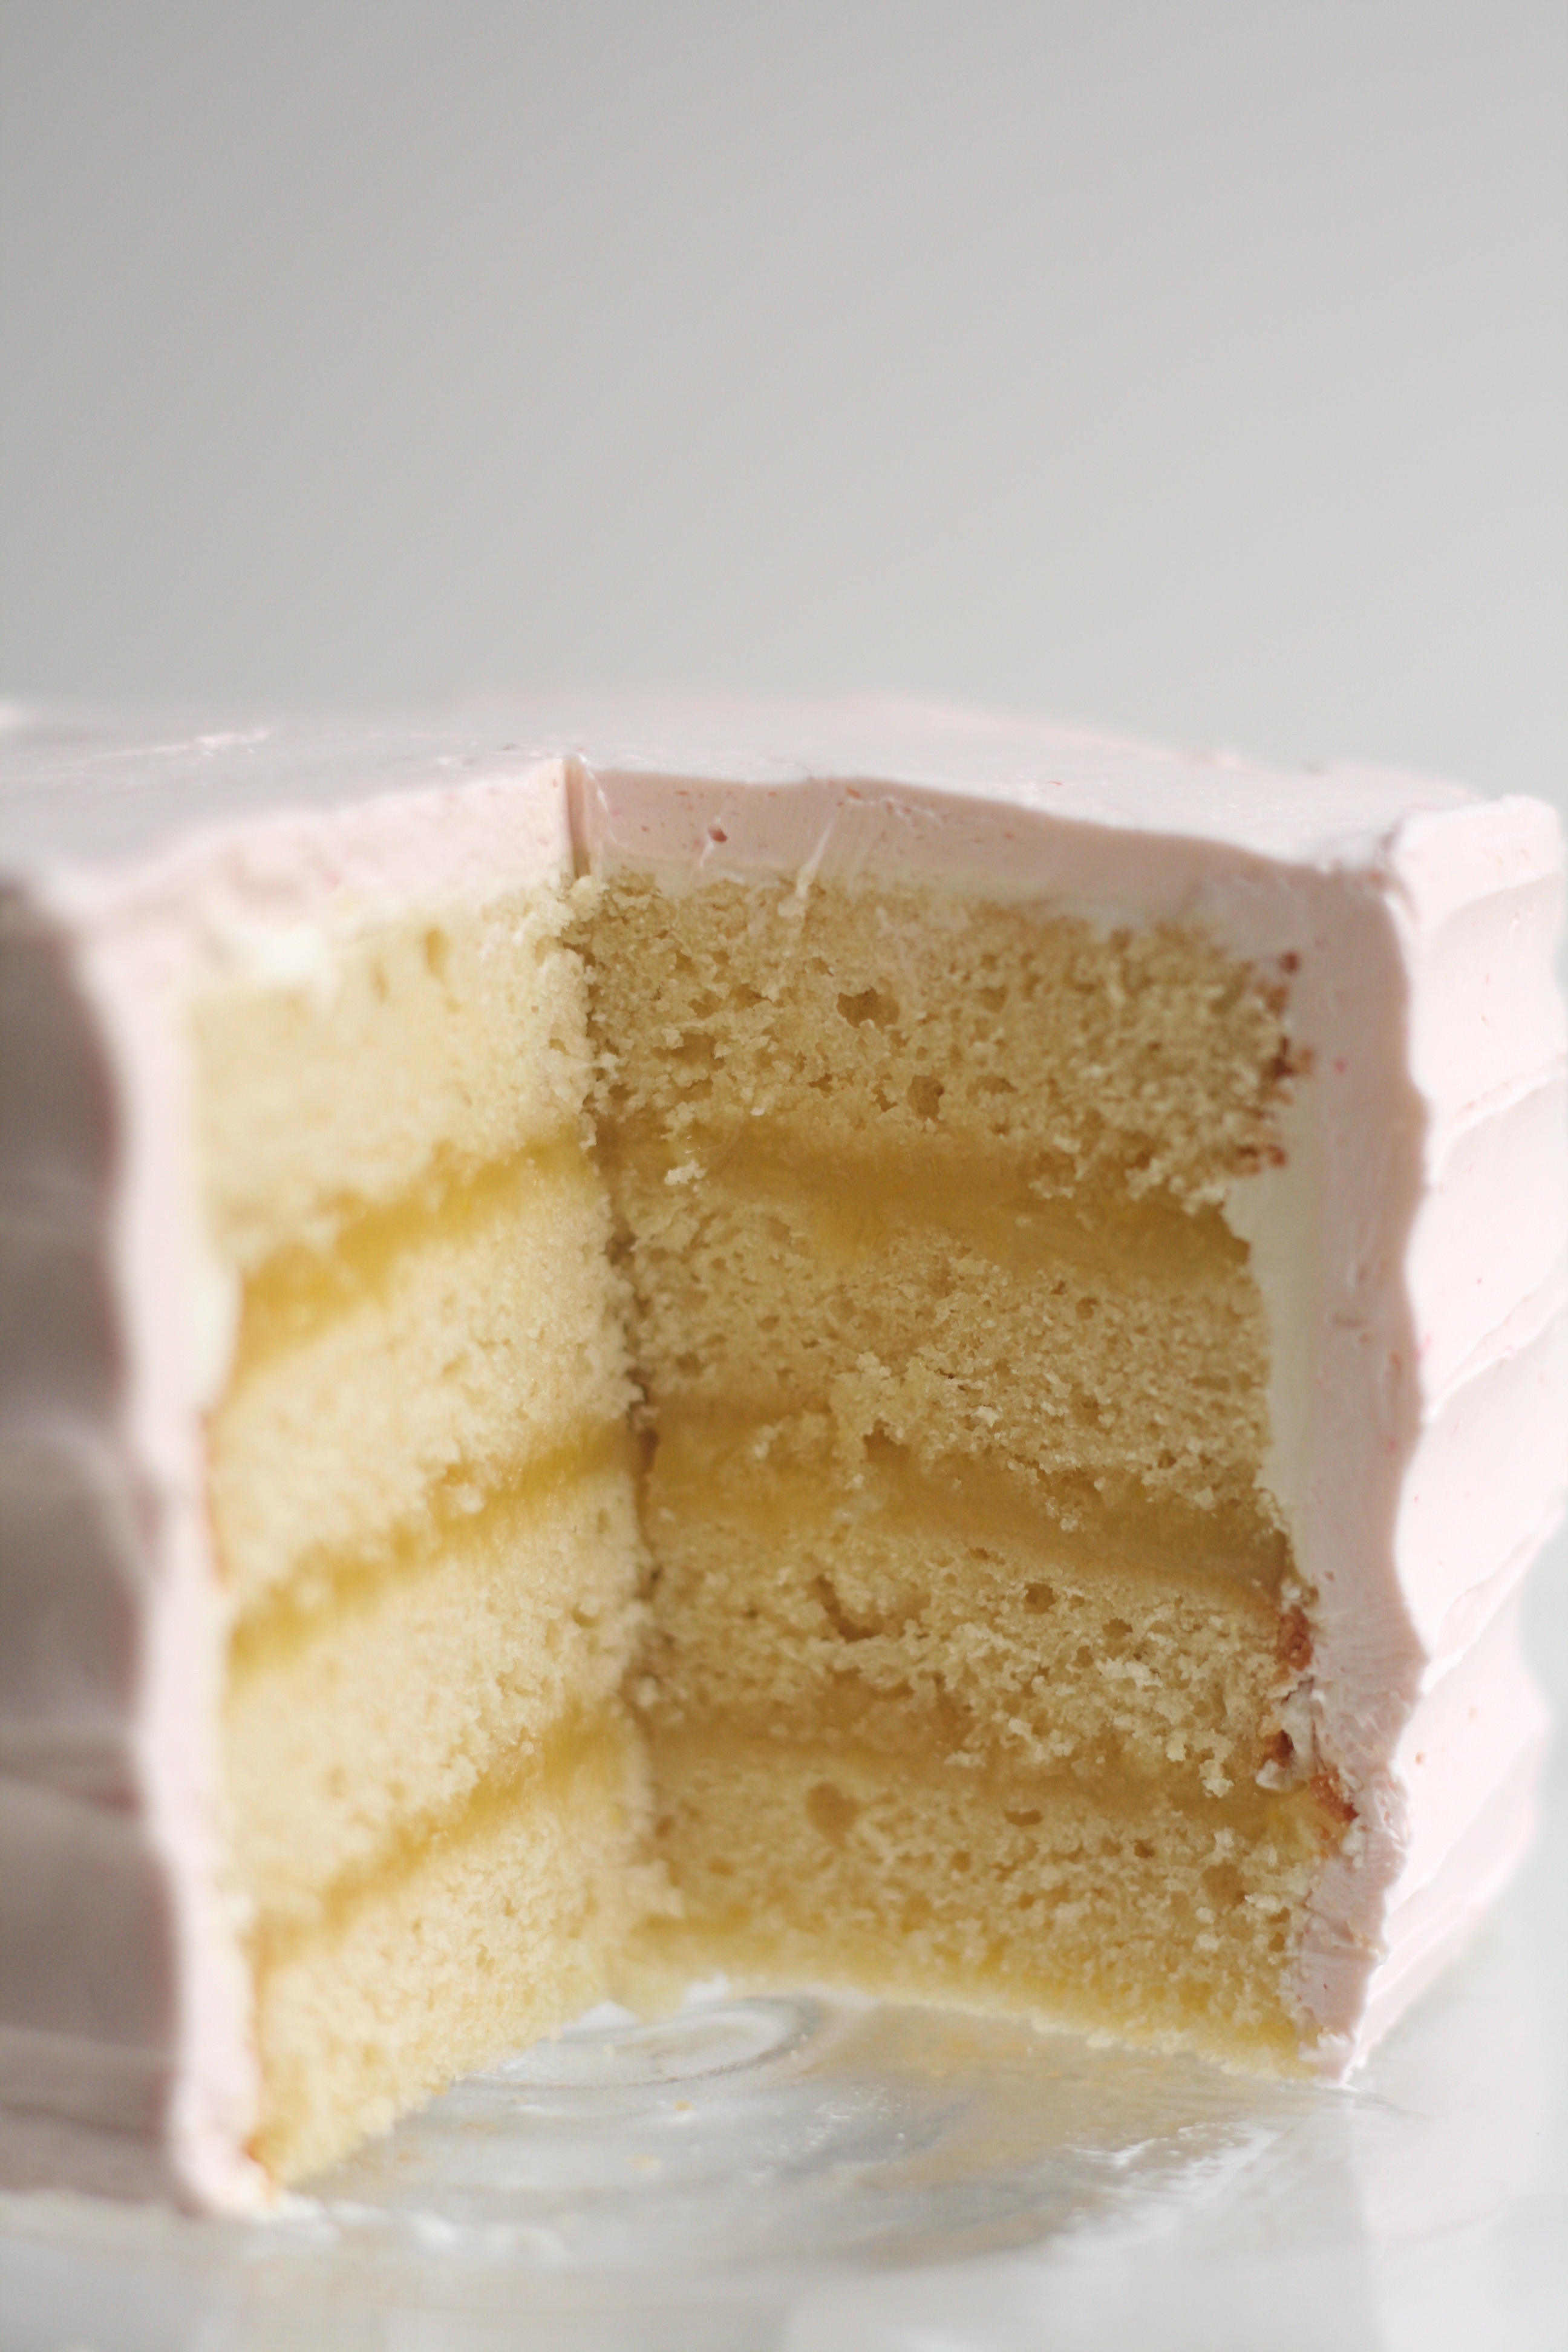
We celebrated my husband’s birthday last weekend. We’re now closer to 30 than 20. Kind of weird. In normal fashion, I asked him what kind of cake he wanted. Without hesitation, he said Lemon Raspberry Cake.
I was so excited he knew what he wanted, I made the cake without hesitation hoping he wouldn’t change his mind. As I was putting the final touches on the cake, I realized something. The cake was pink. Pale pink. I had just made my husband a pale pink birthday cake. I never considered that raspberry icing would produce a pink cake. Happy birthday little girl husband!
Luckily, he ate it in all it’s pale pink glory. I guess I could have done raspberry on the inside and lemon on the outside. The scarecrow said it best—If I only had a brain.
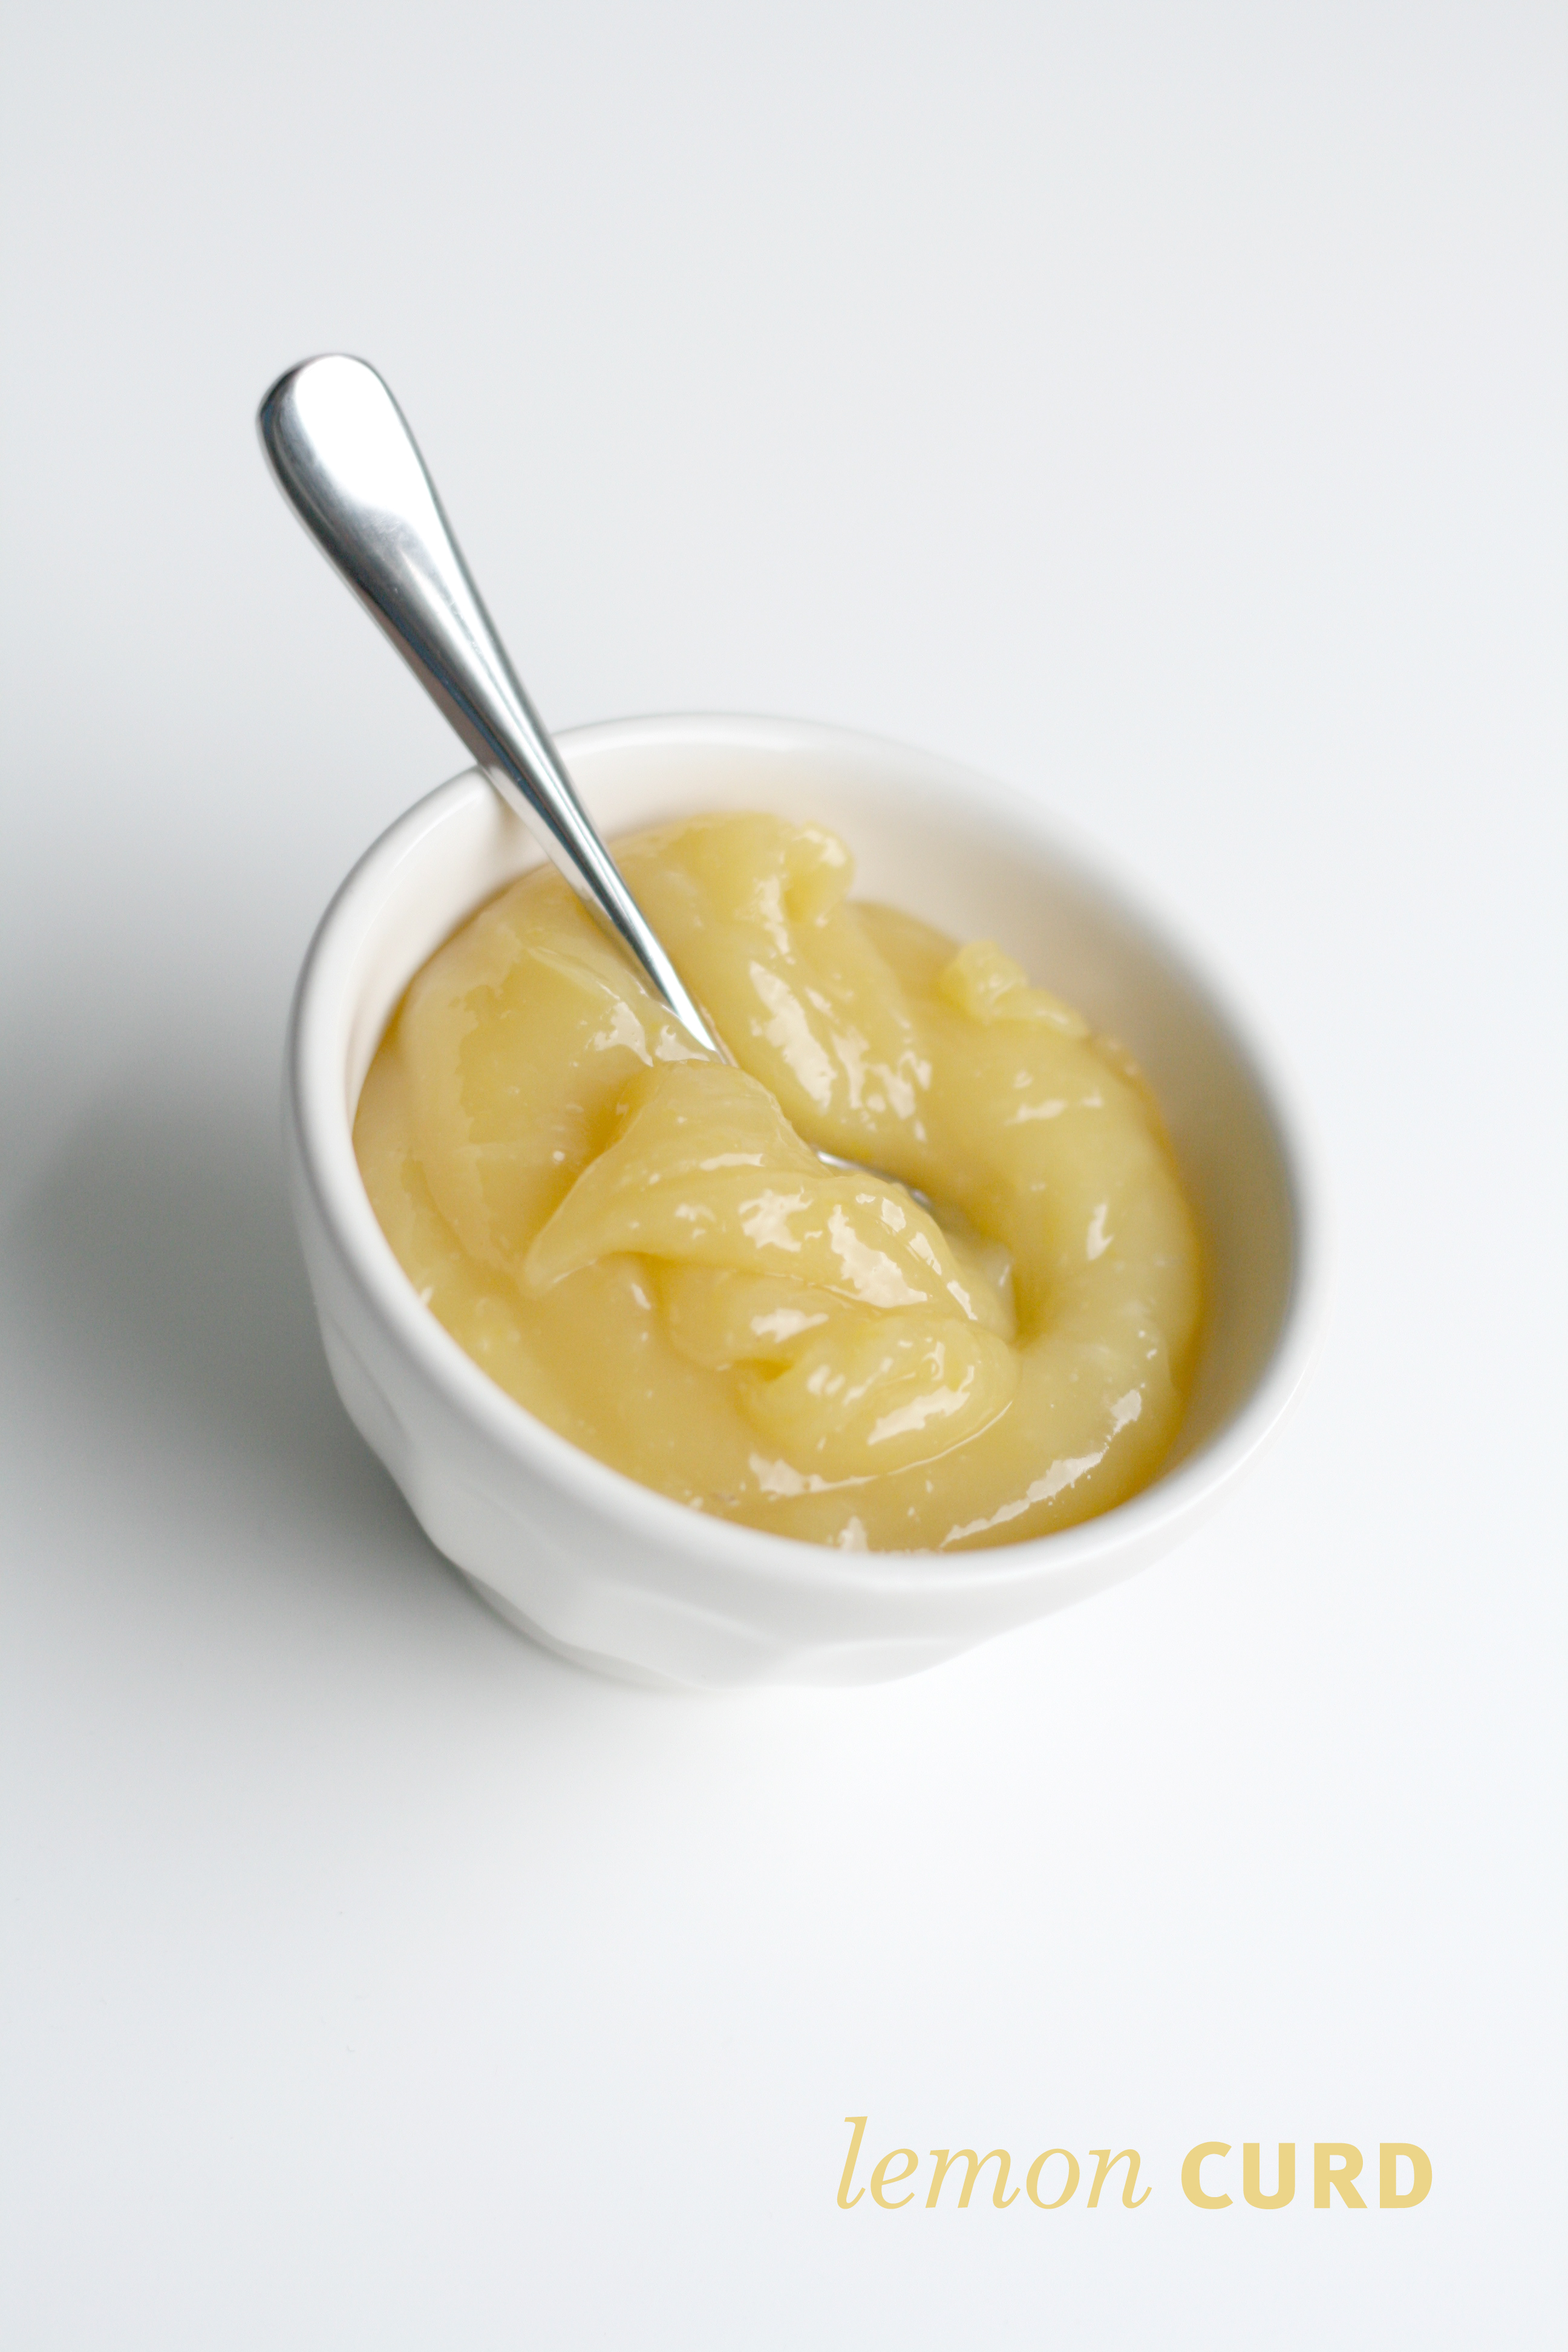
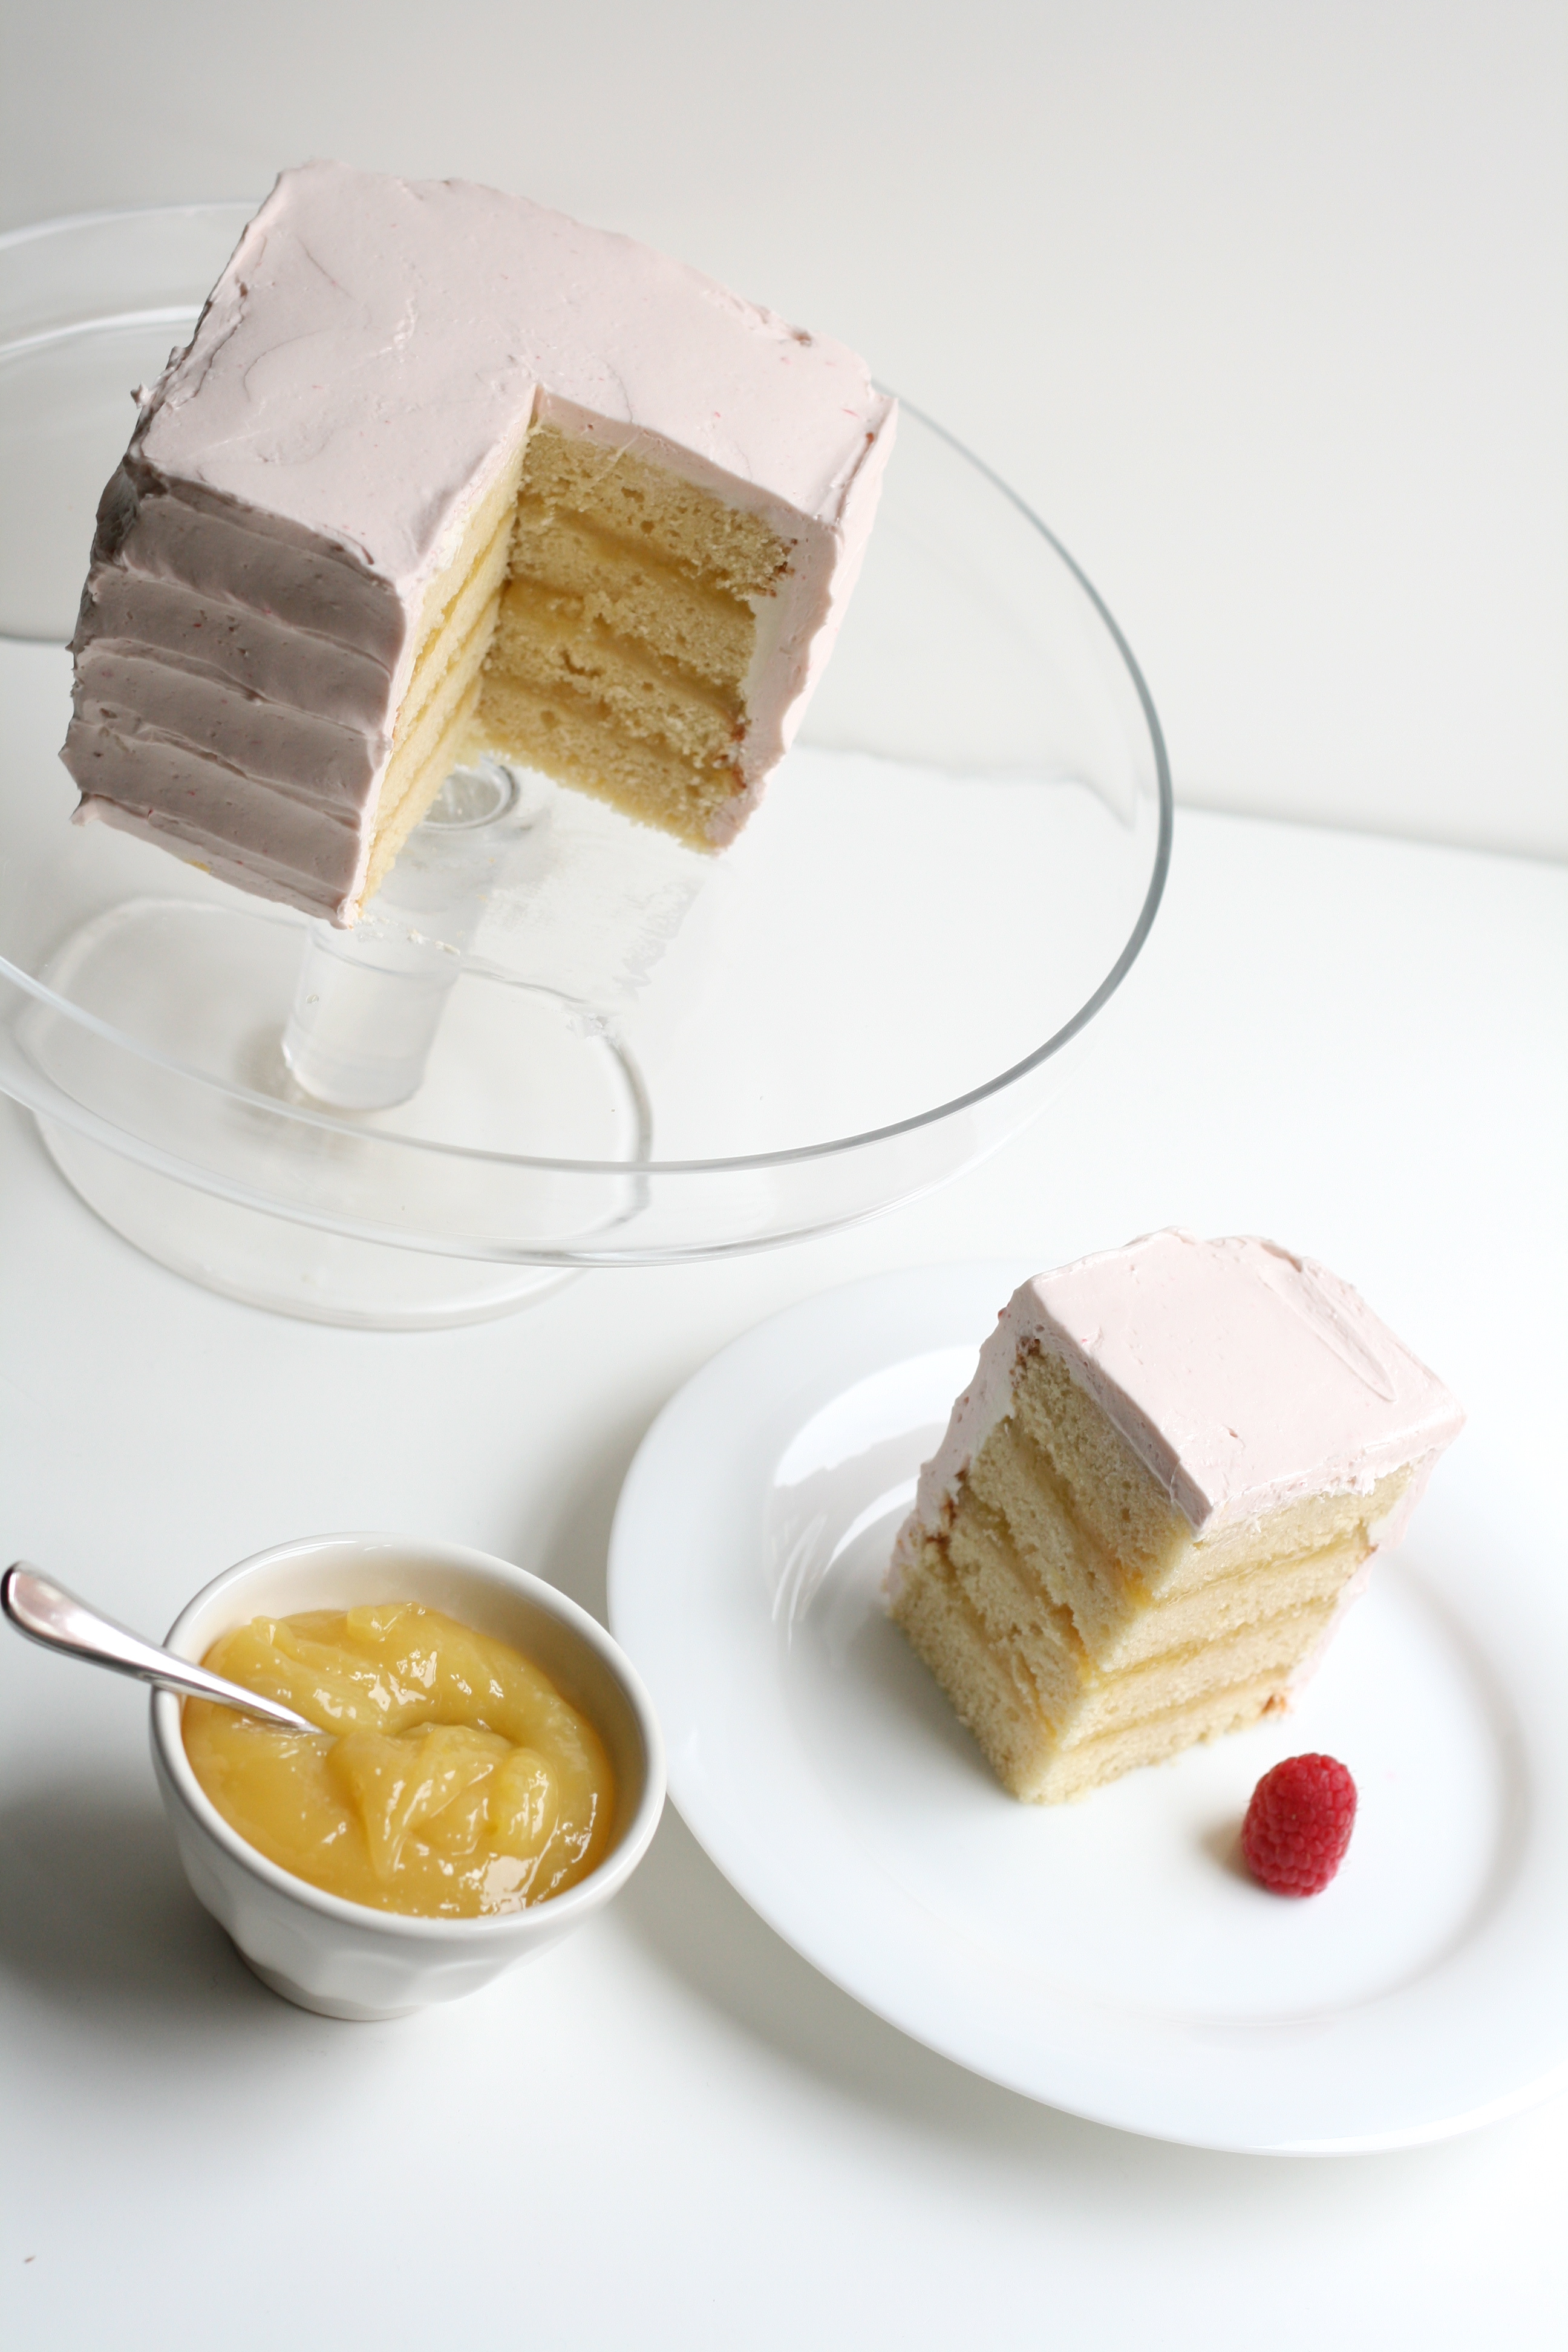
Speaking of lemon, this graced the inside of the cake.
Between all four layers.
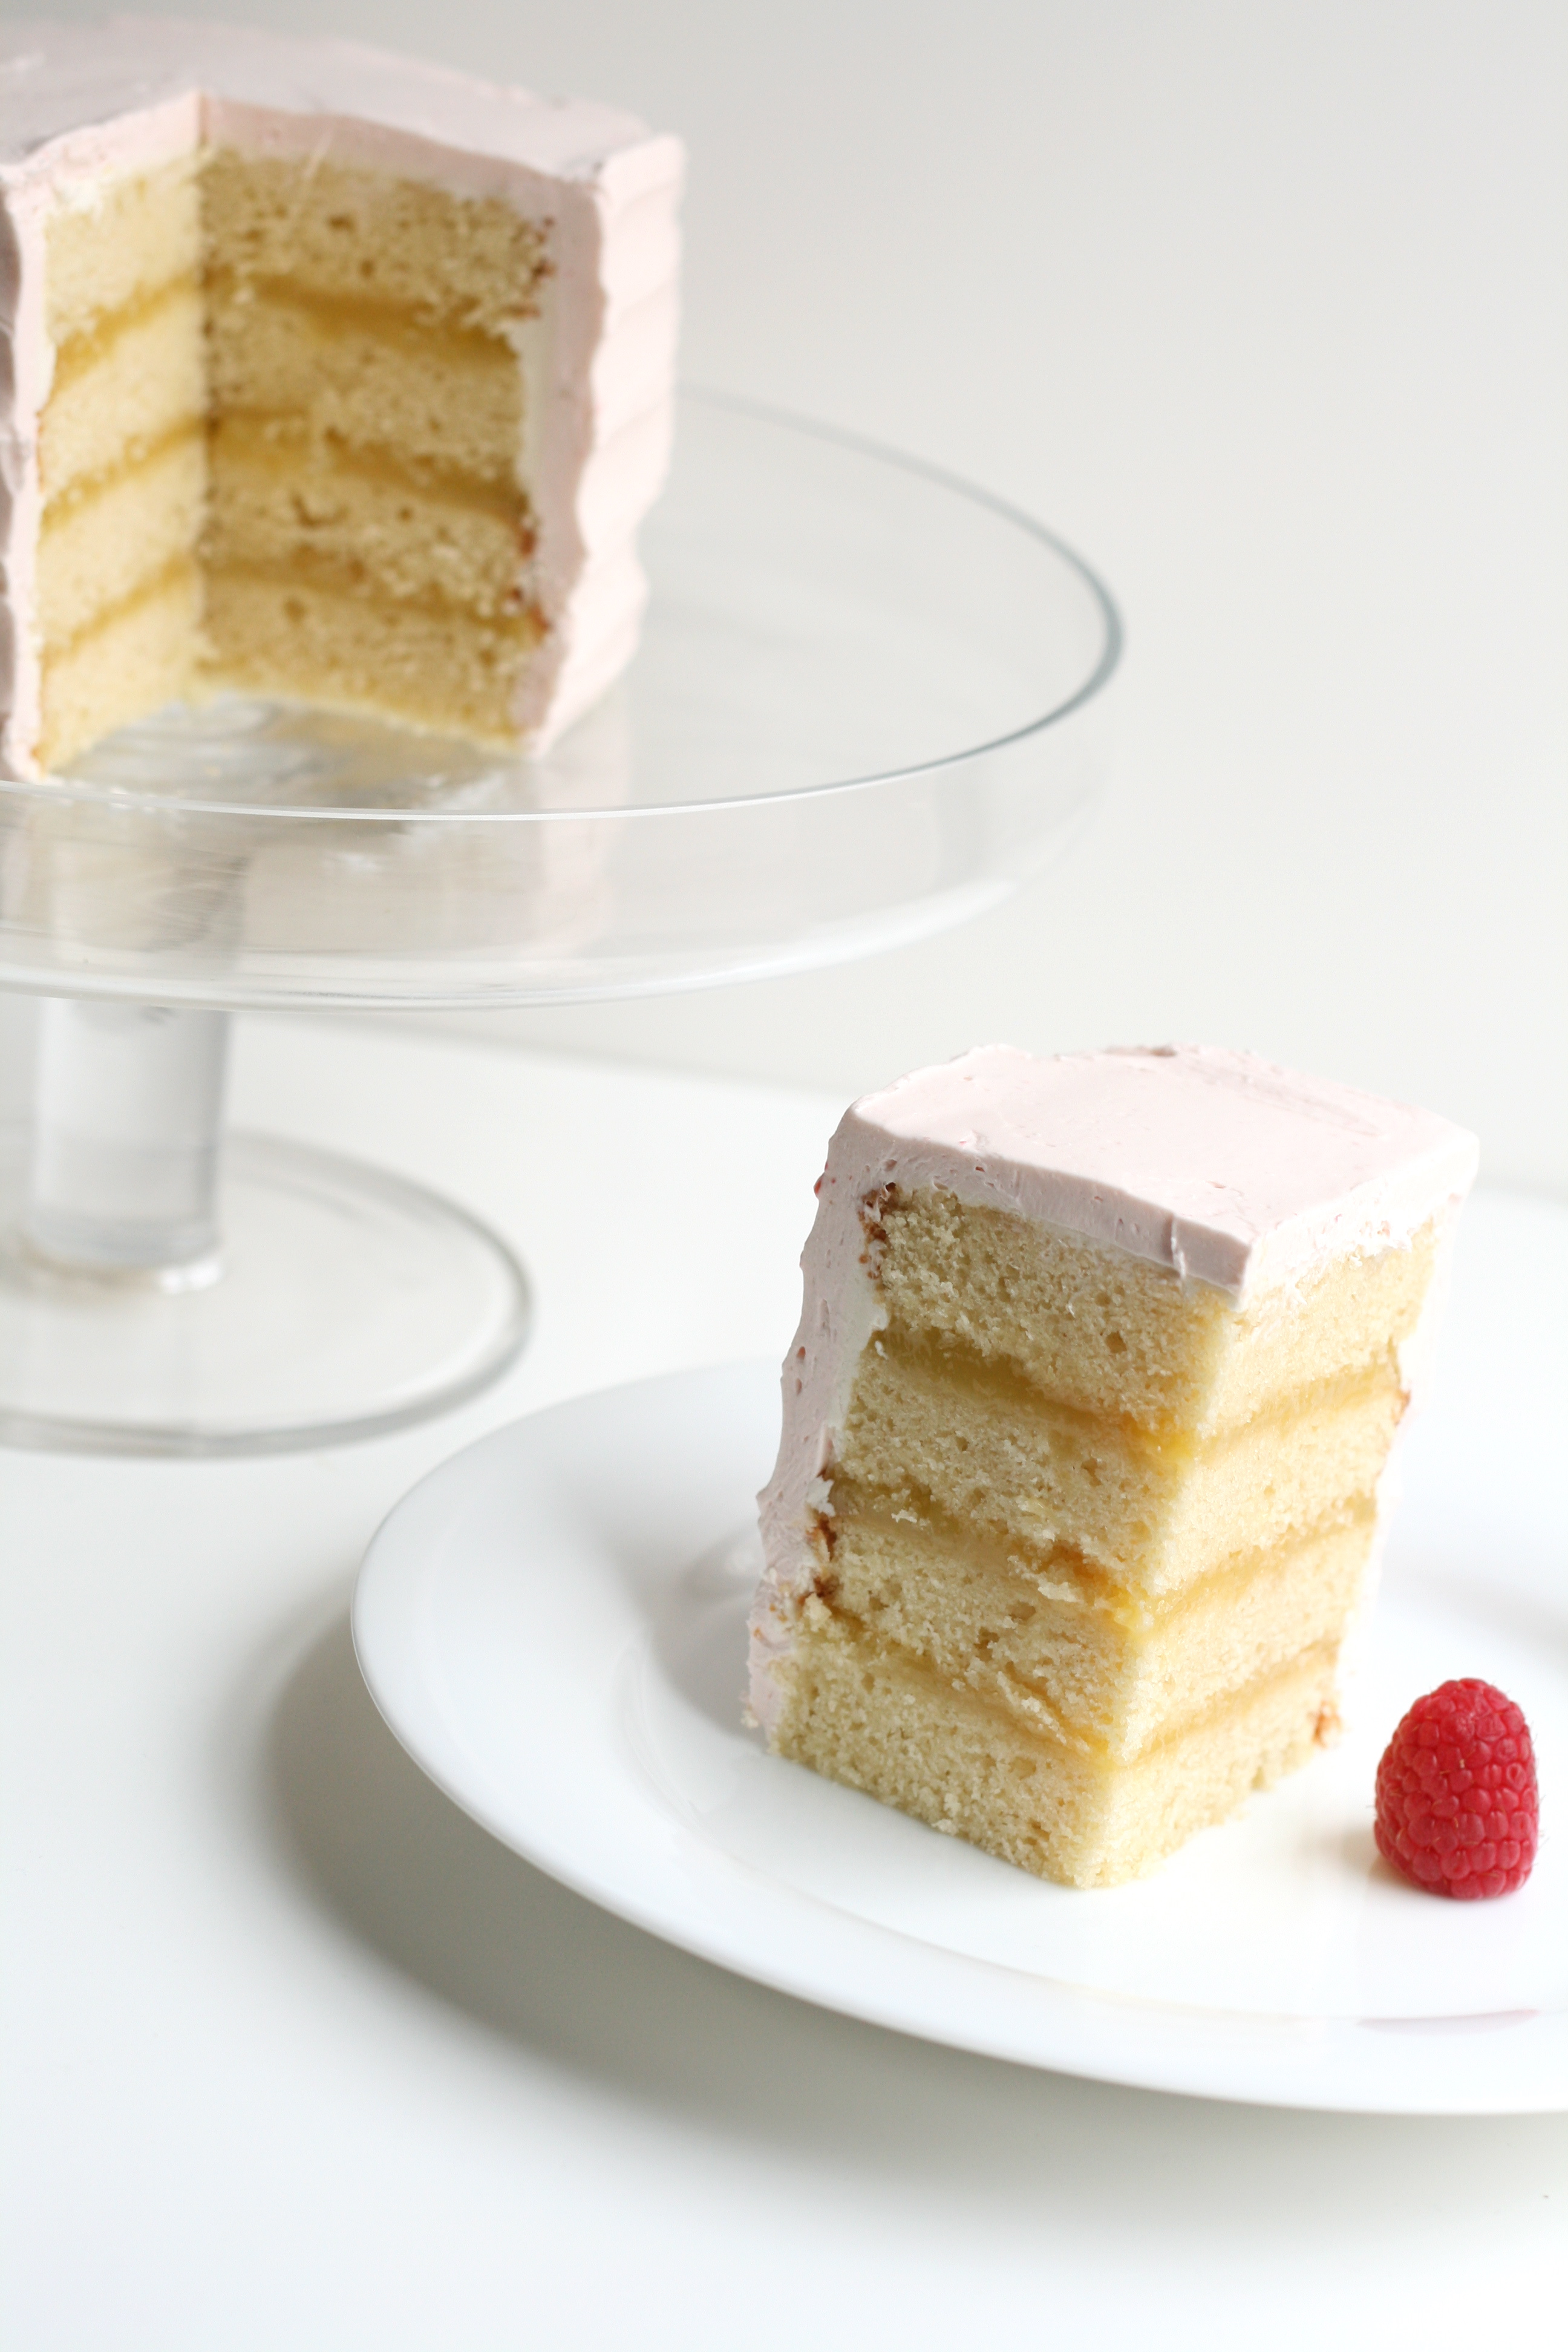
Mini Lemon Raspberry Cake Yellow Butter Cake + Lemon Curd + Raspberry Italian Meringue Buttercream
Yellow Butter Cake I halved the Yellow Butter Cake recipe from a couple posts back. Bake in a square pan. Follow recipe as directed. Check cake at 20 minutes. Allow to cool. Cut cake into fourths to achieve mini square cake as pictured.
Lemon Curd recipe from Cake Love by Warren Brown; yields 2 cups
1 c. fresh squeezed lemon juice 2 1/4 c. sugar 2 tsp. cornstarch 4 large eggs 4 egg yolks 1 1/2 sticks unsalted butter, chilled
1. Squeeze lemon juice making sure to strain out seeds. Measure sugar and cornstarch into a heavy bottomed saucepan. (I use my Le Creuset for this.) Crack eggs and yolks into a separate bowl and set aside. 2. Whisk lemon juice into sugar mixture, followed by the eggs and yolks. 3. Whisk in cold butter one tablespoon at a time. 4. Set saucepan over medium heat and bring to simmer, whisking continuously. 5. When you begin to see lava bubbles—large, slowly forming bubbles that burp steam—reduce the heat to the lowest setting and whisk briskly for 1 minute to pasteurize the lemon curd. (Lava bubbles usually appear 10 minutes in.) 6. Pour directly into bowl, and cover with plastic wrap pressed to surface to keep a skin from forming. 7. Immediately refrigerate for at least 3 hours before using. Note: I halved the recipe for the mini cake.
Raspberry Italian Meringue Buttercream I halved the Italian Meringue Buttercream recipe from a couple posts back and added raspberries. Make recipe as directed. If you are making a full recipe, you’ll need 1/2 c. raspberries. If you are making a half recipe, you’ll need 1/4 c. raspberries. Puree raspberries in food processor. Using a fine mesh sieve, strain the puree into a bowl to remove seeds. Add puree to buttercream and whip until combined.
Ice the Cake For a quick tutorial, click here. Serve cake at room temperature.
Can I let you in on a little secret? I wanted to show you a slice of the cake, but I wasn’t serving the cake until later that evening. So, I cut the cake. Took some pics. And put the cake back together. The Italian Meringue Buttercream is very forgiving like that.
I had planned on doing an easter post today. But my idea flopped. Many tireless hours went into, and it flopped. Yes, I do want some cheese with this wine. I wasn’t going to tell you what I was making incase I decided to give it another try. But, I’m not. I’m no good at these things. And by “things” I mean cake balls. I’ve tried a couple times, and they’re just not my forte. I have these conflicting thoughts of “Don’t give up!” and “Just stick with what you’re good at.” Well, I’ve decided to stick with what I’m good at, leaving the cake balls to Bakerella. Don’t get me wrong, I’m up for a good challenge. And, I don’t mind if I fail from time to time. But I’ve learned I’m much better at baking than I am at decorating (case in point—cake ball fail). I’m much better at perfecting the classics (scones, cakes, cookies, macarons) than coming up with something new. I’m much better at sticking to my purist ways, than bending the rules and using the not so pure stuff. My take-away from all of this is—stick with what you’re good at, and get really good at it.
Shawoof (wiping sweat off brow). That was cathartic.
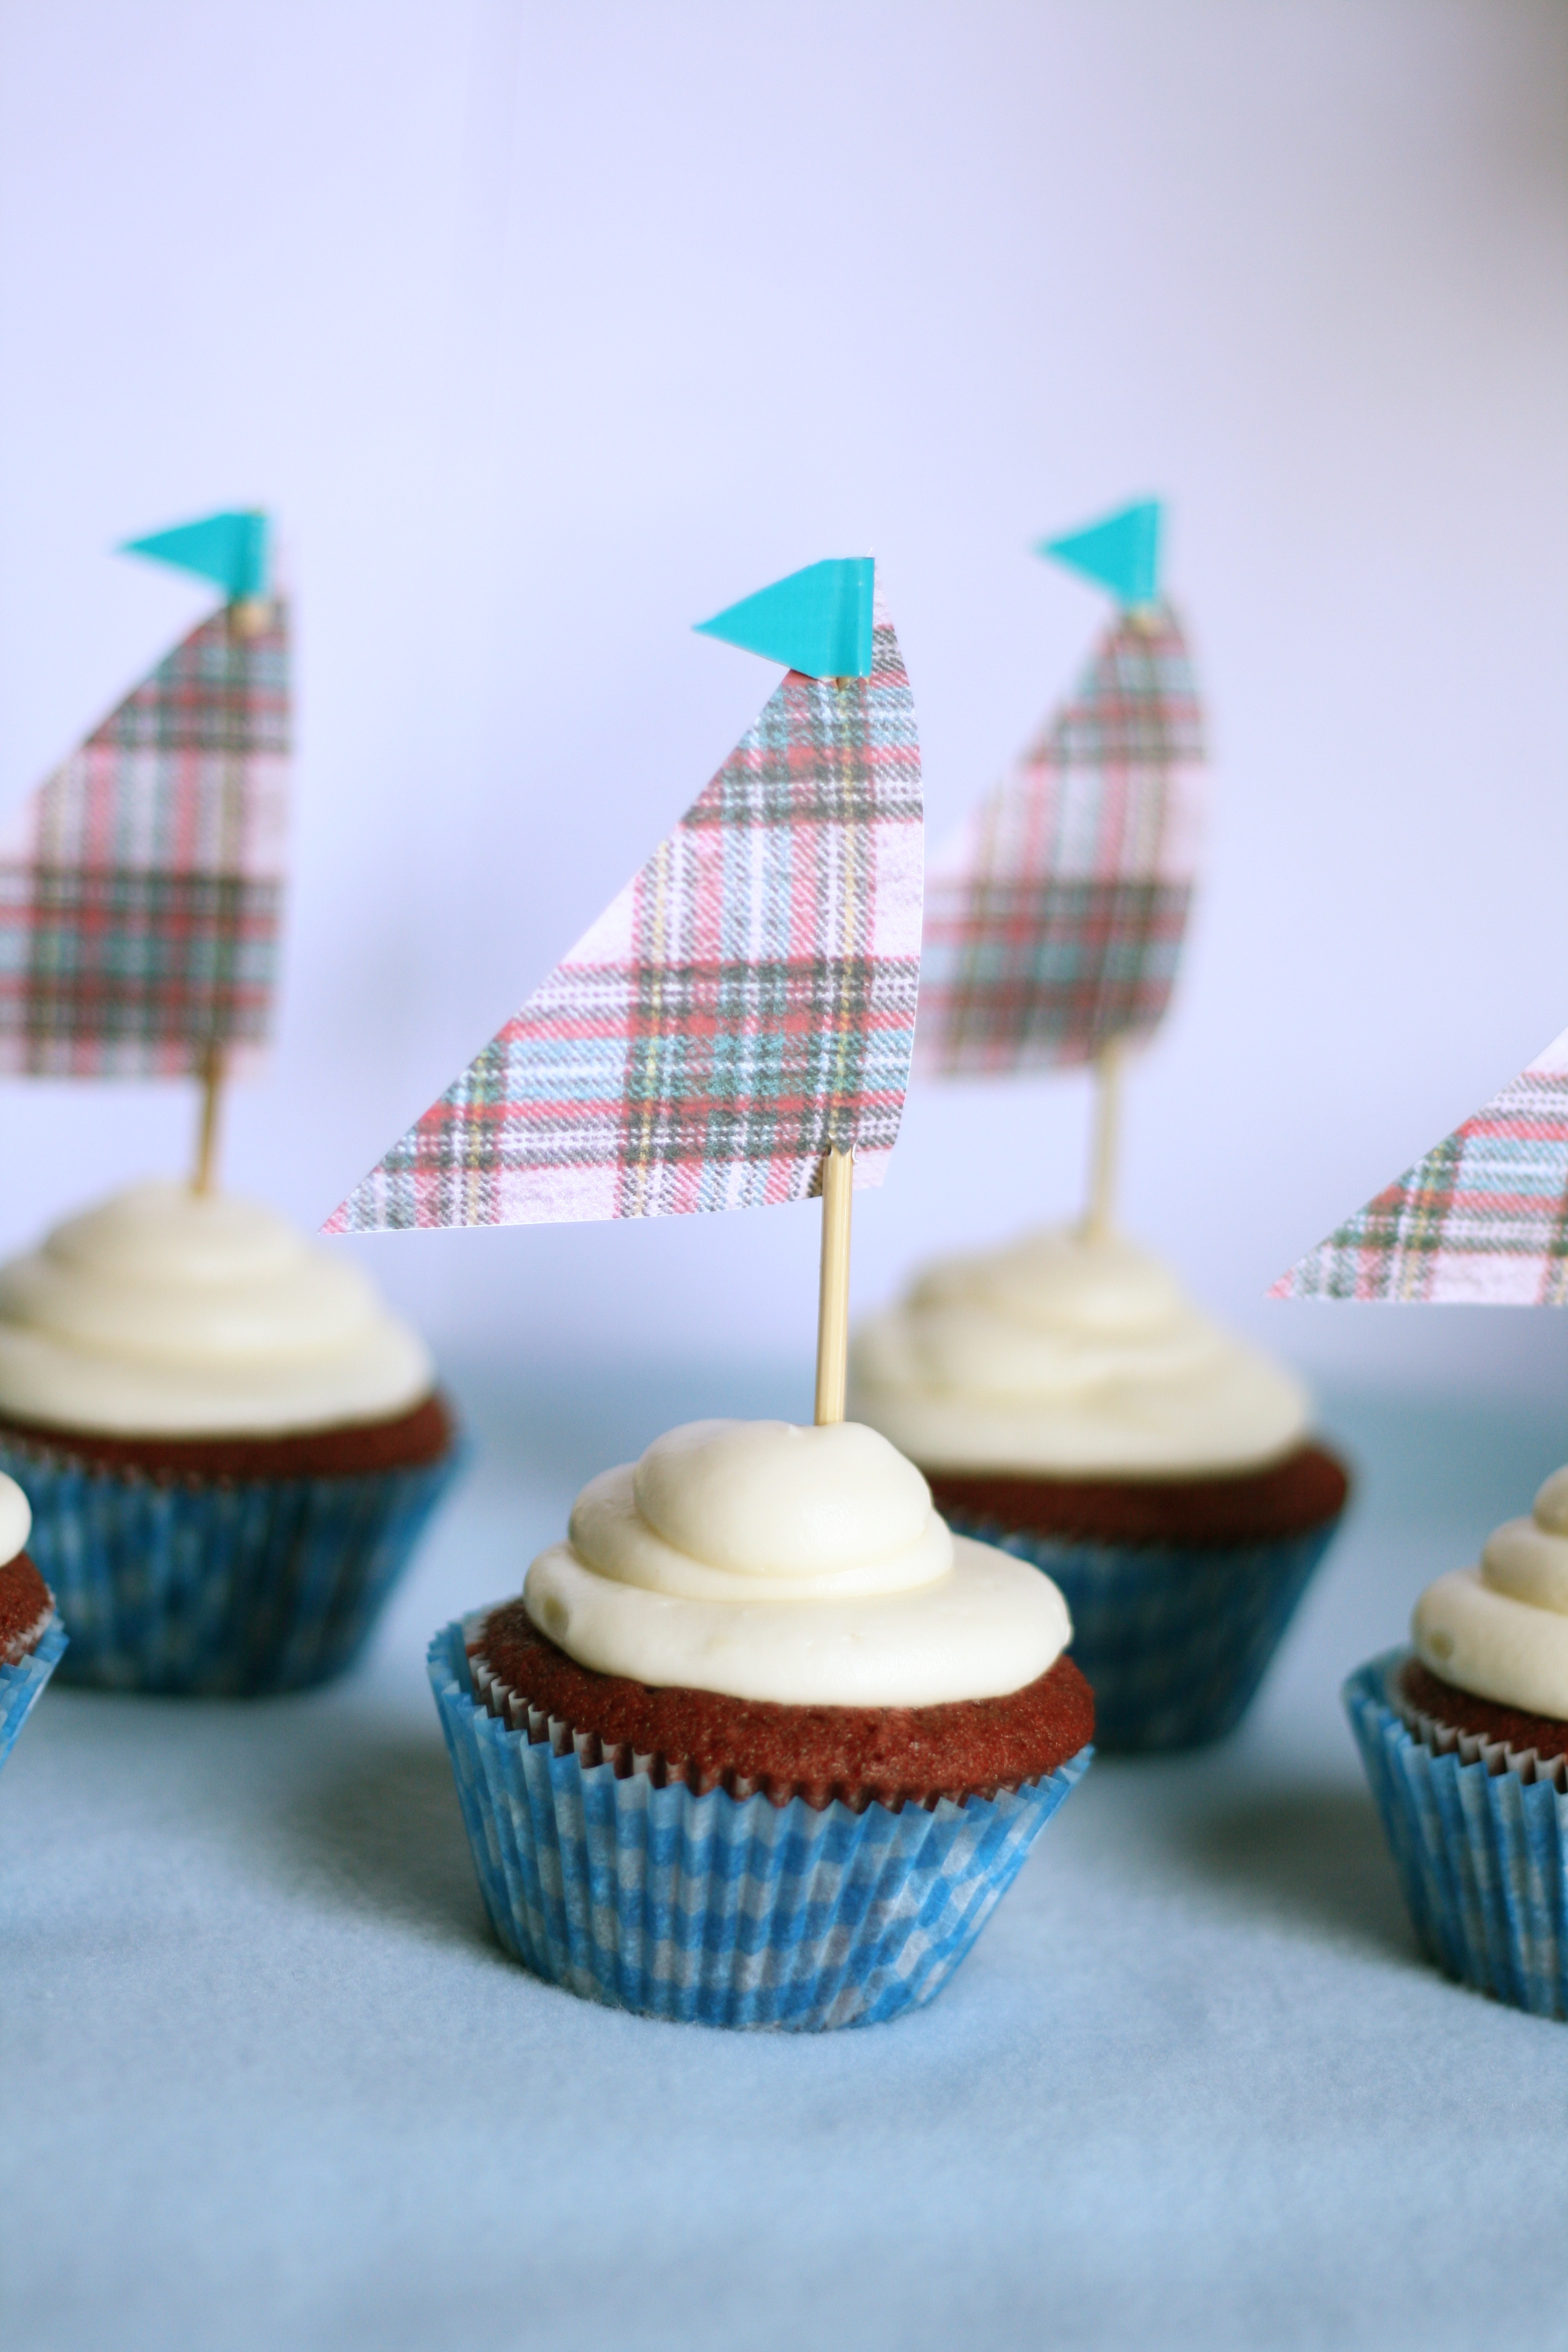
Now on to the good stuff. Red Velvet Cake! Remember the Sailboat Cupcakes from the last post? I told you I’d be back with the recipe. As promised, here it is. But first, I have to do another plug for my favorite baker—Warren Brown from Cake Love. His recipes make the best cakes ever (no lie). He is a purist as well. He believes in baking cakes from scratch. None of that artificial stuff. However, he does make a Red Velvet Cake because of it’overwhelming request at his bakery. It’s the only thing he uses food coloring in. You can leave the food coloring out and call it Brown Velvet. Or you can use the India Tree products (this is what I use), which are made from vegetables pigments.
DRY INGREDIENTS 2 1/4 c. Cake Flour (I used unbleached AP Flour) 2 tbsp. Cocoa Powder 1 tsp. Salt 1 tsp. Baking soda
WET INGREDIENTS 1 c. Buttermilk 1 tsp. Vanilla Extract 1 tsp. Apple Cider Vinegar
CREAMING INGREDIENTS 2 sticks of Unsalted Butter (room temp) 1 1/2 c. Superfine Sugar (You can pop regular sugar in a food processor to achieve this) 2 large eggs 1 oz. Red Food Dye (Opt out and make it Brown Velvet)
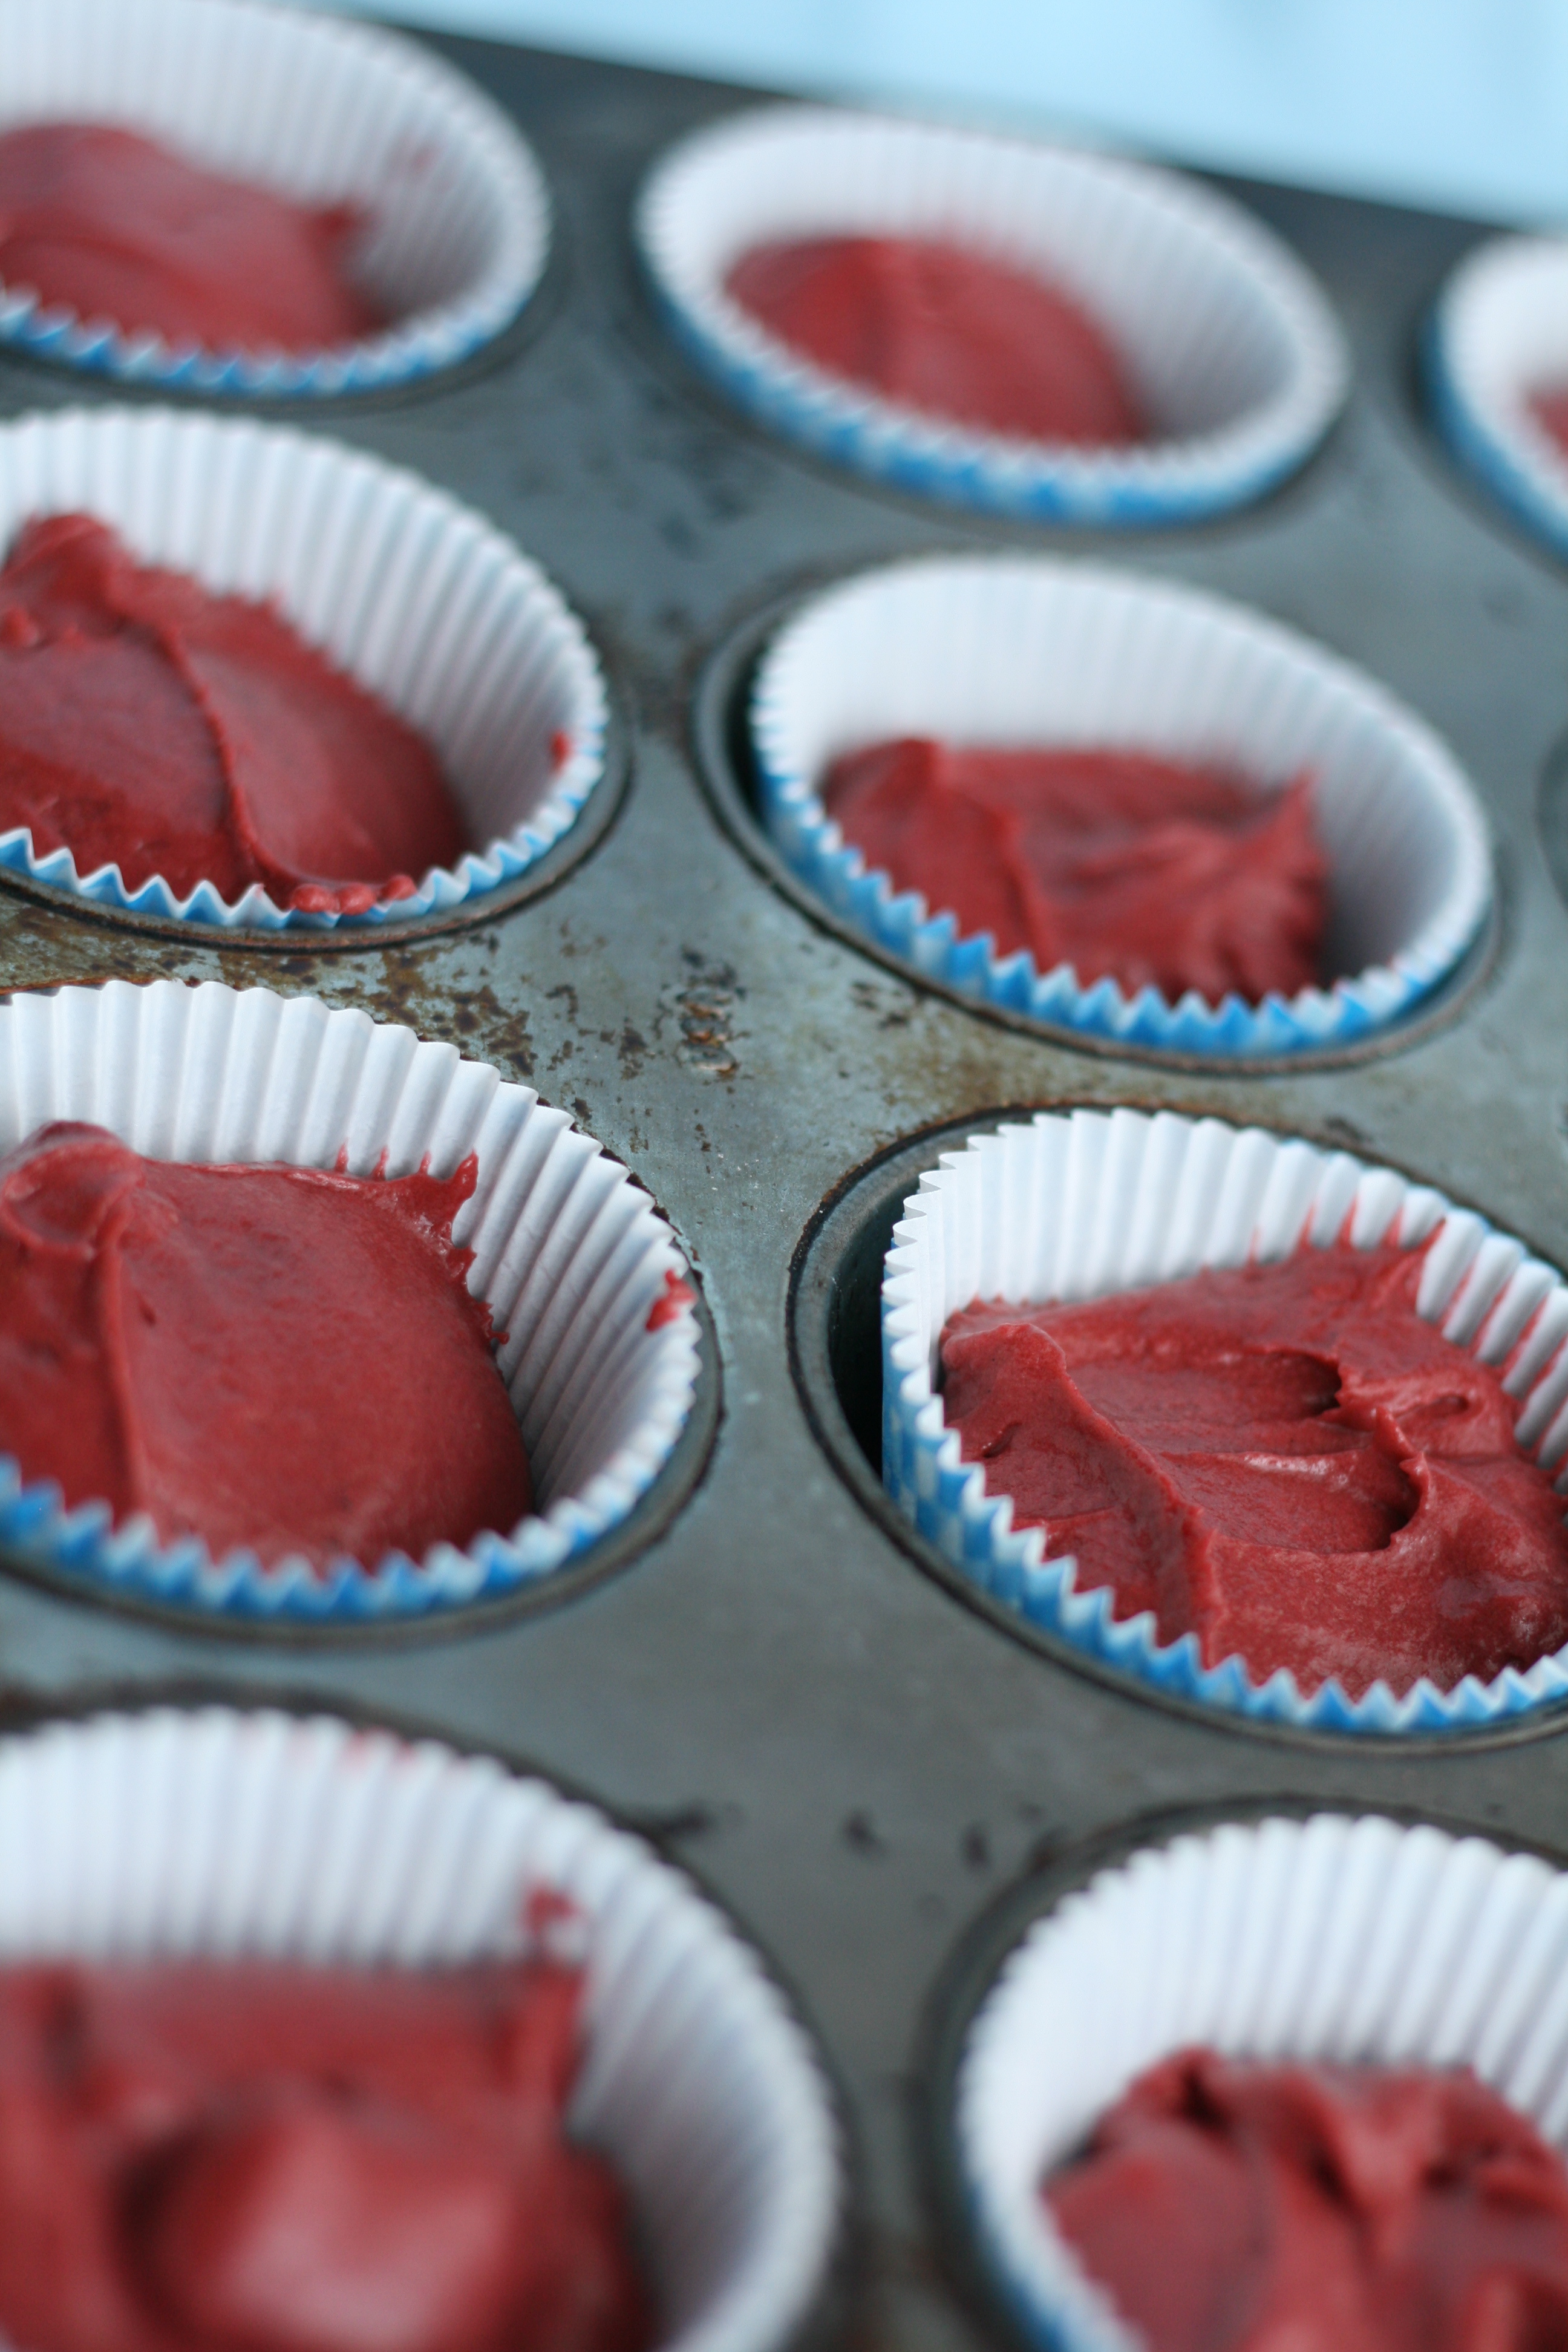
1. Preheat oven to 335° and place the rack in the middle position. Line 2 cupcake pans. (Read the last post for a cupcake liner tip.) 2. Measure the dry ingredients and wet ingredients into 2 separate bowls. Whisk each to combine. 3. Measure the the butter and sugar into the bowl of a standing mixer fitted with the paddle attachment. Cream together on low speed for about 5 minutes. 4. Add eggs one at a time into the well creamed butter. Beat in the dye. 5. Alternately add the dry and wet ingredients about a quarter at a time. (This should only take a minute.) Scrape sides. Beat on medium-high speed for 1 minute. 6. Pour the batter into the liners and bake the cupcakes for 20 to 24 minutes, or until a wooden skewer comes out clean. 7. Cool the cupcakes for 5 minutes before inverting them on to a flat surface. Allow them to come to room temperature before frosting.
Cream Cheese Frosting recipe by yours truly
2 sticks of Unsalted Butter (room temp) 16 oz. Cream Cheese (room temp) 1 tsp. Vanilla Extract Dash of Sea Salt 3-4 c. Powdered Sugar
1. Cream together butter and cream cheese. 2. Add vanilla extract and salt. Mix. 3. Add powdered sugar one cup at a time. Mix well between each addition. After 3 cups, taste to see if additional powdered sugar is necessary. 4. Ice your cupcakes. Looking for tips? Check out the last post.
If you missed it, click here for the sailboat decorations. For matching invitations, click here.
P.S.—These lovely little sailboats made their debut on the very talented Shauna Younge’s blog! Thanks Shauna!
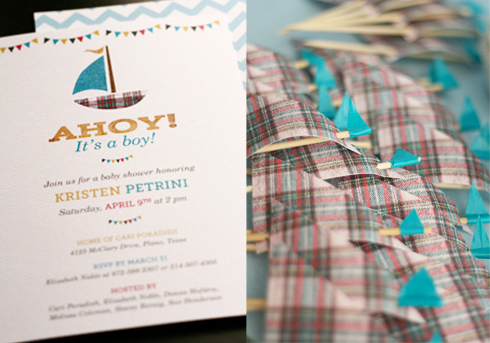
Remember the Ahoy! It’s a boy! invites I shared with you a couple weeks ago? I told you I may or may not be making cupcakes with a cute DIY topper. Well, I wasn’t lying. It’s time for more sharing and free downloads!
This post includes DIY instructions for the sailboat cupcake toppers. Another post on the recipe for red velvet cupcakes and cream cheese frosting is to come. So sit down, get out a pen an paper (or just bookmark this page), and let’s get decorating!
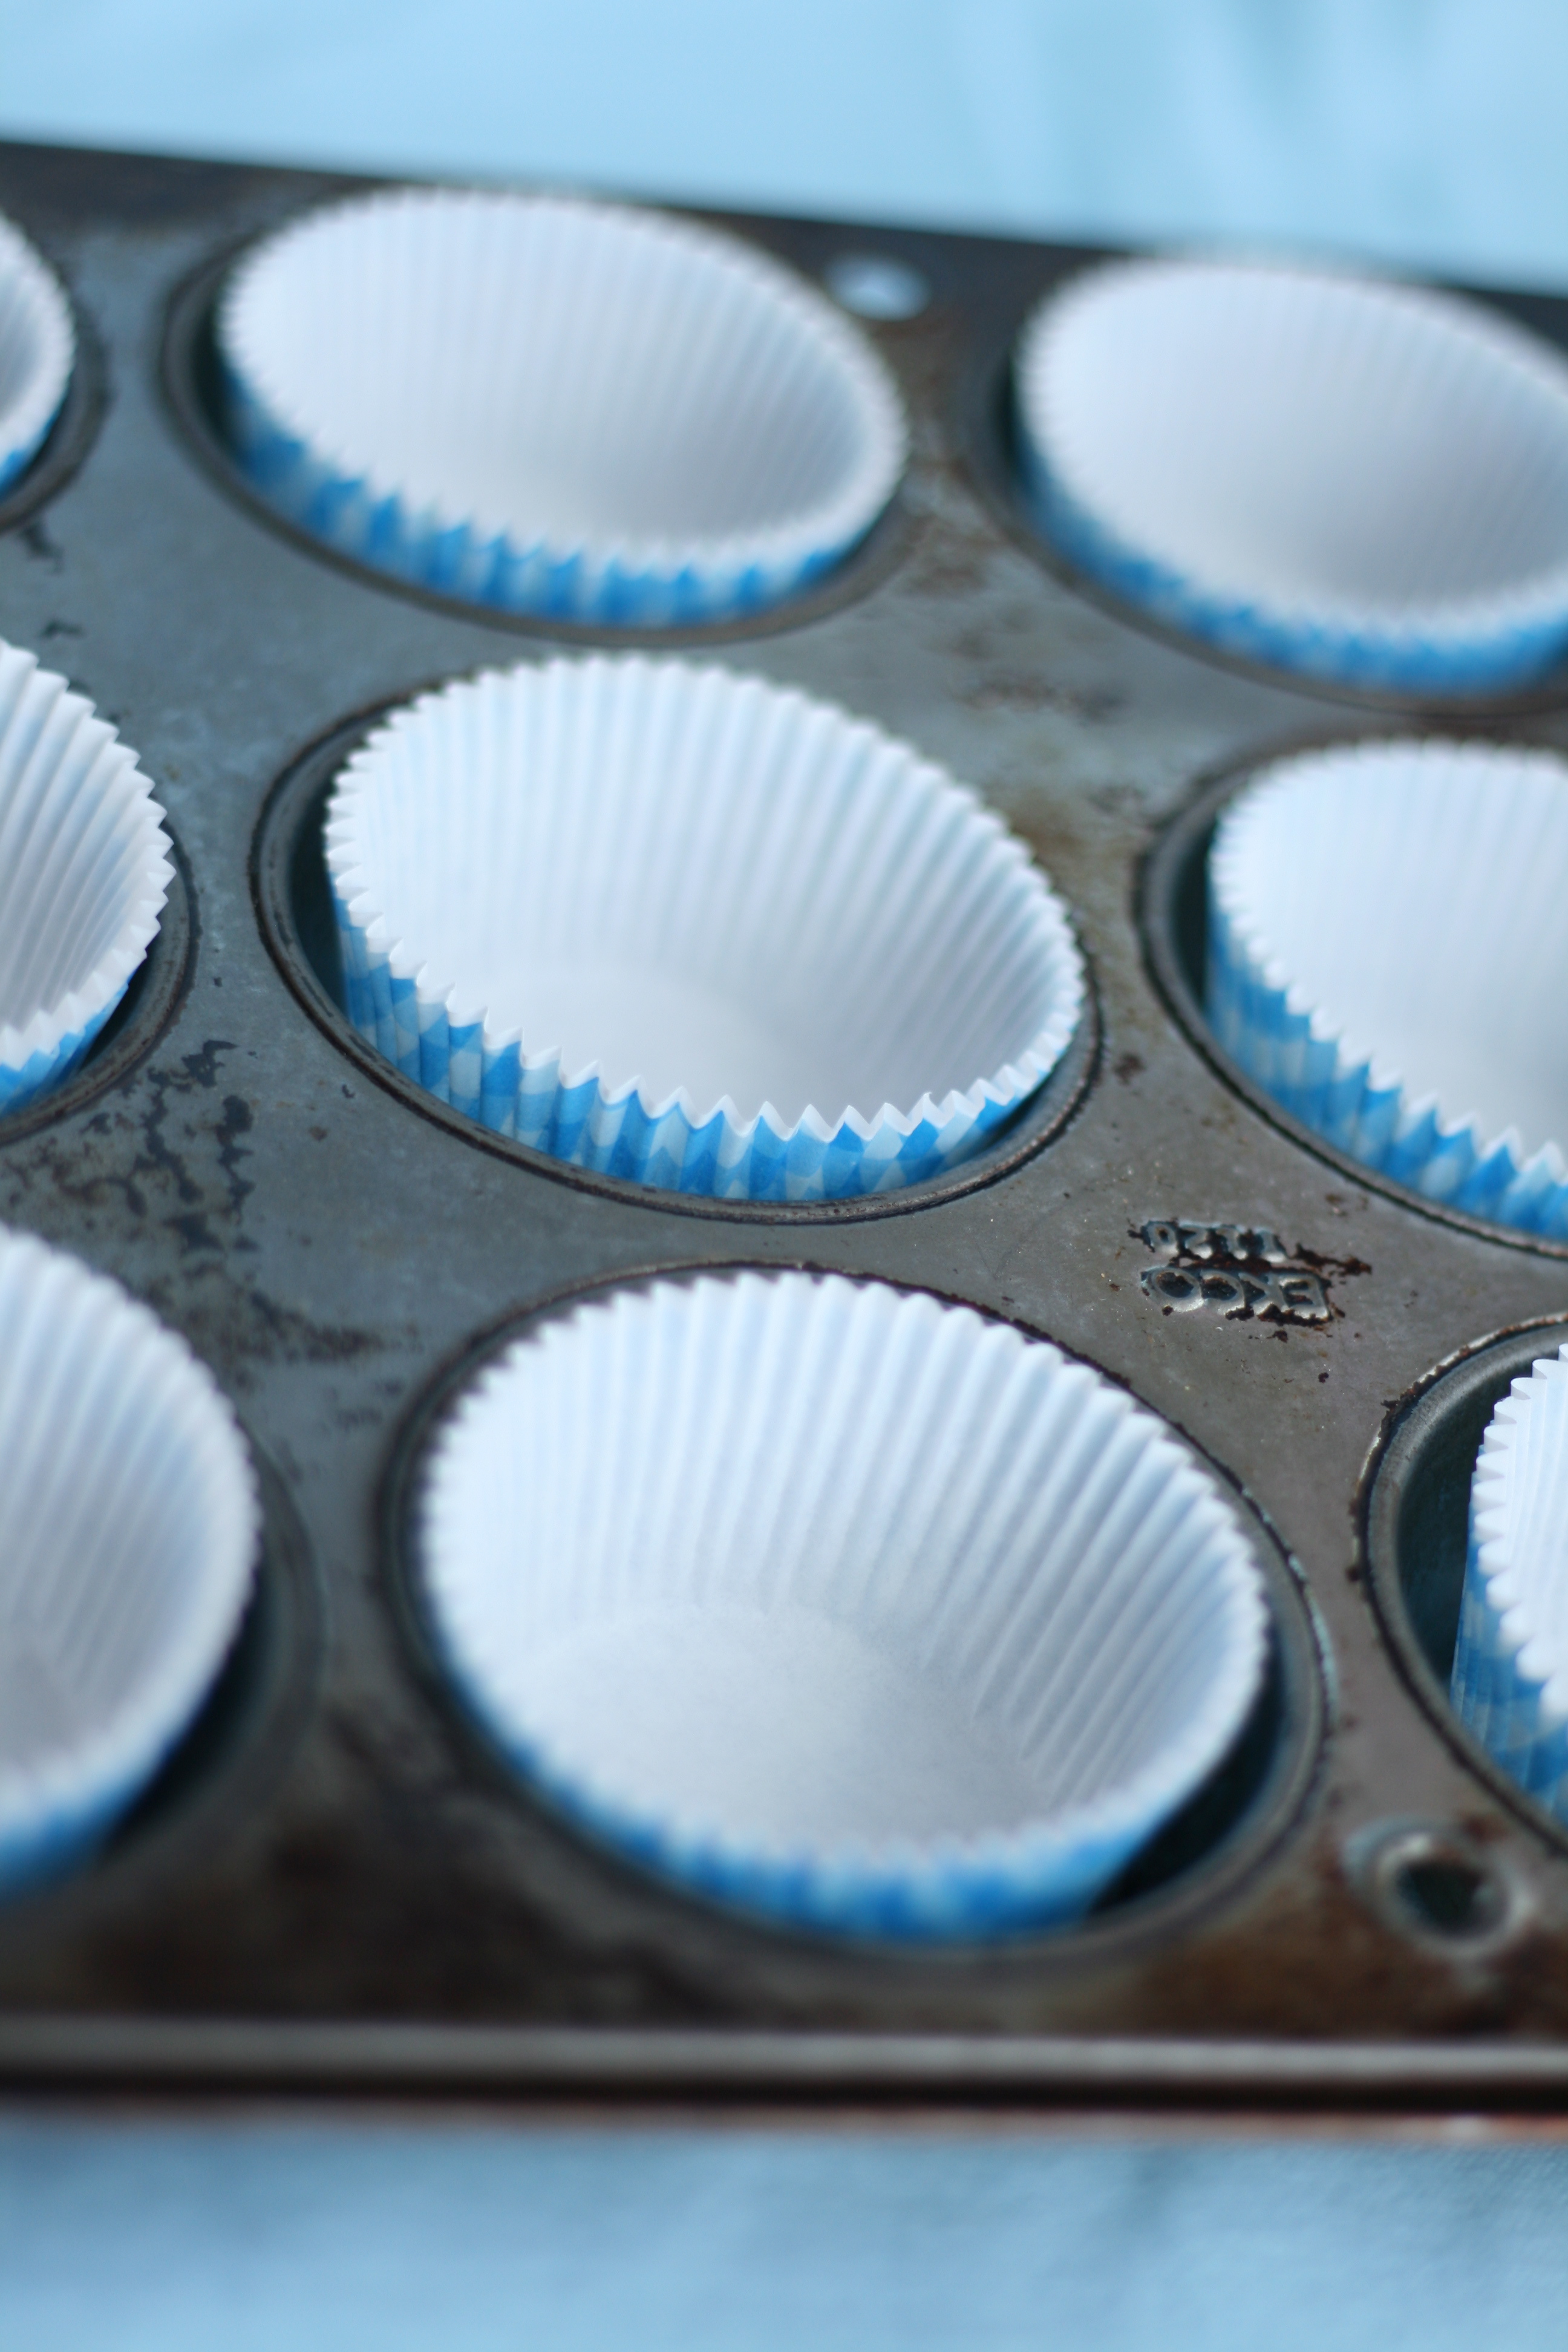
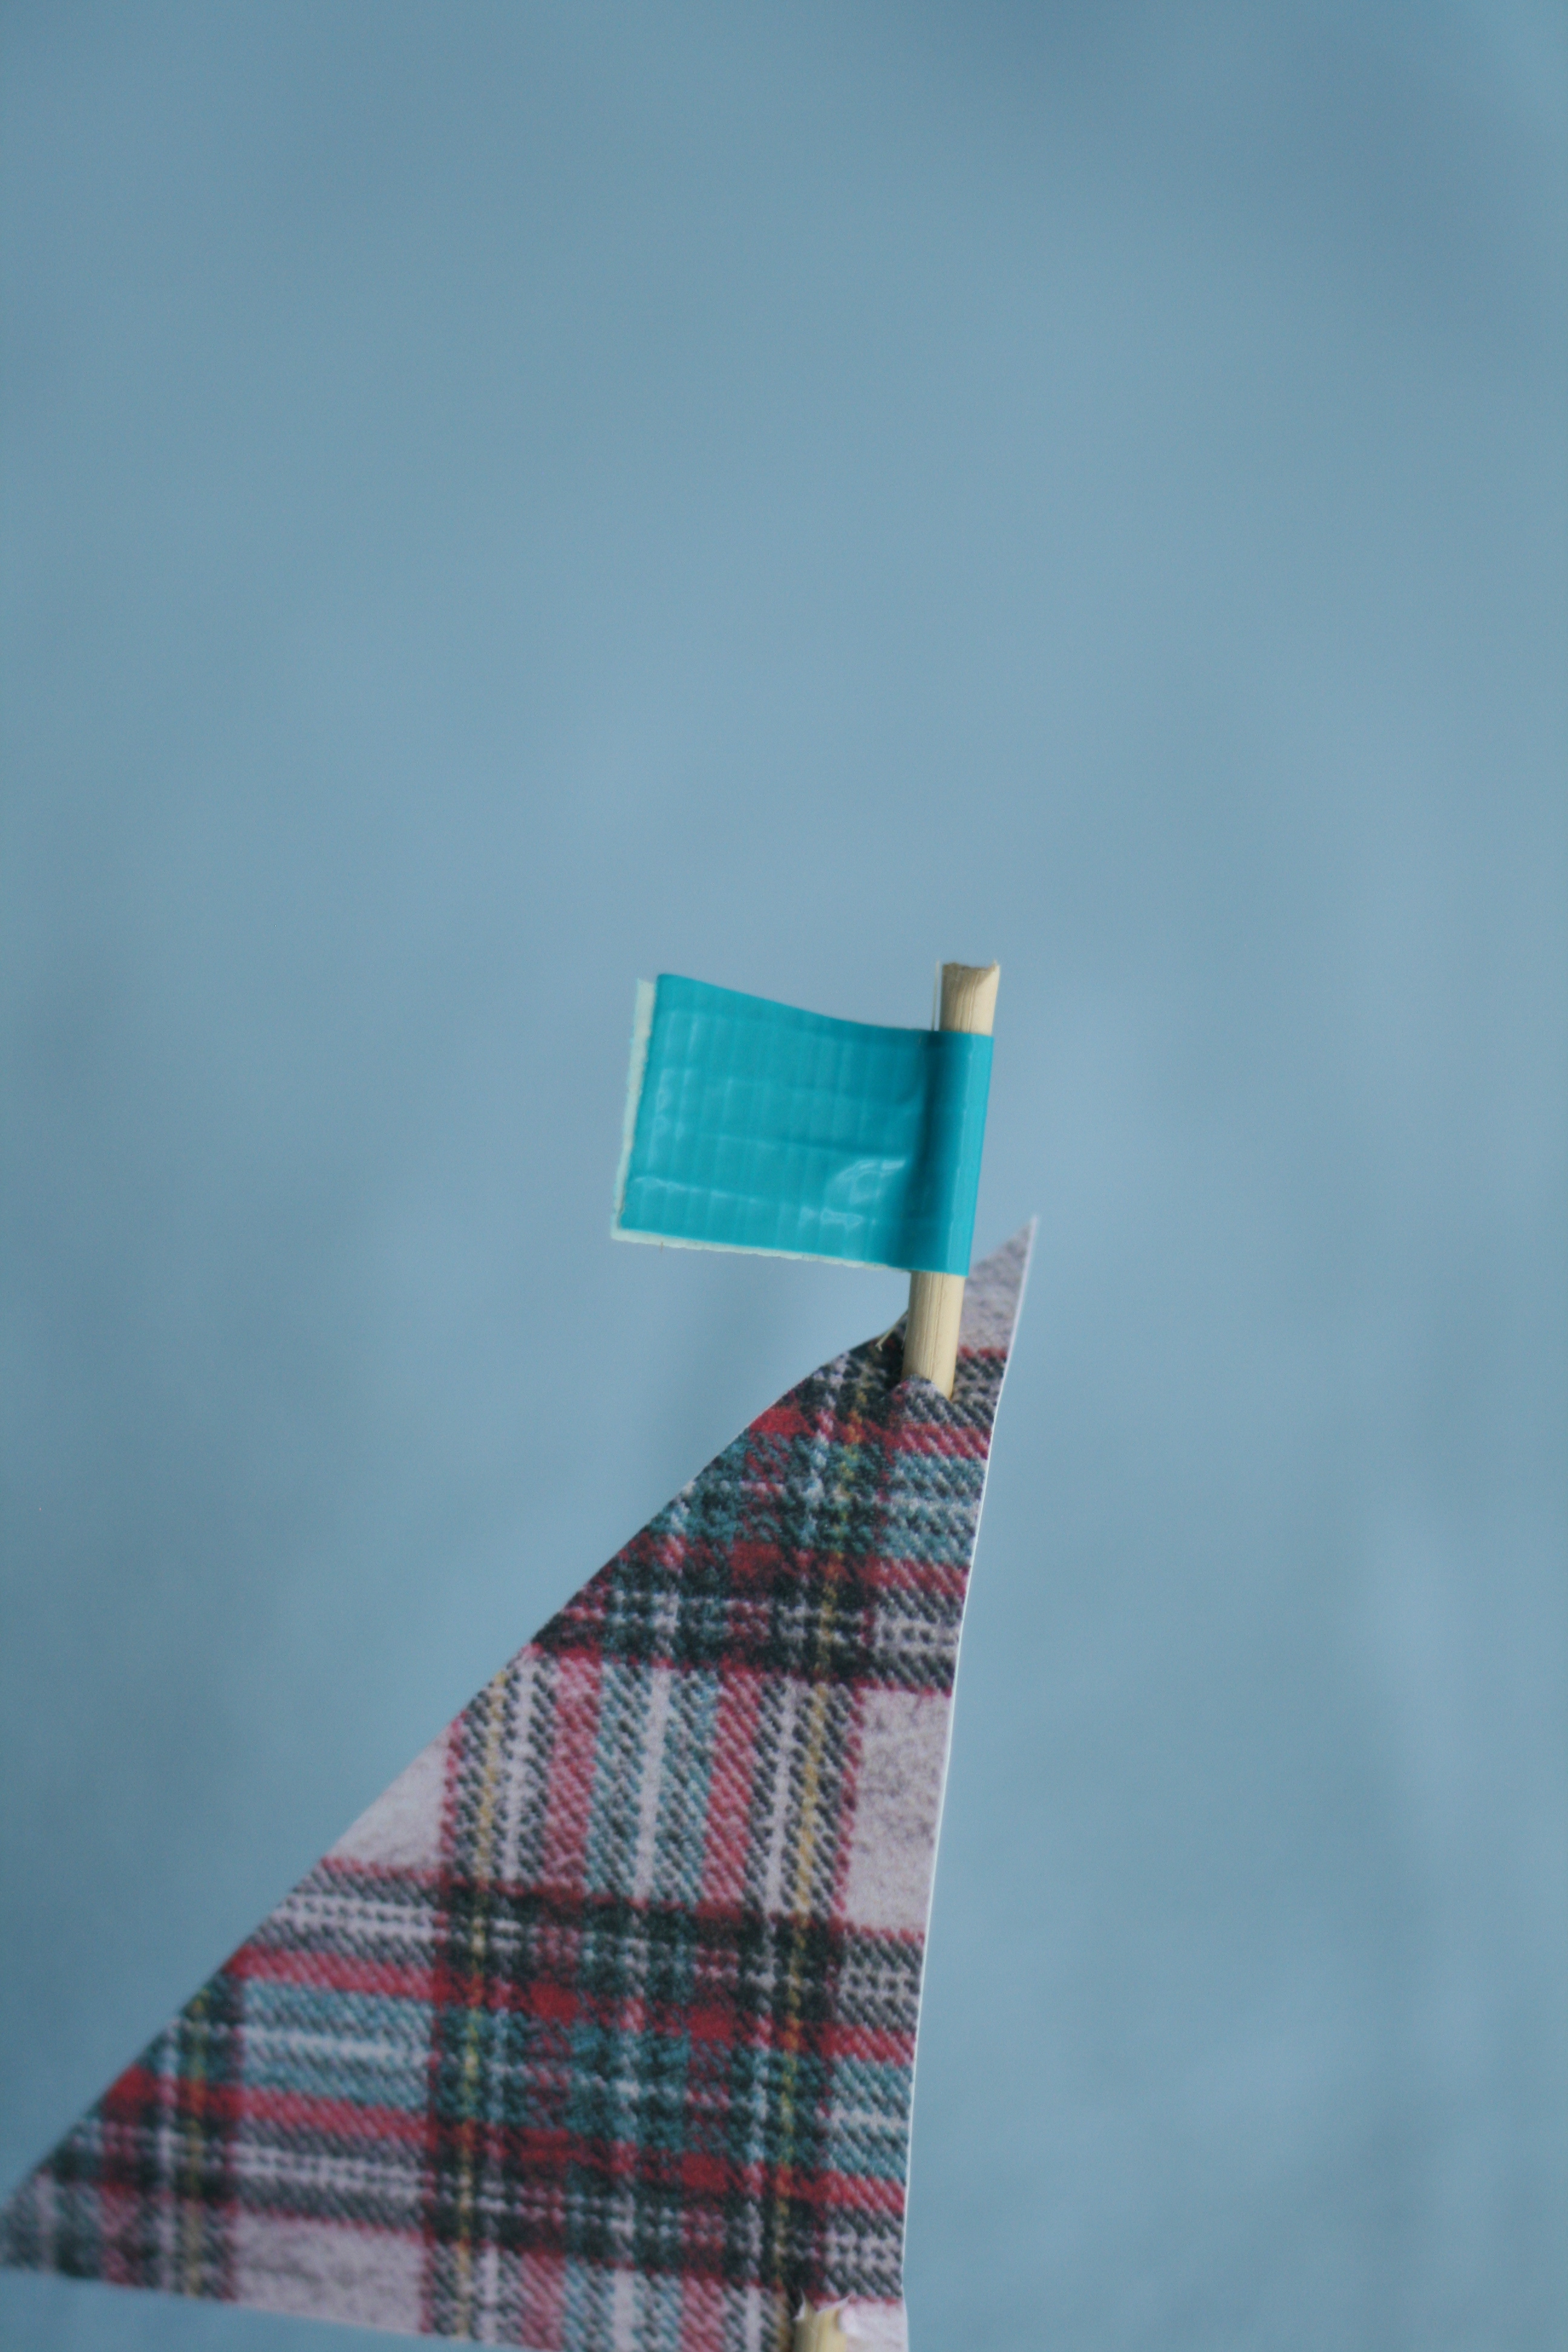
Here’s what you’ll need: • Plaid Cupcake Liners (I ordered mine from Bake it Pretty. Sweet LuLu is another great resource for cute baking supplies.) • White Cupcake Liners (Always double up your liners so you can actually see the pretty liner. If you use one liner, when the cupcake bakes, the color of the cupcake will bleed into the liner thus losing its pretty pattern. Sad.) • Wooden Skewers (Think kabobs.) • Wire Cutters • FauxMartha Cupcake Sail Pattern • Printer • Textured, cardstock weight paper • Scissors • Exacto Knife • Cutting Board • Colored Duck Tape (or colored masking tape)
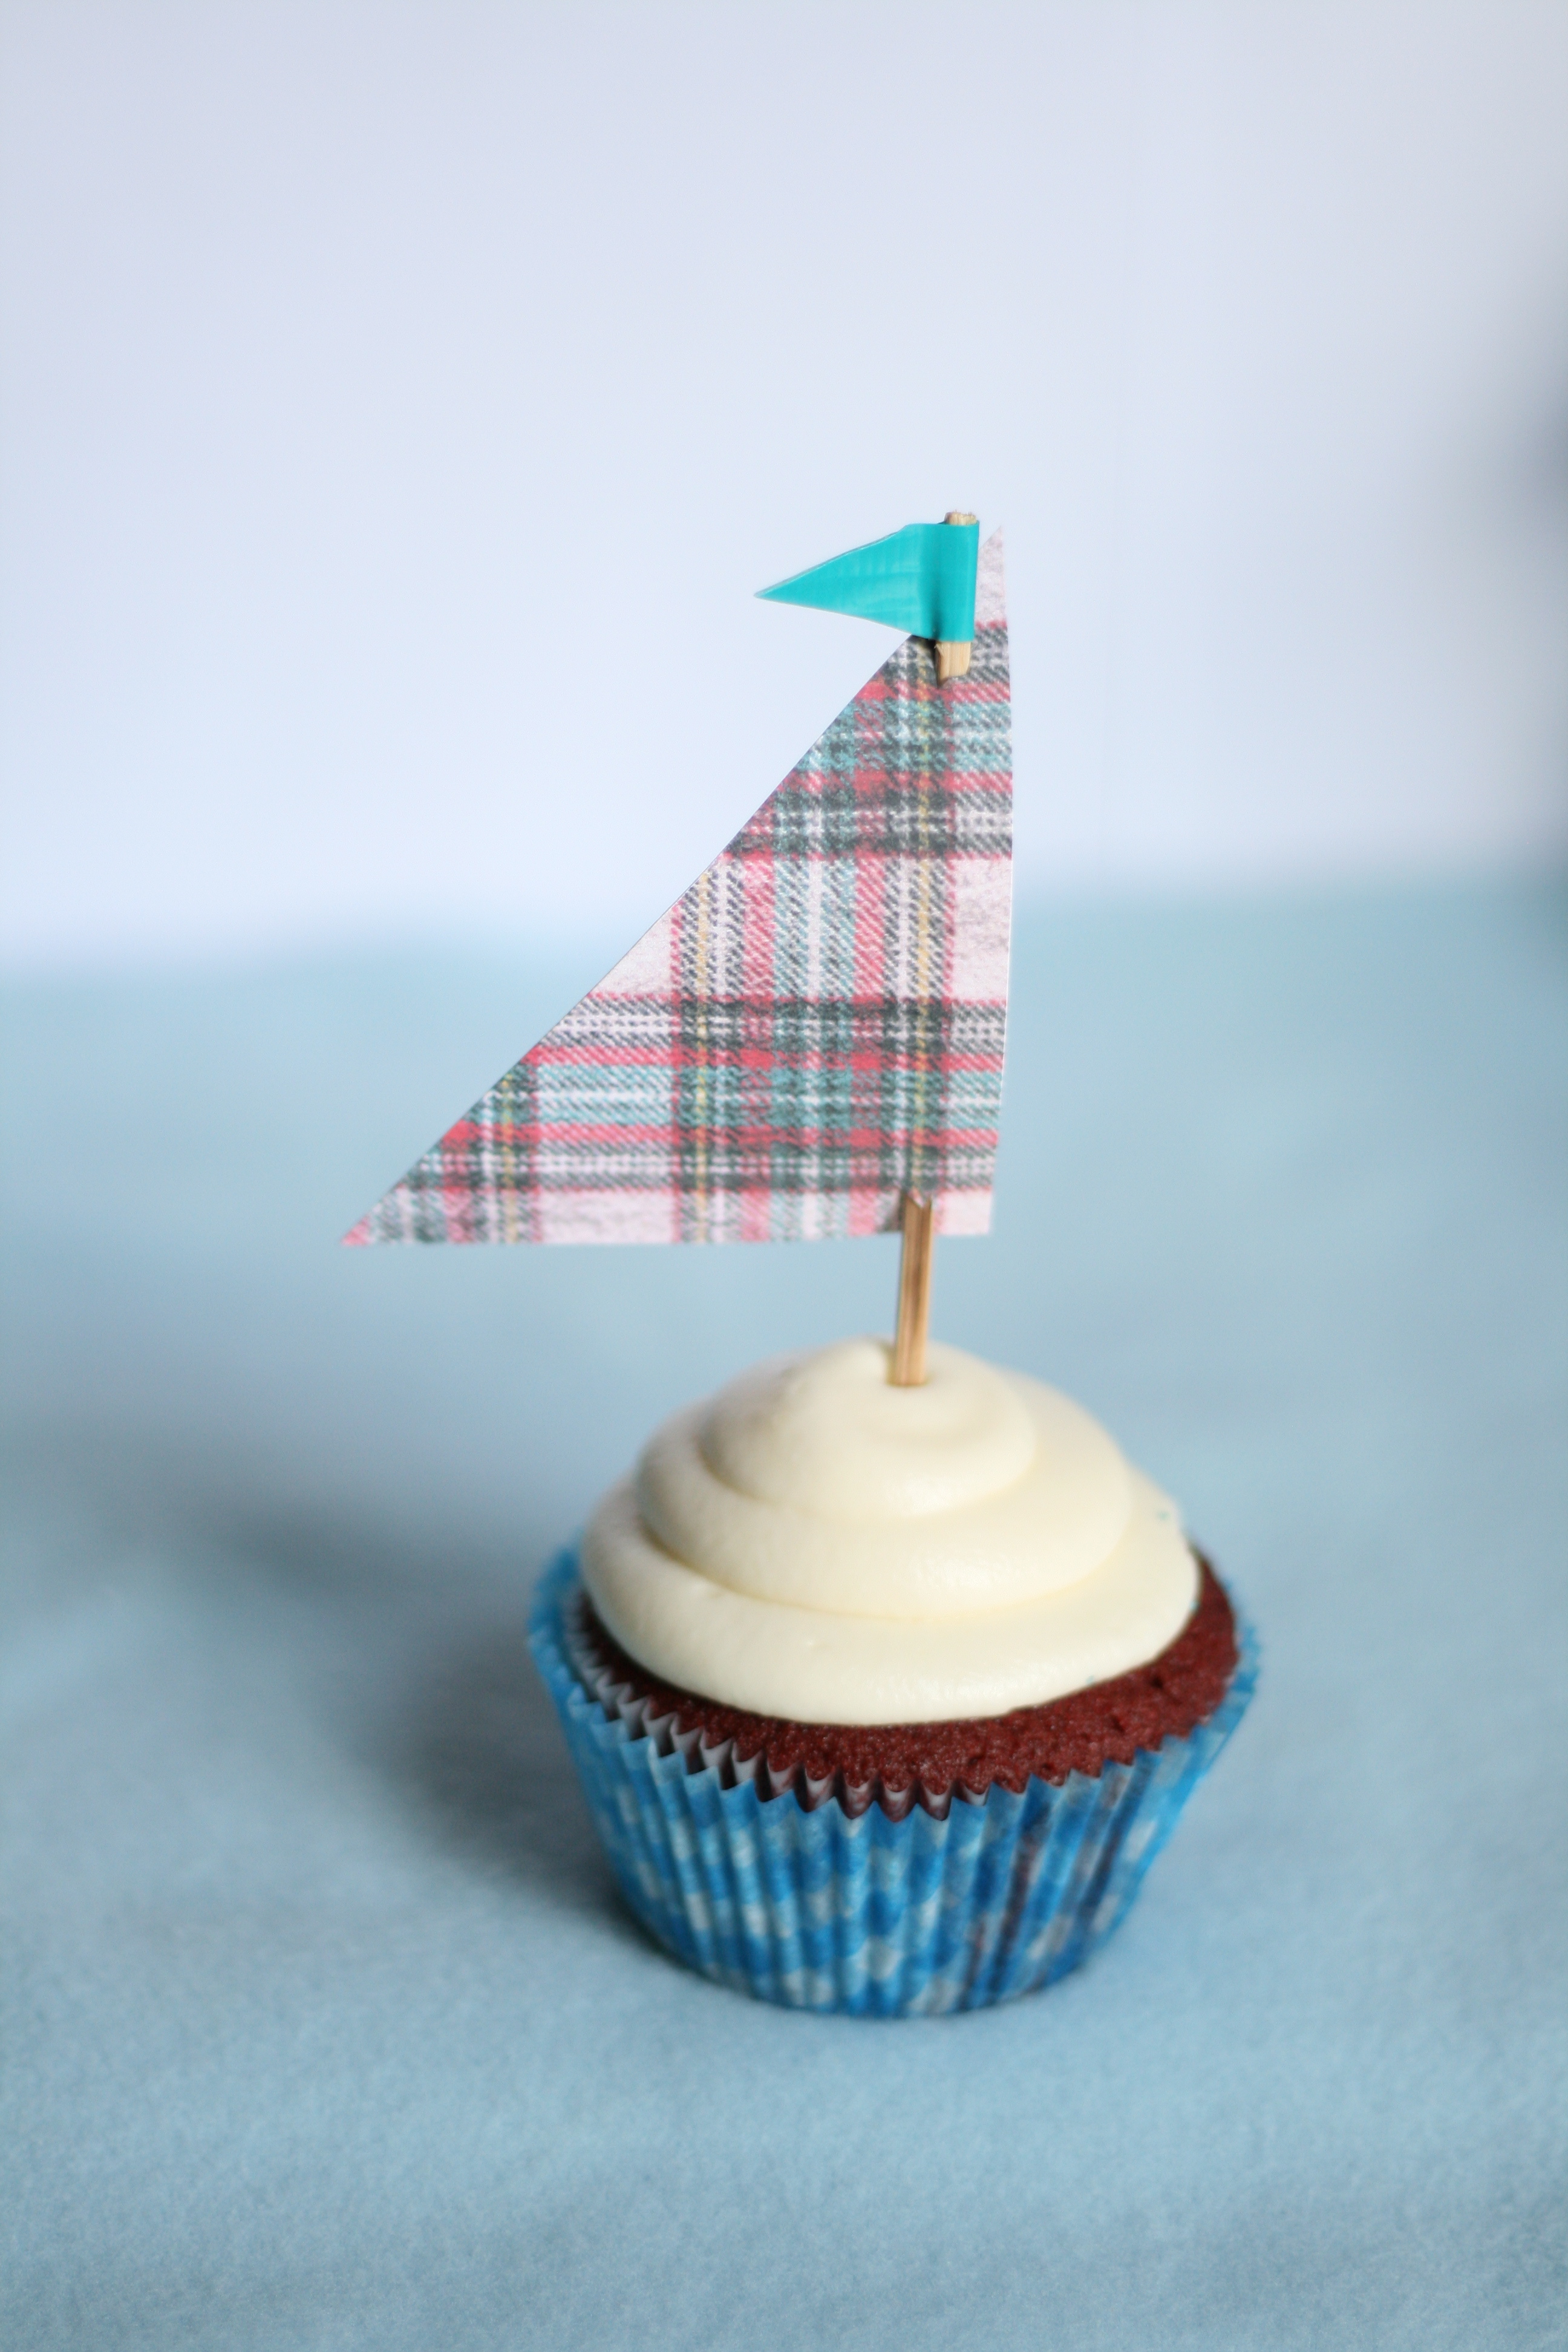
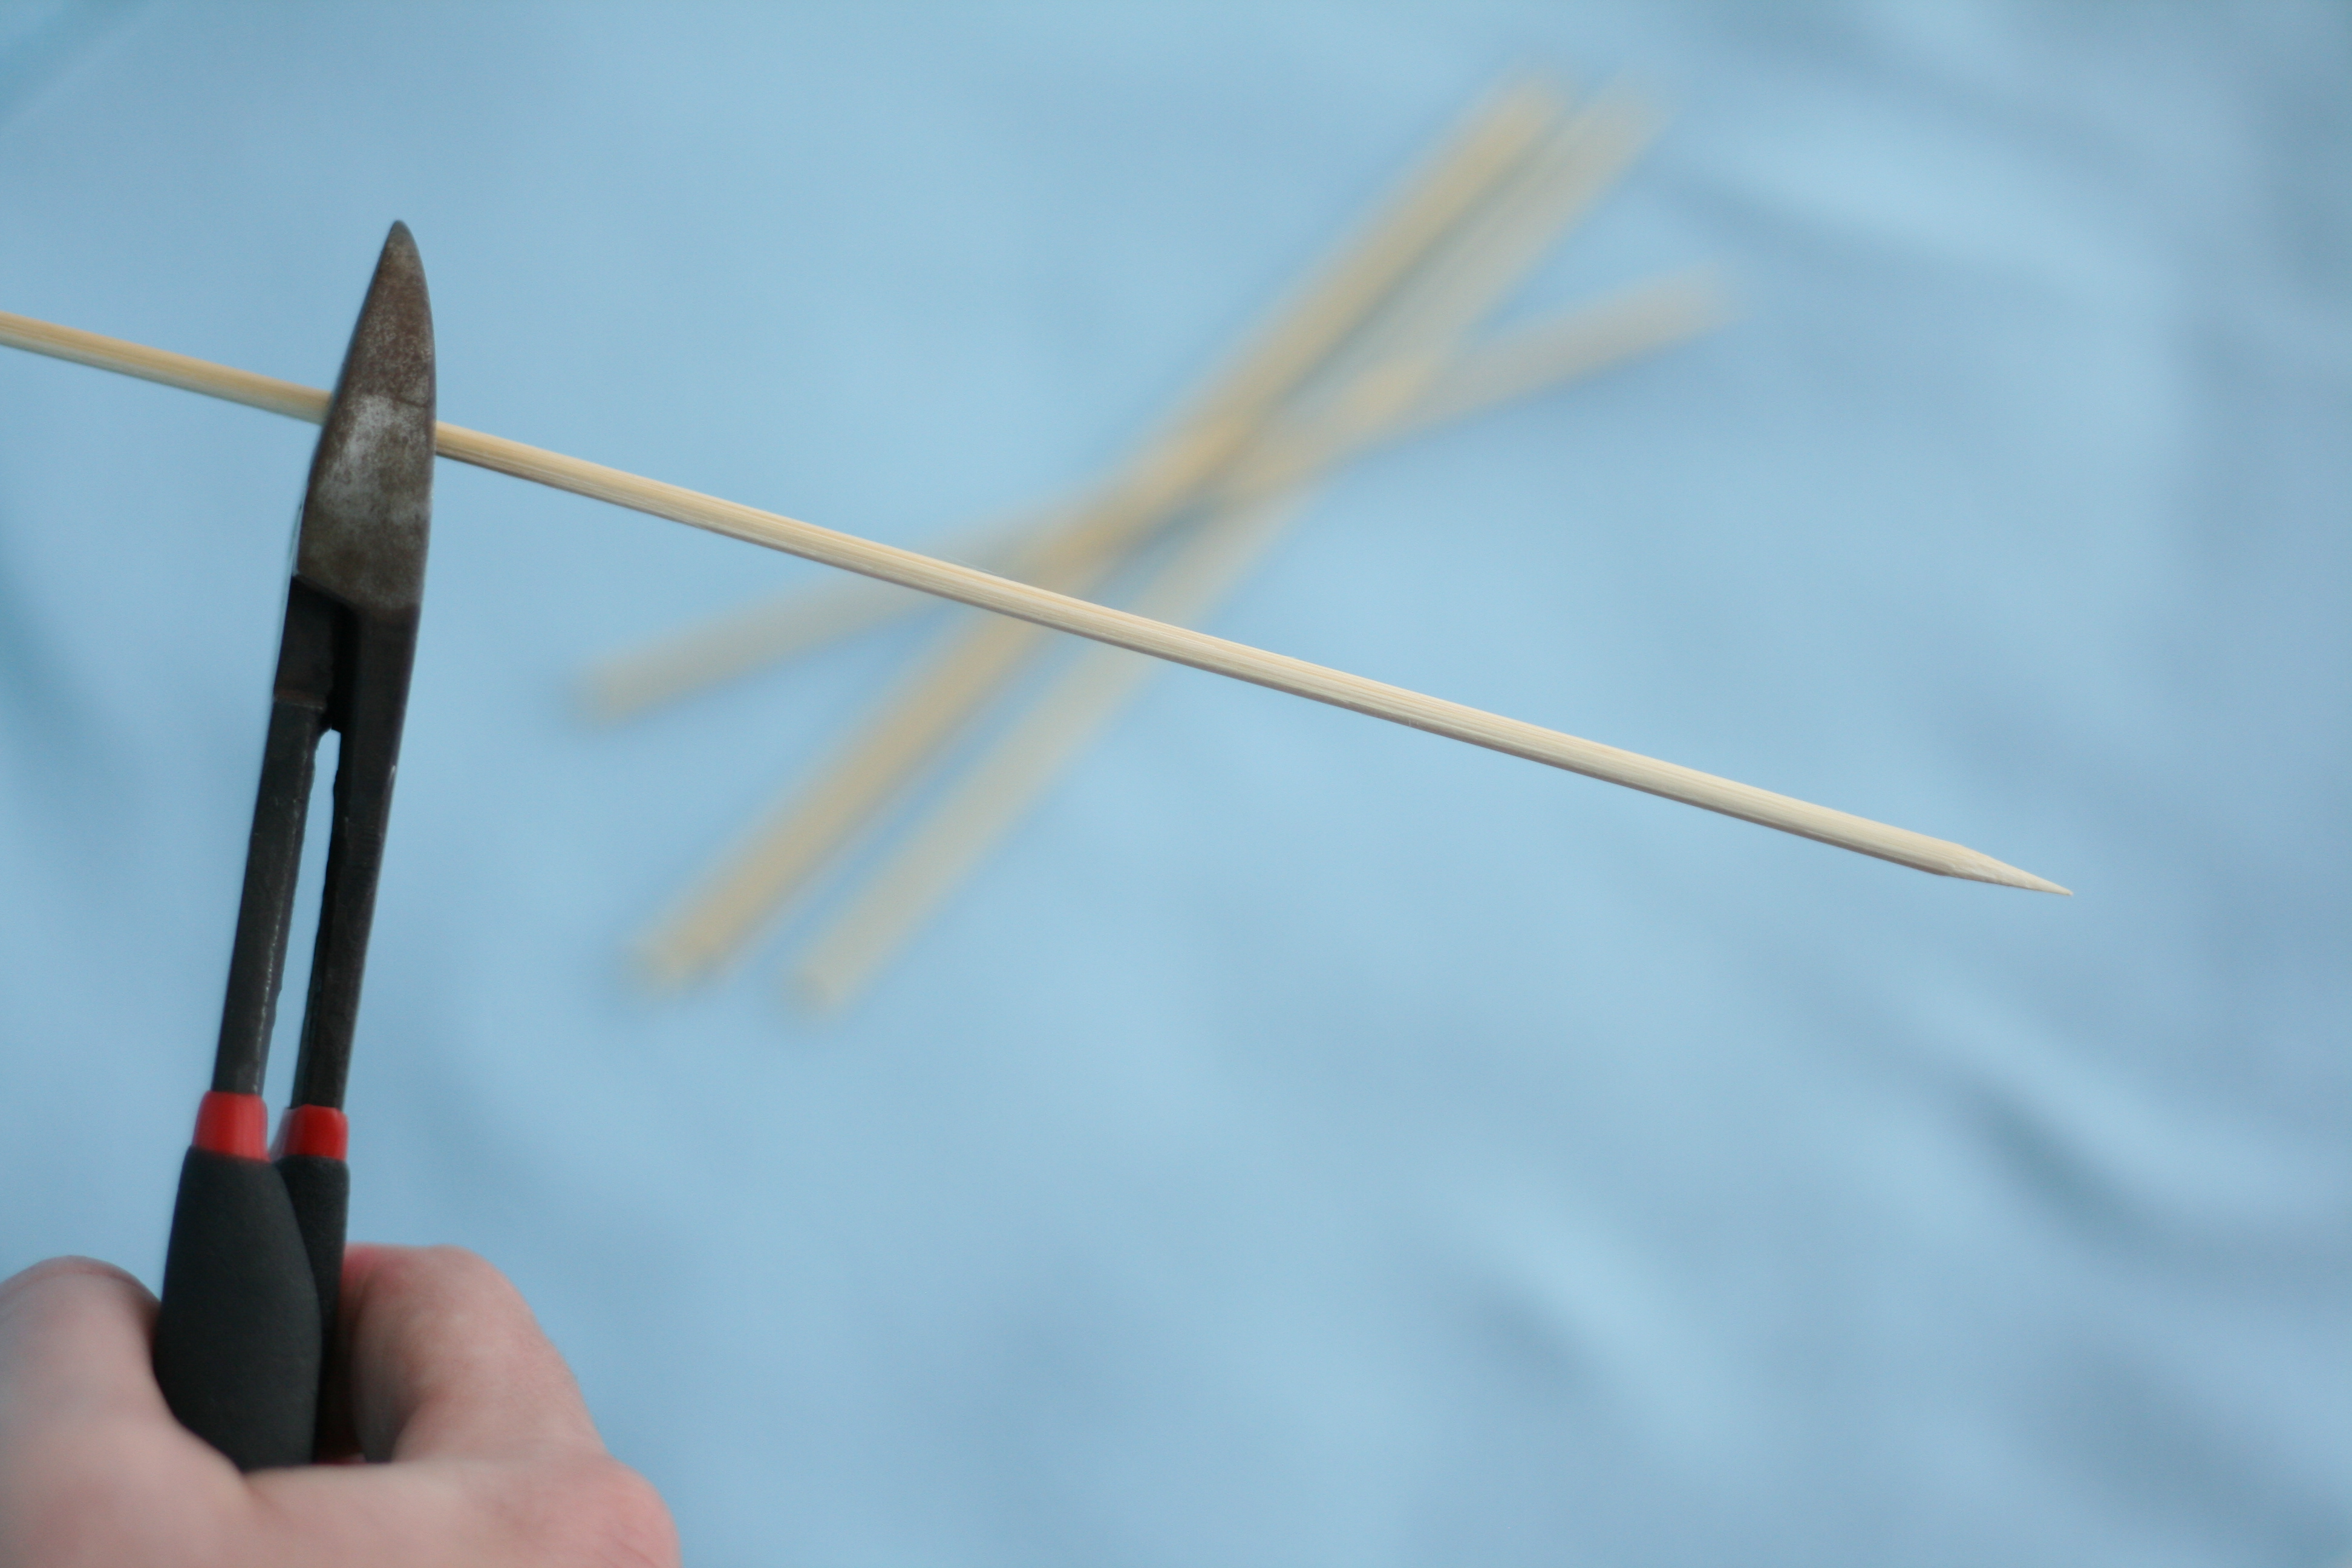
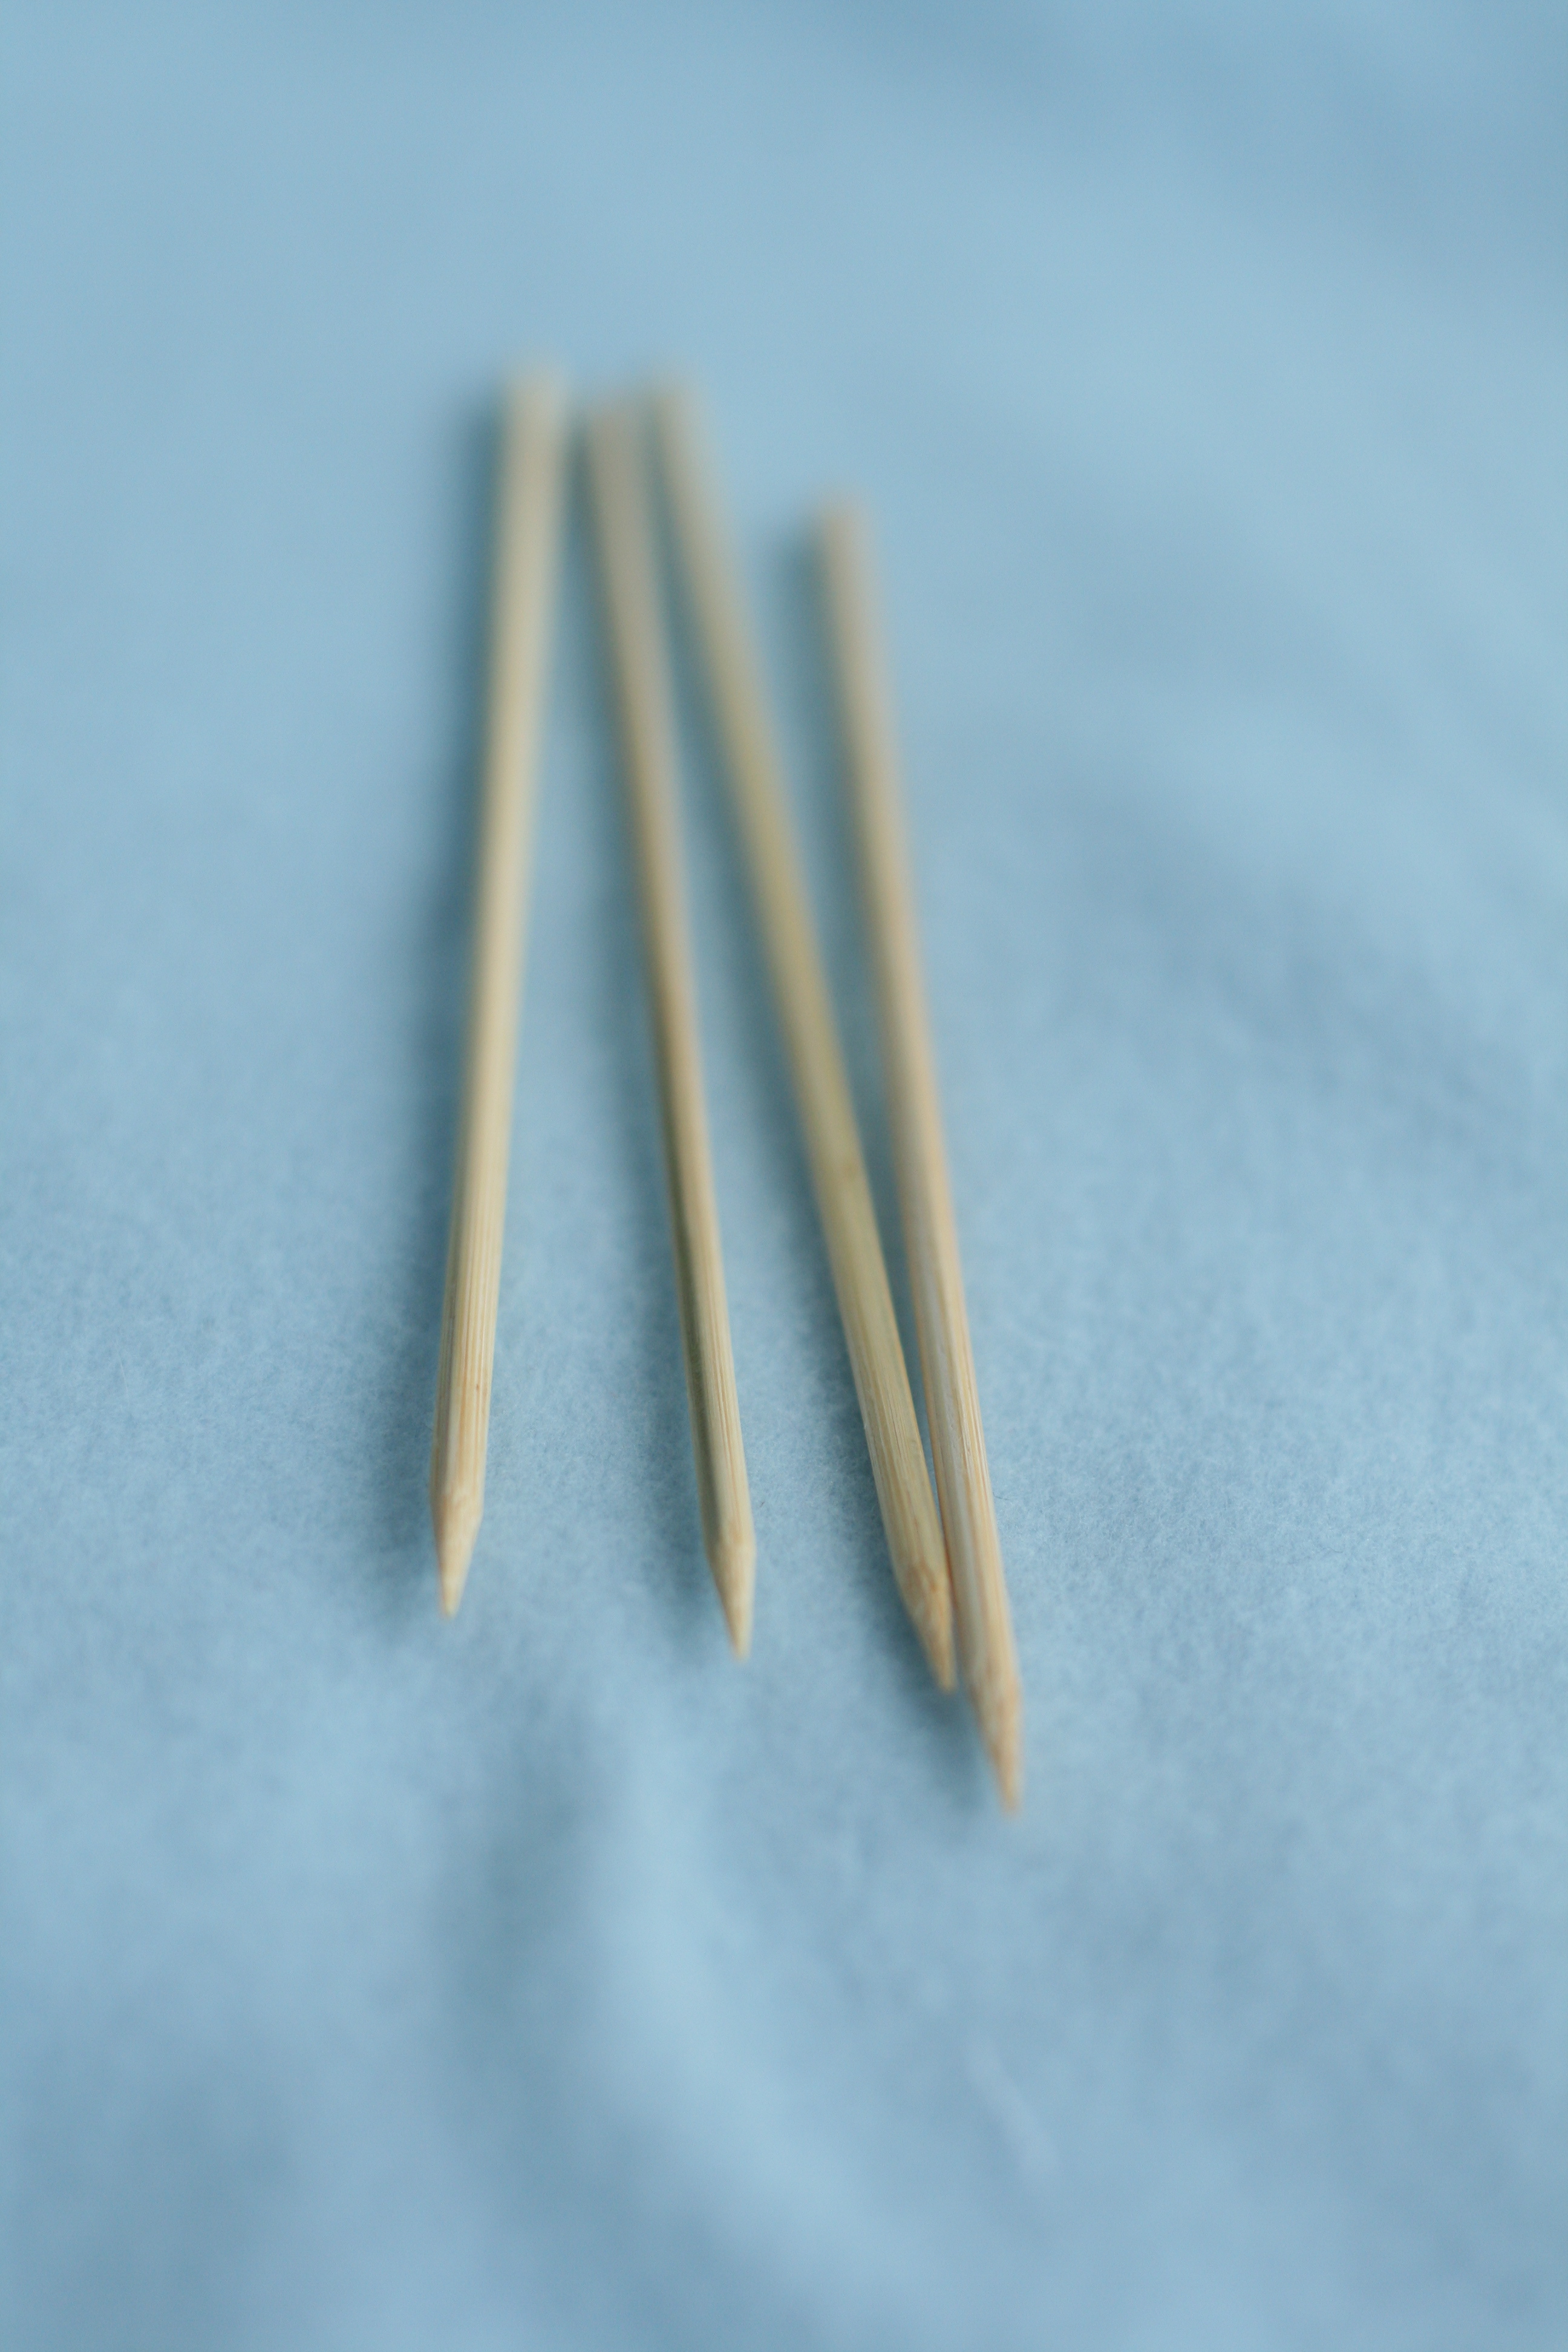
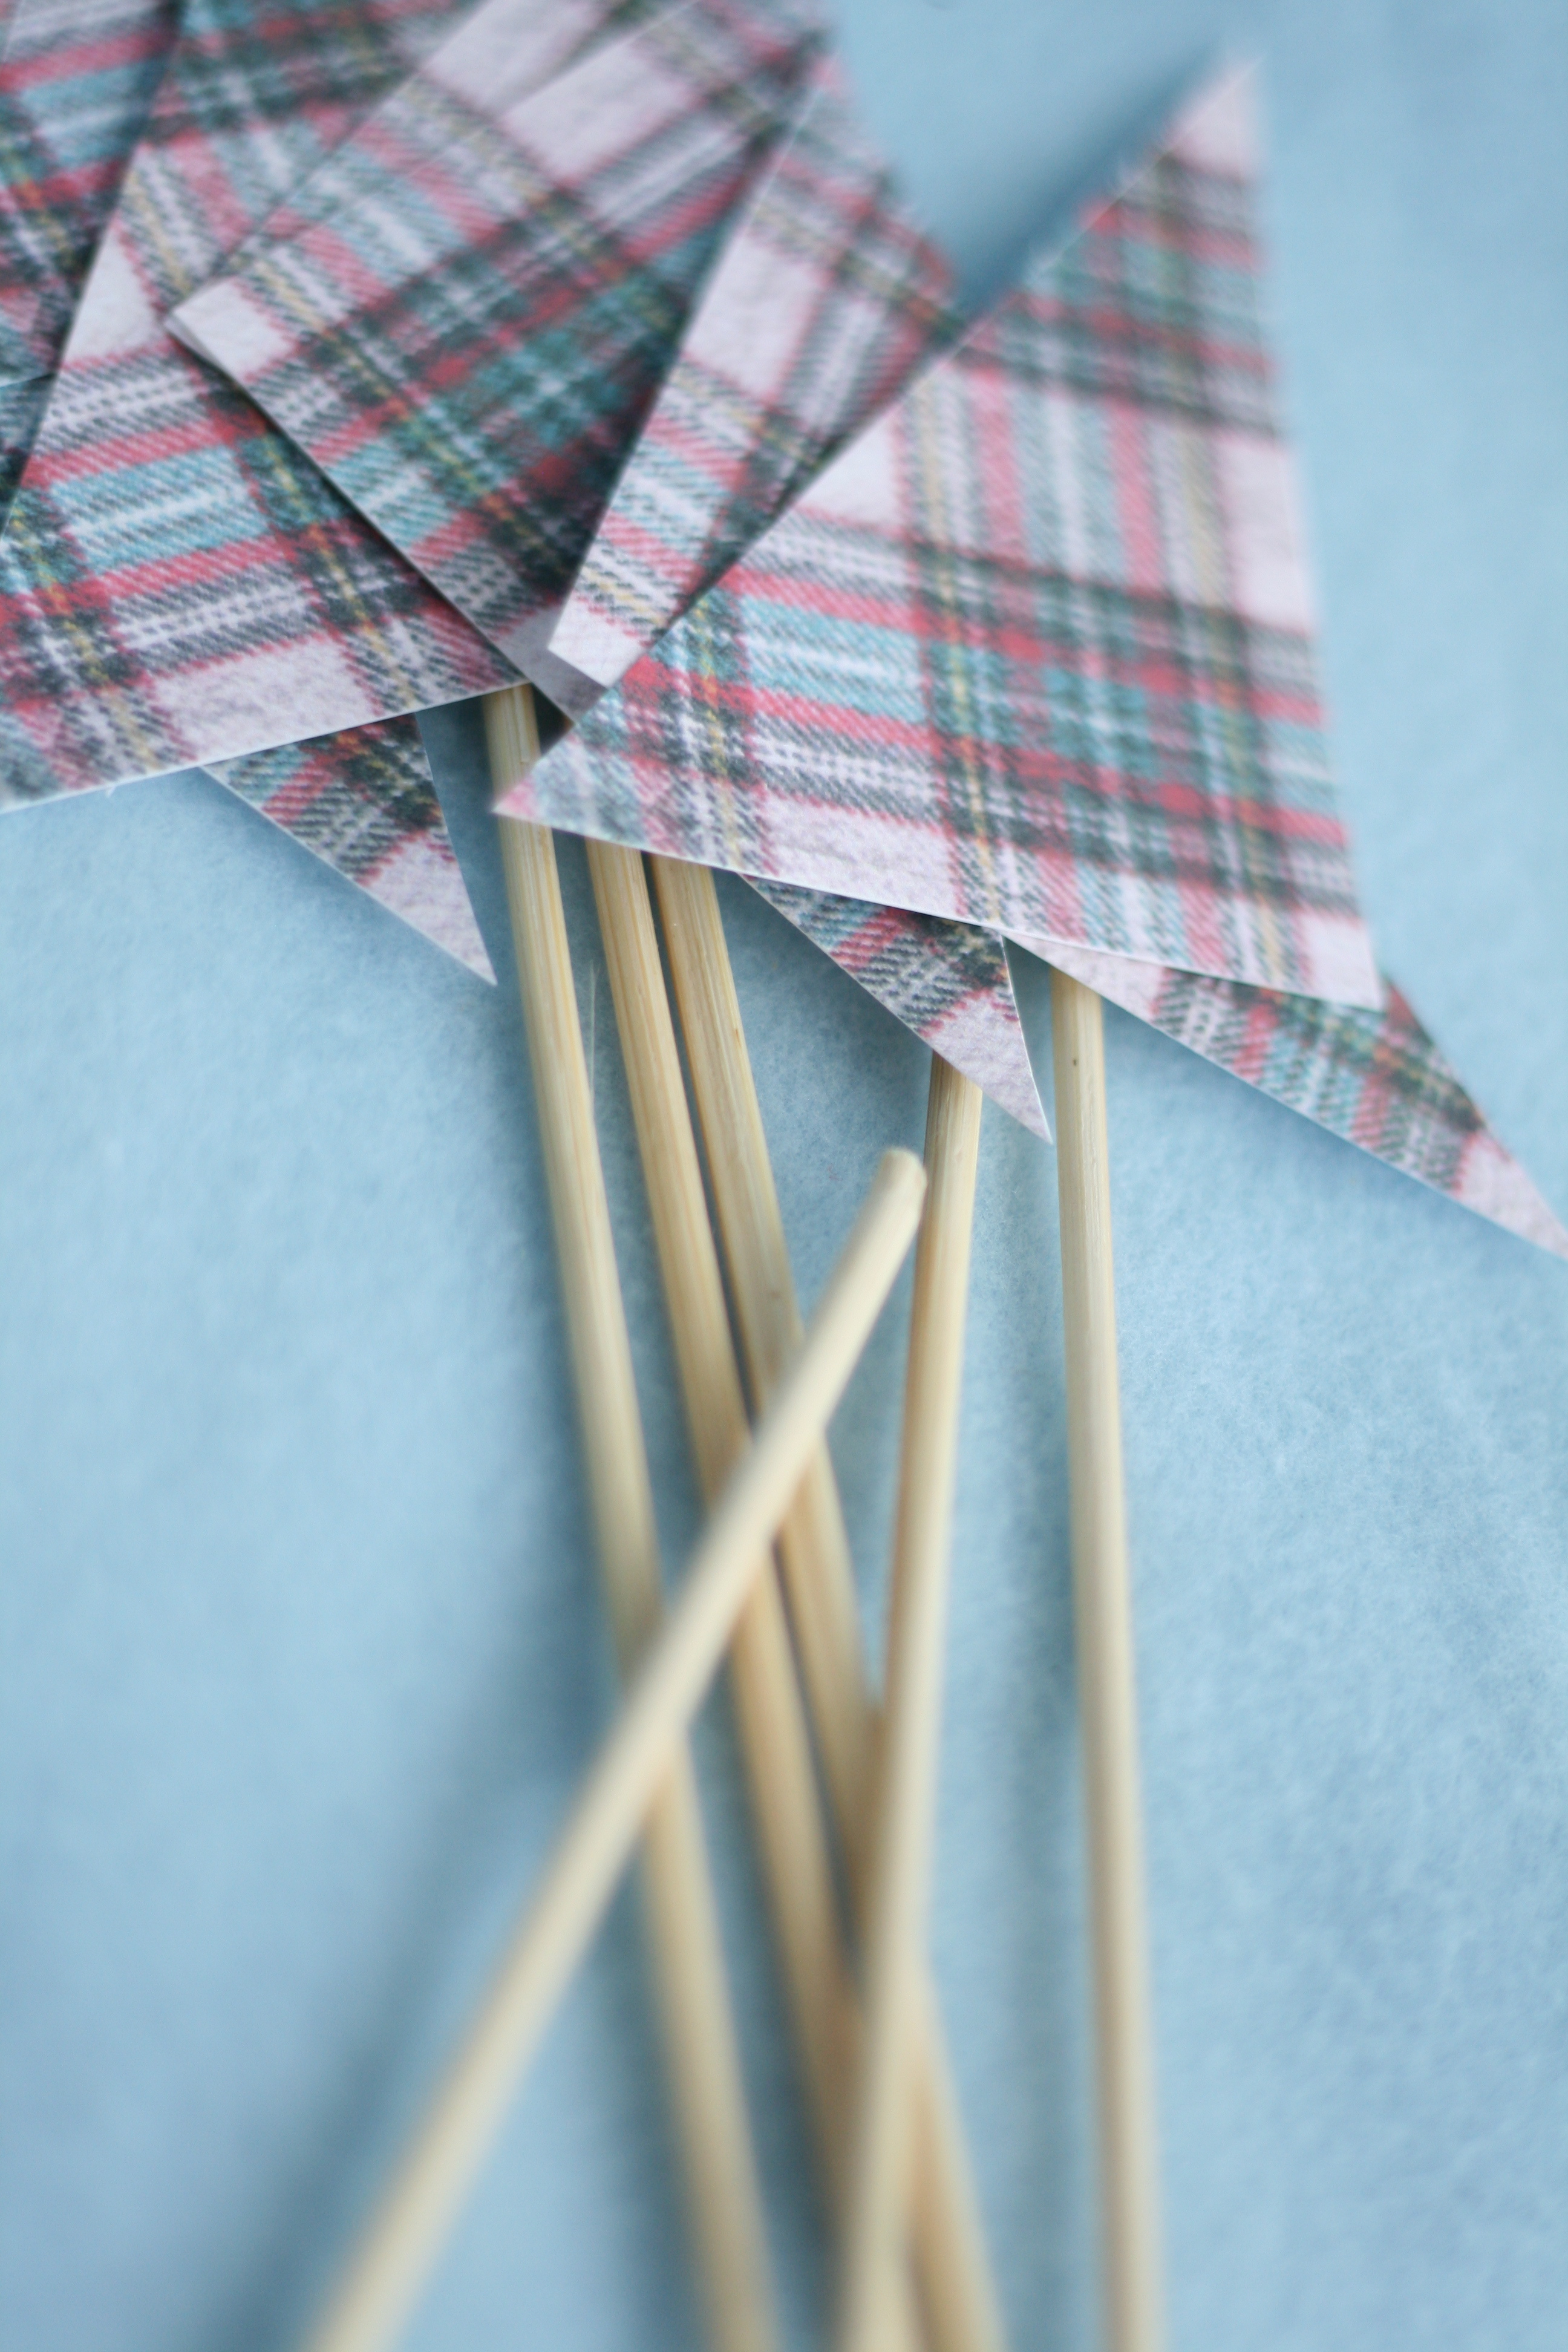
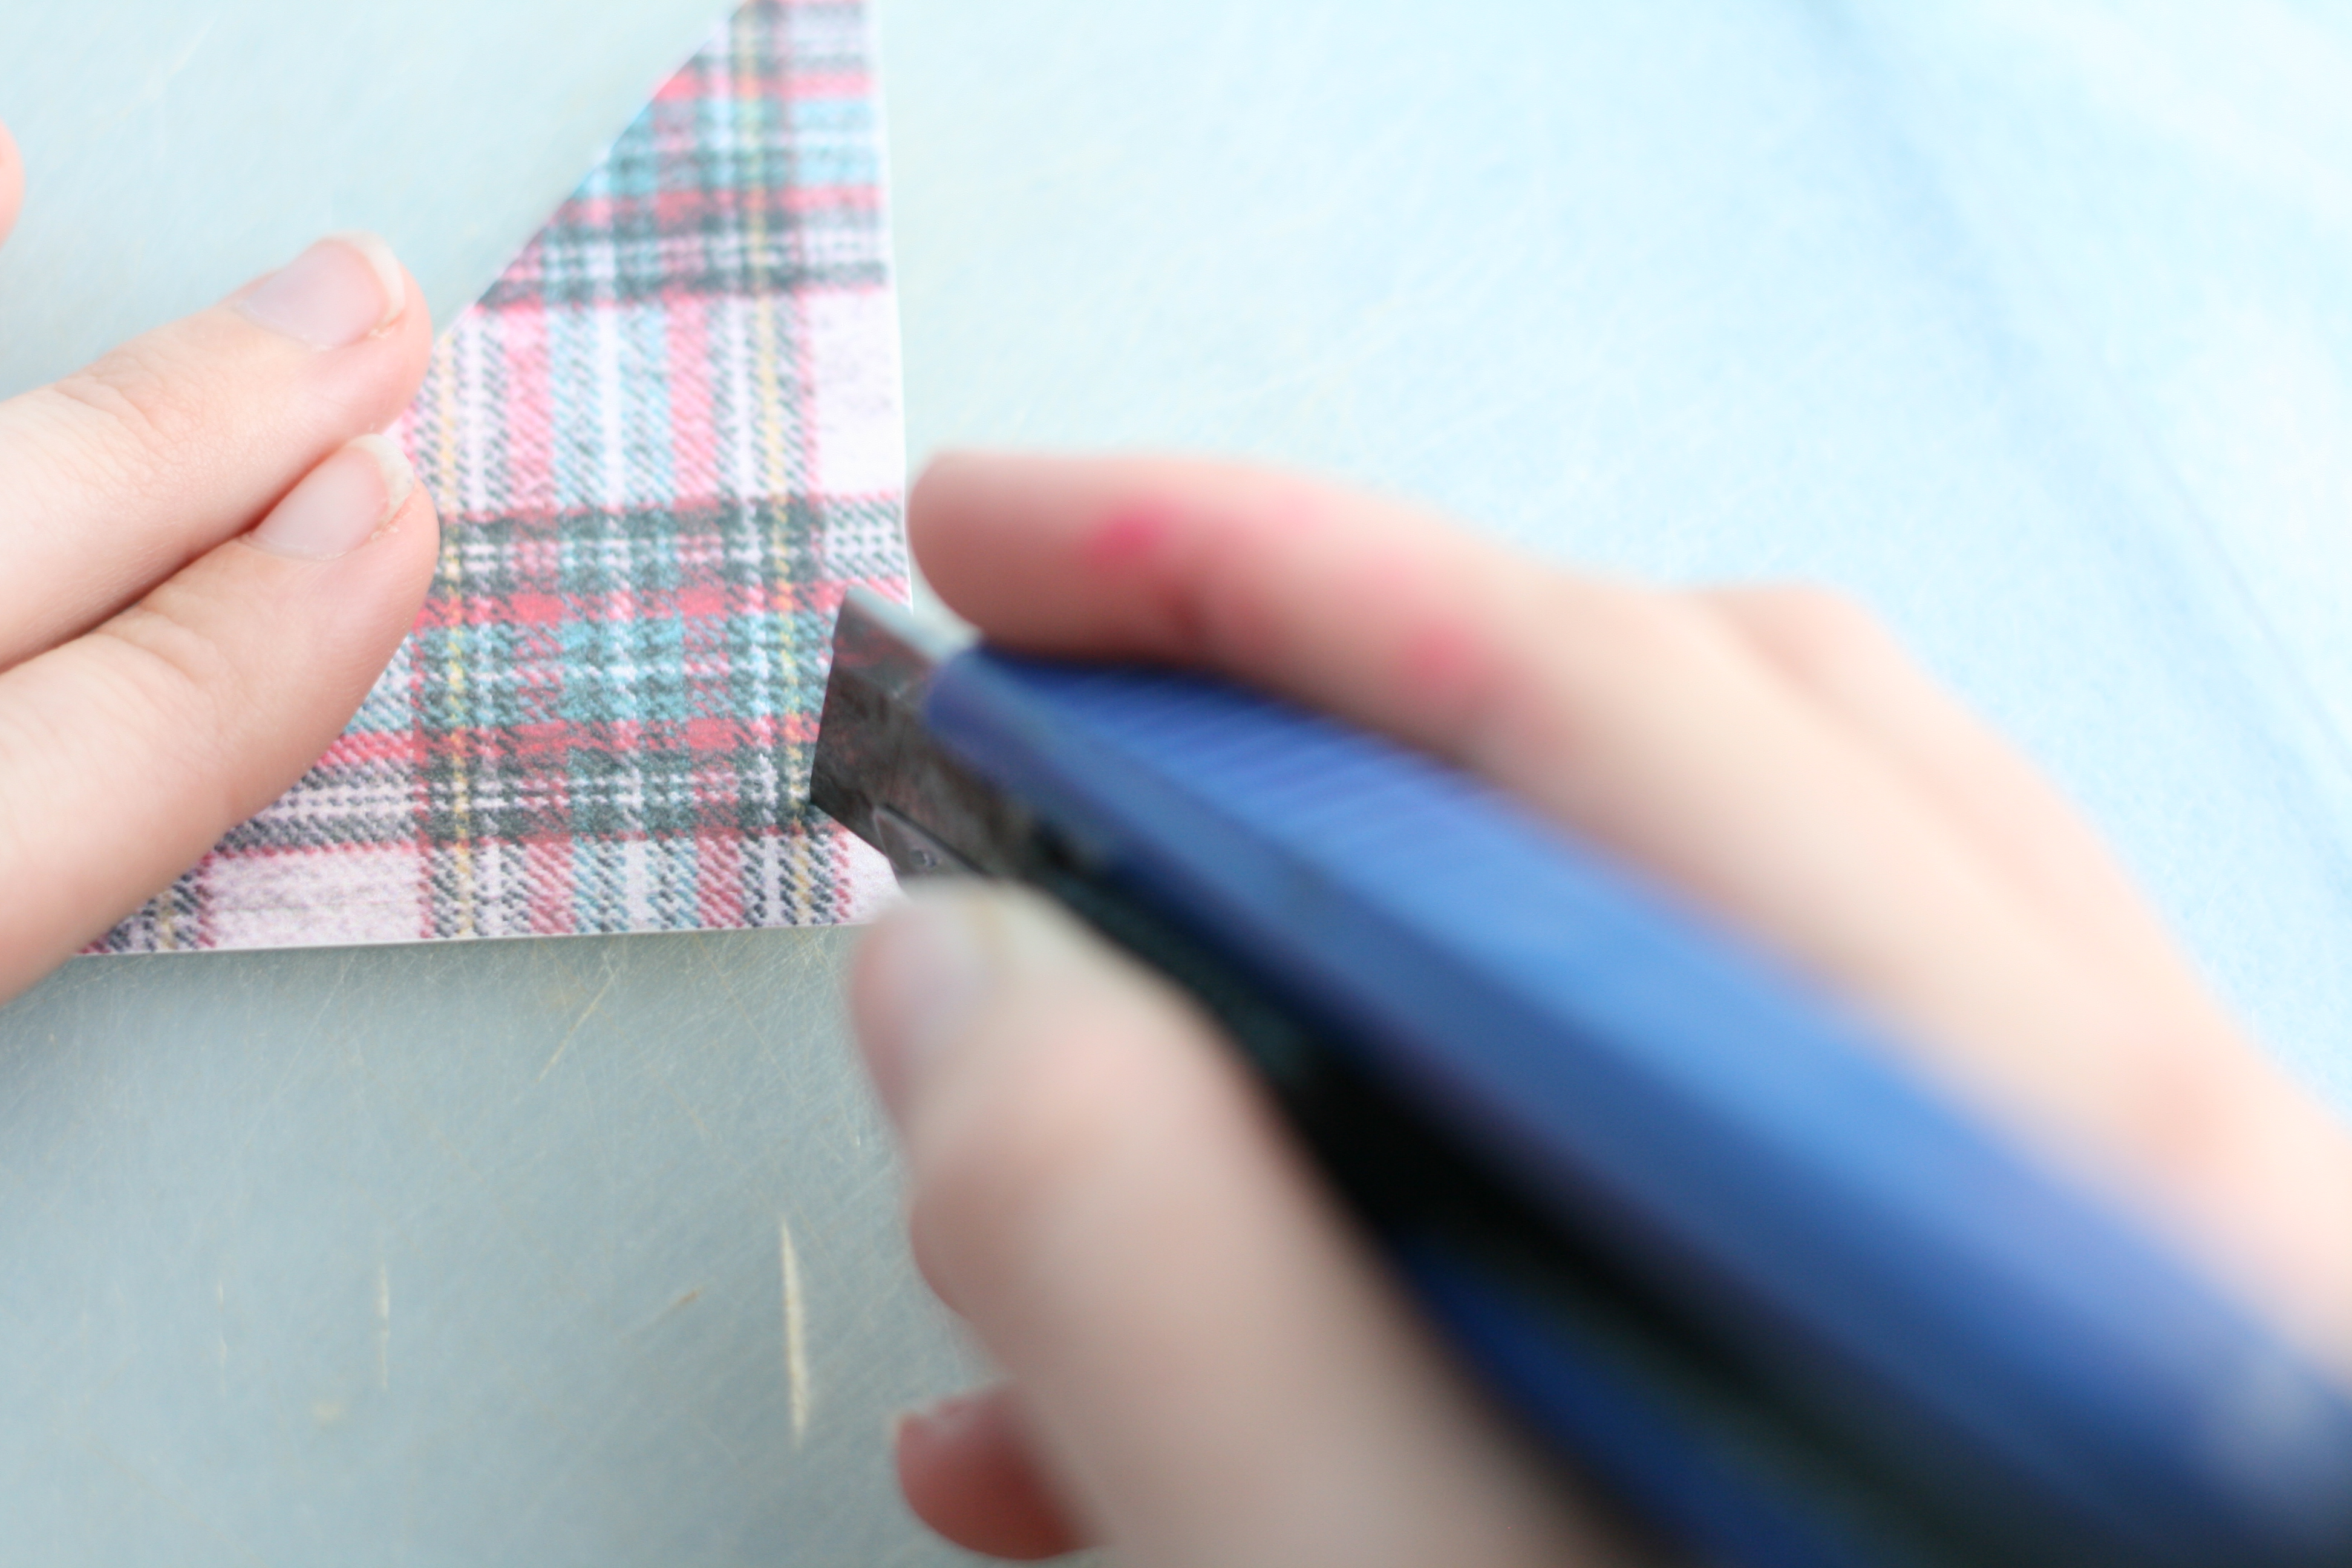
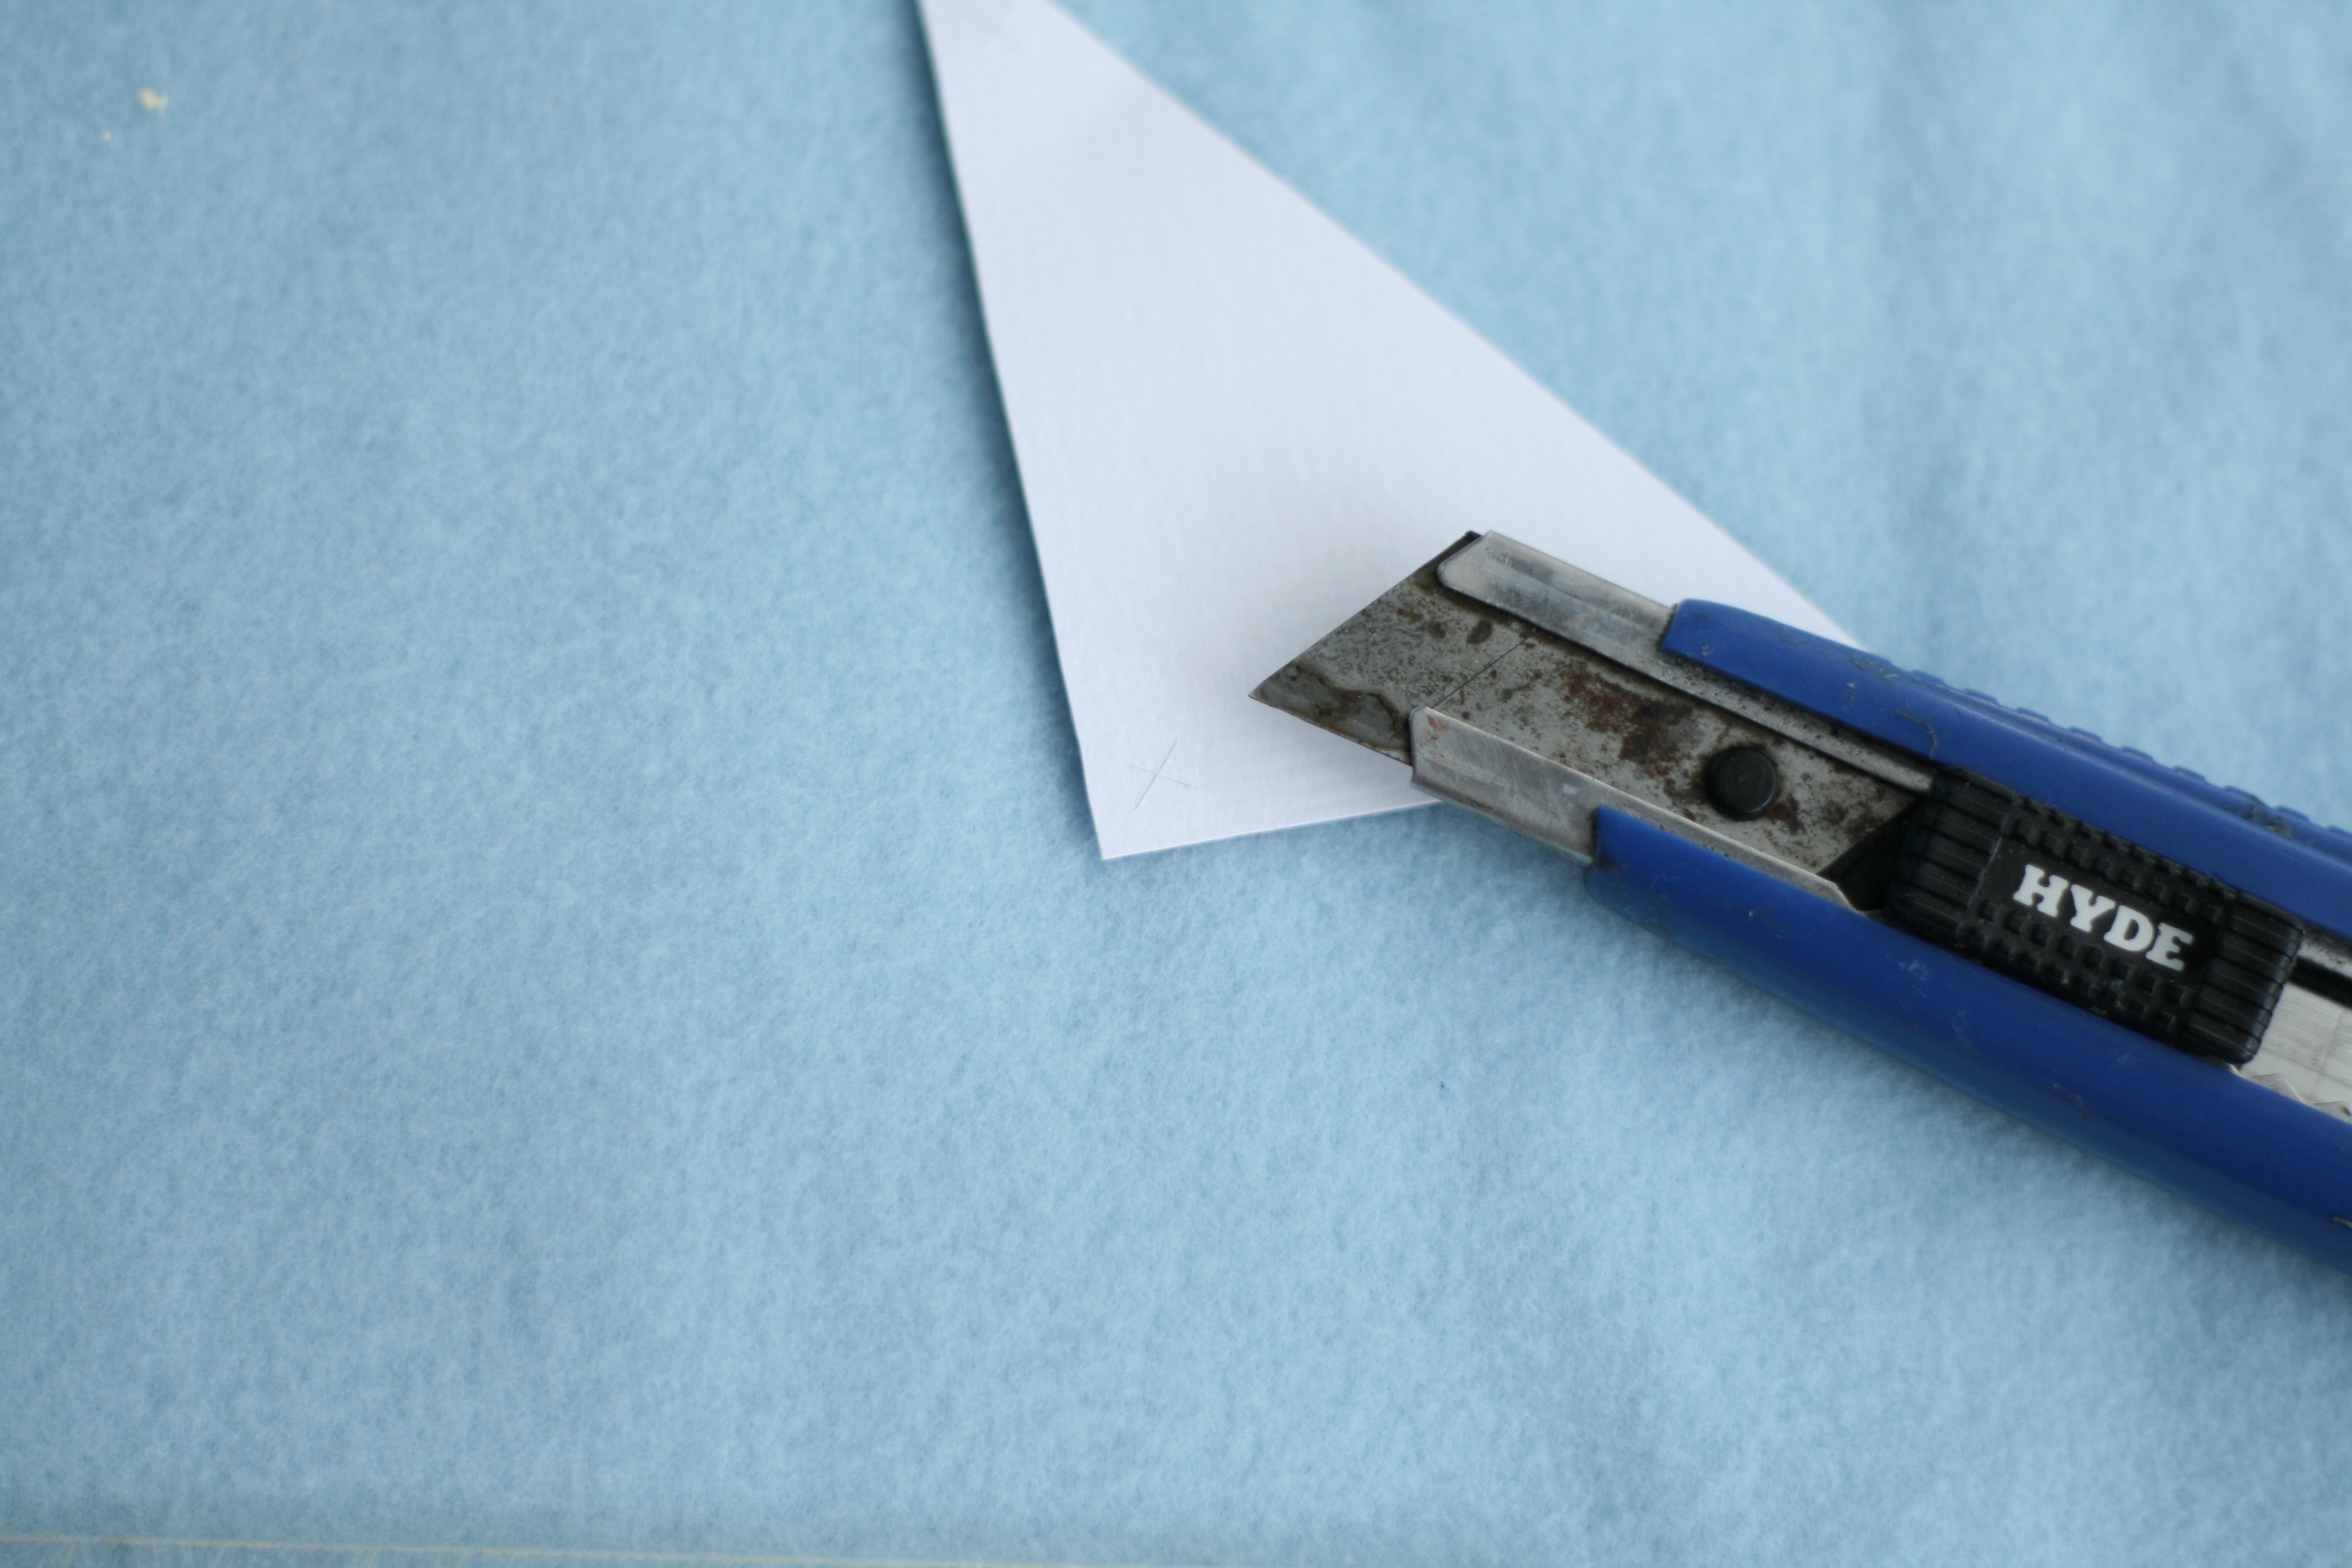
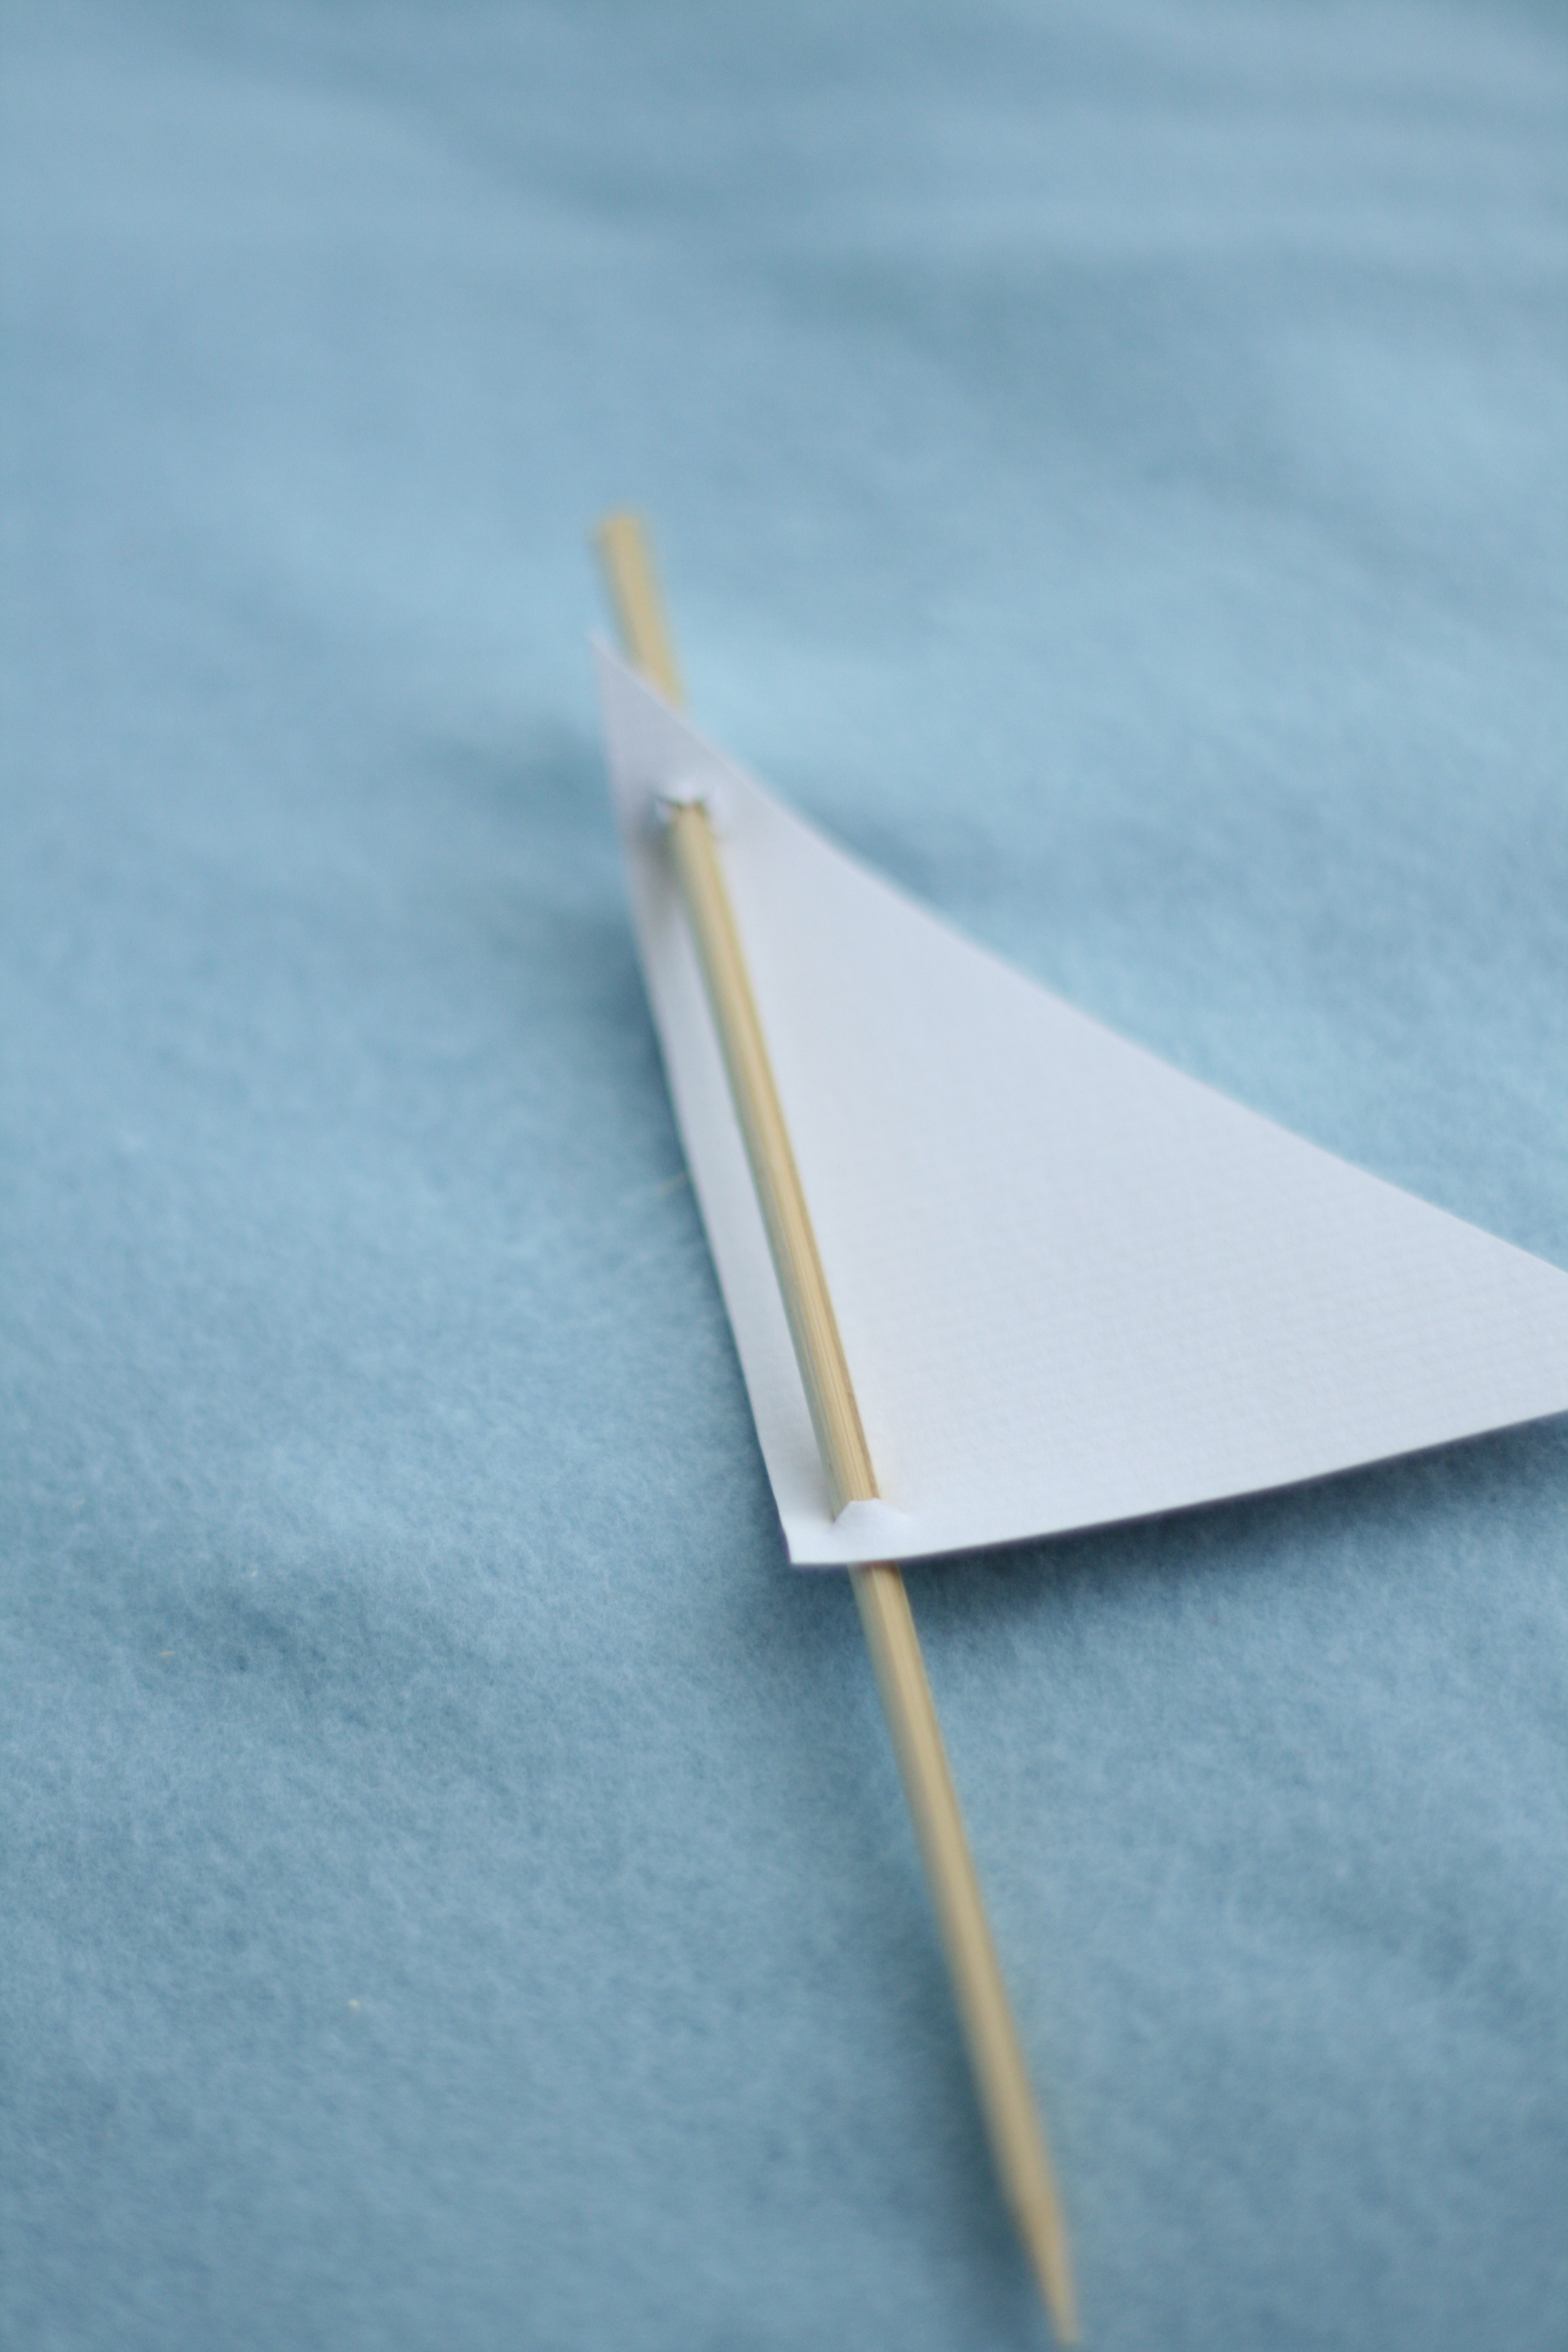
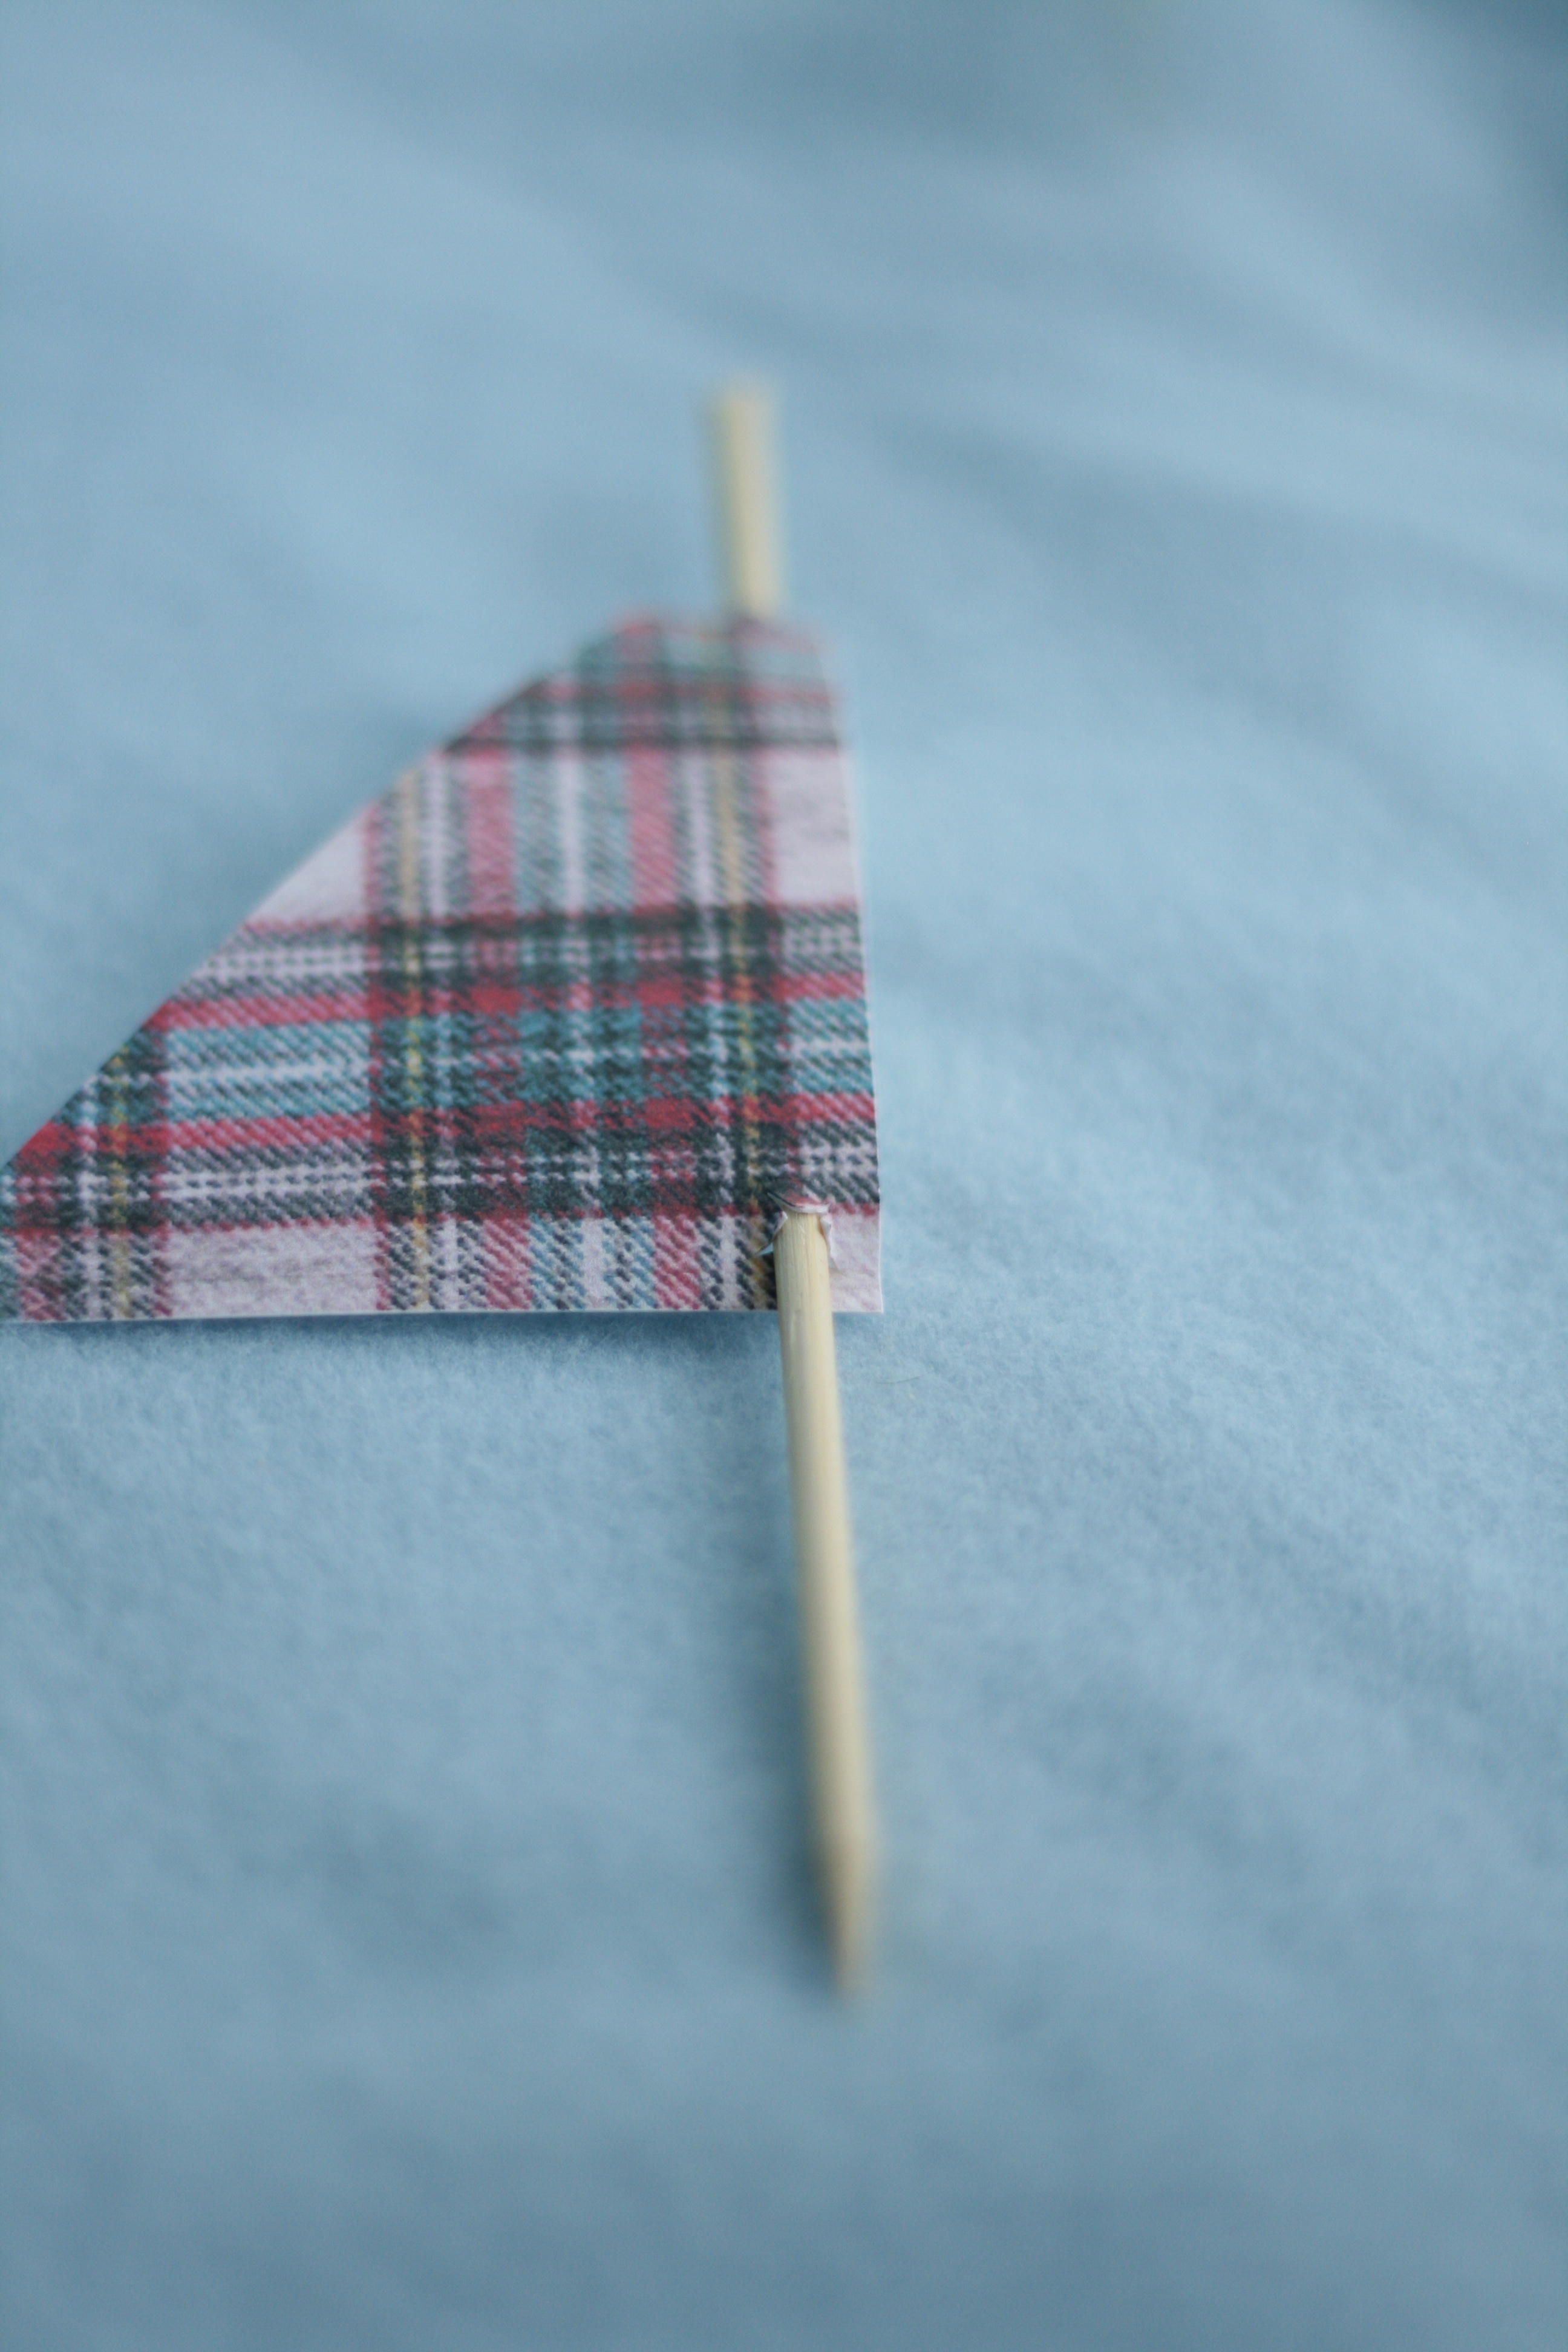
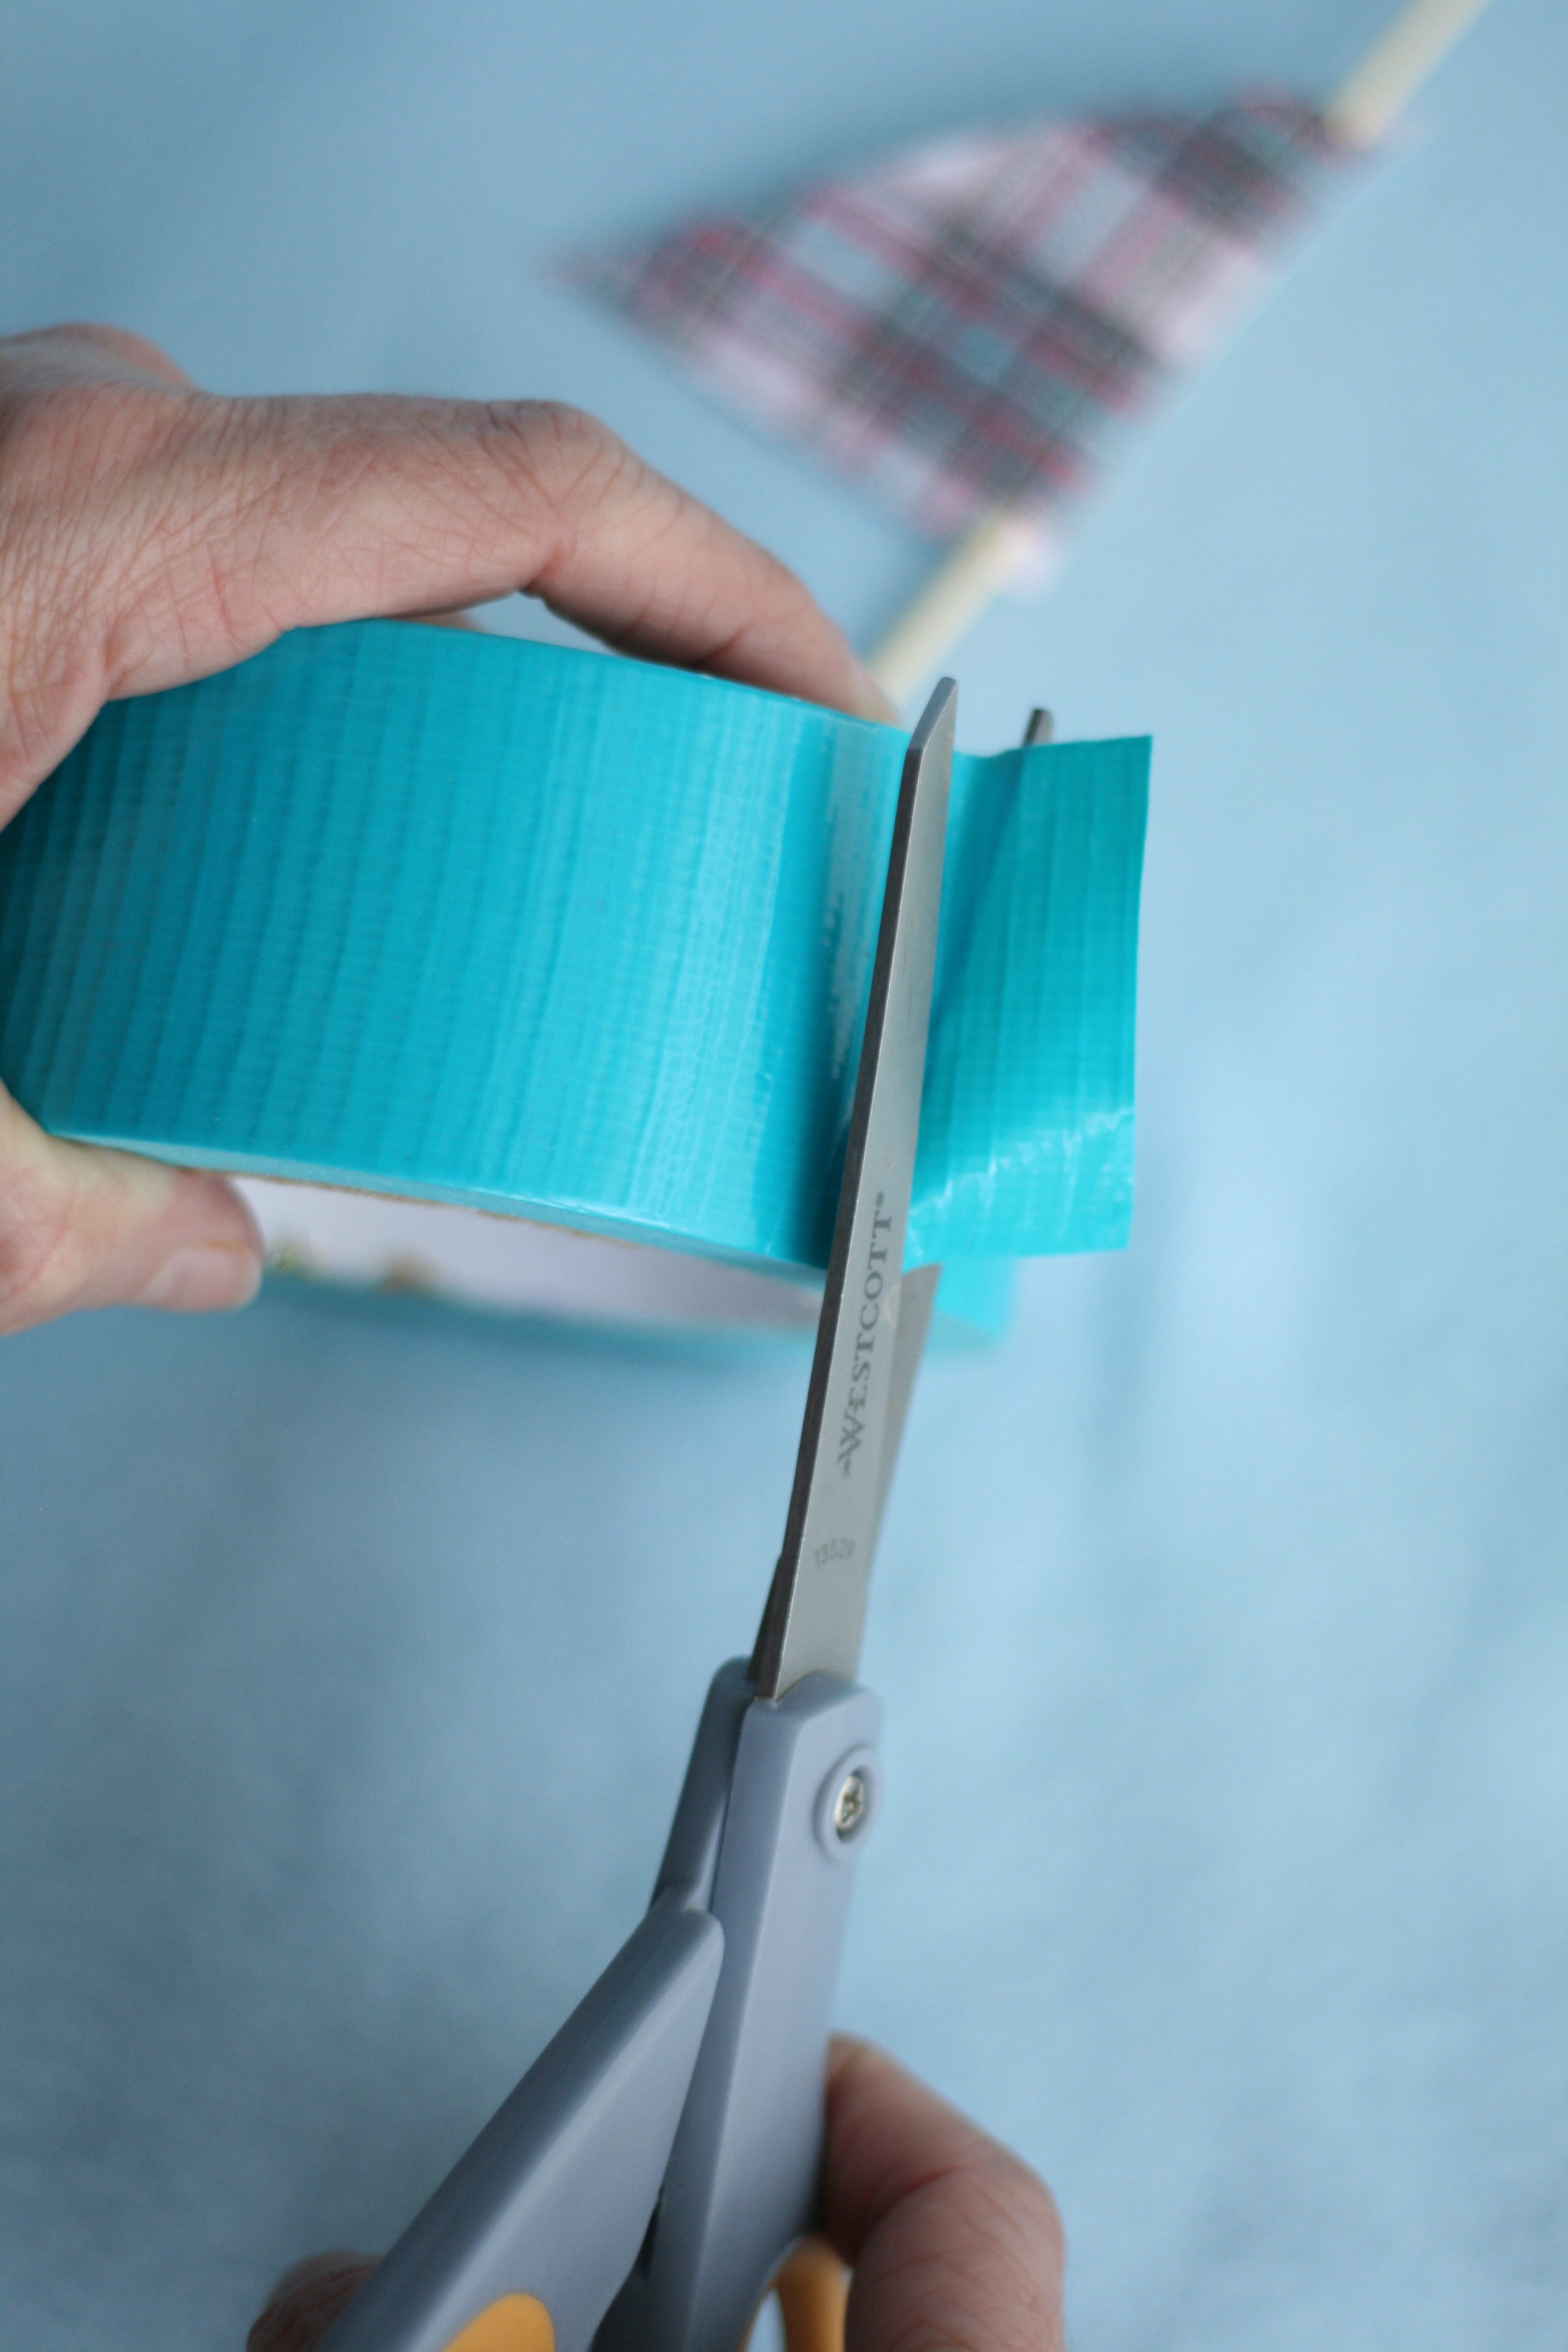
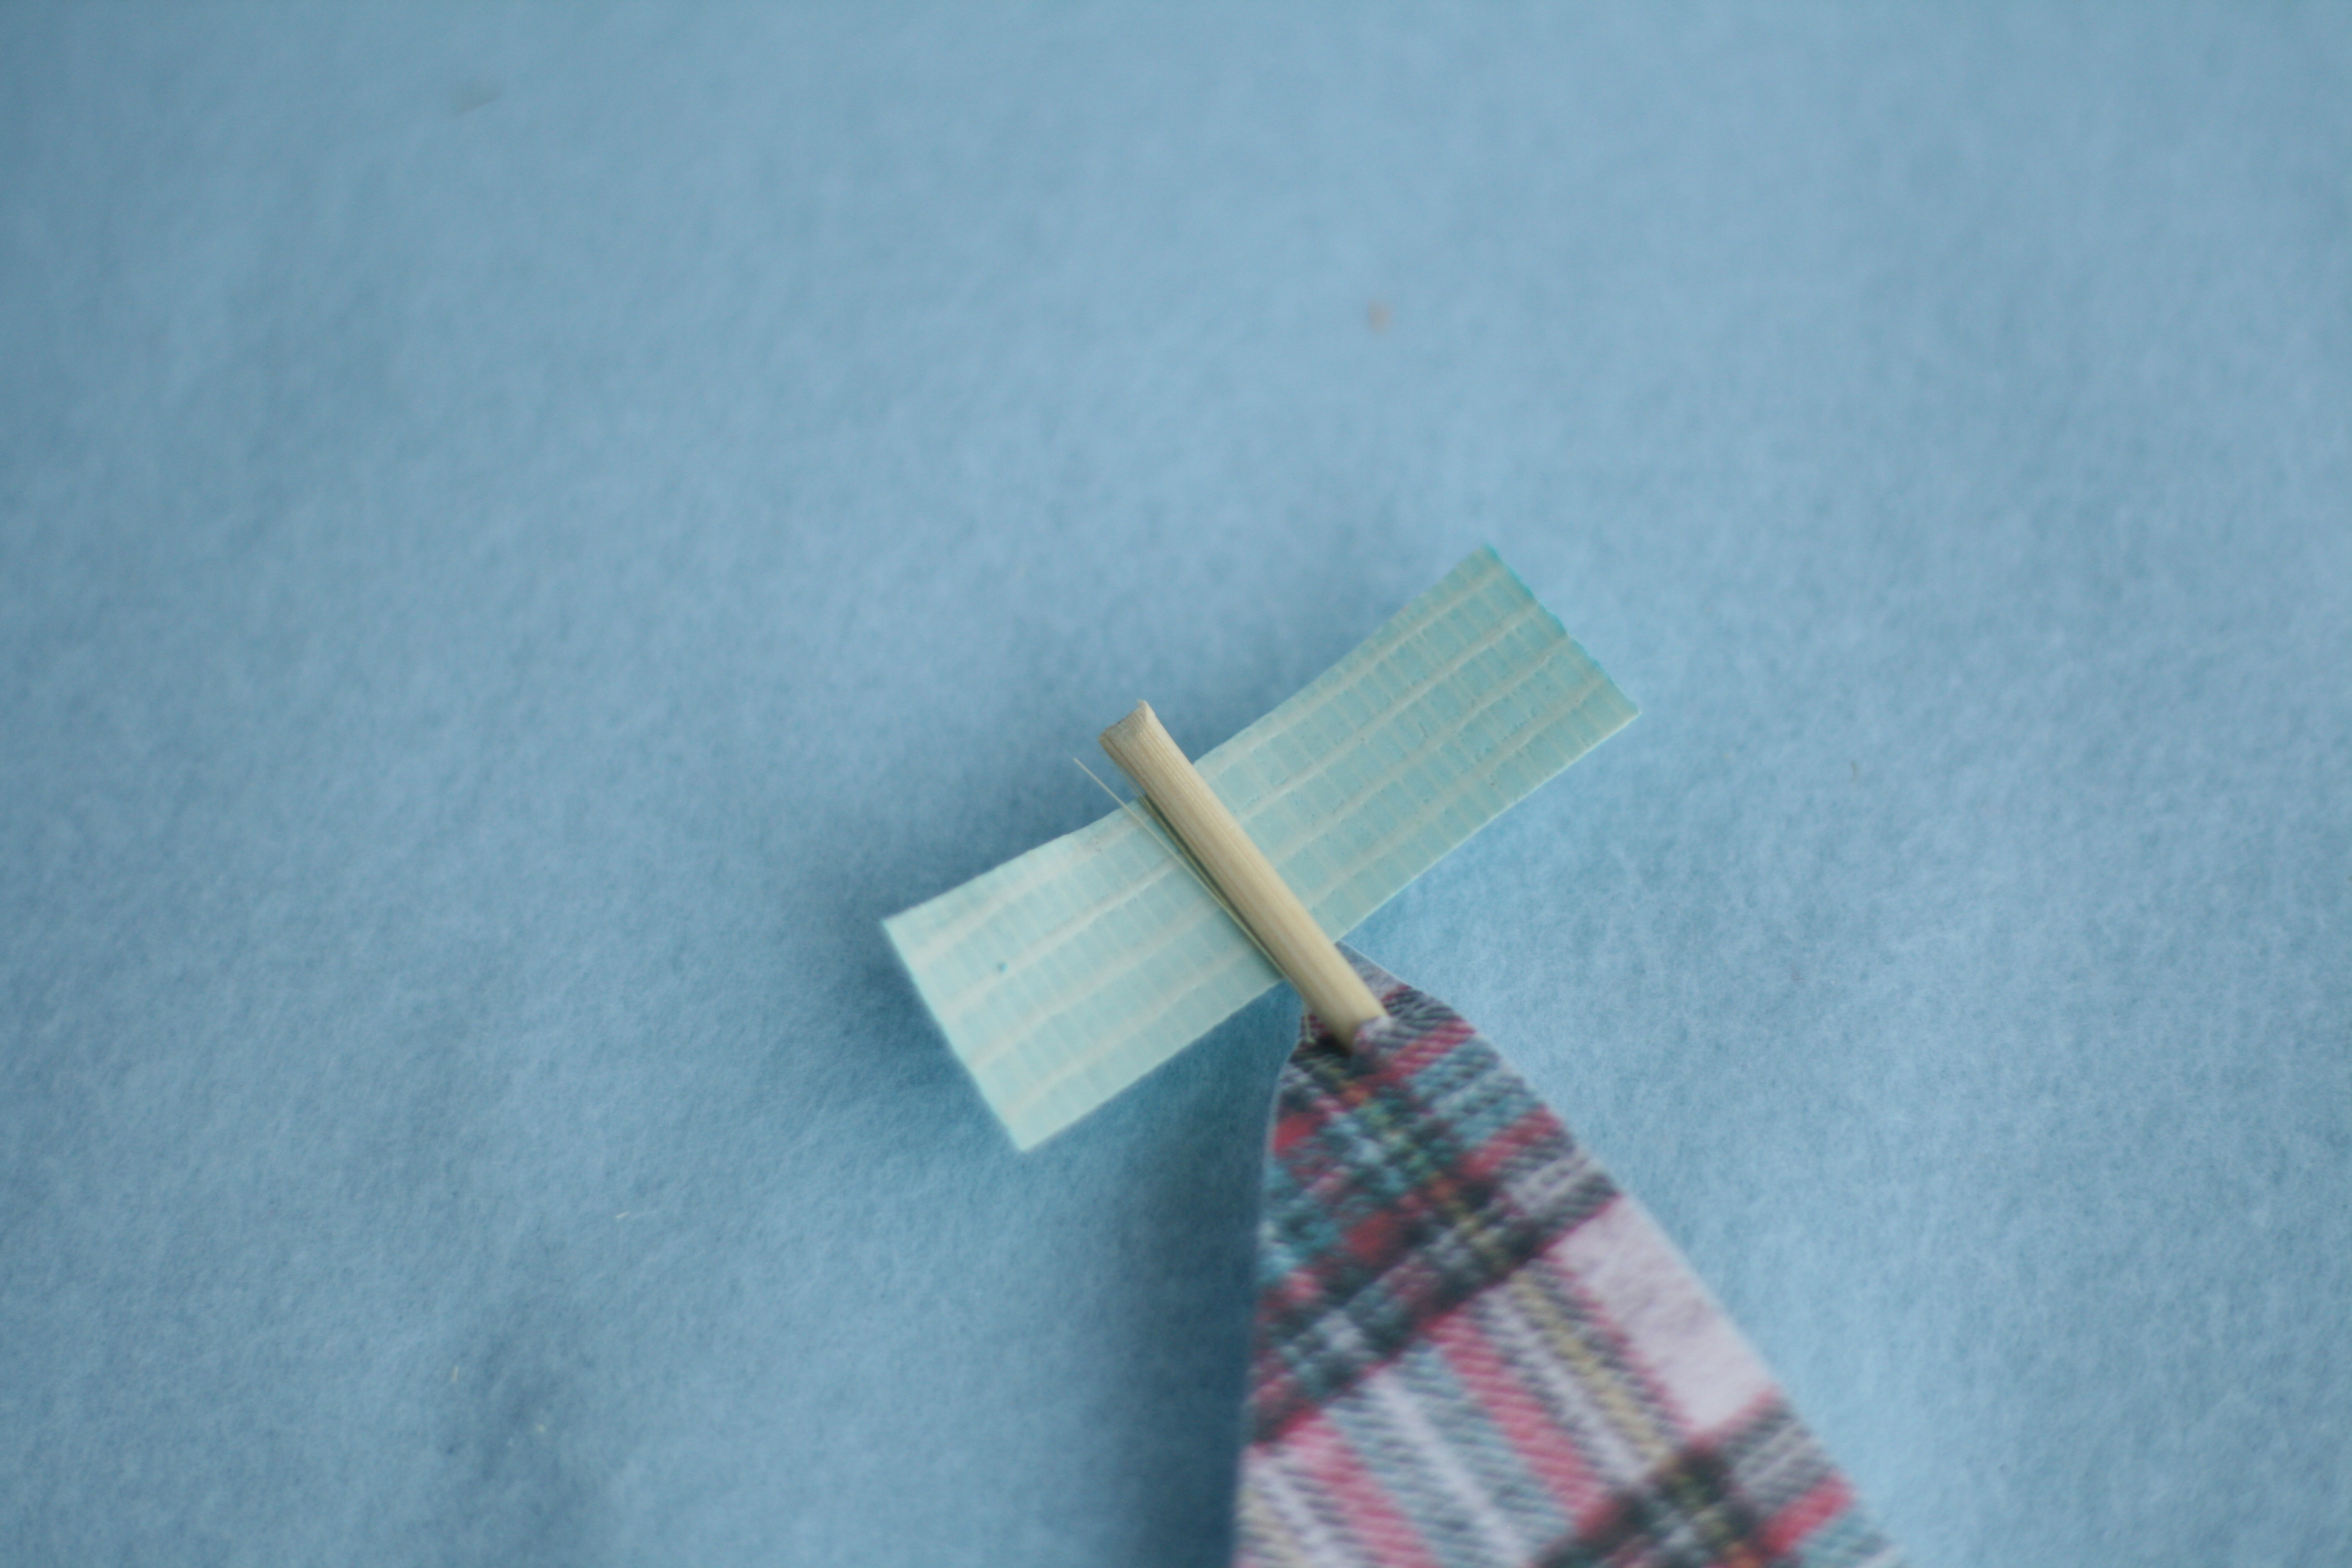
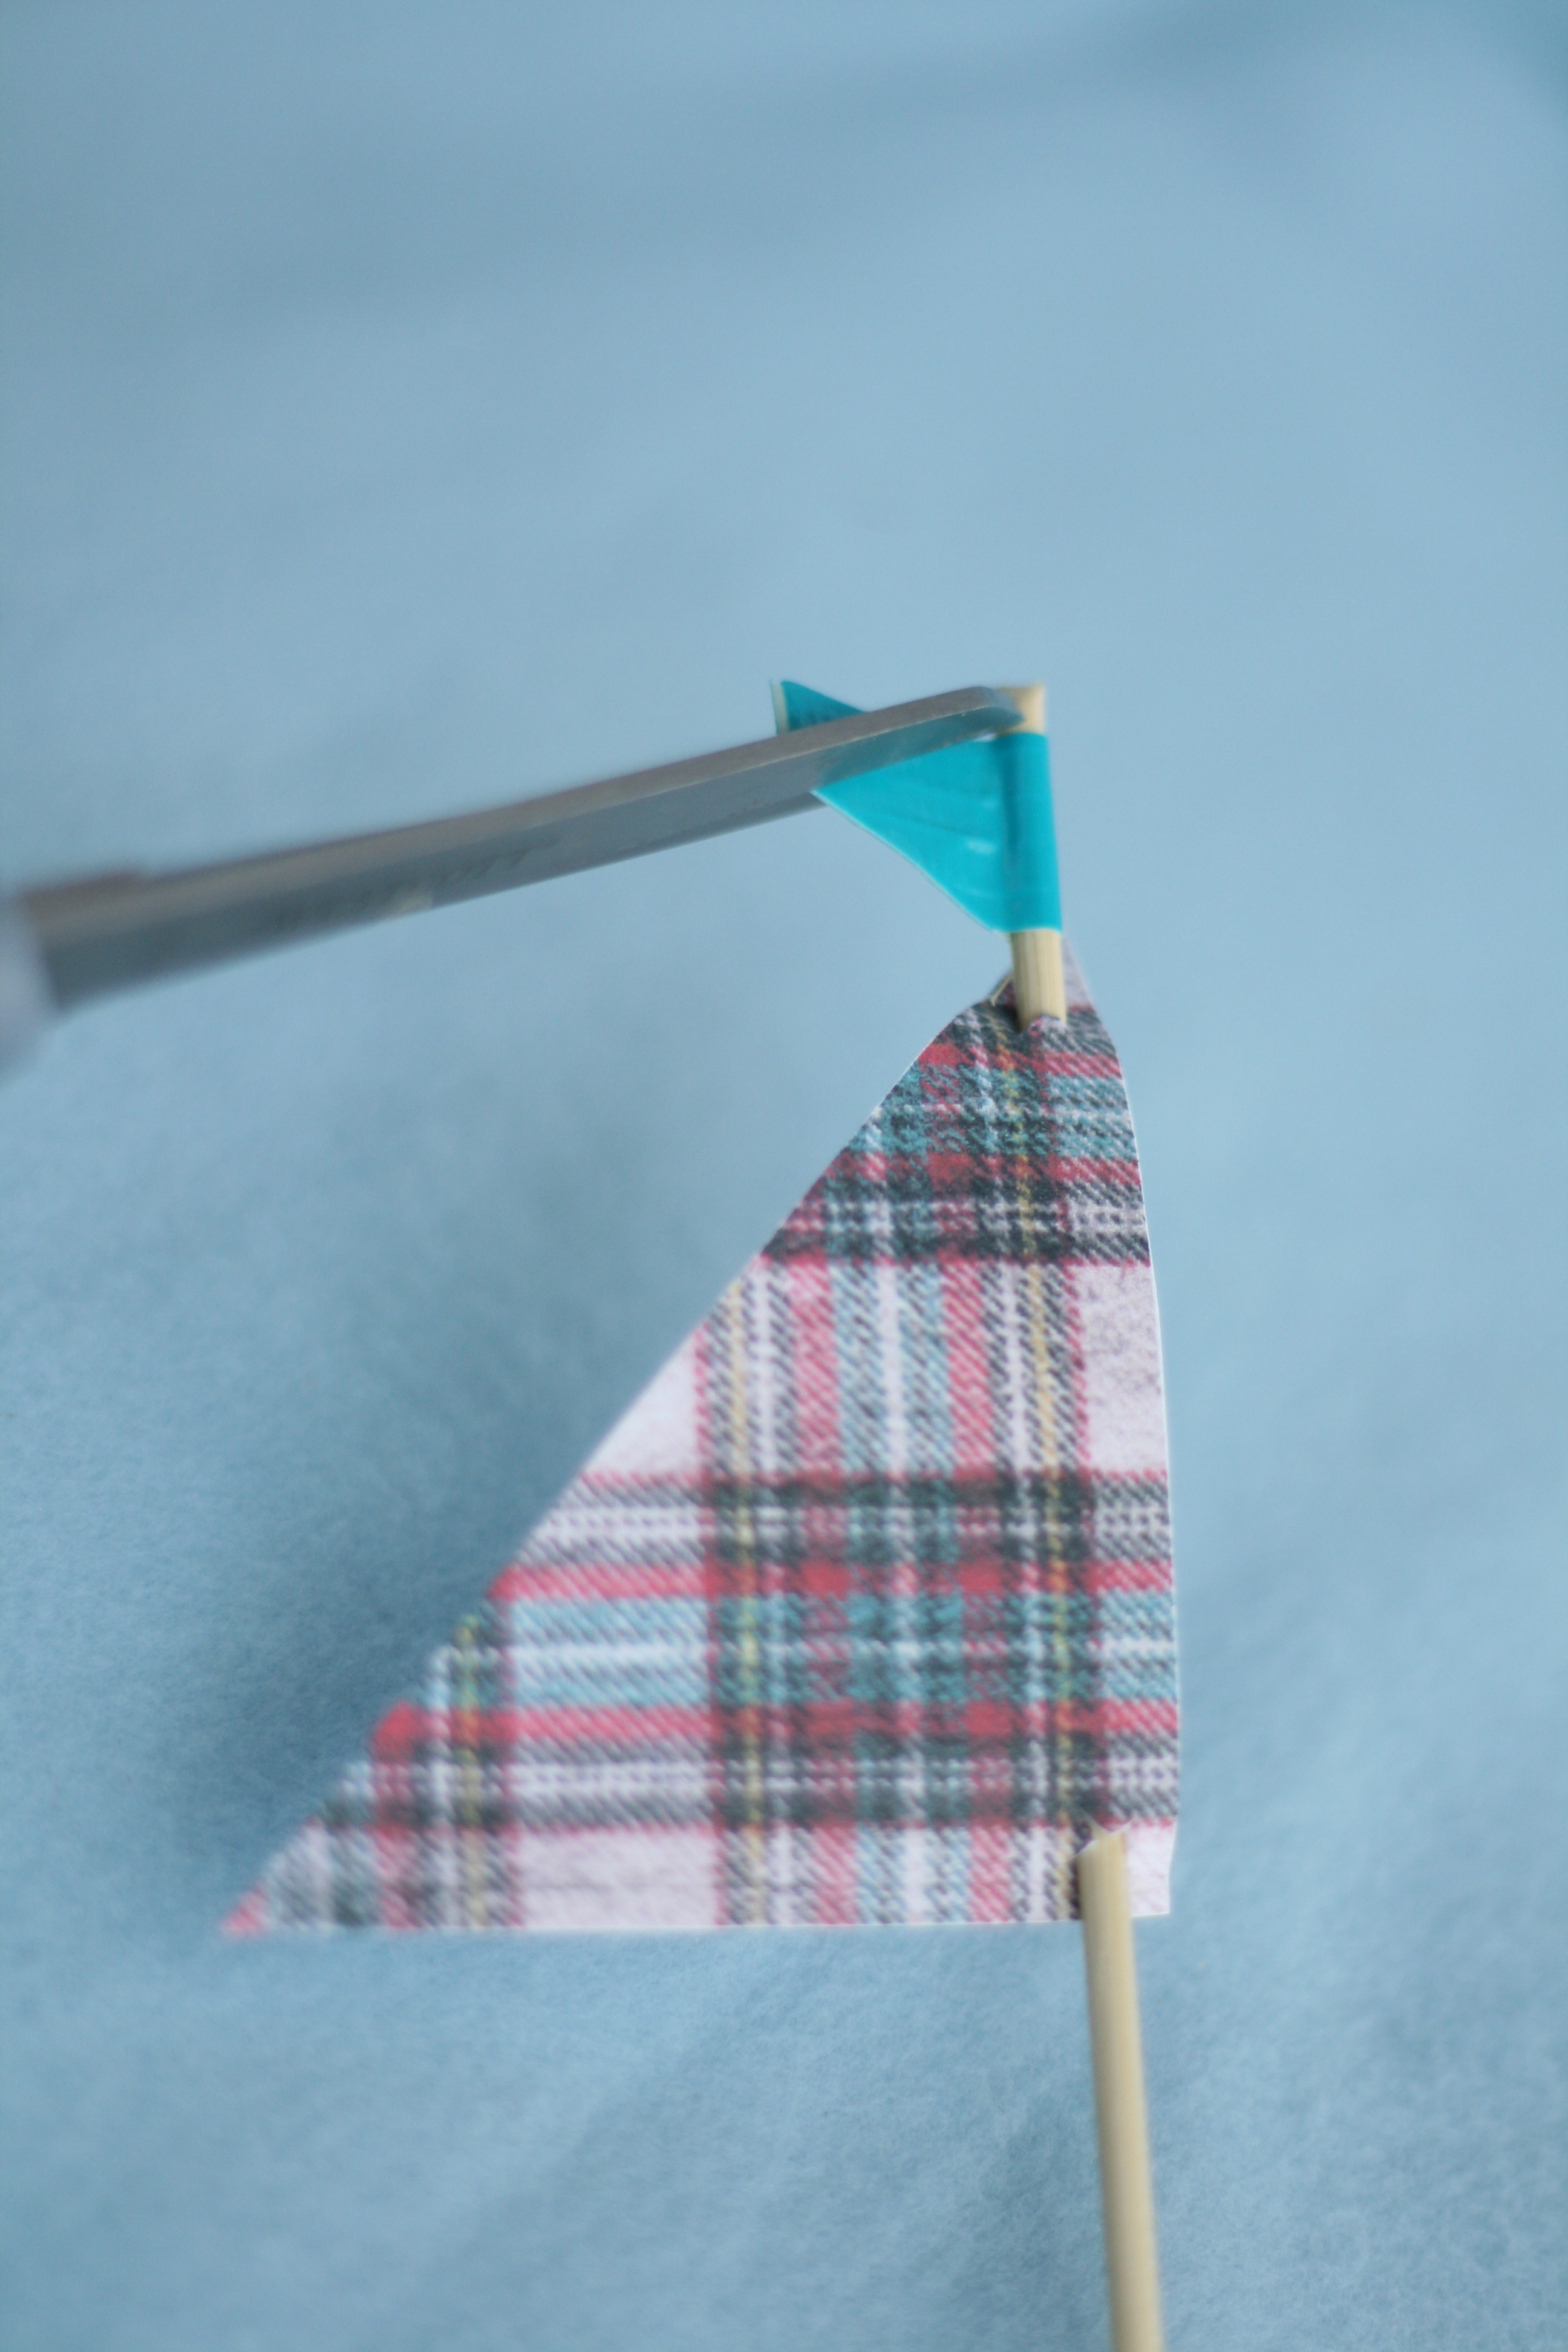
Here’s how to achieve the look (pictures below): 1. Make and bake your cupcakes, using a recipe of your choice. Remember to use 2 liners. Place the white liner inside the plaid liner. Allow cupcakes to fully cool before icing and decorating. 2. Meanwhile, cut wooden skewers about 5″ long using wire cutters or some other cutting utensil. Keep the side with the pointed end. Don’t worry if the wood begins to fray where you made the cut. We will cover that up shortly. 3. Print out the FauxMartha Cupcake Sail Pattern on textured cardstock. Cut out each sail. Using the longest side of the triangle (not the angle), cut an “x” at the top and bottom on a cutting board. Insert pointed end of wooden skewer into the top “x” on the printed side. Continue to insert the skewer through the second “x”. 4. Cut thin 1/2″ strips of duck tape. Place tape on the top of skewer where you made your original cut. Evenly fold over. Make 2 diagonal cuts to achieve a flag. Push sail up to give it that curved wind blown look. 5. Ice your cupcakes with the frosting of your choice. I use the Wilton Dessert Decorator Pro to ice my cupcakes. In order to get the thick swirls, I don’t use a tip. Place pointed end of the sail into cupcake and you’ve got yourself a cute sailboat cupcake!
If your visual, like me, these should help:
If you missed them, click here for the matching baby shower invites. Now that you have everything you need to get started, happy baby shower planning!
Oh nuts! I’ve been keeping a secret from you. A good kind of secret. Not the bad kind. Who am I kidding? I’m no good at keeping secrets. I’ve already spilled the beans. Can you guess what it is?
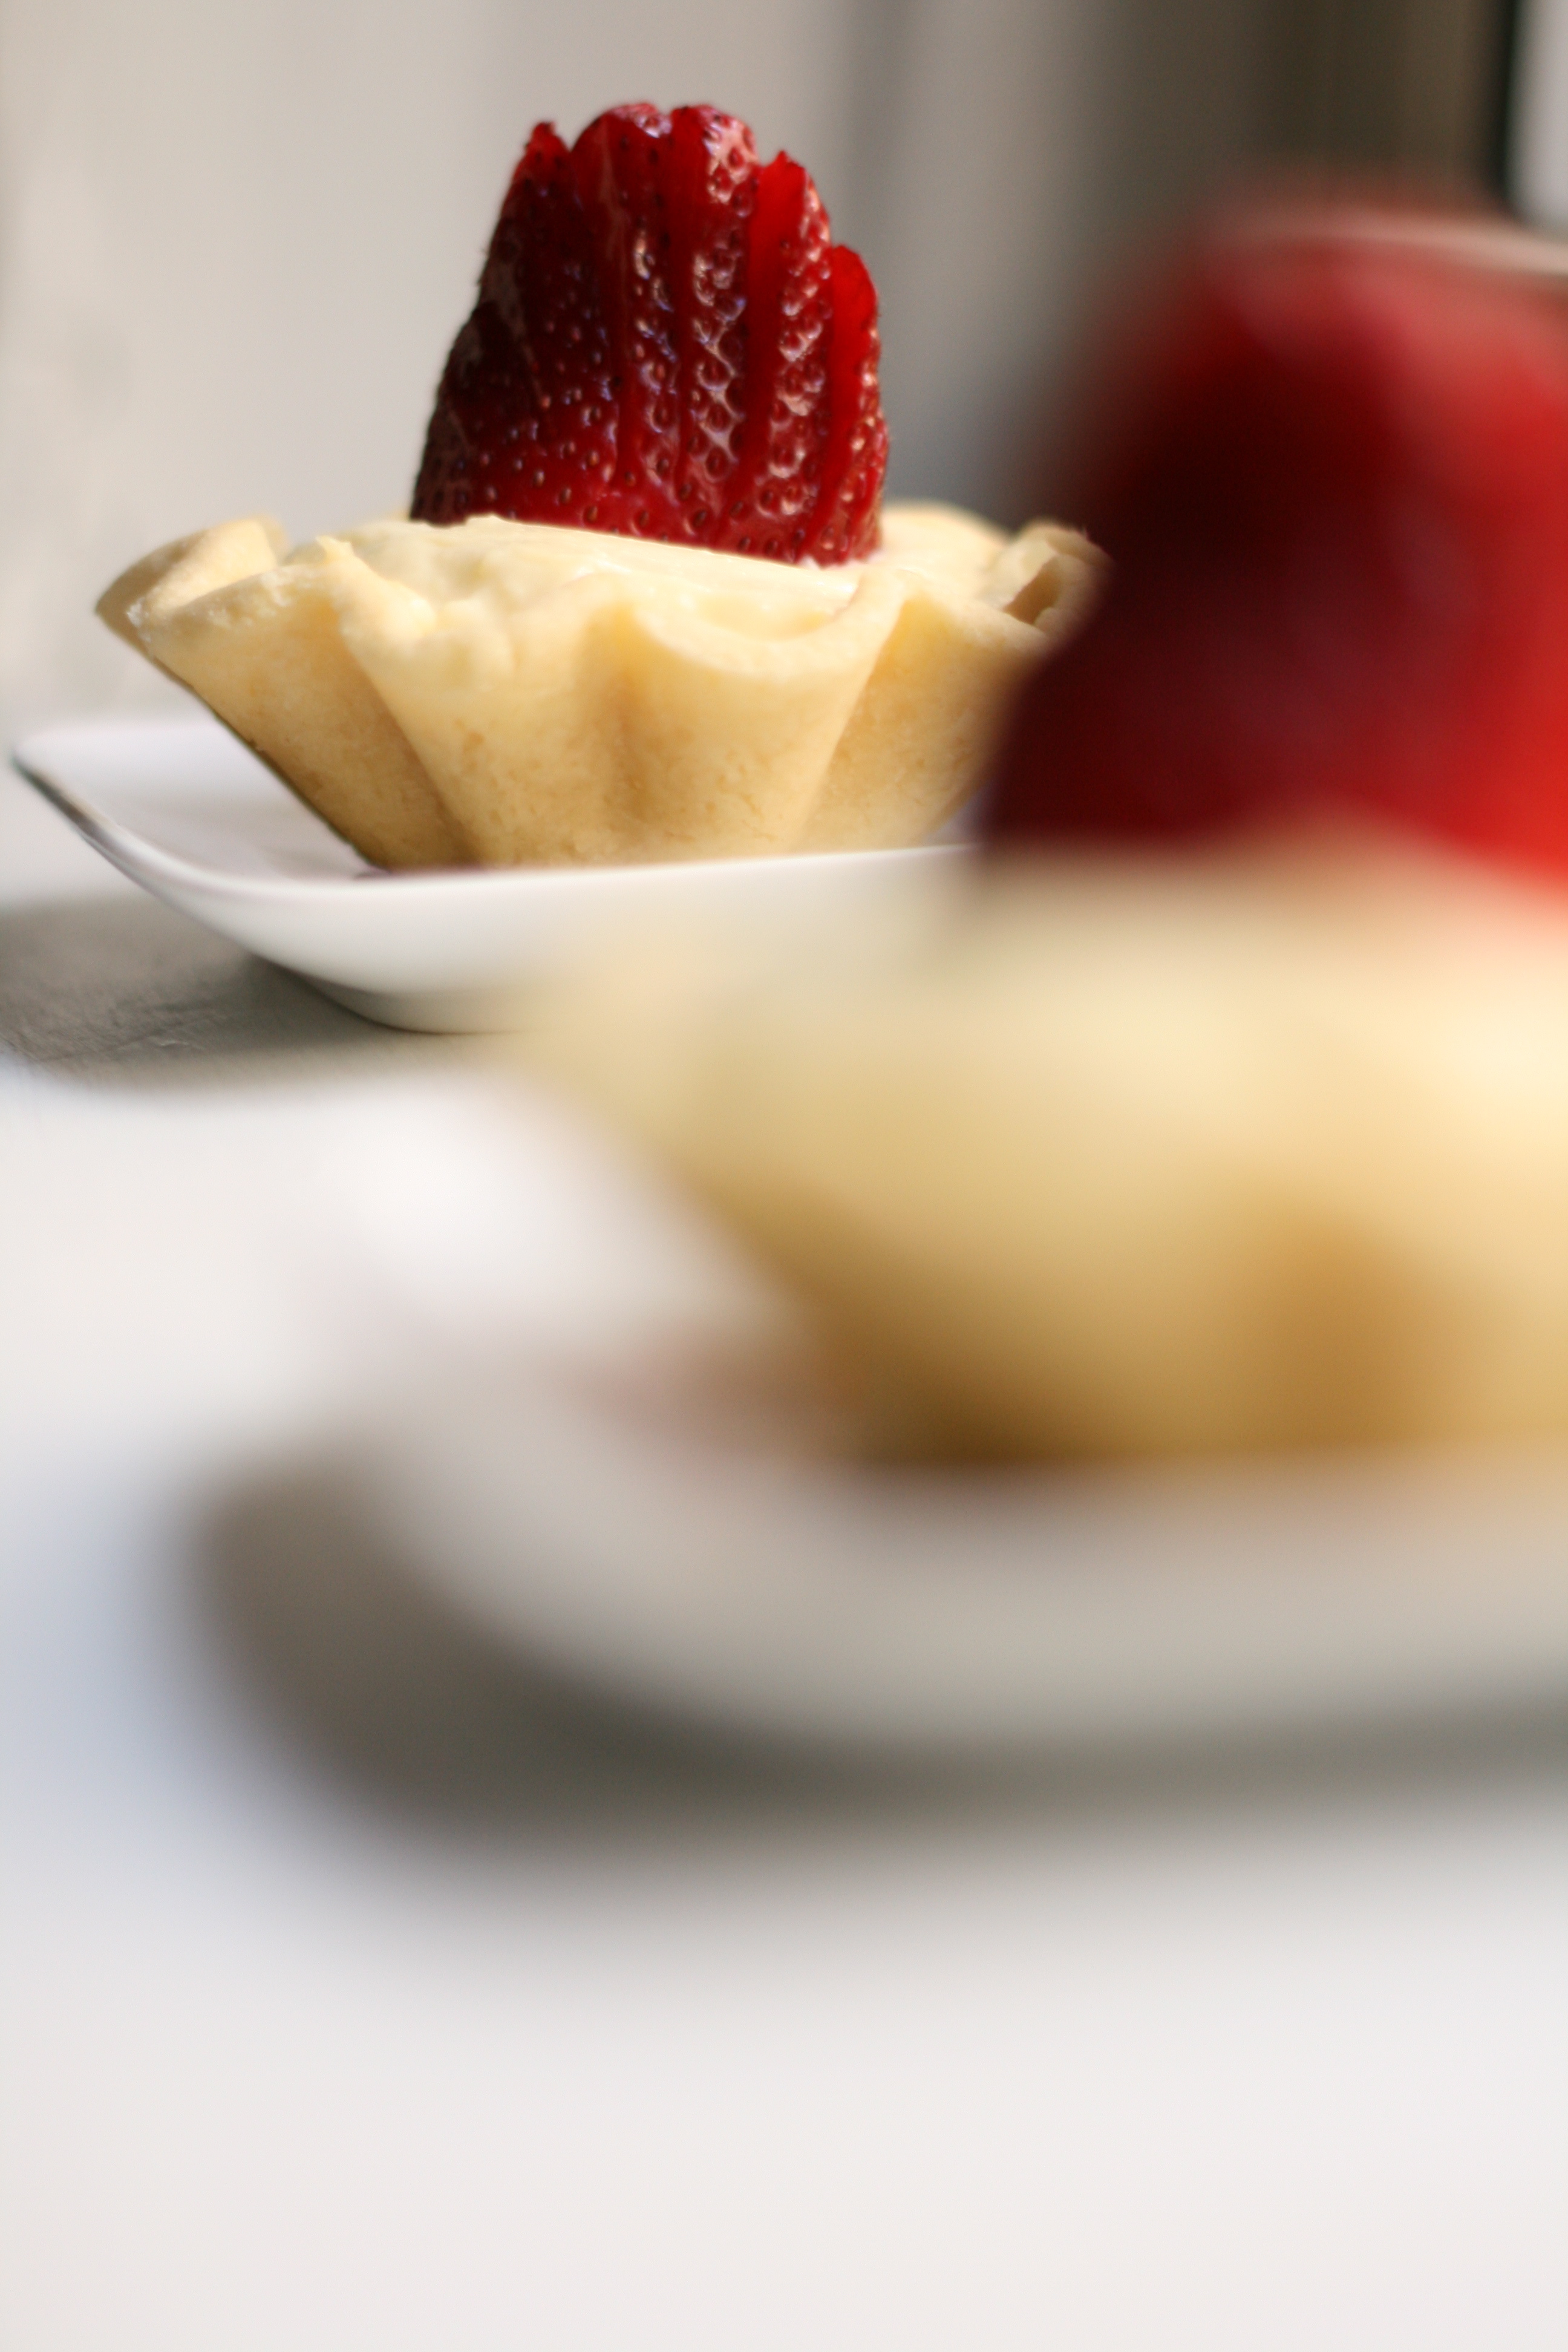
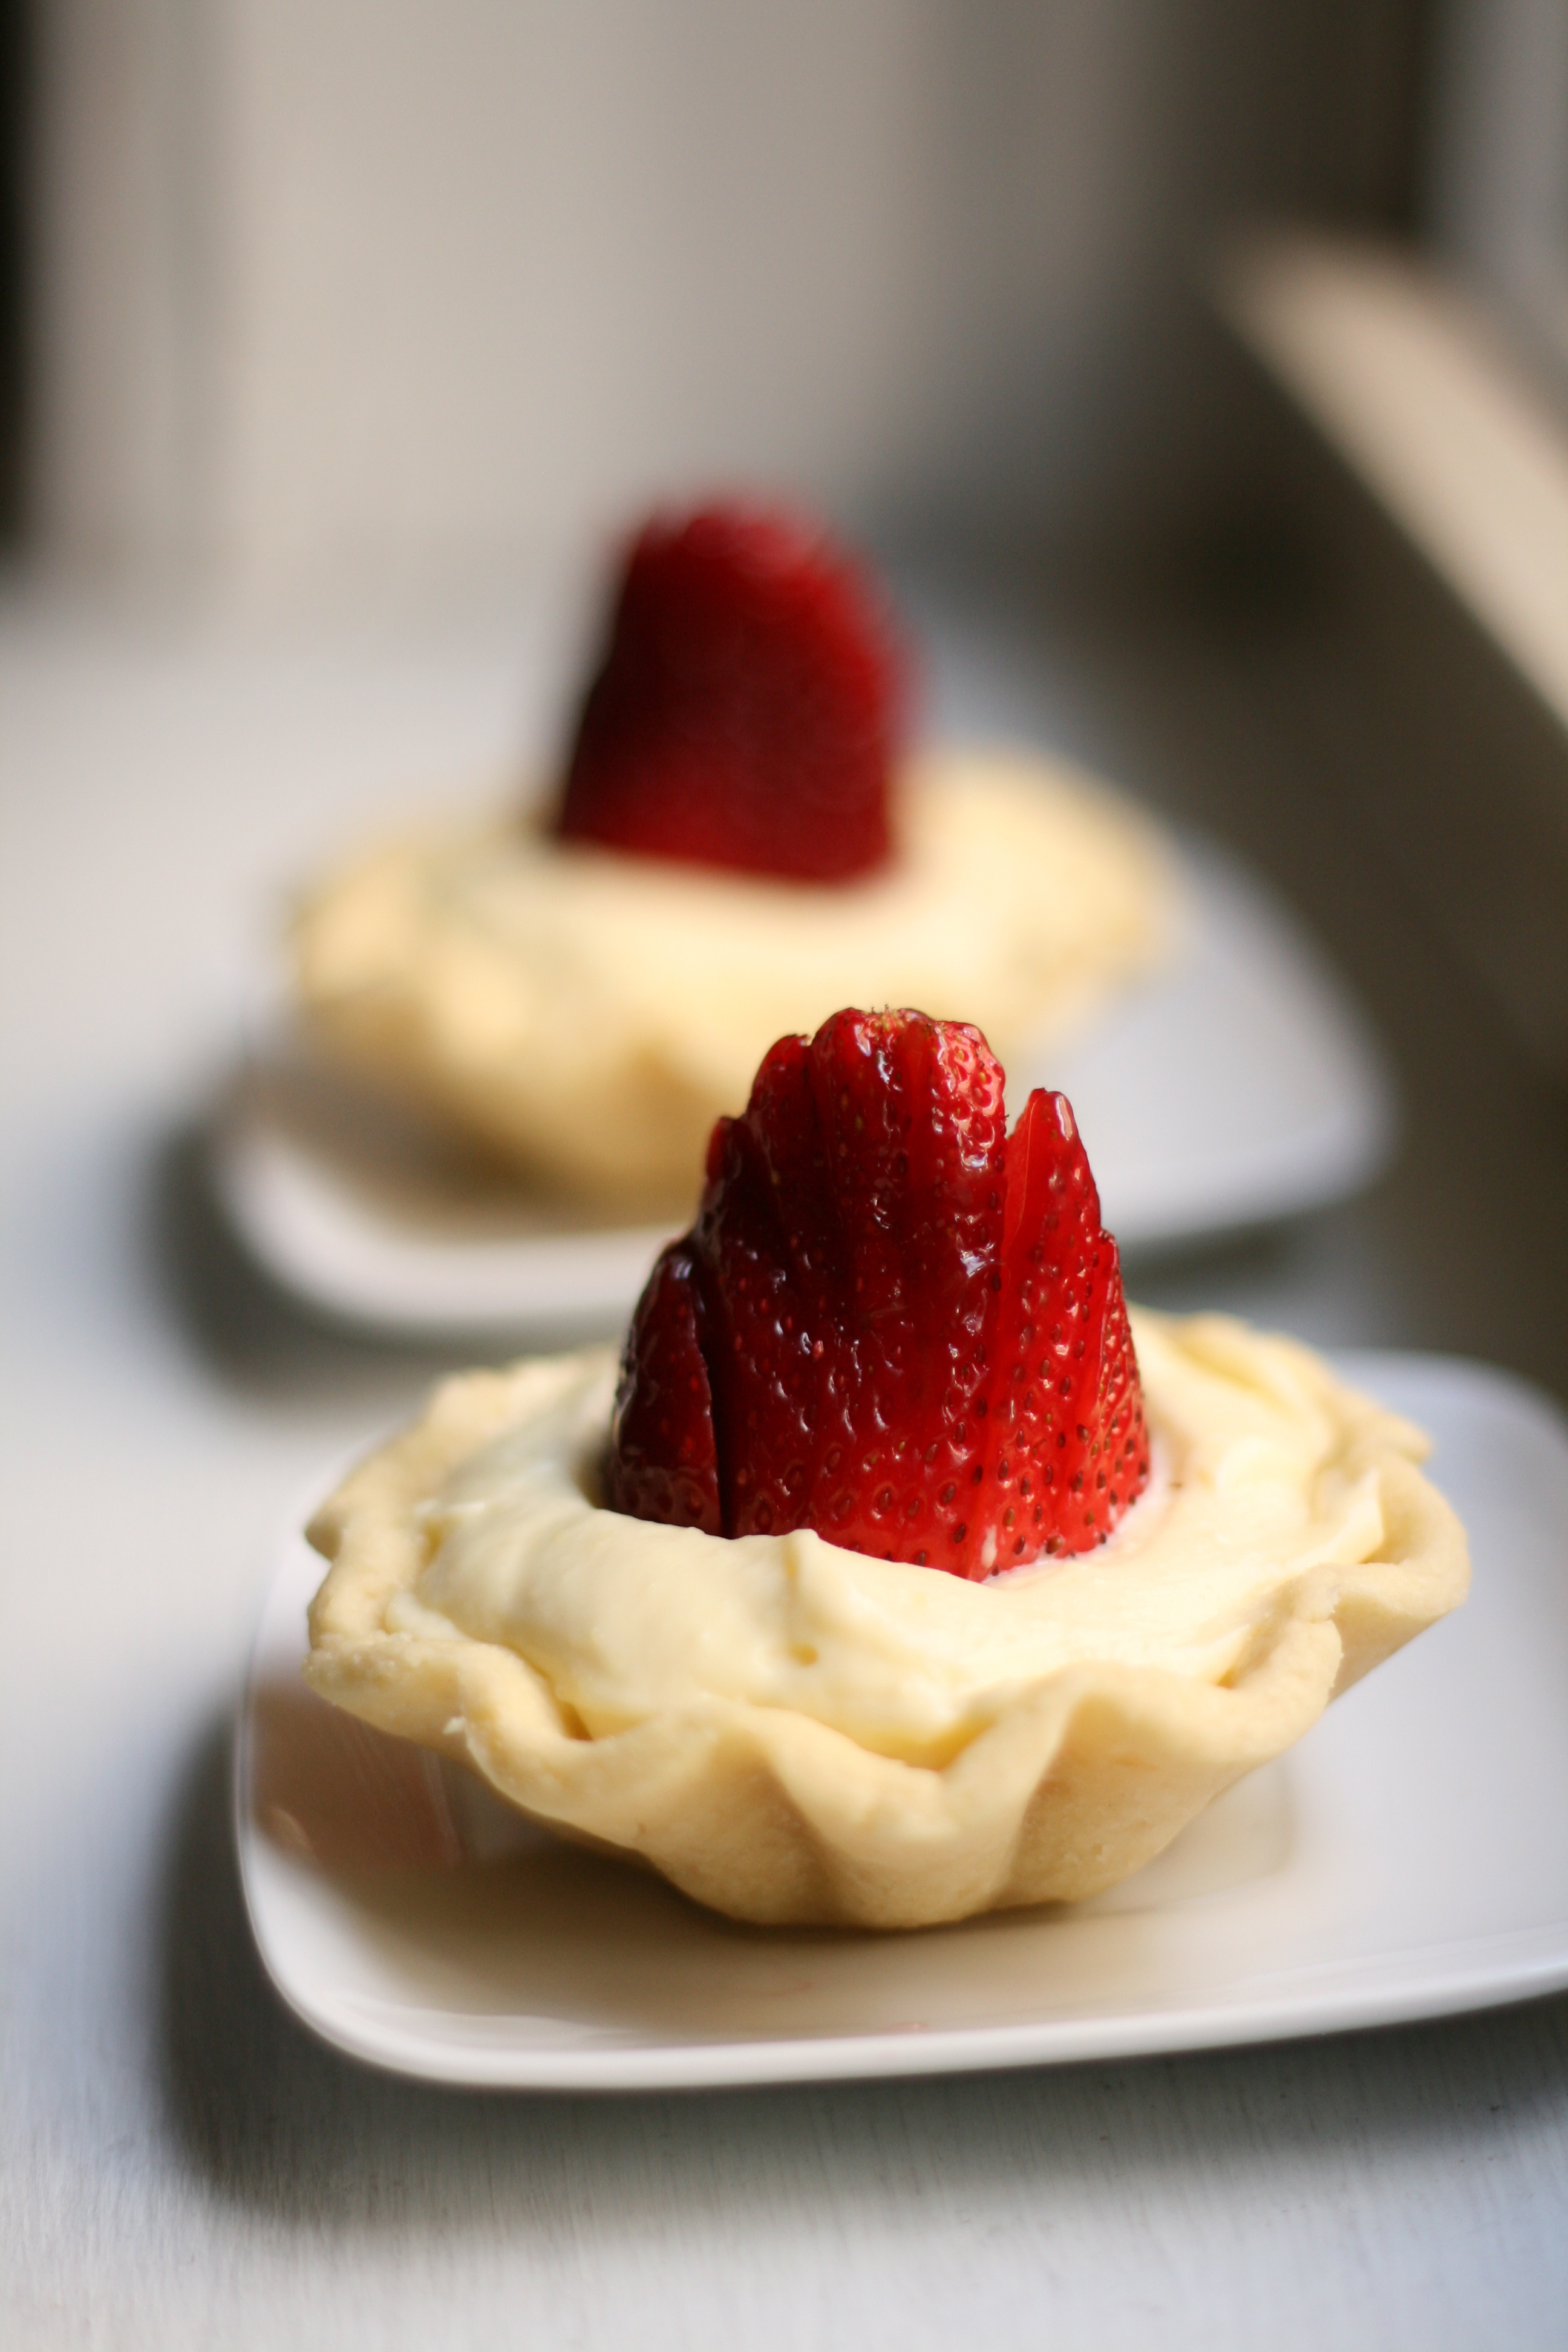
Drum roll please…Oh! Nuts. That’s my secret! Or should I say, my secret weapon. I’ve been dying to try a couple new recipes that call for almond flour, and they were nice enough to send me some. I’ve made my own almond flour before, but let me tell you, it’s tedious. Blanch almonds. Peel off skins (this takes forever!). Blend up finely. Who knew you could buy almond flour? This stuff is a time life saver! And it makes some darn good tarts.
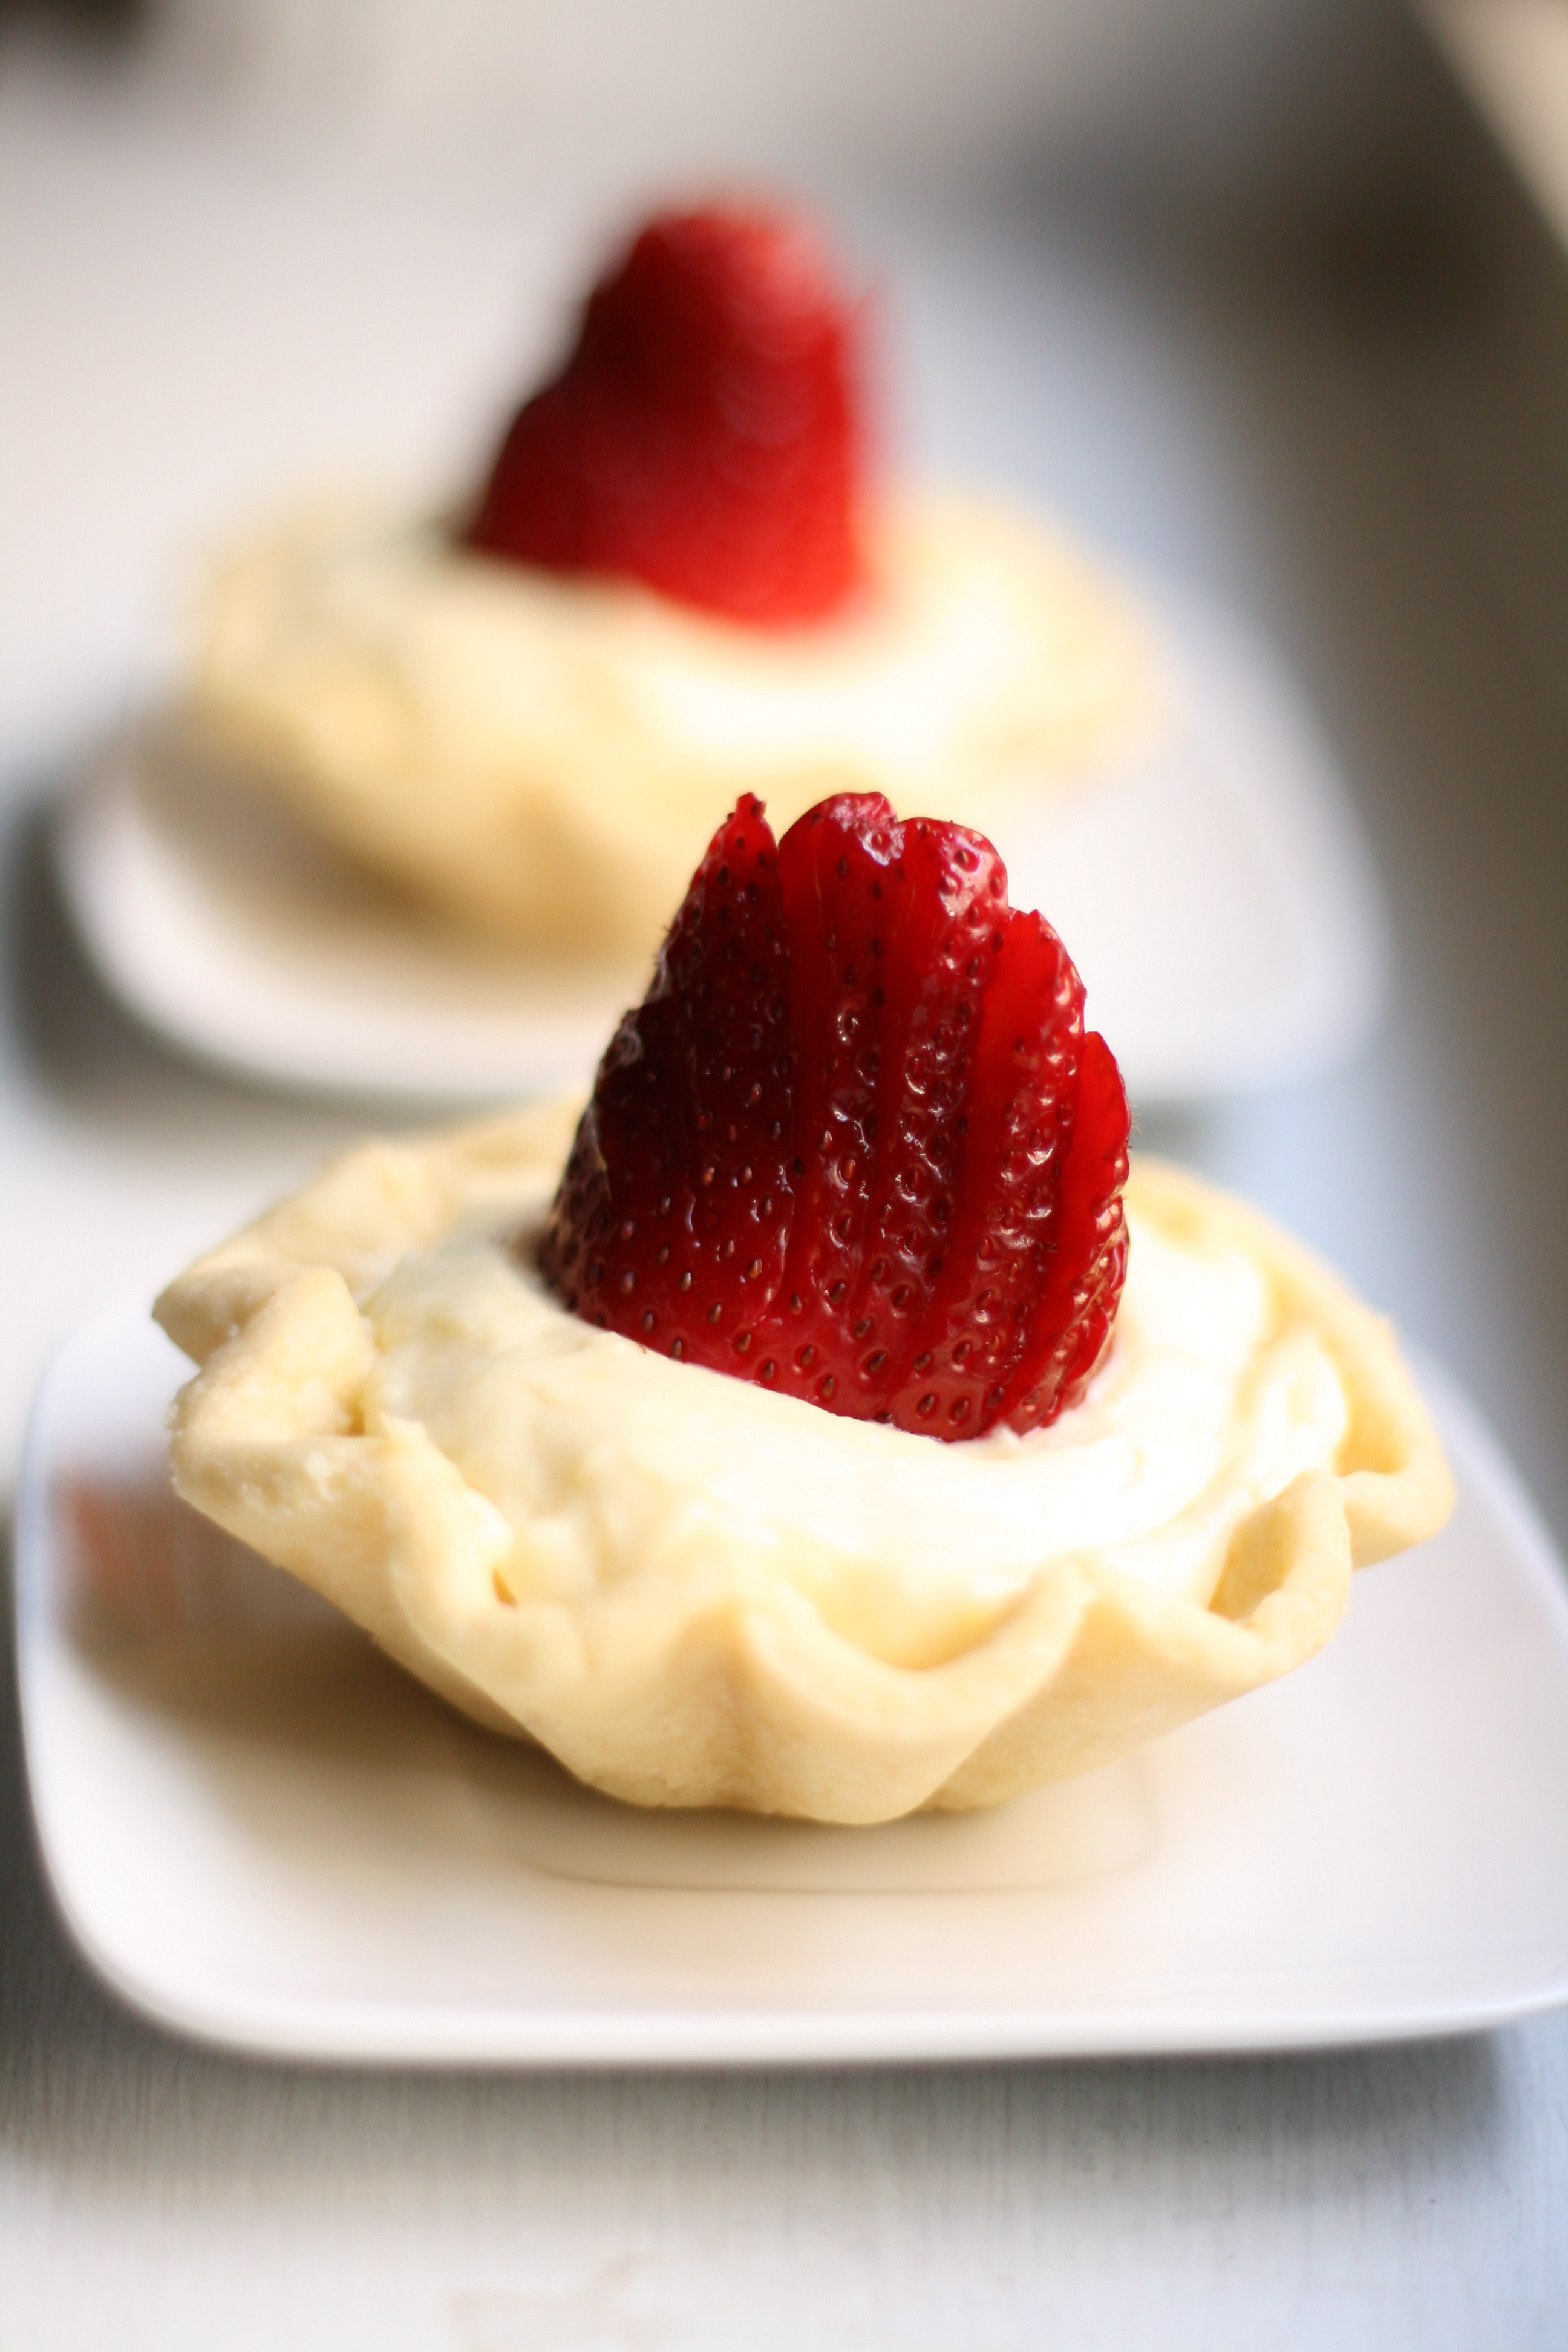
Mini Almond Tarts with a Strawberry on Top yields 12 3-inch brioche molds
Almond Tart Dough recipe from Martha Stewart 1/2 cup (1 stick) unsalted butter, room temperature 2 tablespoons confectioners’ sugar 1/2 large egg, beaten 1 cup all-purpose flour 1/2 cup plus 1 tablespoon almond flour
1. In the bowl of an electric mixer fitted with the paddle attachment, beat together butter and sugar until well combined. Add egg and mix, scraping down the sides of the bowl as necessary. 2. In a medium bowl, combine both flours. With the mixer on low speed, add flours all at once; mix until well combined. 3. Turn dough out onto work surface and form into two disks. Wrap with plastic wrap and refrigerate until chilled, at least 4 hours and up to overnight. 4. Once dough is ready, preheat oven to 350°. 5. Place dough on a floured work surface, sprinkle dough with flour, and roll out to 1/4-inch thick. (You may have to wait until dough comes closer to room temp in order to roll out.) Cut out 12 circles using a 3 1/4-inch round cutter, re-rolling dough if necessary. Place each circle in a mini 3″ brioche mold, gently pressing down on the bottom and sides. Place filled molds on a baking sheet; transfer to a freezer for 20 minutes. 6. Transfer baking sheet to oven and bake tart shells until just golden brown, 12 to 15 minutes. Transfer tart shells, in their molds, to a wire rack to cool completely.
Almond Pastry Cream recipe adapted from America’s Test Kitchen 2 c. half and half 1/2 c. sugar Pinch of salt 5 egg yolks 3 tbsp. cornstarch 4 tbsp. unsalted butter, cut into 1/2″ pieces and chilled 1 tsp. almond extract
1.Bring half and half, 6 tablespoons of the sugar, and salt to a simmer in a saucepan over medium-high heat, stirring occasionally. 2. In a separate bowl, whisk together egg yolks, cornstarch, and remaining 2 tablespoons of sugar until smooth. Once half and half begins to simmer, slowly whisk one cup of the simmering half and half into the egg yolk mixture to temper, stirring constantly. Once combined, slowly whisk mixture back into the simmering sauce pan. Turn heat down to medium, and whisk constantly for about 30 seconds. Lava like bubbles will begin to burst on surface. 3. Remove pan from heat, and stir in chilled butter and almond extract. Transfer to bowl, and place plastic wrap directly on surface. Refrigerate until firm, about 3 hours. 4. After pastry cream is chilled, pipe or scoop into prepared almond tarts. 5. Prepare strawberries by chopping off end with stem. Set strawberry up on flat side, and make thin slices almost cutting to bottom. Squeeze strawberry in center to fan out and set in pastry cream. 6. Cover and refrigerate. Serve chilled.
TIPS • Tart dough and pastry cream can be made up to 2 days in advance. • Tart shells can be cooked one day in advance. Cover and leave at room temperature. • Assemble tarts day of serving, no earlier.
Can you tell I’m a little obsessed with almonds right now? Last post—almond sugar cookies. Next post—it’s a secret (I guess I’m full of secrets these days, good ones though). But I can tell you, almond flour will be present.