Scones were my gateway drug into baking, my first love. For better or worse, they enticed me to try harder things. Initially though, they intimidated me. With their endless layers, their perfect imperfections, and their glistening top hat. But after learning the tricks of the trade, I was hooked. And my love for scones progressed into biscuits … tarts … and pies. But I’ll never forget my first love. Scones taught me about the art of baking. They taught me to work with my hands. And they taught me to appreciate the process just as much as the outcome. Read more

Back to school (for the husband). Back to routine. And back to eating healthy. My, has summer done a number on us. Our consistent workout patterns have been, let’s just say, more organic. Our healthy eating patterns have been in hibernation. And our routine in general has been on vacation. Read more

I went on a baking spree this weekend. Baked straight through. And then Monday happened. I forgot to rest. At least the weekend tasted good. It started with pop tarts. Then vegan chocolate chip peanut butter cookies. Topped off with strawberry shortcake. (Don’t worry, we had people over to help consume all these treats.) Blame it on the lack of sleep, I couldn’t decide what to post the latter half of the week—cookies or shortcake. So I used a lifeline and polled the Facebook audience. Cookies and shortcake were neck and neck. But when I started writing this post, strawberry shortcake was winning by 1 vote. I checked an hour later and it was losing. Shoot! Not gonna lie, I may have asked my husband and sister to cast their vote. And I may have told them that I already started the shortcake post. Chicago is rubbing off on me in a bad way. The good news–vegan chocolate chip peanut butter cookies are coming early next week. Pinky promise. Read more

Do you ever have those light bulb moments—the ones that seem too idiotic to share out loud. Yeah, I had one of those this weekend. While making pop tarts. Remember the a-ha moment when you realized that U-Haul just wasn’t a company name? It literally means “you haul it”. And remember the a-ha moment when you realized that Pop Tarts are really just tarts. Tarts?! Yeah, that happened this weekend. And I don’t even care where the word “pop” came from. Popular? That’s not even cool. Read more

I’ve written and rewritten this sentence 13 times. How do I compete with this?

Aren’t they cute? And tiny. And little. I have an affinity towards small things. Simon Birch is my favorite movie. And the only movie I can quote every line. “Ah, it’s a horse!” Simon says in a squeaky voice after coming into contact with a large dog. I feel that way sometimes too, Simon. Five. Zero. That’s all the length I’ve got. We short people have to stick together. And that’s why I like mini tarts. They’re just my size. Read more

I’m not sure if I should title this Cupcakes 101, Baking 101, or Melissa’s Baking Philosophy. I did a presentation on this a couple weeks ago and called it Cupcakes 101. So we’ll stick with that. Just know—this isn’t your ordinary cupcake talk. I apologize.

I mentioned doing a presentation. On food. First time ever. Yes, I was nervous. Nail biting nervous. I’m used to presenting logos, brochures, and ideas, but food…I love food. It’s got an extra soft spot in my heart and in my stomach. But I’m no expert. I’m self taught. I guess you could say Martha taught me everything I know via daytime television. That gives me some credibility. But it ends there. Most days, it’s just me, my kitchen, trial, and error. Read more

Just warning you—I’m coming off a migraine while writing this post. Please attribute poor grammar, crazy talk, or confusing sentences to this.

Apple does it. They make revisions. My Mac is on version 10.6.6. So I’m gonna do it too. I’m revising my Not Your Mom’s Chocolate Chip Cookie recipe. 2.0 here we go. It’s not that the last recipe was bad, but I thought it could use a little improving. I’m my own worst critic. You know how it goes.

The last recipe wasn’t sweet enough for me. But I fought and fought adding more sugar. 2 cups is kinda a lot. Eventually, I caved and gave it a try. 2 1/2 cups later, I’m not turning back. Sweeter is definitely better! And with that, my brain is spent. Sorry for the short post. The fog is just too thick. But not as thick as these delish 2.0 cookies!

Print

clock clock iconcutlery cutlery iconflag flag iconfolder folder iconinstagram instagram iconpinterest pinterest iconfacebook facebook iconprint print iconsquares squares iconheart heart iconheart solid heart solid icon

Not your Mom’s Chocolate Chip Cookies


5 Stars 4 Stars 3 Stars 2 Stars 1 Star

No reviews

  • Yield: about 18 large cookies 1x

Ingredients

Scale
  • 8 oz. (2 sticks) unsalted butter, chilled
  • 1 1/2 c. granulated sugar
  • 1 c. packed light brown sugar
  • 2 large eggs
  • 1 tsp. vanilla extract
  • 3 c. unbleached all purpose flour
  • 3/4 tsp. sea salt
  • 1 1/4 tsp. baking powder
  • 1/2 tsp. baking soda
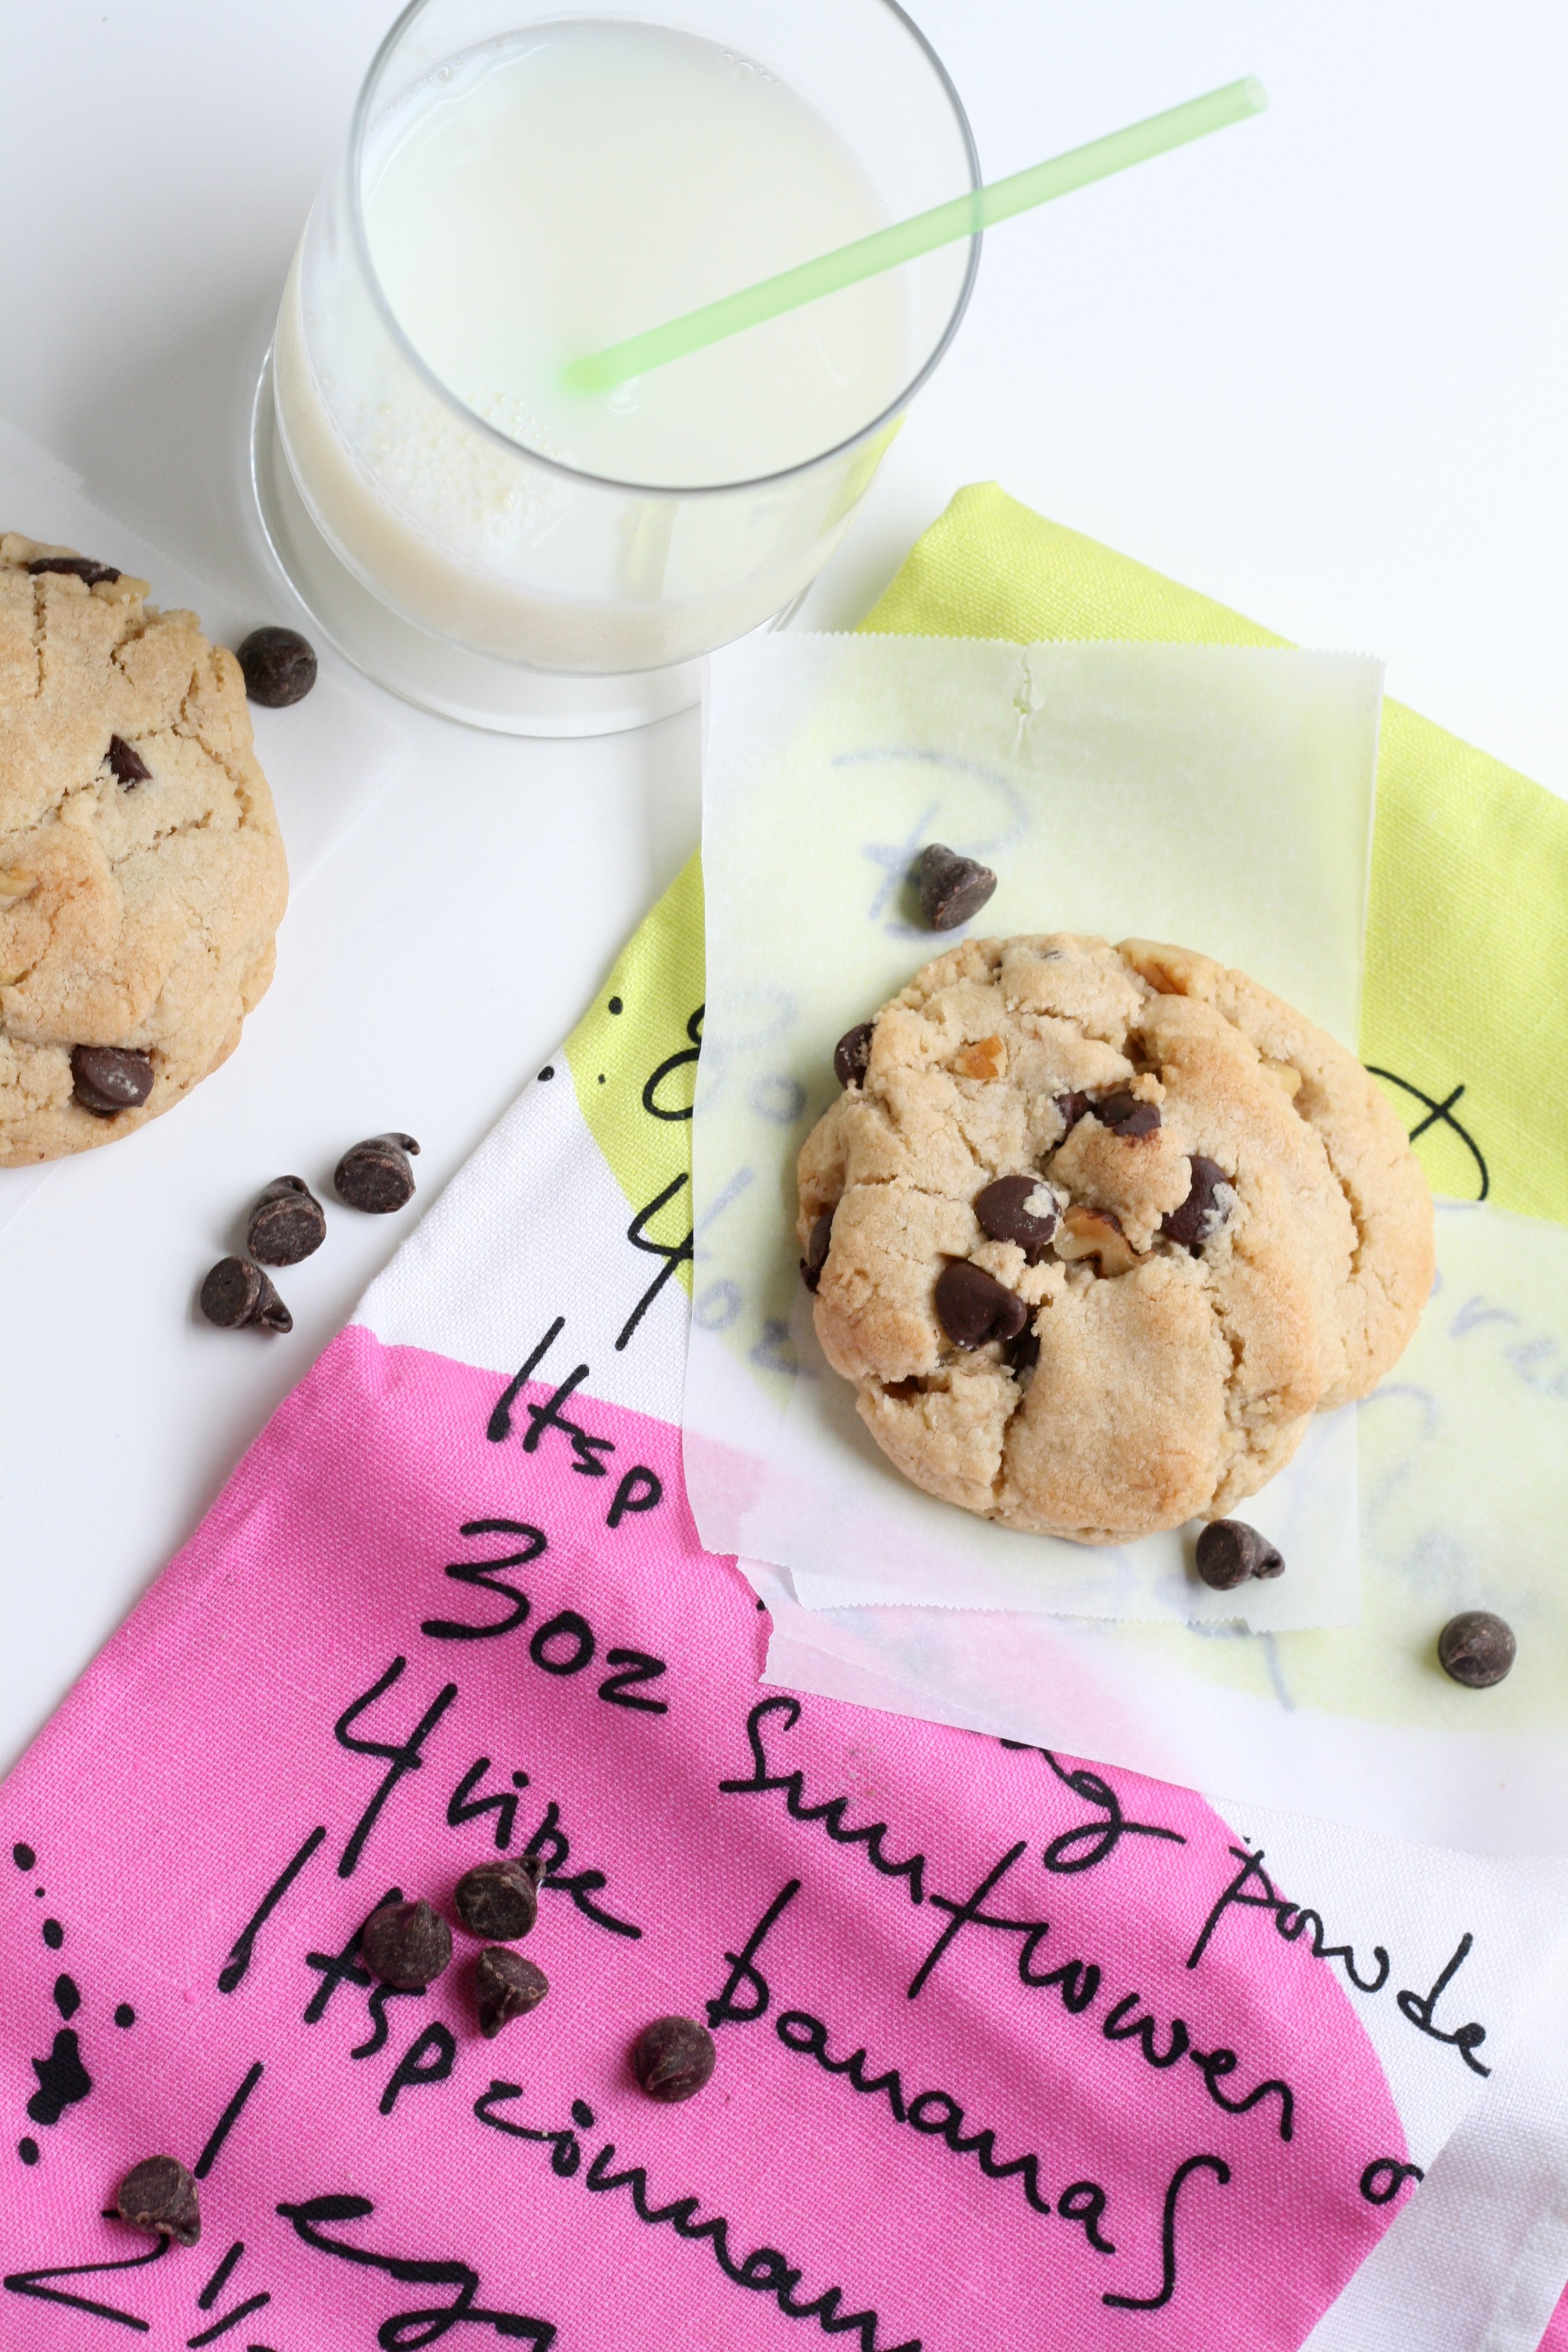
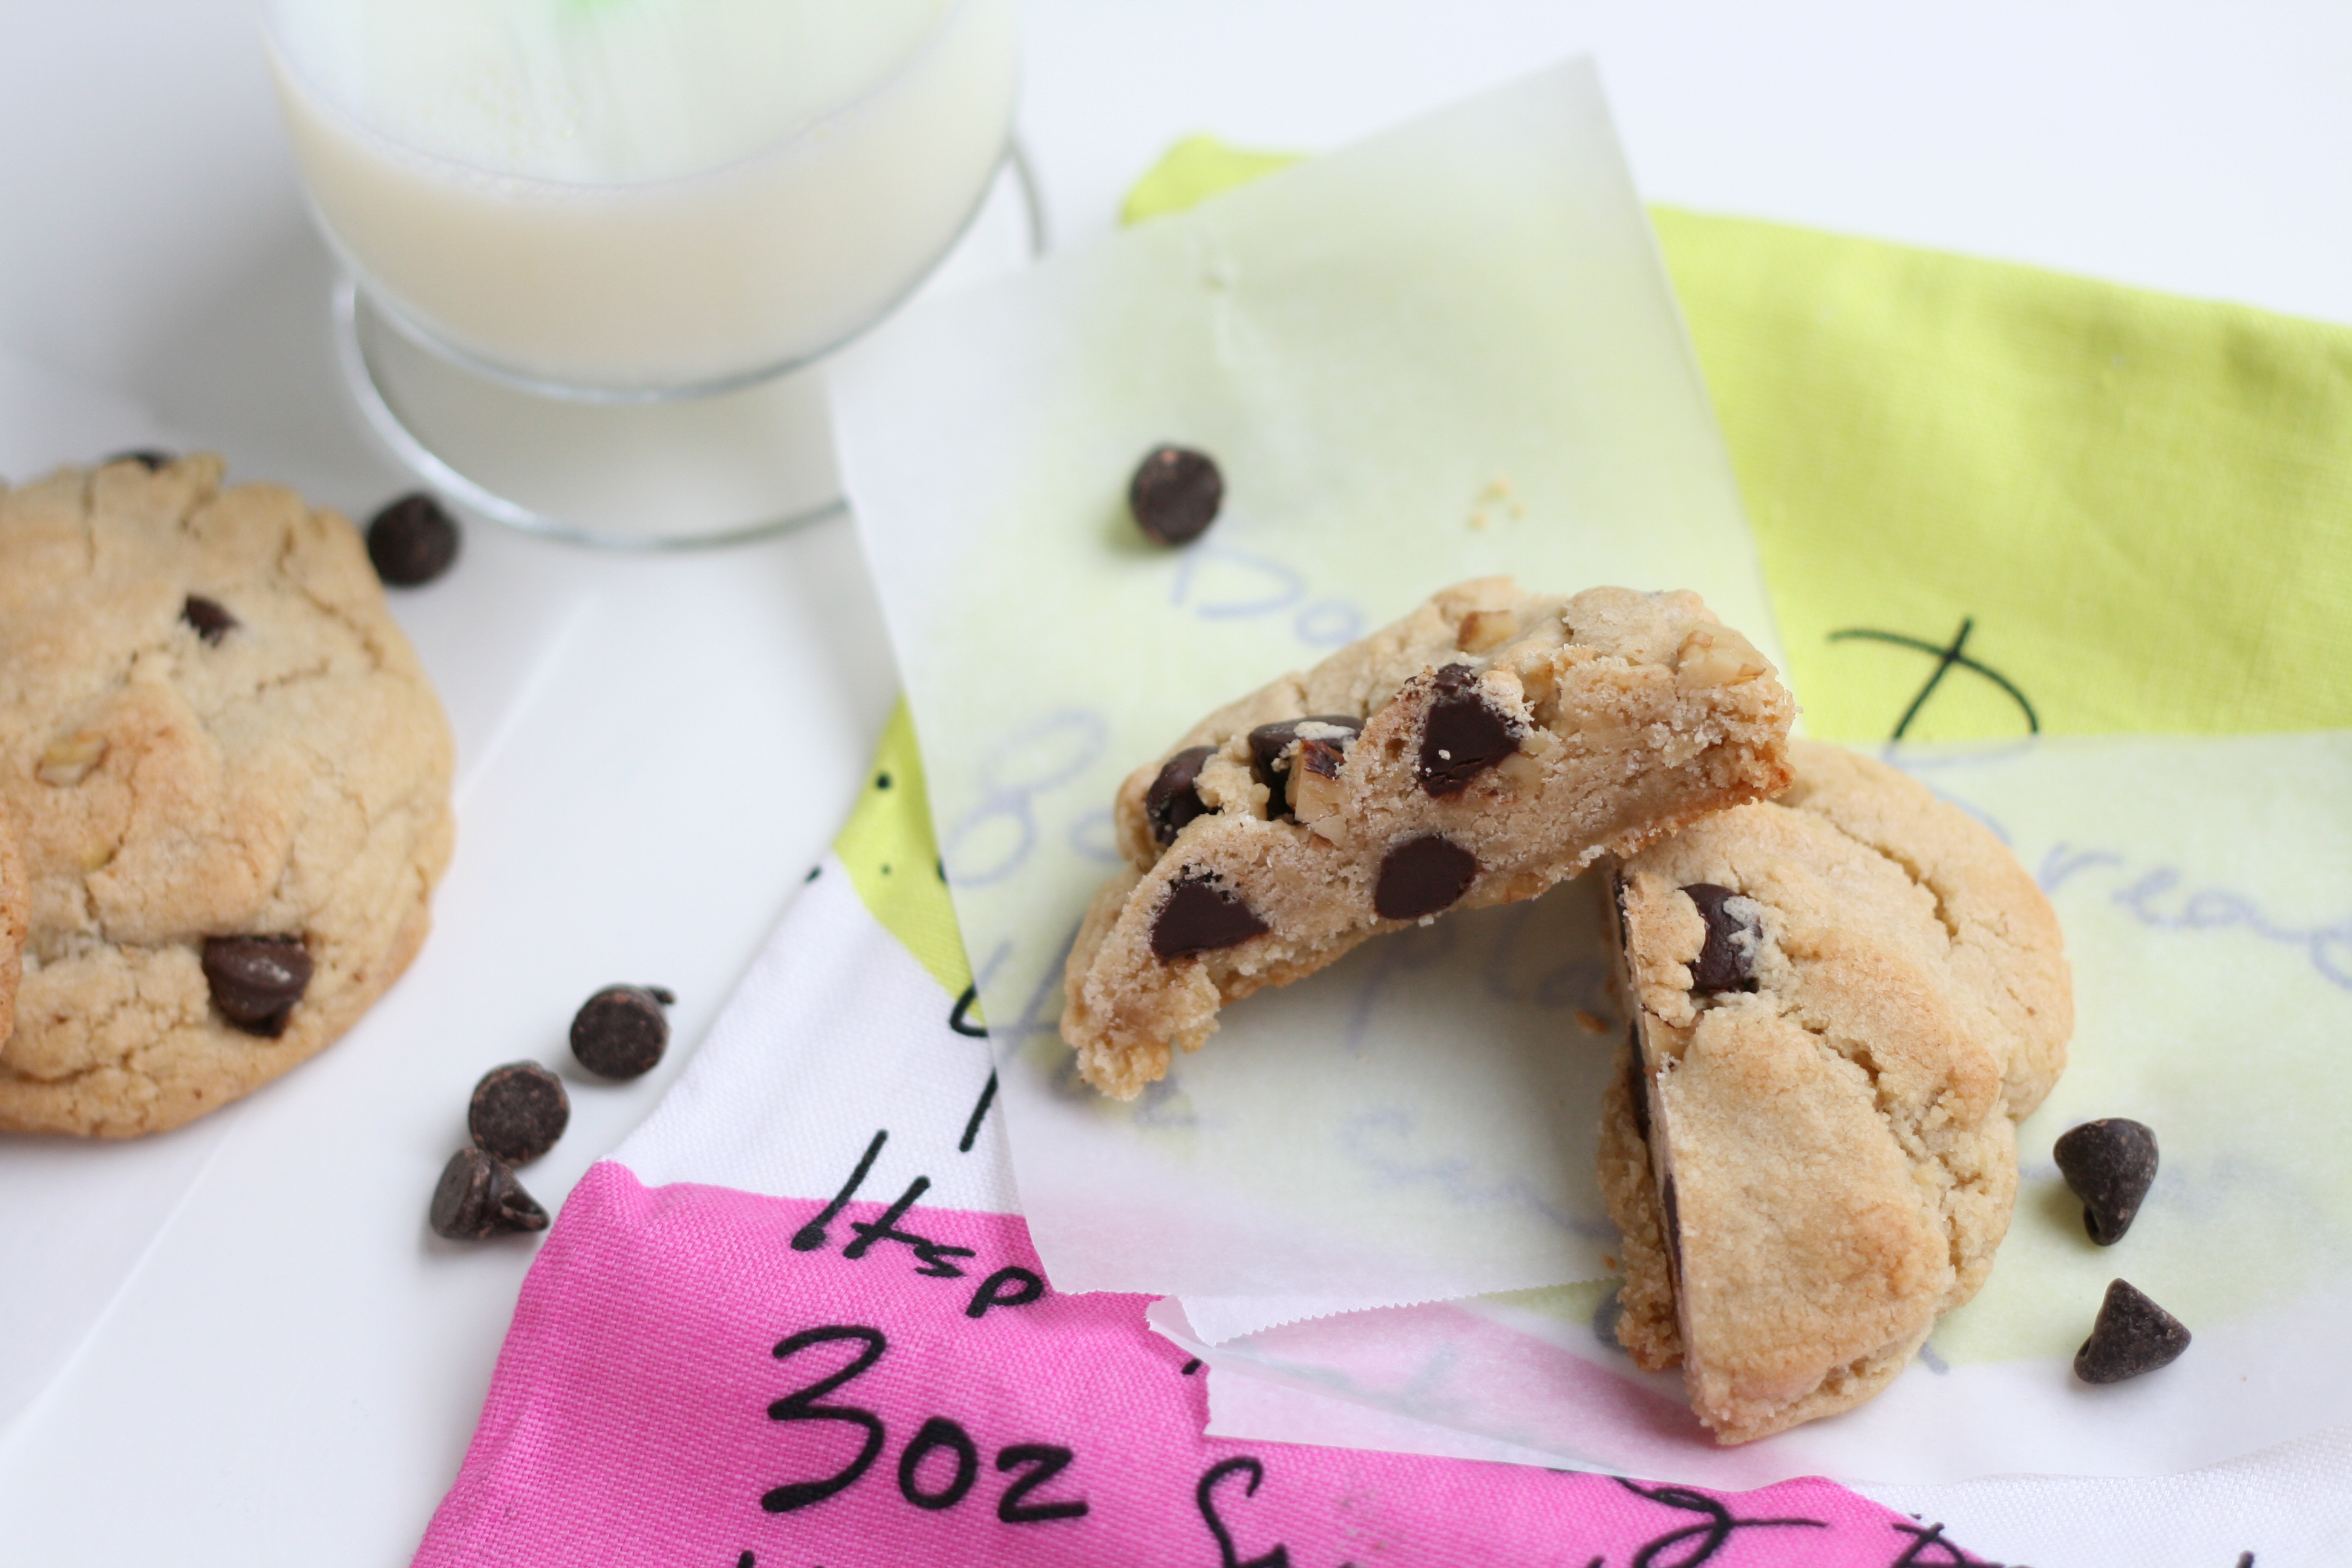
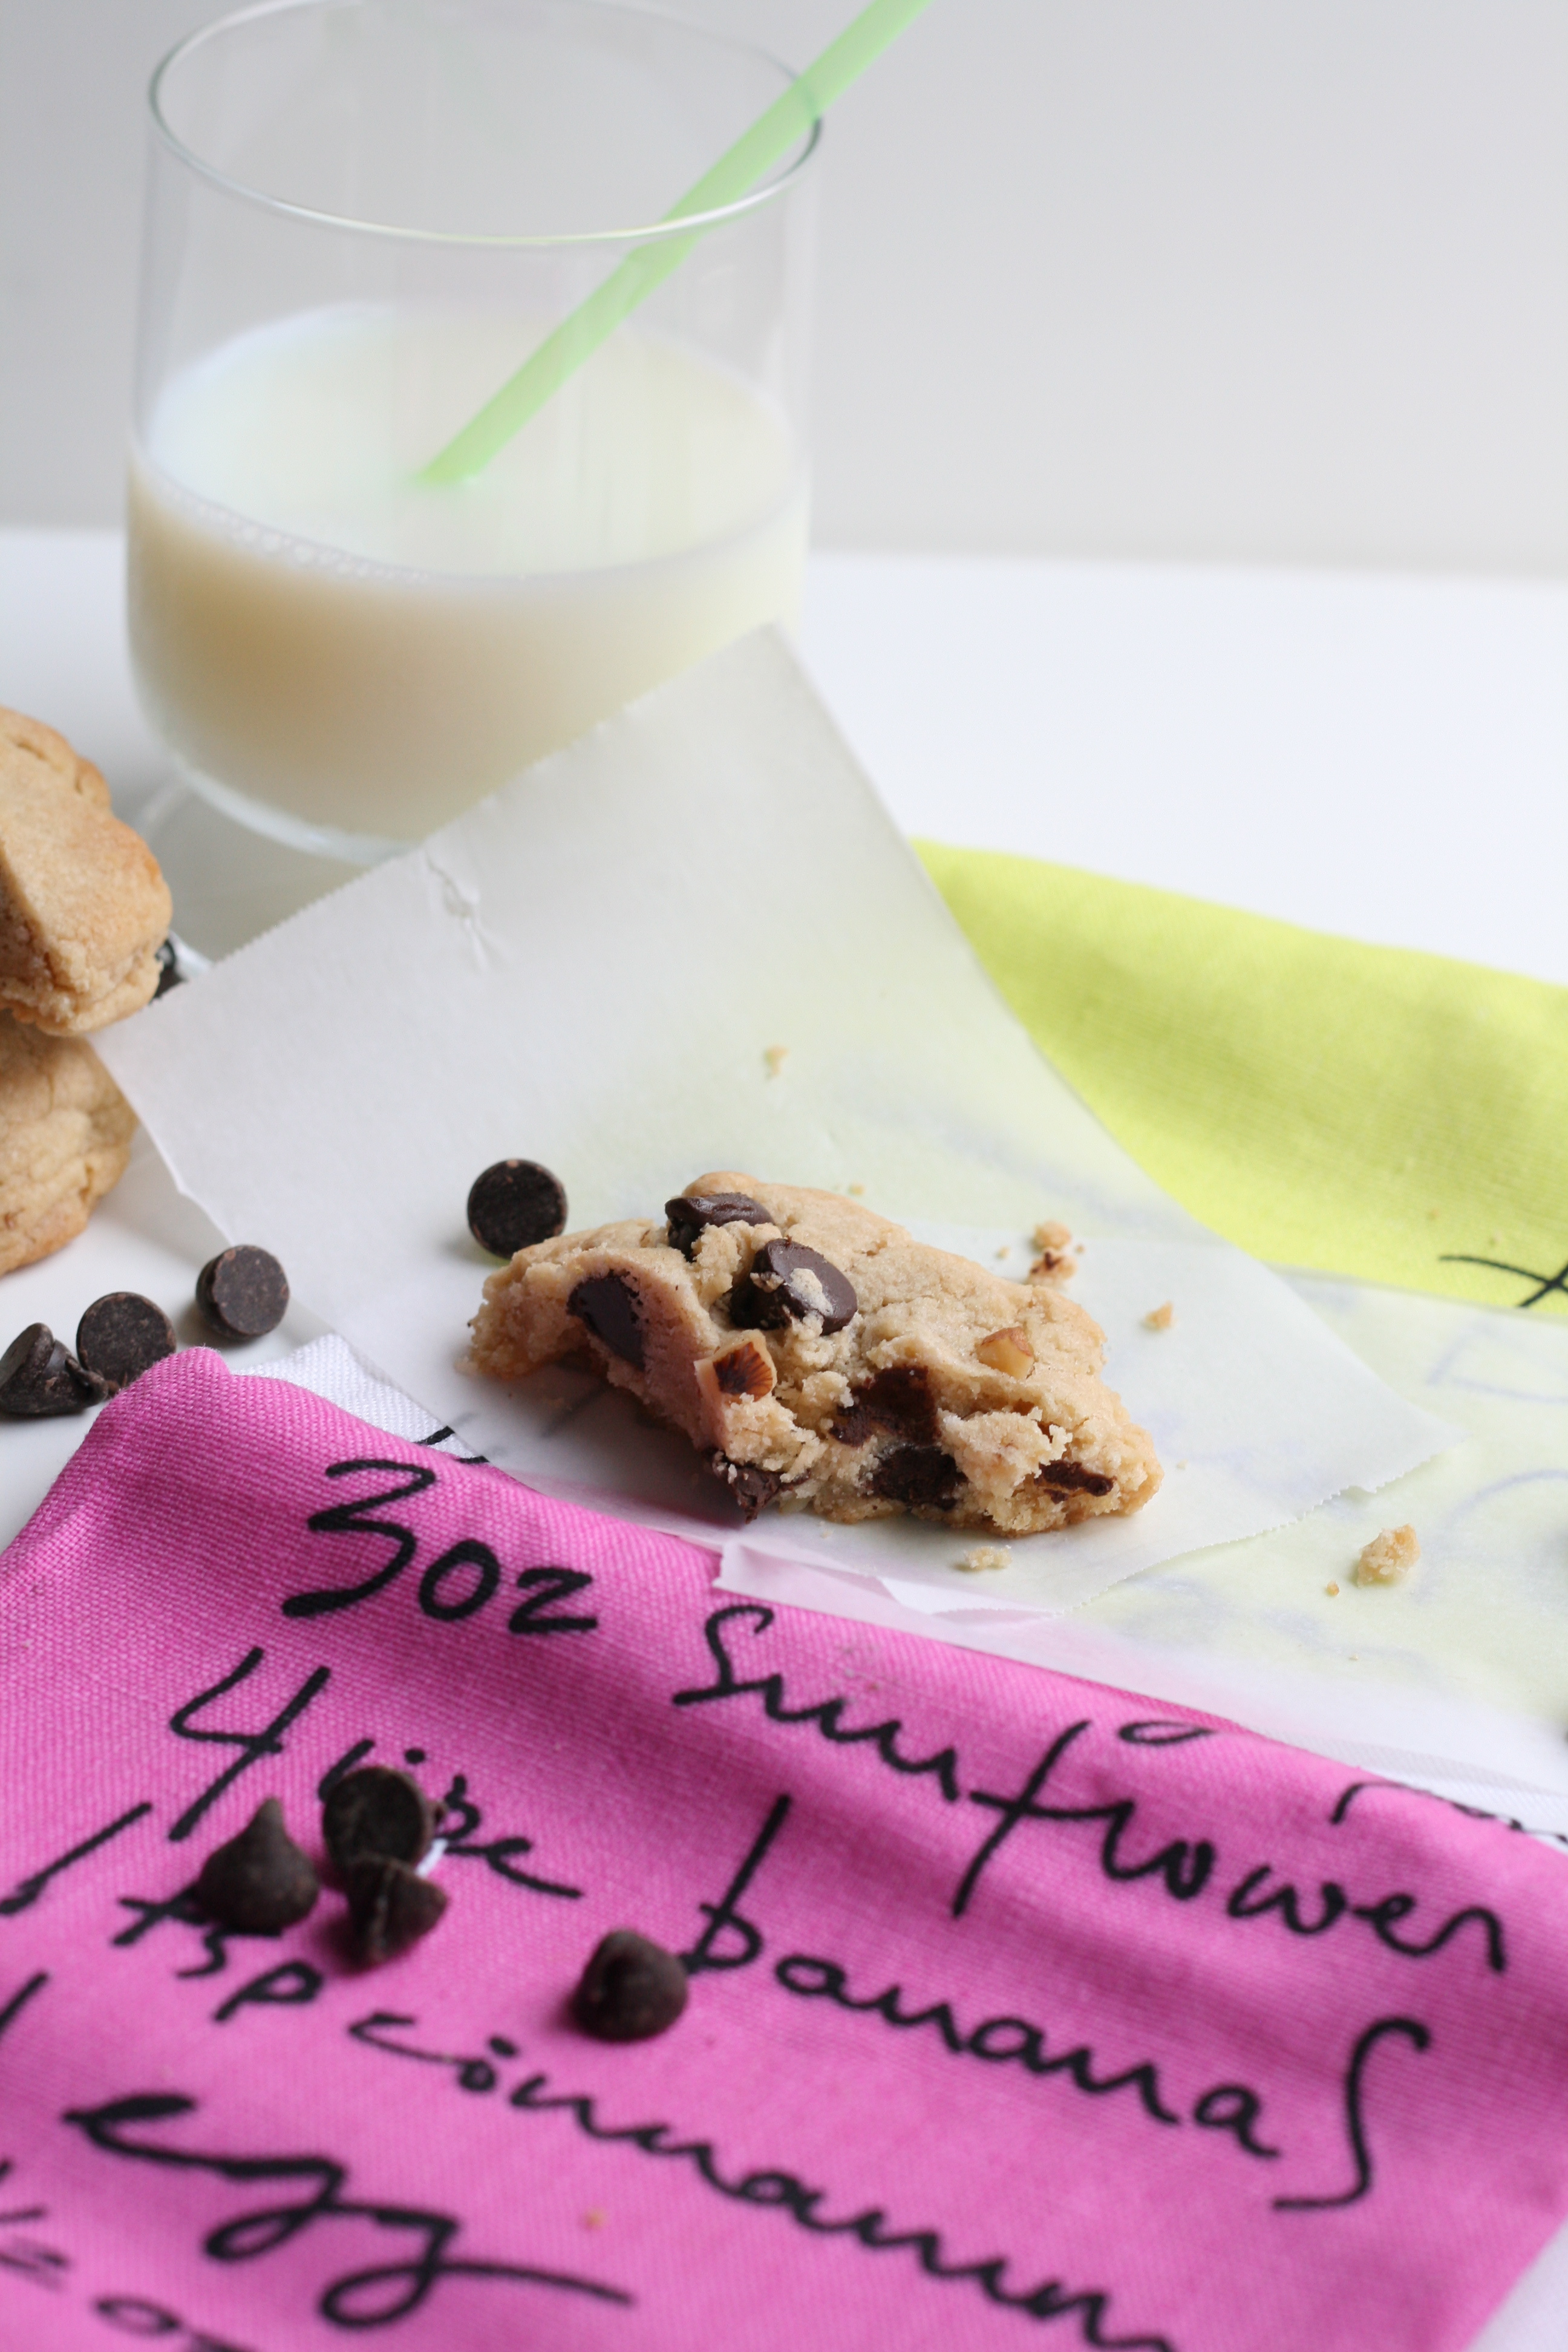
  • 12 ounces (2 c.) good quality semisweet chocolate chips
  • 1 c. crushed walnuts

Instructions

  1. Using a grater, grate chilled butter into a large bowl. Make sure to scrape out butter left on grater. If butter is too warm, stick it in the freezer for 5 minutes.
  2. Add sugars to the butter. Using a mixer, mix until just combined. Do not over beat.
  3. Add vanilla and eggs, and mix until just combined. Again, do not over beat.
  4. In a separate bowl, whisk together flour, salt, baking powder, and baking soda.
  5. Add flour mixture to butter mixture, and mix until just combined. Dough will look crumbly. You are right on track.
  6. Stir in chocolate and crushed walnuts.
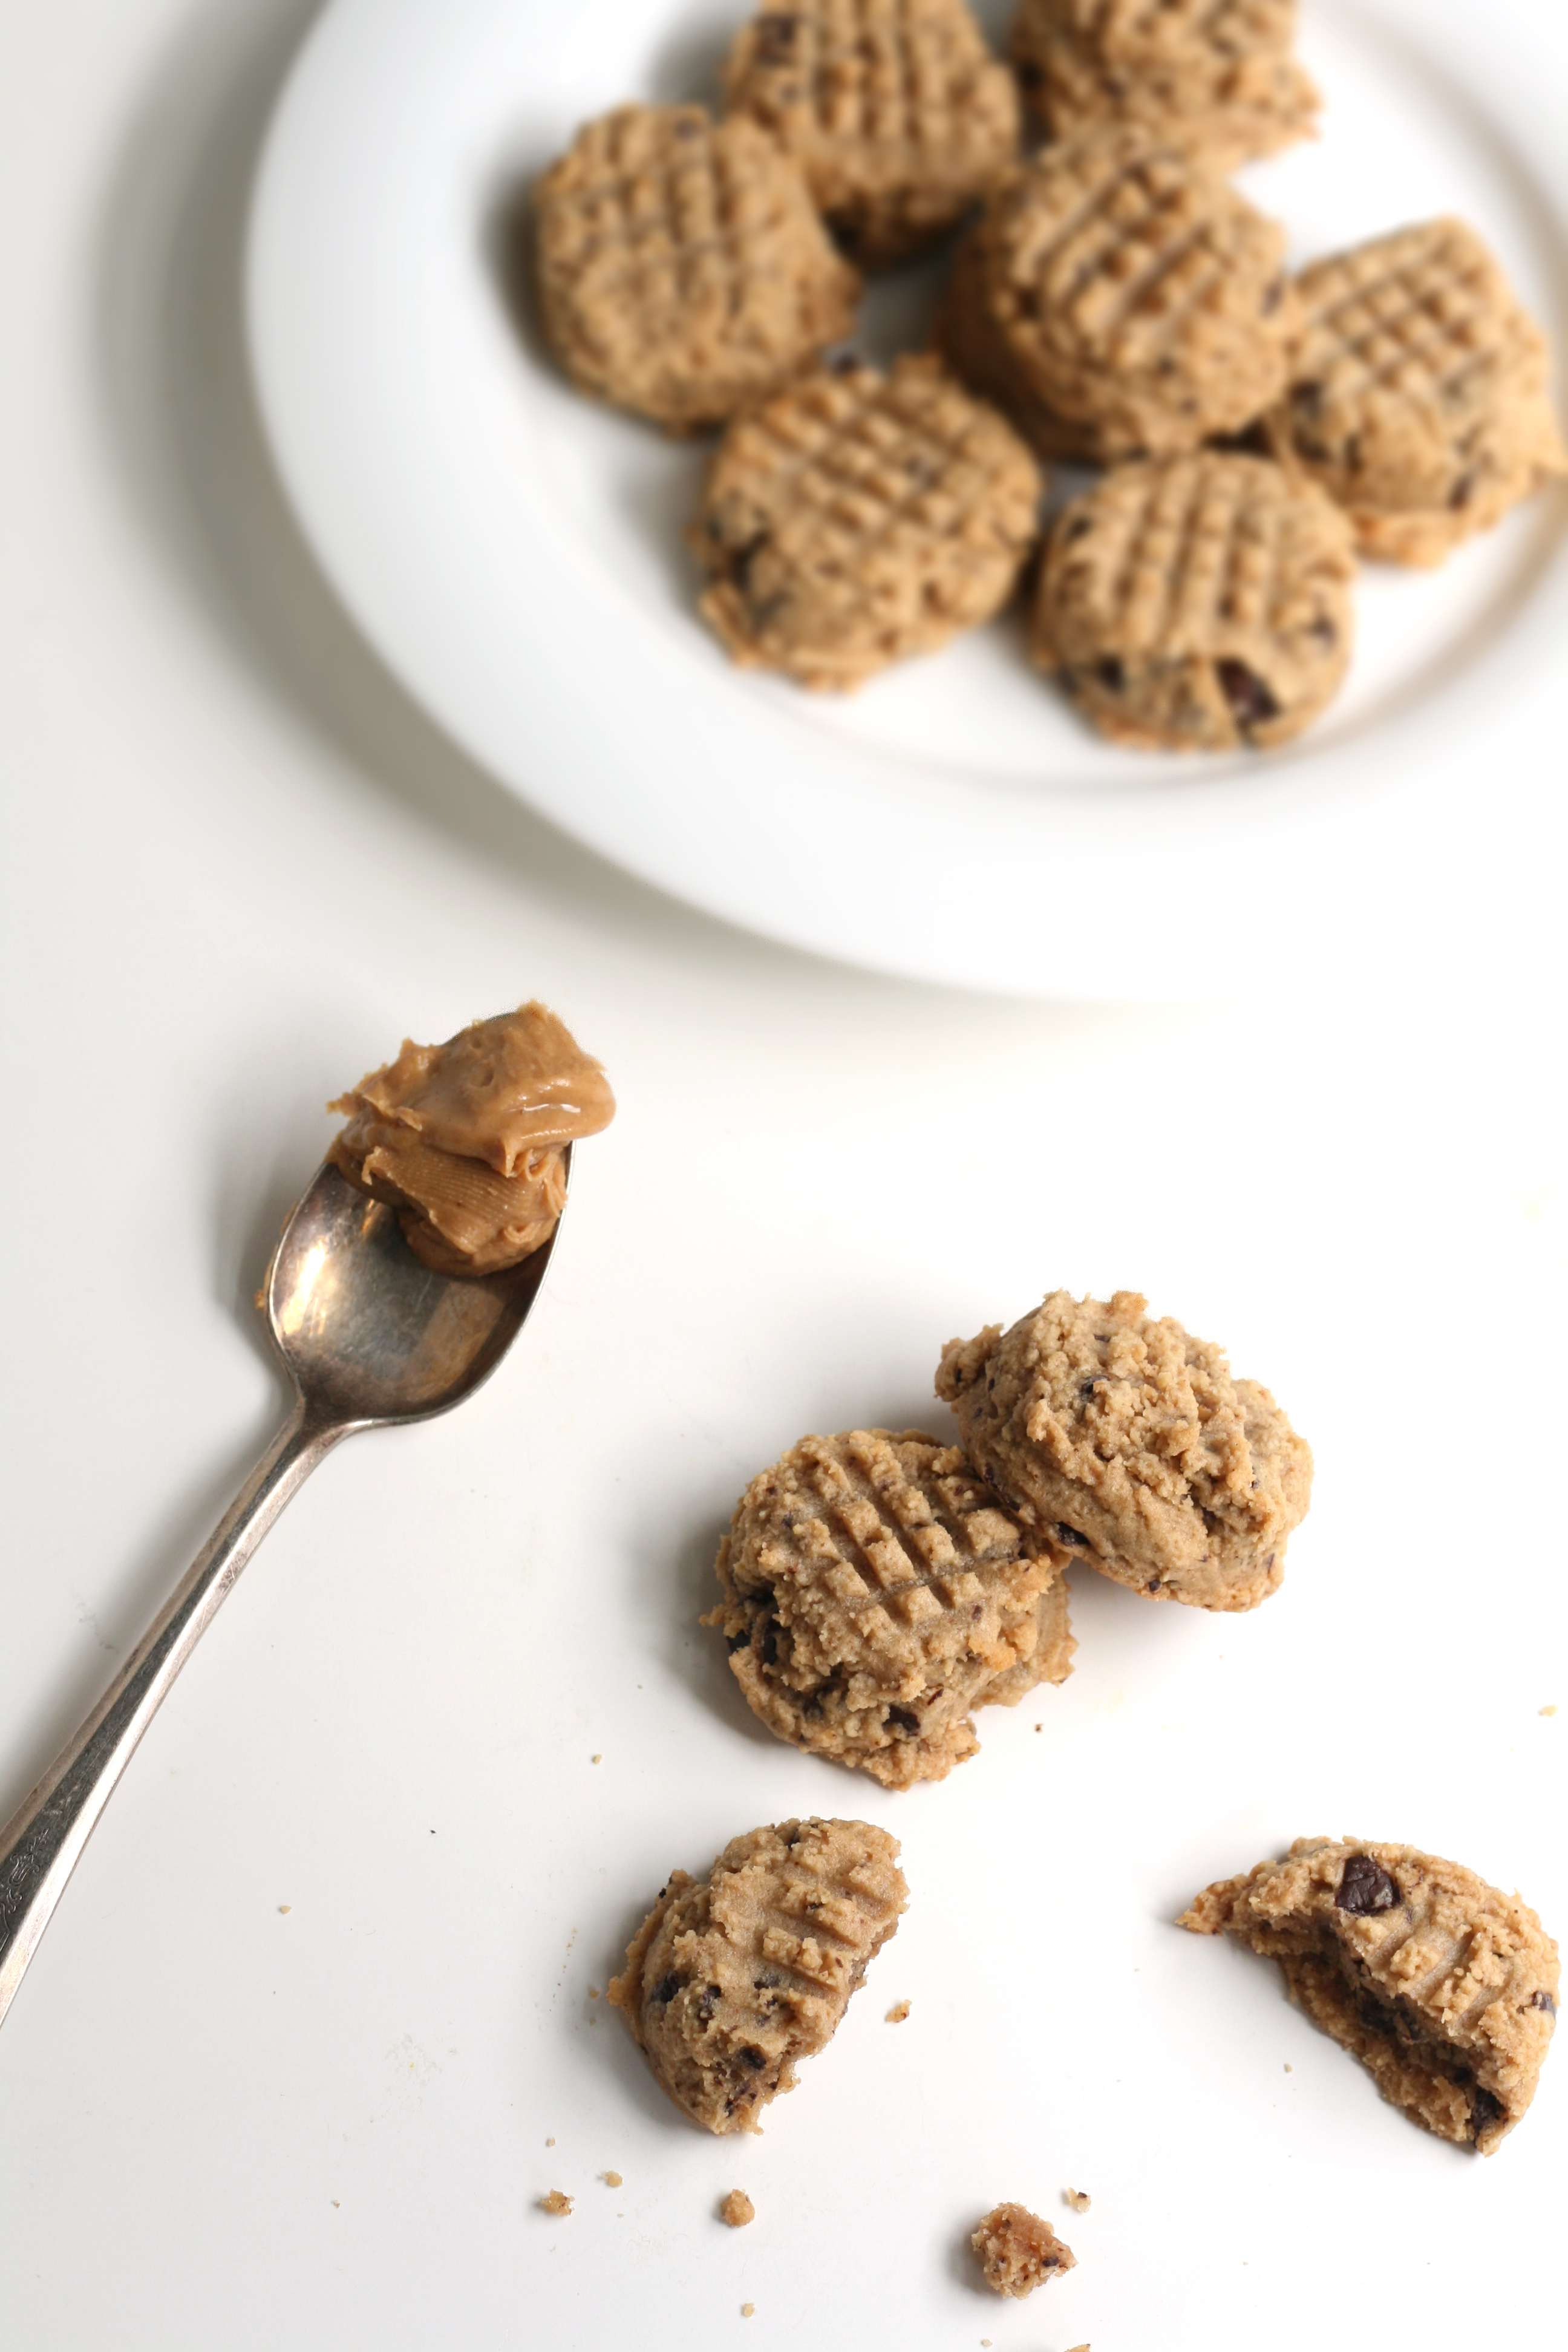
  7. Take off your rings—you’re gonna need your hands for this. Gather dough into a large ball, as you would if you were making a snow ball. Place on pan lined with a Silpat or parchment paper. Only bake 6 cookies at a time, trust me on this. When I baked 12 at a time, they seemed to flatten out a bit more.
  8. Preheat oven to 375°. Meanwhile, place cookies in the fridge.
  9. Bake for 18 minutes or until slightly browned around edges. Cookies will still be doughy in the middle.
  10. Allow to cool completely before eating. They taste so much better with a rest. The doughy center will stiffen up.

Notes

• You can make smaller versions of these cookies (or rather normal-sized cookies). It will yield double the amount. Bake 8 up at a time and reduce the cook time to 13-15 minutes.

• If you’re a flour sifter, skip it for this recipe.

• Skipping the walnuts will yield a flatter cookie. Additional flour is needed. (I haven’t tested it yet without. If you do, please let me know!)

Recipe Card powered byTasty Recipes


For step by step images, click here. Recipe inspired by Vanilla Sugar.

While you’re reading this, I’m in my favorite place in the world with my favorite people. Graduate school husband and I are on vacation with my family in the mountains of Colorado. Also known as heaven. I didn’t want to go AWOL on you though, so I made a pie and stuck it in the cyber space freezer until now. I hope you are well fed even while I’m away.

I think I’m gonna be one of those wives/moms who make their family a weeks worth of dinner when they go out of town. It’s because I care. And I care about you! So without further adieu, I give you Strawberry Rhubarb Pie. Happy 4th everyone!

Strawberry Rhubarb Pie
recipe adapted from Smitten Kitchen 

PIE CRUST
makes enough for 2 single pies or 1 double crust (This is my go-to recipe)
2 1/2 c. AP unbleached flour
2 tbsp. sugar
1 tsp. sea salt
2 sticks (8 ounces) unsalted butter, very cold
1 c. water with ice

STRAWBERRY RHUBARB MIXTURE
3 1/2 c. sliced rhubarb
1 16 oz. container strawberries, hulled, halved (about 3 1/2 c.)
1/2 c. packed brown sugar
1/2 c. sugar
1/4 c. cornstarch
2 tbsp. fresh squeezed orange juice
1/4 tsp. sea salt

TOPPING
1 egg
1 tsp. cream
turbinado

Note: I like to make my dough by hand so that I can control the size of the butter. Flaky crust = chunks of butter.

1. Make crust. Place flour, sugar, and salt in bowl. Whisk together.
2. Dice butter and place into flour mixture. Using a pastry knife, cut butter into flour until it resembles coarse meal.
3. Using a pastry fork (or continue using the pastry knife) add 1/2 c. of the ice cold water into mixture and combine. Continue adding water 1 tablespoon at a time until dough just comes together. You may not need the full cup of water.
4. Cut in half and cover the 2 disks in plastic wrap. Before rolling out, place in fridge for 1 hour, or place in freezer for 15 minutes to chill. This will make the dough easier to work with.
5. Make strawberry rhubarb mixture. Combine all ingredients in bowl, mix, and set aside.
6. Roll the dough out on a well floured surface large enough to overhang in a pie dish. Fold the dough in fourths and transfer to pie dish. Place in freezer for 5 minutes if too warm.
7. Pour strawberry/rhubarb mixture into pie dish.
8. On a well floured surface, roll out second disk. Using a pastry wheel, cut dough in the same direction, about 3/4″ wide. Place 5 strips across, using the longer strips in the middle and the shorter strips on the end. Think back to your childhood craft days, and create a lattice with the dough placing 5 more strips in the opposite direction. Over, under, over, under.
9. Seal the edges of the dough by folding over. I use a bit of cold water to help smooth things out. Create a decorative edge with your pointer finger and thumb held together pushing the dough in with your thumb. And repeat. Clear as mud? A forked edge works nicely as well.
10. Whisk together one egg and a teaspoon of cream. Brush over the top and sprinkle with turbinado.
11. Place in freezer for 20 minutes. This helps the dough to hold its shape when it goes in the oven. Preheat oven to 400°. Bake for 2o minutes. Lower the temp to 335° and continue baking for 40 minutes. Once crust begins to brown, cover with foil.
12. Allow pie to set up for at least an hour before serving.

A la mode. It’s the only way I eat pie. Stay tuned for my homemade ice-cream recipe!


© The Faux Martha 2026. Privacy Policy. An exclusive Member of Mediavine Food.