This week—I was a graphic designer by day and a baker by night.
I dream of being a full-time baker. Especially after this week, where I made 120+ cookies for a friend’s wedding shower. It wore me out, no lie. But I loved every last second of it. If only I didn’t have to work 8-5.
In regards to most recipes on this blog you’ve probably heard me say—This is easy, I promise. Not the case with these little guys. They are hard work. Back breaking work. And they take tons of practice. So, now that I’ve scared you away, let me also say, You can do it. It will be so rewarding. I promise.
Before you get started, I recommend watching this clip from The Martha Stewart Show (the video is on the lefthand side of the page). The trickiest part about these cookies is working with the royal icing. This segment will teach you how to make the royal icing, as well as all the important lingo like damming and flooding. Best of all, it will teach you how to achieve the chevron-like pattern I did on several of the cookies.
You’re also going to need a couple of tools before you get started, such as a condiment bottles. I found mine in the baking section at Michael’s.
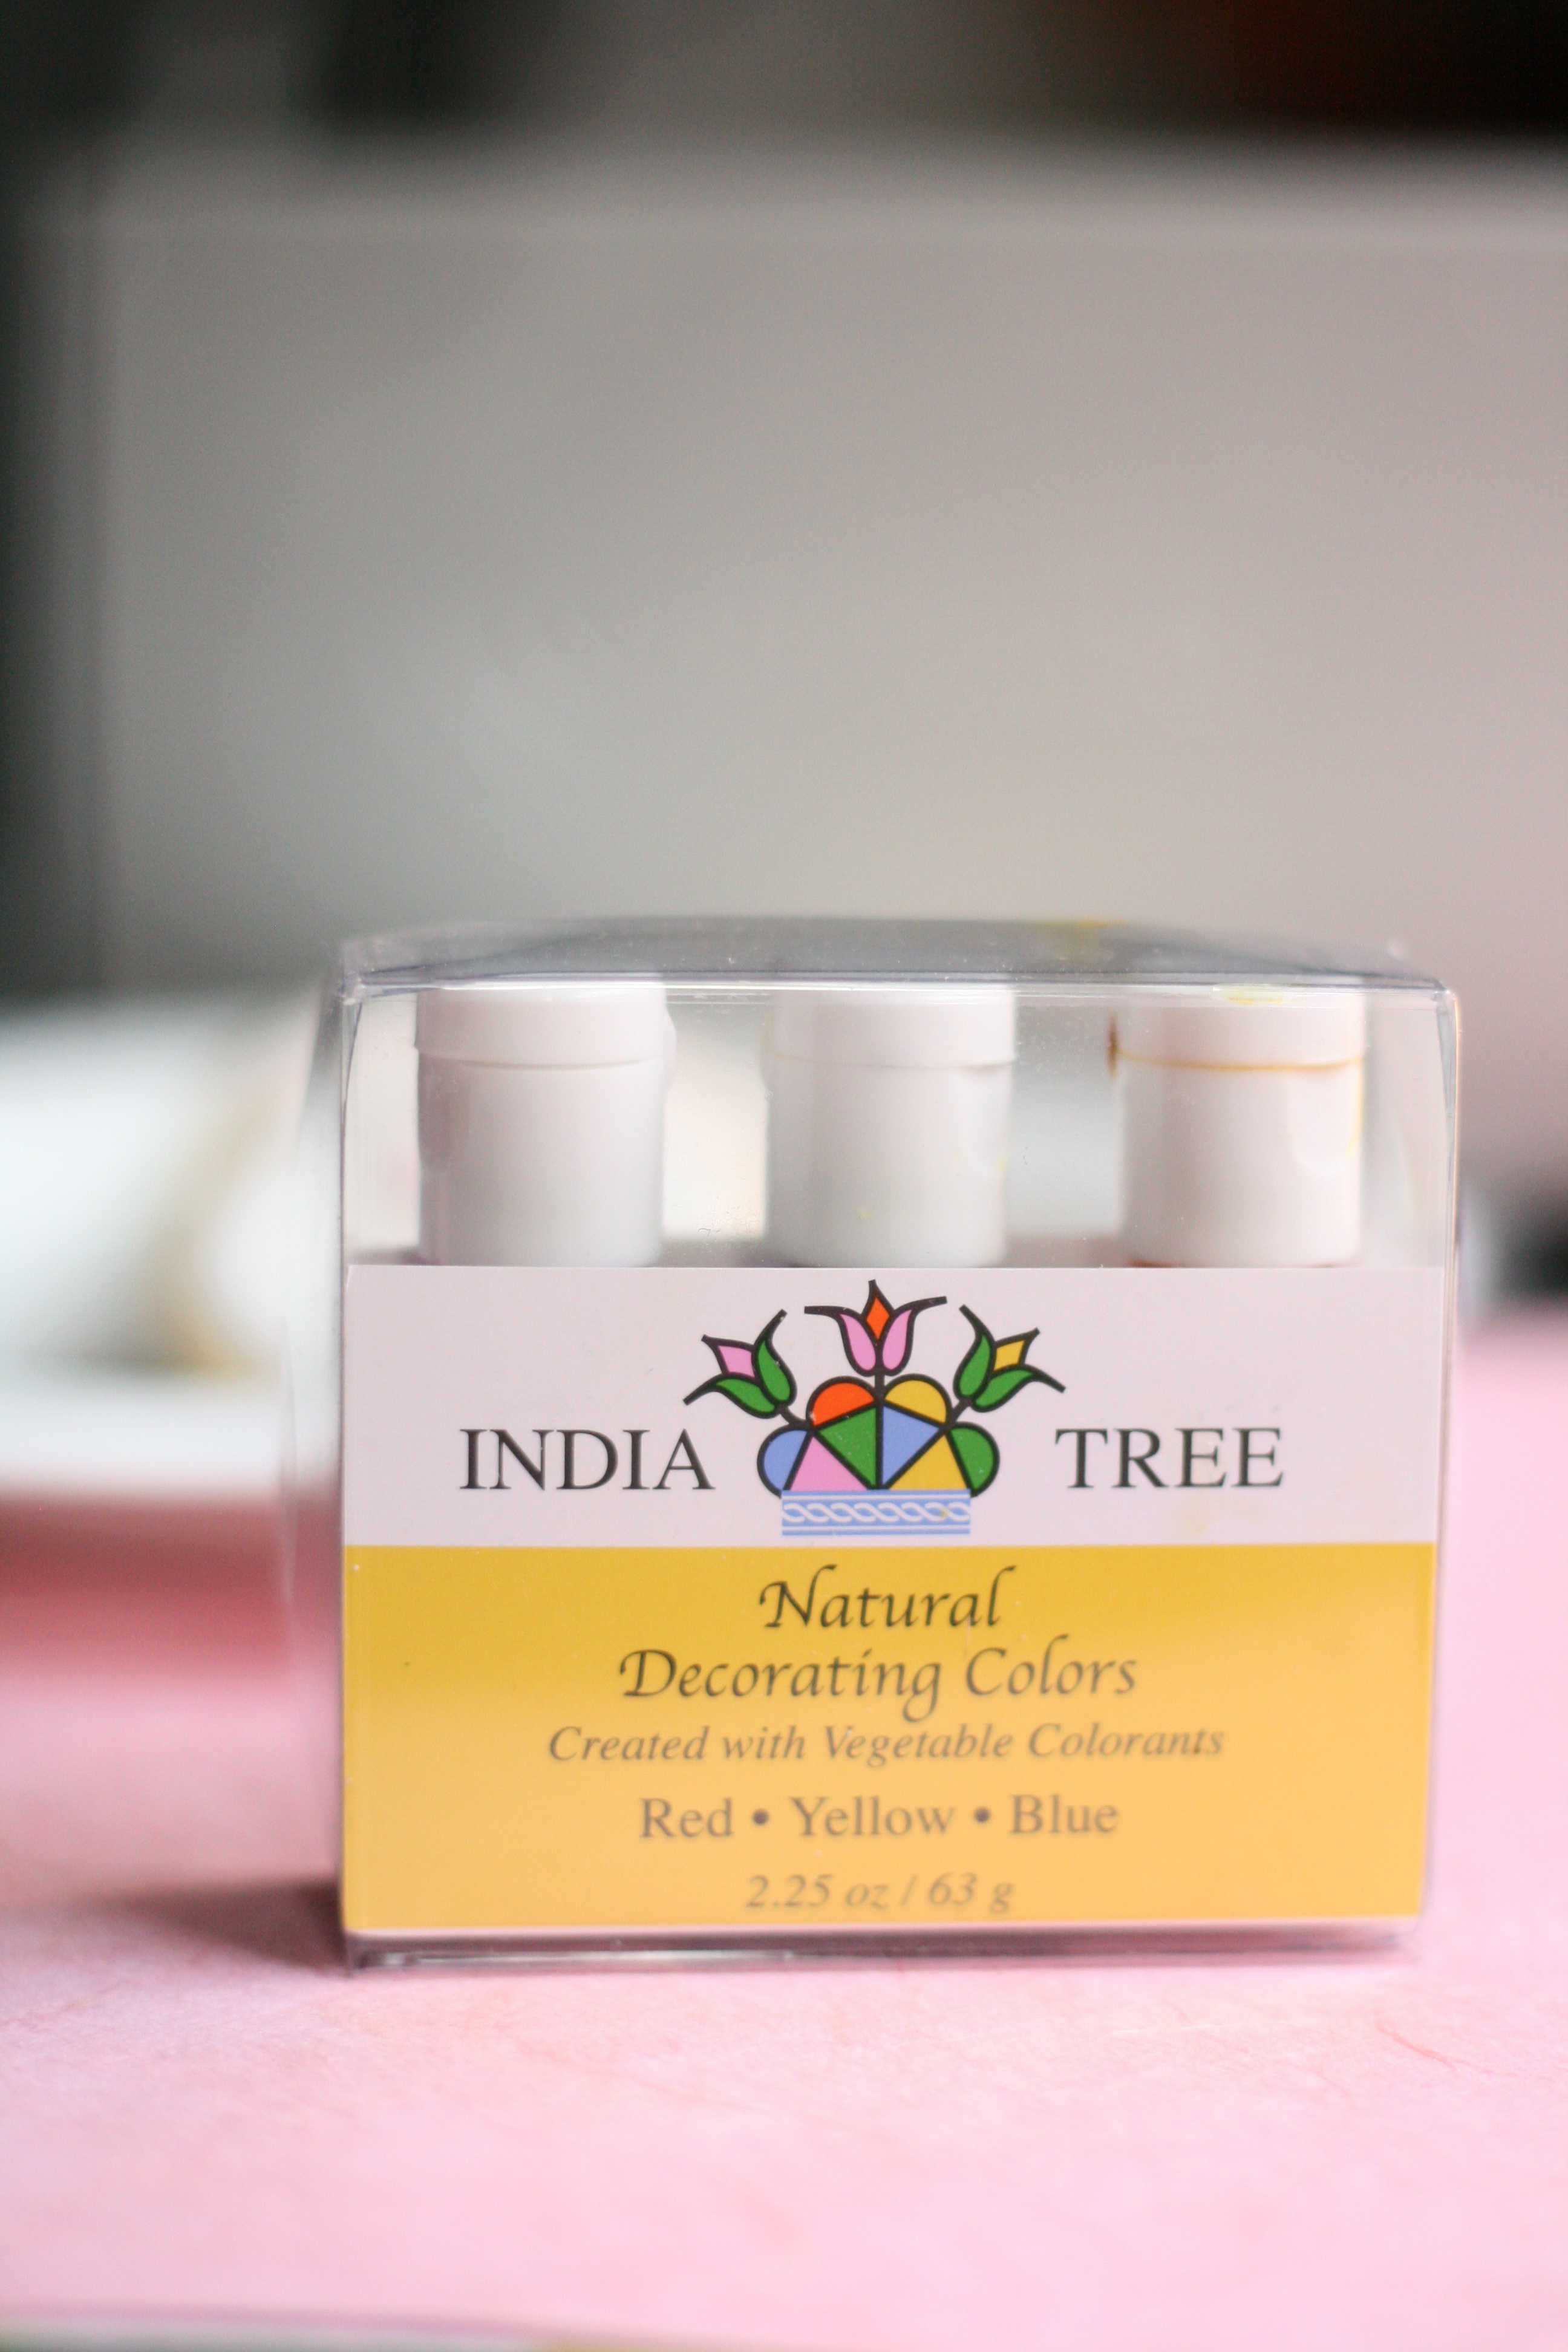
Food coloring is a must. I recommend investing in the all-natural kind although it is a couple dollars more. I went with India Tree (sold at Whole Foods). They make their food coloring out of vegetable pigments. You can still achieve beautiful colors with it, and it doesn’t pepper your icing with a bad aftertaste like so many do.
Now on to the good stuff—the recipes! I made these cookies as all-natural as possible. Usually these types of cookies scream fake and over processed to me. But it doesn’t have to be the case, especially if you make them yourself.
Vanilla-Almond Sugar Cookies recipe from Bake at 350, with slight changes amount of cookies will vary based on size
3 c. unbleached, all-purpose flour 2 tsp. baking powder 1/2 tsp. sea salt 1 c. cane sugar 2 sticks unsalted butter, cold 1 egg 1/2 tsp. pure vanilla extract 3/4 tsp. pure almond extract
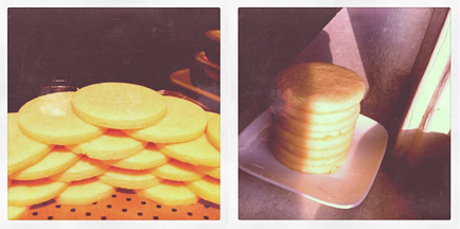
1. Preheat oven to 350°. 2. Combine the flour, baking powder and salt. Set aside. 3. Cream the sugar and butter. Add the egg and extracts, and mix. 4. Gradually add the flour mixture, and beat just until combined, scraping down the sides of the bowl. 5. Knead dough together with hands as it will be crumbly. 6. Place dough on floured surface and using a rolling pin, roll out to 1/4″ thickness or thicker. Cut into desired shapes. 7. Place cookies on parchment lined baking sheets or Silpat and freeze for 10 minutes before baking. 8. Bake for 9 minutes. (I pull the cookies out before they begin to golden for a softer texture.) Let sit for a few minutes on the baking sheet, then transfer to a cooling rack. (Make sure cookies are completely cool before icing. I usually wait overnight.)
1/4 c. meringue powder 1 pound confectioners’ sugar (about 3 1/2 to 4 c.) 1/2 c. water
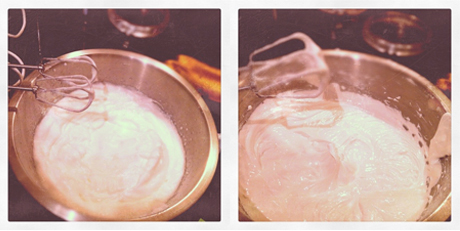
1. Using a hand mixer with the whisk attachment, mix together meringue powder with 1/2 cup water until soft peaks form, about 1 minute. Using the beater attachments, add sugar one cup at a time; continue mixing until well combined, scraping down the sides of the bowl as necessary. Icing will become thick and glossy in appearance. 2. Ice cookies.* (Do not cover or stack until completely dry. I usually wait overnight.)
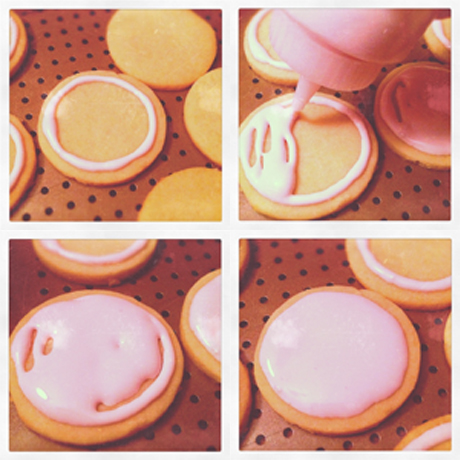
*Throughout the decorating process, you will need different consistencies of royal icing. Writing icing will need to be thick while “flooding” icing will need to be a bit thinner. To do this, add more water. If frosting becomes to thin, add more powdered sugar.
Below are pictures of the process with a couple decorating how-to’s.
Royal icing: When beating, it will go from soft peaks, to stiff glossy peaks as you add in the sugar.
Applying Icing: In a seperate bowl, add a tiny bit of water to icing. Add food coloring if necessary. Dam, flood, watch it flood, fill in any blank areas, let dry.
Decorating: HEARTS—use original icing (not thinned icing). Pipe 2 circles. Pull the icing down with tip to form a heart. DOTS—while icing is wet, place nonpareils on cookie using tweezers. CHEVRON PATTERN—while the base icing is still wet, draw horizontal lines with original icing (not thinned). Using a toothpick, lightly pull icing down in a vertical manner. Make sure to wipe off toothpick each time. Pull up to create zig-zag effect. FLOWER—much like the heart, use original icing and pipe 5 circles. Using the tip, pull in to center. Place nonpareil in center with tweezers.
They are hard work. Back breaking work. And they take tons of practice. But, you can do it. It will be so rewarding. I promise.
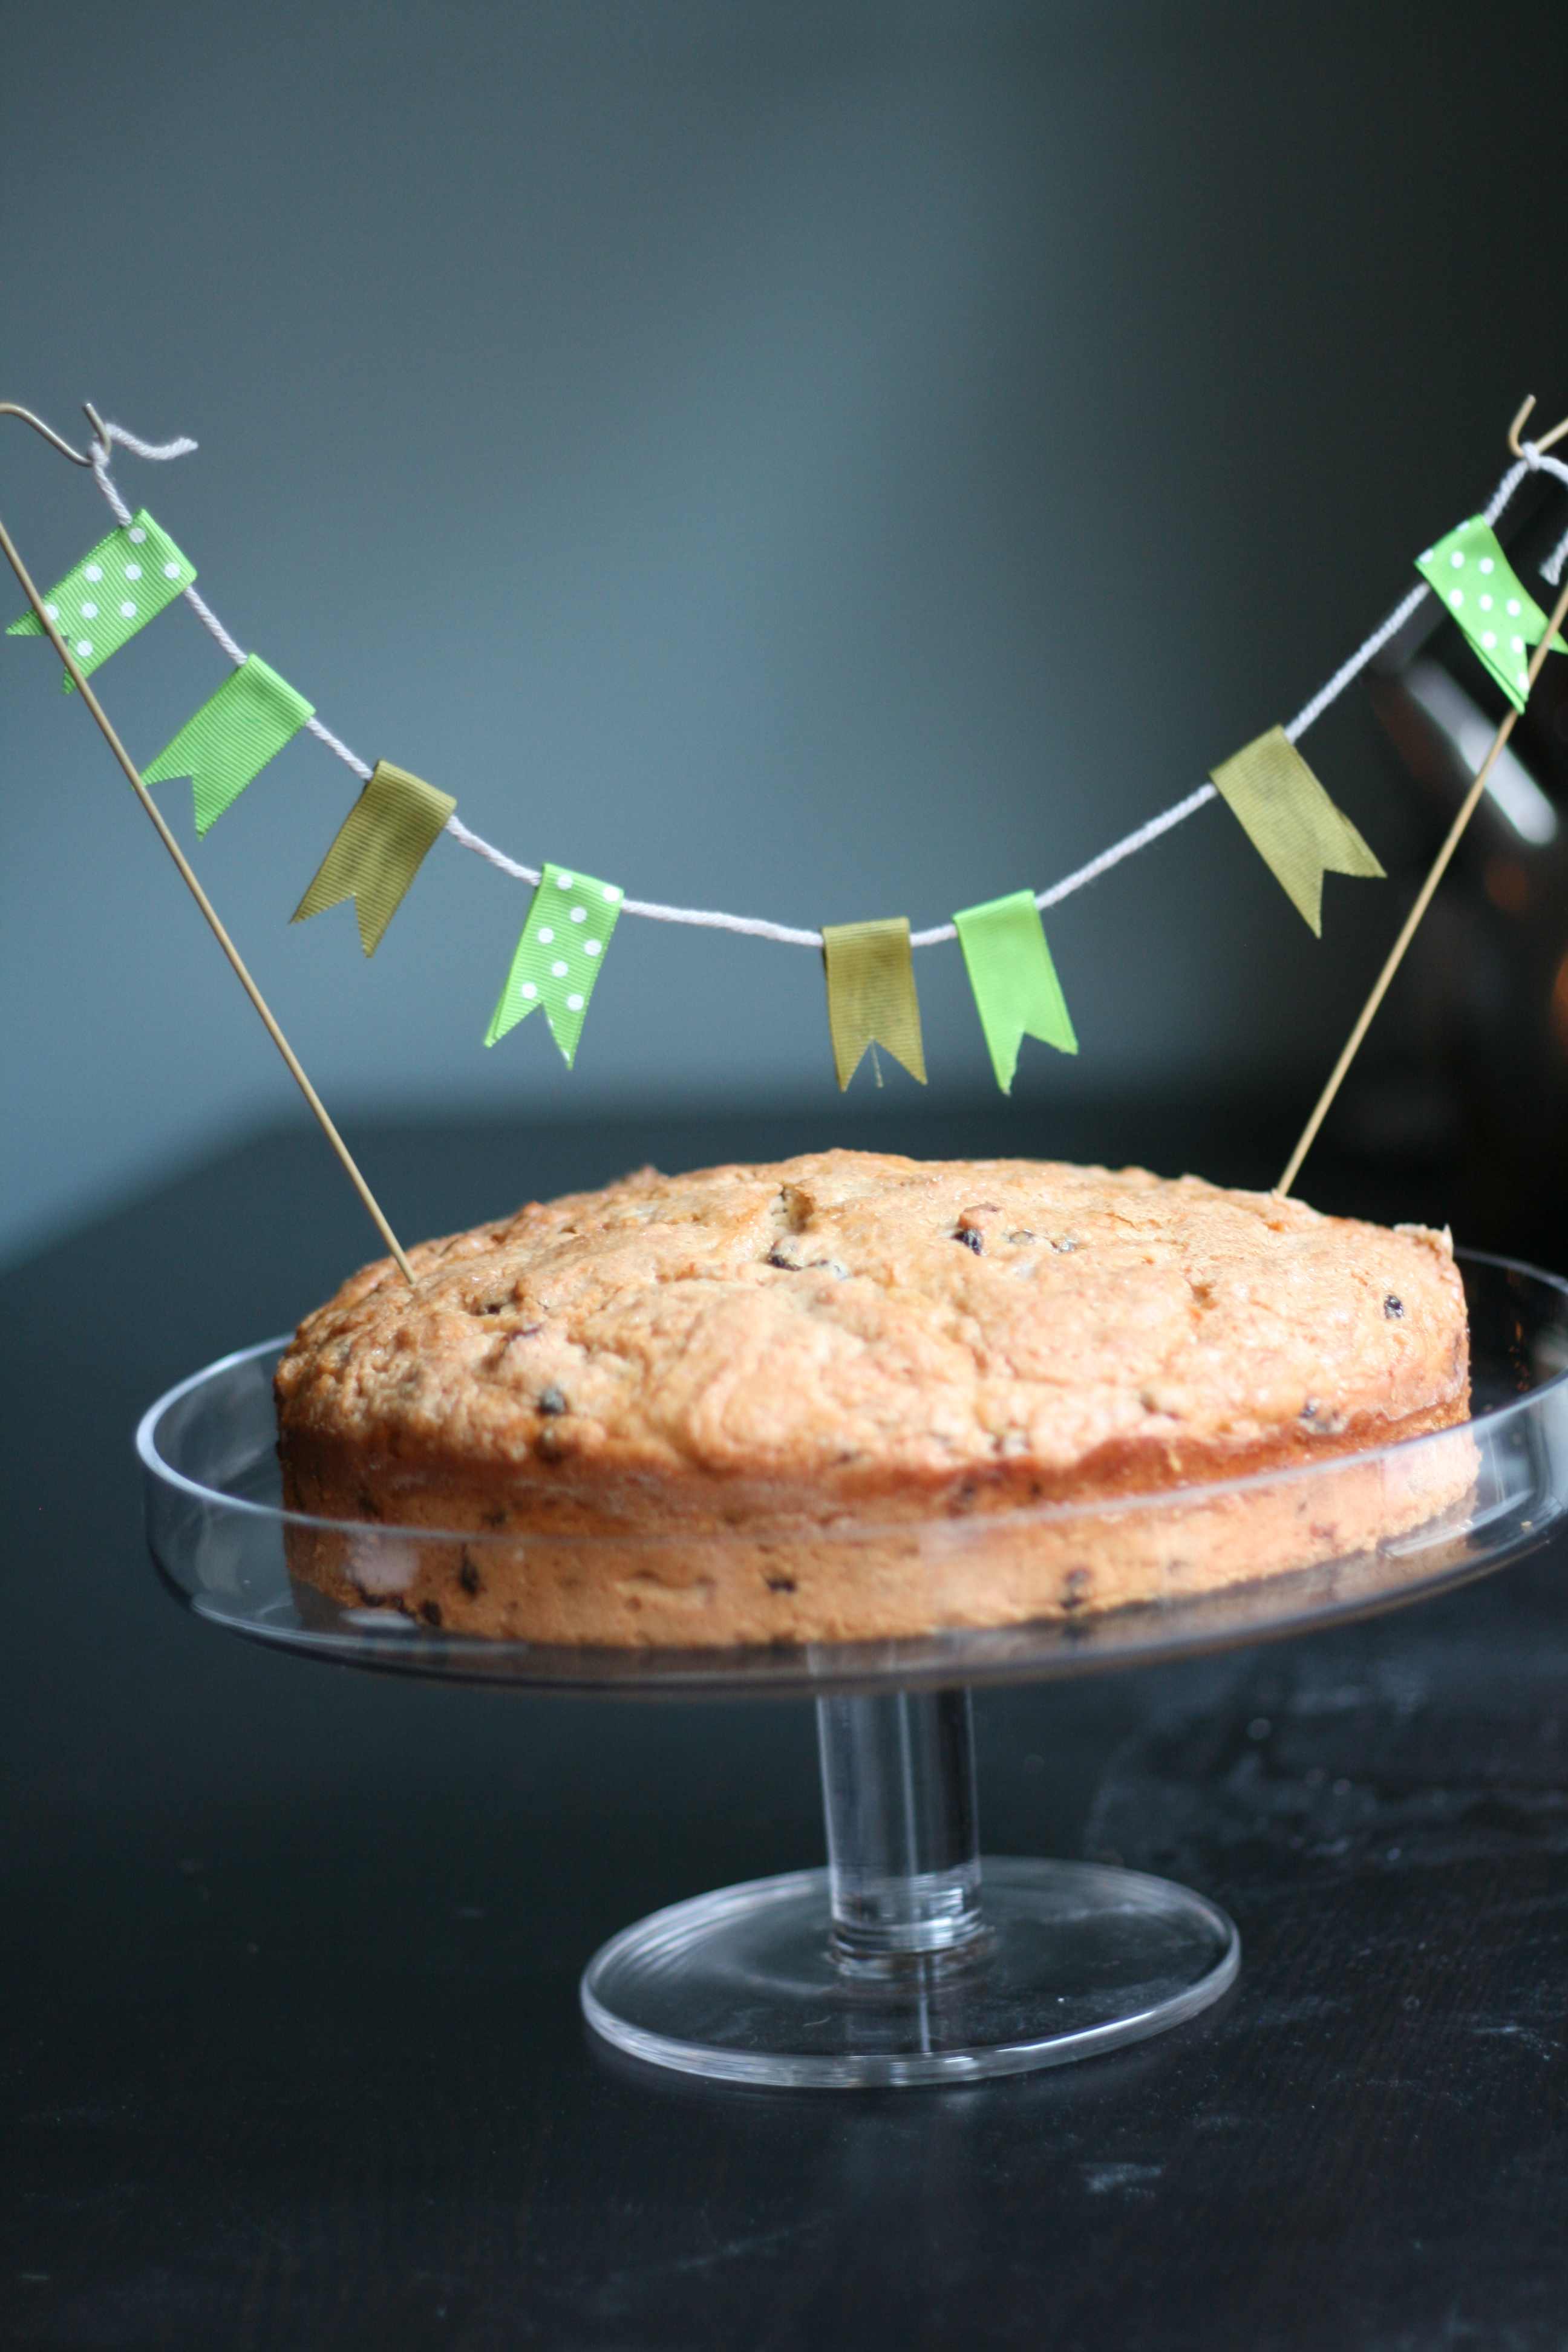
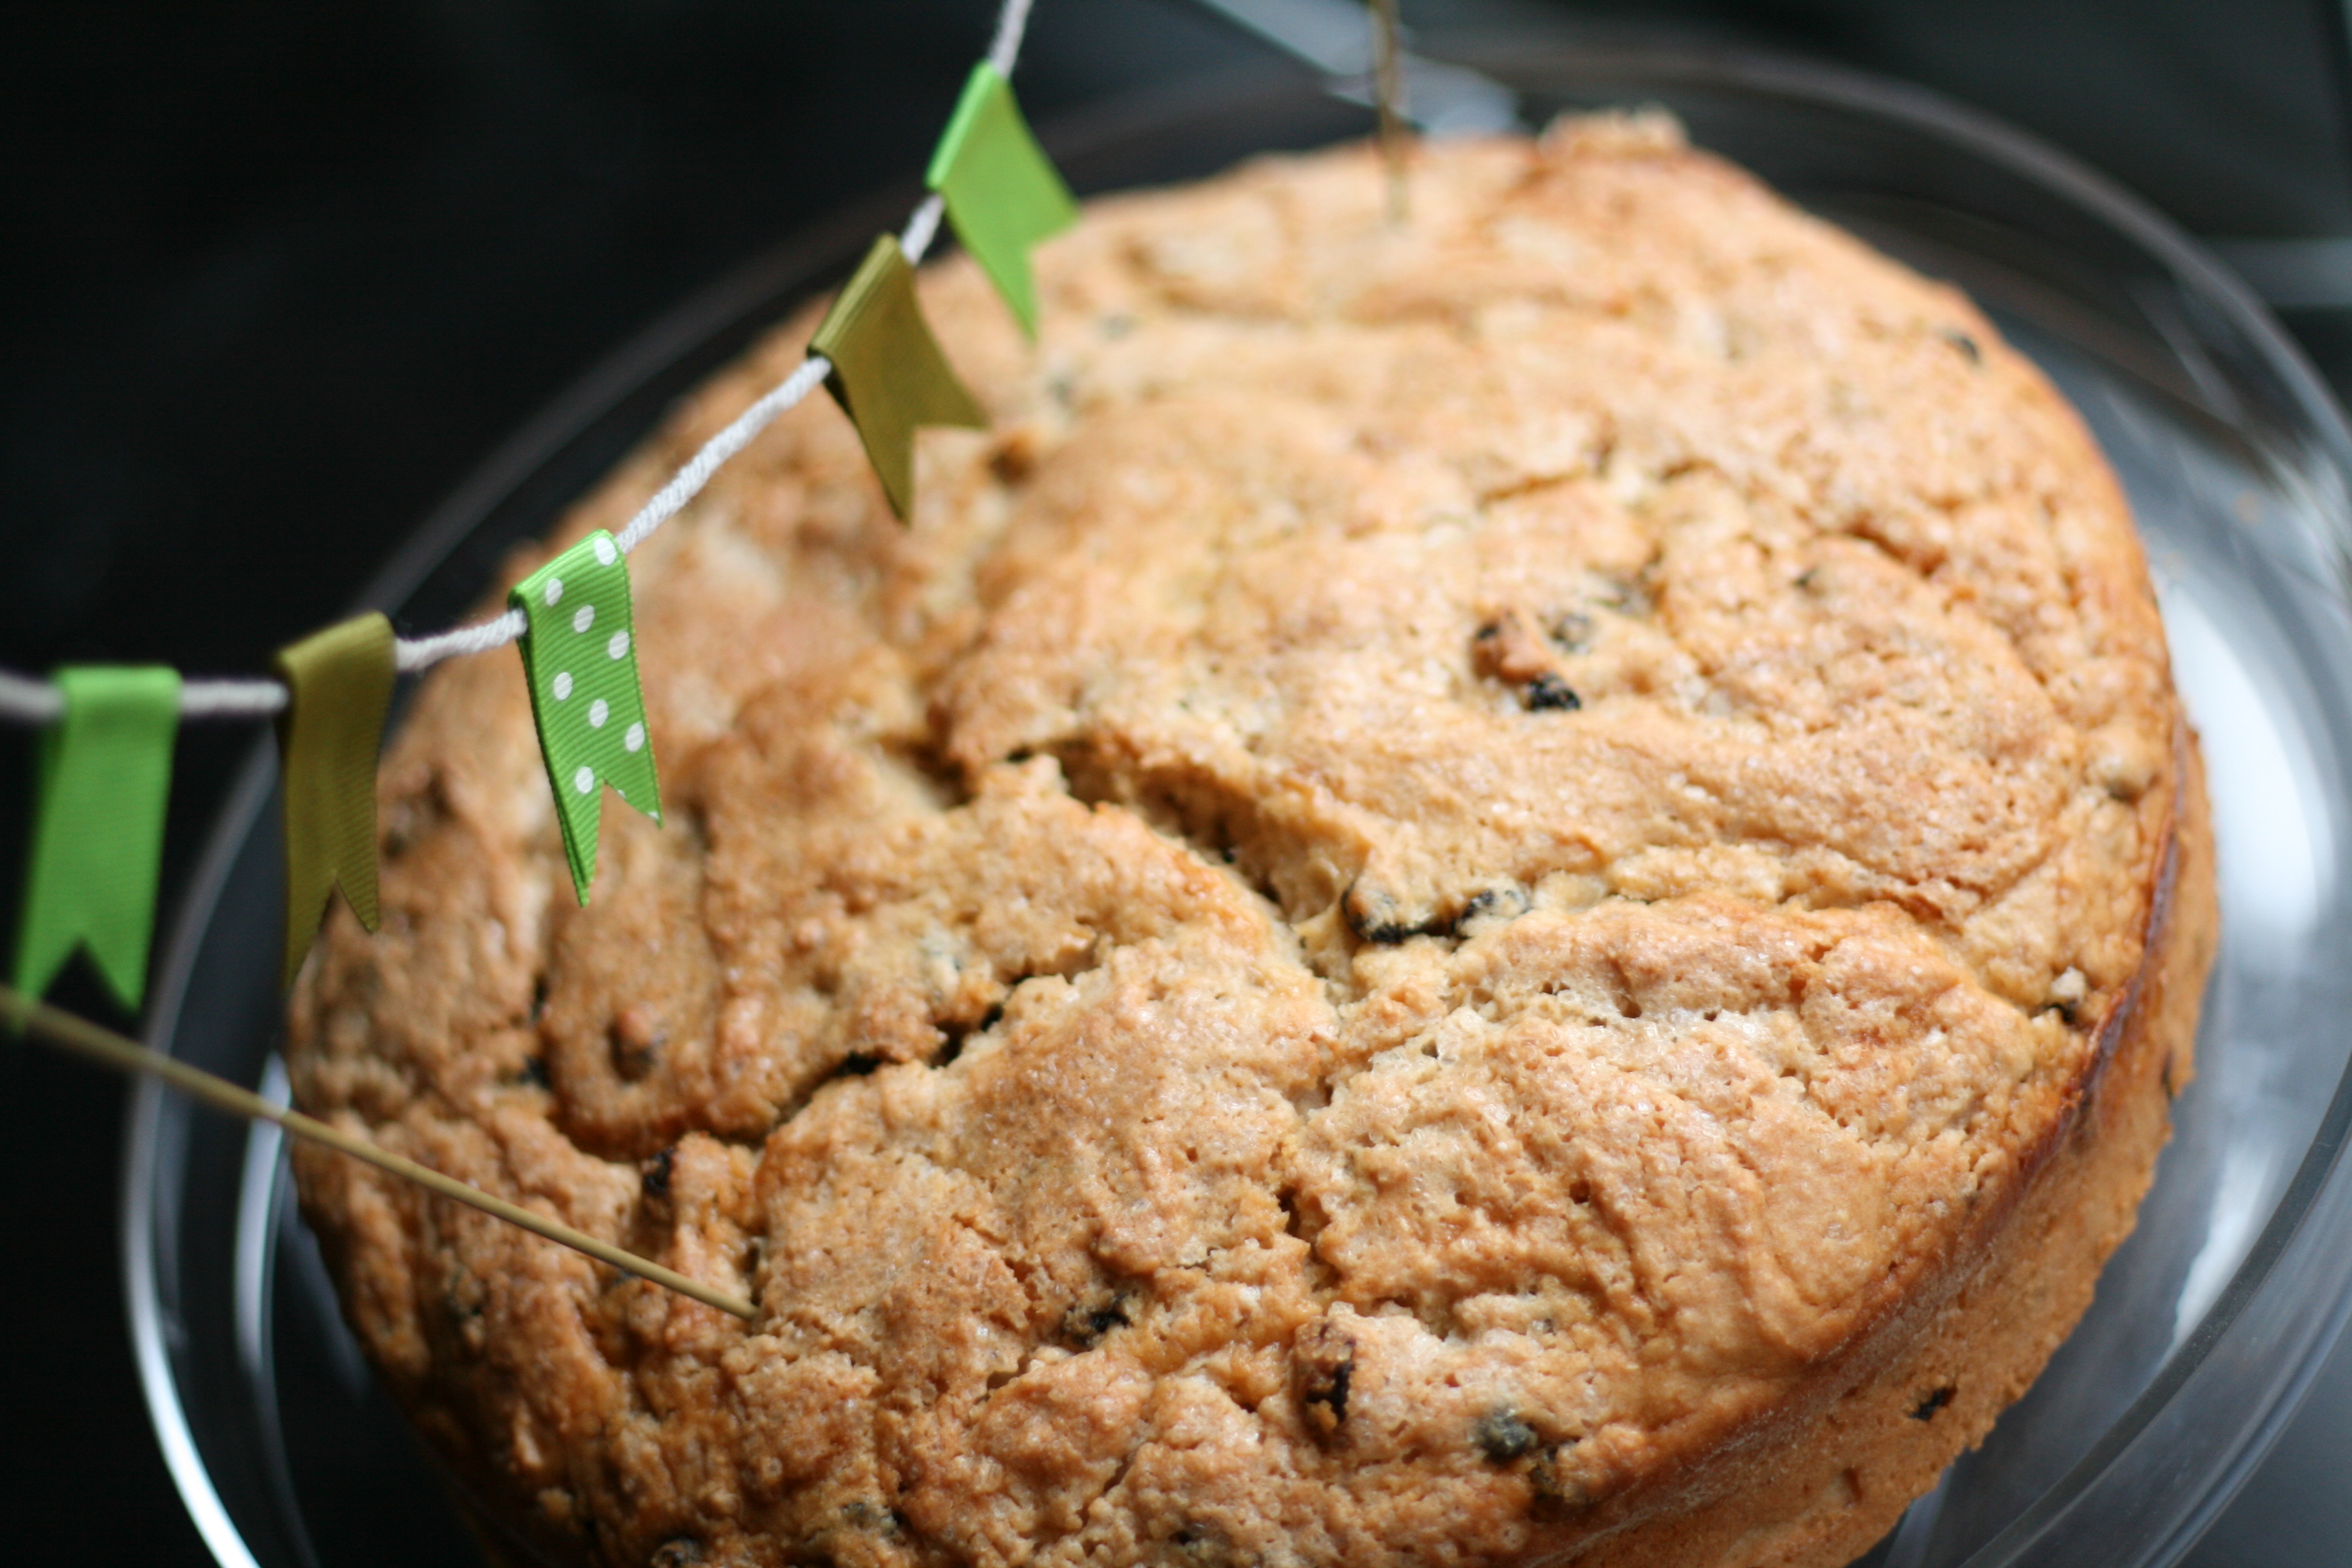
We don’t really do the corned beef and cabbage thing. It’s not our cup of tea. But you better believe we do the Irish Soda Bread thing though. With green decorations. Made out of ribbon, yarn, coat hangers, and craft glue. Yep, that’s how we celebrate.
Want to celebrate like us? Here’s how— 1. Make Irish Soda Bread. 2. While it’s baking, make decorations for the soda bread, duh! 3. Get out some yarn, ribbon, craft glue, scissors, and a coat hanger. 4. Cut the coat hanger into 2 pieces. Wash thoroughly. Dry. 5. Cut 8 2″ (or so) pieces of green ribbon. Add glue to half of the 2″ piece of ribbon and fold over, making sure the yarn is in the center of the fold. Repeat 7 times. Allow glue to dry for about 30 minutes. 6. Cut triangles into each ribbon. Attached the yarn to coat hangers. 7. Once bread is done cooking, decorate. 8. Take pictures and eat!
In a large bowl, beat together the butter and sugar until smooth. Add the eggs, and beat on high speed until the mixture is thick and light-colored, about 2 minutes. Stir in the baking powder, baking soda, and salt, then 1 cup of the wheat flour. Gently beat in half the buttermilk, then another cup of the wheat flour. Add the remainder of the buttermilk, and the final cup of all-purpose flour, mixing until smooth. Stir in the currants.
Spoon the mixture into a lightly greased 8″ round pan, and line the bottom with parchment paper. Drizzle the milk atop the batter, and sprinkle with the sugar.
Bake the bread in a preheated 325° oven for 1 hour 15 minutes, or until a cake tester inserted into the center comes out clean. Tent a sheet of aluminum foil over the top for the final 15 minutes, if it appears to be browning too quickly. Remove the bread from the oven, wait about 5 minutes, then carefully turn it out onto a rack to cool. Allow the bread to cool for at least 1 hour before slicing.
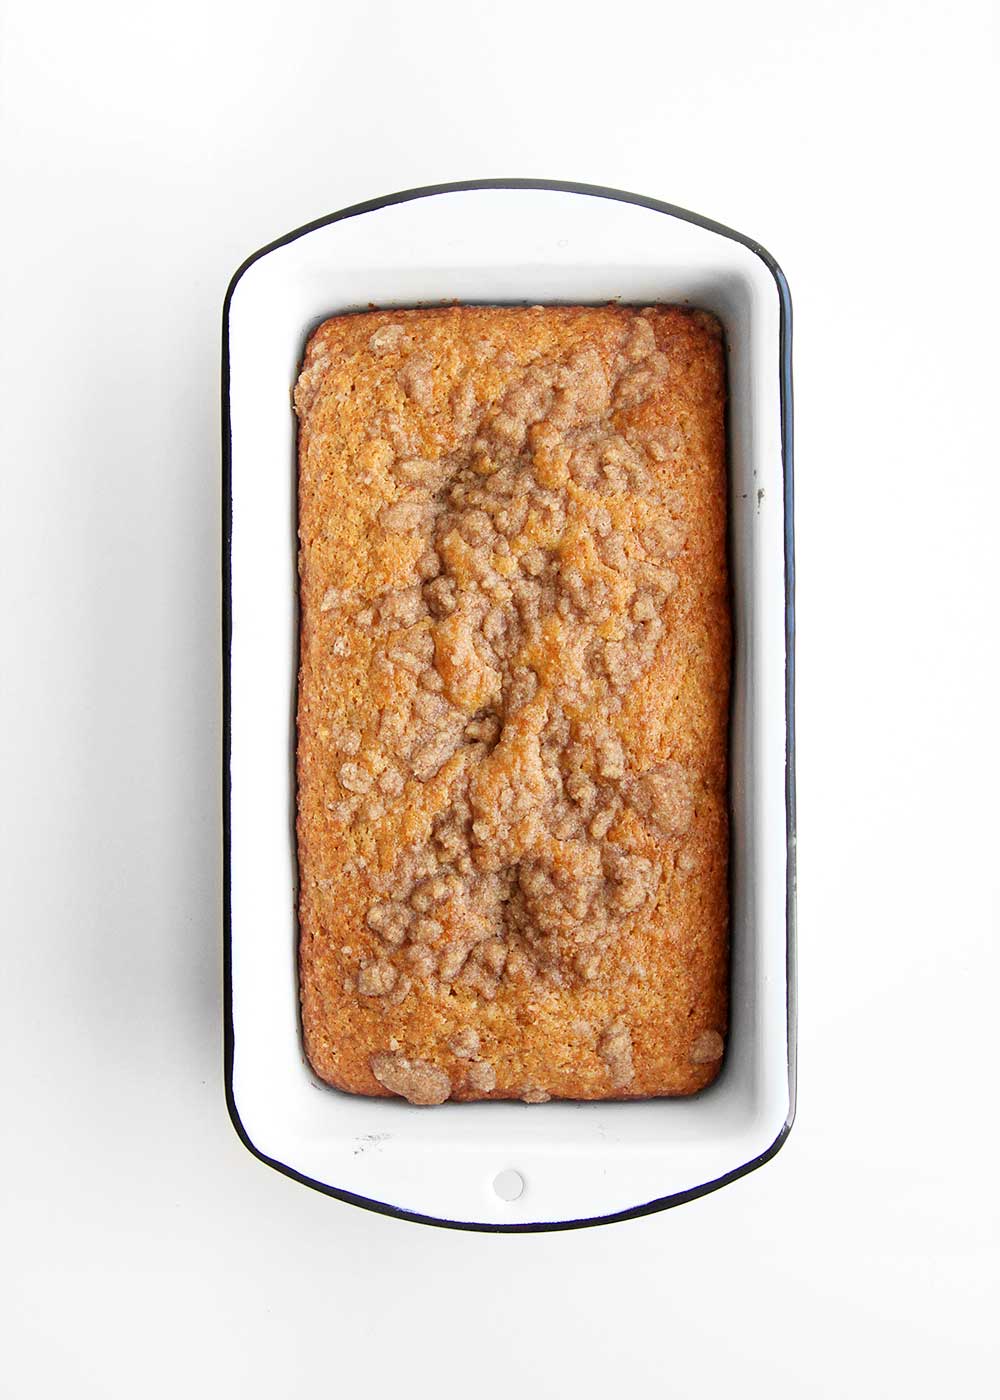
One Banana Banana Bread. I’m eating a sliver right now. It’s only appropriate, ya know? Let me tell you, the crumb topping is a nice little surprise on the taste buds. Read more
I’ve been a big lazy bum this weekend. Reason being—Broomball.
We played Broomball Friday night, and it did me in for the whole weekend. After all the years of playing competitive soccer, I don’t think my body has ever hurt this bad. Maybe I’m getting old. In hindsight, I should have come armed with knee pads, elbow pads, and a helmet. Speaking of helmets, I took a nasty spill about 10 minutes into playing, hitting my head on the ice. A goose egg bump ensued. Being the competitive kamikaze athlete that I am, if you can even still call me an athlete, I kept playing. But, oh, I payed for it the rest of the weekend.
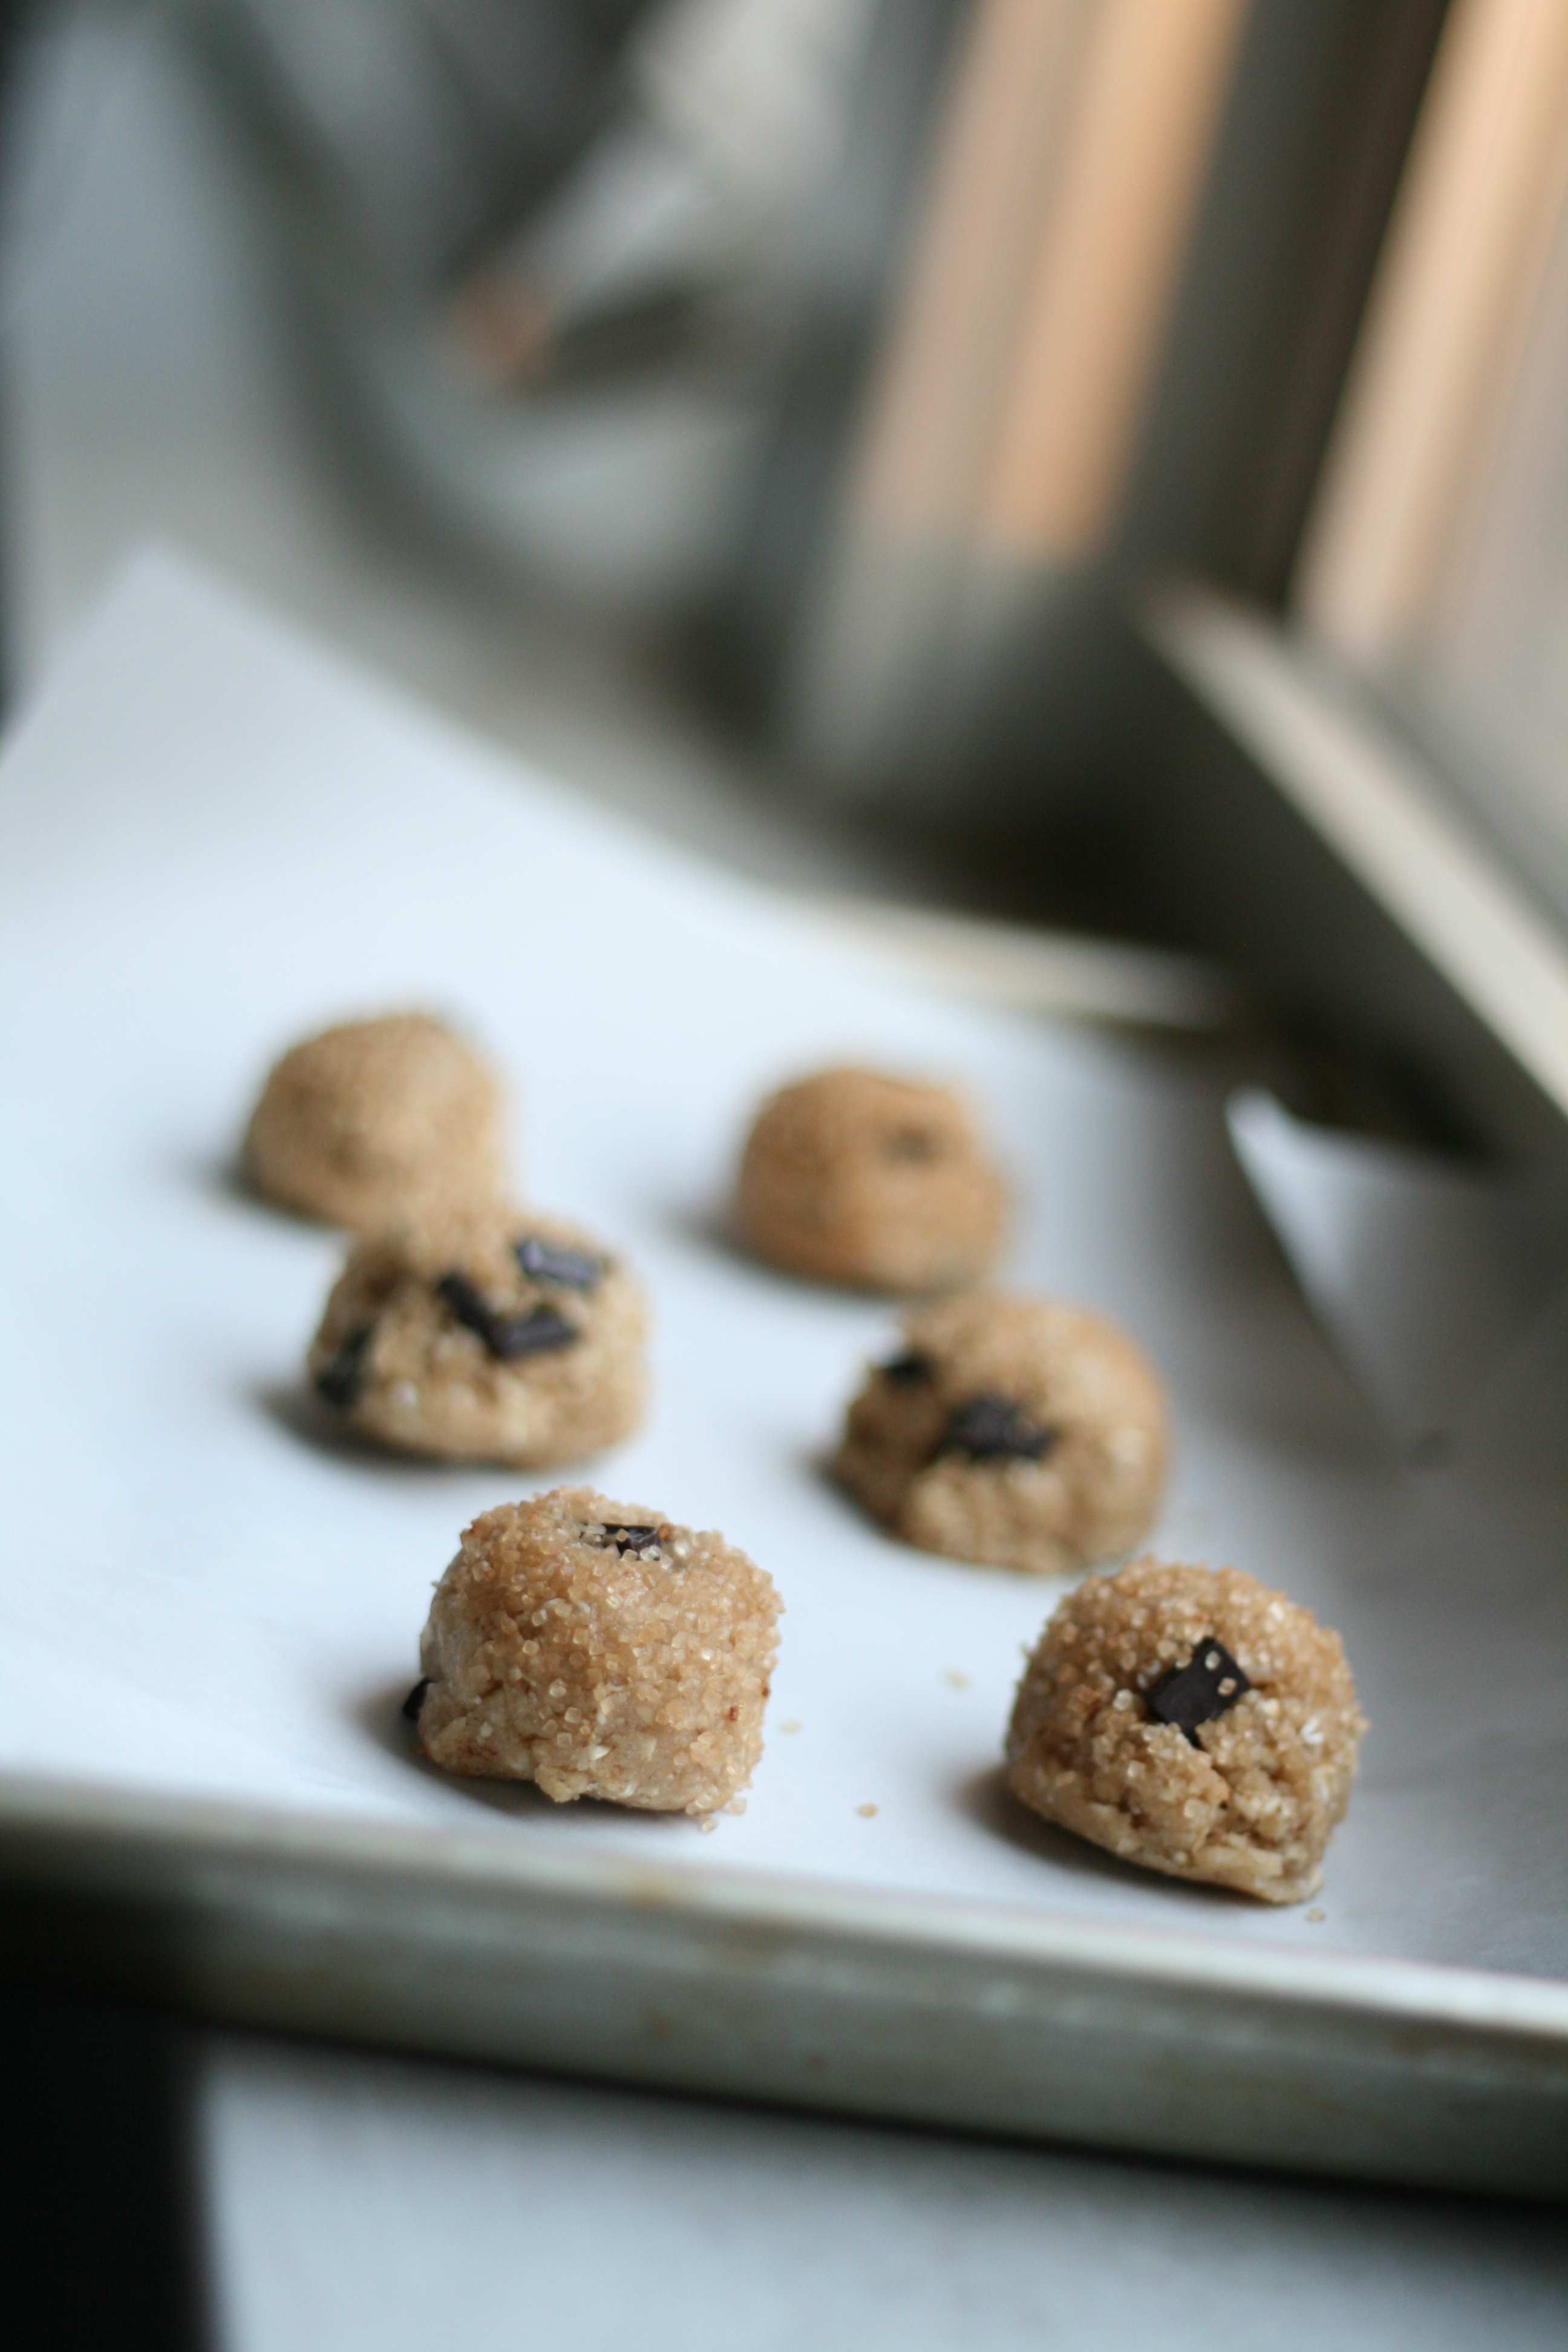
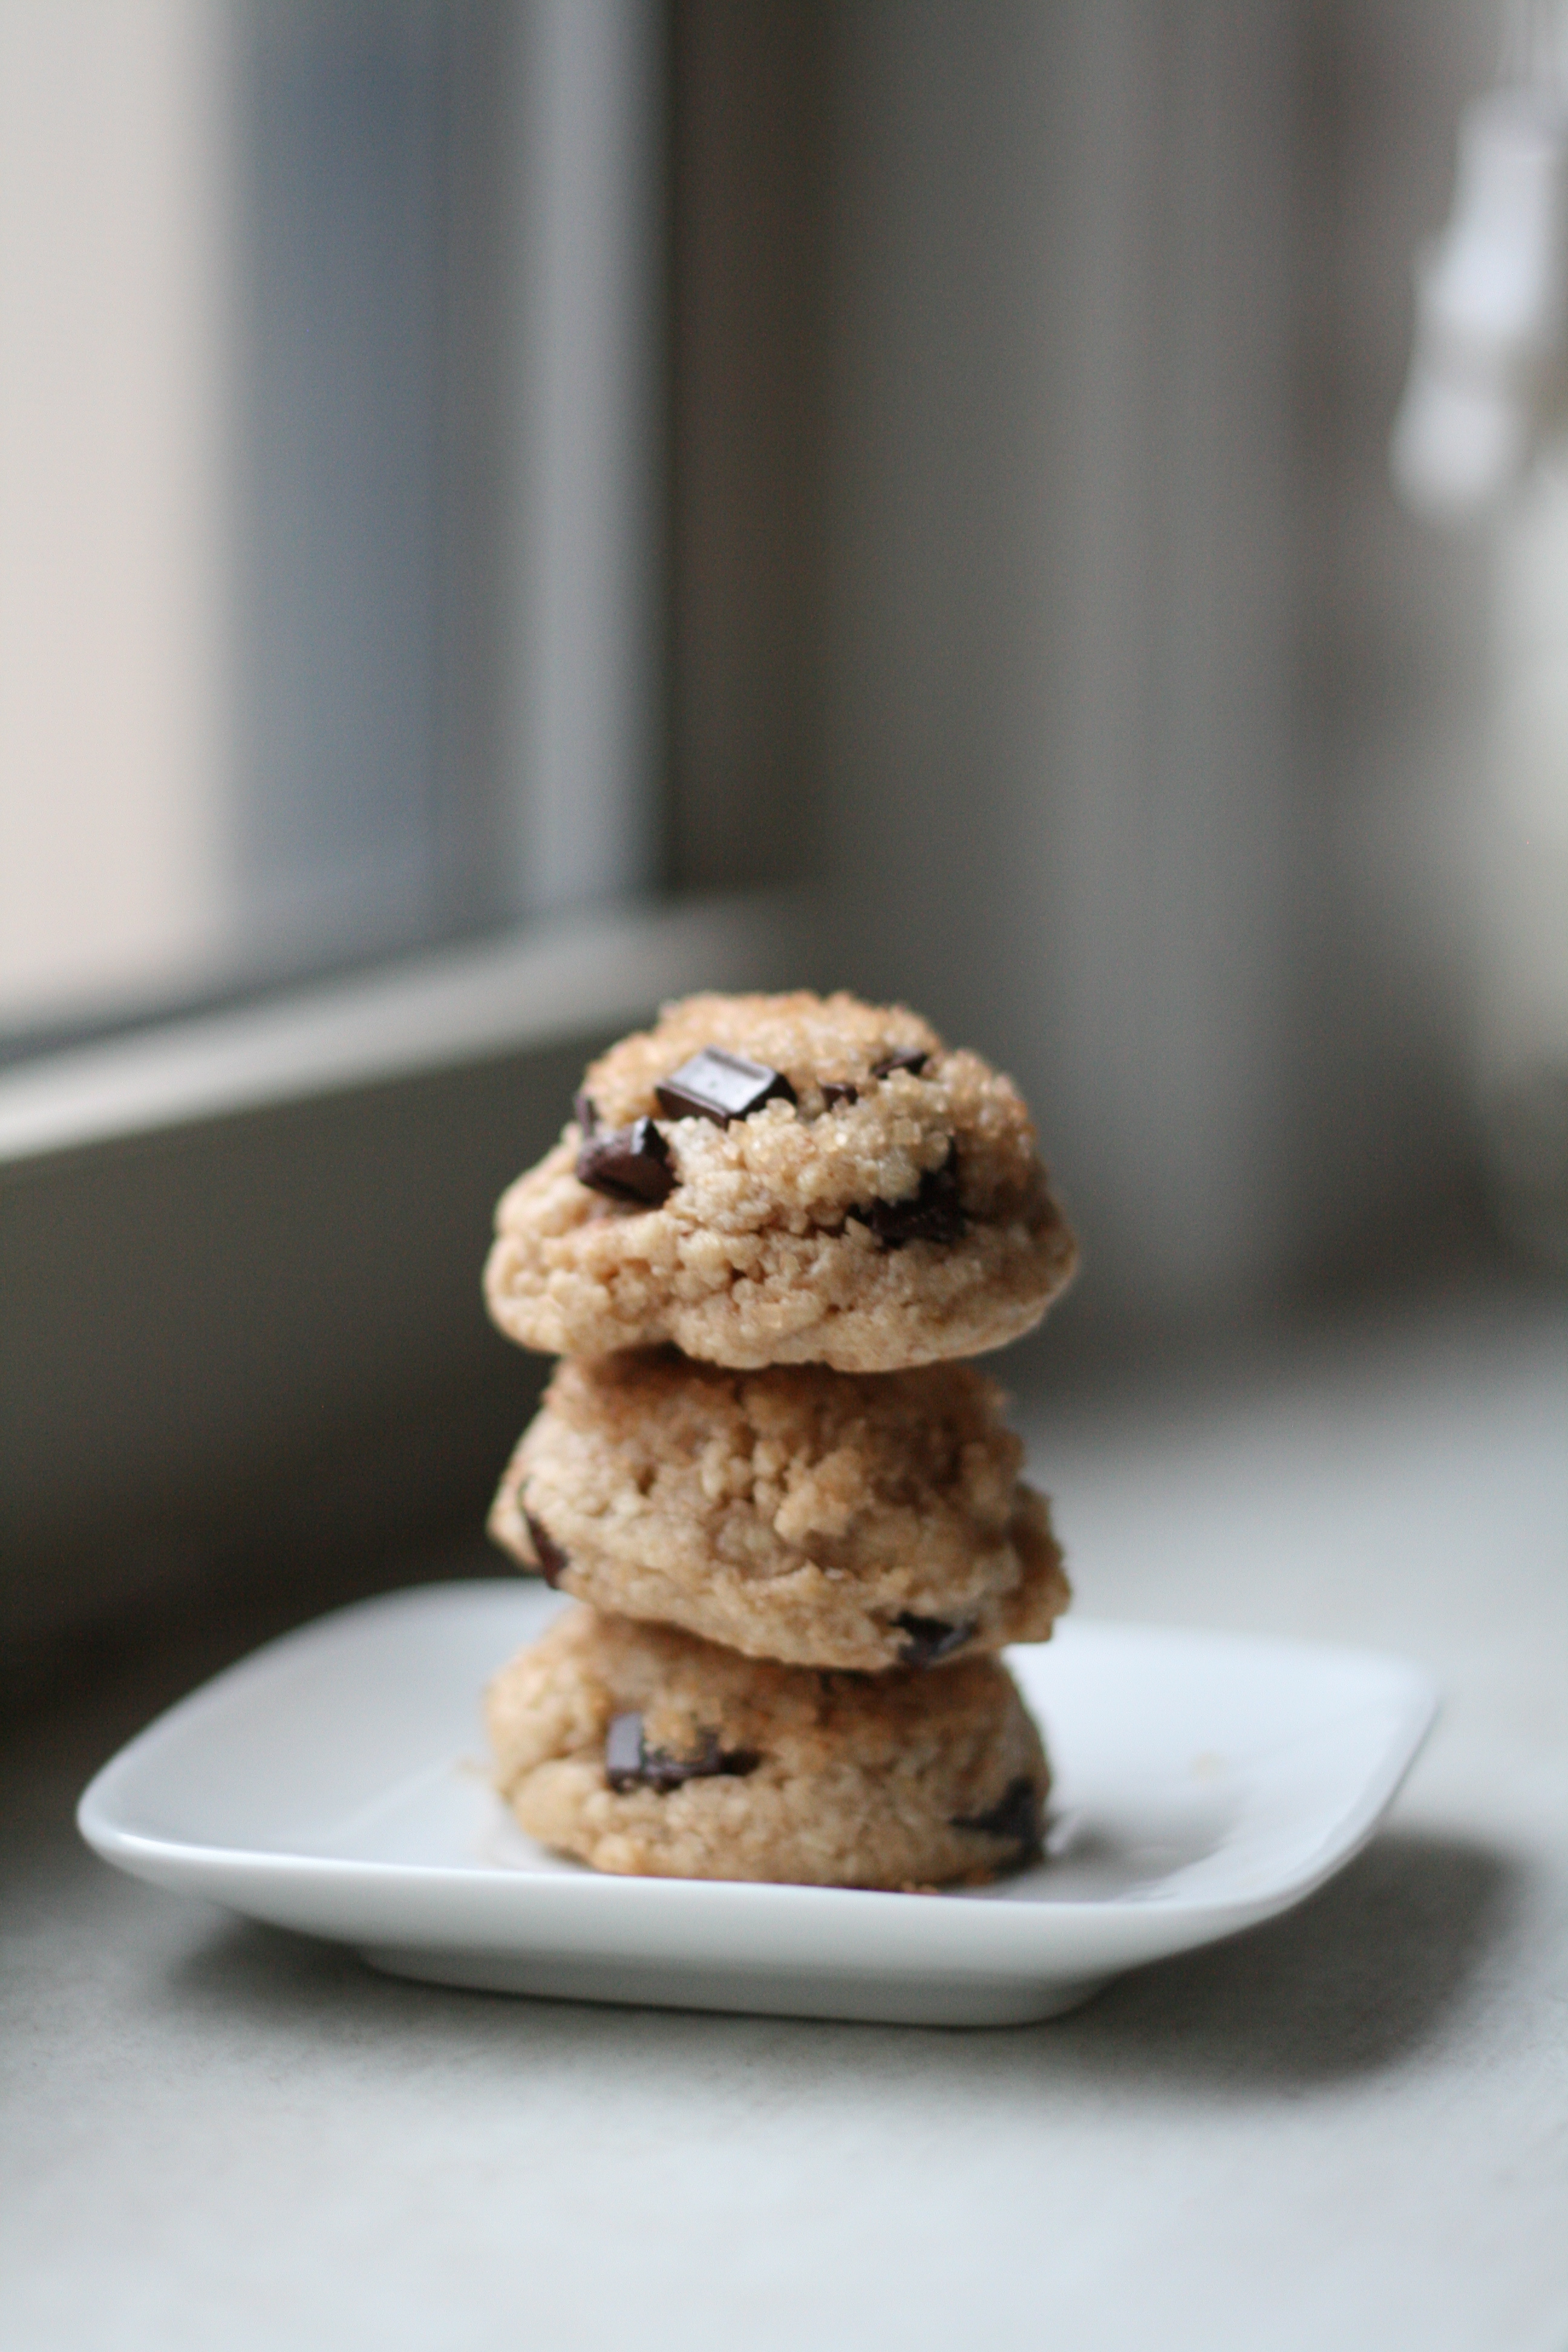
You’re probably thinking—”Does she want some cheese, with that whine?” I’ll pass on the cheese, but I’ll take a cookie instead. And that’s exactly what I did yesterday. I soothed my soul with a healthy chocolate chip cookie. I wasn’t about to try making a new recipe to blog about with my head being a little more foggy than normal. There’s no telling how it would have turned out. So I stuck with what I knew—an oldie but a favorite.
This little gem of a cookie will delight your palette. It’s tiny. Cute. With hints of maple. Filled with dark chocolate. And hidden with healthy morsels of whole wheat flour, oats, walnuts, and honey. Even college students, known for their fast food pizza eating habits, love these cookies.
In a sauce pan, melt butter and allow to cool for about 15 minutes.
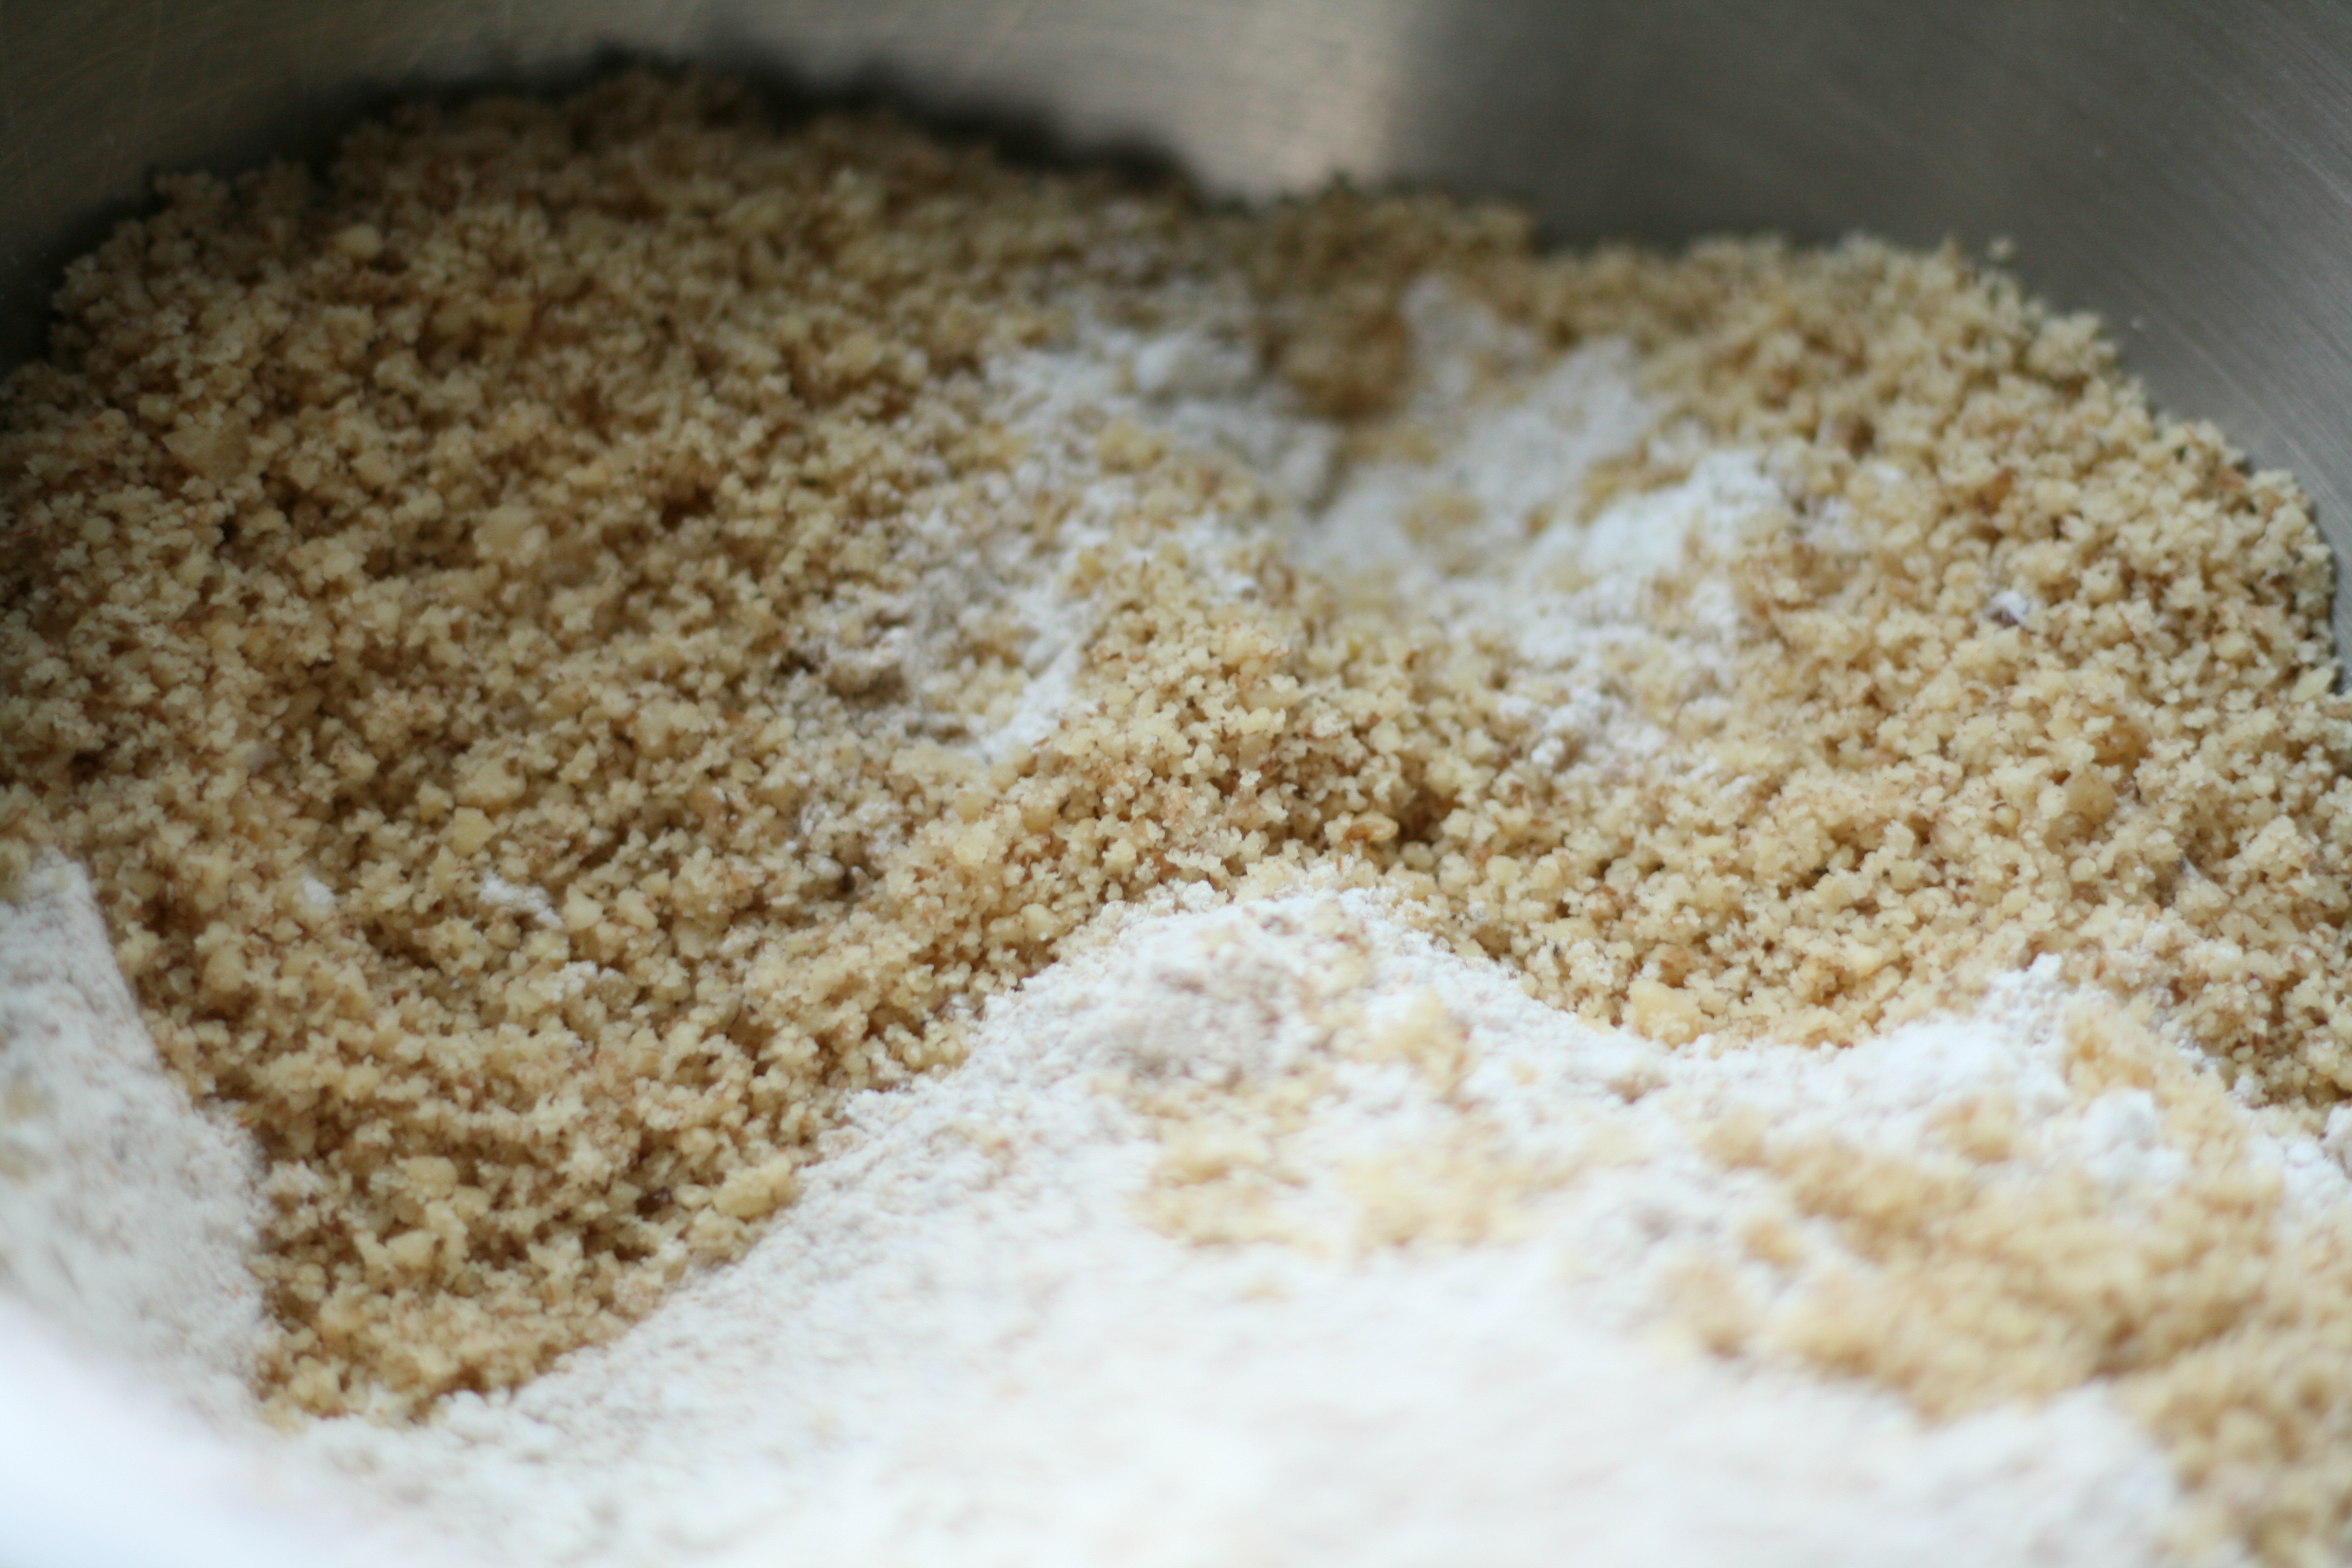
Meanwhile, Whisk together flours, baking soda, baking powder, and salt in bowl.
In food processor or high-powered blender, finely grind oats, and add to flour mixture. Then finely grind walnuts. add to flour mixture.
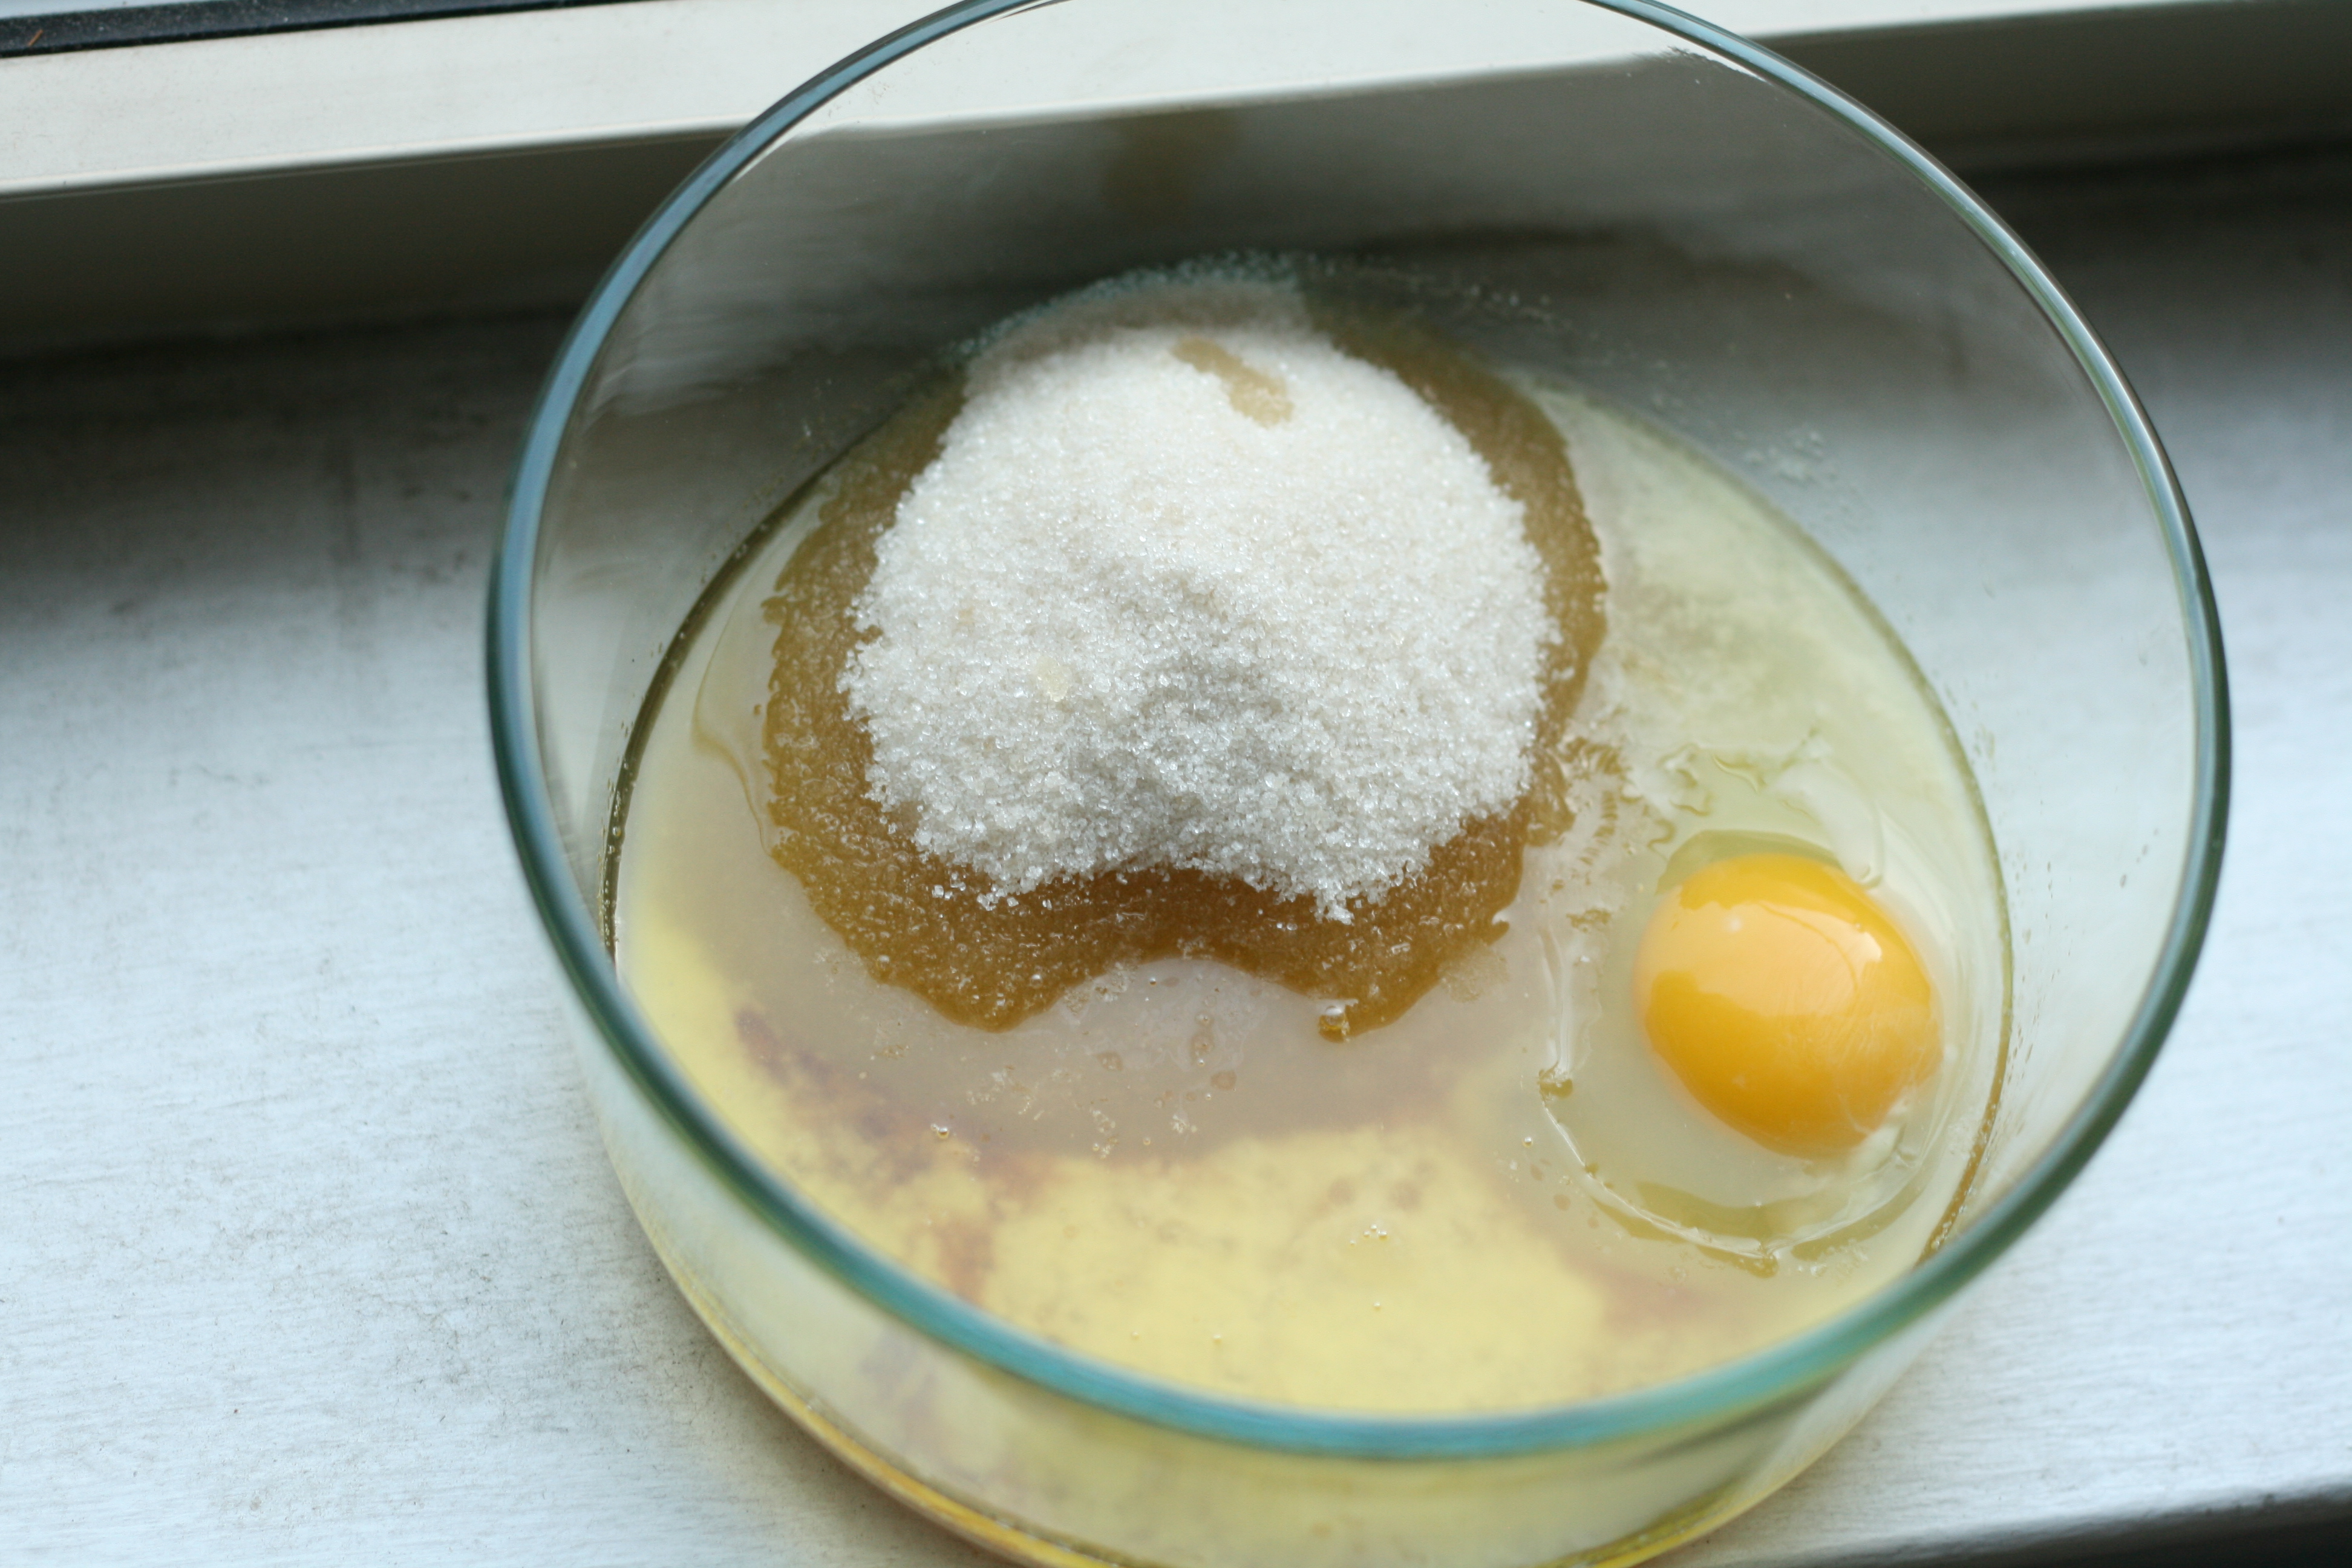
Into cooled butter mixture, whisk in sugar, honey, egg, and vanilla extract until sugar is dissolved and all ingredients are well combined.
Pour butter mixture into flour mixture, and mix until just combined. (Dough will be somewhat dry.)
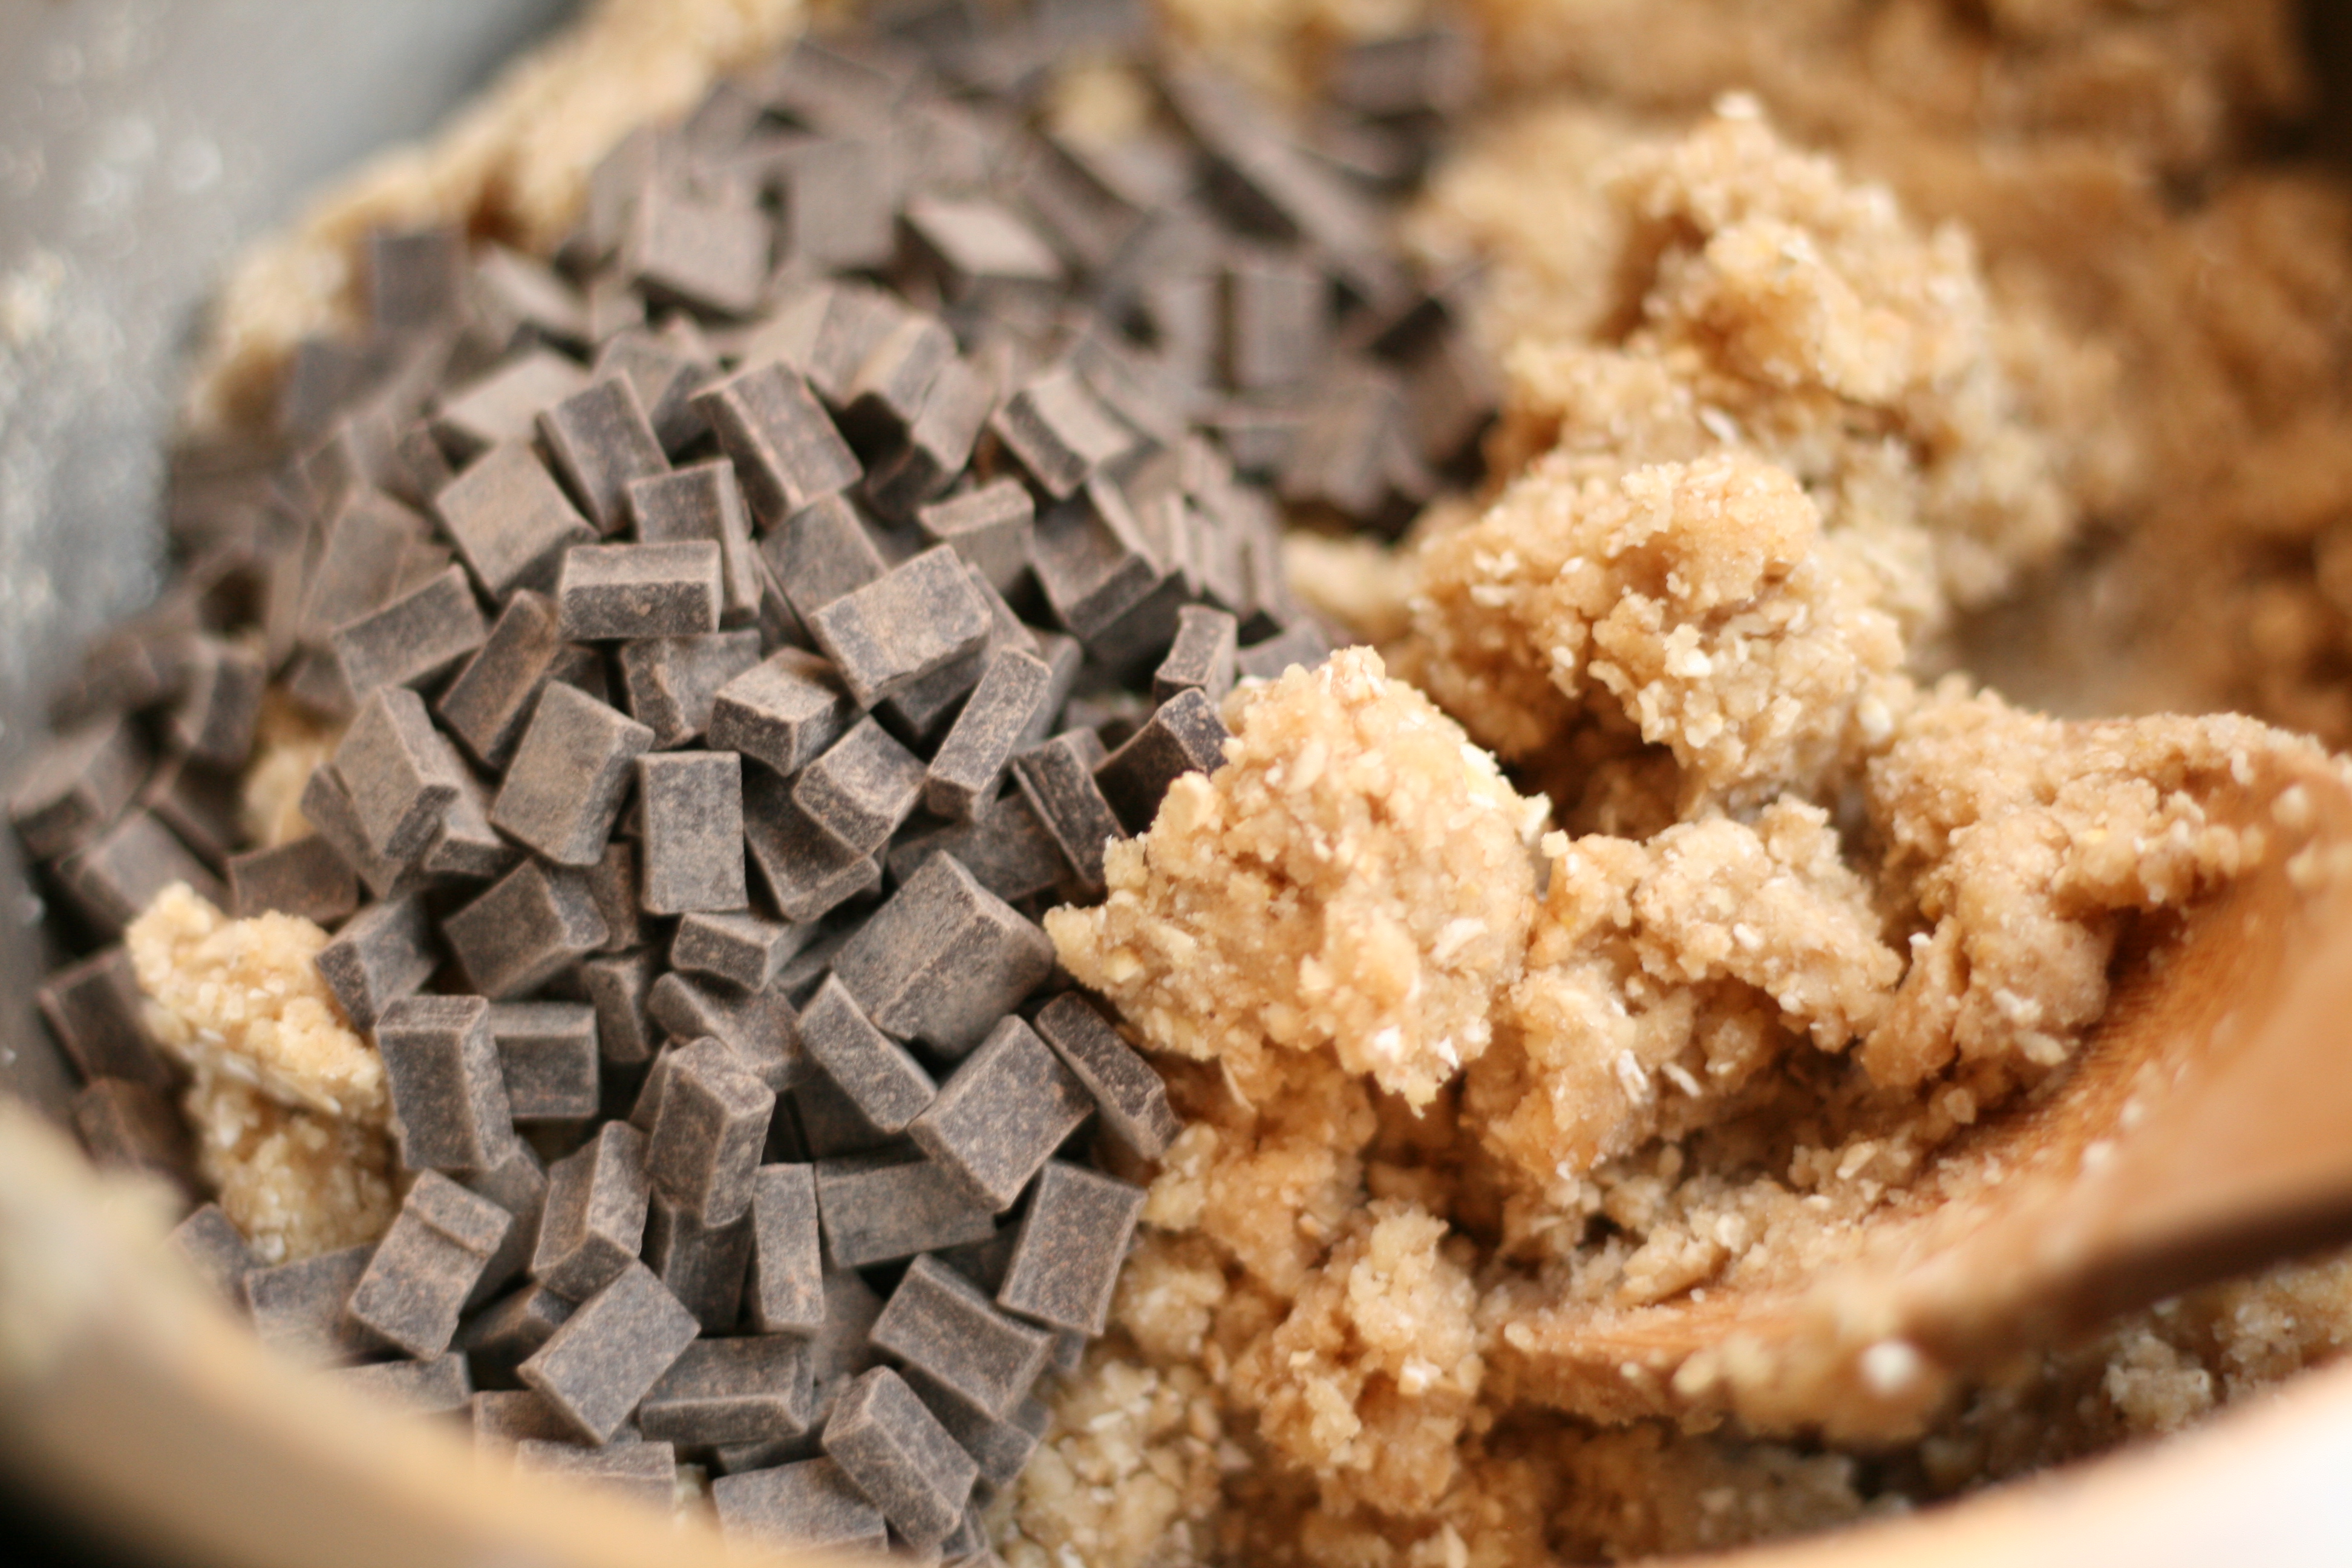
Mix in chocolate chips.
Scoop cookies with a spring release scoop or roll in ball by hand. Chocolate chips will have a nasty tendency to drop out of the cookies. Give them a little nudge to stay inside. Roll cookies in turbinado and cinnamon mixture and place on silpat or parchment paper lined pan. Do not flatten.
Bake for about 10 minutes. Let cool on pan for 5 minutes.
Notes
You can also freeze these cookies before baking. Do everything up to step 9. Instead of placing the cookies in the cookies in the oven, place them in the freezer on the cookie sheet for 10-15 minutes. This process is called flash freezing. Once they are frozen or hard, you can put them in a freezer proof bag and store up to 2 months in freezer. When you are ready for a cookie or two, set the cookie(s) out on your pan while preheating the oven. Bake for the same amount of time. You may have to add 2 minutes or so. With this method, you can have a freshly baked cookie instead of eating a week old cookie.
Recipe Card powered by
Go ahead and treat yourself to a cookie. A healthy(ish) one at that!
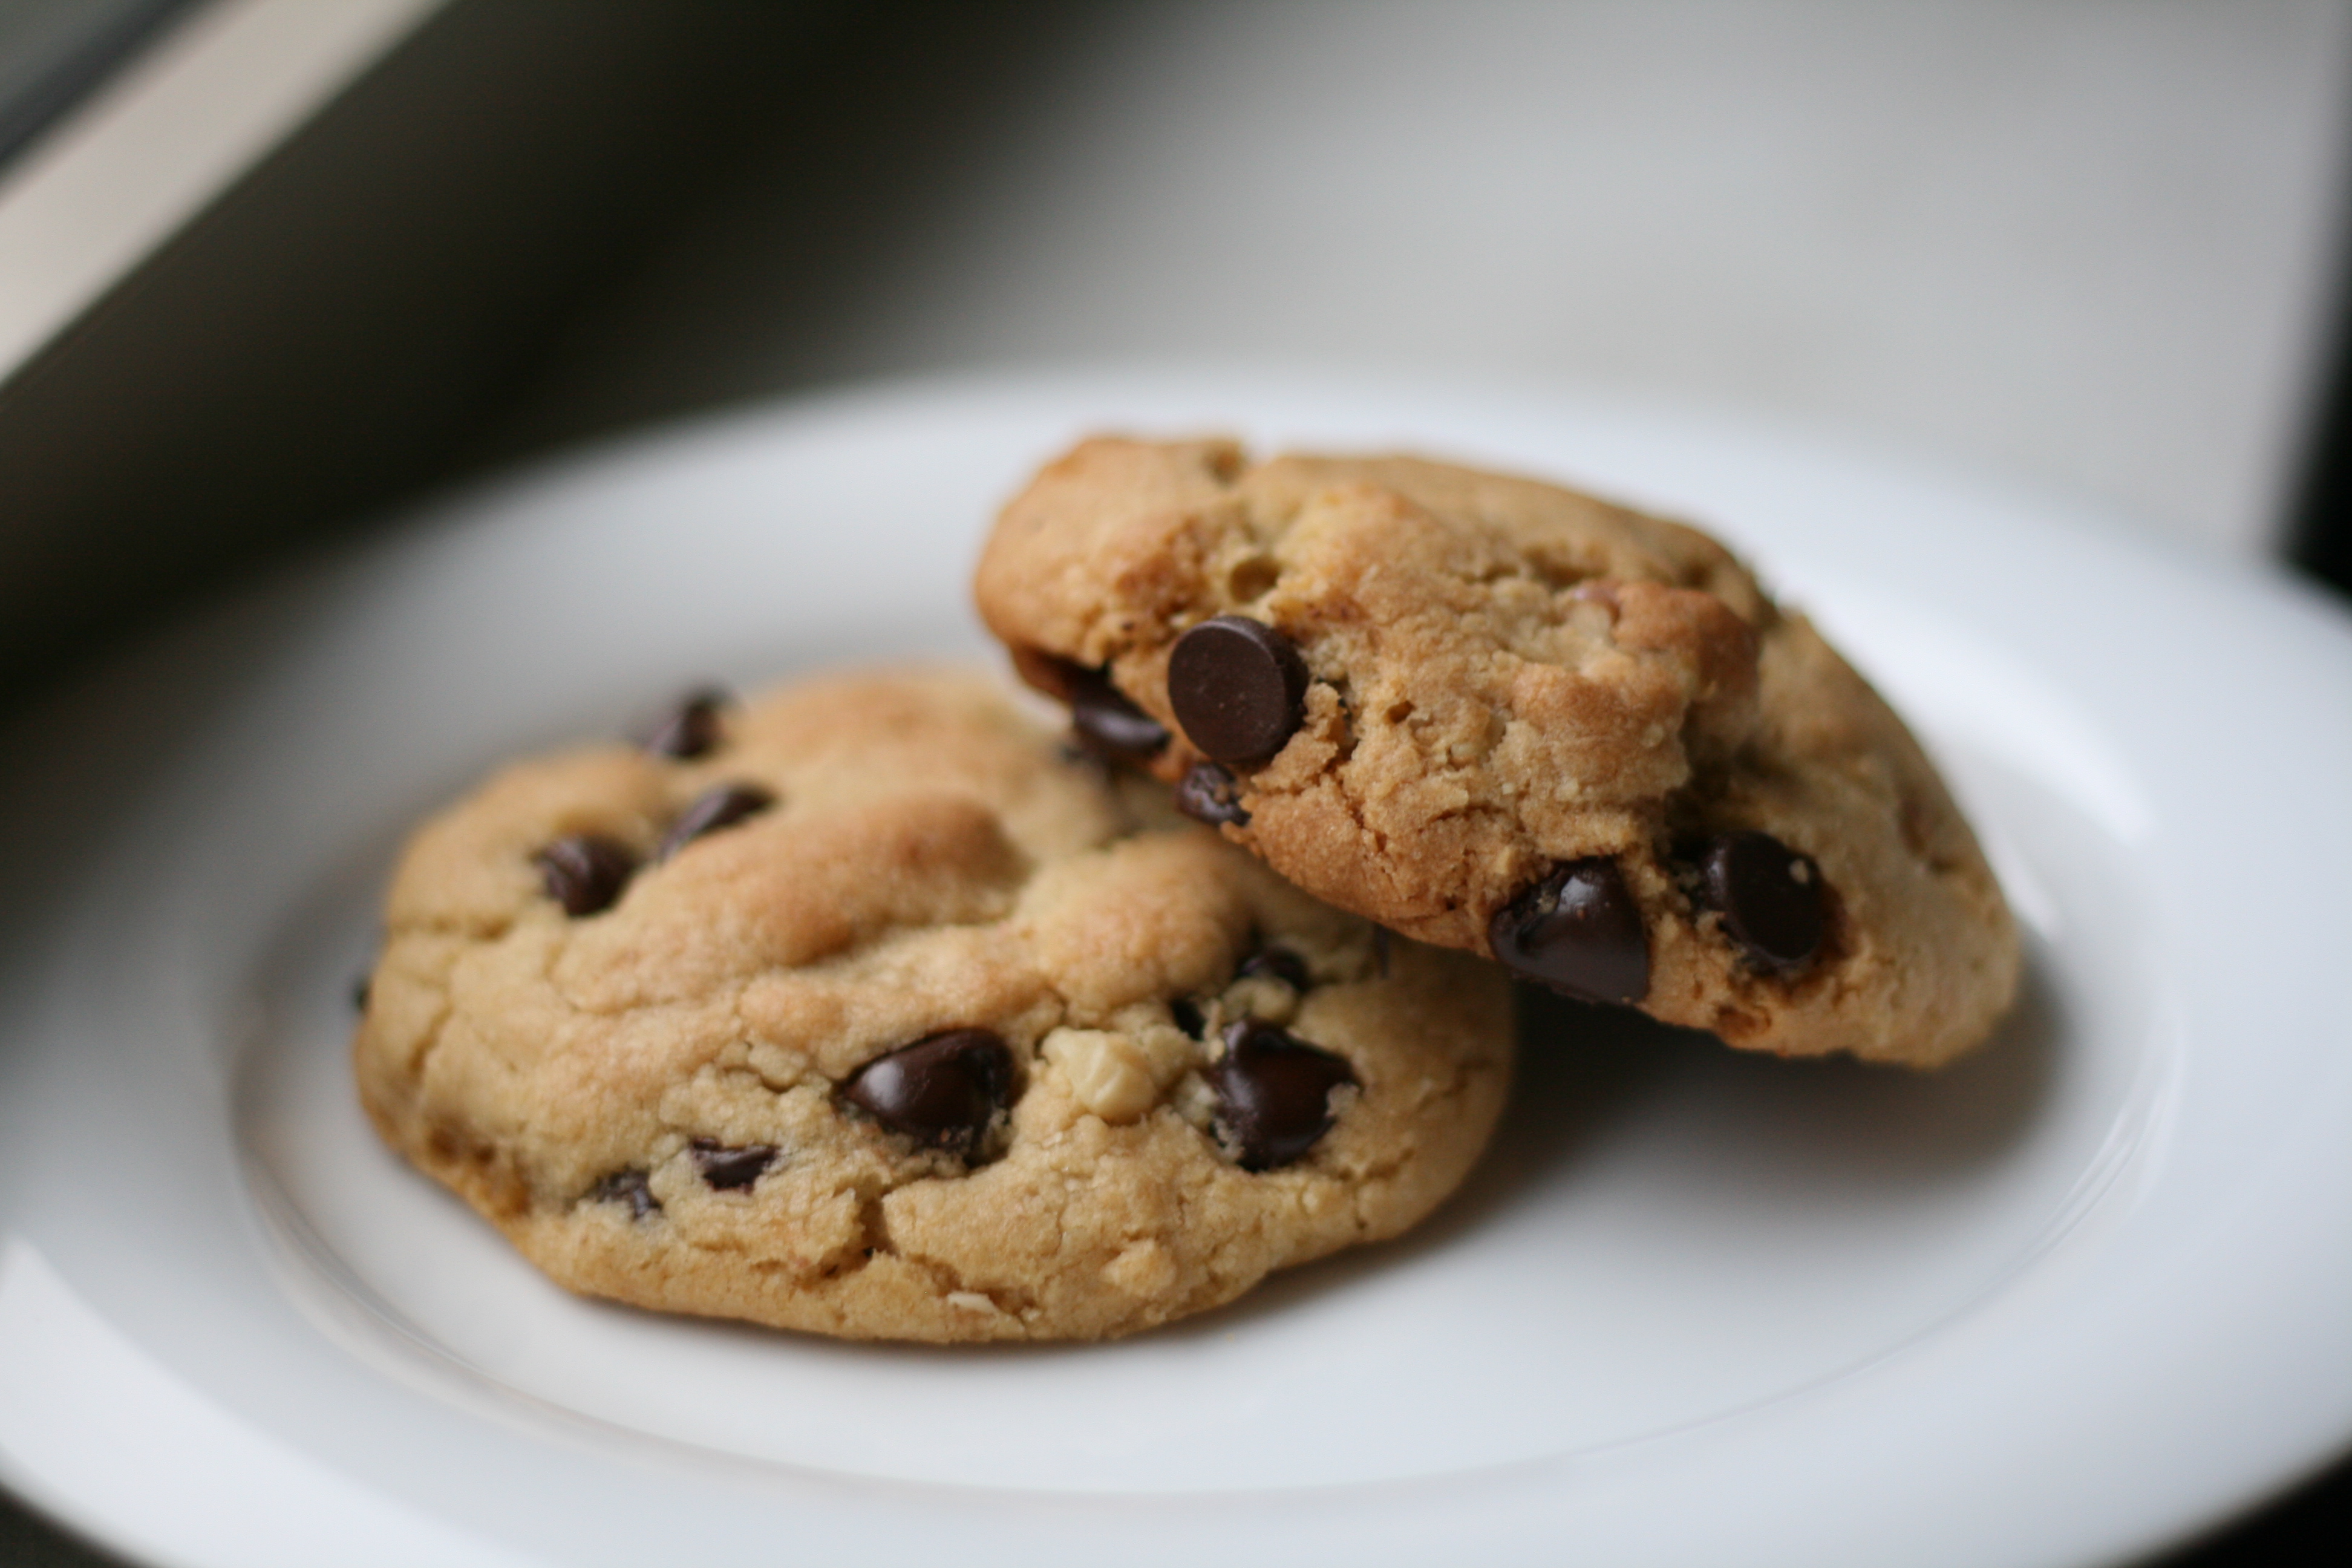
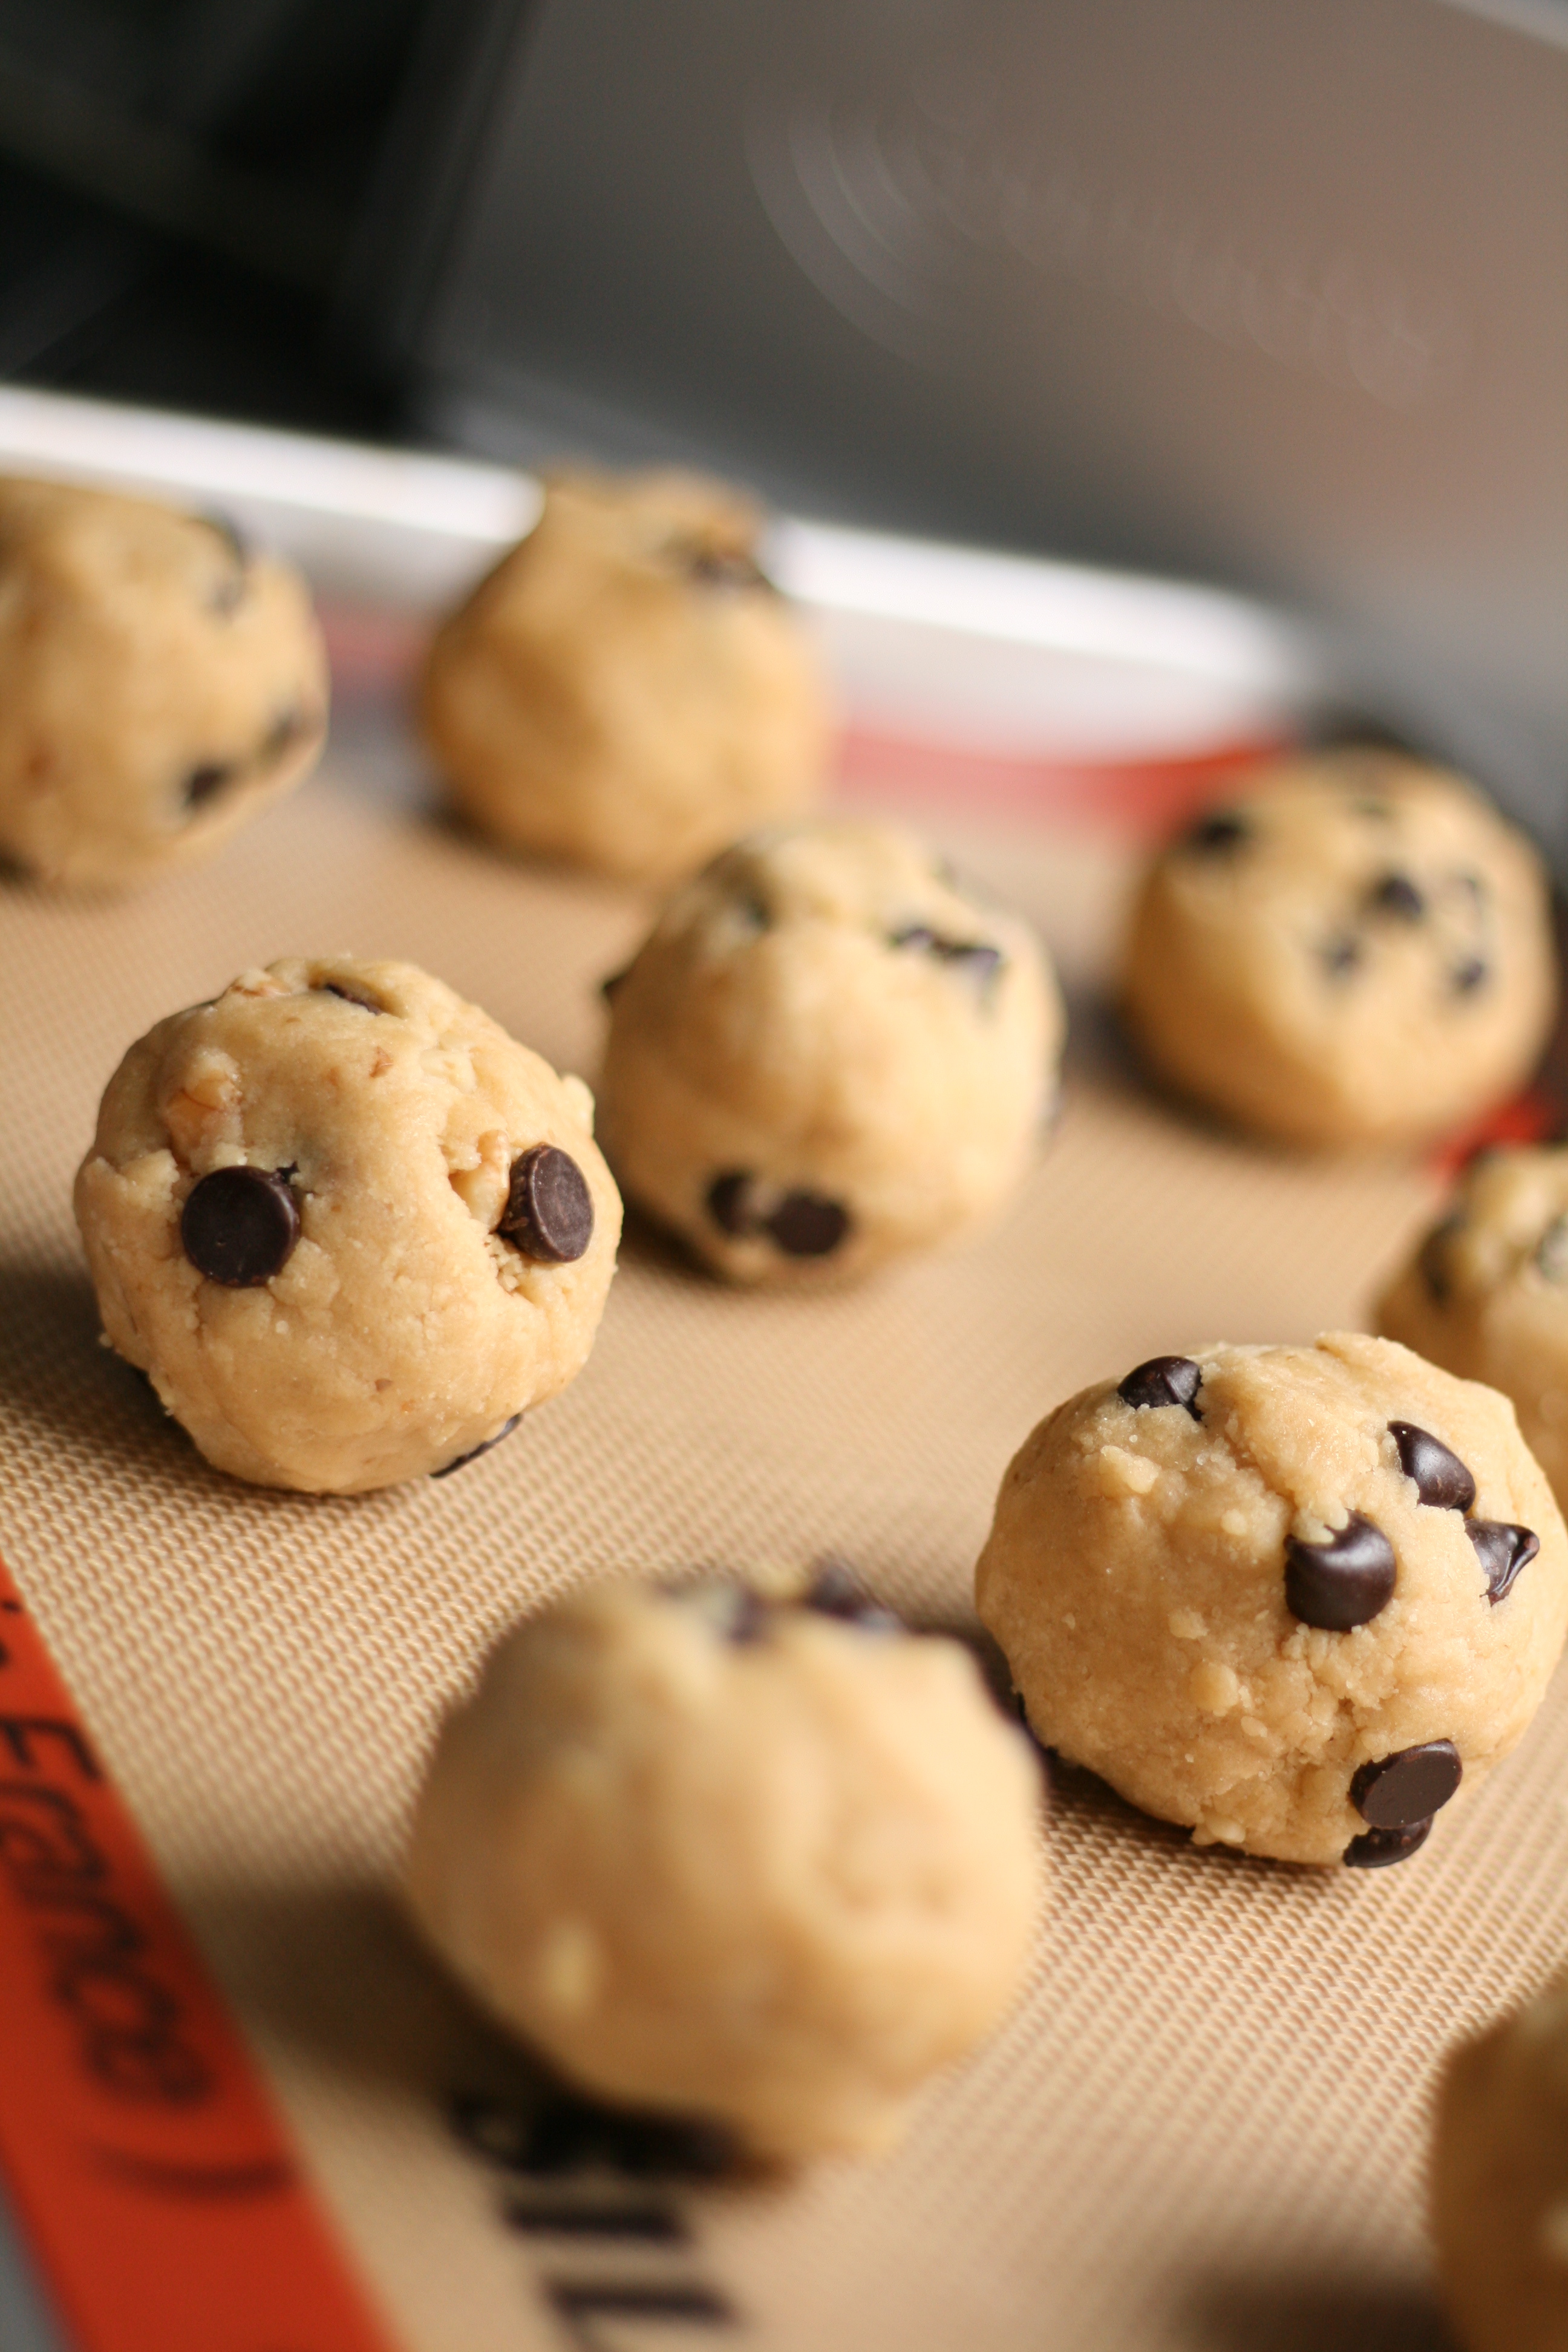
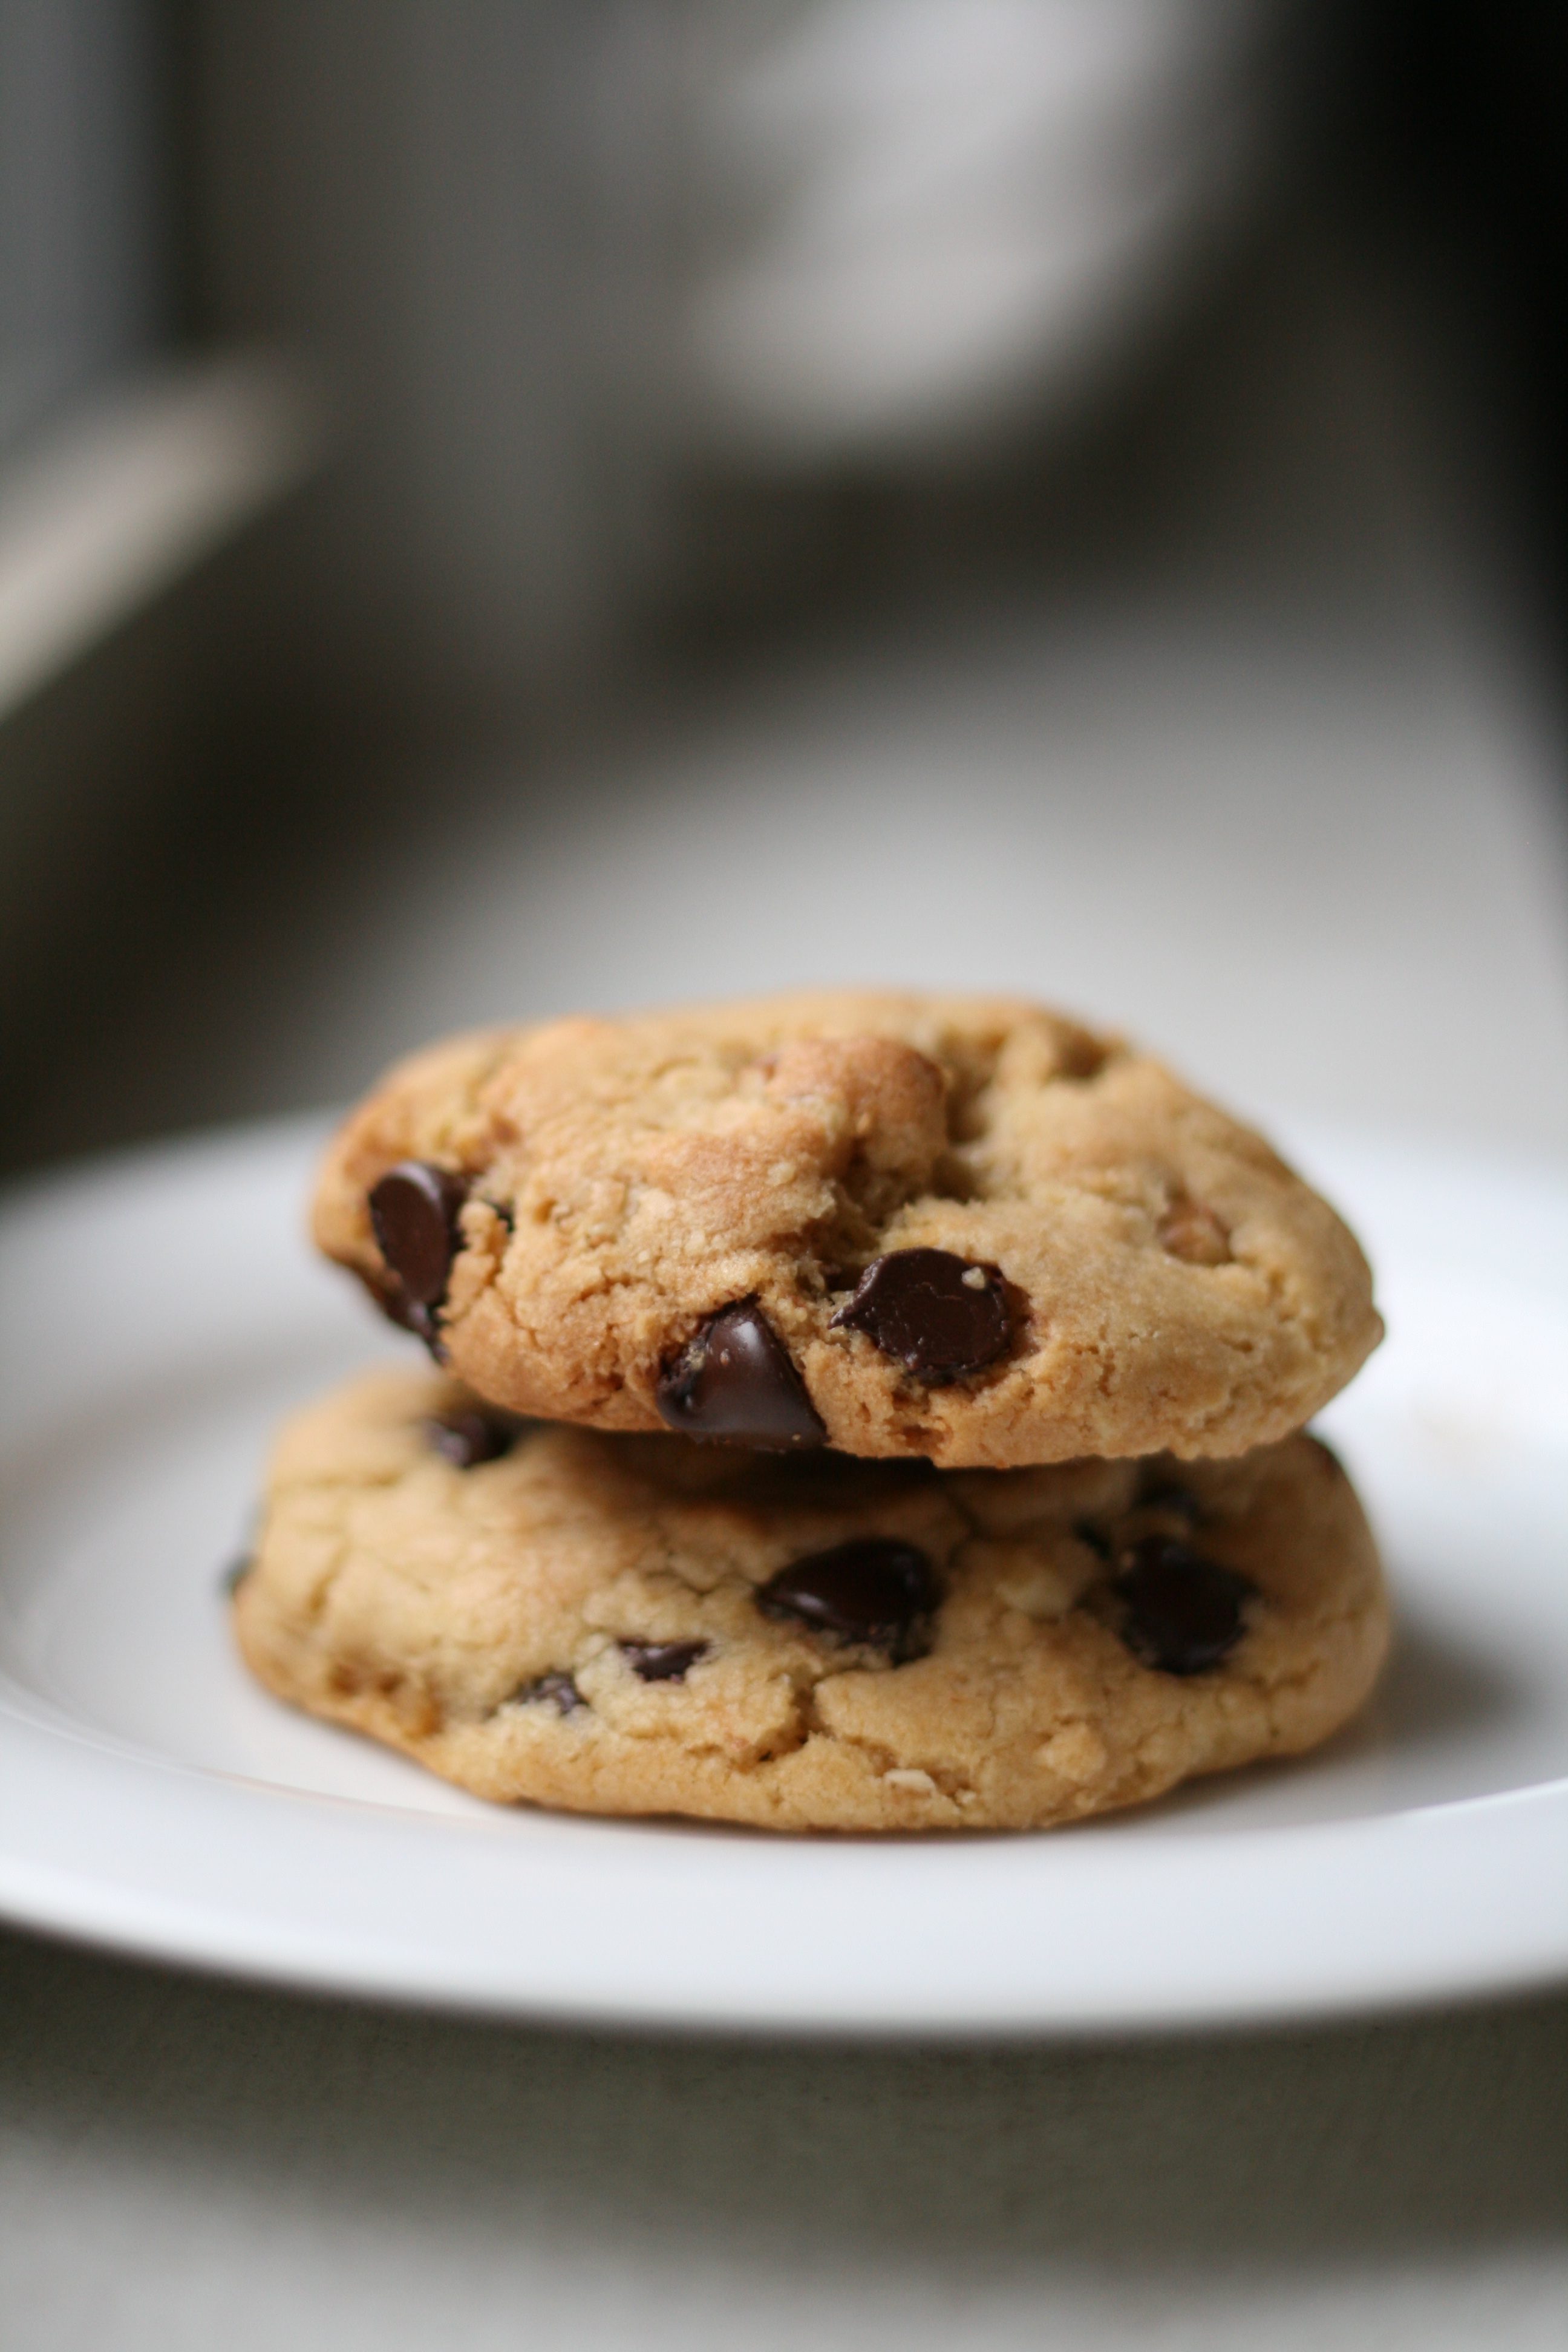
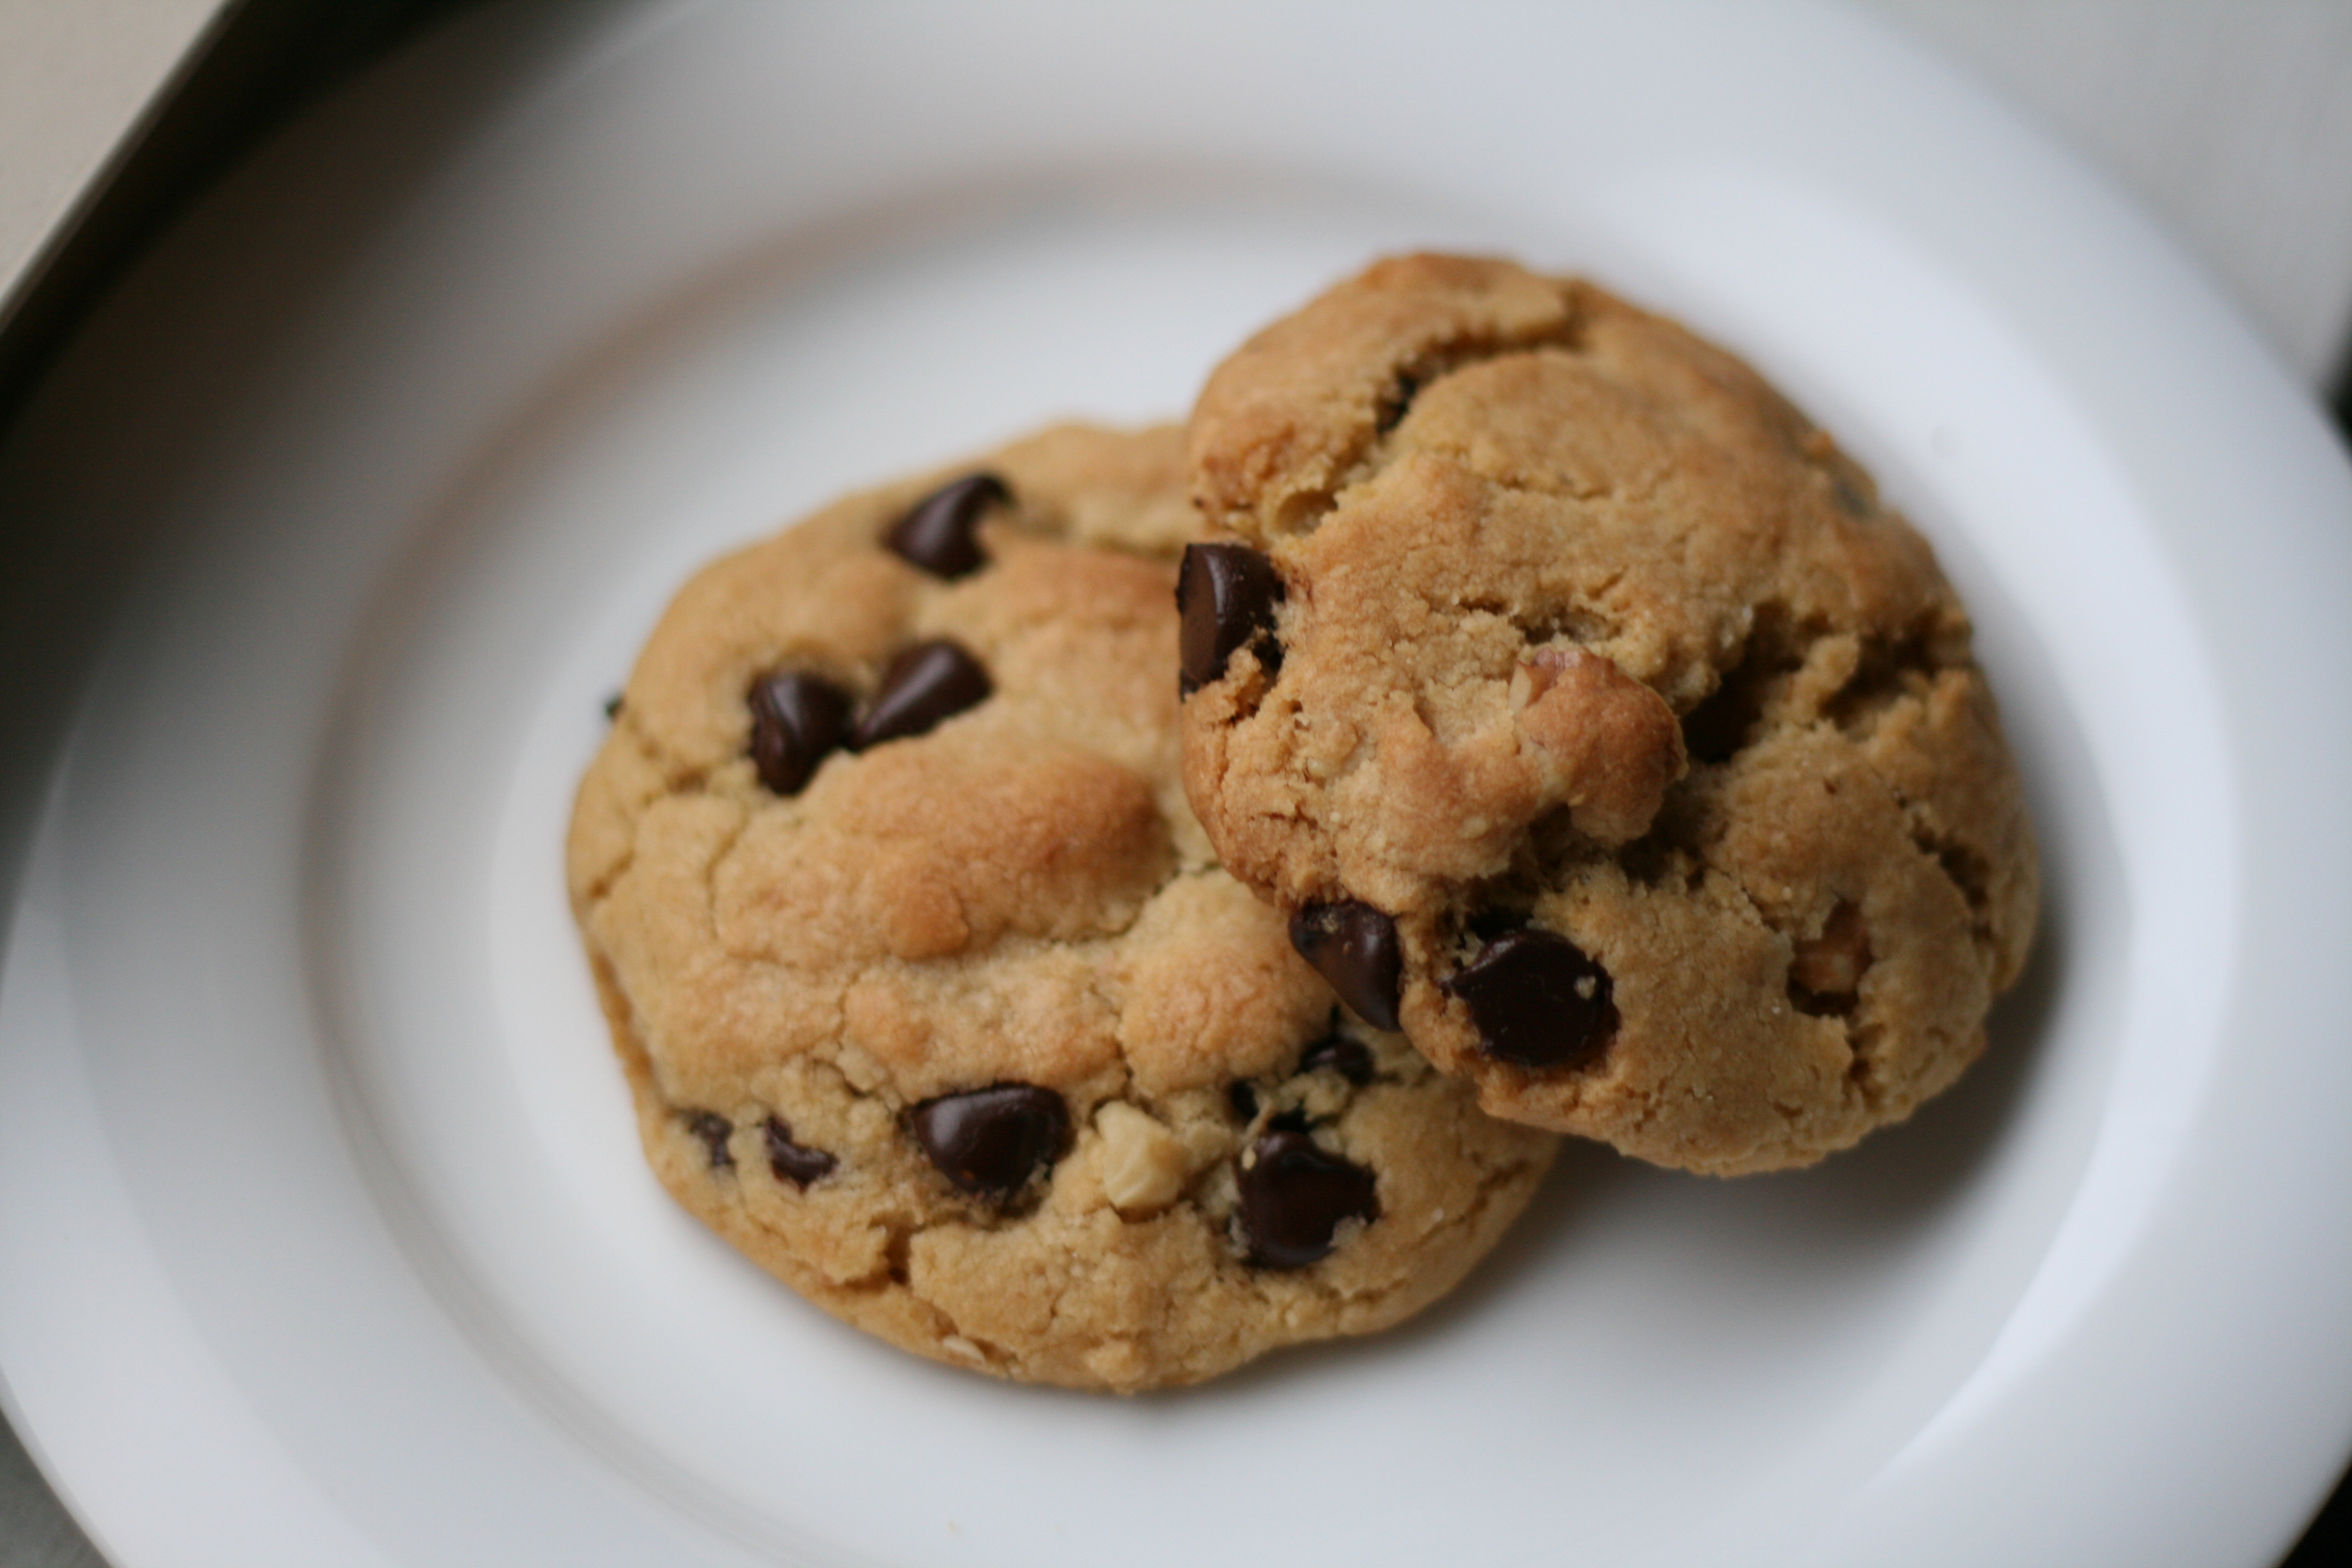
Big, fat chocolate chip cookies. Now that’s what I’m talking about!
When I first began this blog, I was on a hunt to find the best chocolate chip cookie recipe. I like them big and fat. Carol, from Carol’s Cookies, is my idol. She makes them just the way I like it. Problem is, no recipe out there can compete with hers. And you better believe she is tight lipped about her secrets.
Carol left me no choice but to figure this out the hard way. Trial and error, and lots of ’em.
Enter Vanilla Sugar. I came across her blog the other day from Tastespotting. As I was scrolling through, I found cookies that look like the closest thing I’ve seen to Carol’s Cookies. Big, fat chocolate chip cookies. Funny thing is—she’s trying to reproduce her favorite cookie as well, only it’s from a different bakery, Levain Bakery in NYC. I made the recipe Friday night. They were close, but they weren’t Carol’s. (Now keep in mind, we are trying to reproduce two different cookies.) Carol’s Cookies are sweeter and not as doughy tasting. So I slept on it. I woke up. Read a thread about how to reproduce Carol’s Cookies. (Looks like I’m not alone in this endeavor.) Then, I made a POA (plan of action)!
POA—try Vanilla Sugar’s recipe again with some slight tweaks. More sugar. Regular butter instead of European butter*, although I love European butter. But, same technique. Speaking of technique, these are not your mom’s chocolate chip cookies. Throw everything you know about making chocolate chip cookies out the door. Let your butter come to room temp, forget about it. Cream your butter and sugar together until pale in color, think again. Preheat oven to 350° or 375°, not this time.
Big, Fat Chocolate Chip Cookies recipe adapted from Vanilla Sugar
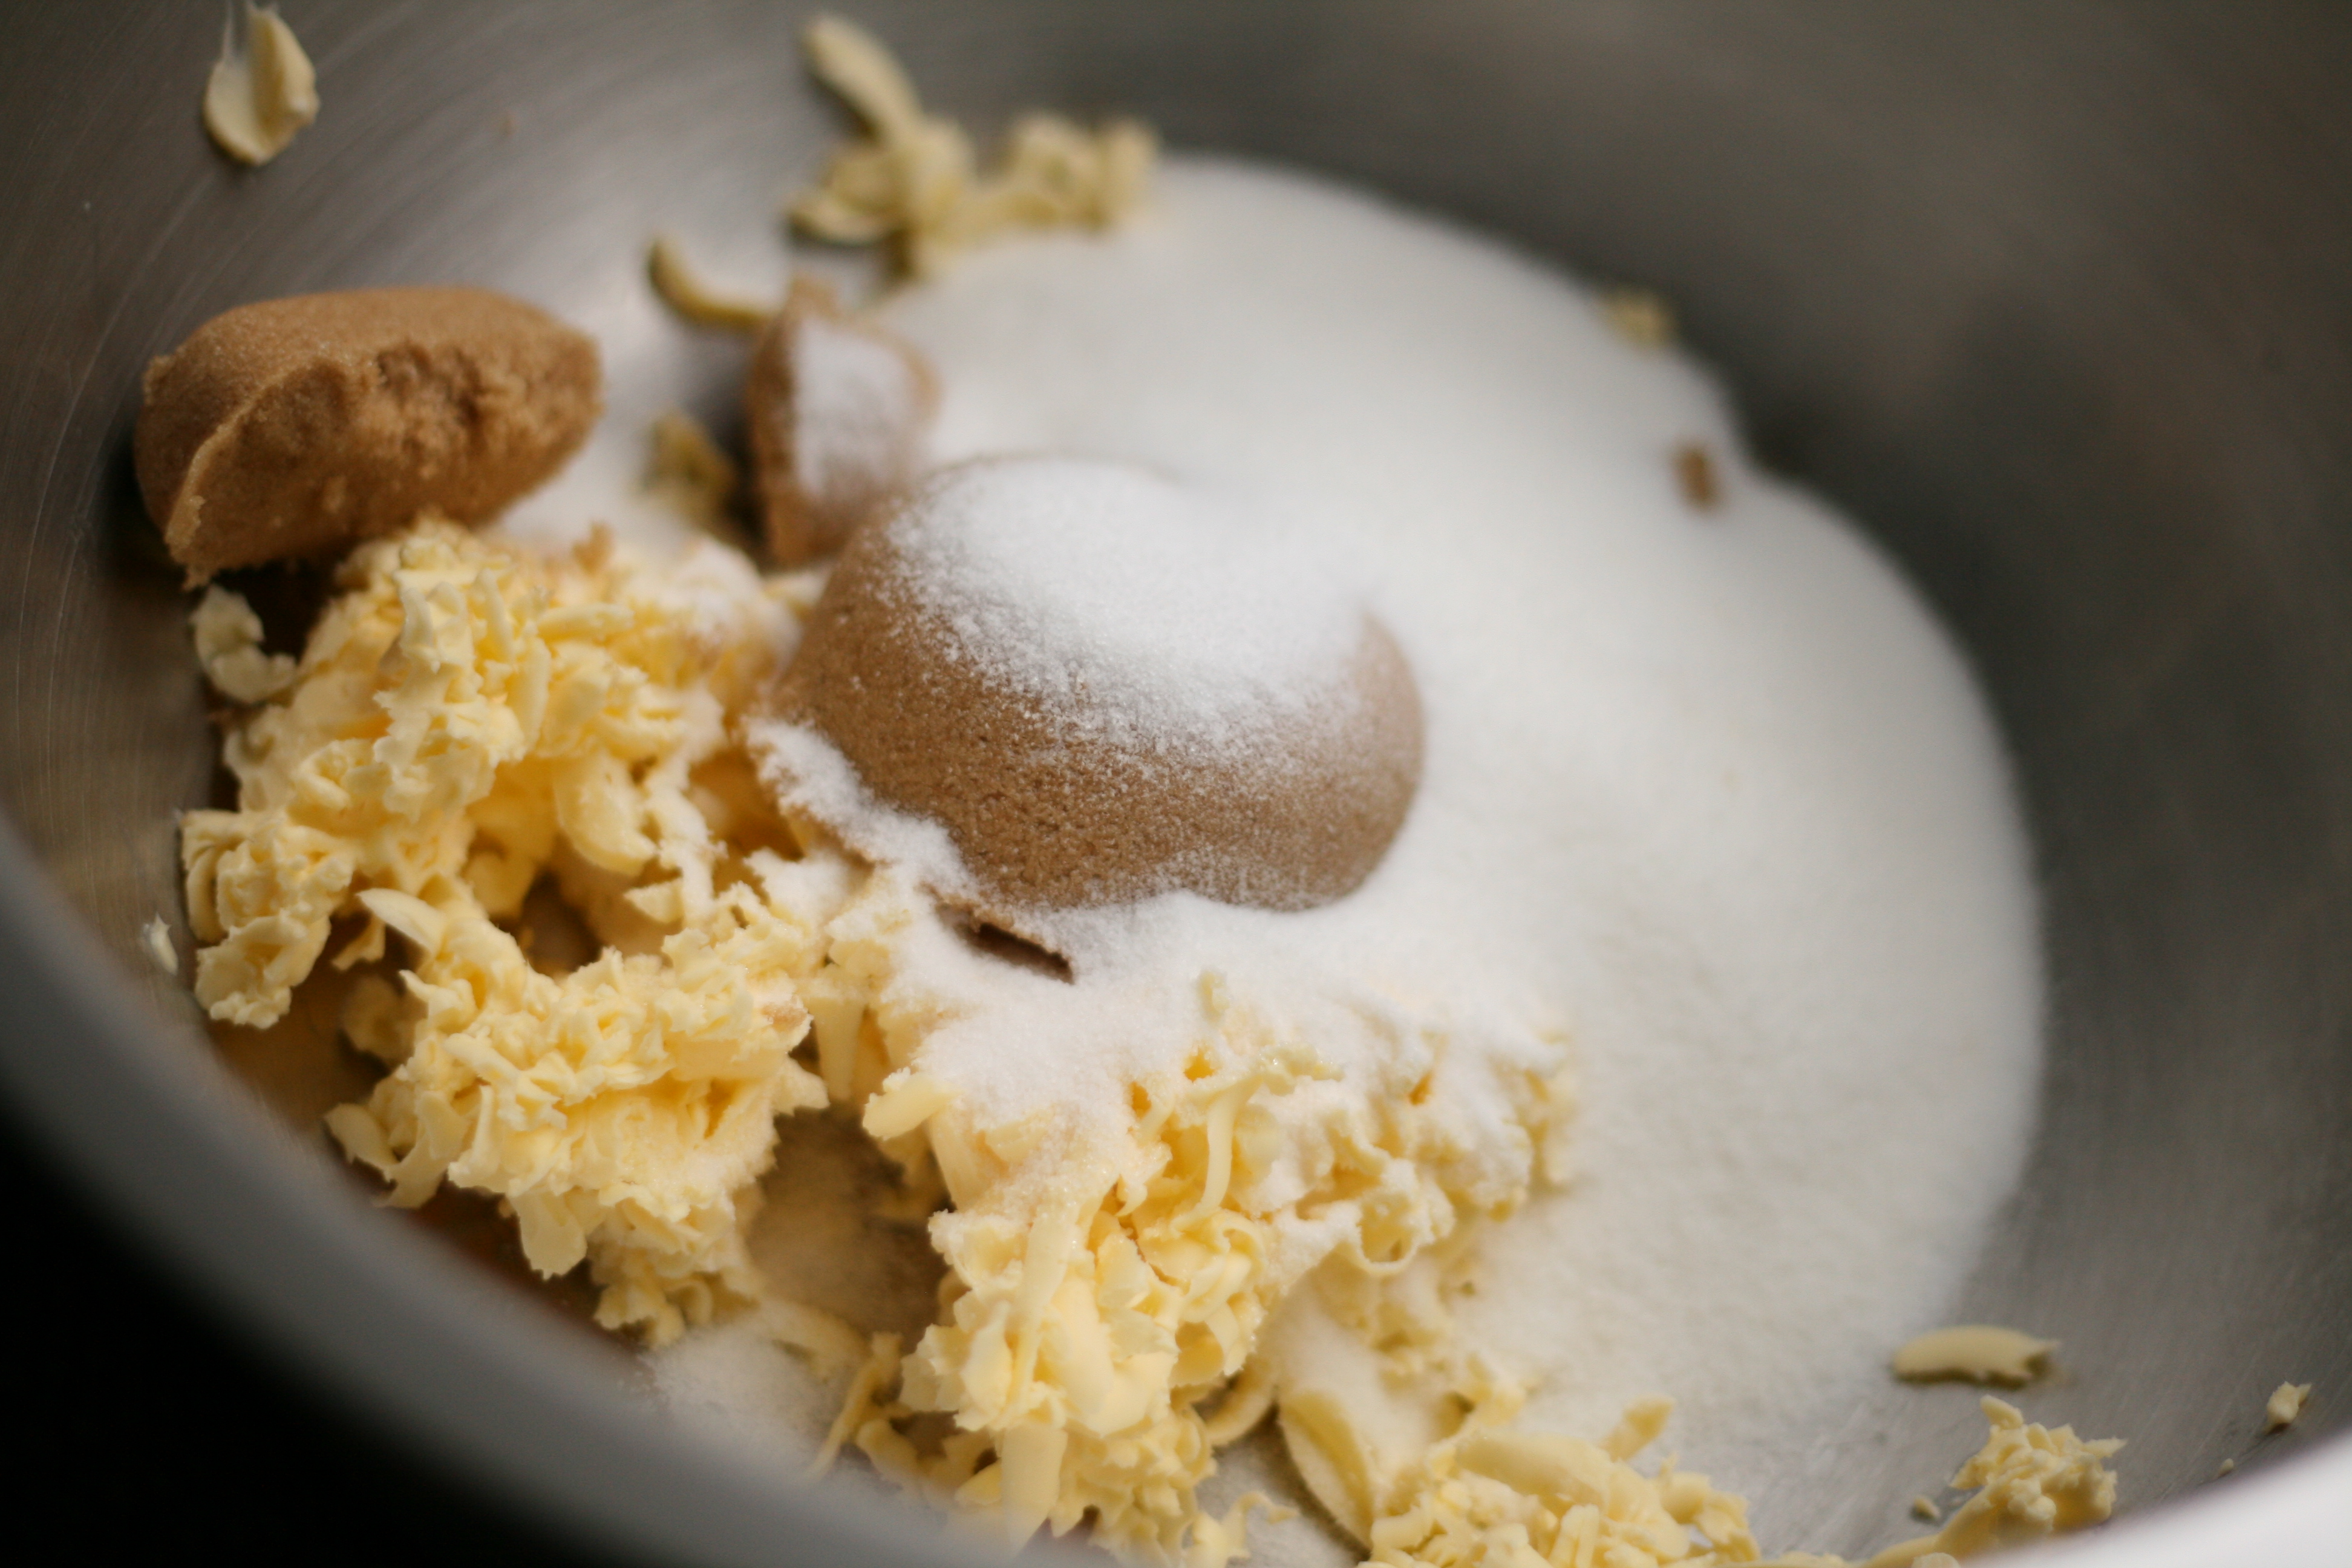
8 oz. (2 sticks) unsalted butter*, chilled 1 1/4 c. granulated sugar 3/4 c. packed light brown sugar 2 large eggs 1 tsp. vanilla extract 3 c. AP flour 3/4 tsp. sea salt 1 1/4 tsp. baking powder 1/2 tsp. baking soda 12 ounces (2 c.) good quality semisweet chocolate chips 1 c. crushed walnuts (optional)
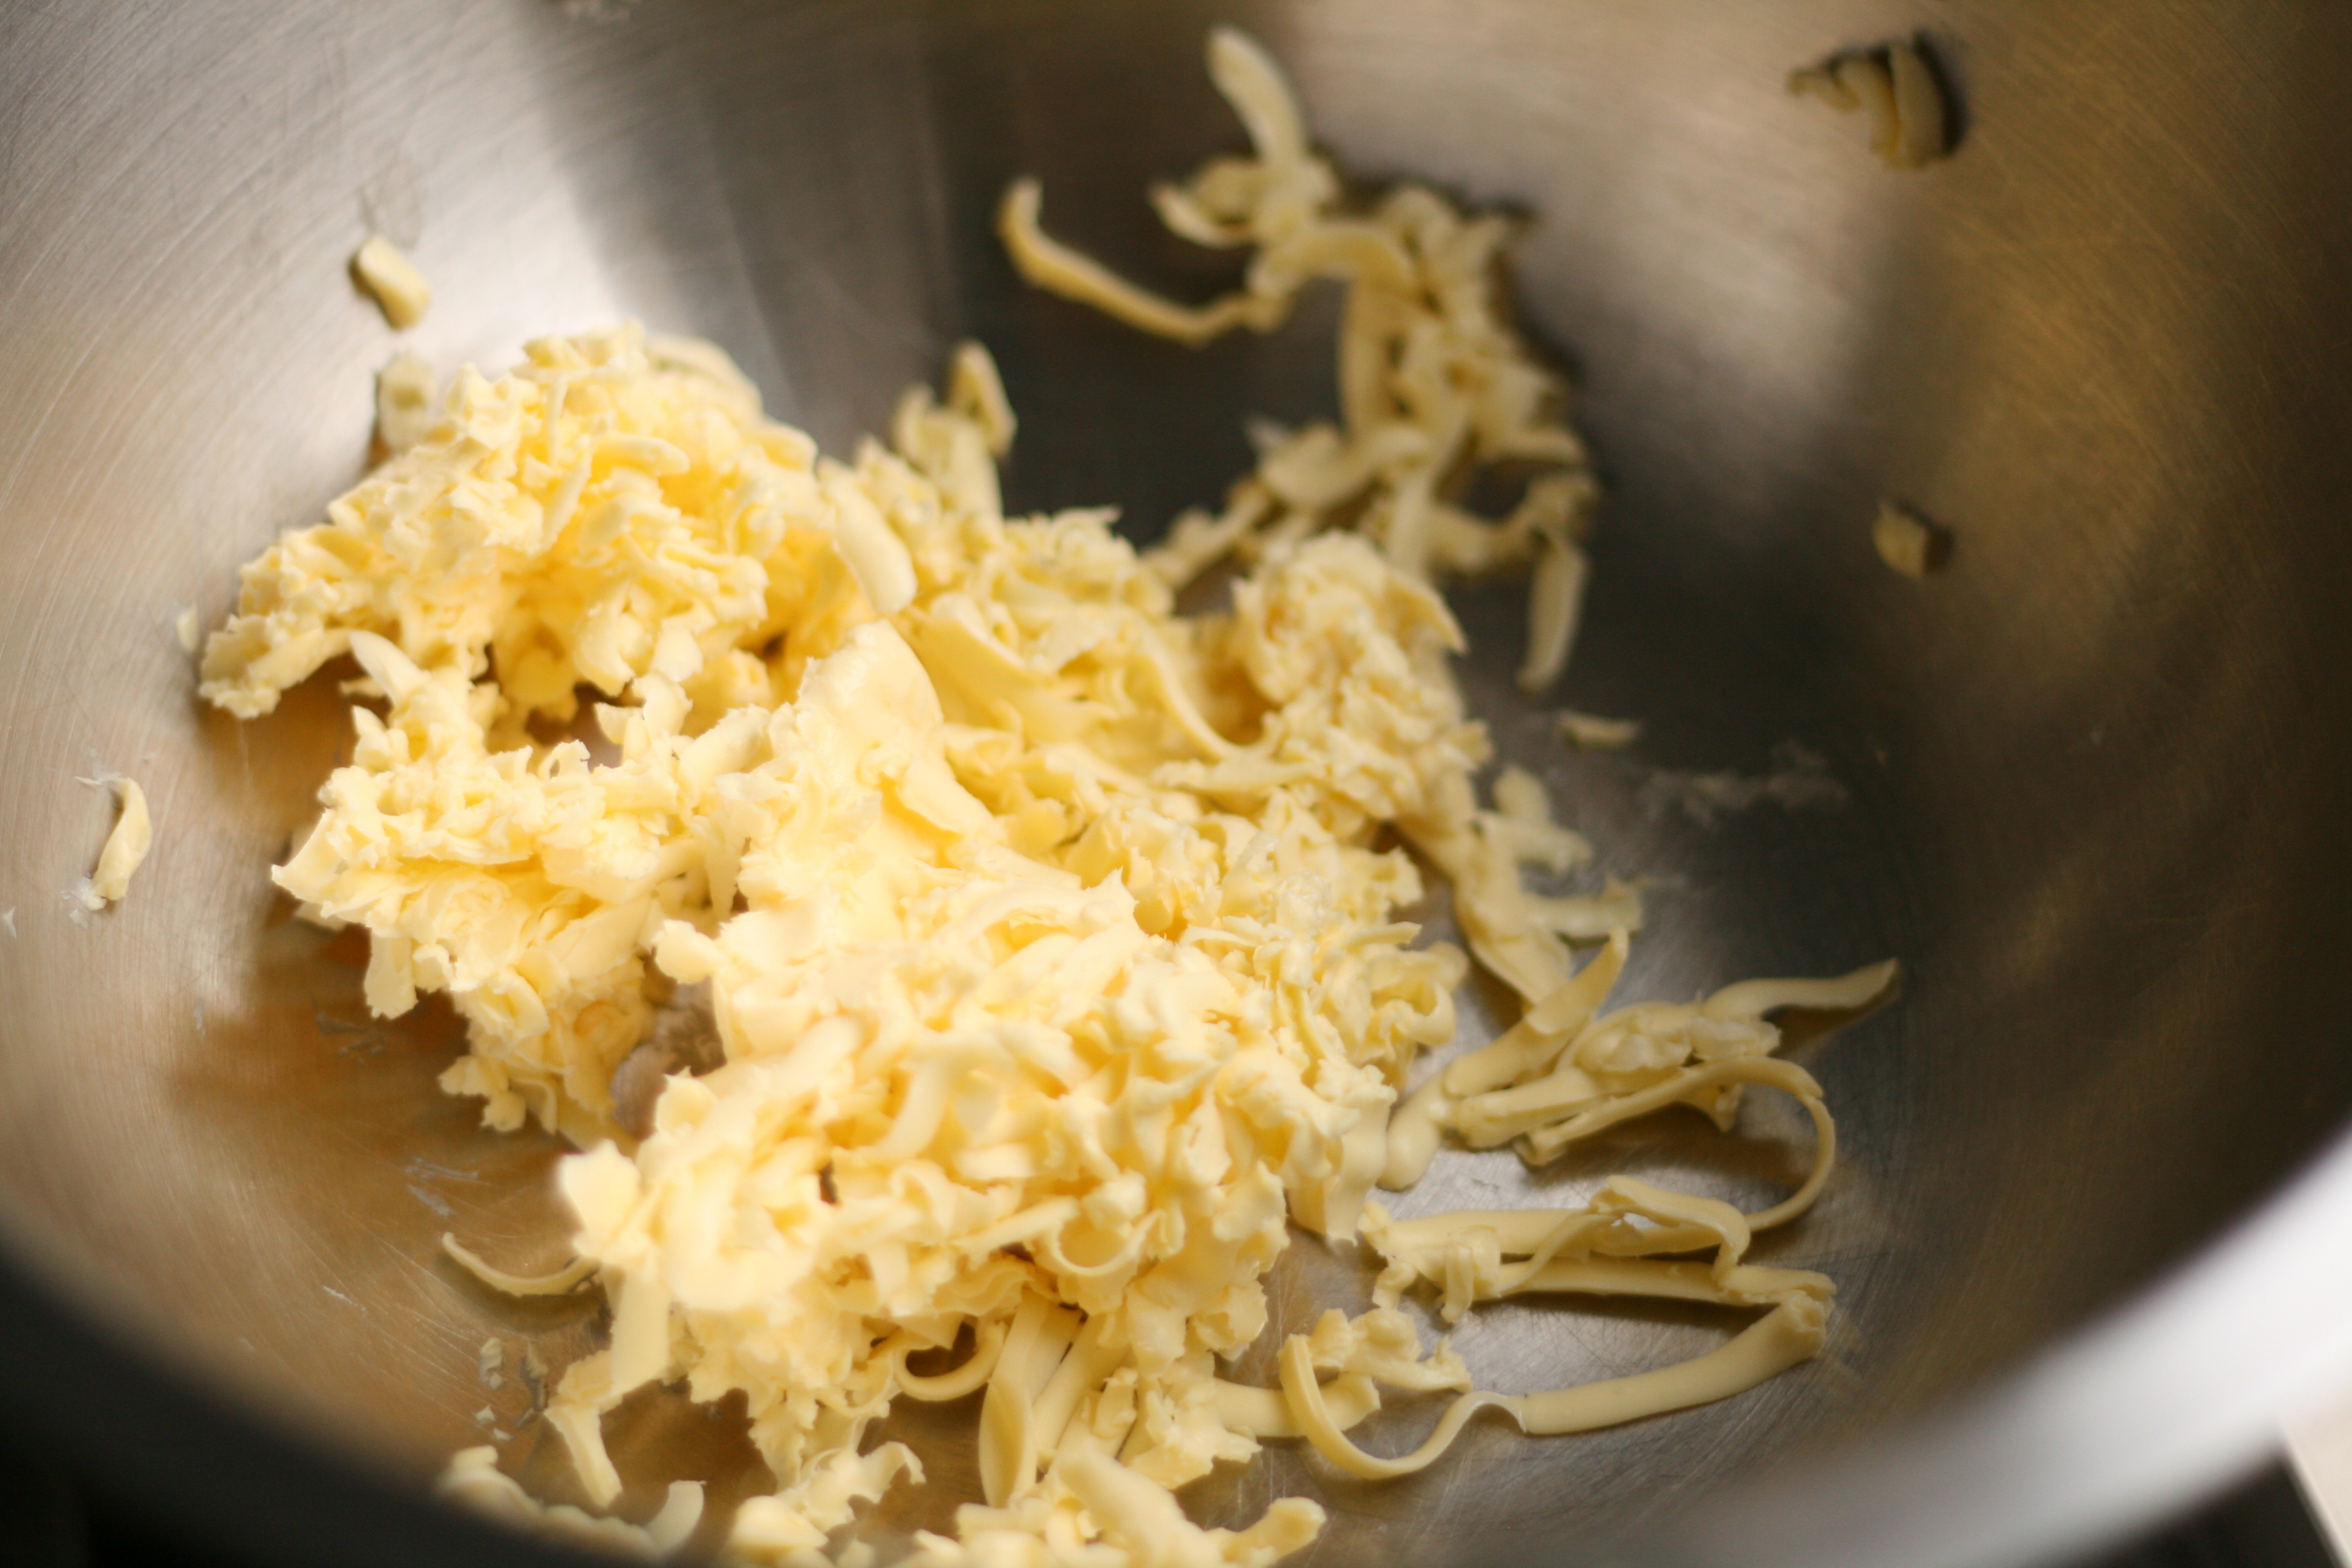
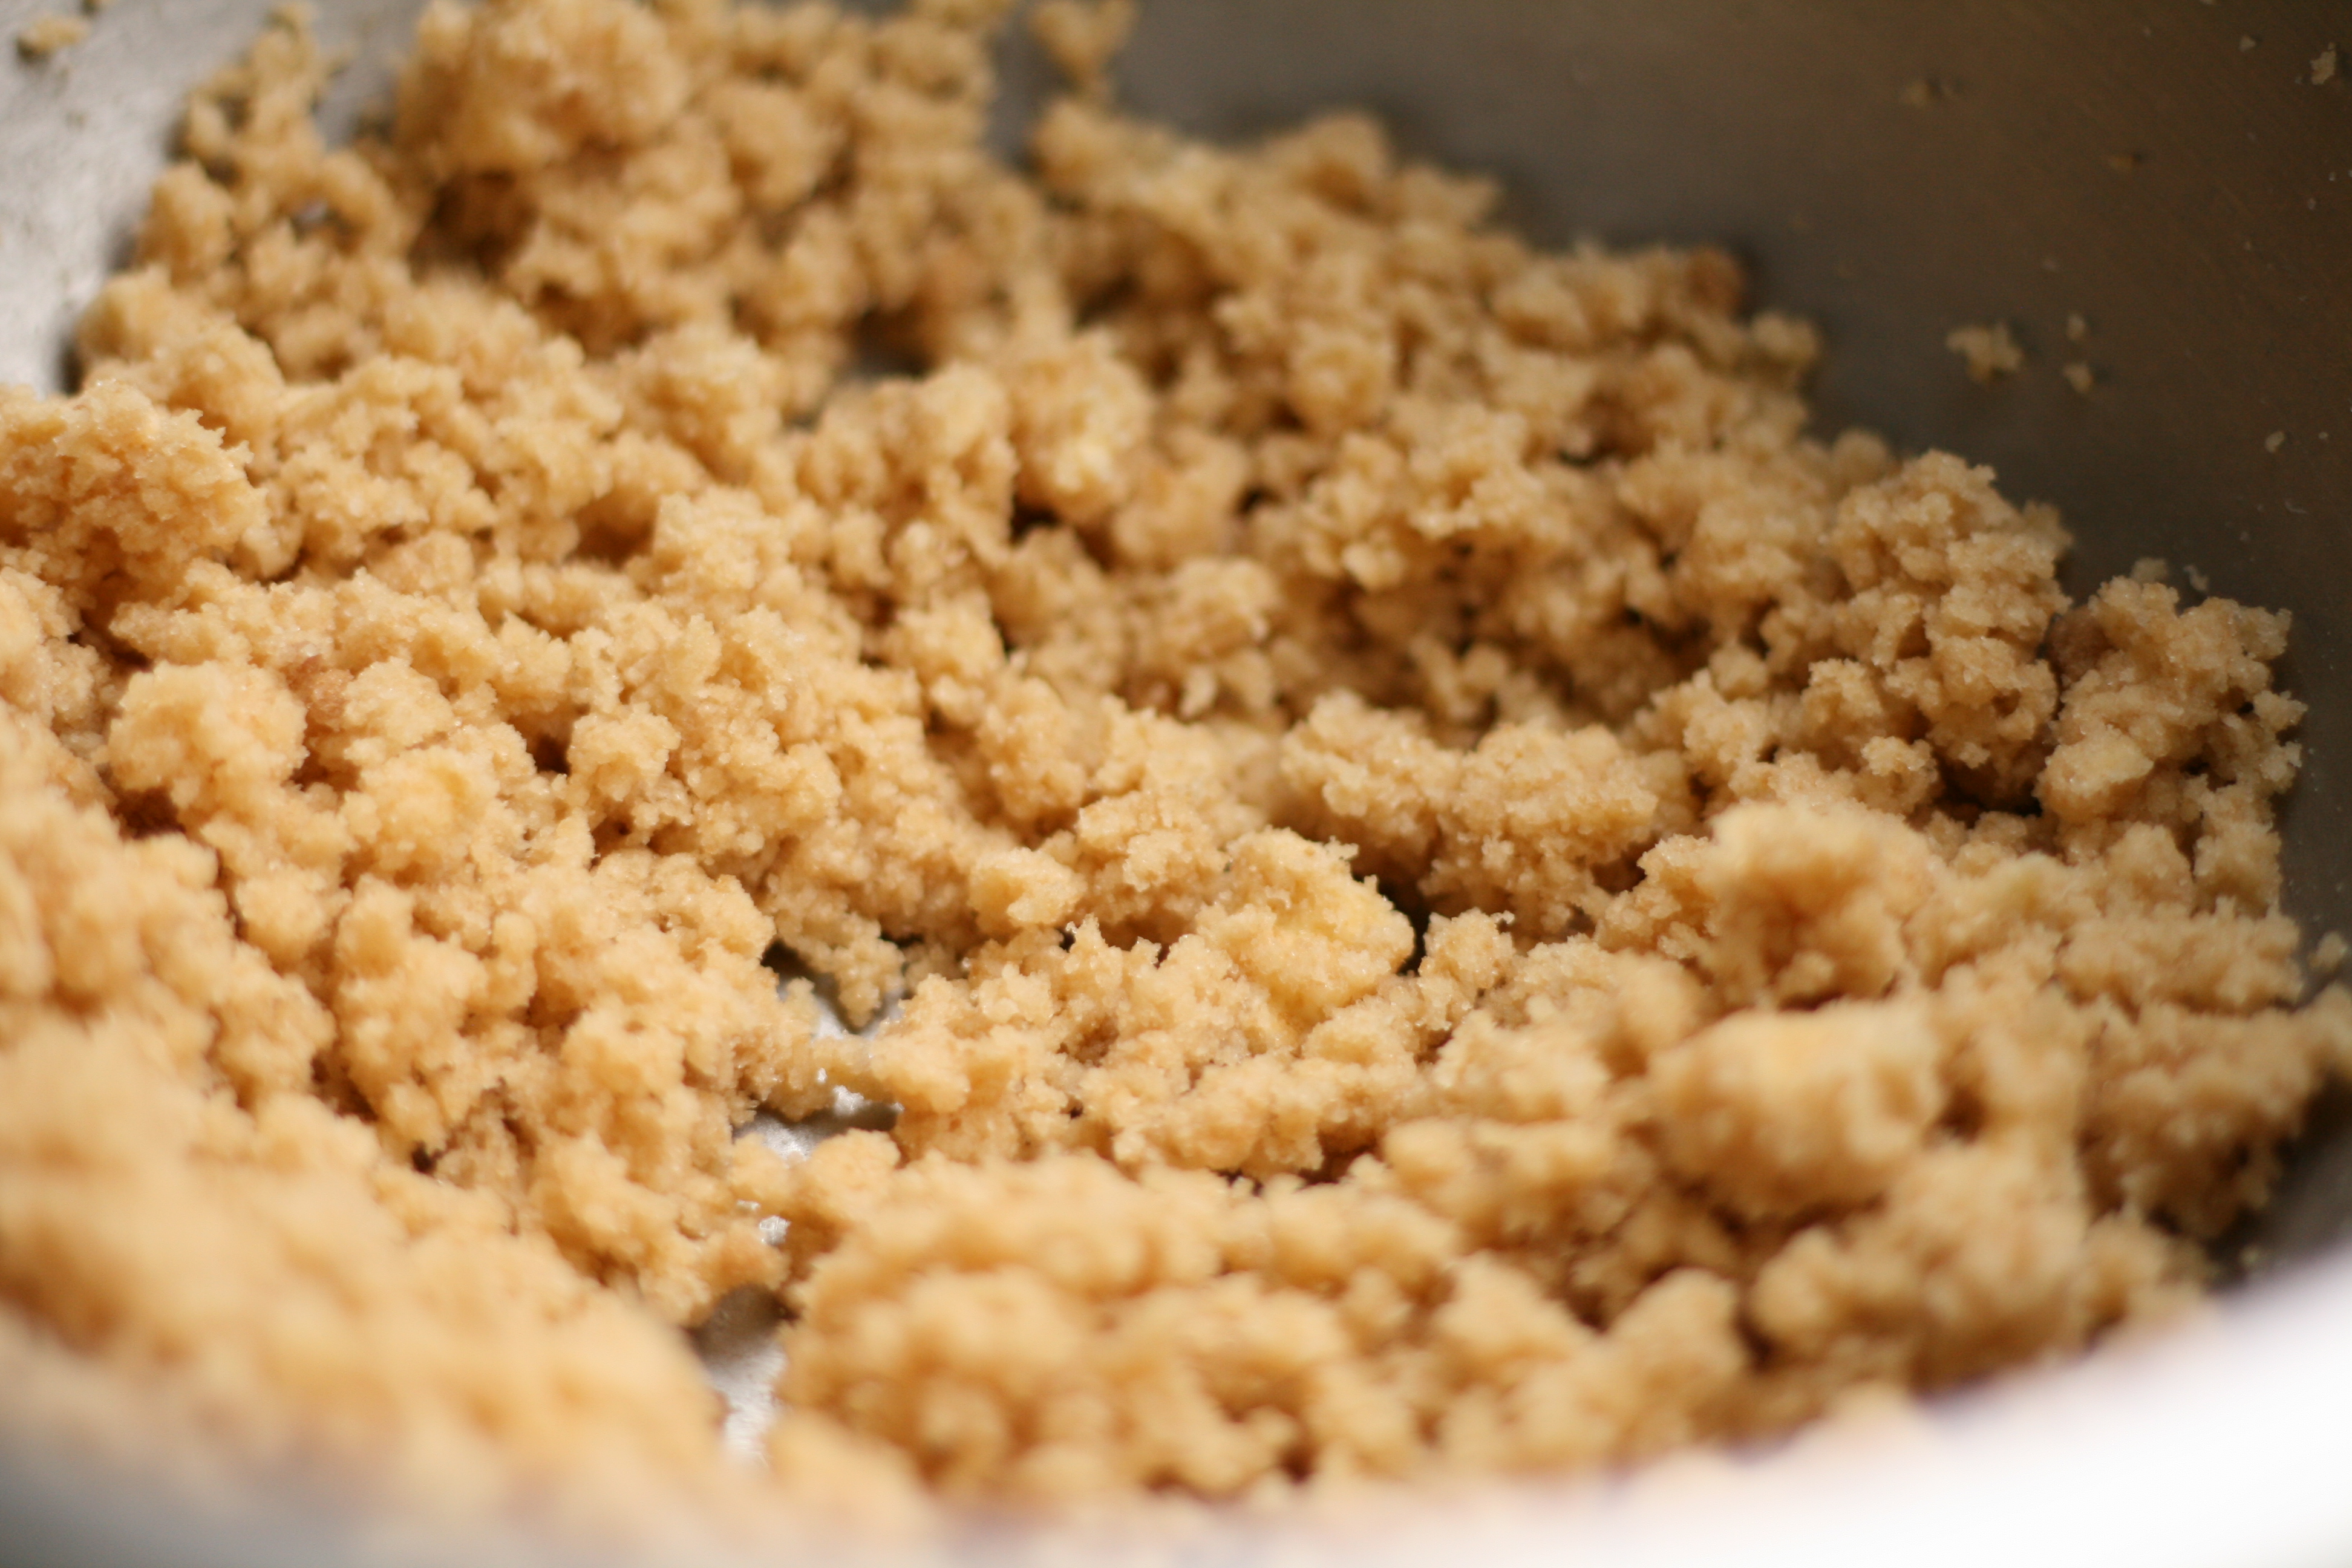
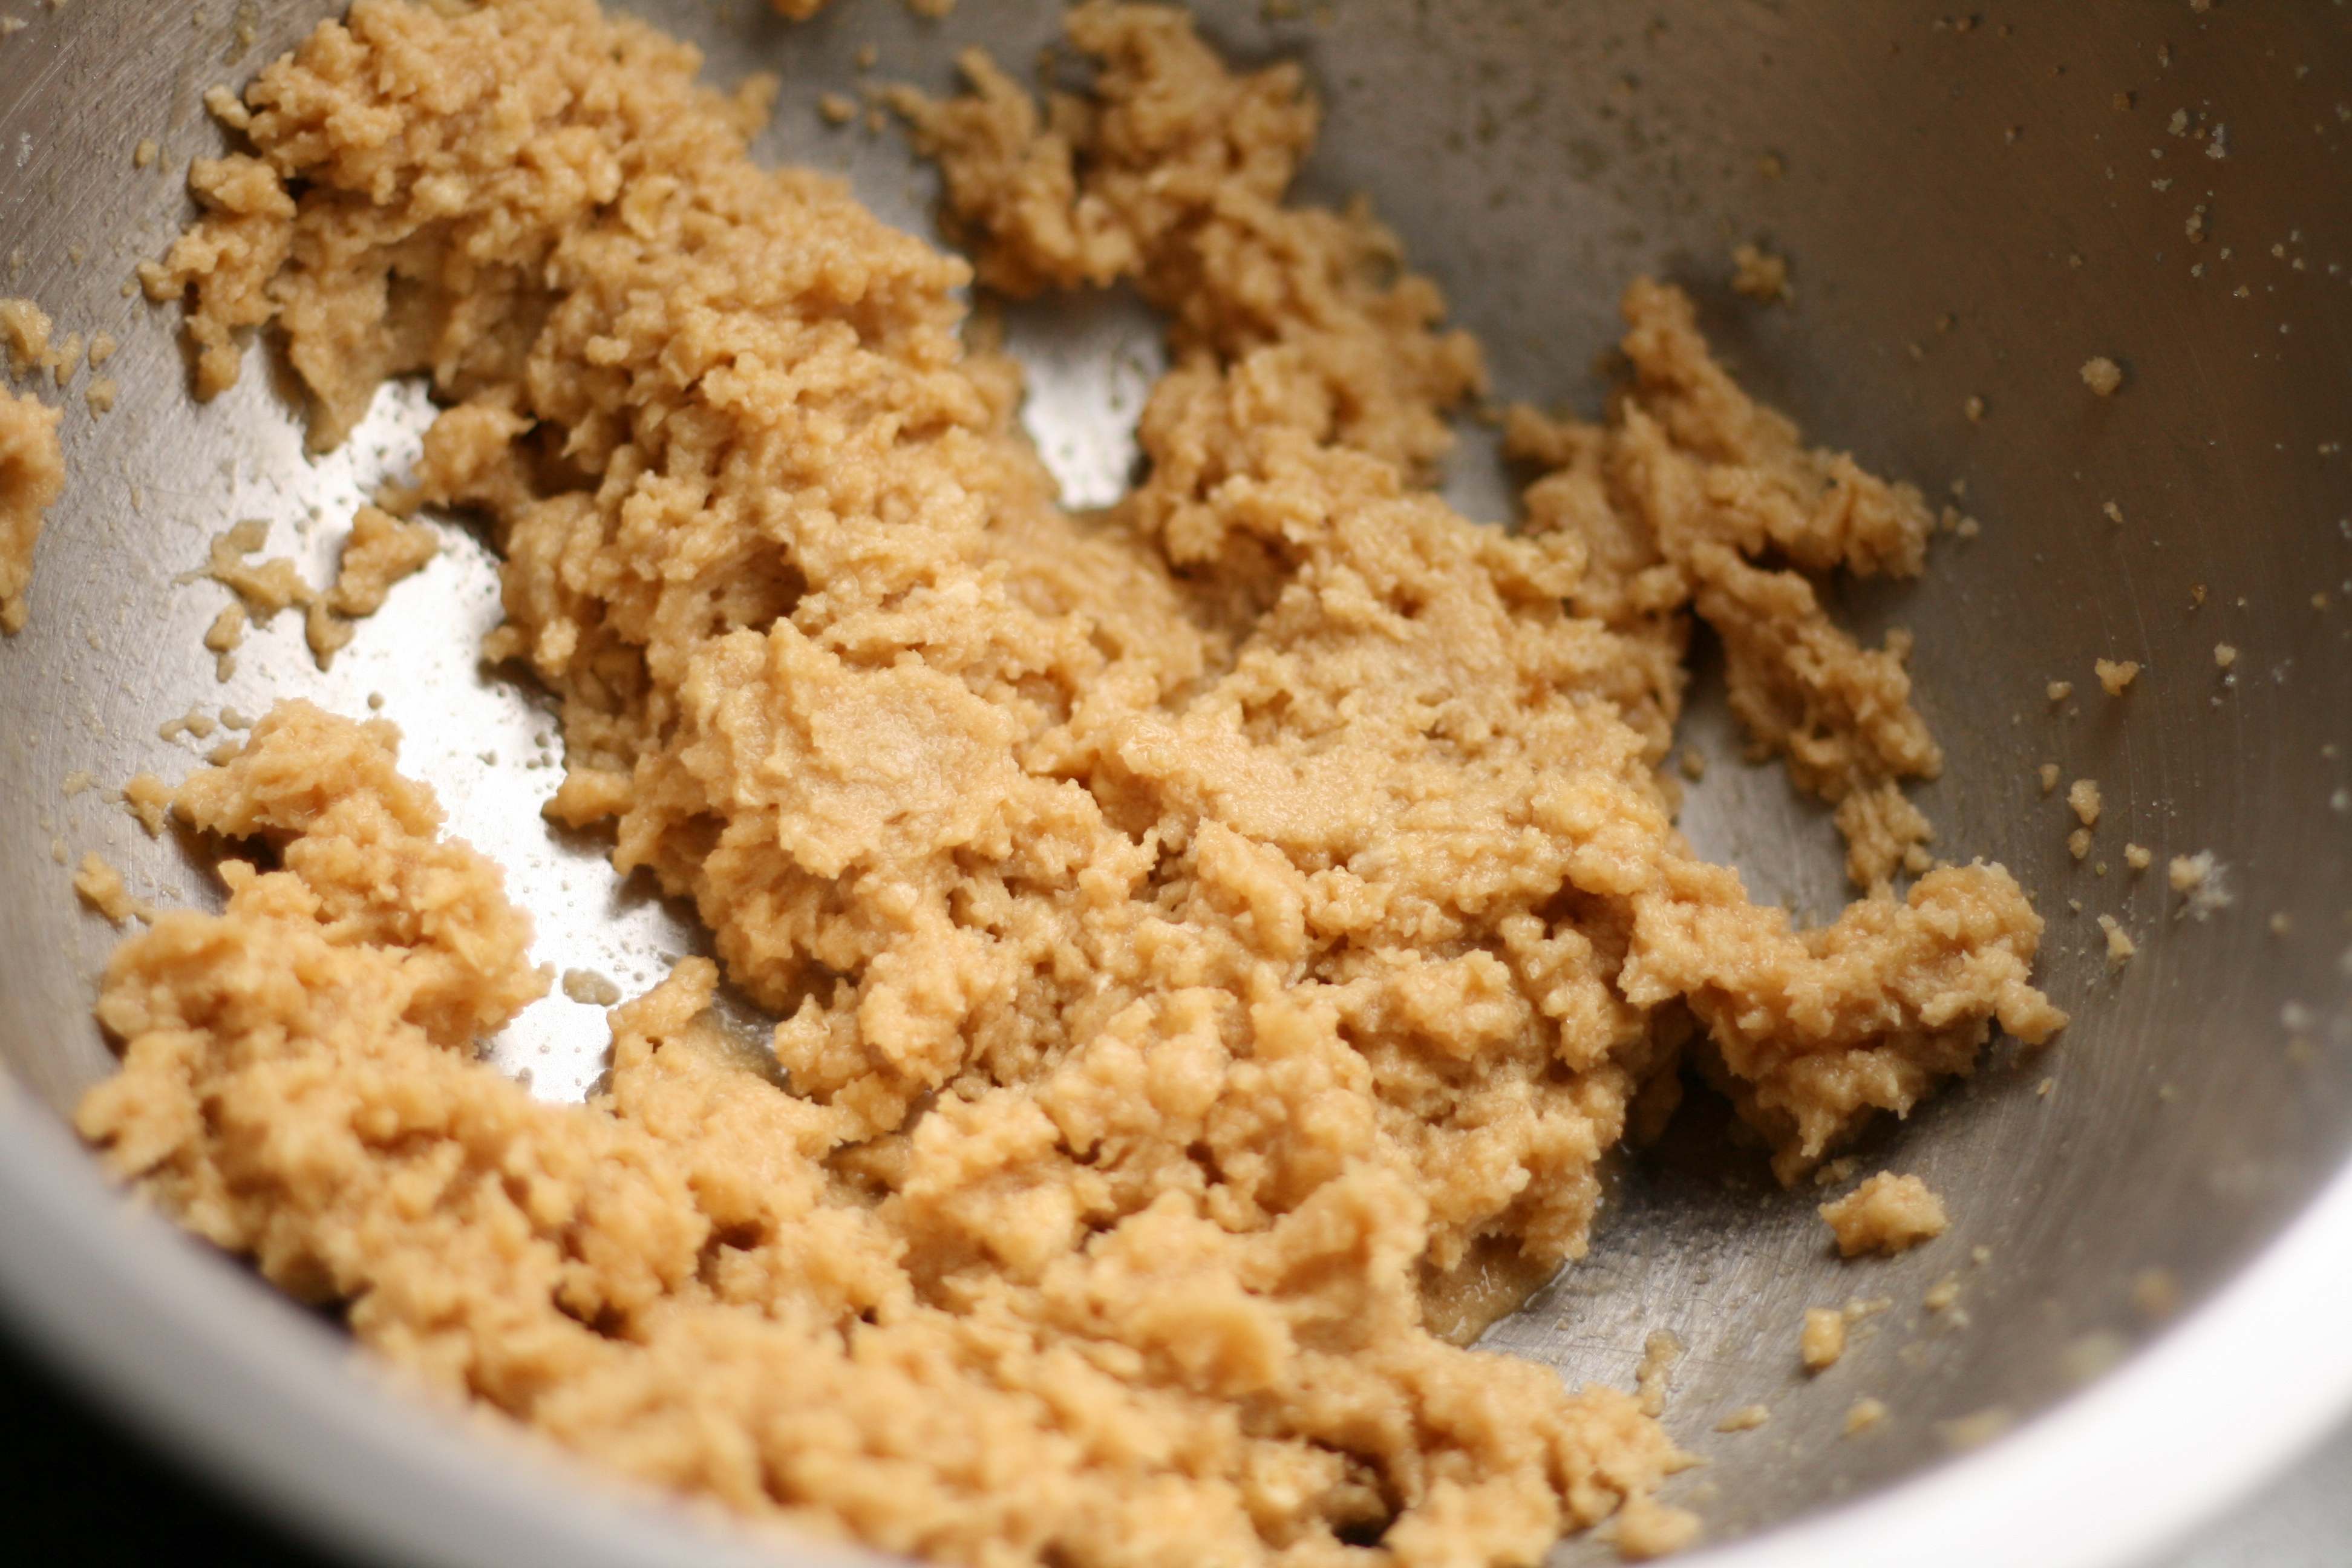
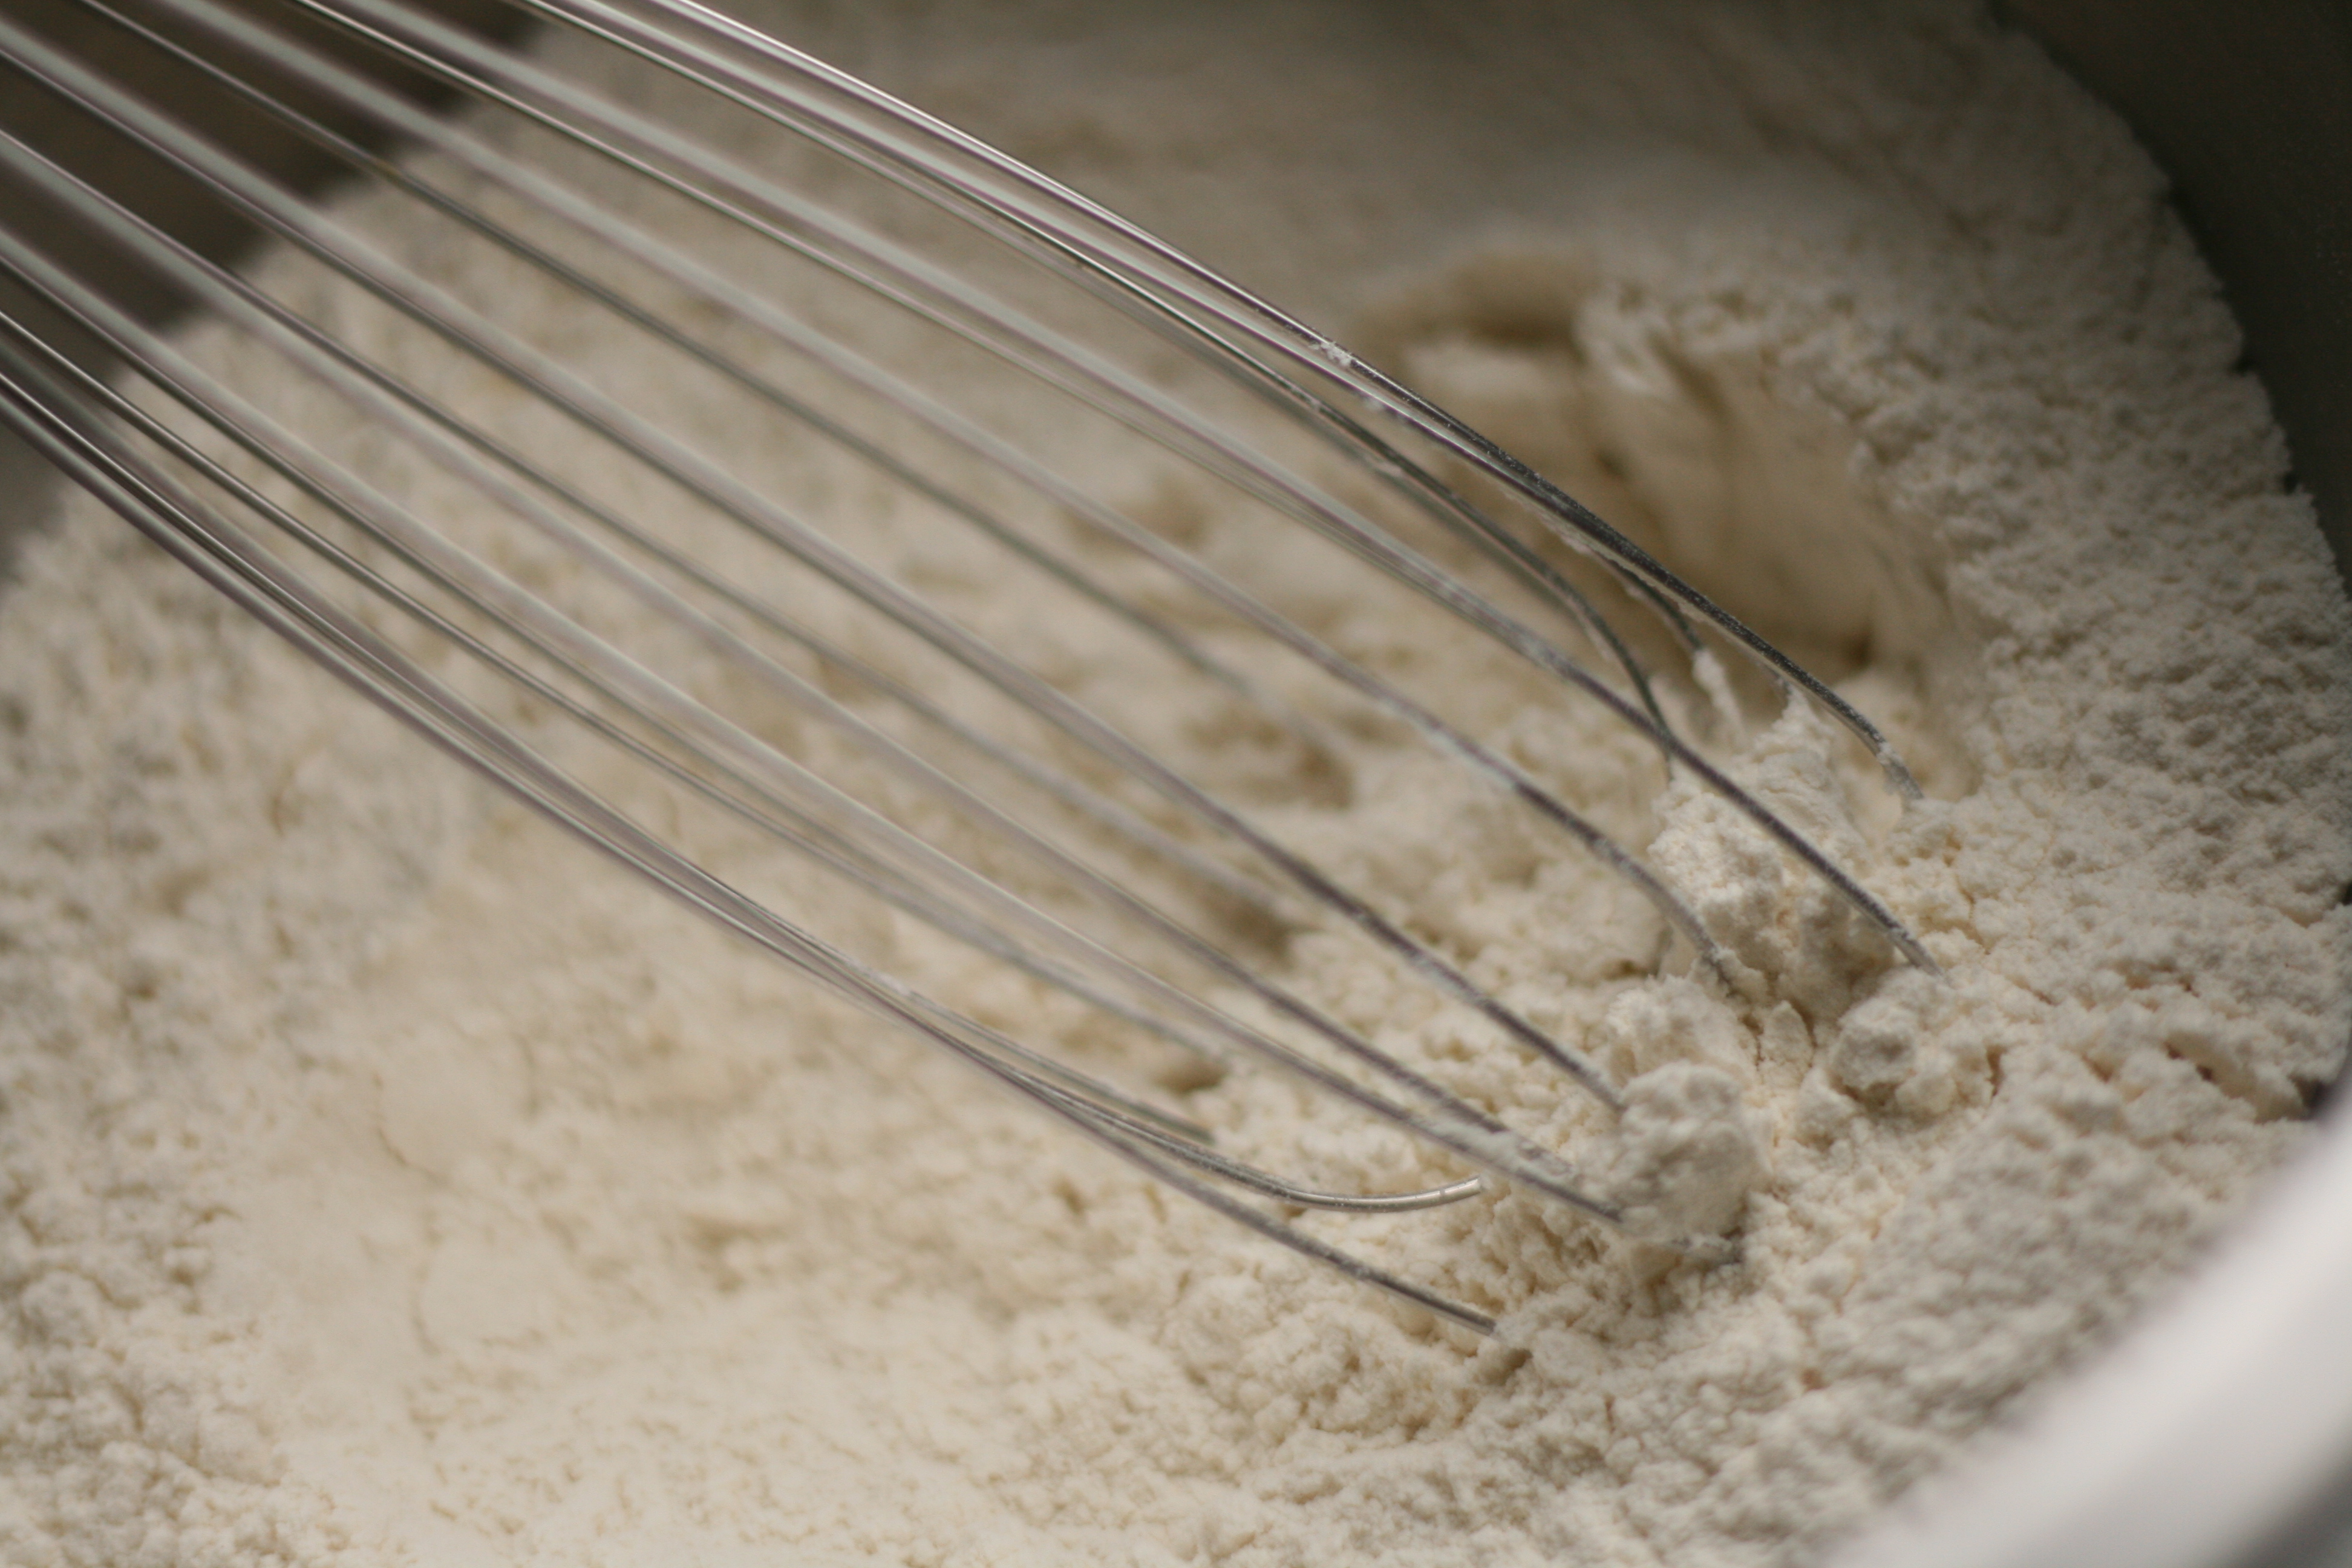
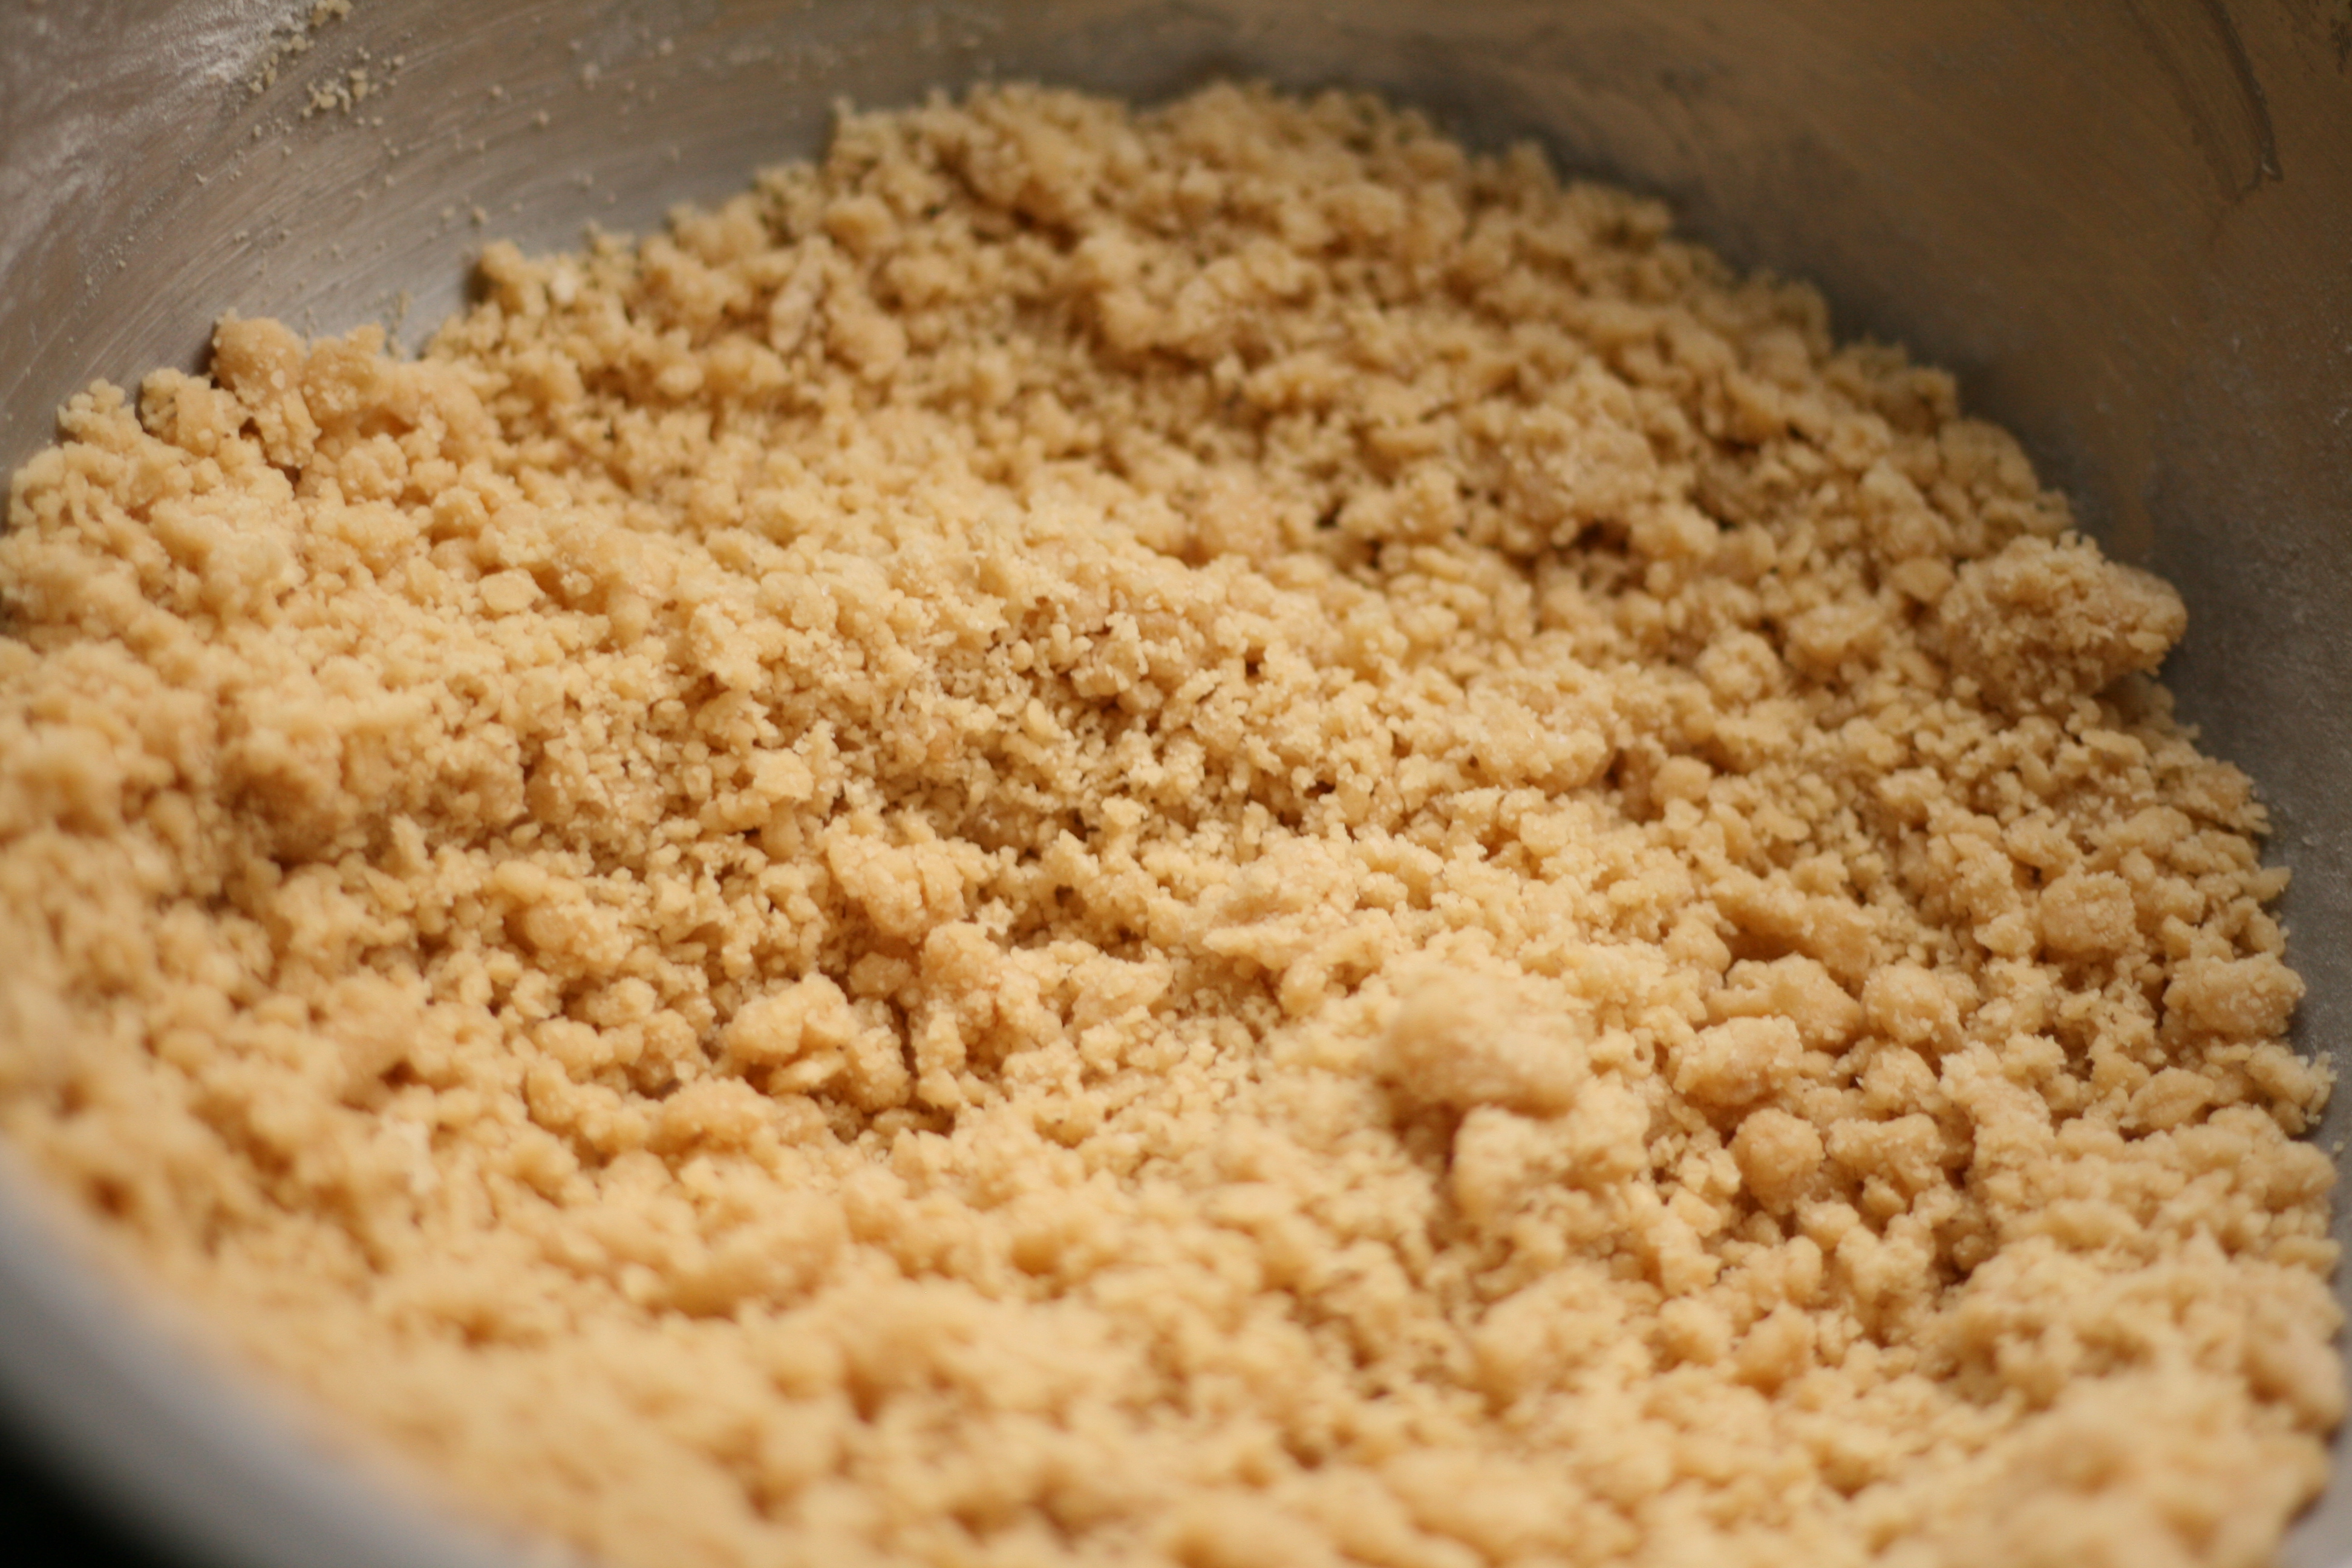
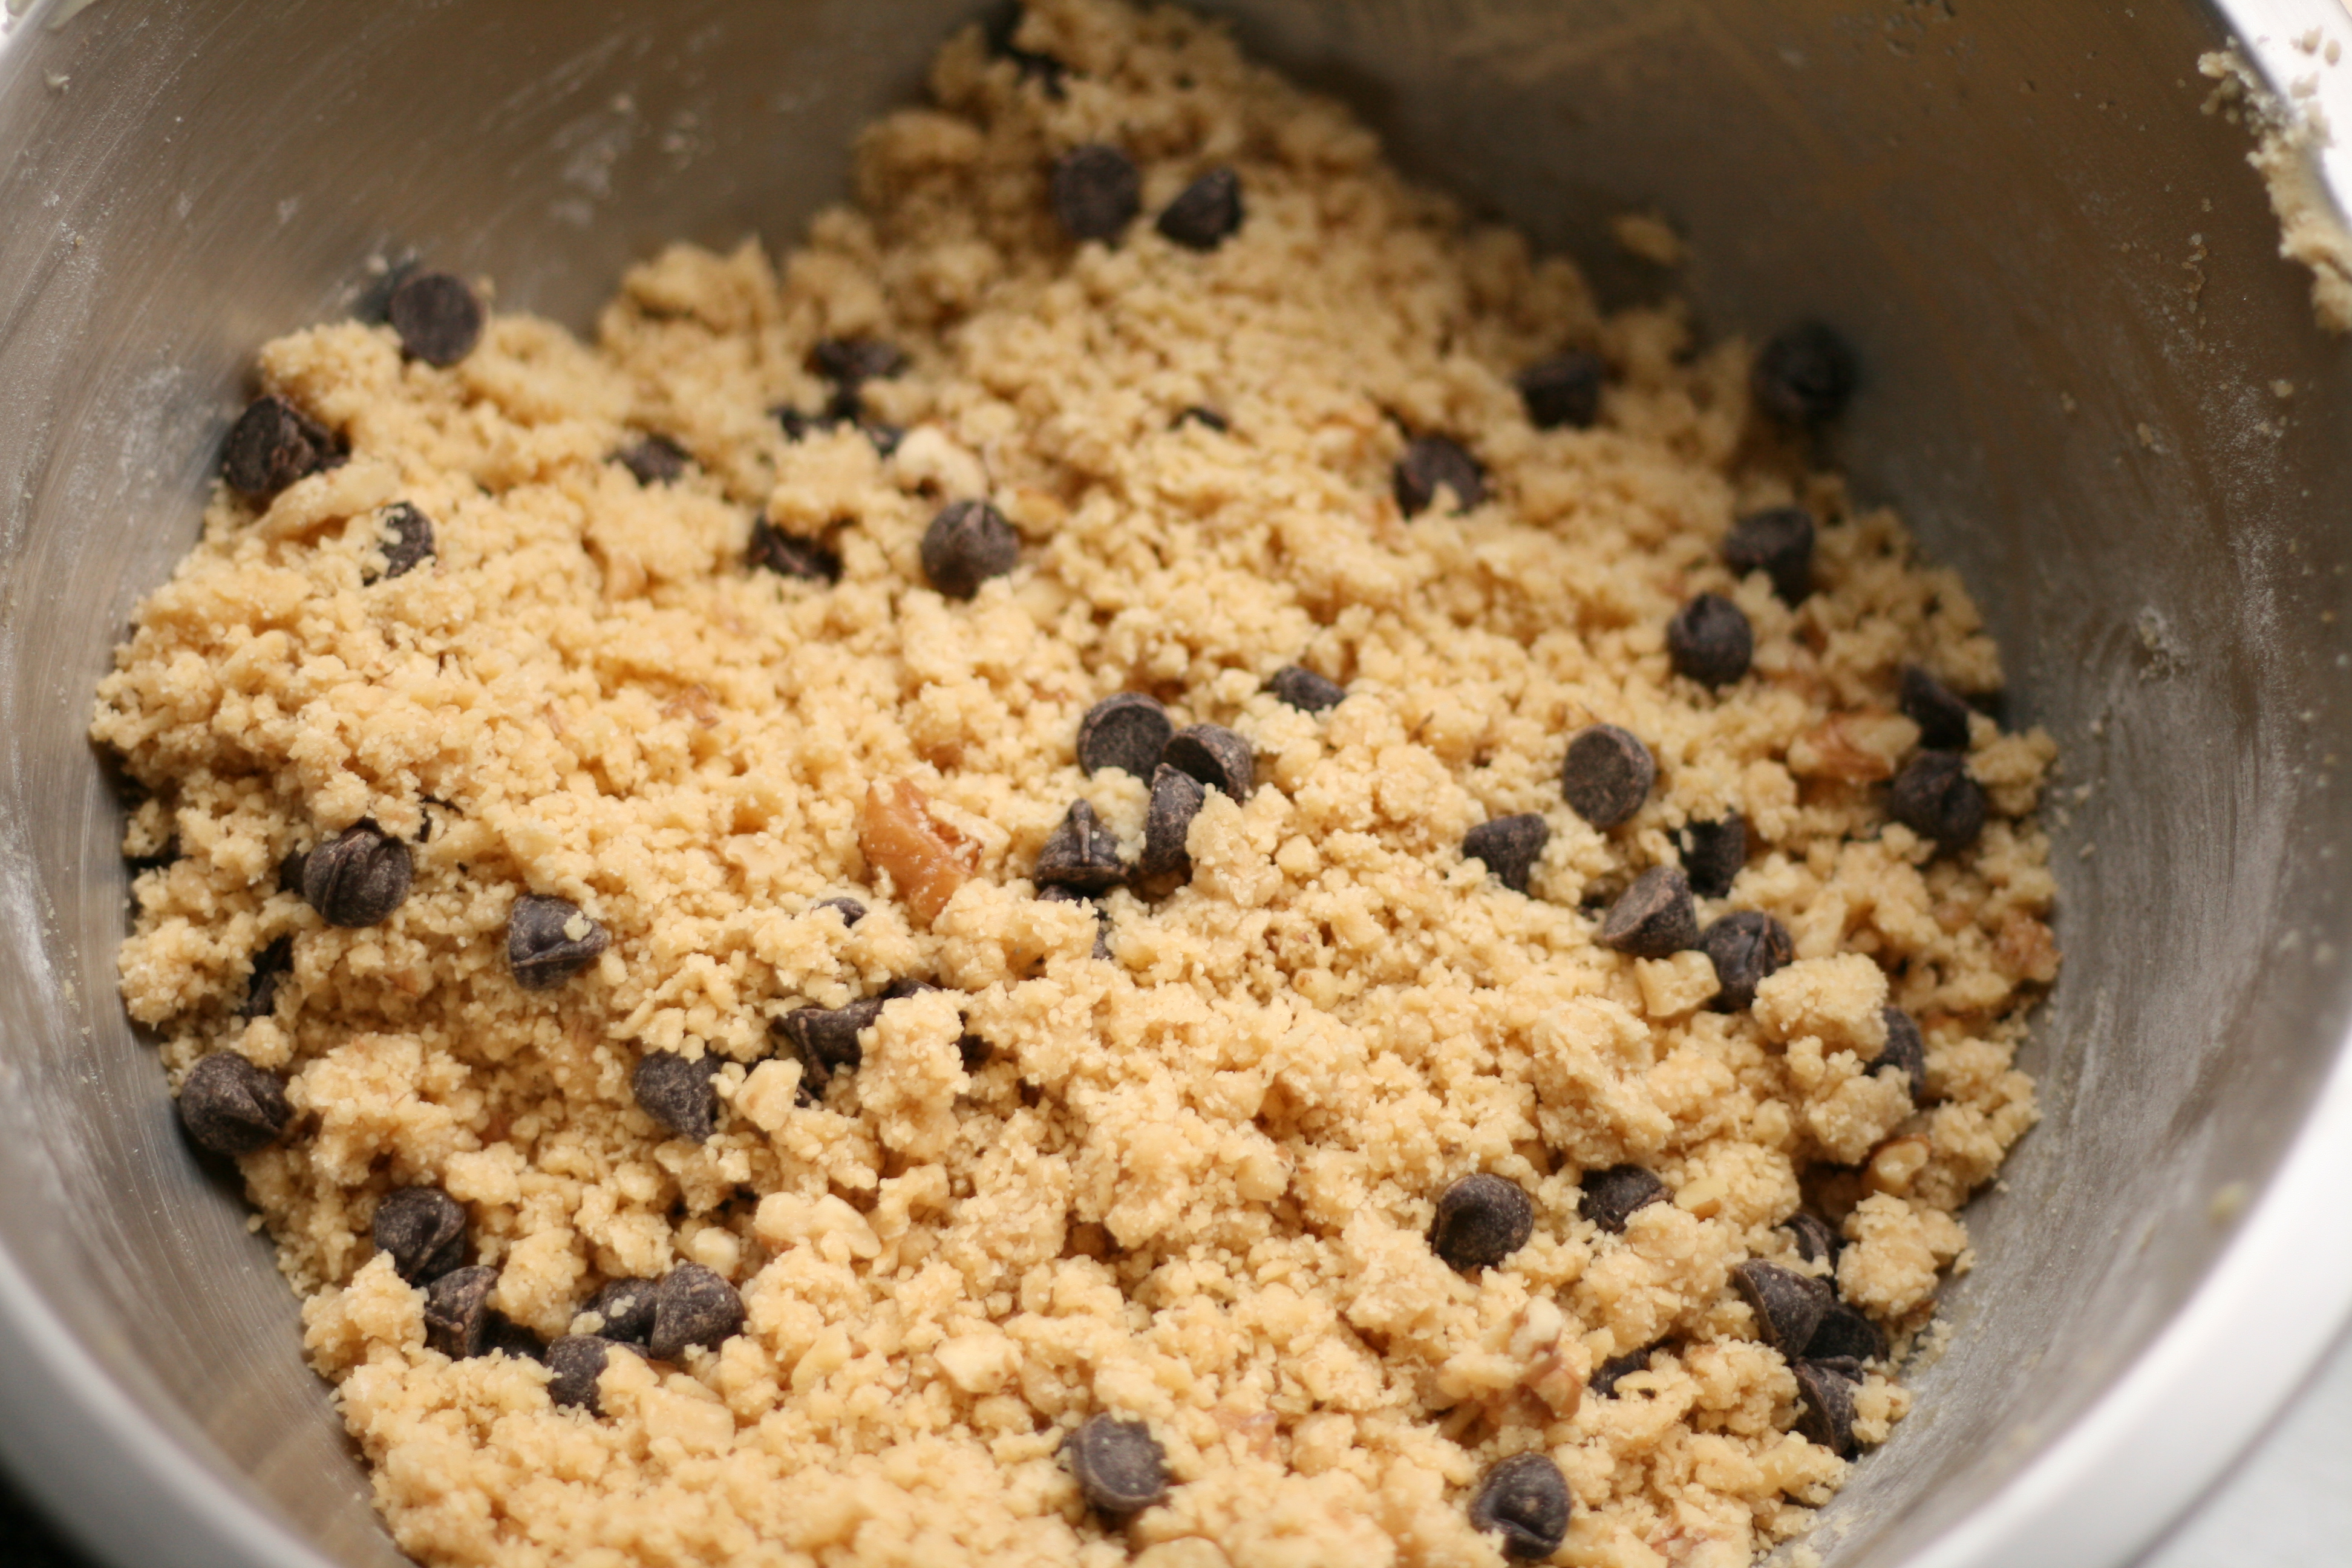
1. Using a grater, grate chilled butter into a large bowl. Make sure to scrape out butter left on grater. If butter is too warm, stick it in the freezer for 5 minutes. 2. Add sugars to the butter. Using a mixer, mix until just combined. Do not over beat. 3. Add vanilla and eggs, and mix until just combined. Again, do not over beat. 4. In a separate bowl, whisk together flour, salt, baking powder, and baking soda. 5. Add flour mixture to butter mixture, and mix until just combined. Dough will look crumbly. You are right on track. 6. Stir in chocolate and crushed walnuts (optional). 7. Take off your rings—you’re gonna need your hands for this. Gather dough into a large ball, as you would if you were making a snow ball. Place on pan lined with a Silpat or parchment paper. 8. Preheat oven to 365°. Meanwhile, place cookies in the freezer for about 15 minutes. 9. Bake cookies for 18 minutes or until slightly browned around edges. Cookies will still be doughy in the middle. 10. Allow to cool completely before eating. The doughy center will stiffen up a bit.
*Note: In the pictures, I used European butter. However, I used regular butter the first time I made the recipe and the cookies held their shape much butter better. Therefore, I made the executive decision to go with regular butter in the recipe. A little tid-bit for you: according to Sunset Magazine, too low-fat butter (aka margarine) or too high-fat butter (aka European butter) can cause spreading. Go regular or go home.
Here’s the visual recipe.
Have I arrived? I don’t know. But I feel a lot closer than I did last week.
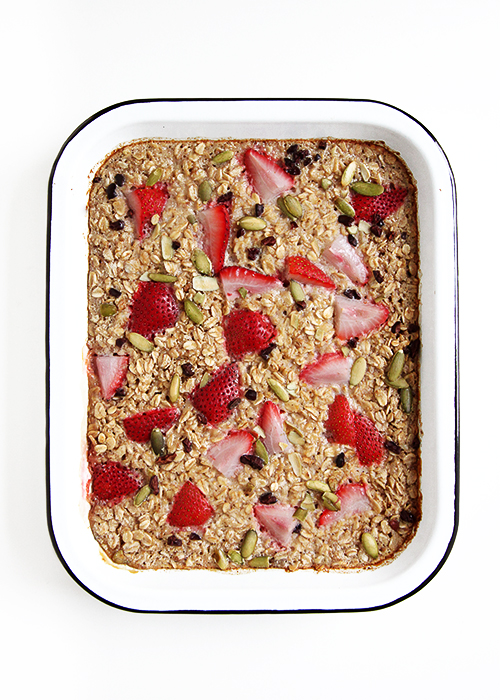
The temperature has turned to cold. Family and friends are gathered in droves. Thanksgiving is in a couple of days and you’re probably wondering what to serve all those people for breakfast. First thing that comes to everyone’s mind—breakfast casserole. Over done. High in calories (save those precious numbers for your turkey dinner). Heavy on the stomach. Try something new this year—Baked Oatmeal. If you have to, think of it as Oatmeal Casserole. Original. Low in calories. Light on the stomach. Best of all, it feeds lots of people! Read more
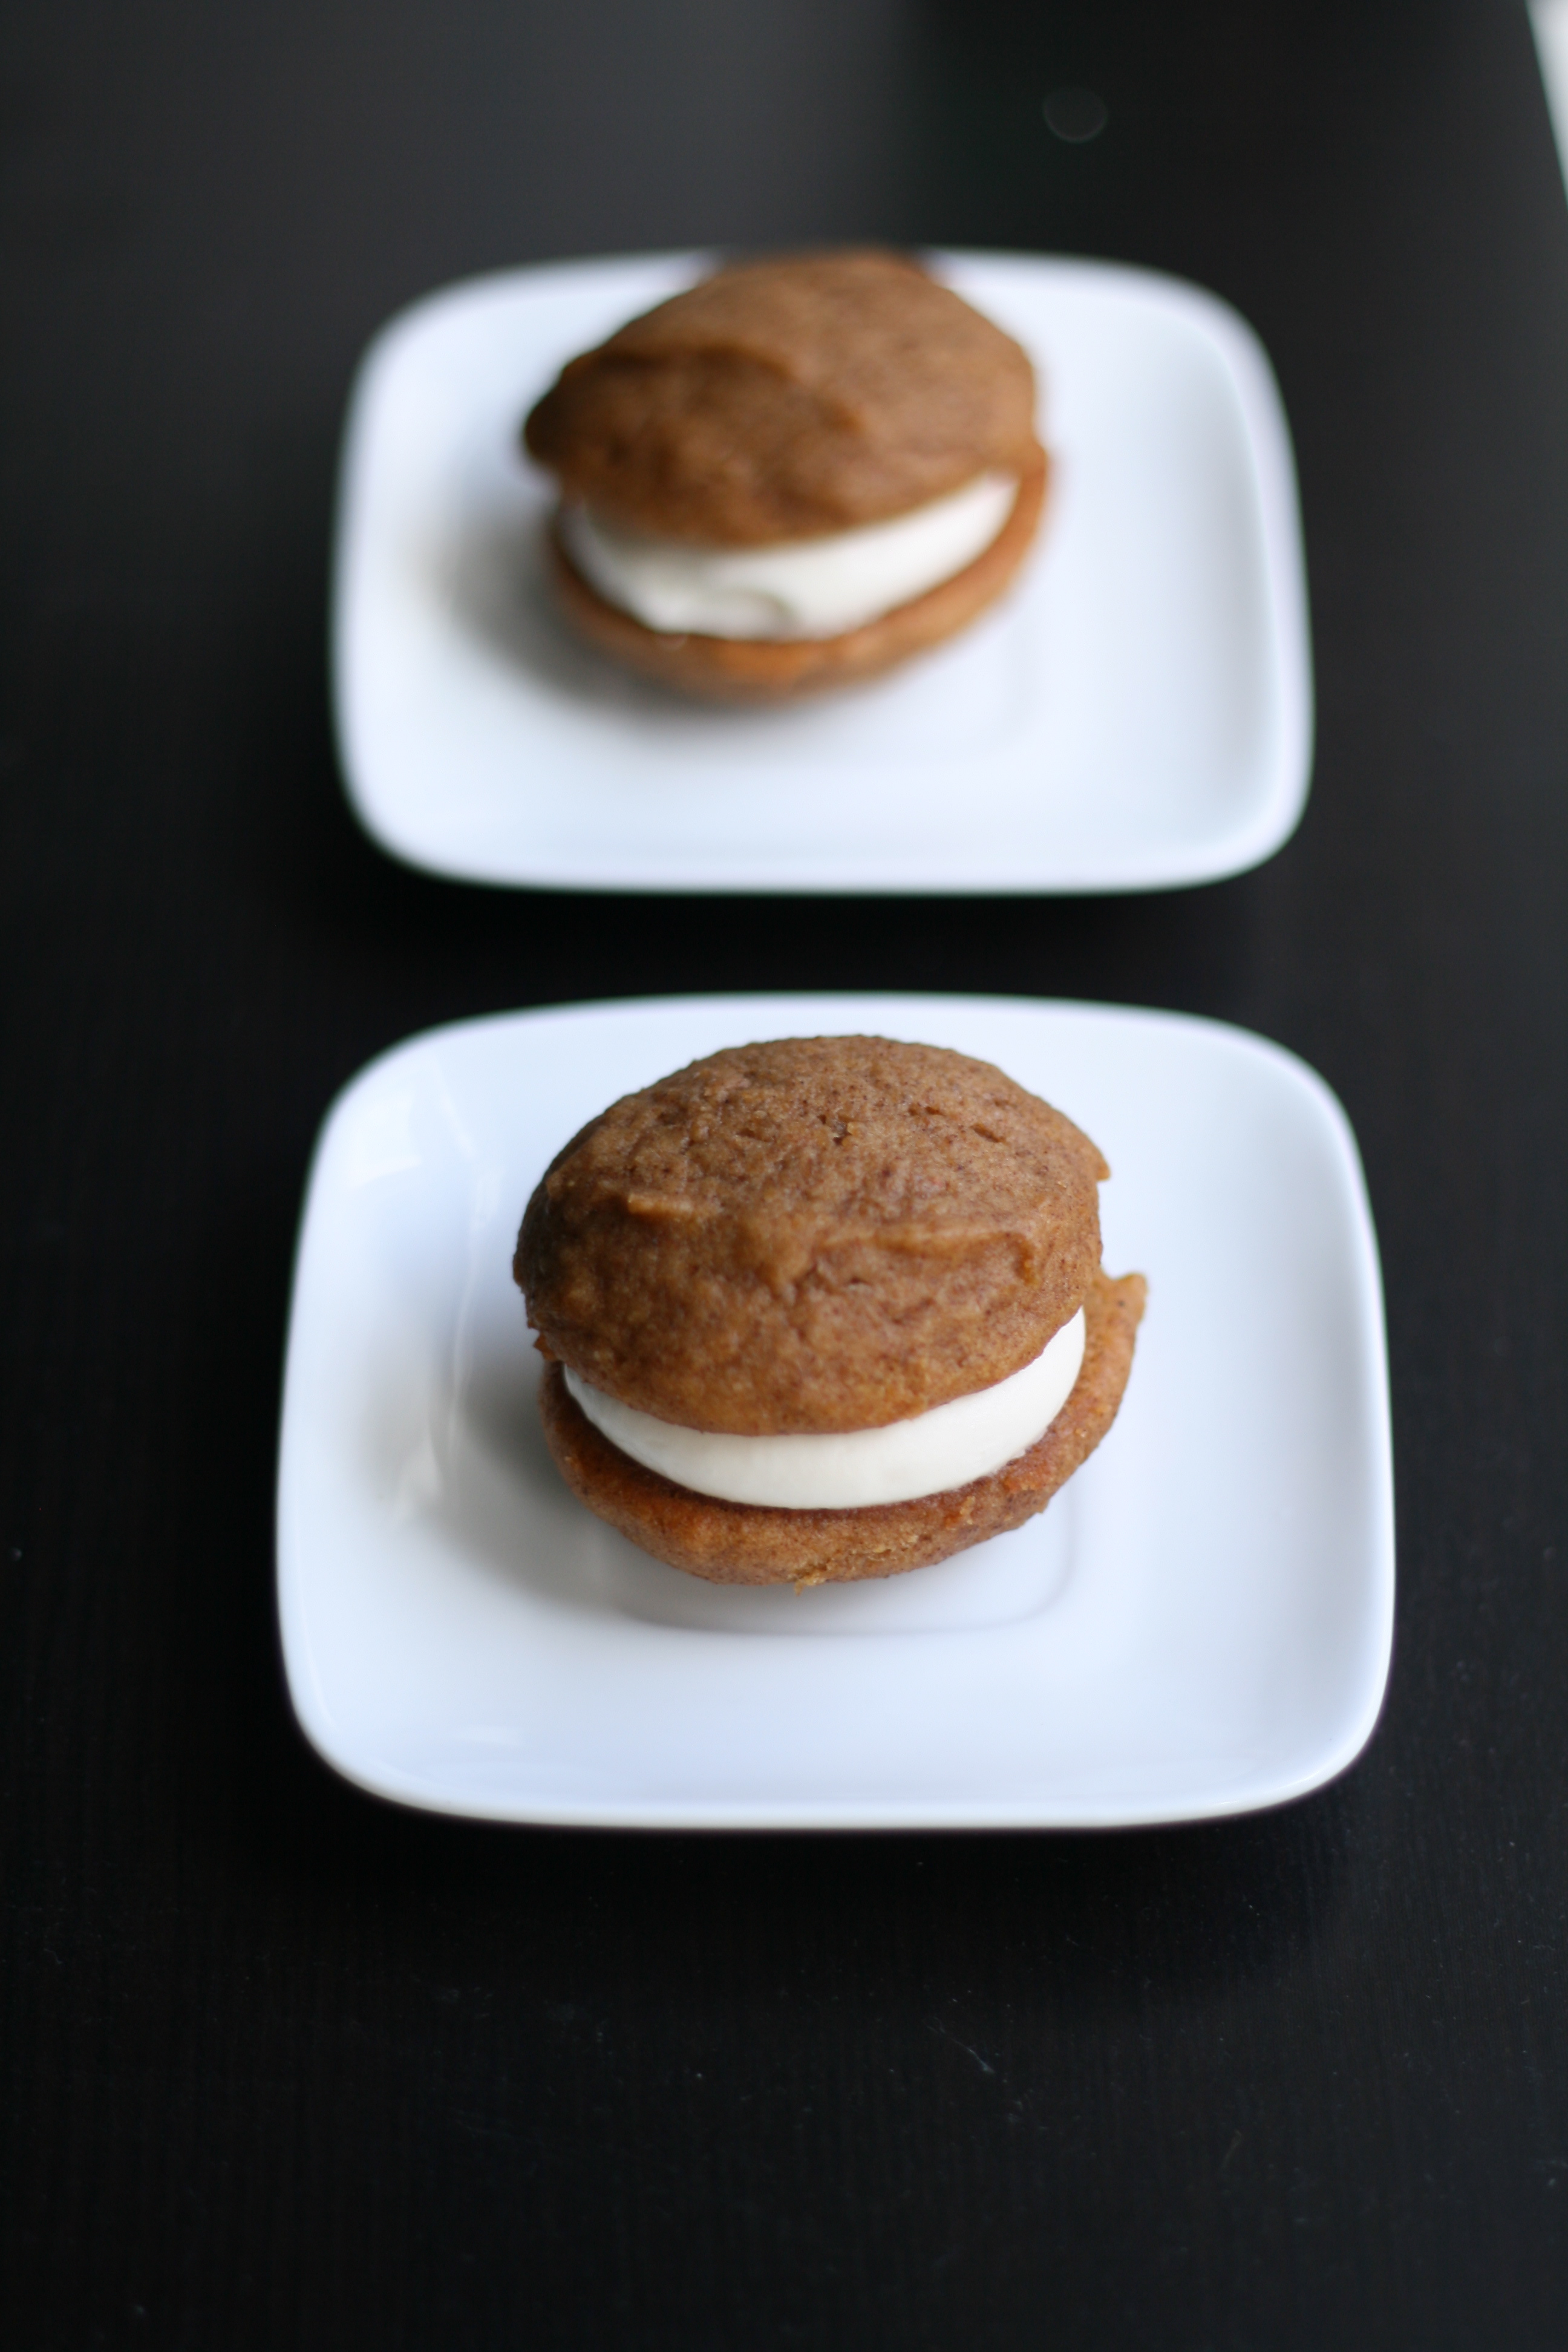
Whoopie Pies are the new cupcake. Okay, maybe that’s not true but it might be after you try one. Upon eating, it’ll leave you exclaiming, “Whoopee!” Literally.
Whoopie Pies stepped onto the scene through the Amish tradition. As the story goes, Amish wives used their extra cake batter to bake mini cakes. Thou shalt let nothing go to waste. They’d plop some icing in between two small cakes and pack it into their husband’s lunch box. After biting into these little gems, a common response from the male would be “Whoopee!” And there you have it—the Whoopie Pie was born.
Since the previous post tells you how to make homemade pumpkin puree, let’s go ahead and make Pumpkin Whoopie Pies! ‘Tis the season.
FOR THE PIES 3 cups all-purpose flour (I used half AP flour, half whole wheat flour) 1 teaspoon salt 1 teaspoon baking powder 1 teaspoon baking soda 2 tablespoons ground cinnamon 1 teaspoon ground ginger (original recipe calls for 1 tbsp) 1 teaspoon ground cloves (original recipe calls for 1 tbsp) a dash of nutmeg 2 cups firmly packed dark-brown sugar 1 cup canola oil 3 cups pumpkin puree, chilled 2 large eggs 1 teaspoon pure vanilla extract
FOR THE FILLING 3 cups confectioners’ sugar 1/2 cup (1 stick) unsalted butter, softened 8 ounces cream cheese, softened 1 teaspoon pure vanilla extract
1. Make the pies: Preheat oven to 350°. Line two baking sheets with parchment paper or a nonstick baking mat; set aside. 2. In a large bowl, whisk together flour, salt, baking powder, baking soda, cinnamon, ginger, and cloves; set aside. In another large bowl, whisk together brown sugar and oil until well combined. Add pumpkin puree and whisk until combined. Add eggs and vanilla and whisk until well combined. Sprinkle flour mixture over pumpkin mixture and whisk until fully incorporated. 3. Using a small ice cream scoop with a release mechanism, drop heaping tablespoons of dough onto prepared baking sheets, about 1 inch apart. Transfer to oven and bake until pies are just starting to crack on top and a toothpick inserted into the center of each pie comes out clean, about 15 minutes. Let cool completely on pan. 4. Make the filling: Sift confectioner’ sugar into a medium bowl; set aside. In the bowl of an electric mixer fitted with the paddle attachment, beat butter until smooth. Add cream cheese and beat until well combined. Add confectioners’ sugar and vanilla, beat just until smooth. (I only used about 2 1/2 cups of confectioners sugar.) 5. Assemble the whoopie pies: Line a baking sheet with parchment paper and set aside. Transfer filling to a disposable pastry bag and snip the end. When pies have cooled completely, pipe a large dollop of filling on the flat side of half of the pie. Sandwich with remaining pie, pressing down slightly so that the filling spreads to the edge of the cookies. Transfer to prepared baking sheet and cover with plastic wrap. Refrigerate pies at least 30 minutes before serving and up to 3 days.
TIPS: • Runny batter is not your friend. If you find yourself in this situation, you may need to add a little more flour to help a batter out. • Make sure to bake an even amount of pies. • Mini Whoopie Pies make for a good portion size! And they’re cute.
Dear Blog, Please excuse my absence. I had to get a ganglion cyst removed, was in a cast, and couldn’t really bake or type for that matter. But now I’m back! Yours Truly, Fauxmartha
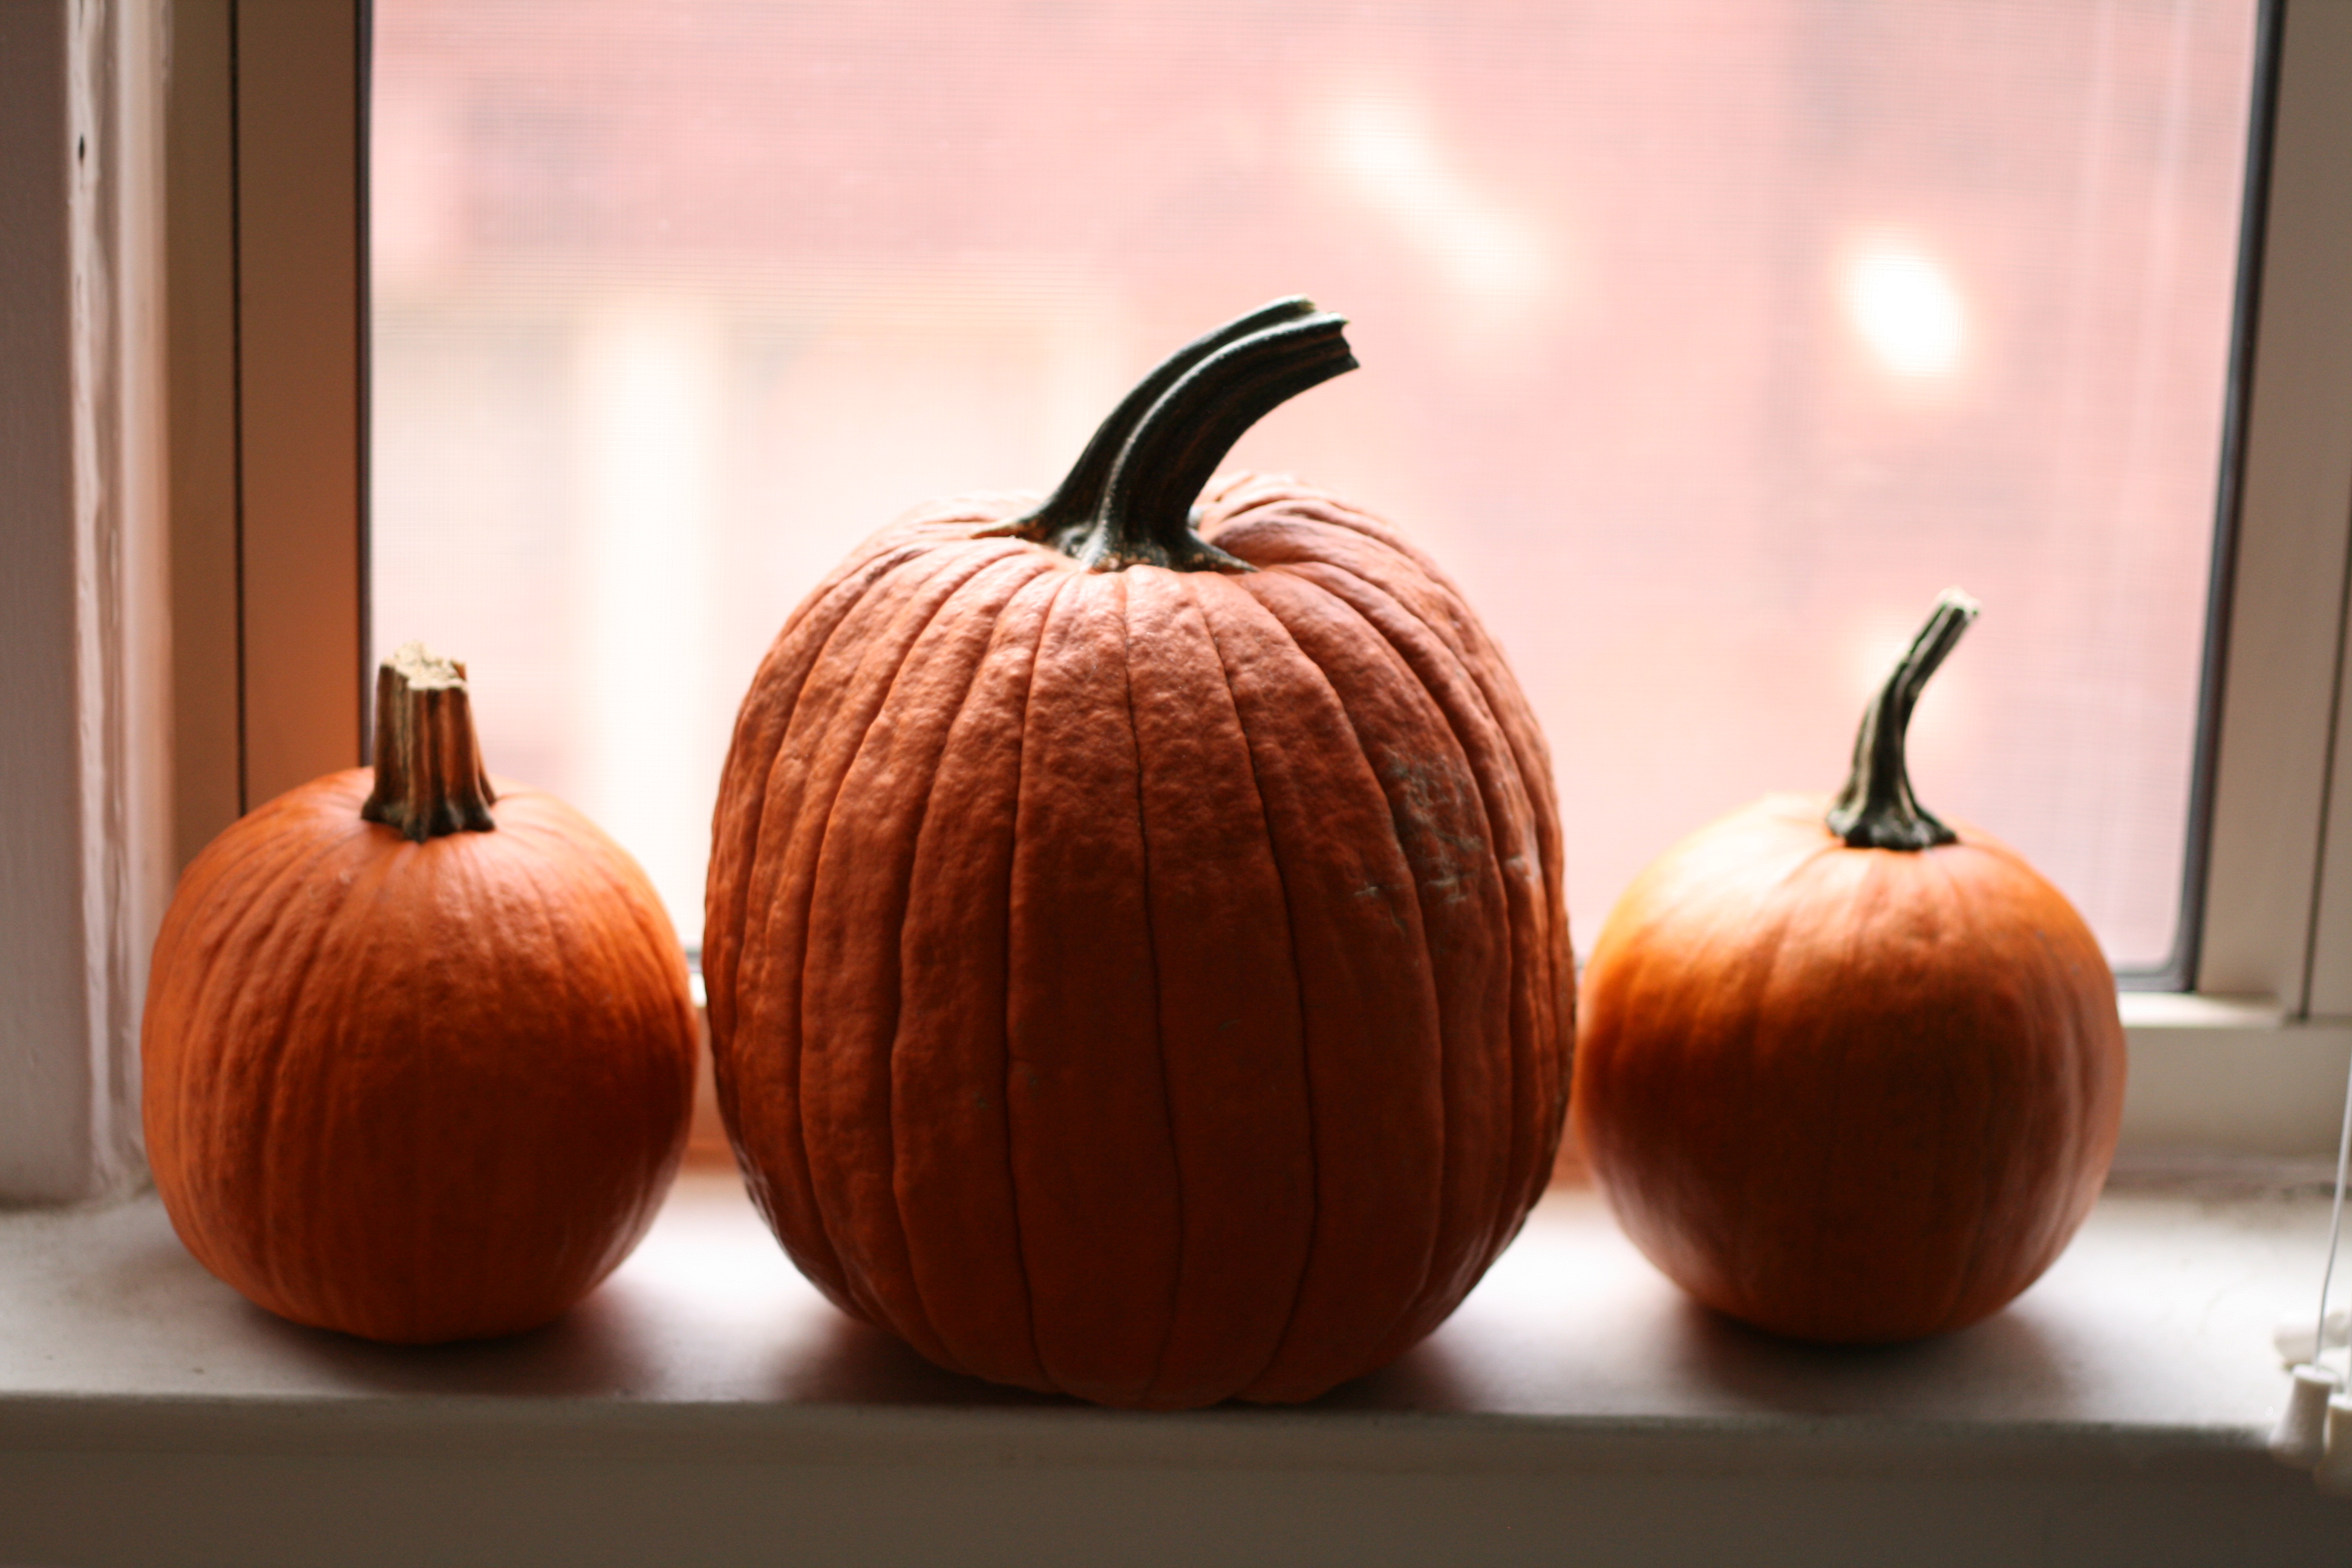
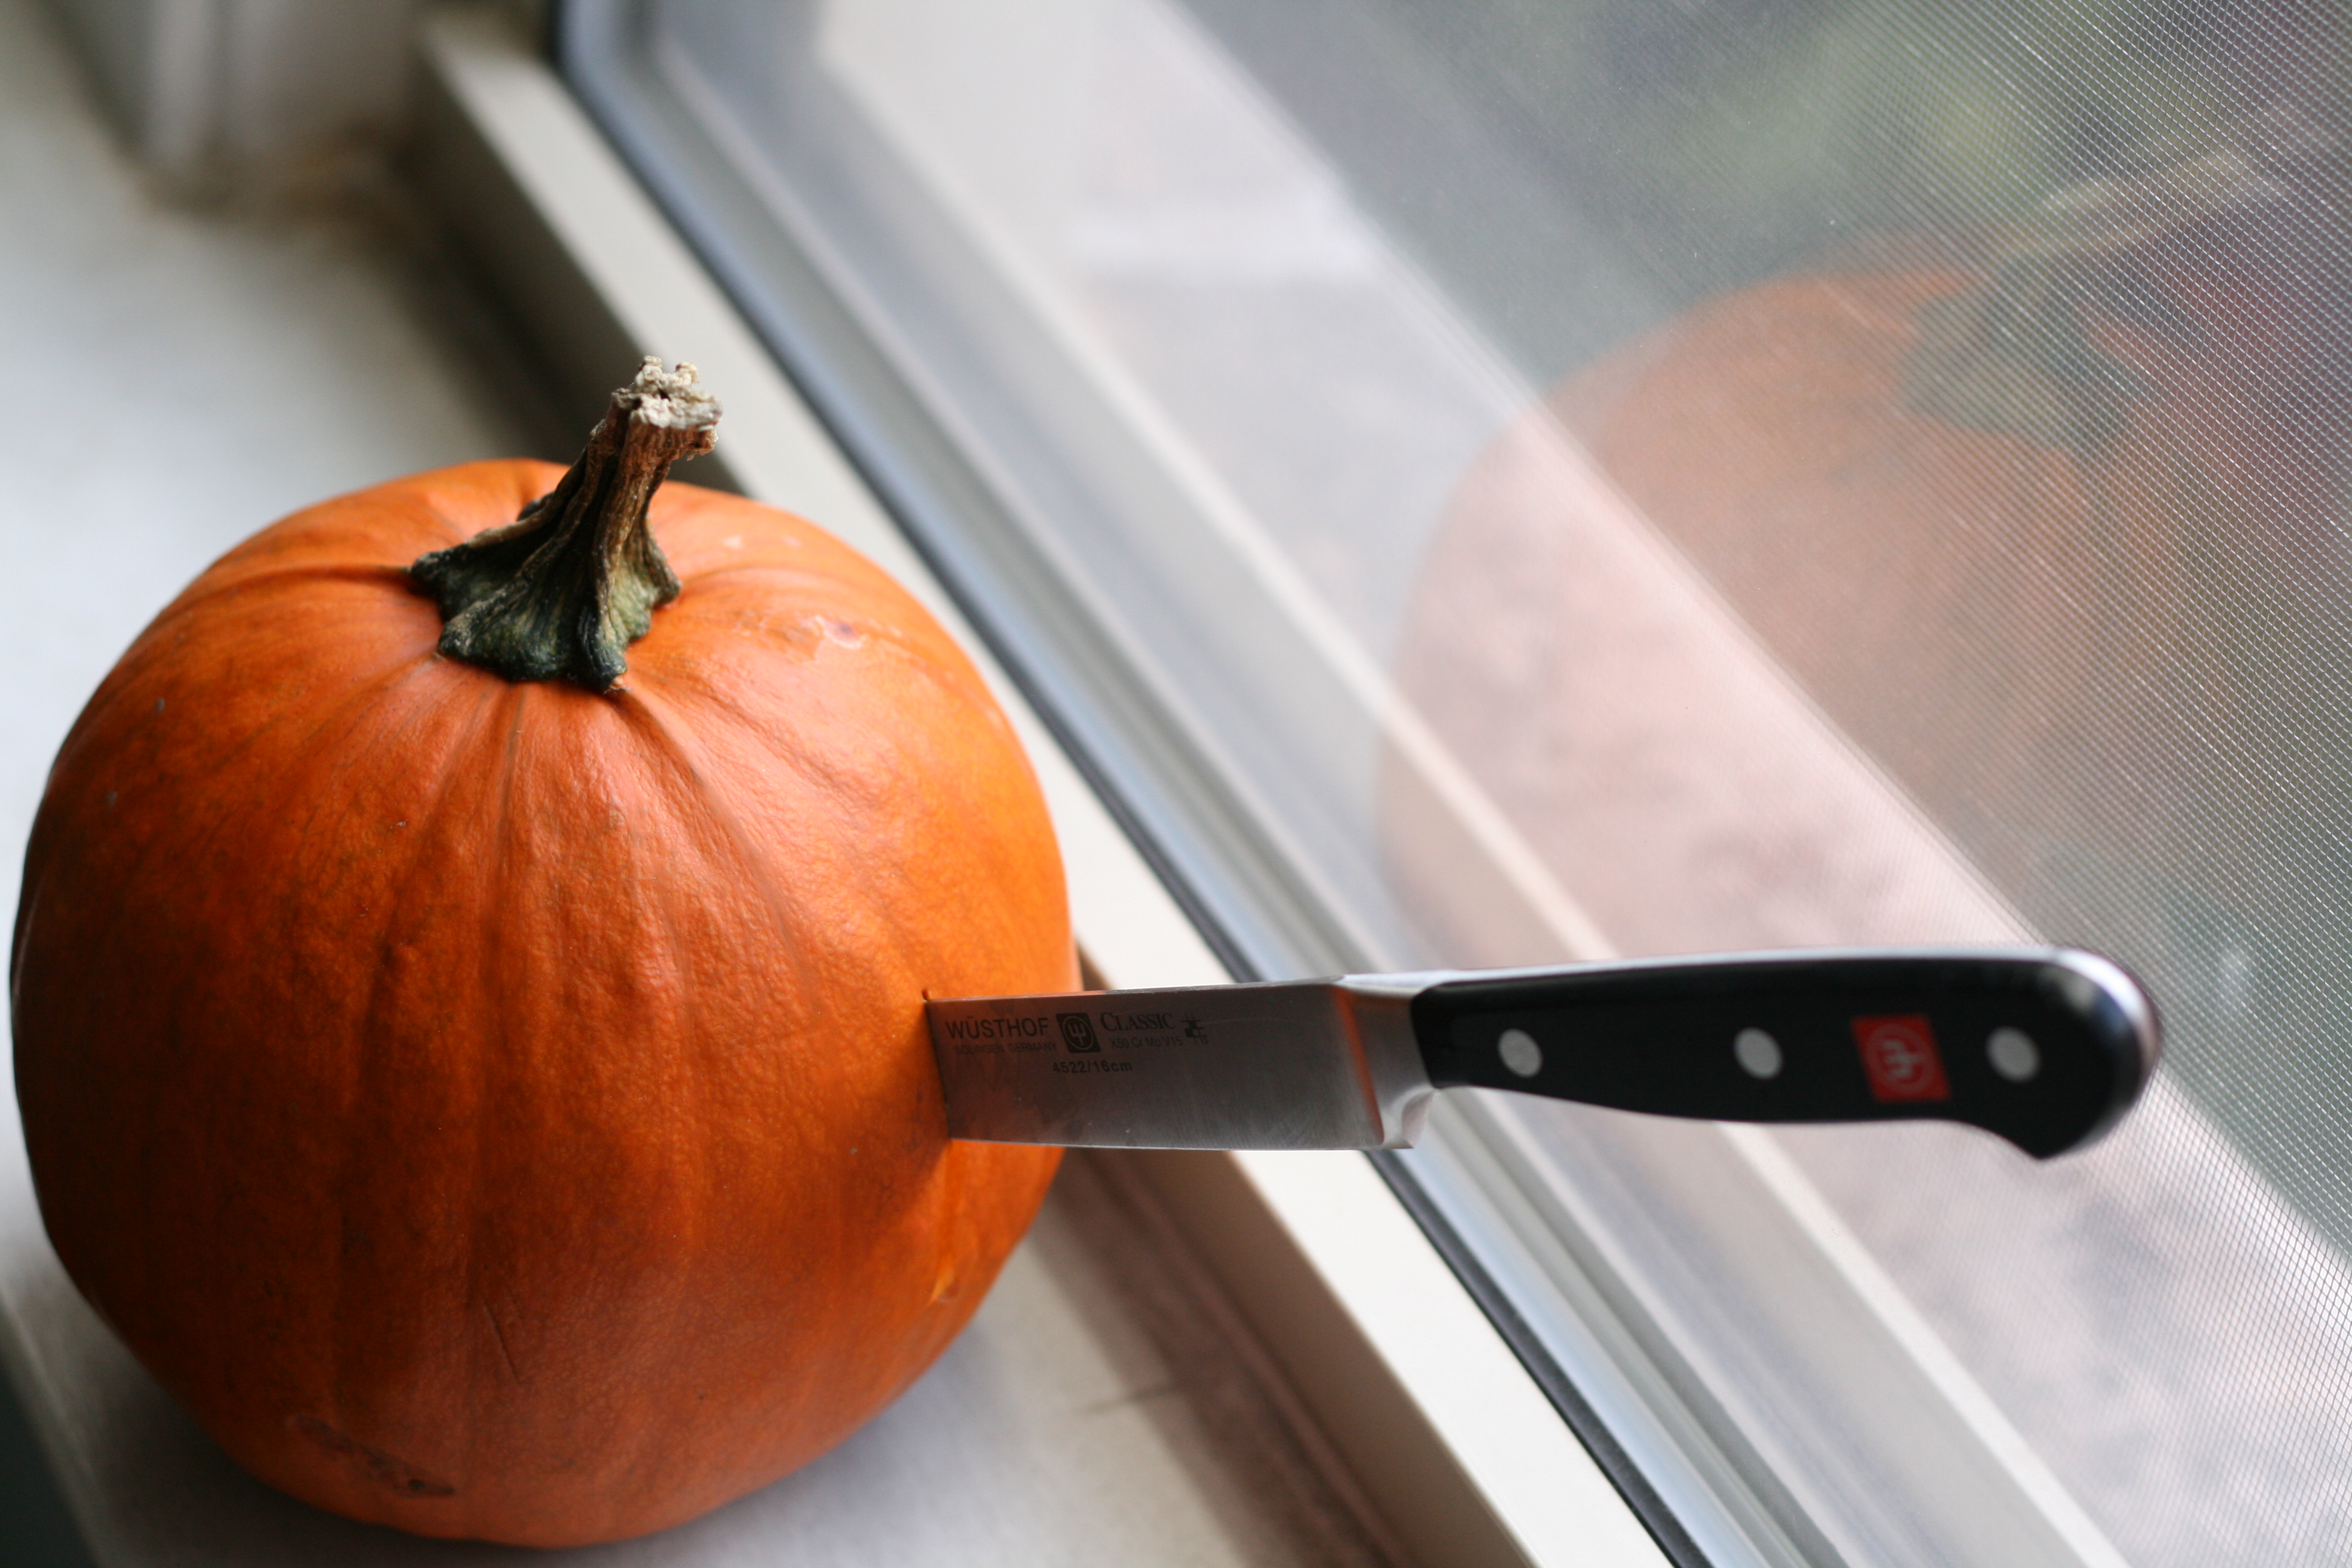
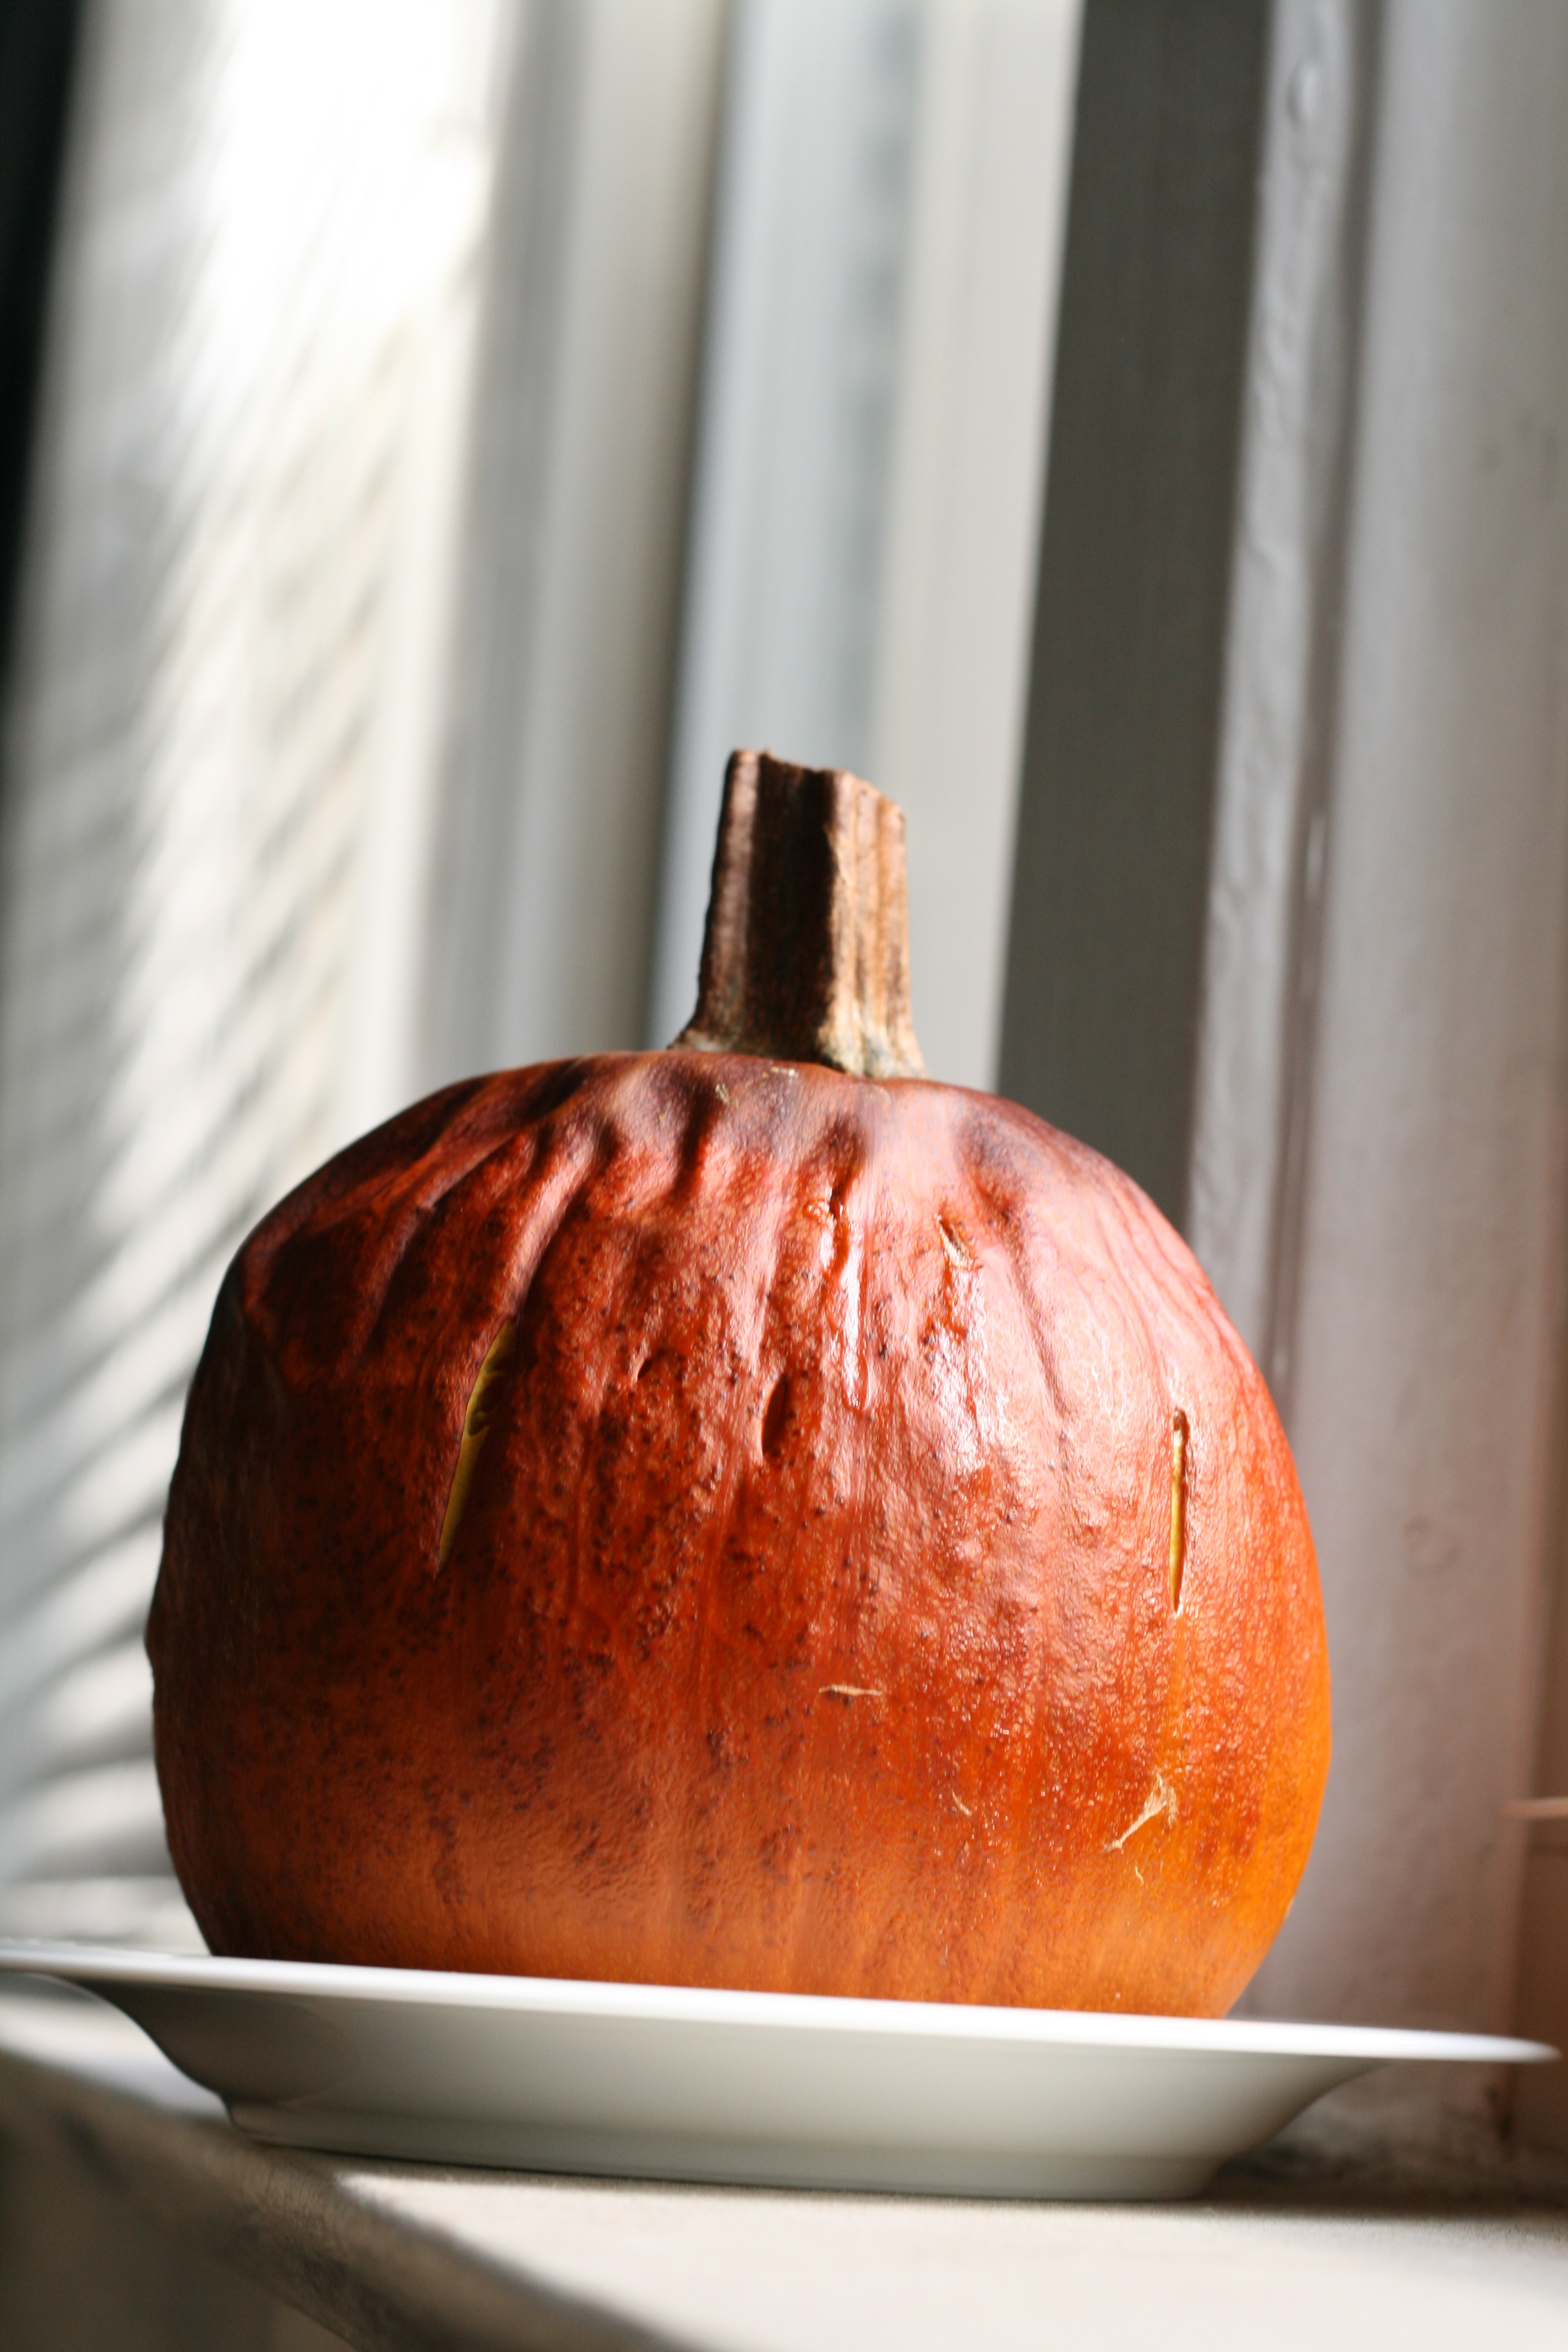
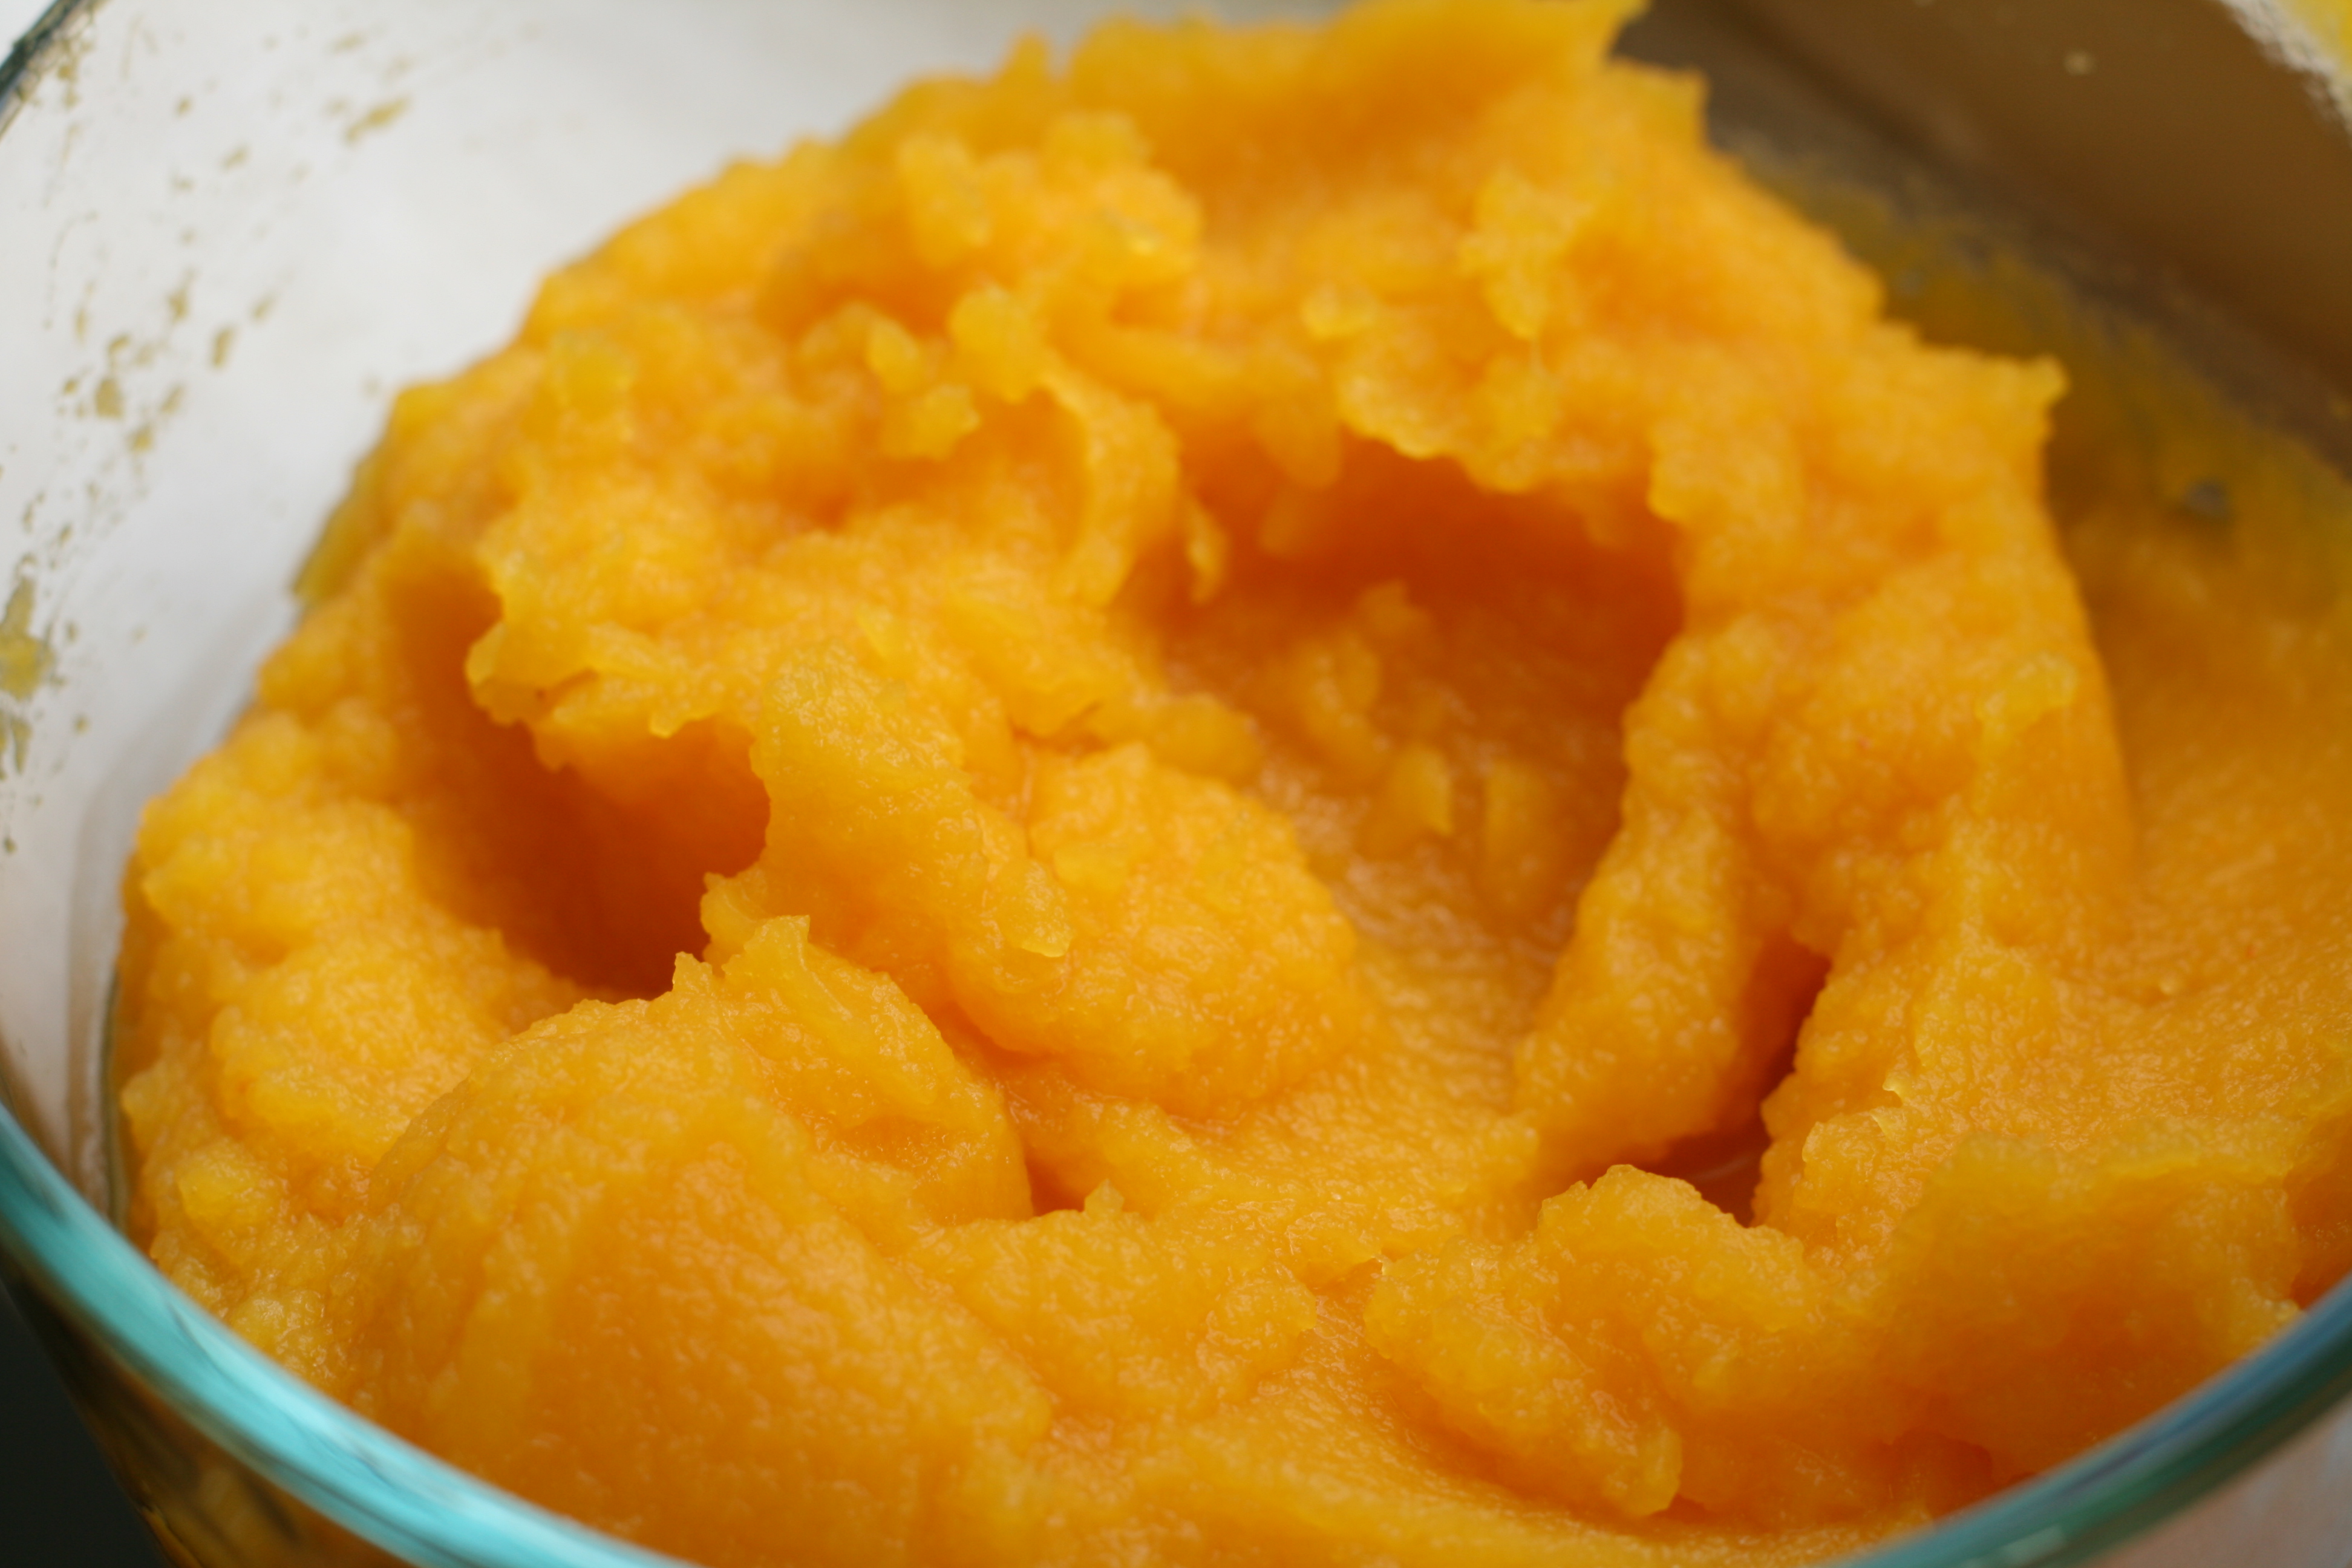
It’s pumpkin time. Well, maybe it’s on the tail end of pumpkin time, but it’s not too late. Too late for what? Duh, roasting your own pumpkins. This year, try forgoing buying that canned pumpkin. Not that it’s bad, but this is so much better. I promise.
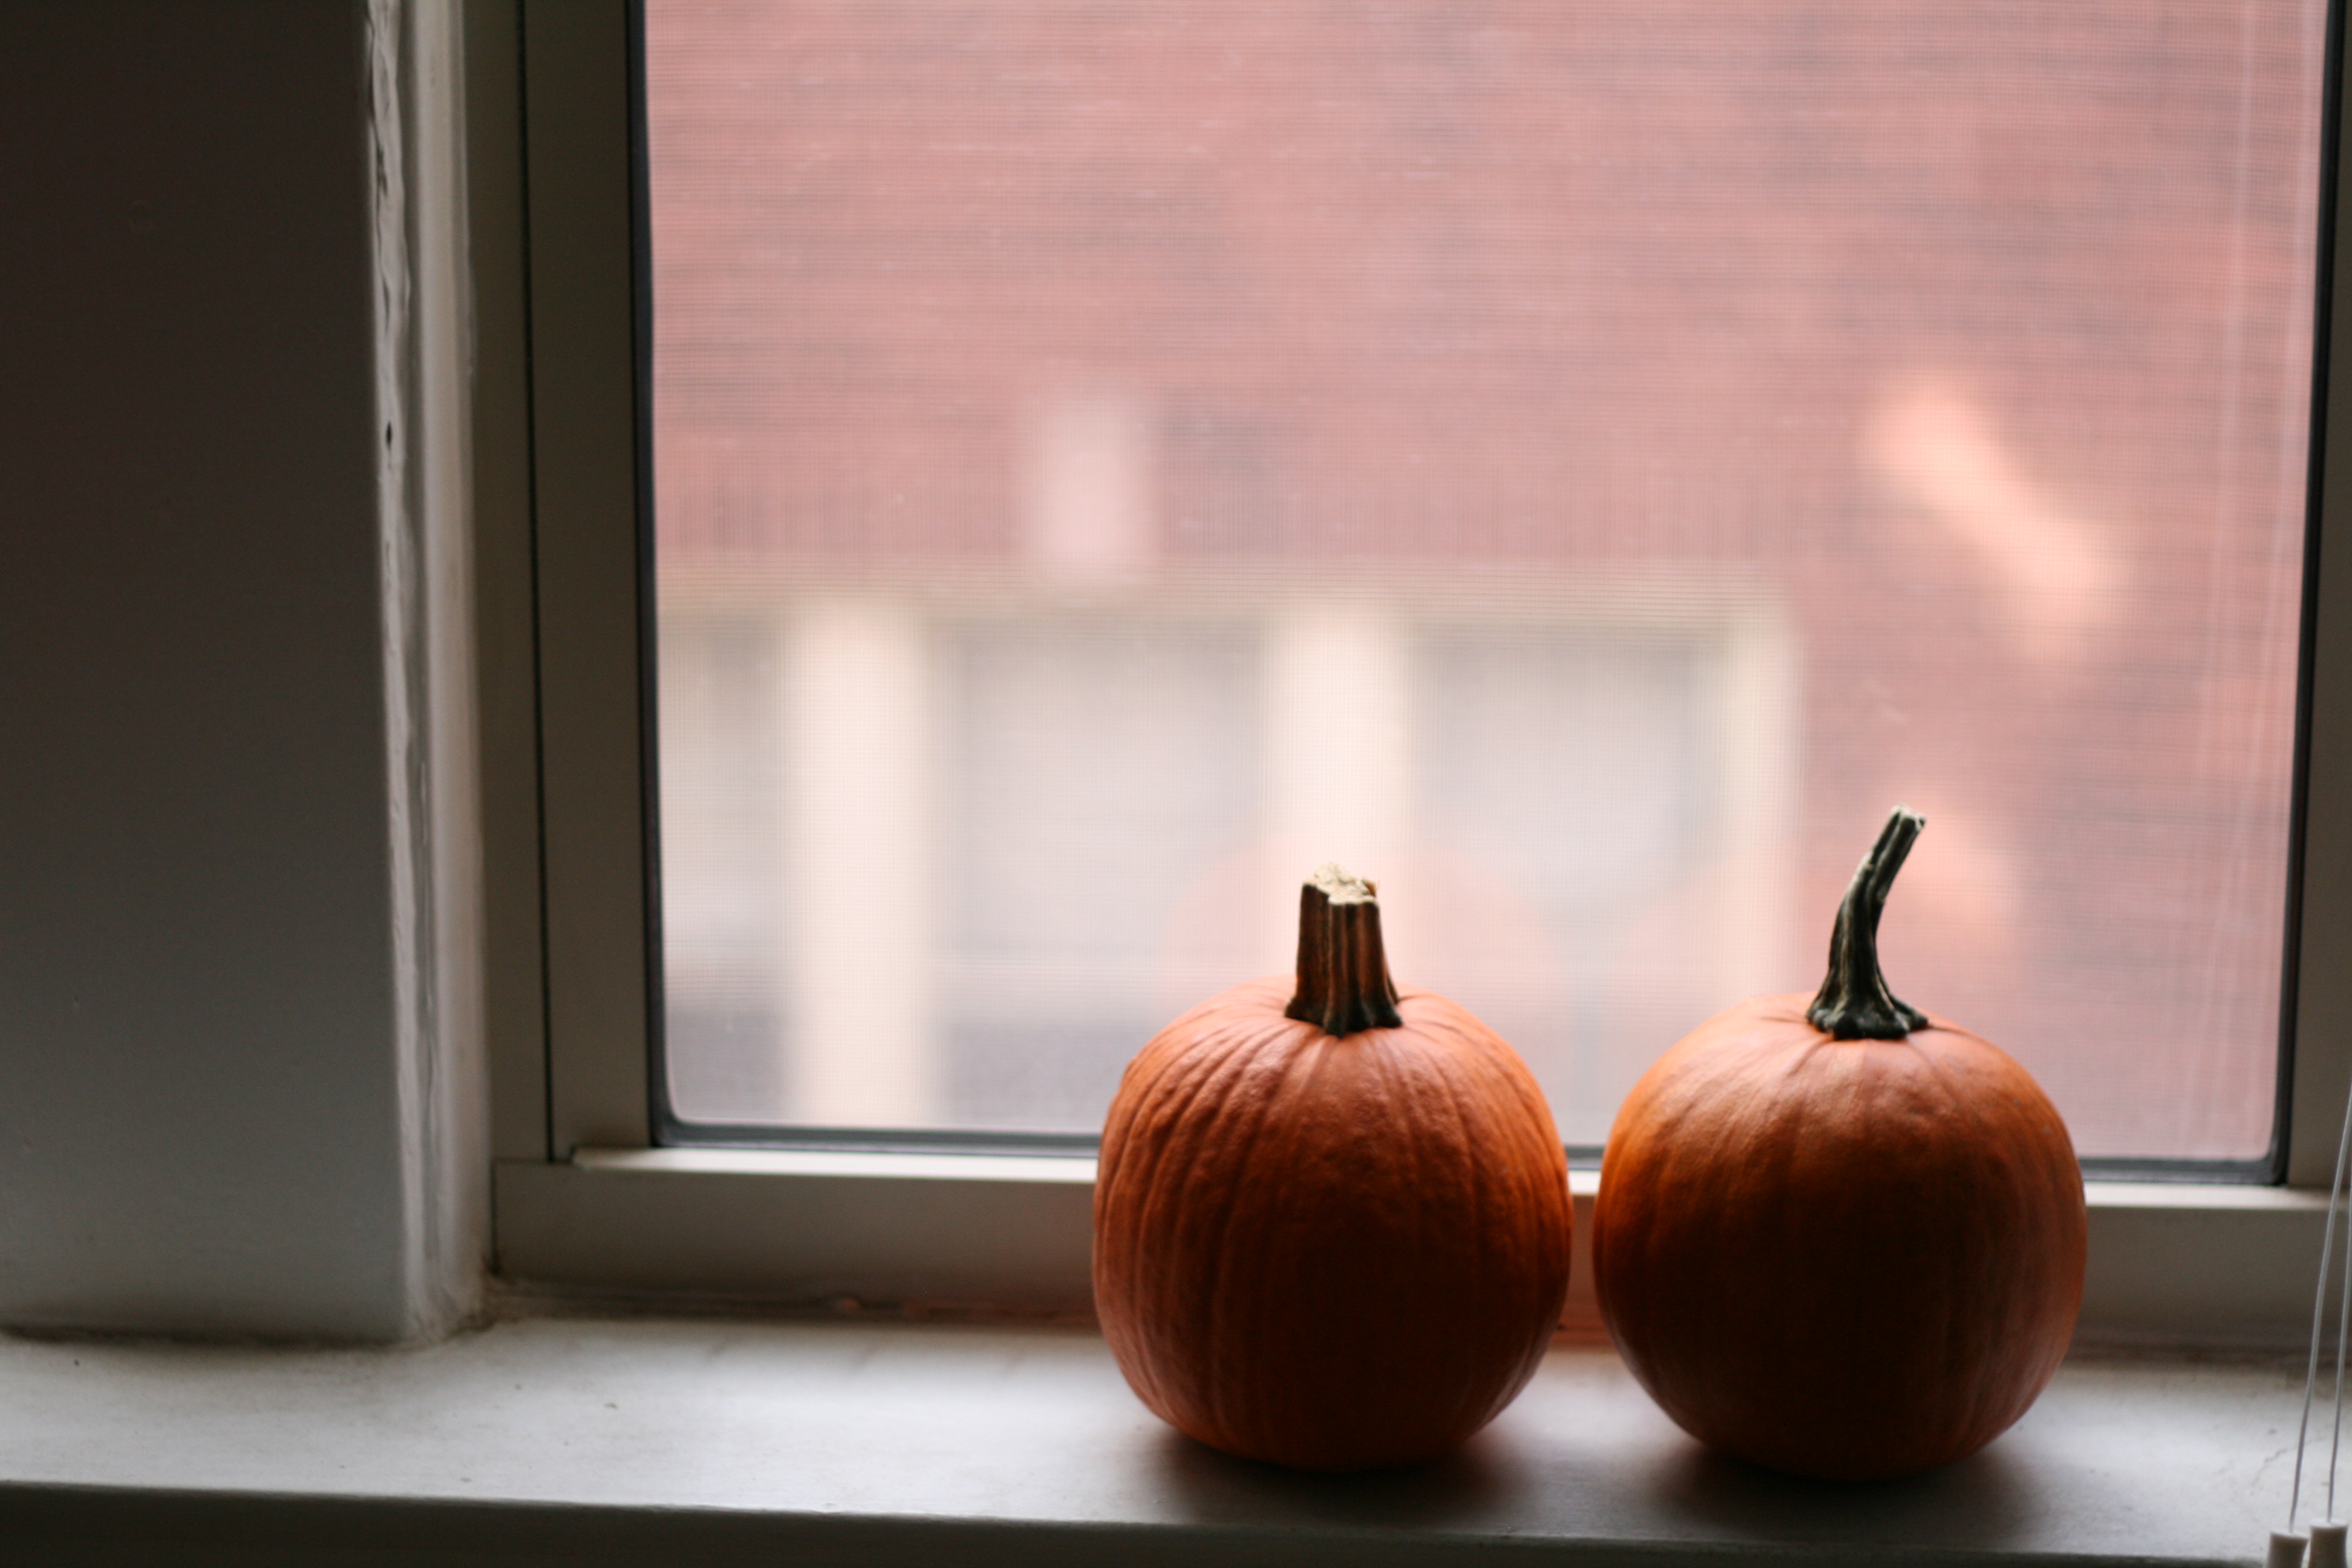
The best pumpkins for baking are known as cheese pumpkins or sugar pumpkins. You want to stay away from using the big carving pumpkins (pictured above in the middle). They make for a stringy and watery puree. Unknowingly, I did this last year. And it’s true—watery and stringy. This year, I went with sugar pumpkins. They are small. Decently smooth to the touch. Some may call them cute. And guess what, they’re orange. (Cheese pumpkins are not true orange. Read here to find out more about pumpkin varieties.) You can buy them at specialty grocery stores (Trader Joe’s, Whole Foods, etc). I bought mine at the Farmer’s Market. The look tiny but produce plenty of pumpkin meat.
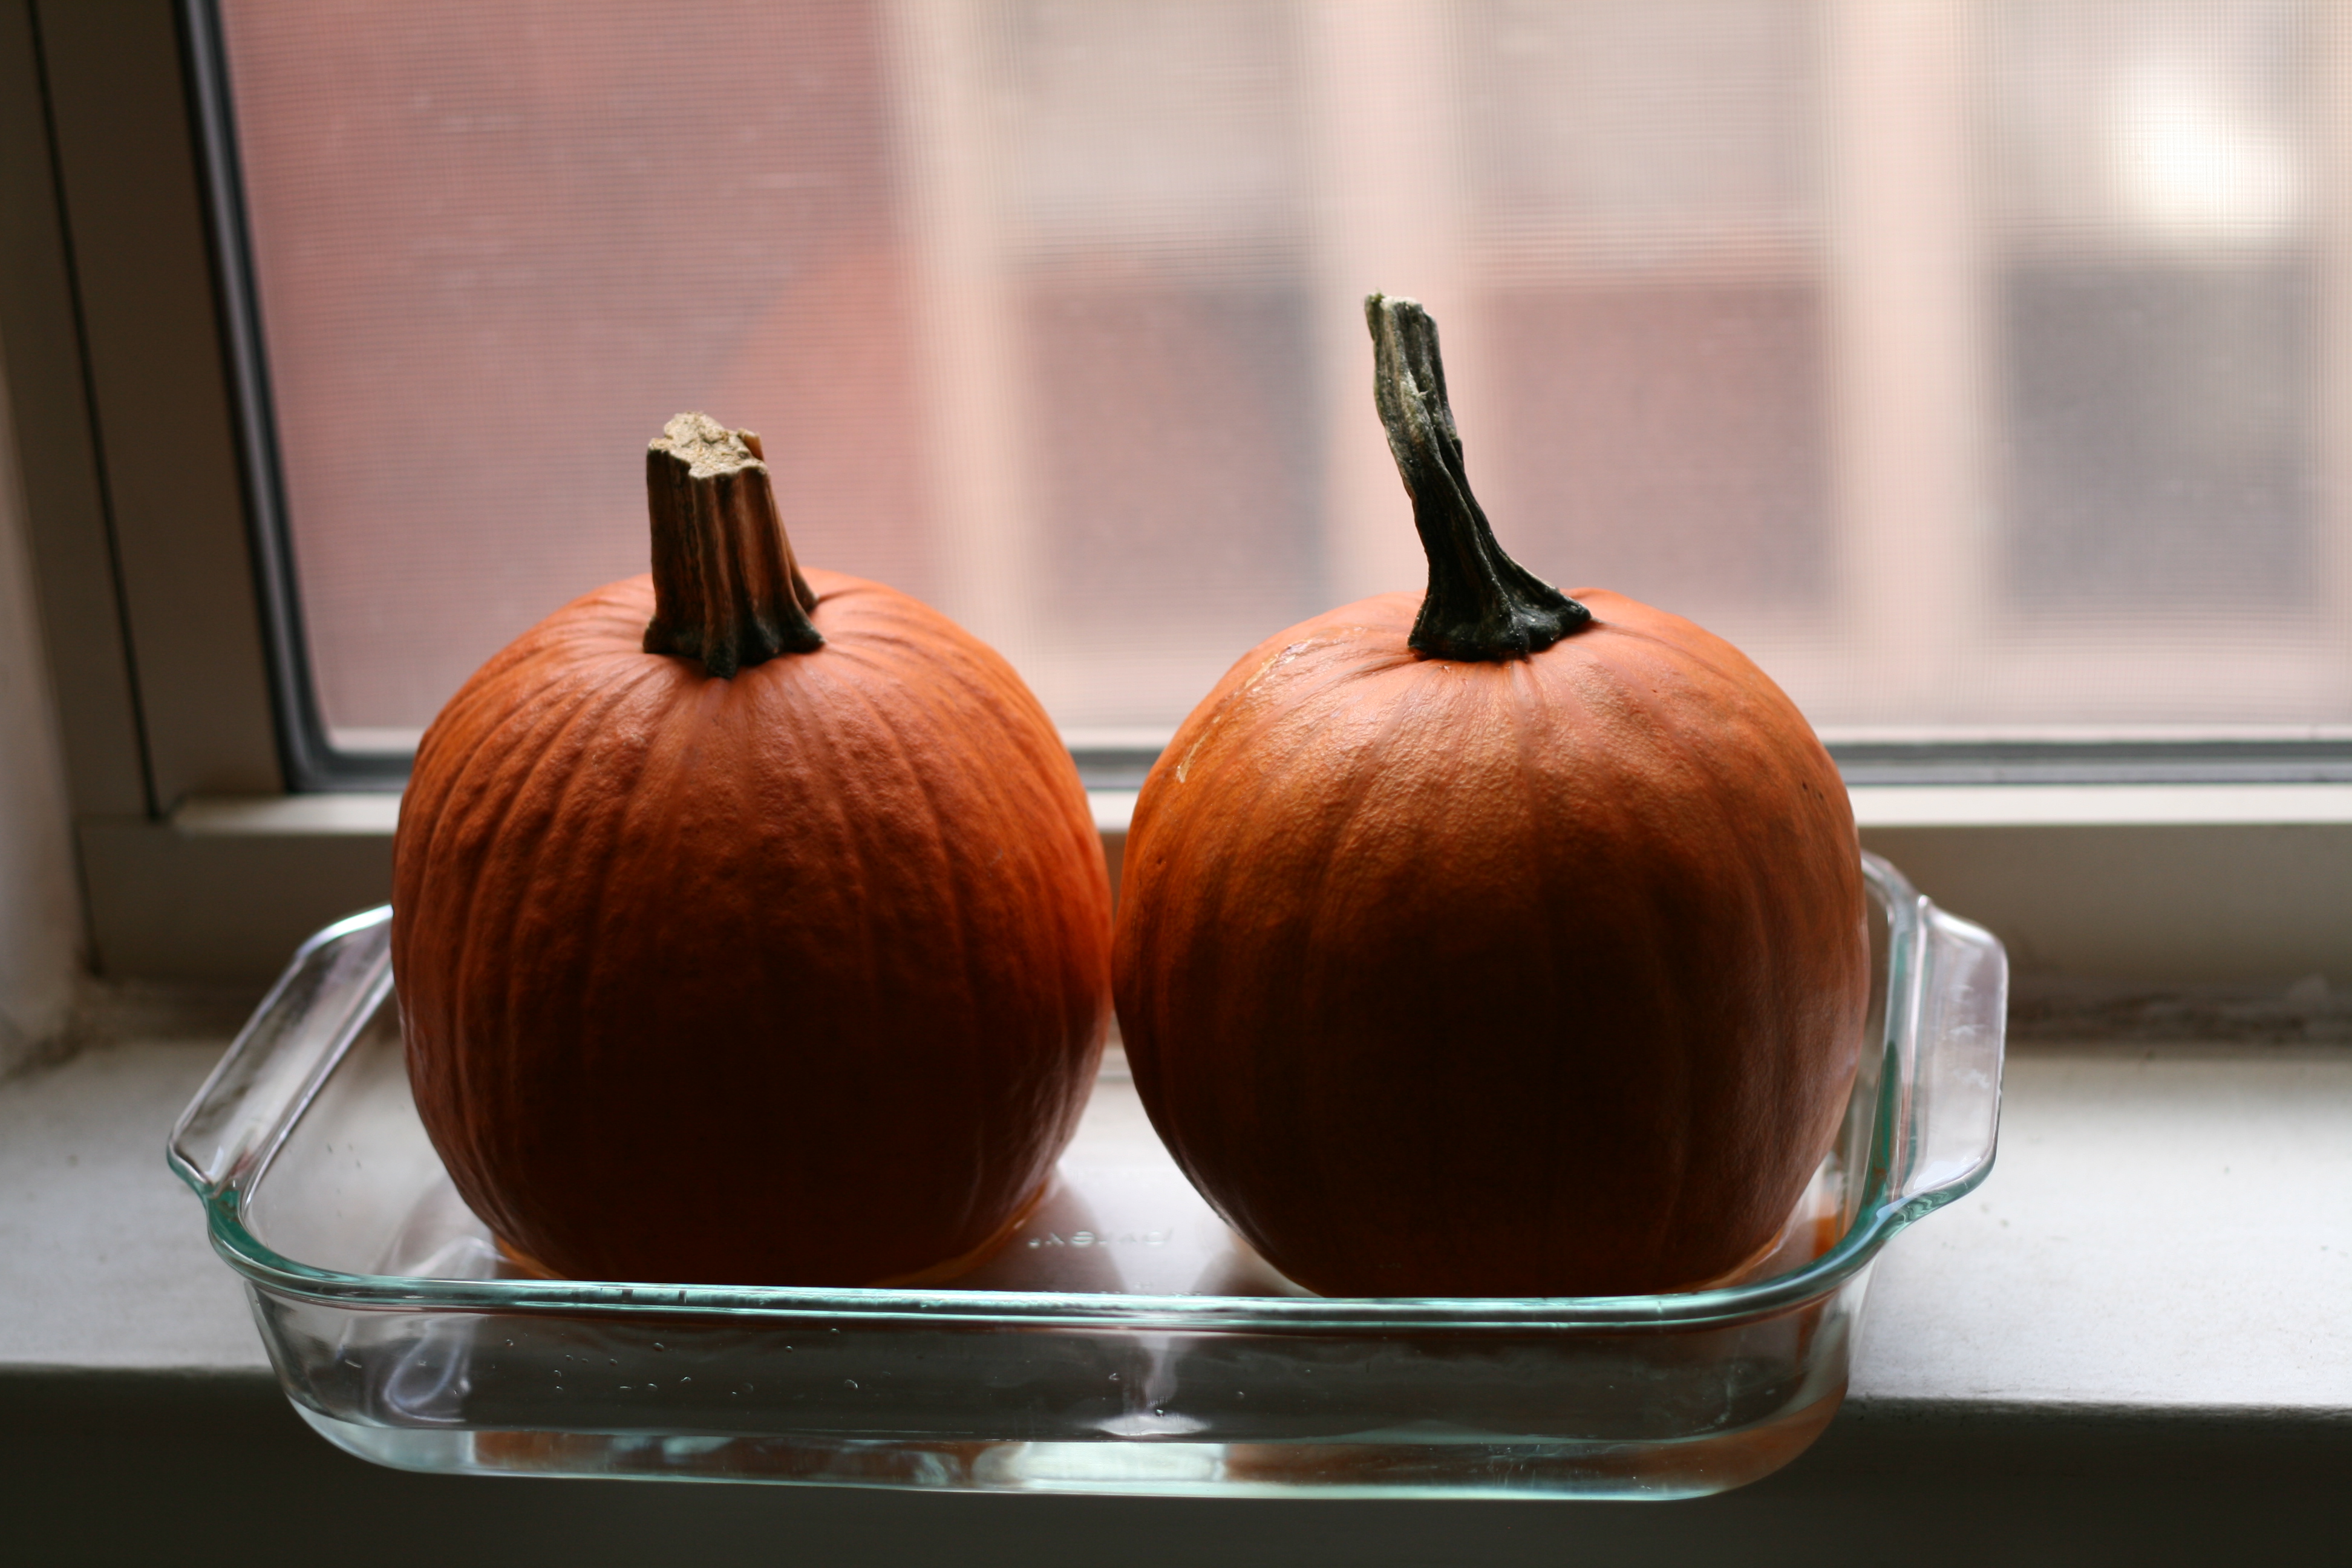
There are several ways to turn a pumpkin into pumpkin puree. Some people cut the pumpkin into chunks and steam them. Others do the same thing, but microwave instead of steam. I prefer the roasting method. In my opinion it’s the easiest and tastes the best, but others may disagree.
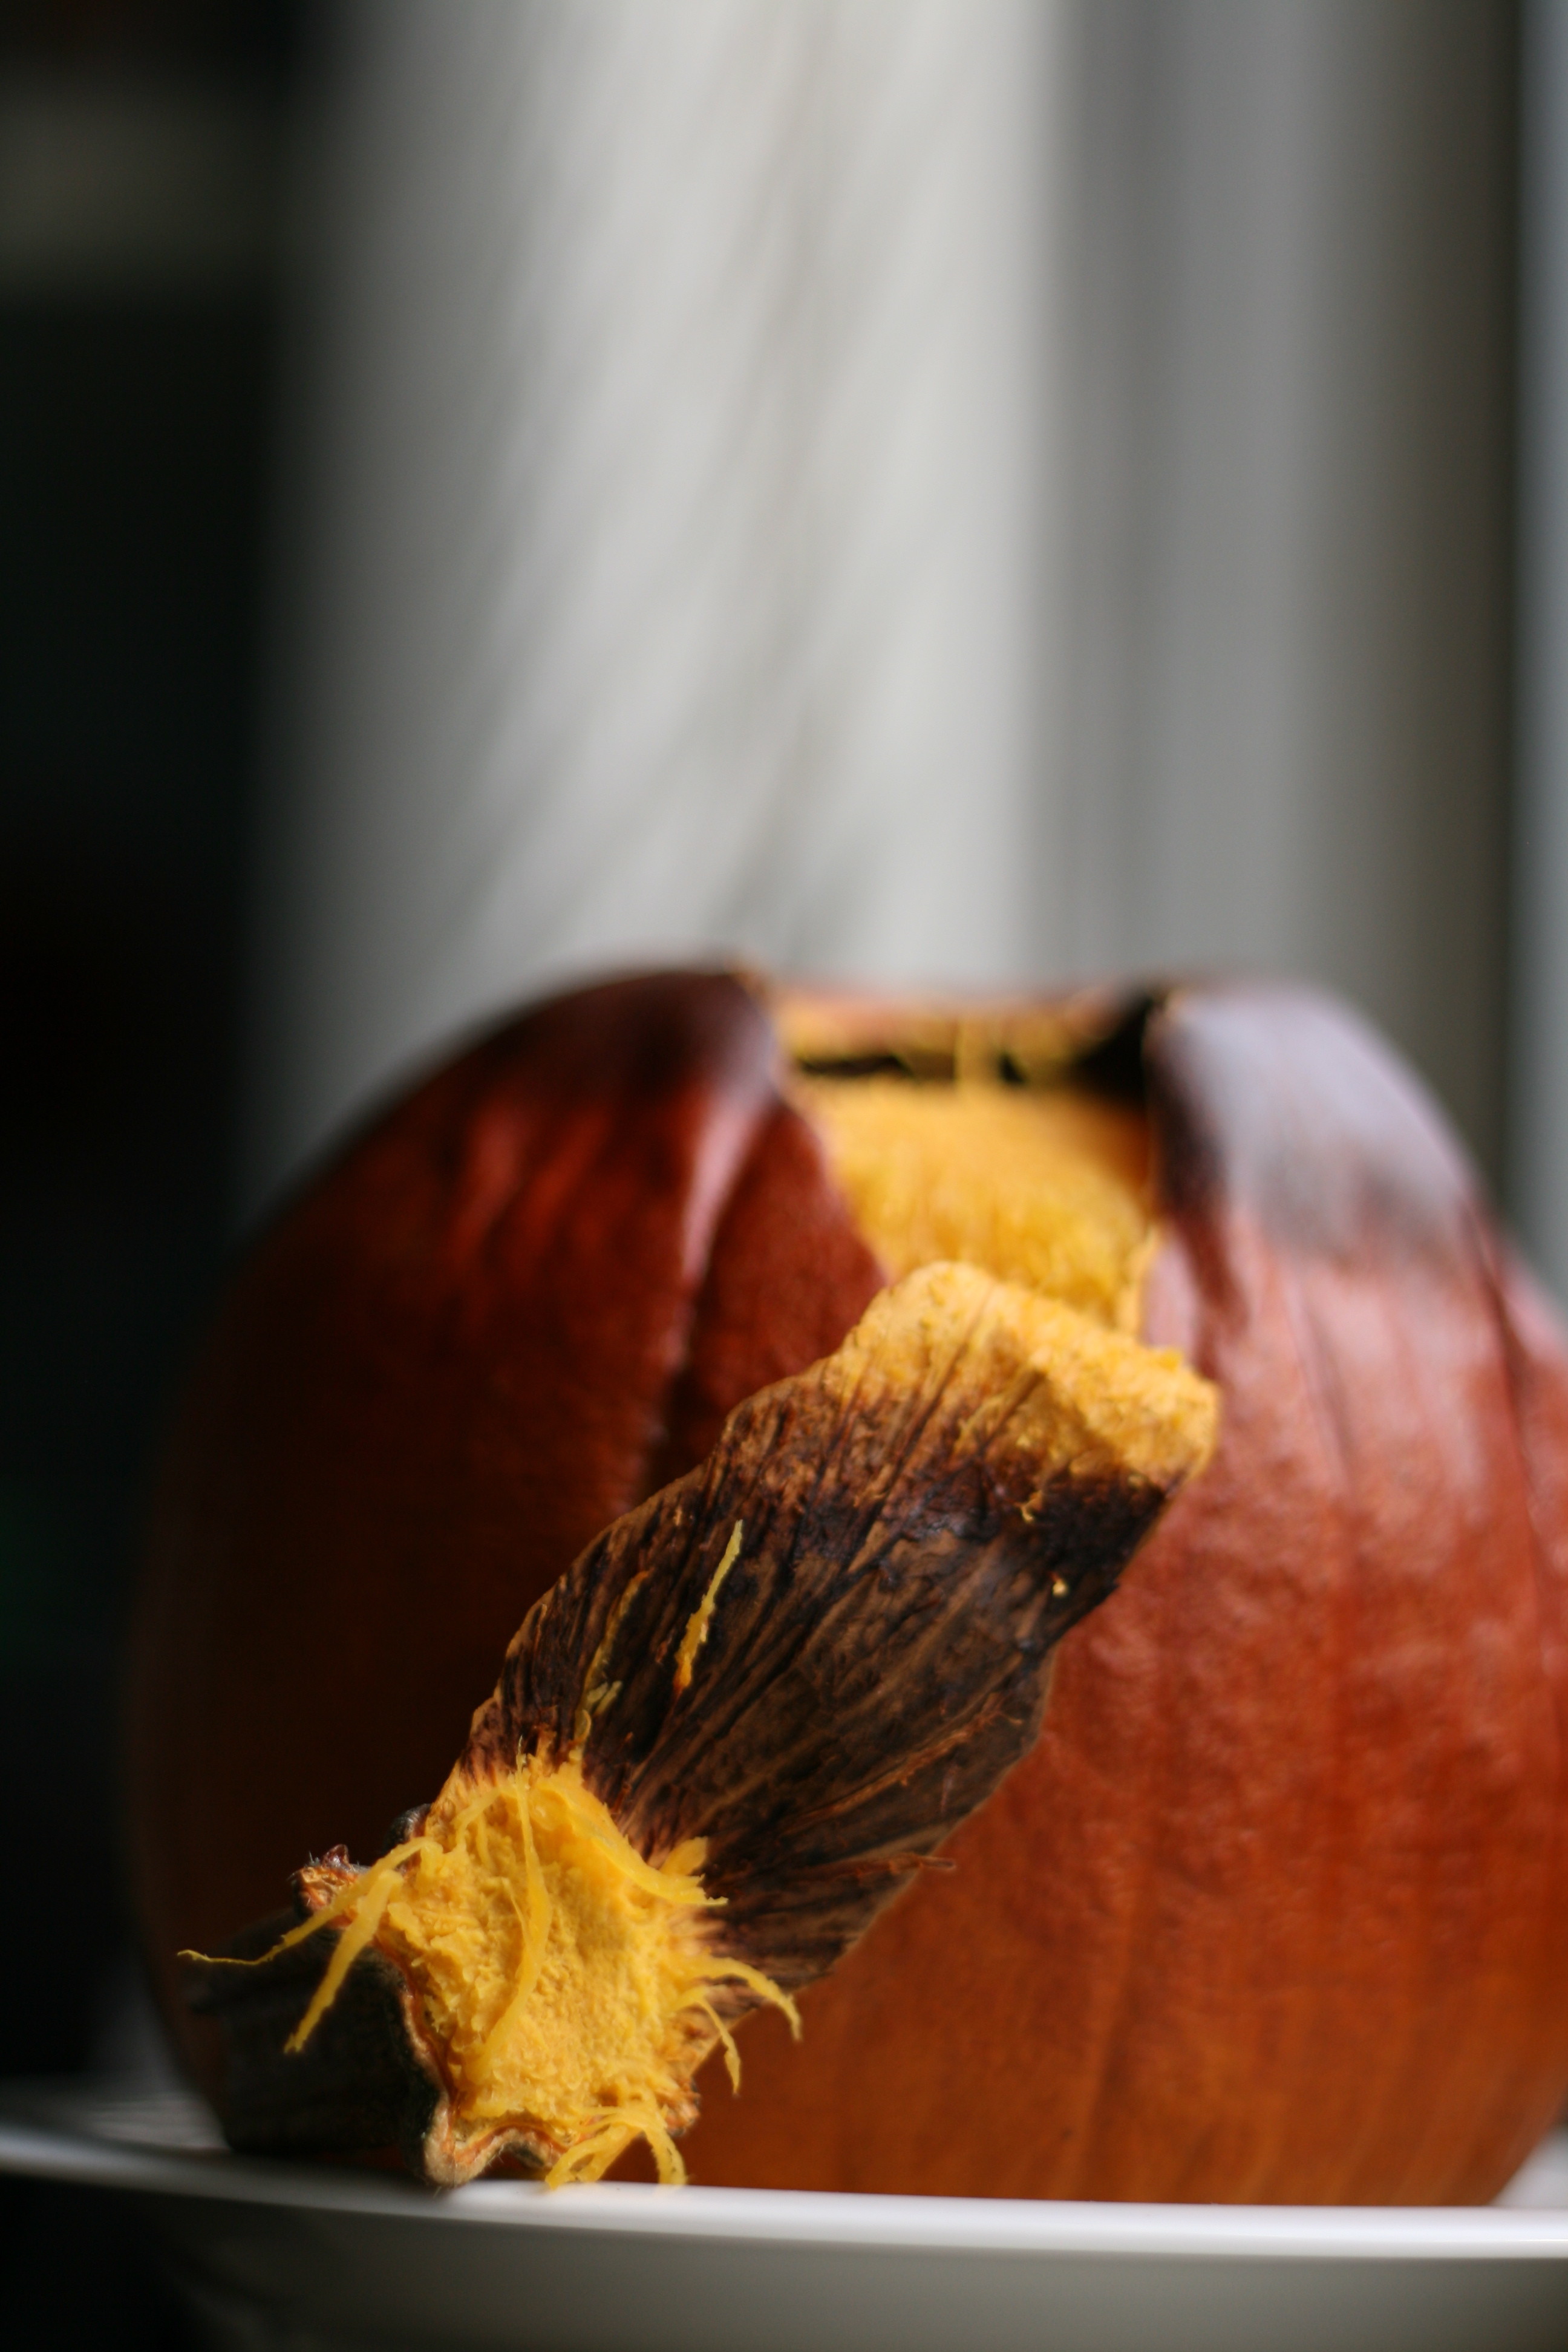
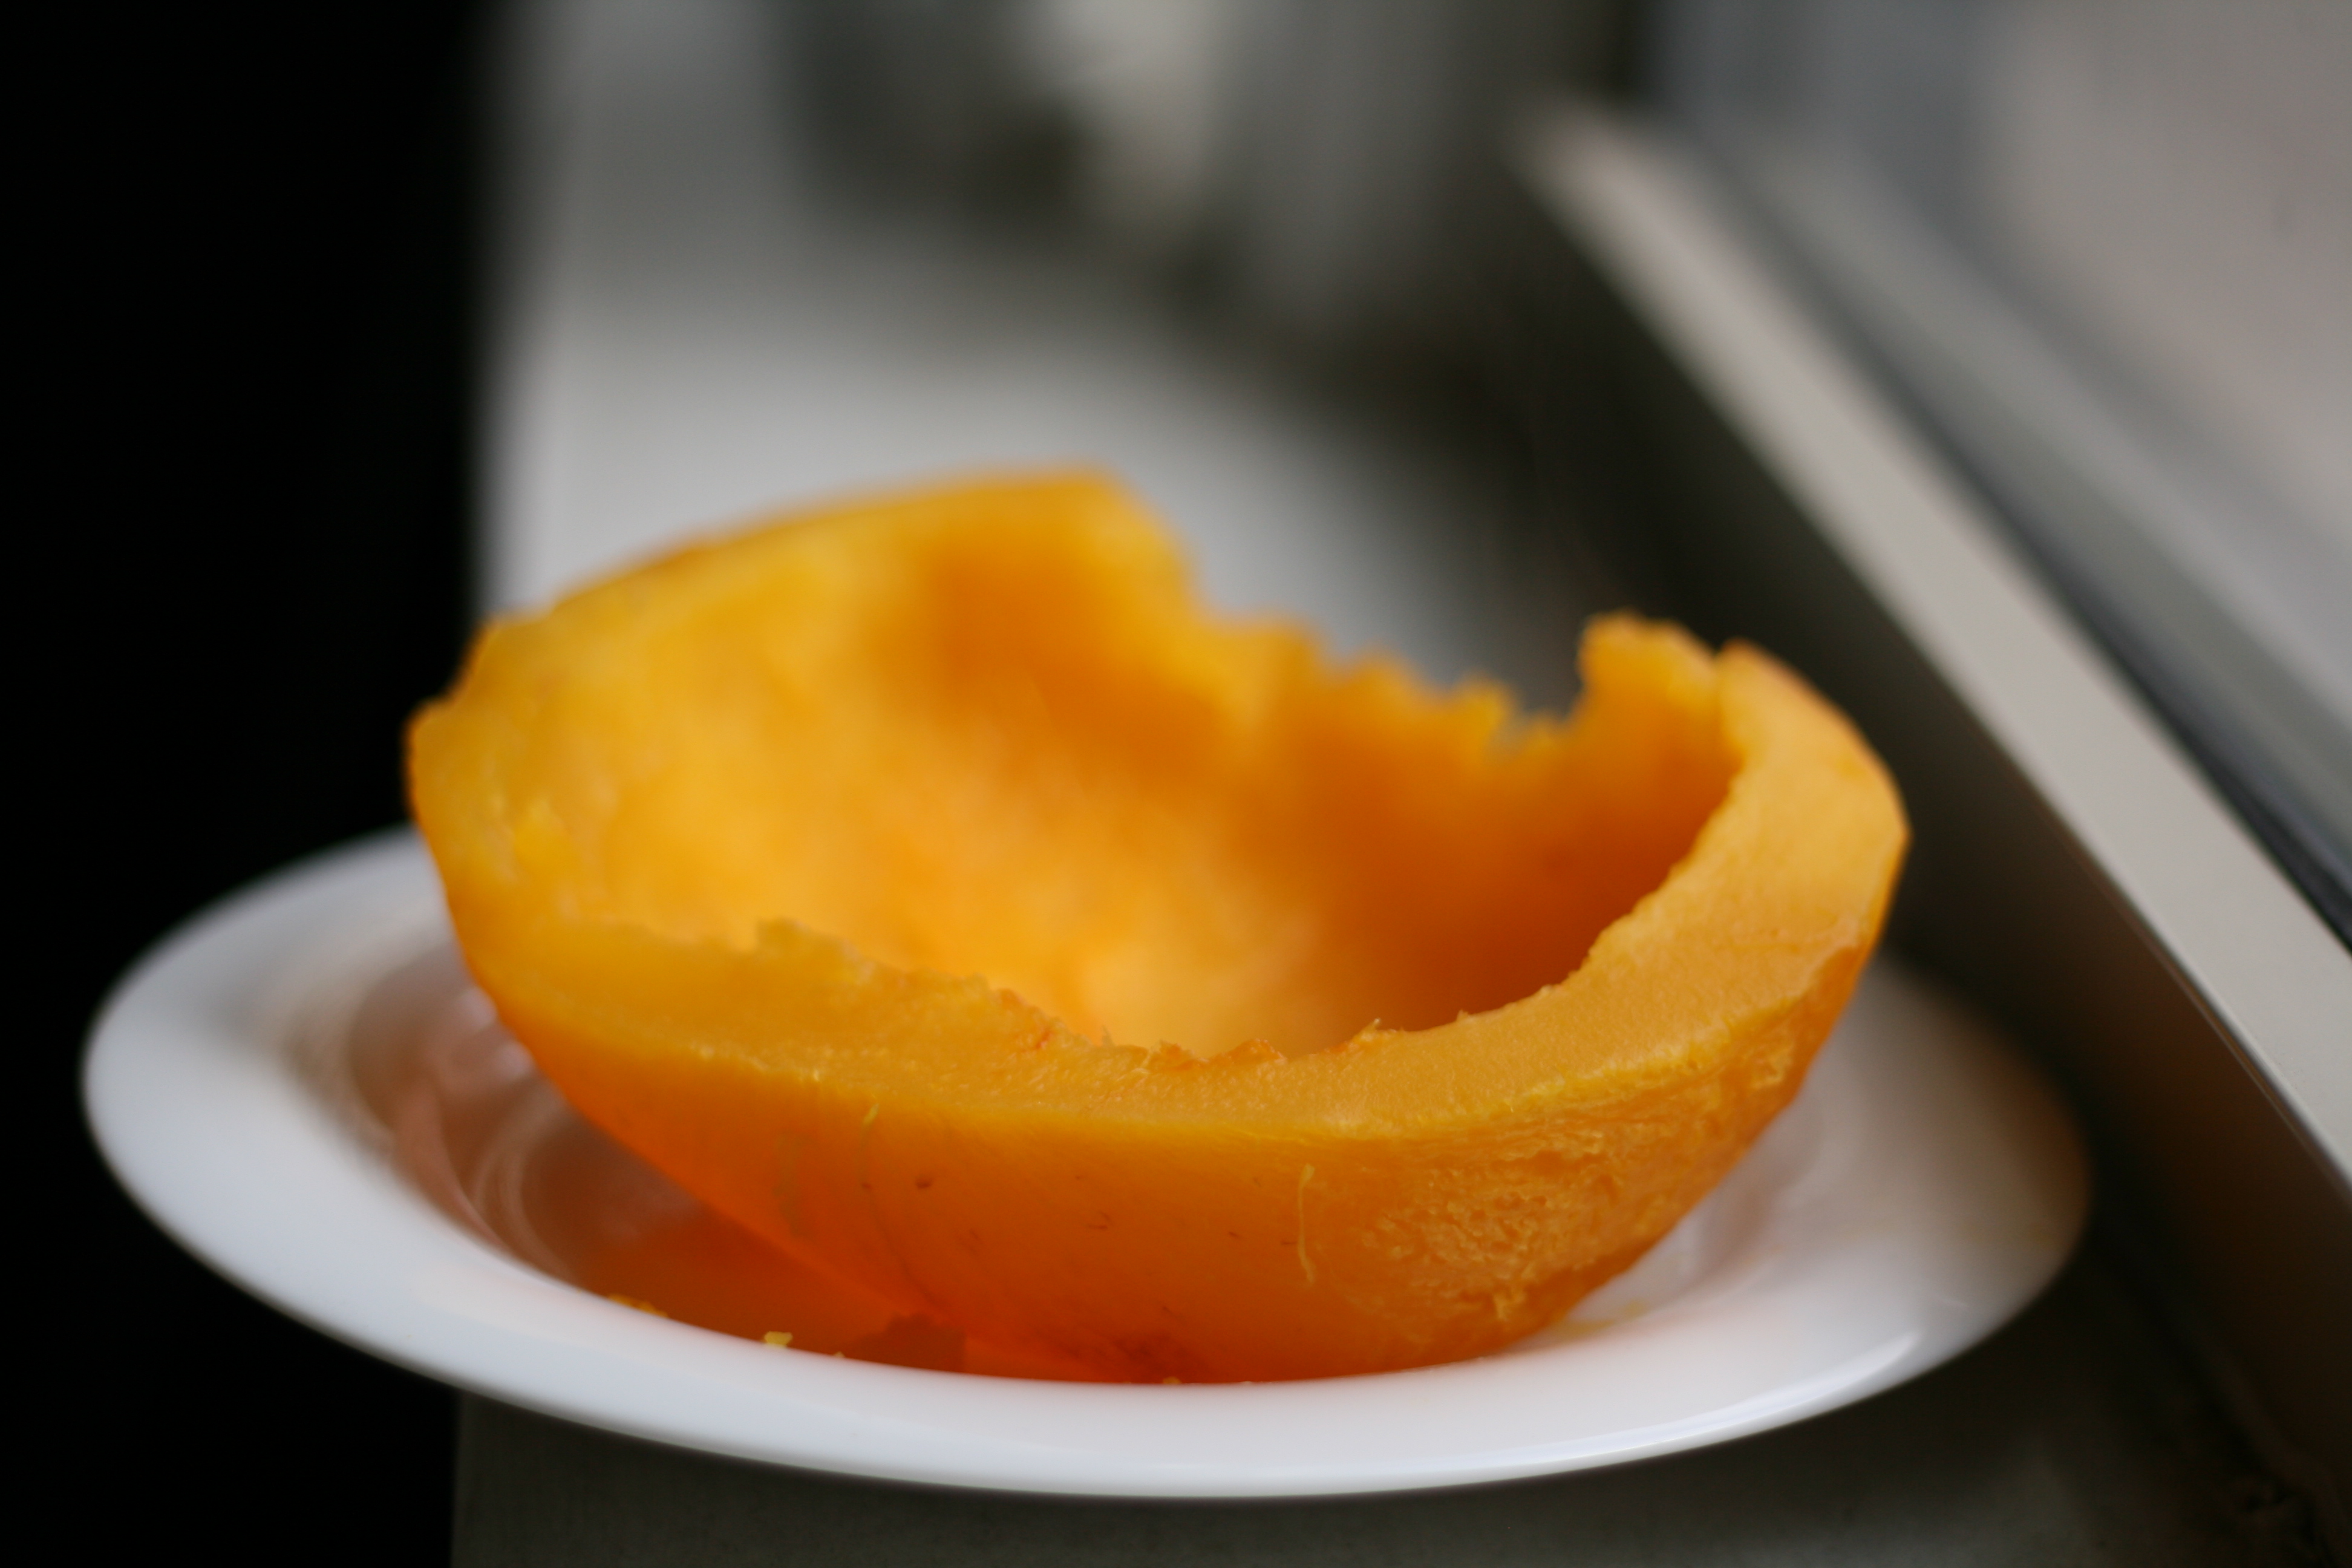
Roasting Sugar Pumpkins adapted from MarthaStewart.com 1. Preheat oven to 400°. 2. With a sharp knife, cut slits in the pumpkin so it can breathe while roasting. 3. Place pumpkin(s) in a baking dish with about 1″ of water. 4. Bake for about 1 1/2 hr, until skin is easily pierced. 5. Peel off skin of pumpkin. If needed, use a peeler. 6. Cut pumpkin in half and allow to cool for about 15 min. 7. Scoop out seeds. I used a melon baller to do this. 8. Throw the “meat” of the pumpkin into a food processor or blender and puree until smooth. 9. Allow to cool and add to your recipe in place of the canned stuff; or refrigerate for up to 2 days or freeze.
Stay tuned to hear where this puree made it’s debut. It’ll leave you saying Whoop-ee!