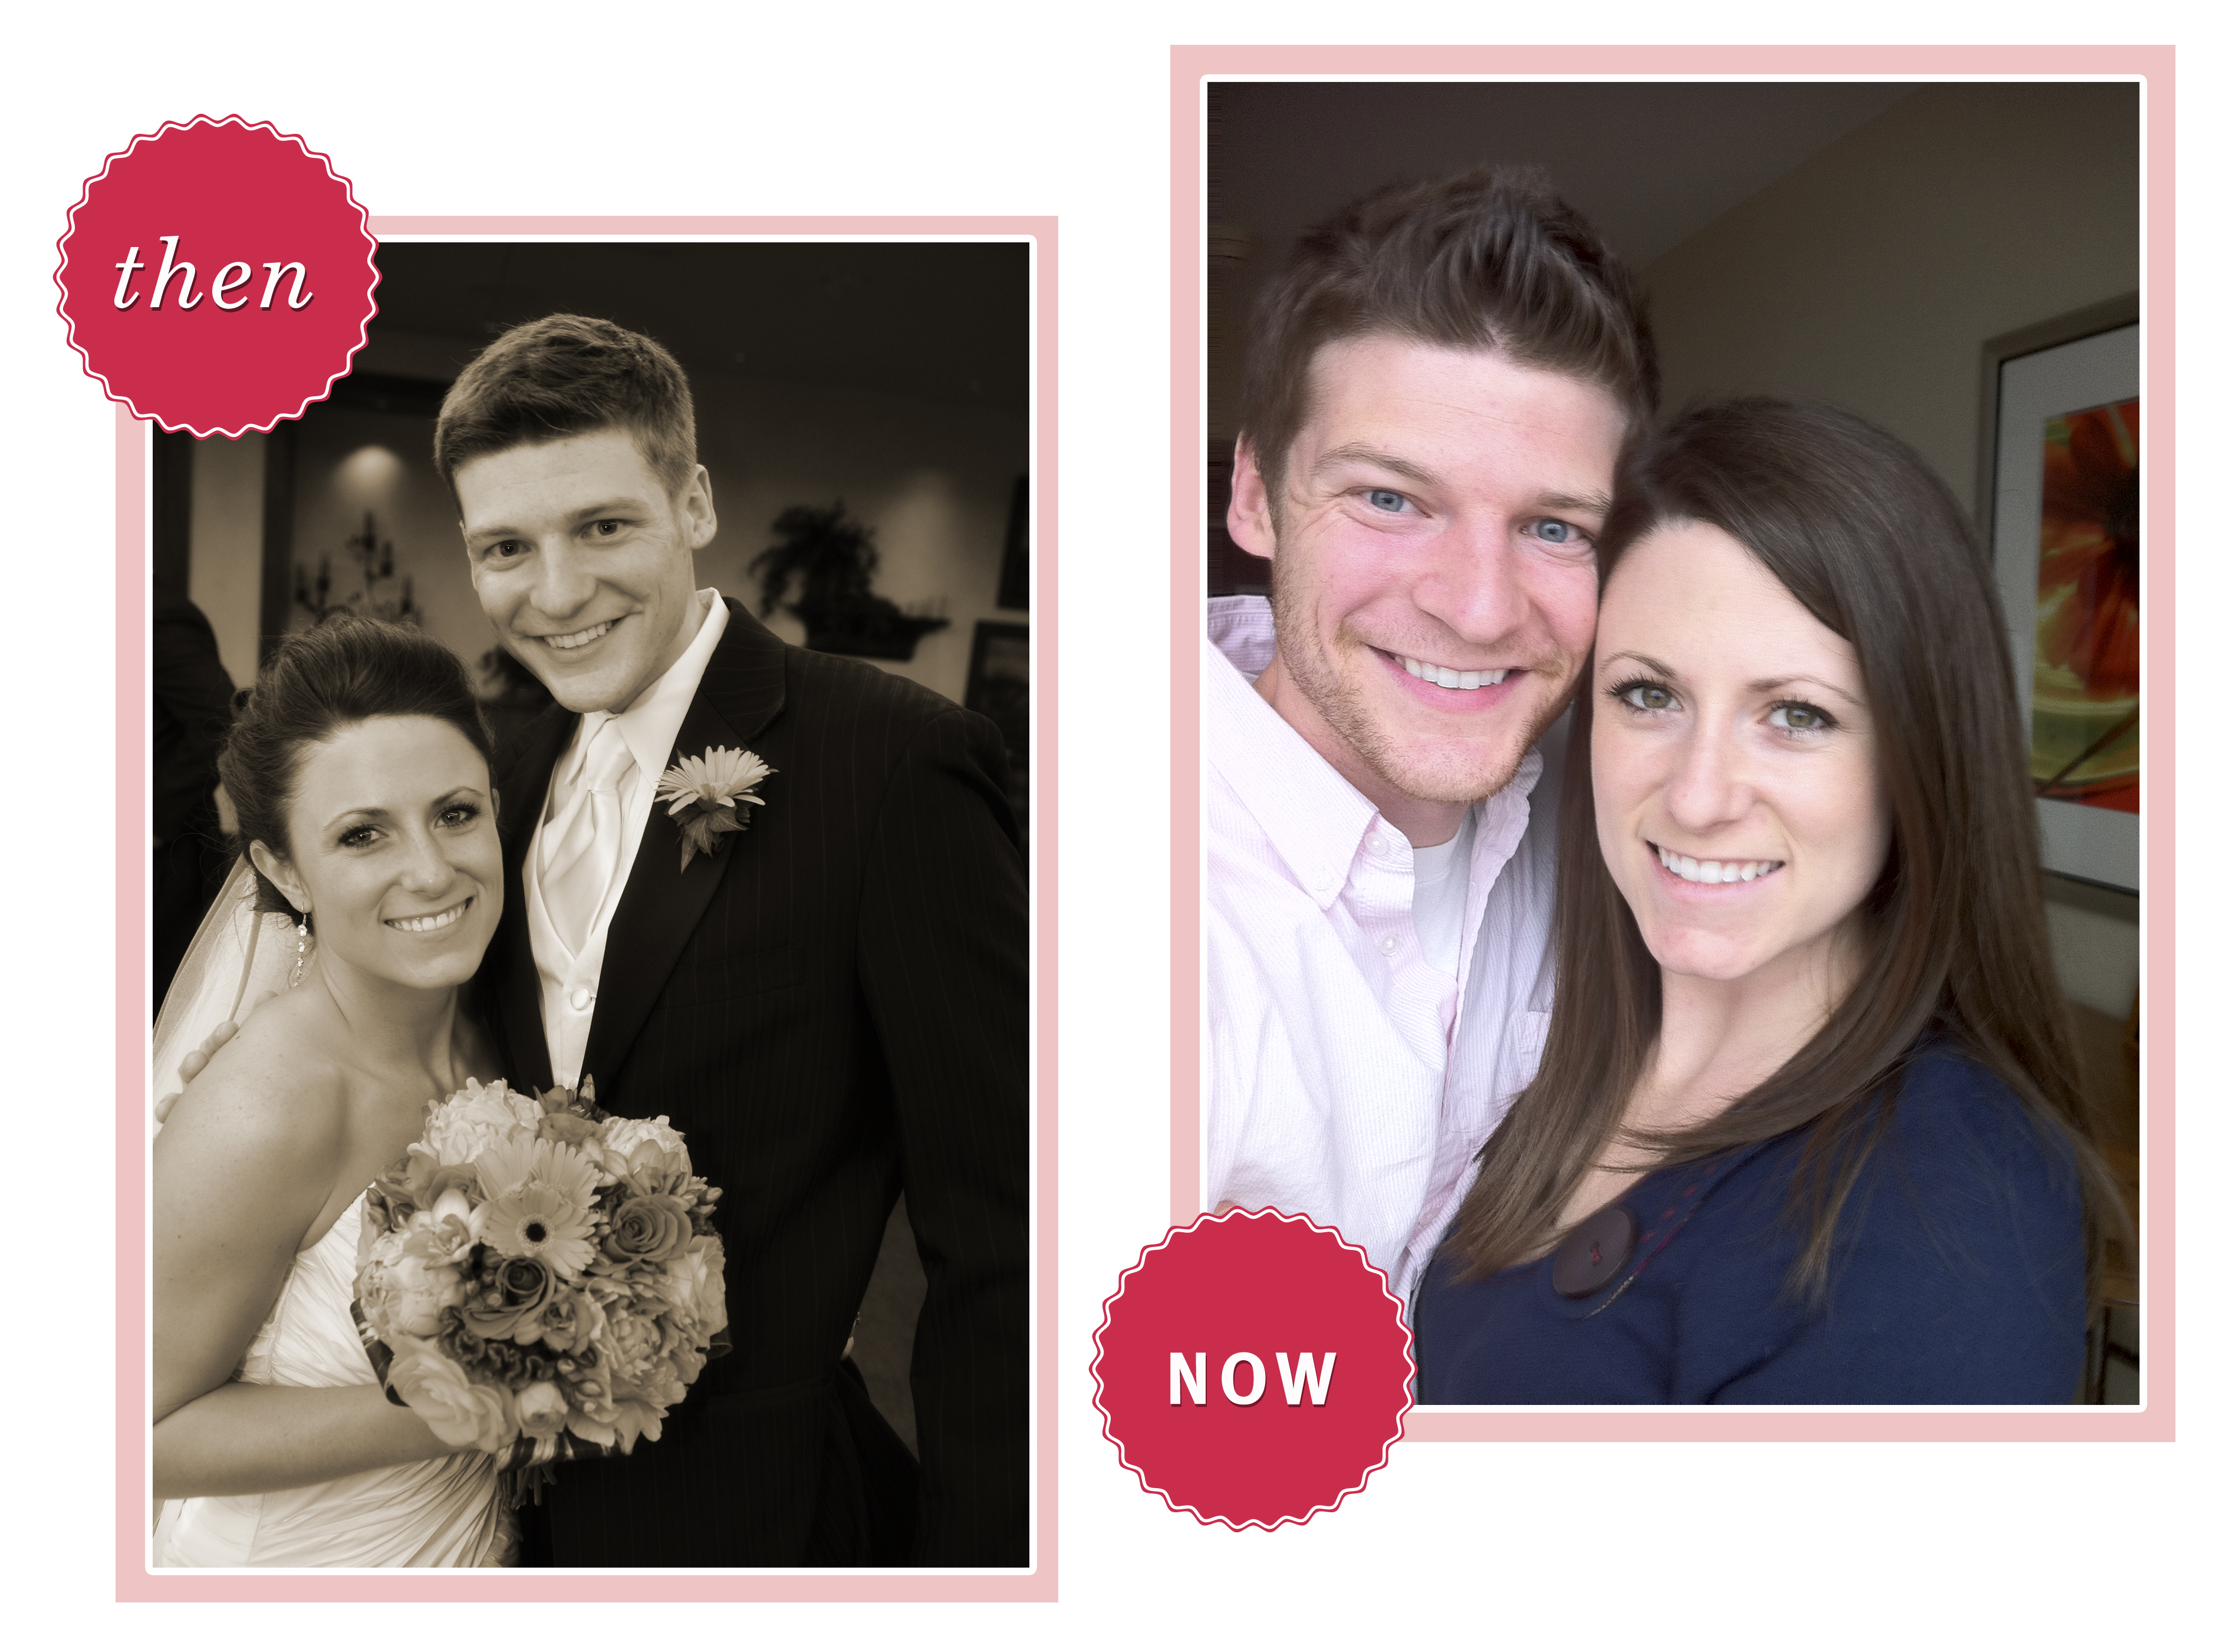
Three years ago today, we said I do. Three years! I guess we’re not newlyweds anymore. And I’m not so sad about that. I love that I know my husband 3 years better than I did when we got married. I love that I love my husband 3 years more than I did when we got married. The path hasn’t always been straight or easy, but it has been rewarding. So thankful to share this journey with Kevin, my sweet graduate school husband. To many decades more!

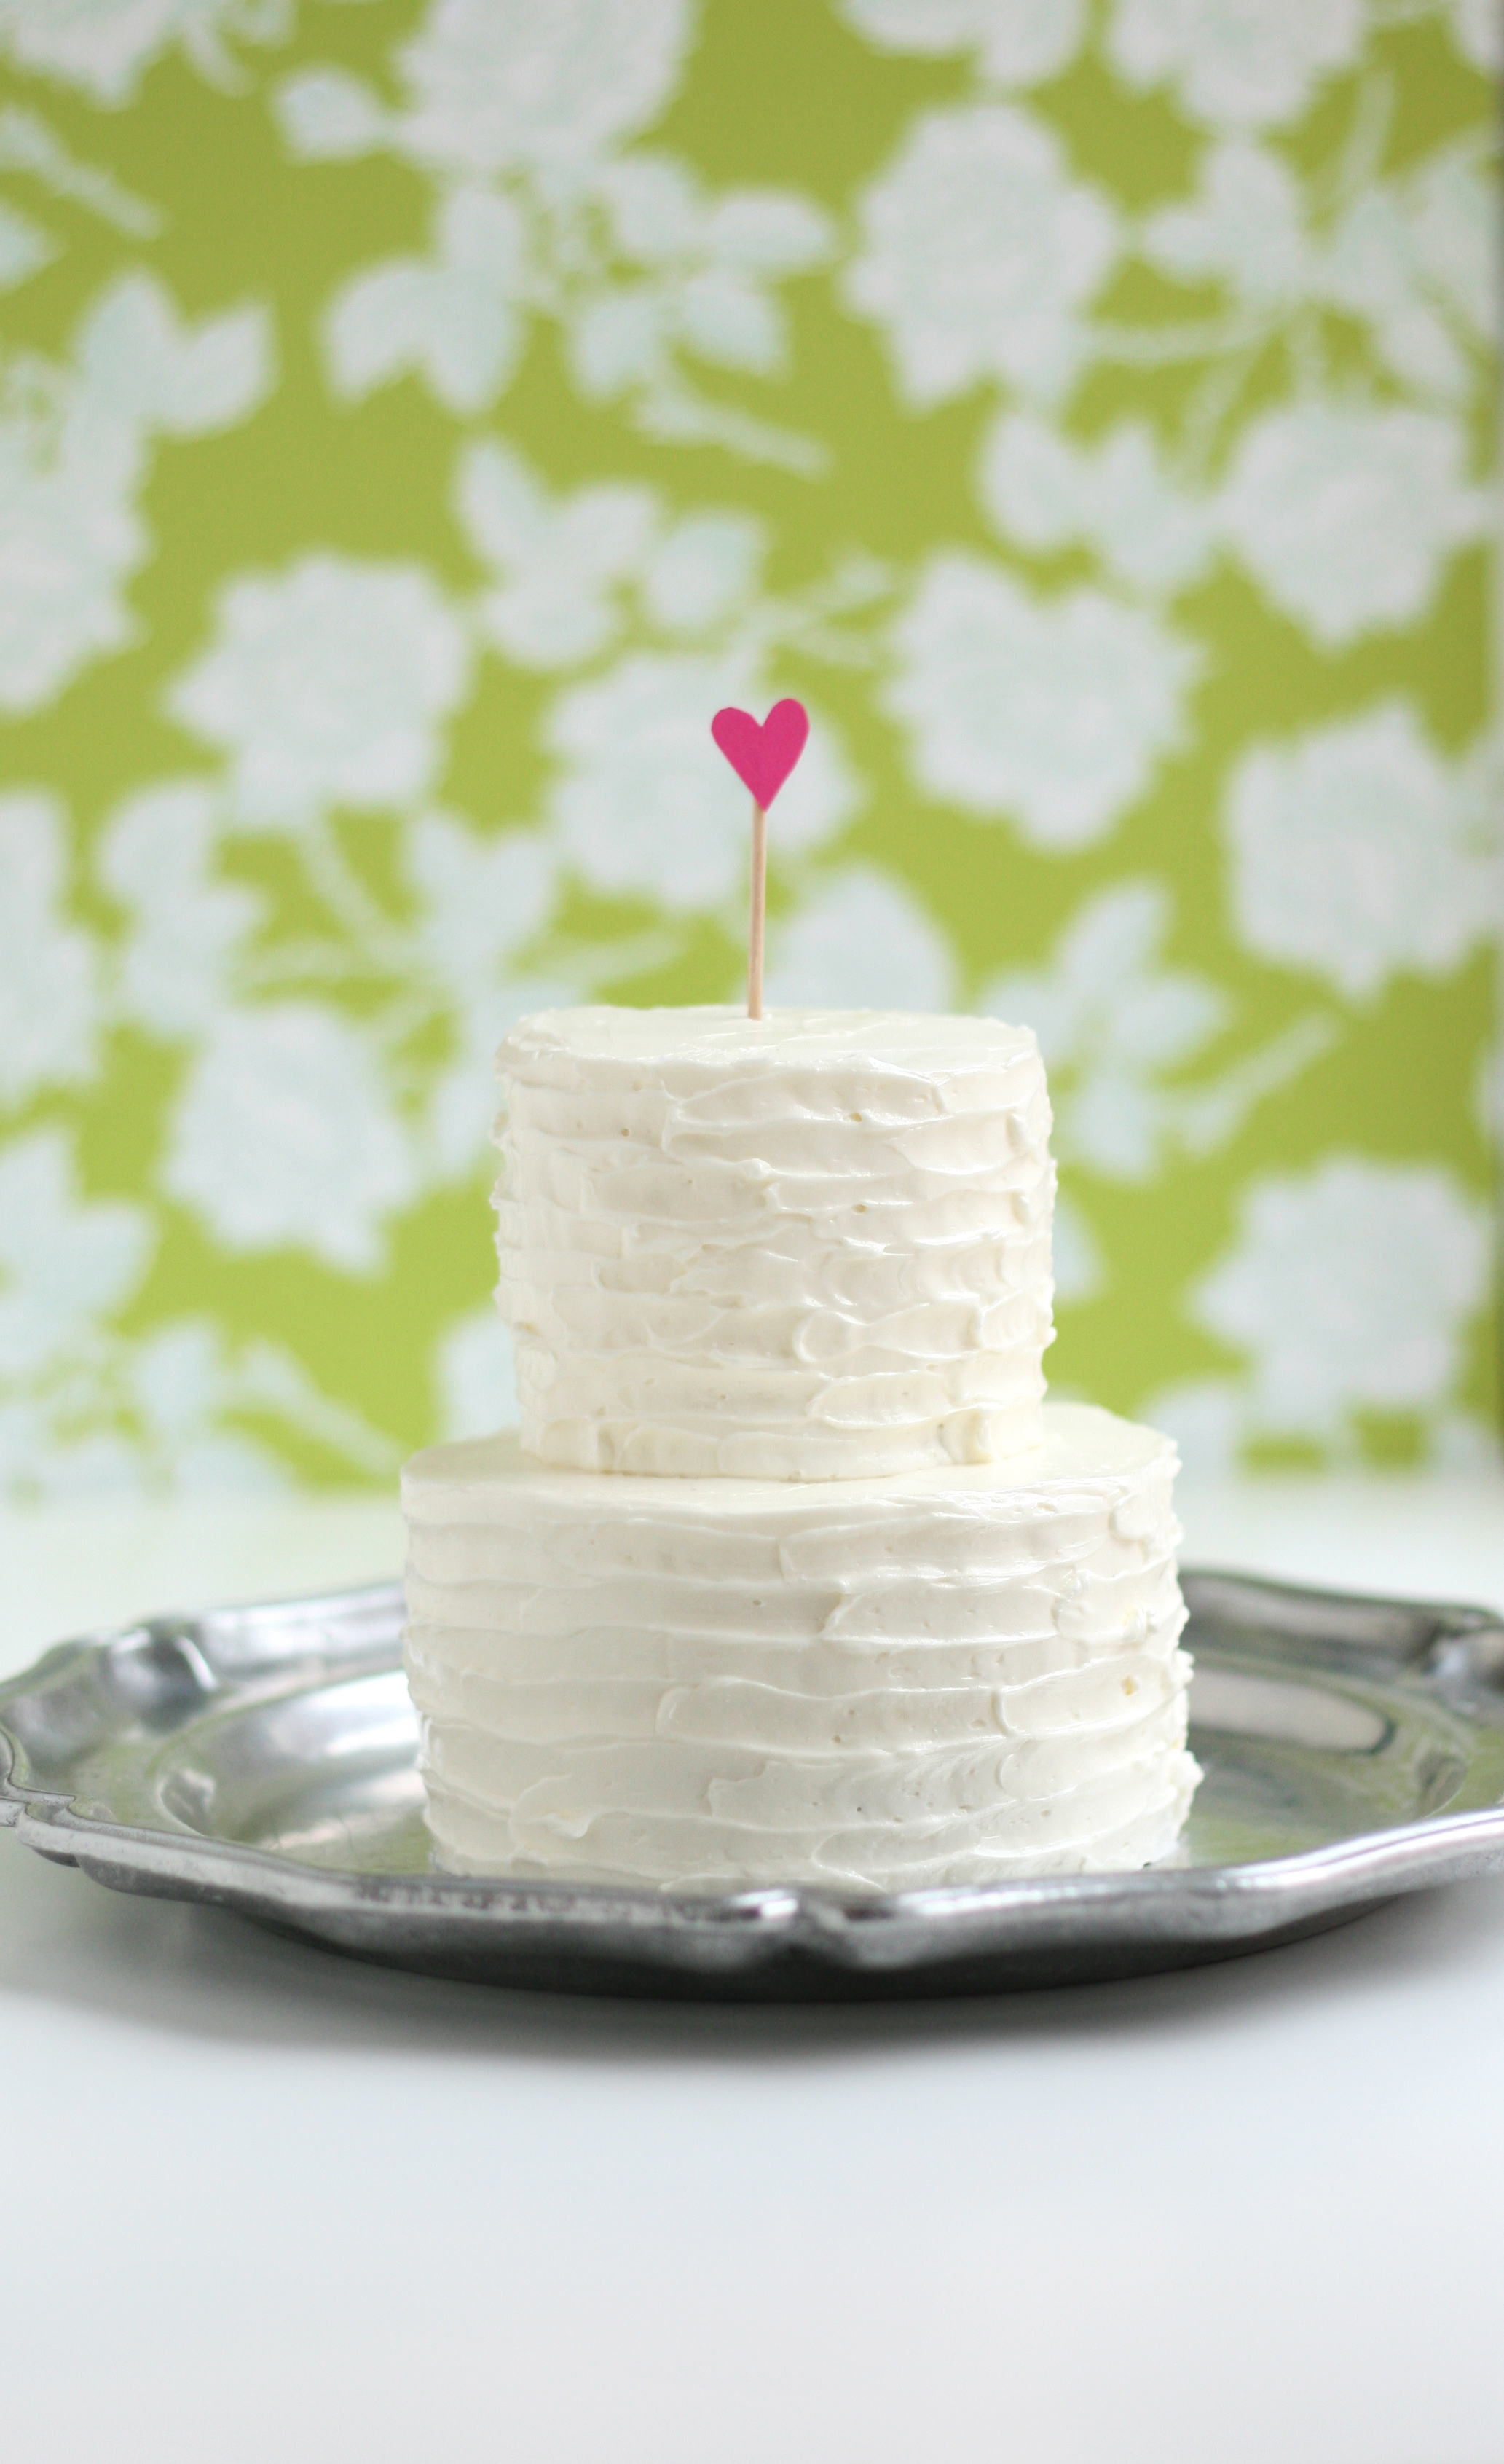
Speaking of sweet, I made a cake. A mini anniversary cake. I think I’ve started a new tradition in our marriage.

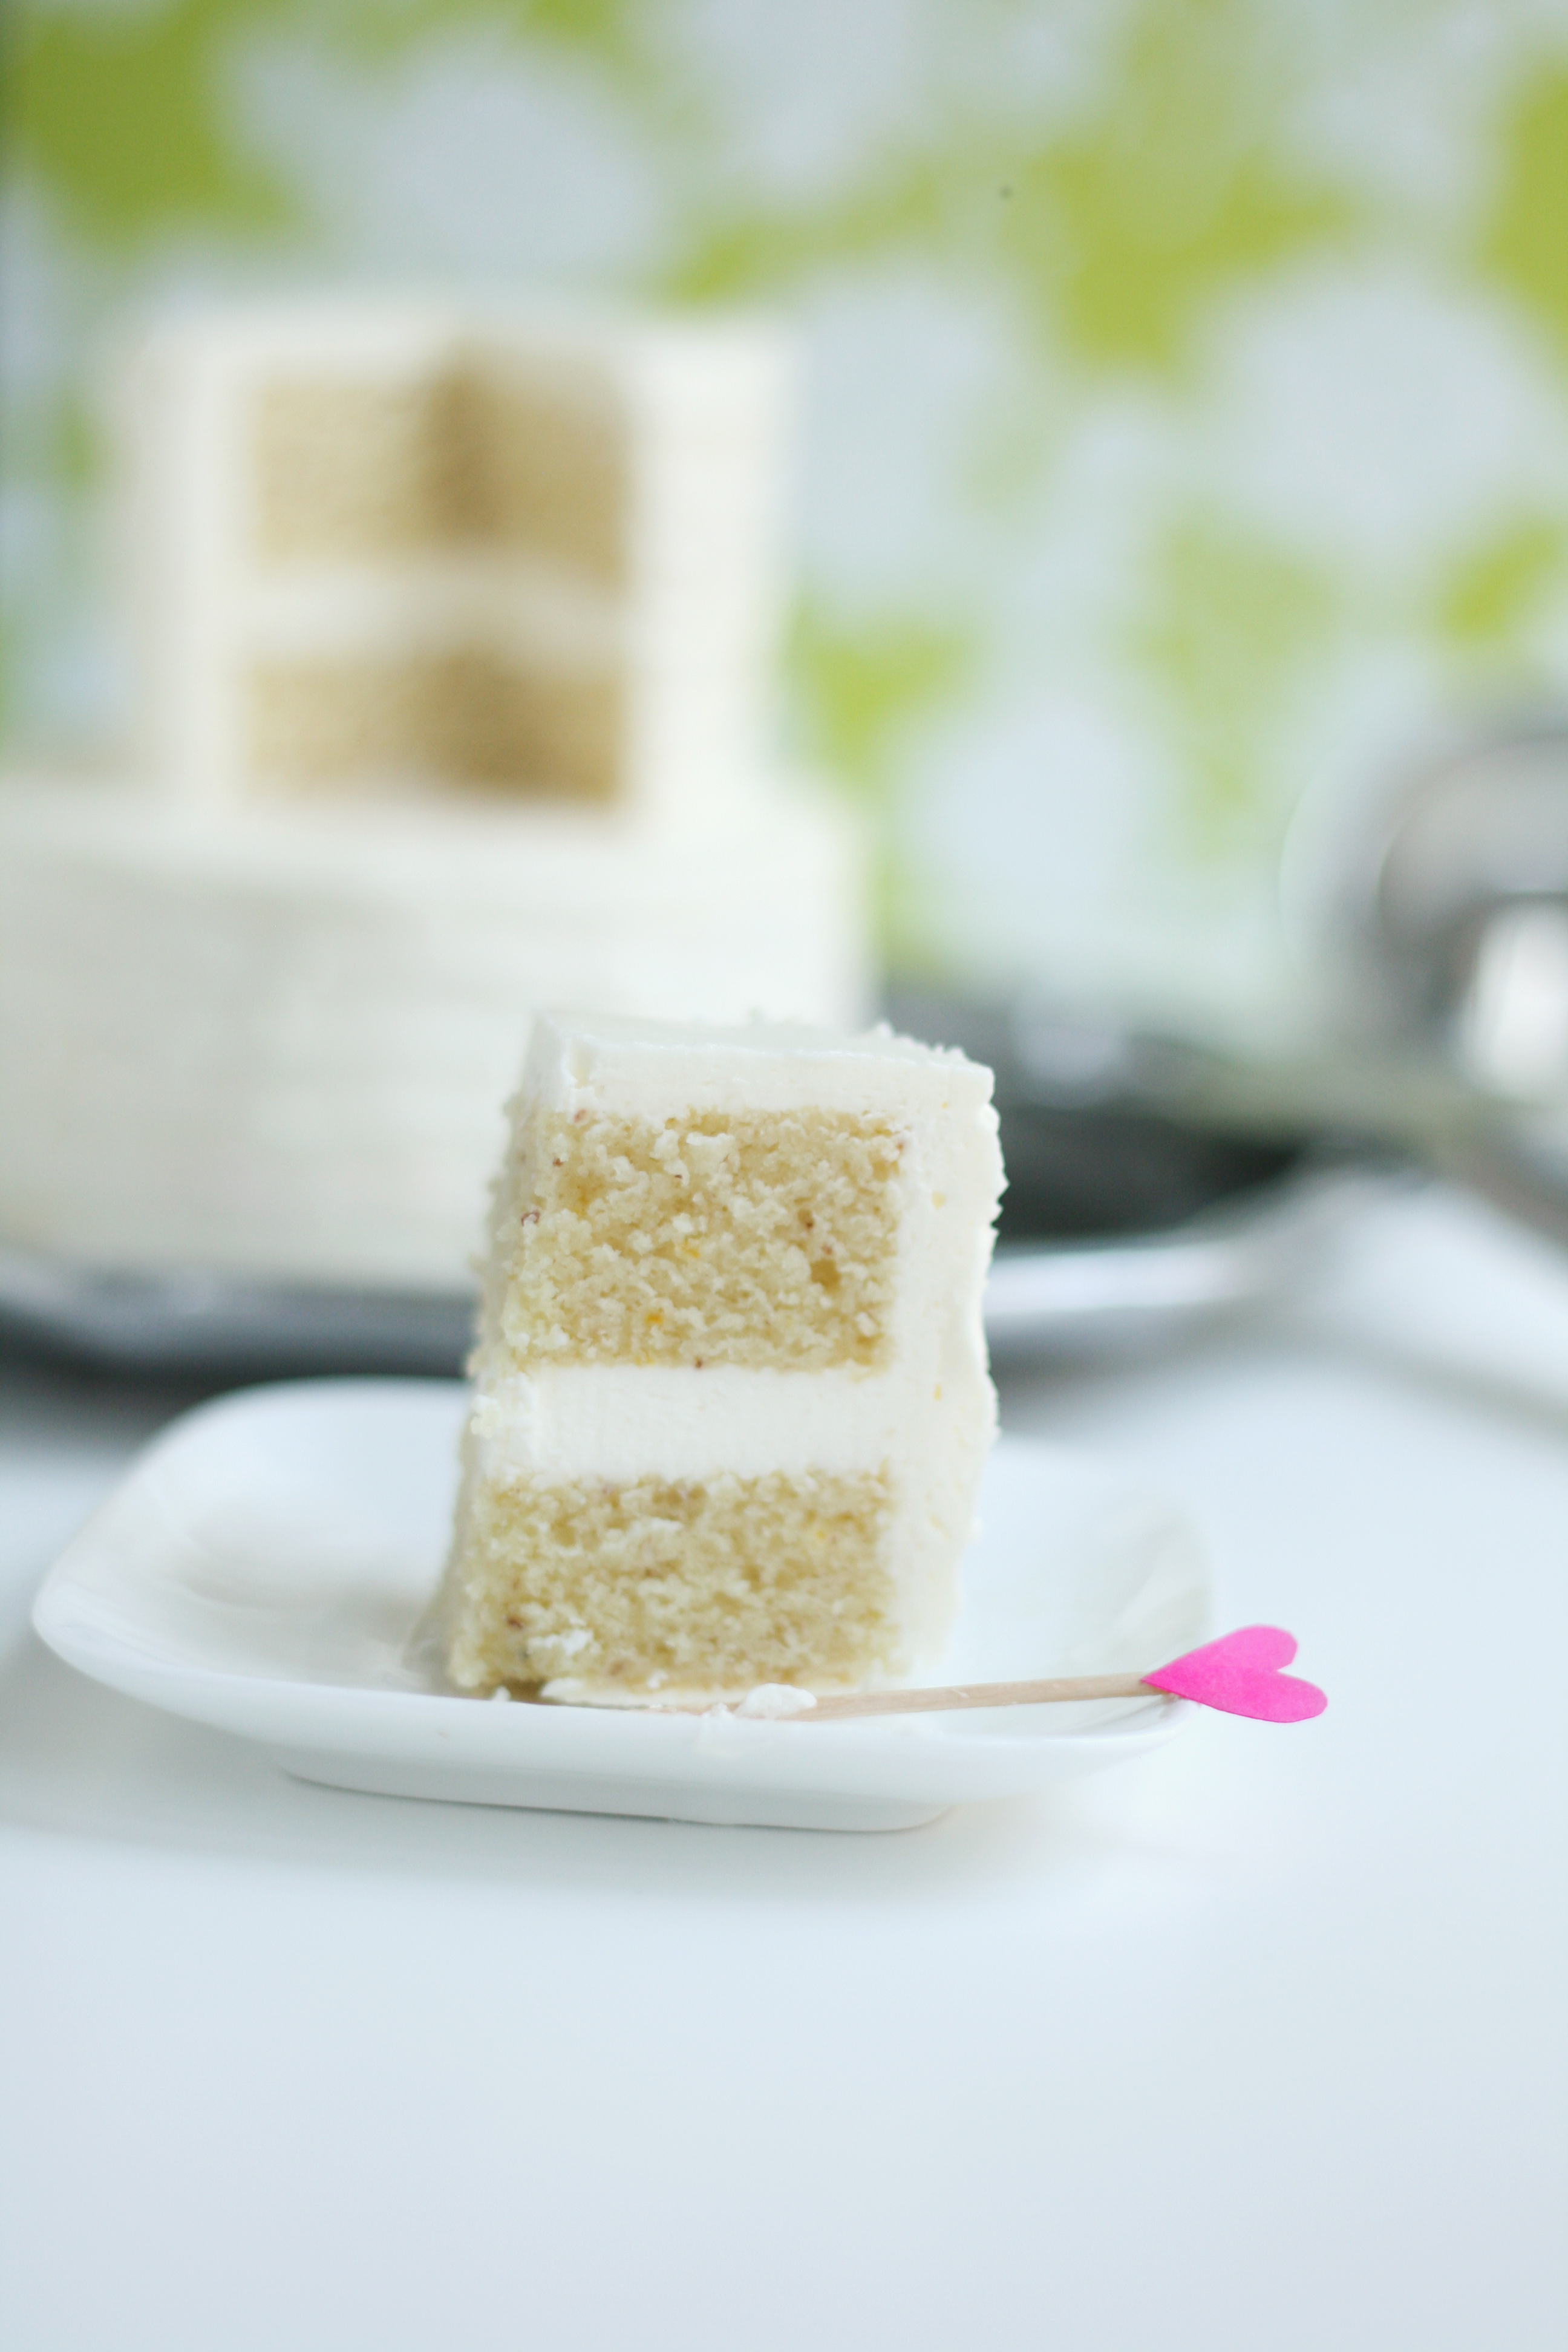
Isn’t it cute? Anything tiny is somehow cute. At it’s widest, it’s 3.5 inches—perfect for 2 people. It tastes like a wedding cake too. You know the wedding cake taste—fruity, decadent, and rich. So I took a risk and crafted a new recipe with hints of orange and almond (based off this one). Luckily the risk paid off—it’s my new favorite cake. Happy Anniversary to us!

Anniversary Cake
Almond + orange cake, inspired by Cake Love
makes one 9-inch pan 

DRY
1/2 c.+ 2 tbsp. unbleached AP flour
2 tbsp. potato starch (I use Bob’s Red Mill)
3 tbsp. finely ground almonds
3/4 tsp. baking powder
1/2 tsp. salt

LIQUID
1/2 c. half and half
1/2 tsp. almond extract
1/2 tsp. orange zest
1 tbsp. orange juice, freshly squeezed

CREAMING
6 tbsp. unsalted butter, room temp
3/4 c. + 2 tbsp. extra-fine granulated sugar (I food process my regular sugar)
2 large eggs

1. Preheat oven to 350º. Set rack in the middle of the oven.
2. Set out ingredients and equipment. Sift flour. Finely pulse almonds to a flour like consistency. Measure dry ingredients into separate mixing bowl. Add flour and almonds and whisk together. Measure liquid ingredients into a separate bowl and set aside. Place butter and sugar in bowl of standing mixer. Crack eggs into a separate bowl and set aside.
3. In the bowl of a standing mixer fitted with paddle attachment, cream together the butter and sugar on the lowest speed for 3-5 minutes. (This will feel odd, but keep it on low.)
4. With the mixer still on the lowest speed, add the eggs one at a time, fully incorporating after each addition. Stop the mixer and scrape down the sides of the bowl.
5. Add the dry ingredient mixture alternately with the liquid mixture in 3 to 5 additions each, beginning and ending with the dry mixture. Move swiftly through the step to avoid overworking the batter. Don’t wait for the dry or liquid mixtures to be fully incorporated before adding the next. This step should take a total of about 60 seconds.
6. Stop the mixer and scrape the sides of the bowl all the way down. Don’t miss the clumps of ingredients hiding on the bottom. Mix on medium speed for 15 to 20 seconds to develop the batter’s structure.
7. Prepare the 9-inch round cake pan. Line the bottom with parchment paper. Do not spray the sides of the pan. (This helps to keep your cake from doming in the middle as it bakes. The cake is able to crawl up the side as it bakes and maintain an even shape.)
8. Place batter in pan. Bake for 28 minutes.
9. Once the top of the cake doesn’t jiggle in the center, test for doneness by inserting a toothpick into the middle of the cake. The center should be an even blonde color and the edges should be just beginning to pull away from the pan. When the skewer shows a touch of crumbs or comes out clean, the cake is done.
10. Cool cake for 20 minutes before removing from the pan. Use a small off-set spatula to loosen the cake from the rim of the pan. Carefully invert and remove parchment paper. Allow to cool completely before assembling.

Italian Meringue Buttercream with a hint of orange
recipe from Cake Love by Warren Brown; makes 2-2 1/2 cups
* a candy thermometer is necessary for this recipe

2 1/2 egg whites
1/2 c. + 2 tbsp. extra-fine sugar
2 tbsp. cold water
2 sticks butter
1/2 tsp. orange oil

1. Set out ingredients and equipment. Separate the egg whites into the bowl of a standing mixer fitted with the whisk attachment (for the 1/2 egg white, crack into separate bowl and only add half of the white). Measure 1/2 cup sugar and the water into a 1-quart, heavy-bottomed saucepan. Gently stir to combine. Measure the remaining 2 tablespoons of sugar into a separate bowl. Cut the butter into tablespoon sized pieces and set aside.
2. To make the sugar syrup, place the candy thermomometer in the sauce pan and heat the mixture over medium-high heat. Partially cover with lid to capture the evaporating water—this helps to moisten the sides of the saucepan to prevent sugar crystals from forming.
3. With the  mixer on high speed, begin whipping the egg whites to stiff peaks. When the peaks are stiff, you have a meringue.
4. Keep the mixture running and pour the 2 tablespoons of sugar into the meringue.
5. Raise the heat under the sugar syrup to bring the syrup to 245° if it’s not there already. When it has reached 245°, remove the thermometer and slowly pour the syrup into the meringue, with the mixer running. (It helps to hold the pan just above the height of the mixer. Pour confidently trying to hit the meringue and not the side of the bowl.)
6. After 1 to 2 minutes, reduce the speed of the mixture to medium for 3-4 minutes or until meringue is cooled. Add the butter 1 tablespoon at a time. Increase the mixer speed to high for 1 to 2 minutes or until the butter is fully incorporated. Add orange oil. Mix one final time.

Assemble the Cake
1. Using biscuit cutters, cut two 3.5″ circles and two 2.5″ circles.
2. Assemble the tiers separately. Fill bottom layer of each tier with buttercream. Apply a crumb coat to each tier. Refrigerate for 30 minutes.
3. Ice bottom tier and top tier separately. To achieve the rustic look, pull a butter knife around the circumference of the cake. Start from bottom and work up.
4. Using a flexible spatula, carefully place the top tier of cake on to bottom tier. Clean up any knicks in the move. The italian meringue buttercream repairs easily.
5. Store cake in refrigerator, covered. Serve at room temperature.
*For in-depth cake assembly instructions, click here.

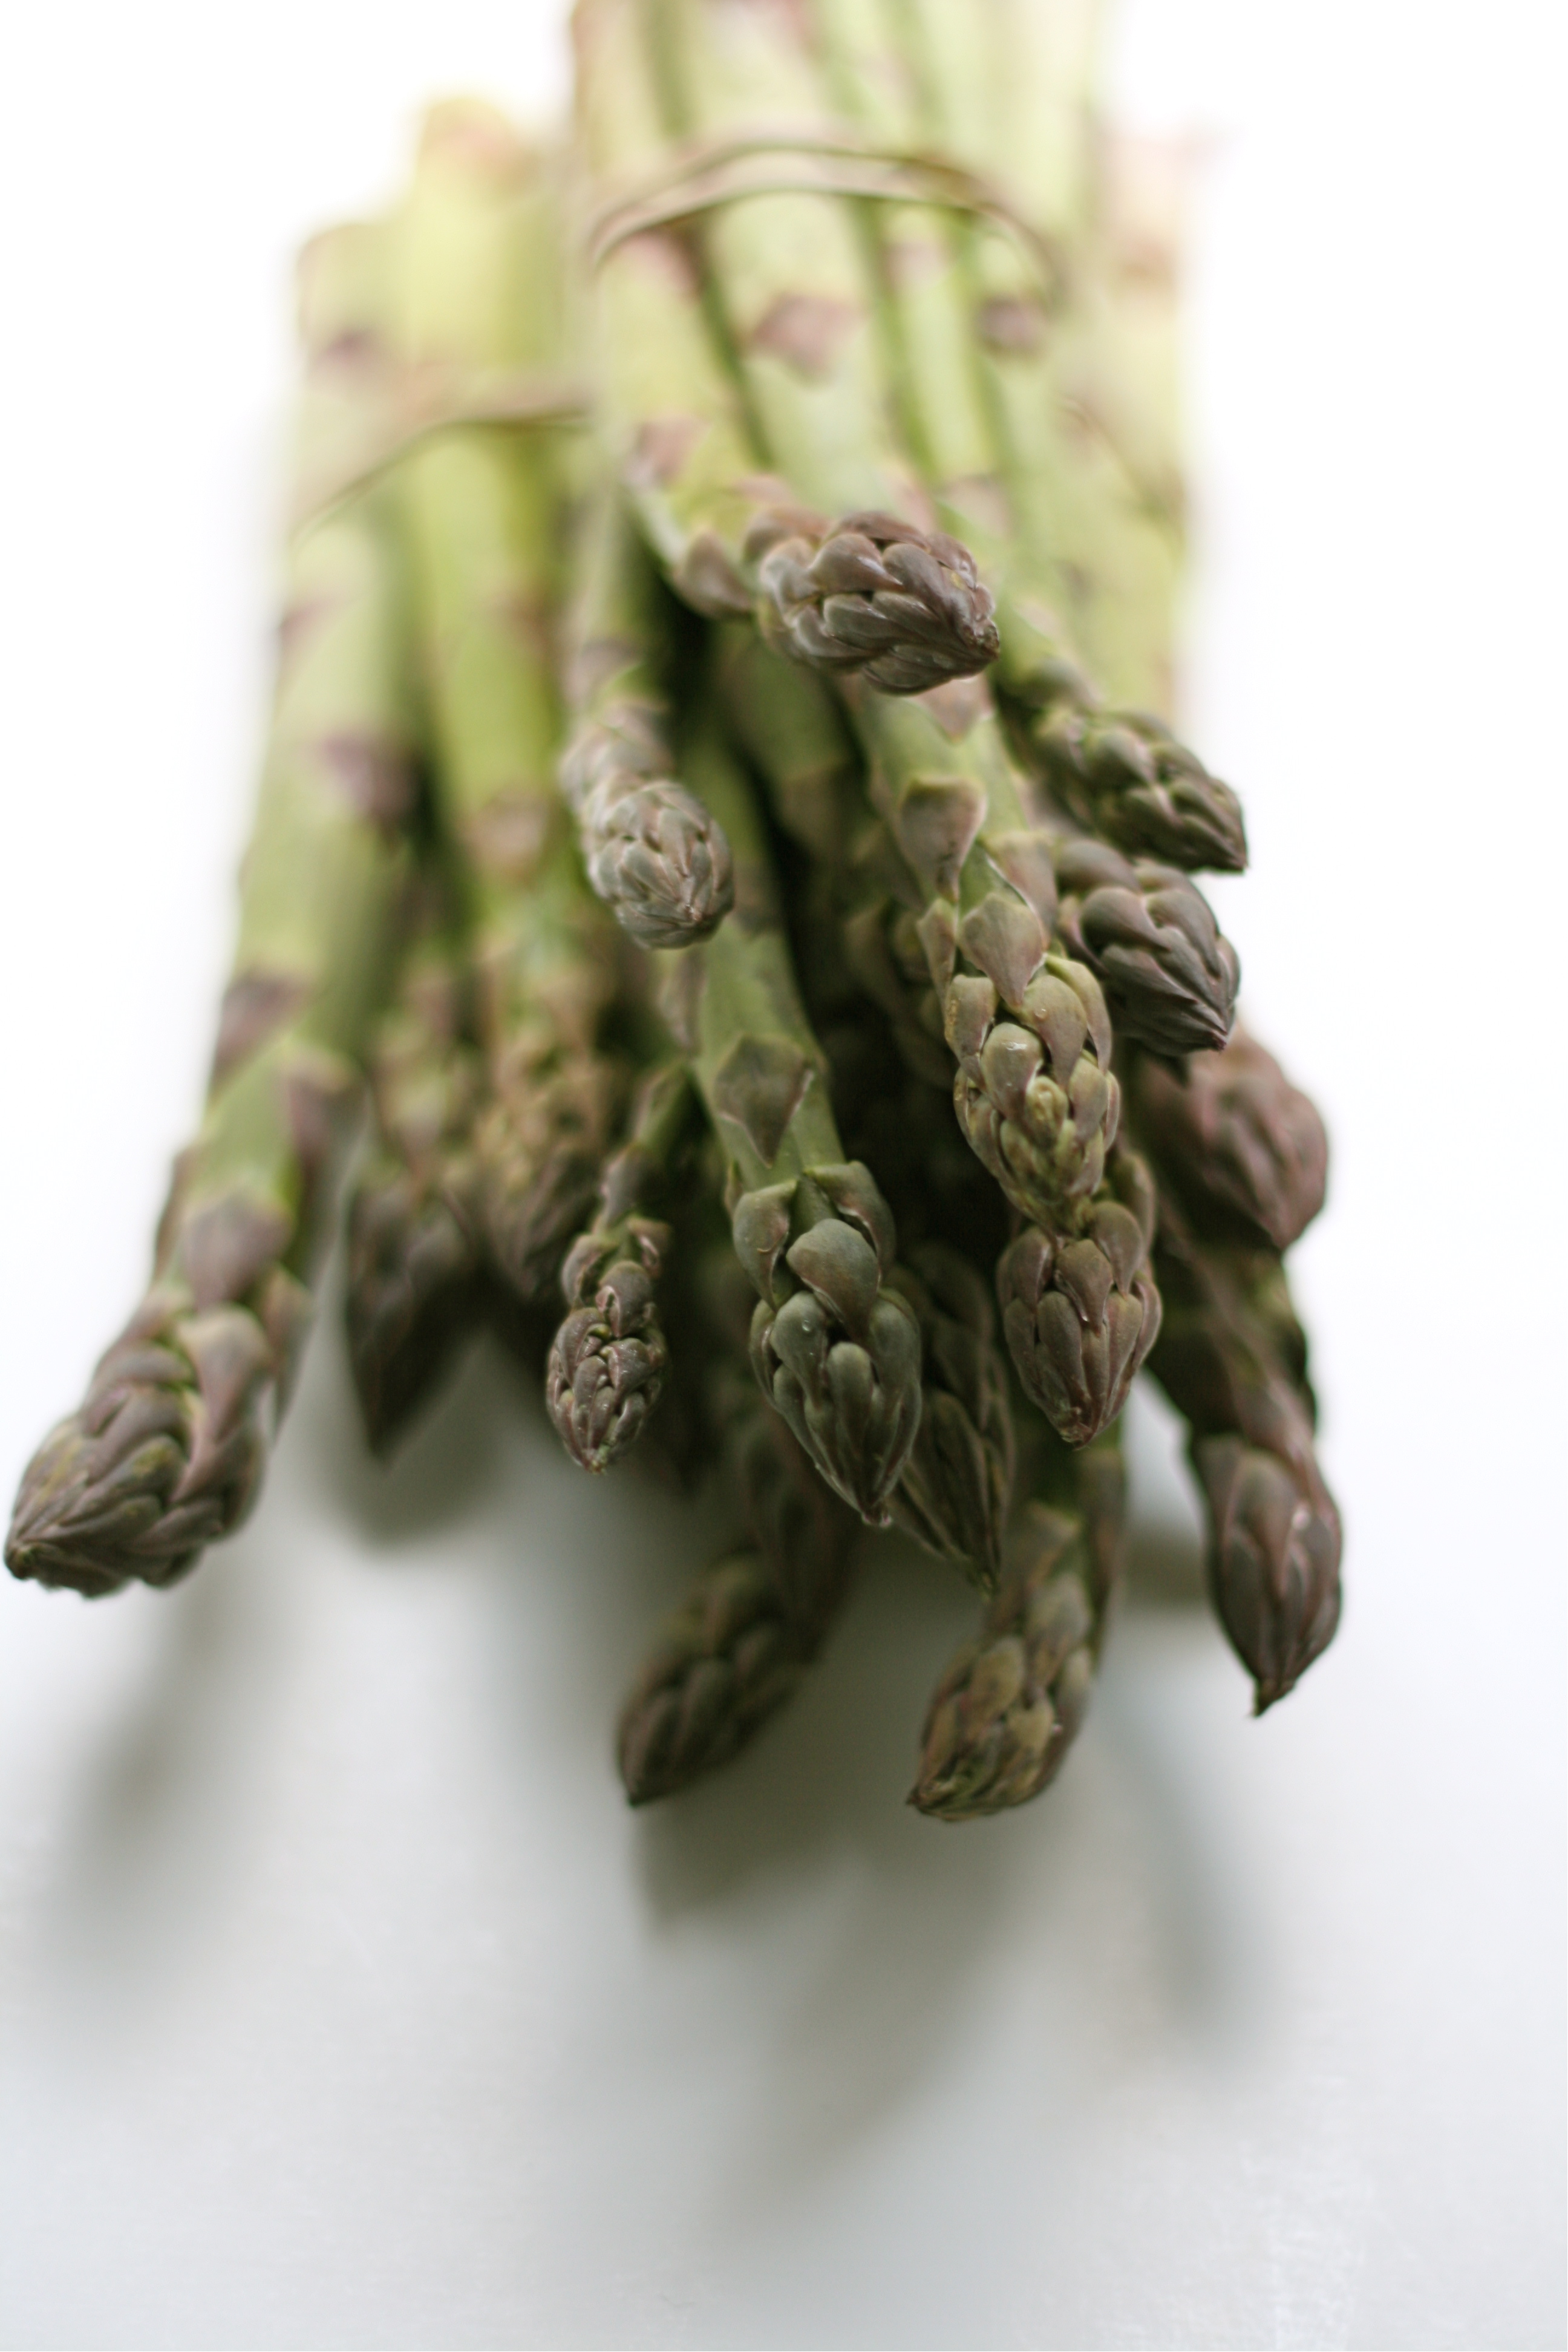
Today marked the start of the farmer’s market season in Oak Park. I’ve been looking forward to this day for weeks. I even popped out of bet a little earlier—with excitement. And the weather was just perfect for a walk. My graduate school husband got a couple homemade donuts—while I got some asparagus, rhubarb, and black raspberry jam. Perfect Saturday morning.

We love asparagus minus it’s after effects, if you know what I mean. It is super easy to cook. Very versatile. With a quick 10 minute cook time. You’re gonna love this recipe, if you can even call it that.

Asparagus

Bunch of fresh asparagus spears (support your local farmers!)
Drizzle of olive oil
Sprinkle of sea salt

1. Preheat oven to 425°.
2. Wash and dry asparagus. Break off hard woody ends.
3. Place on baking sheet covered with foil for easy clean up.
4. Drizzle with olive oil, and sprinkle with sea salt.
5. Bake for 10 minutes. Enjoy.

TIPS
• This recipe is so basic, it’s easy to dress up. Try adding lemon or orange zest, lemon juice, orange slices, garlic slices, balsamic vinegar, or parmesan cheese.
• If you overcook your asparagus, they will no longer be spear-like, but limp and soggy and a little less nutritious. 

PS—Do you notice anything different around here? The ole blog was in need of an update. I’m trying to do it myself with the little web knowledge that I have—scary! If only it was as easy as cooking asparagus.

Brioche Burger Buns | The Fauxmartha

Post and recipe updated: 5.25.2014

Finally, it’s that season again. I think. We had a horribly long winter in Chicago. And spring has been anything but spring. Depending on the day, it’s felt more like winter, summer, and fall. We were supposed to go camping this weekend, but the cold rainy weather kept us away. Saturday night, when I should have been roasting marshmallows, I tried to will the weather warmer by making burgers on the indoor grill. According to the 5-day forecast, it’s working! Read more

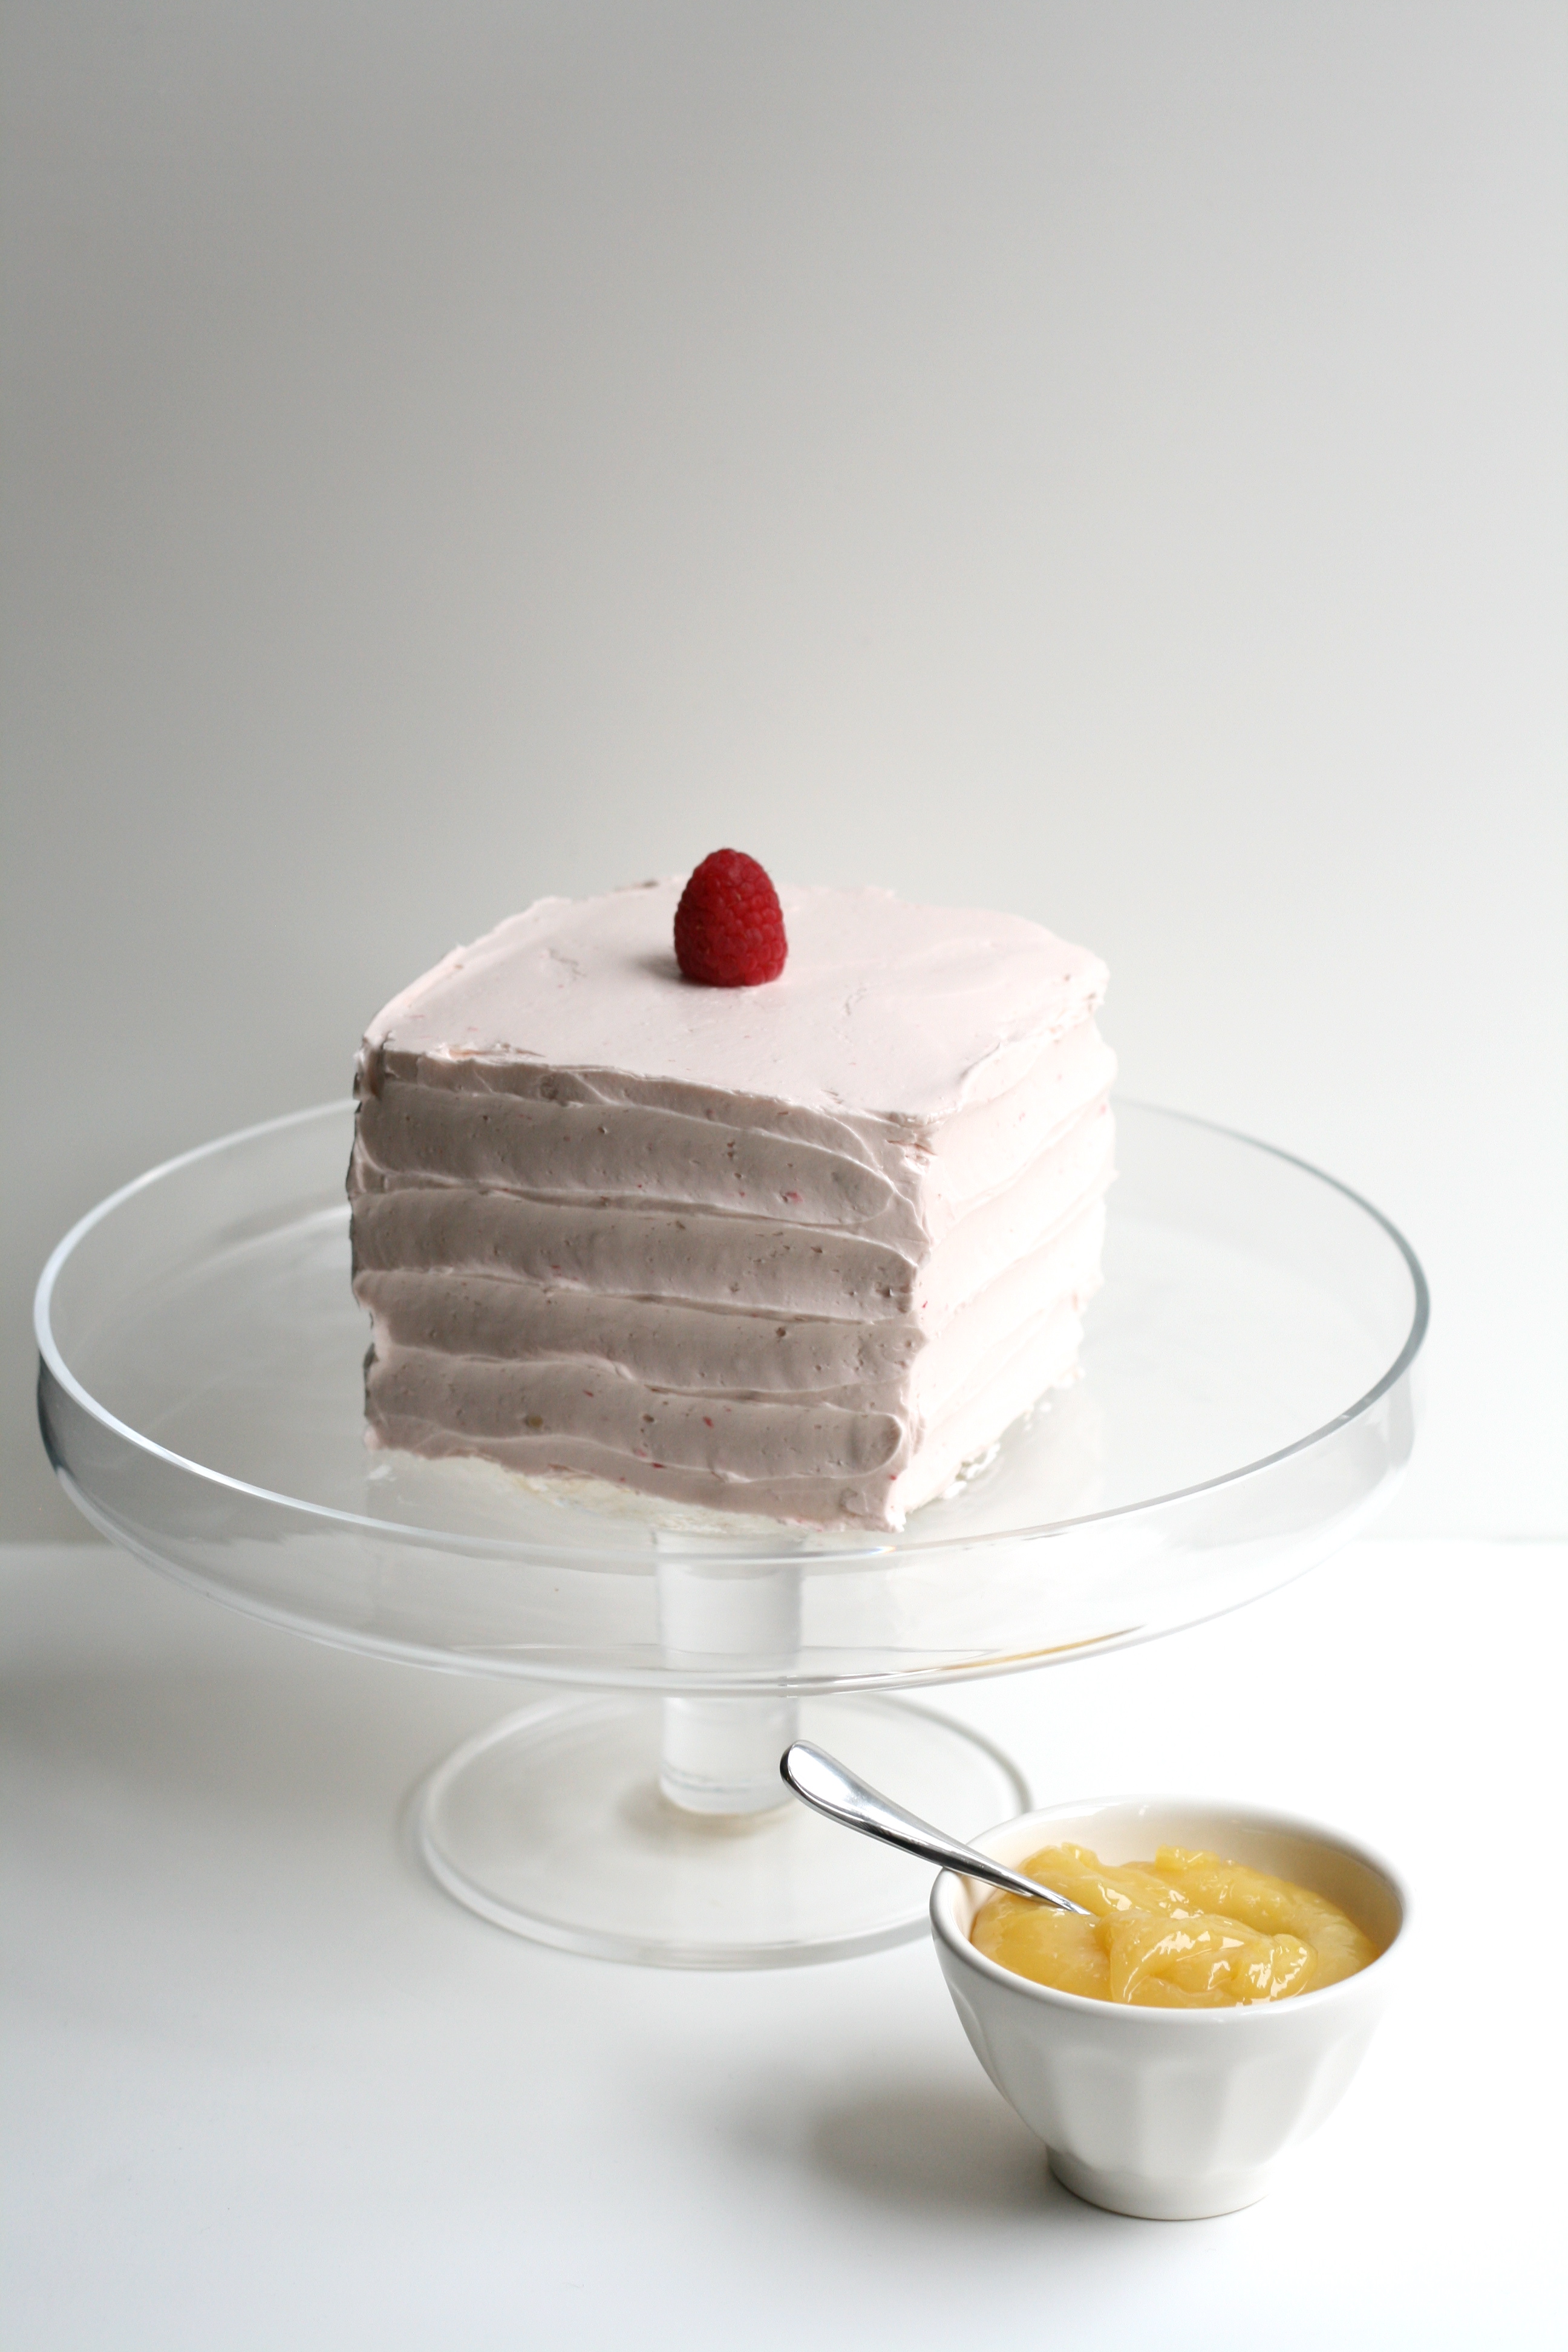
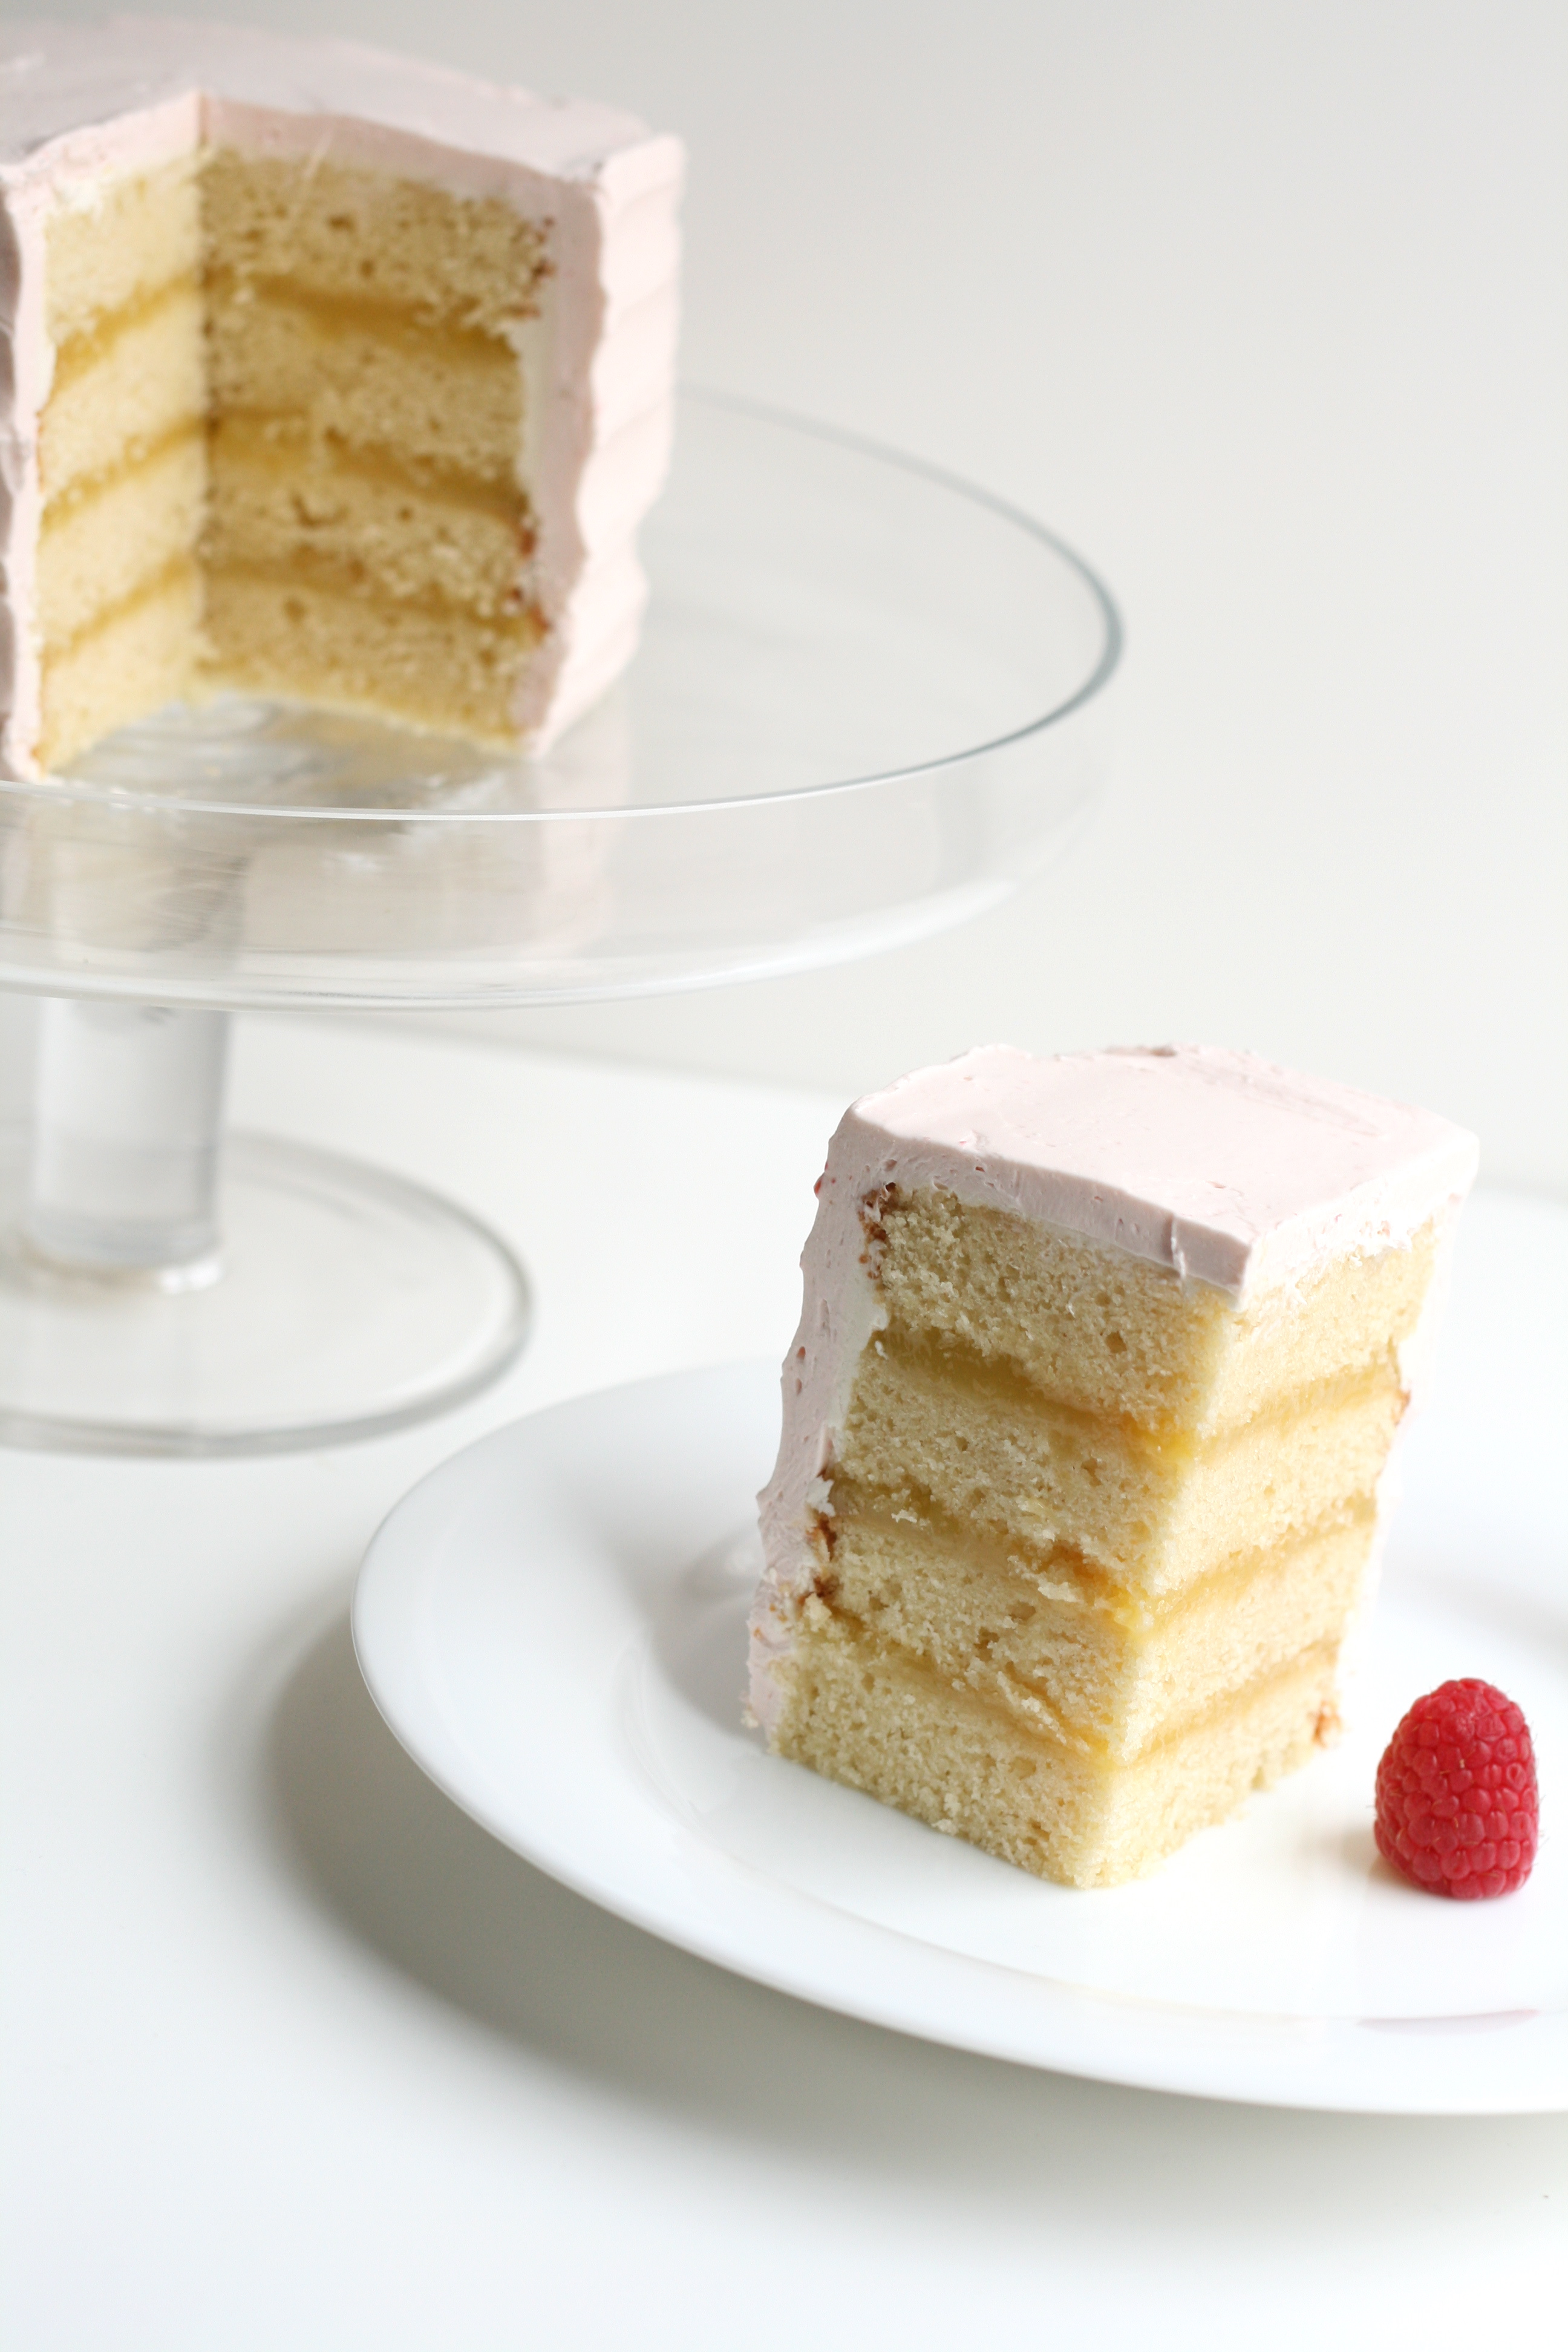
We celebrated my husband’s birthday last weekend. We’re now closer to 30 than 20. Kind of weird. In normal fashion, I asked him what kind of cake he wanted. Without hesitation, he said Lemon Raspberry Cake.

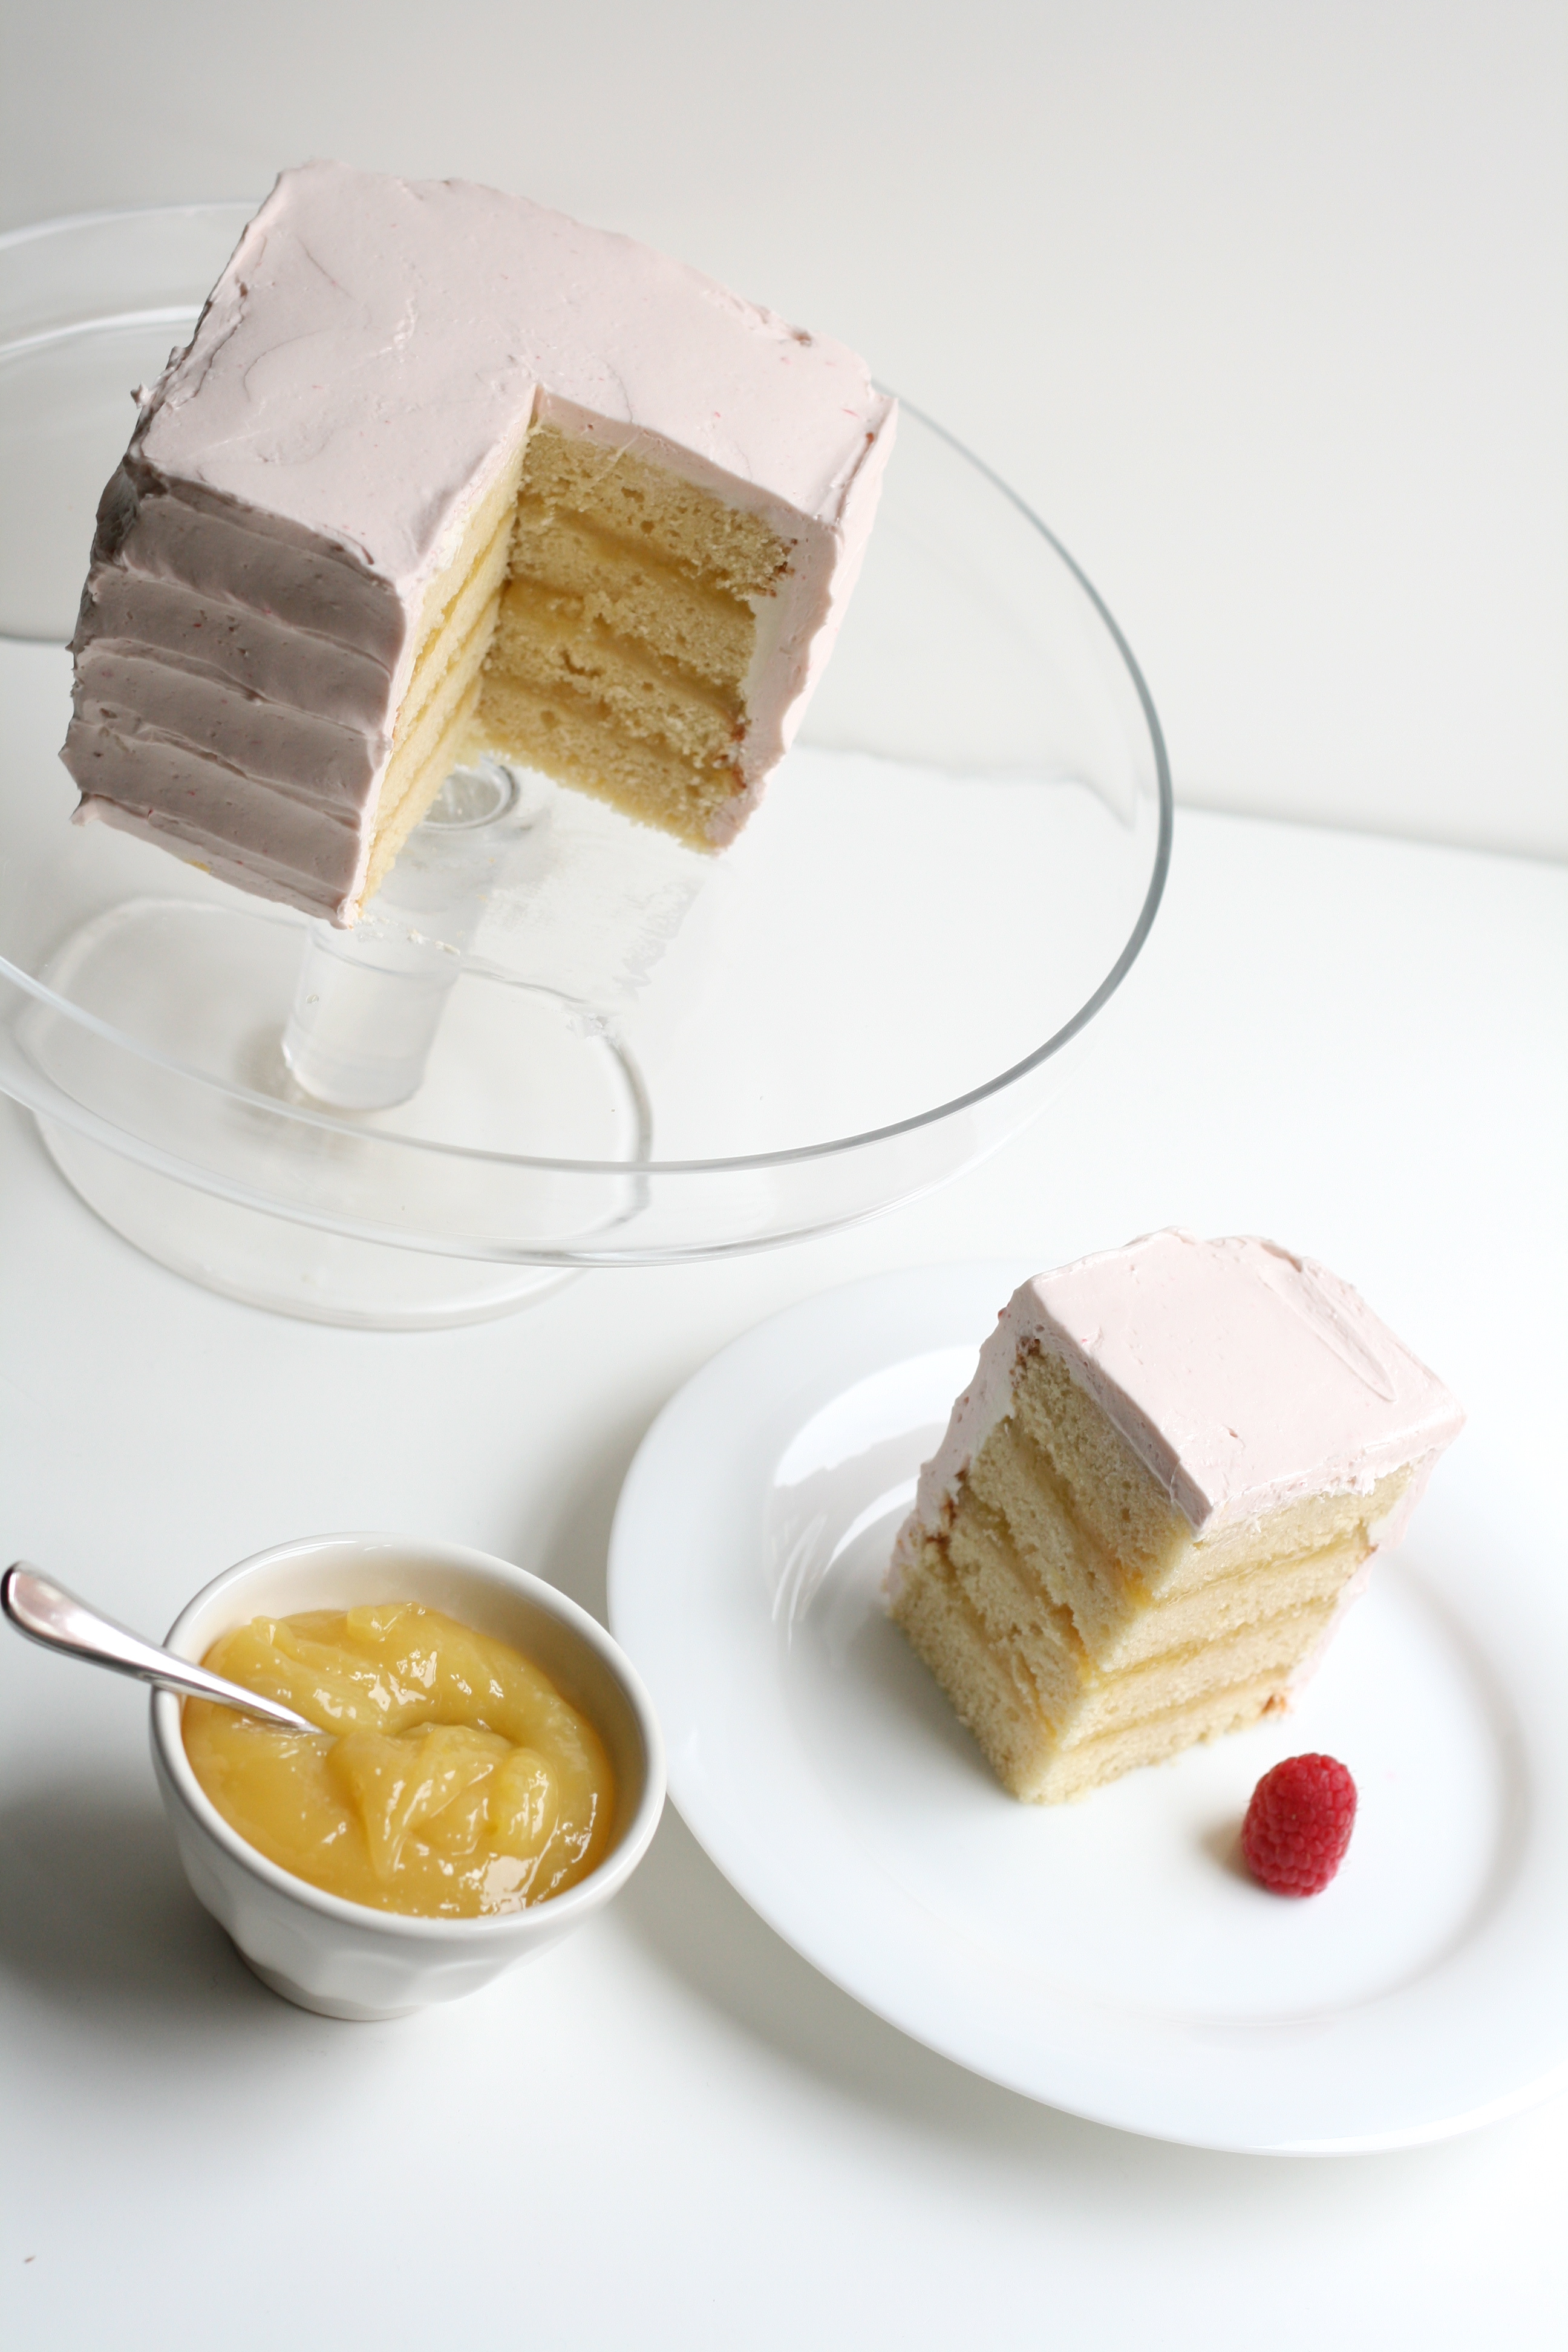
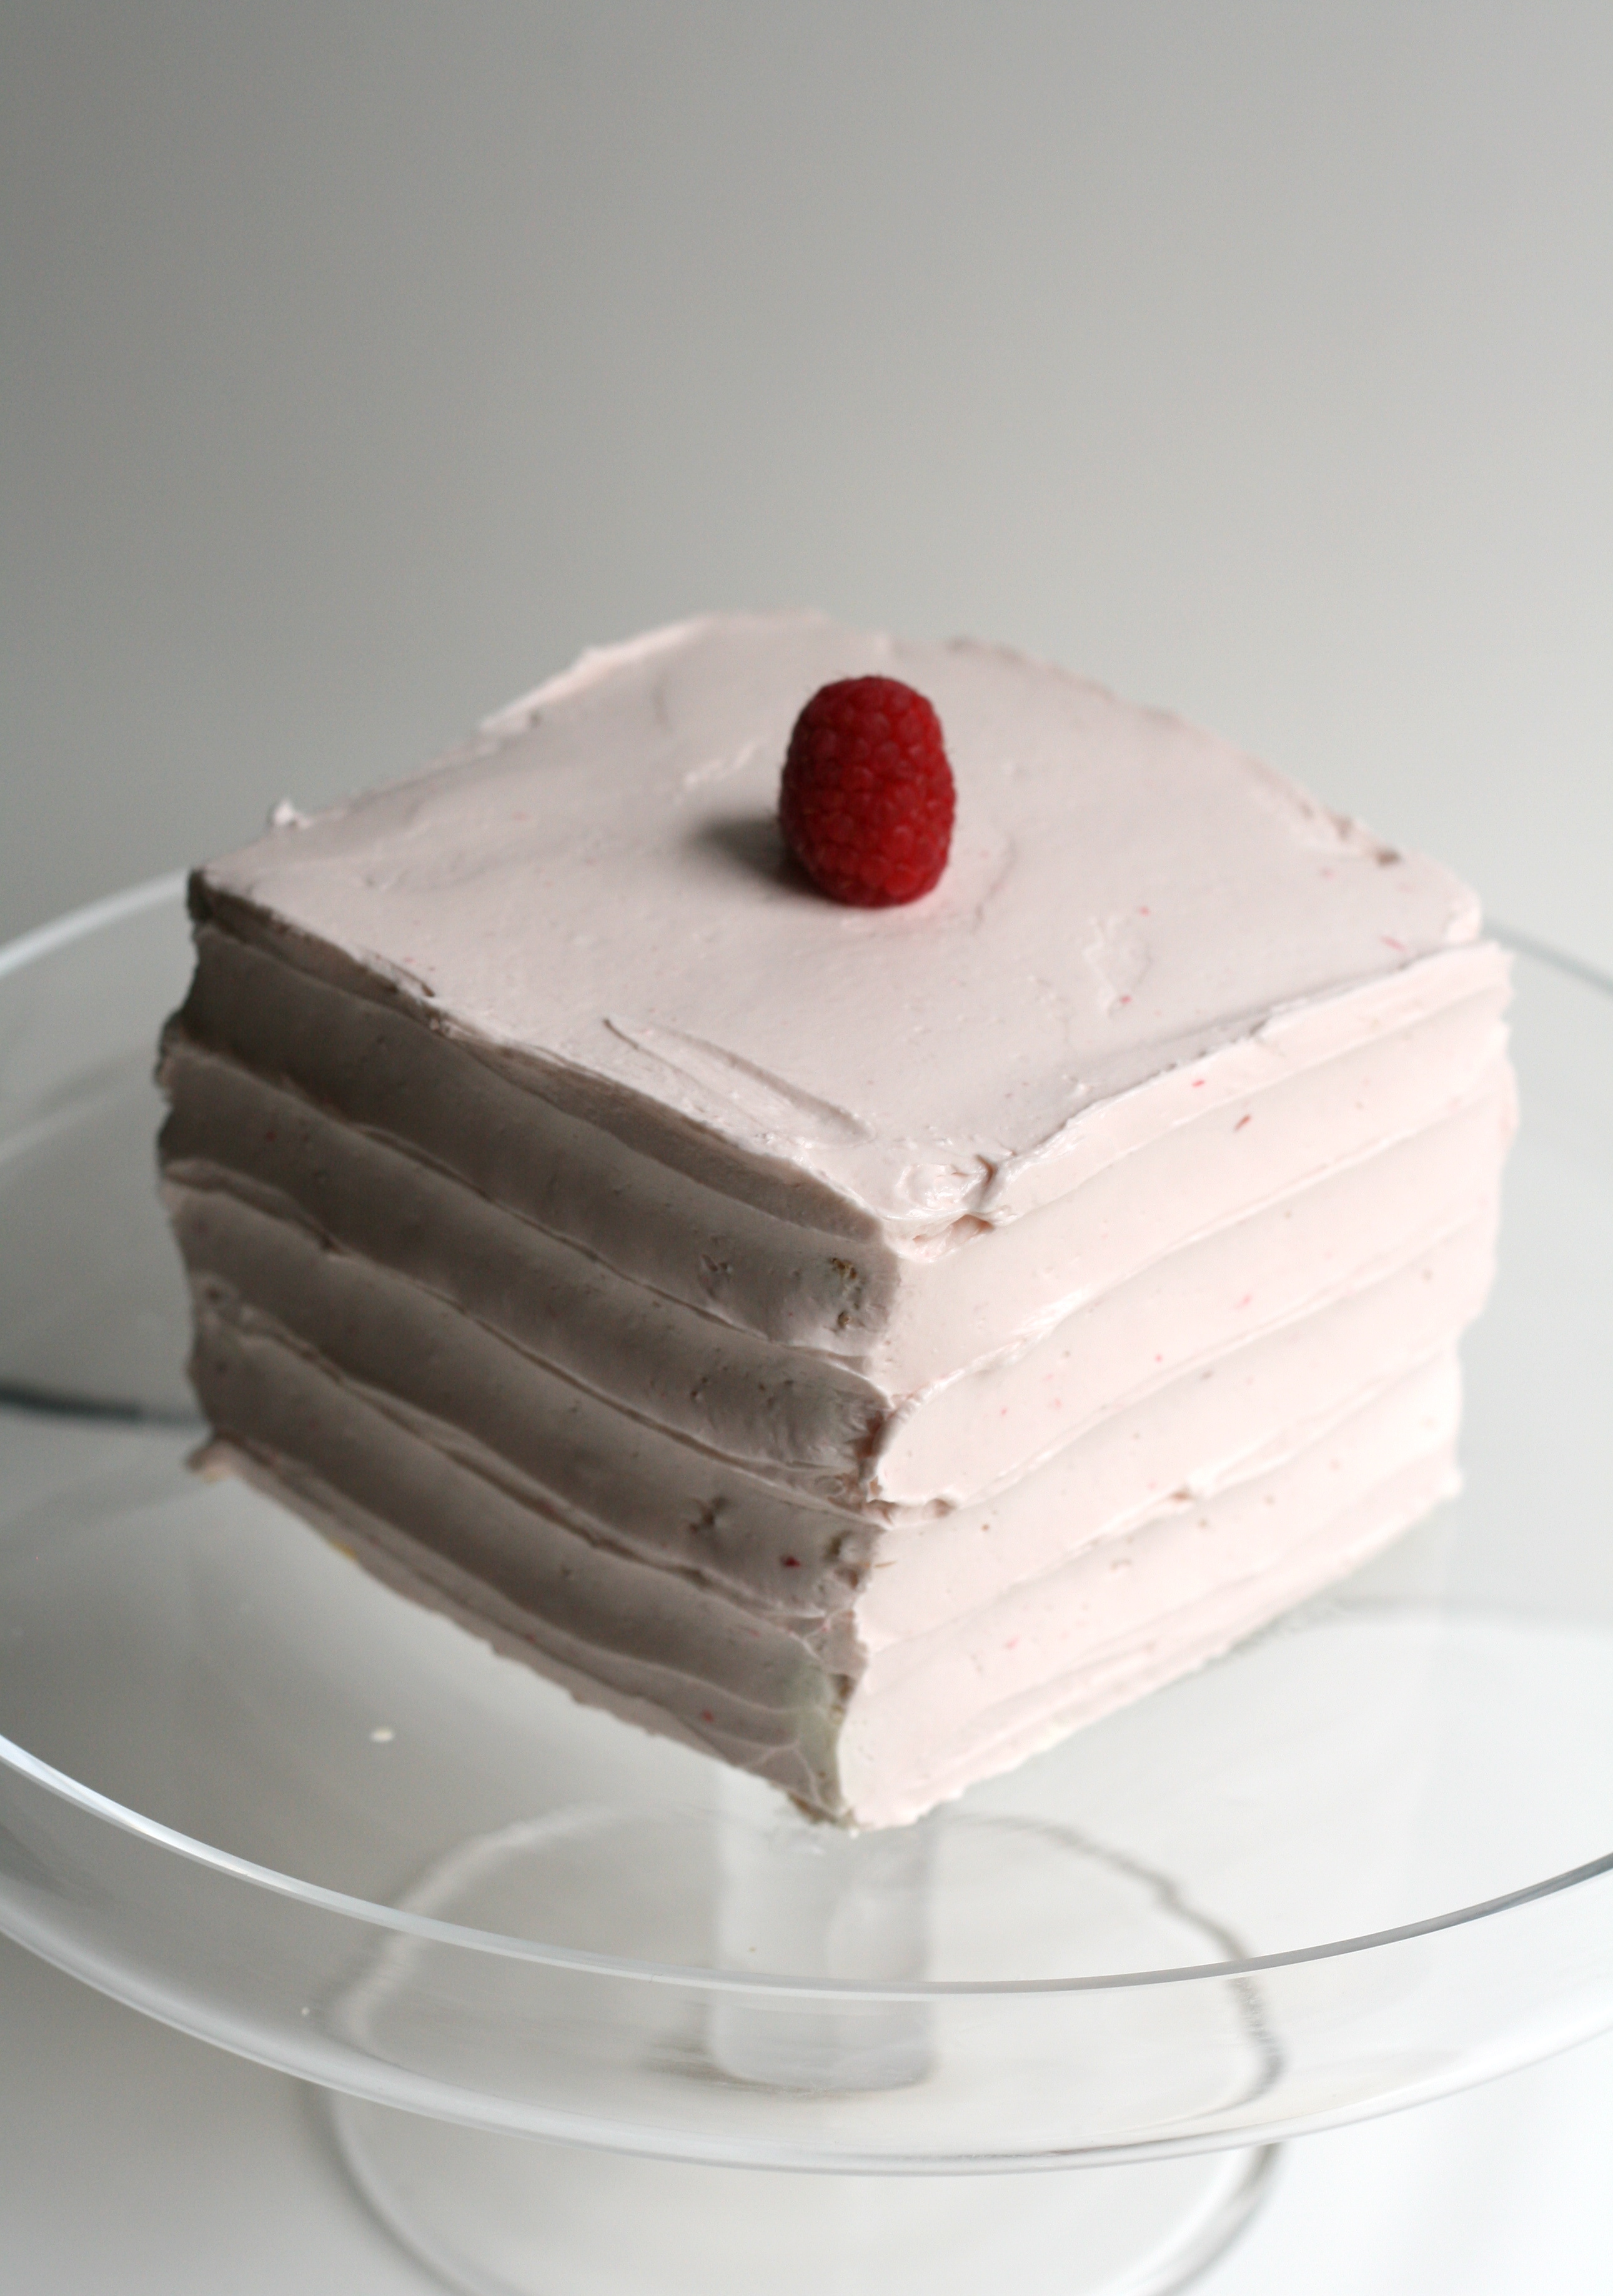
I was so excited he knew what he wanted, I made the cake without hesitation hoping he wouldn’t change his mind. As I was putting the final touches on the cake, I realized something. The cake was pink. Pale pink. I had just made my husband a pale pink birthday cake. I never considered that raspberry icing would produce a pink cake. Happy birthday little girl husband!

Luckily, he ate it in all it’s pale pink glory. I guess I could have done raspberry on the inside and lemon on the outside. The scarecrow said it best—If I only had a brain.

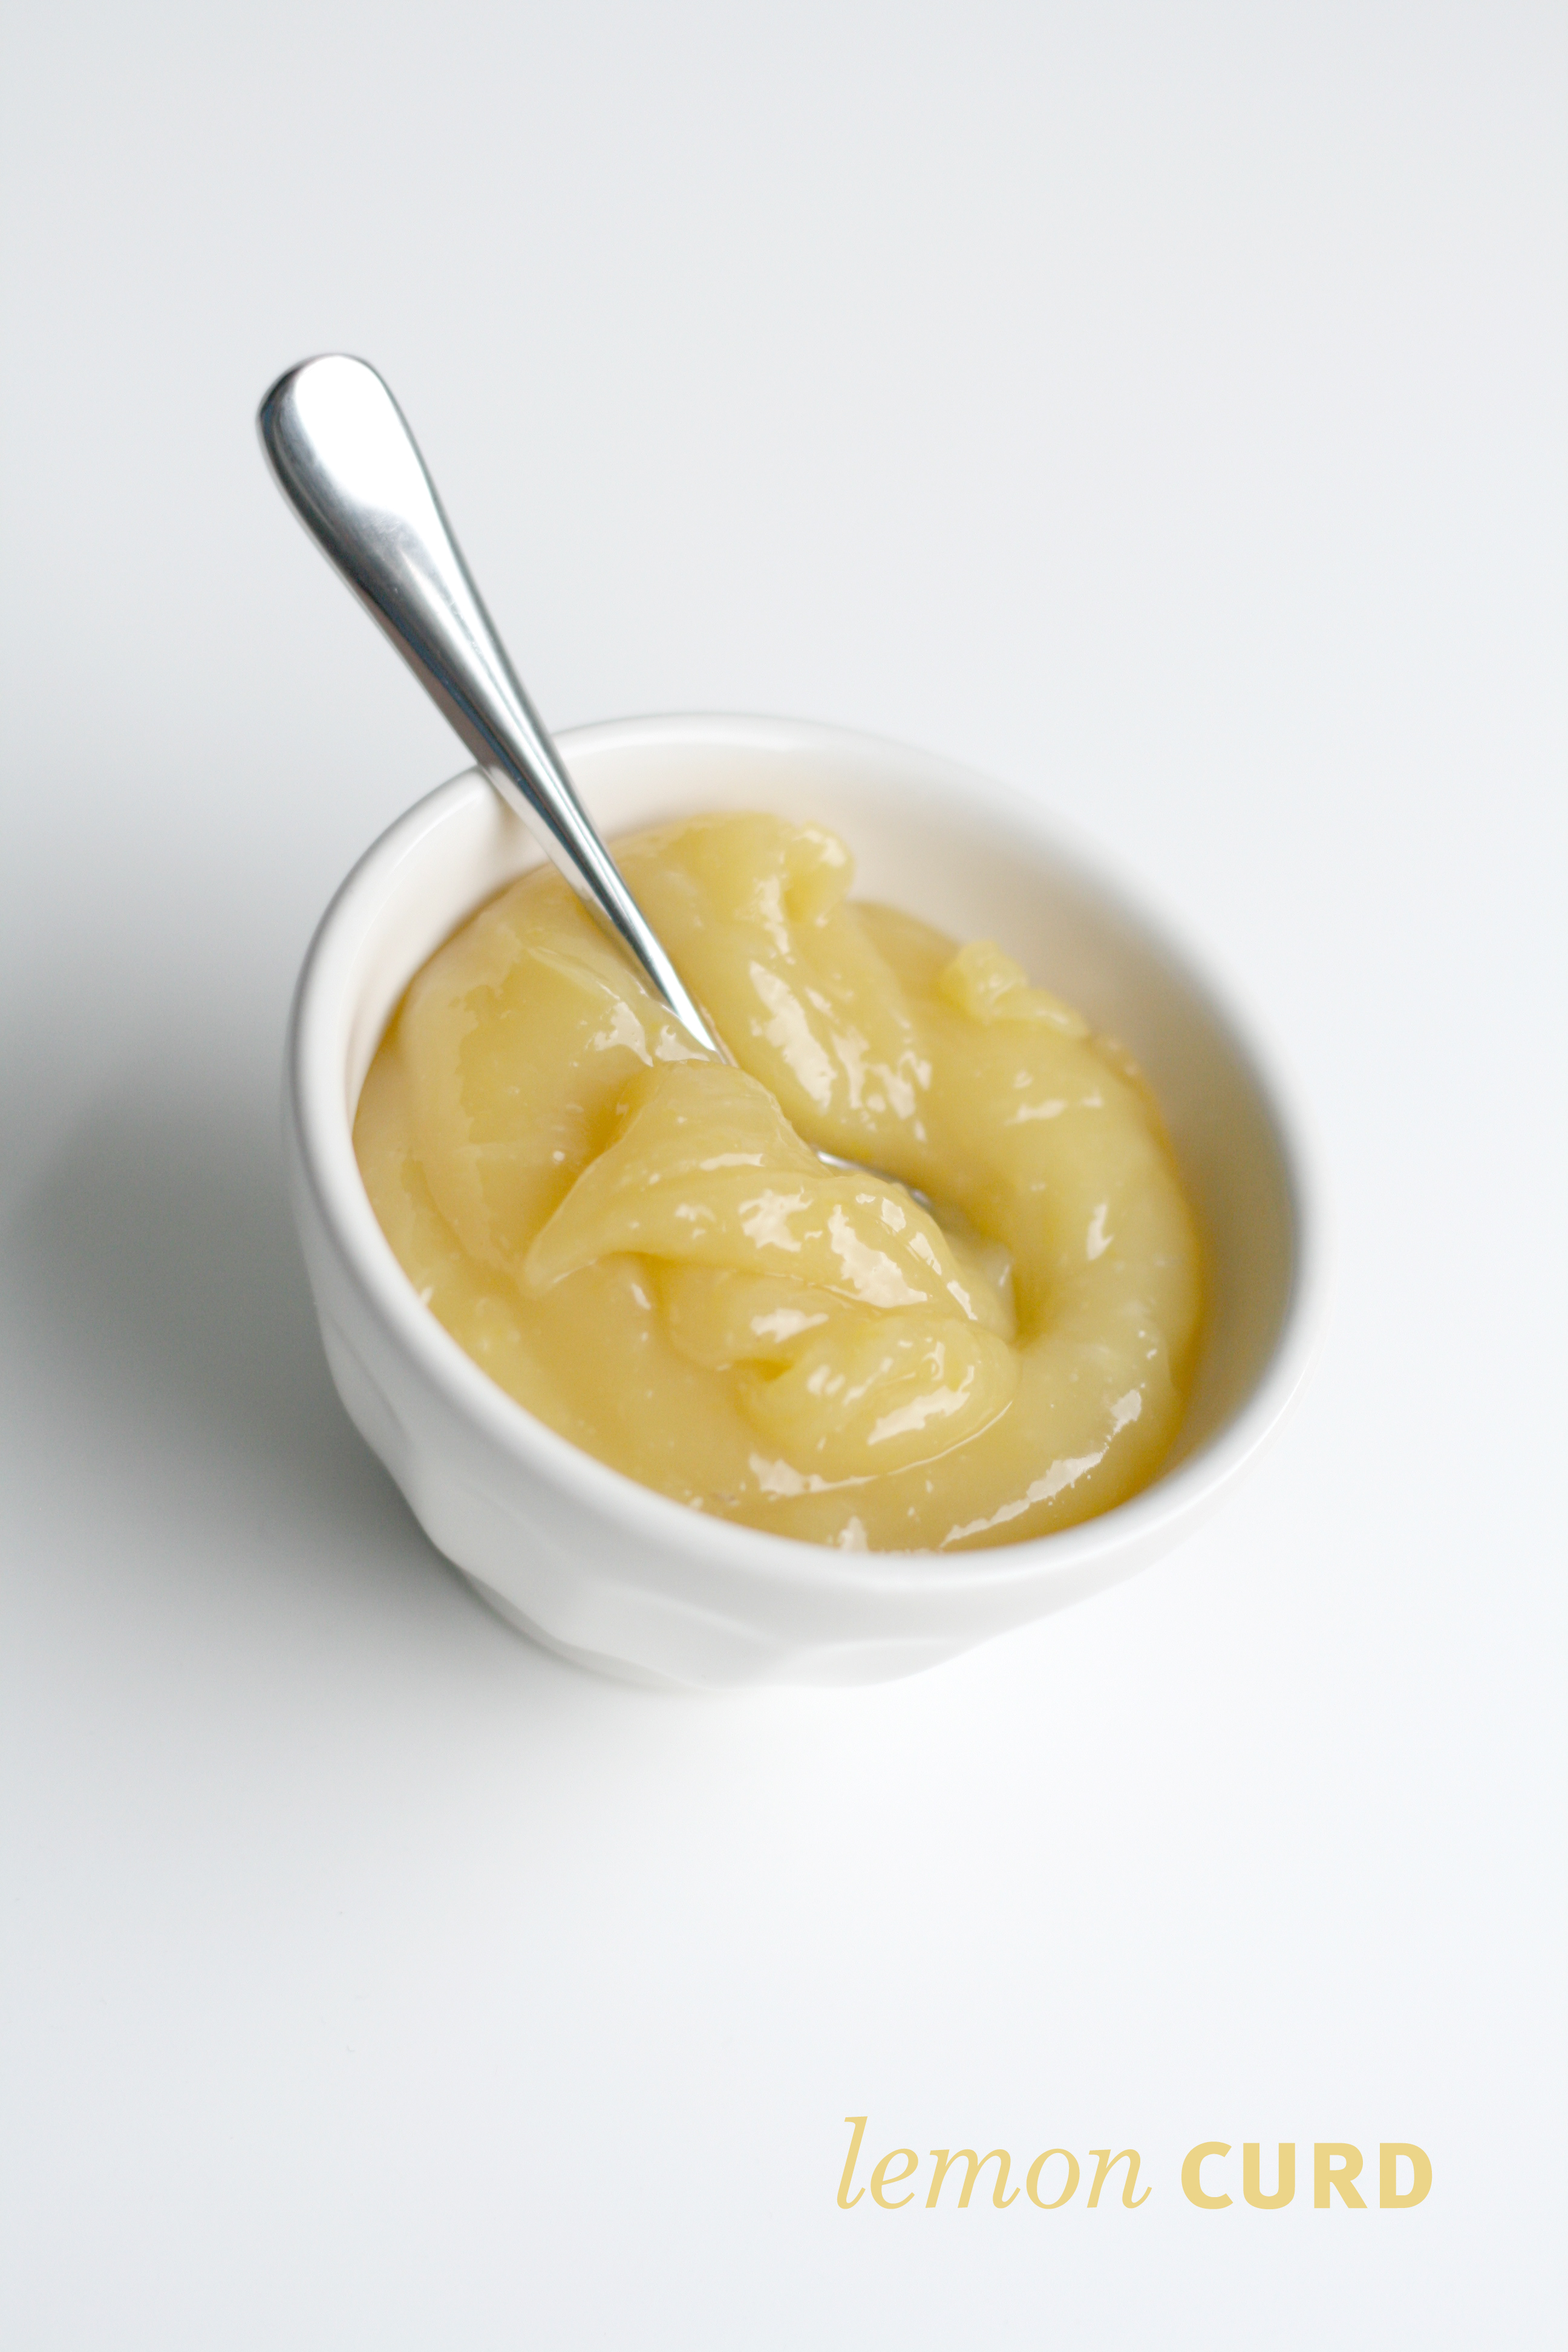
Speaking of lemon, this graced the inside of the cake.

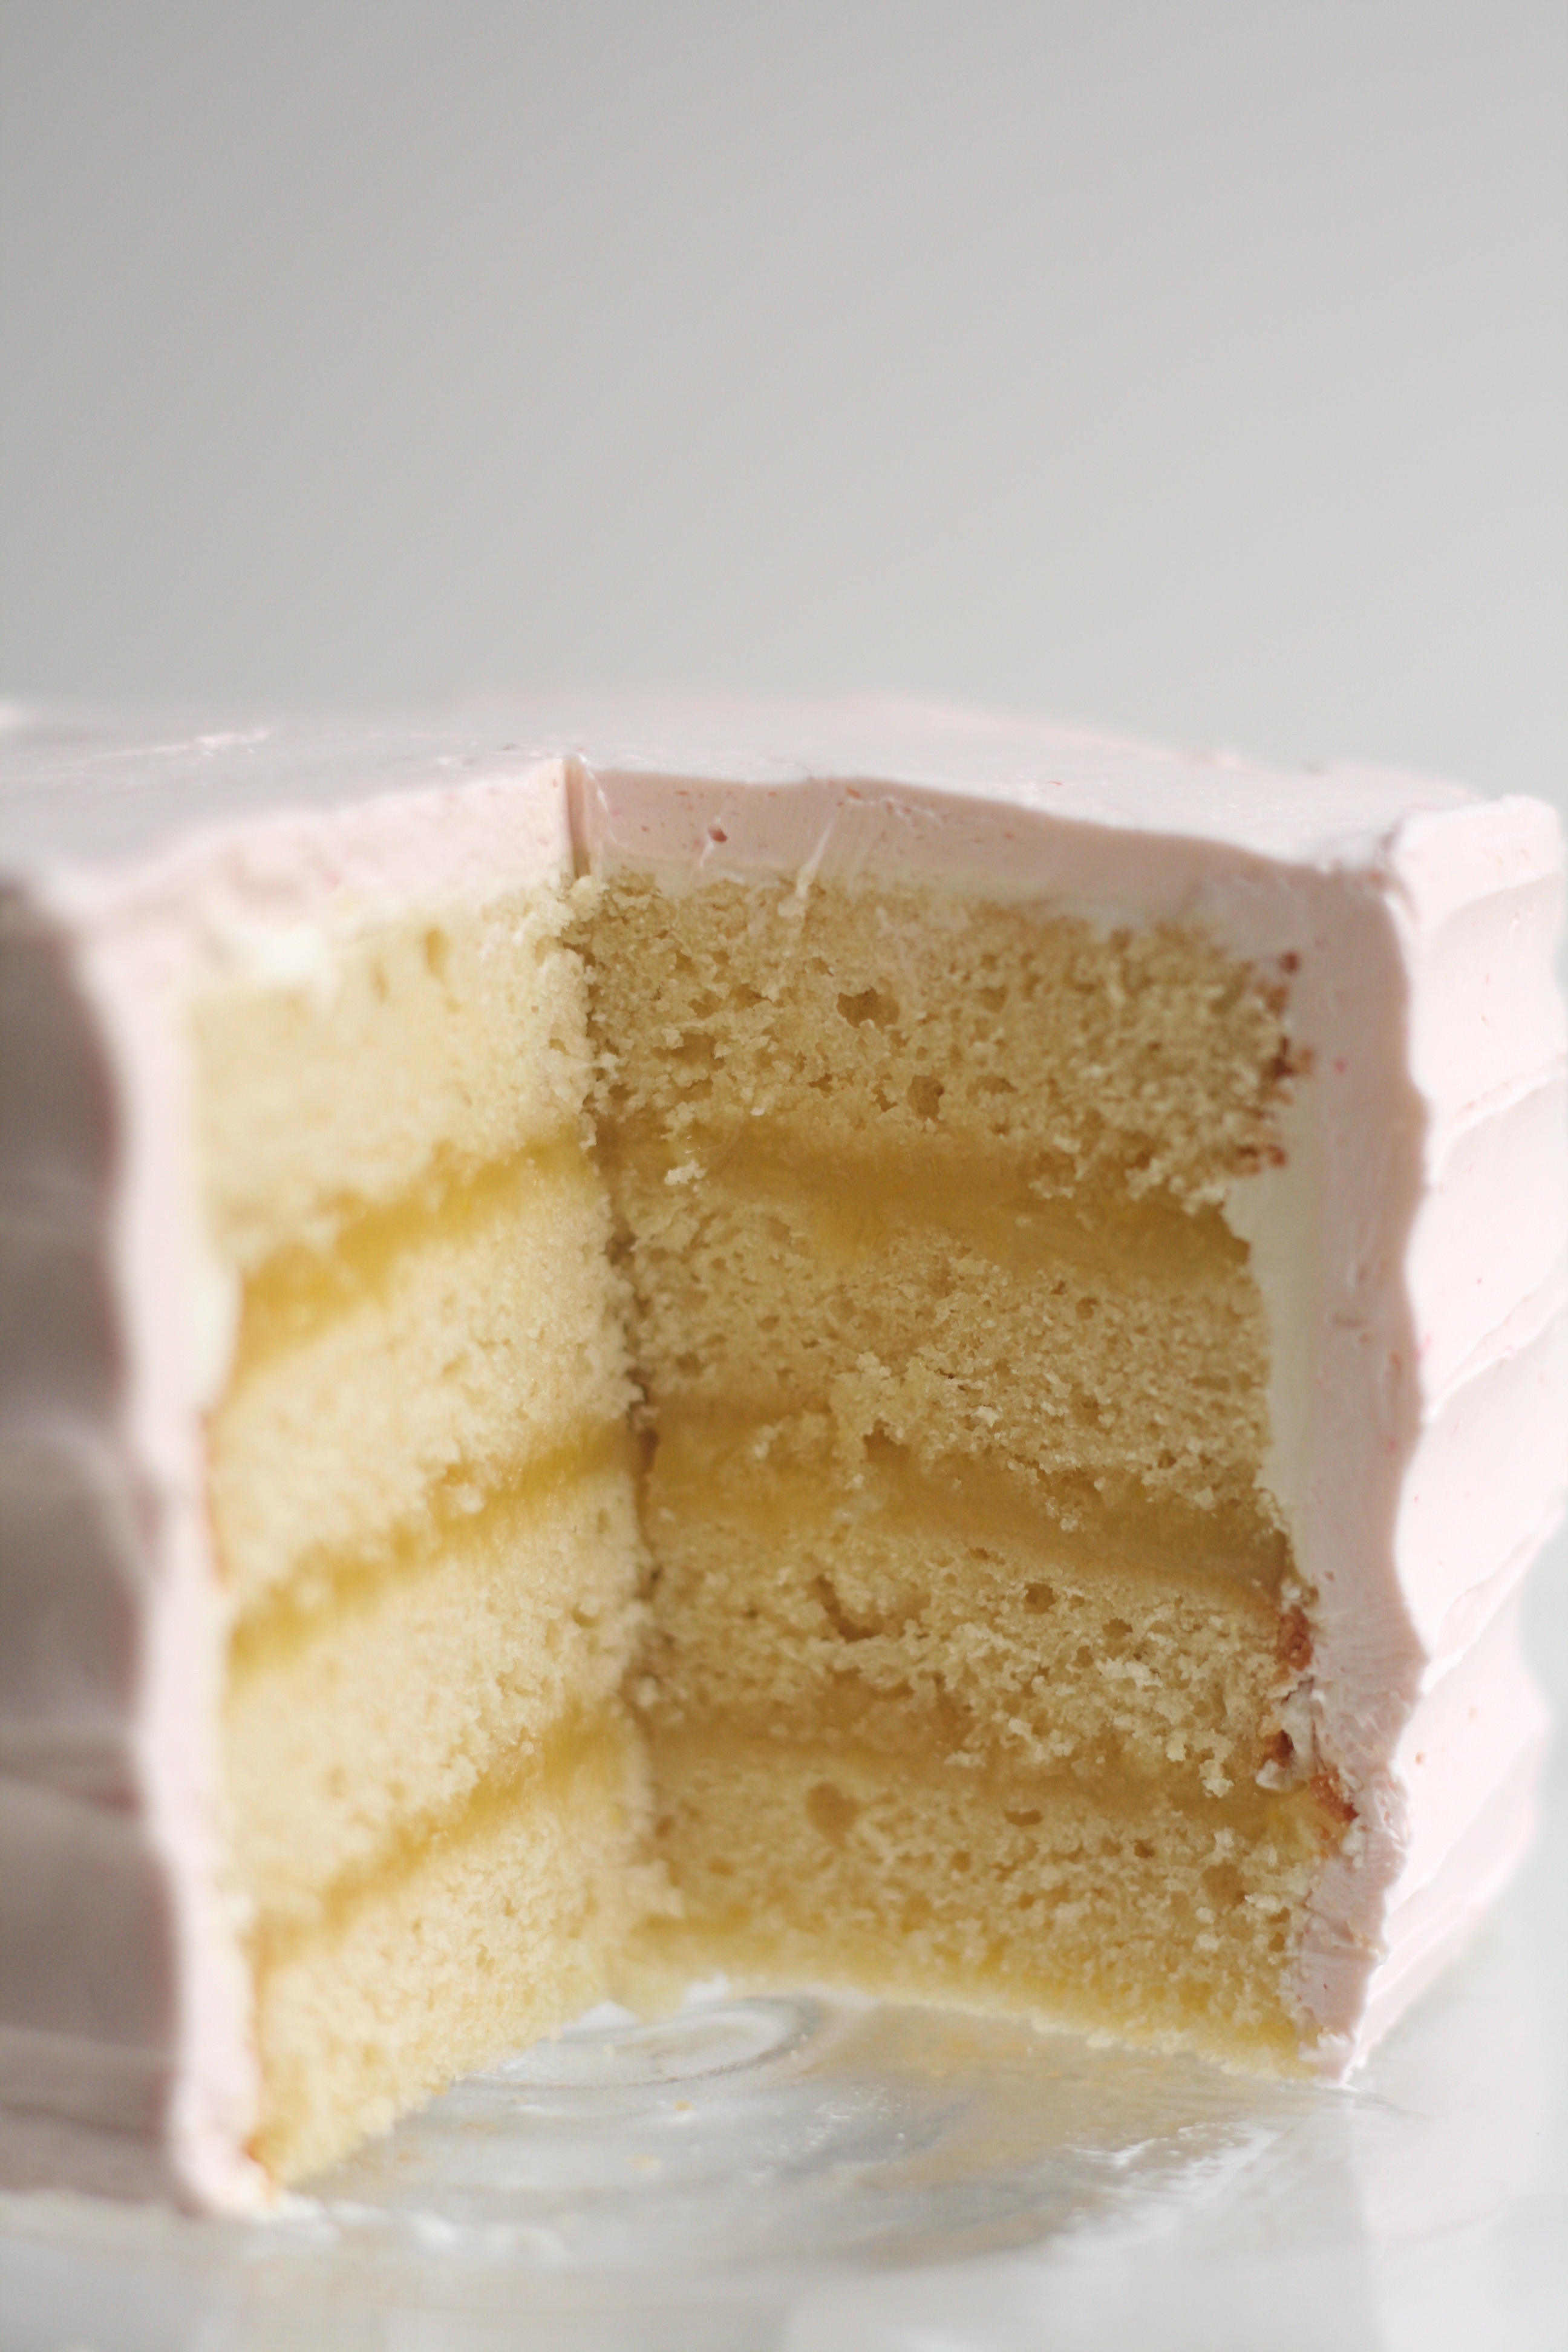
Between all four layers.

Mini Lemon Raspberry Cake
Yellow Butter Cake + Lemon Curd + Raspberry Italian Meringue Buttercream

Yellow Butter Cake
I halved the Yellow Butter Cake recipe from a couple posts back. Bake in a square pan. Follow recipe as directed. Check cake at 20 minutes. Allow to cool. Cut cake into fourths to achieve mini square cake as pictured.

Lemon Curd
recipe from Cake Love by Warren Brown; yields 2 cups

1 c. fresh squeezed lemon juice
2 1/4 c. sugar
2 tsp. cornstarch
4 large eggs
4 egg yolks
1 1/2 sticks unsalted butter, chilled

1. Squeeze lemon juice making sure to strain out seeds. Measure sugar and cornstarch into a heavy bottomed saucepan. (I use my Le Creuset for this.) Crack eggs and yolks into a separate bowl and set aside.
2. Whisk lemon juice into sugar mixture, followed by the eggs and yolks.
3. Whisk in cold butter one tablespoon at a time.
4. Set saucepan over medium heat and bring to simmer, whisking continuously.
5. When you begin to see lava bubbles—large, slowly forming bubbles that burp steam—reduce the heat to the lowest setting and whisk briskly for 1 minute to pasteurize the lemon curd. (Lava bubbles usually appear 10 minutes in.)
6. Pour directly into bowl, and cover with plastic wrap pressed to surface to keep a skin from forming.
7. Immediately refrigerate for at least 3 hours before using.
Note: I halved the recipe for the mini cake. 

Raspberry Italian Meringue Buttercream
I halved the Italian Meringue Buttercream recipe from a couple posts back and added raspberries. Make recipe as directed. If you are making a full recipe, you’ll need 1/2 c. raspberries. If you are making a half recipe, you’ll need 1/4 c. raspberries. Puree raspberries in food processor. Using a fine mesh sieve, strain the puree into a bowl to remove seeds. Add puree to buttercream and whip until combined.

Ice the Cake
For a quick tutorial, click here. Serve cake at room temperature.

Can I let you in on a little secret? I wanted to show you a slice of the cake, but I wasn’t serving the cake until later that evening. So, I cut the cake. Took some pics. And put the cake back together. The Italian Meringue Buttercream is very forgiving like that.

Still pink, but good as new!

I had planned on doing an easter post today. But my idea flopped. Many tireless hours went into, and it flopped. Yes, I do want some cheese with this wine. I wasn’t going to tell you what I was making incase I decided to give it another try. But, I’m not. I’m no good at these things. And by “things” I mean cake balls. I’ve tried a couple times, and they’re just not my forte. I have these conflicting thoughts of “Don’t give up!” and “Just stick with what you’re good at.” Well, I’ve decided to stick with what I’m good at, leaving the cake balls to Bakerella. Don’t get me wrong, I’m up for a good challenge. And, I don’t mind if I fail from time to time. But I’ve learned I’m much better at baking than I am at decorating (case in point—cake ball fail). I’m much better at perfecting the classics (scones, cakes, cookies, macarons) than coming up with something new. I’m much better at sticking to my purist ways, than bending the rules and using the not so pure stuff. My take-away from all of this is—stick with what you’re good at, and get really good at it.

Shawoof (wiping sweat off brow). That was cathartic.

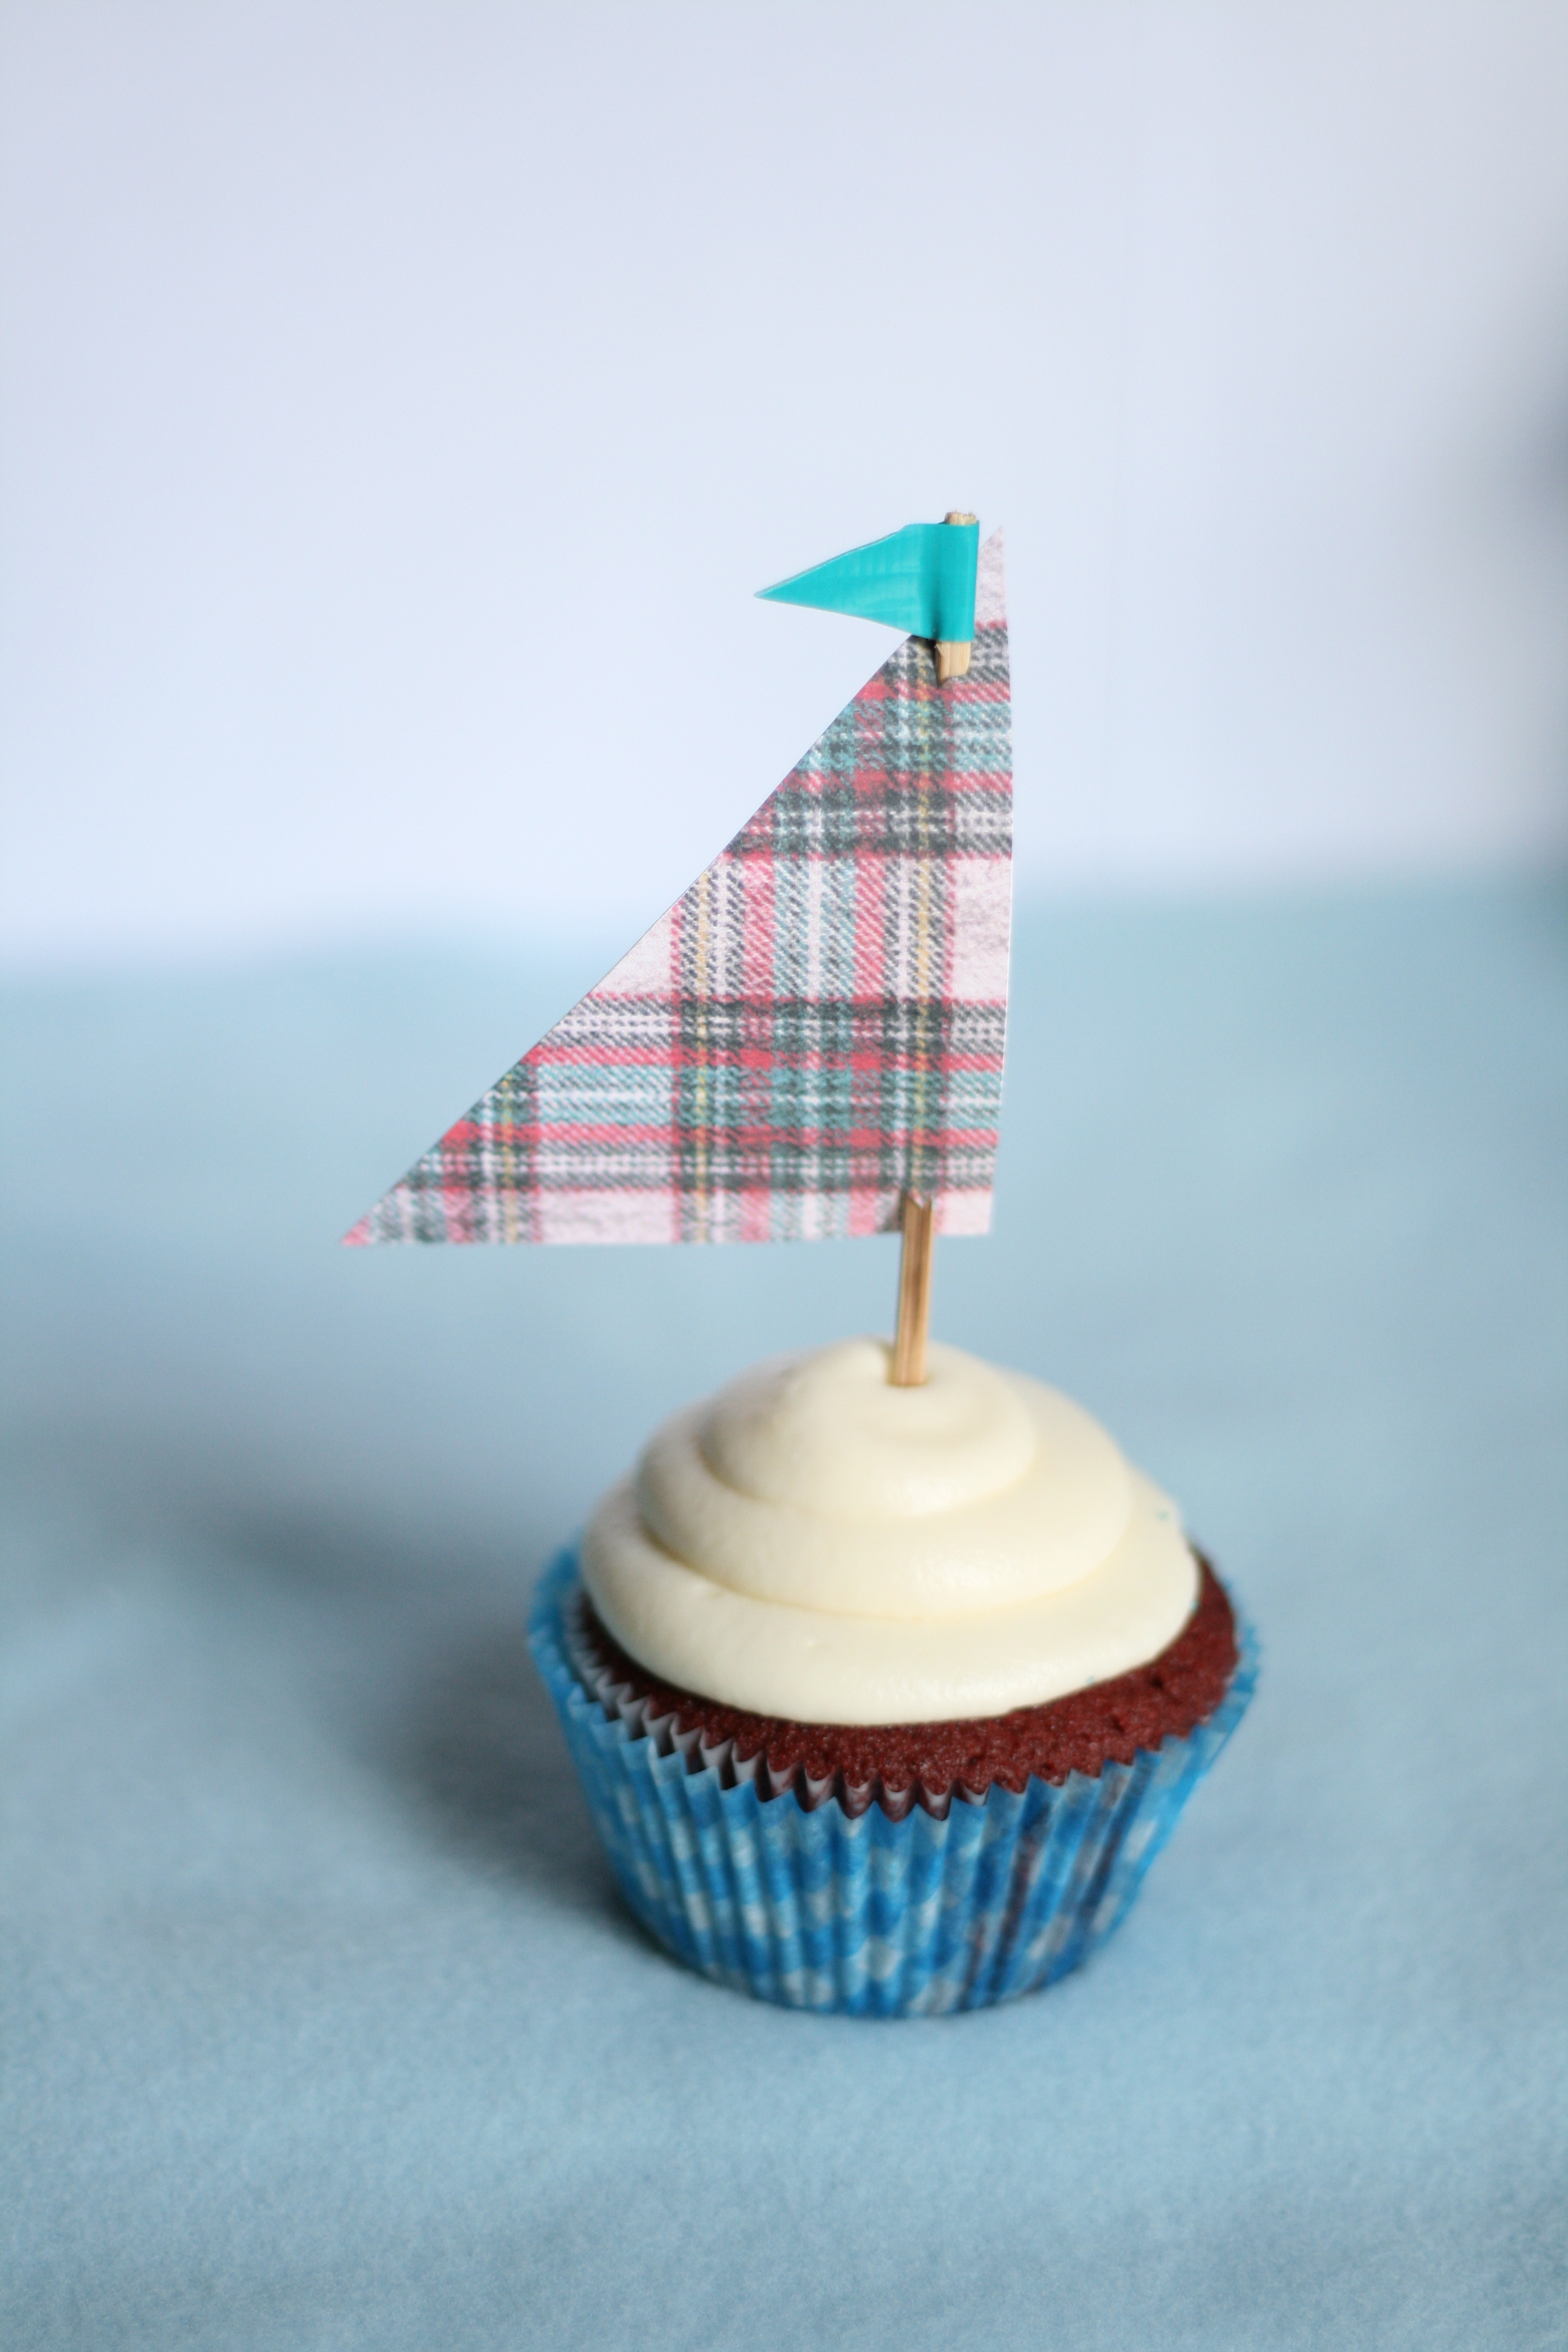
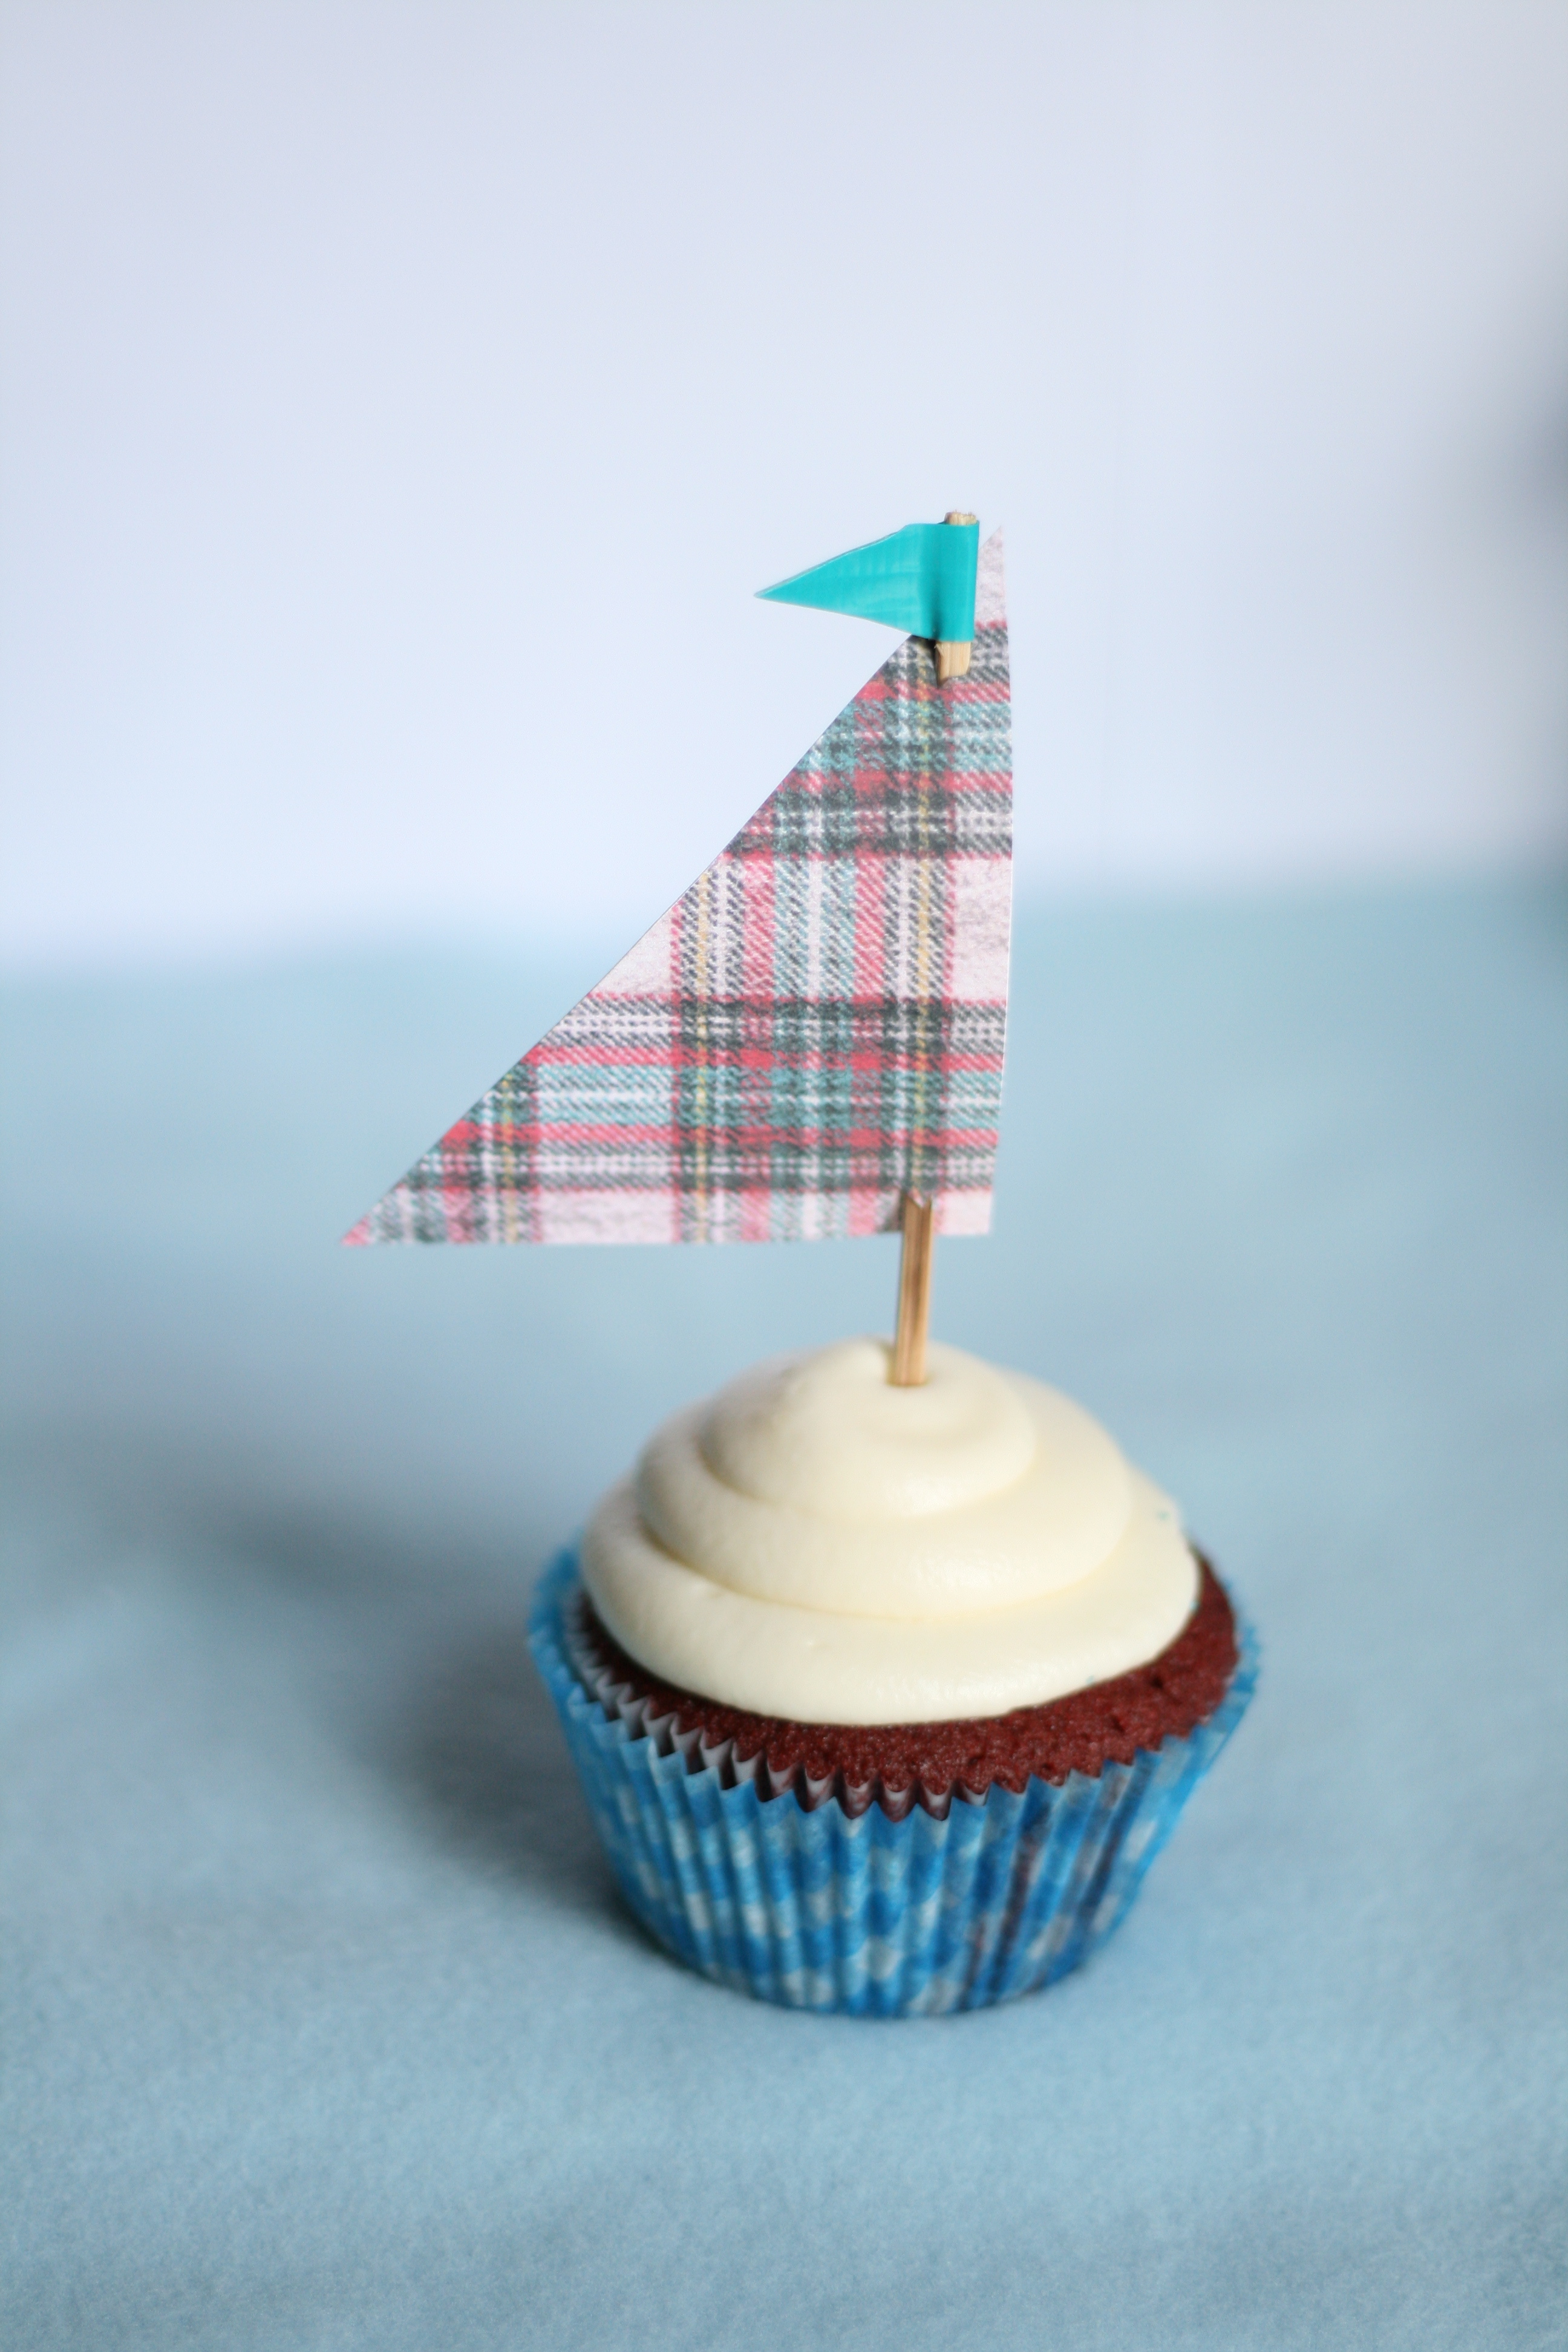
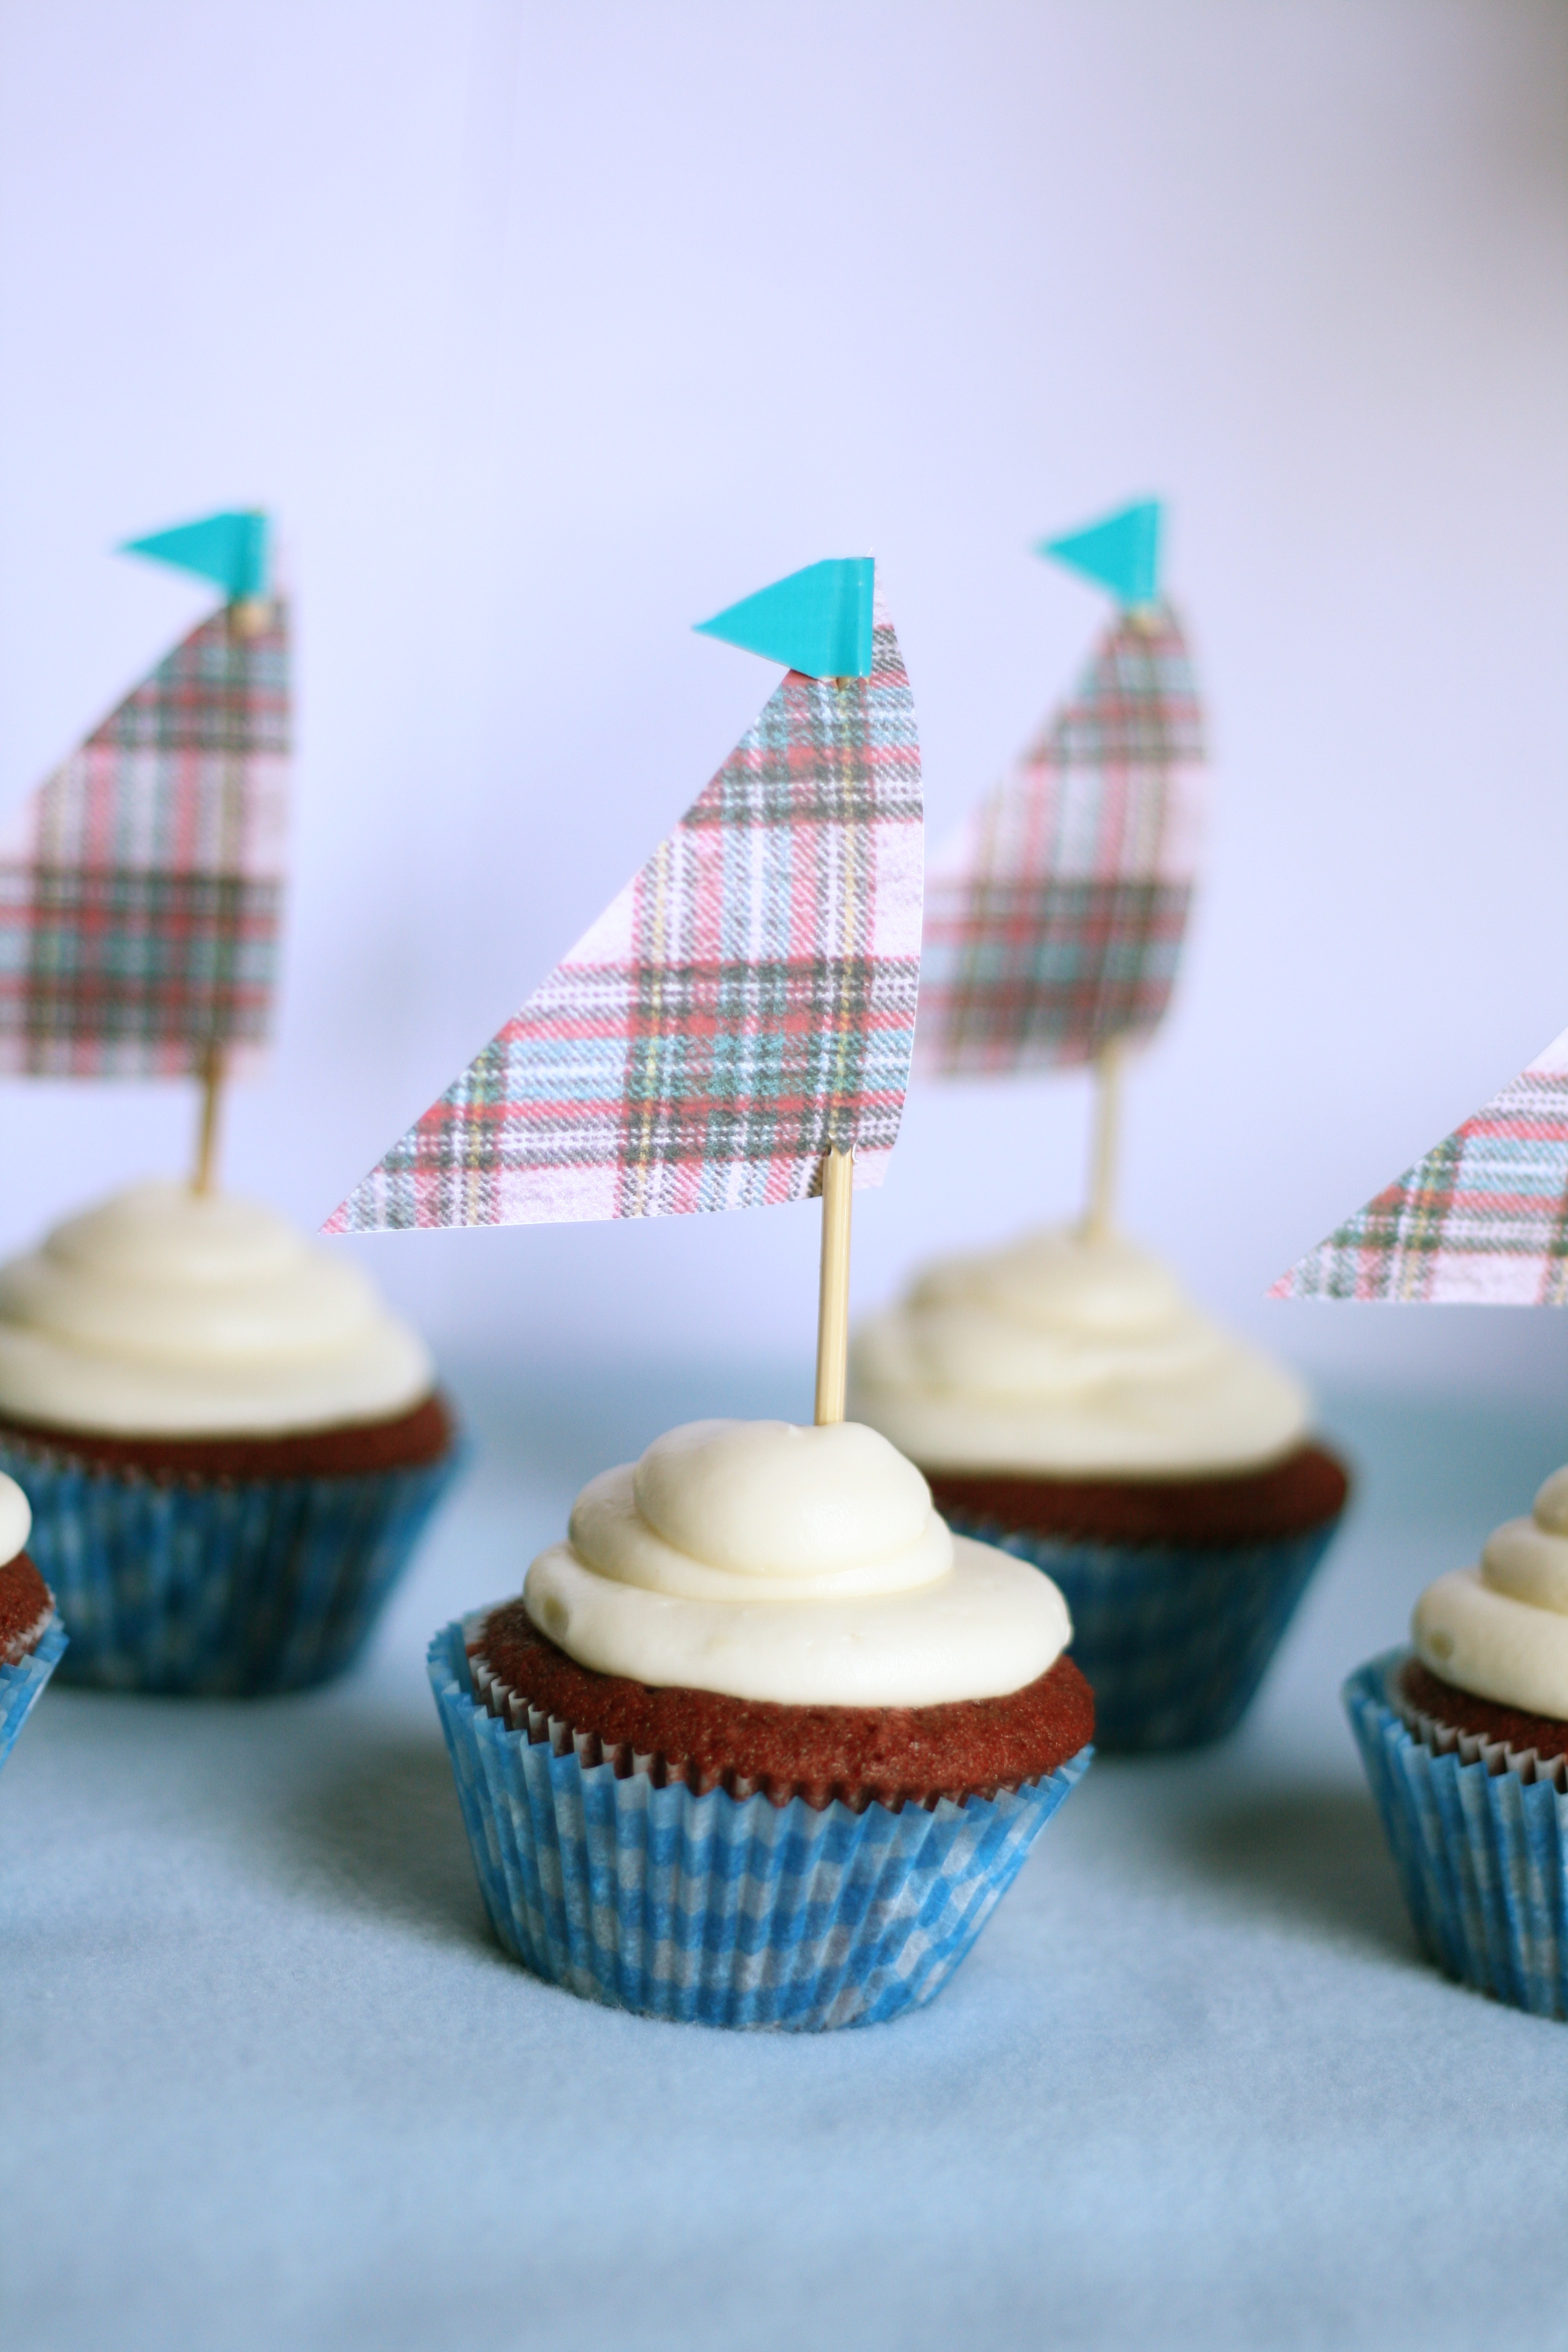
Now on to the good stuff. Red Velvet Cake! Remember the Sailboat Cupcakes from the last post? I told you I’d be back with the recipe. As promised, here it is. But first, I have to do another plug for my favorite baker—Warren Brown from Cake Love. His recipes make the best cakes ever (no lie). He is a purist as well. He believes in baking cakes from scratch. None of that artificial stuff. However, he does make a Red Velvet Cake because of it’overwhelming request at his bakery. It’s the only thing he uses food coloring in. You can leave the food coloring out and call it Brown Velvet. Or you can use the India Tree products (this is what I use), which are made from vegetables pigments.

Red Velvet Cake
recipe from Warren Brown, United Cakes of America
makes 24 cupcakes

DRY INGREDIENTS
2 1/4 c. Cake Flour (I used unbleached AP Flour)
2 tbsp. Cocoa Powder
1 tsp. Salt
1 tsp. Baking soda

WET INGREDIENTS
1 c. Buttermilk
1 tsp. Vanilla Extract
1 tsp. Apple Cider Vinegar

CREAMING INGREDIENTS
2 sticks of Unsalted Butter (room temp)
1 1/2 c. Superfine Sugar (You can pop regular sugar in a food processor to achieve this)
2 large eggs
1 oz. Red Food Dye (Opt out and make it Brown Velvet)

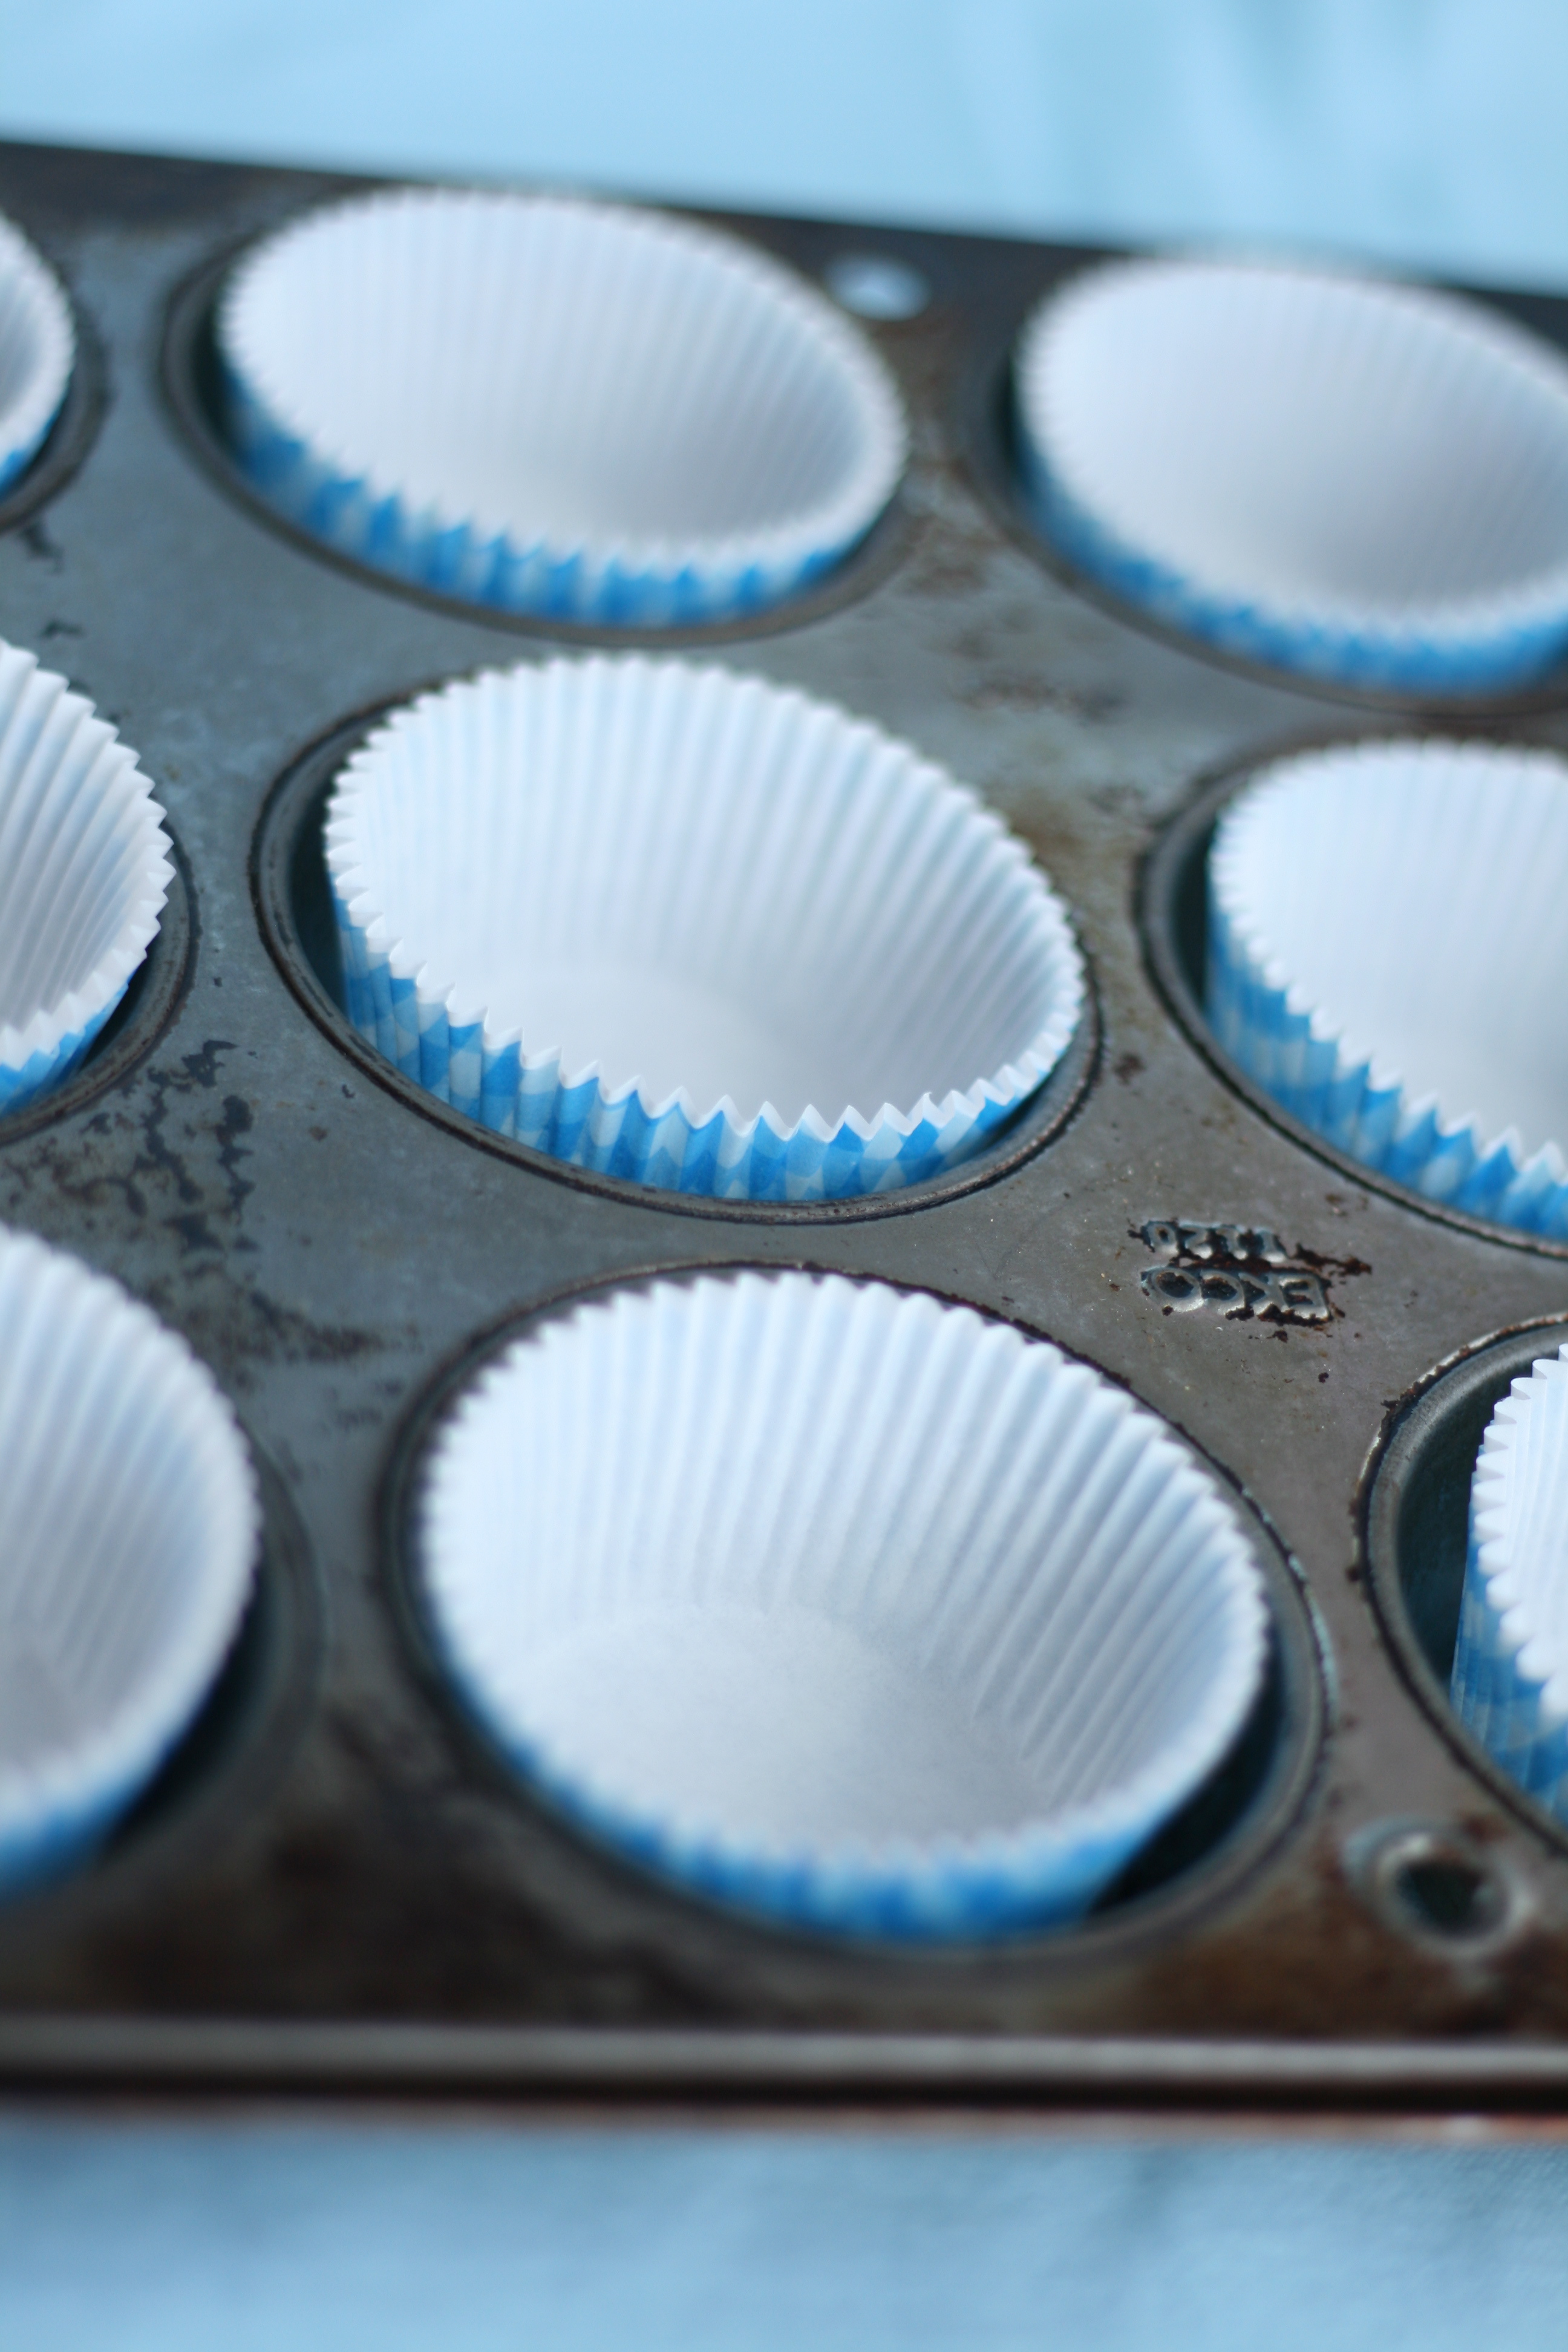
1. Preheat oven to 335° and place the rack in the middle position. Line 2 cupcake pans. (Read the last post for a cupcake liner tip.)
2. Measure the dry ingredients and wet ingredients into 2 separate bowls. Whisk each to combine.
3. Measure the the butter and sugar into the bowl of a standing mixer fitted with the paddle attachment. Cream together on low speed for about 5 minutes.
4. Add eggs one at a time into the well creamed butter. Beat in the dye.
5. Alternately add the dry and wet ingredients about a quarter at a time. (This should only take a minute.) Scrape sides. Beat on medium-high speed for 1 minute.
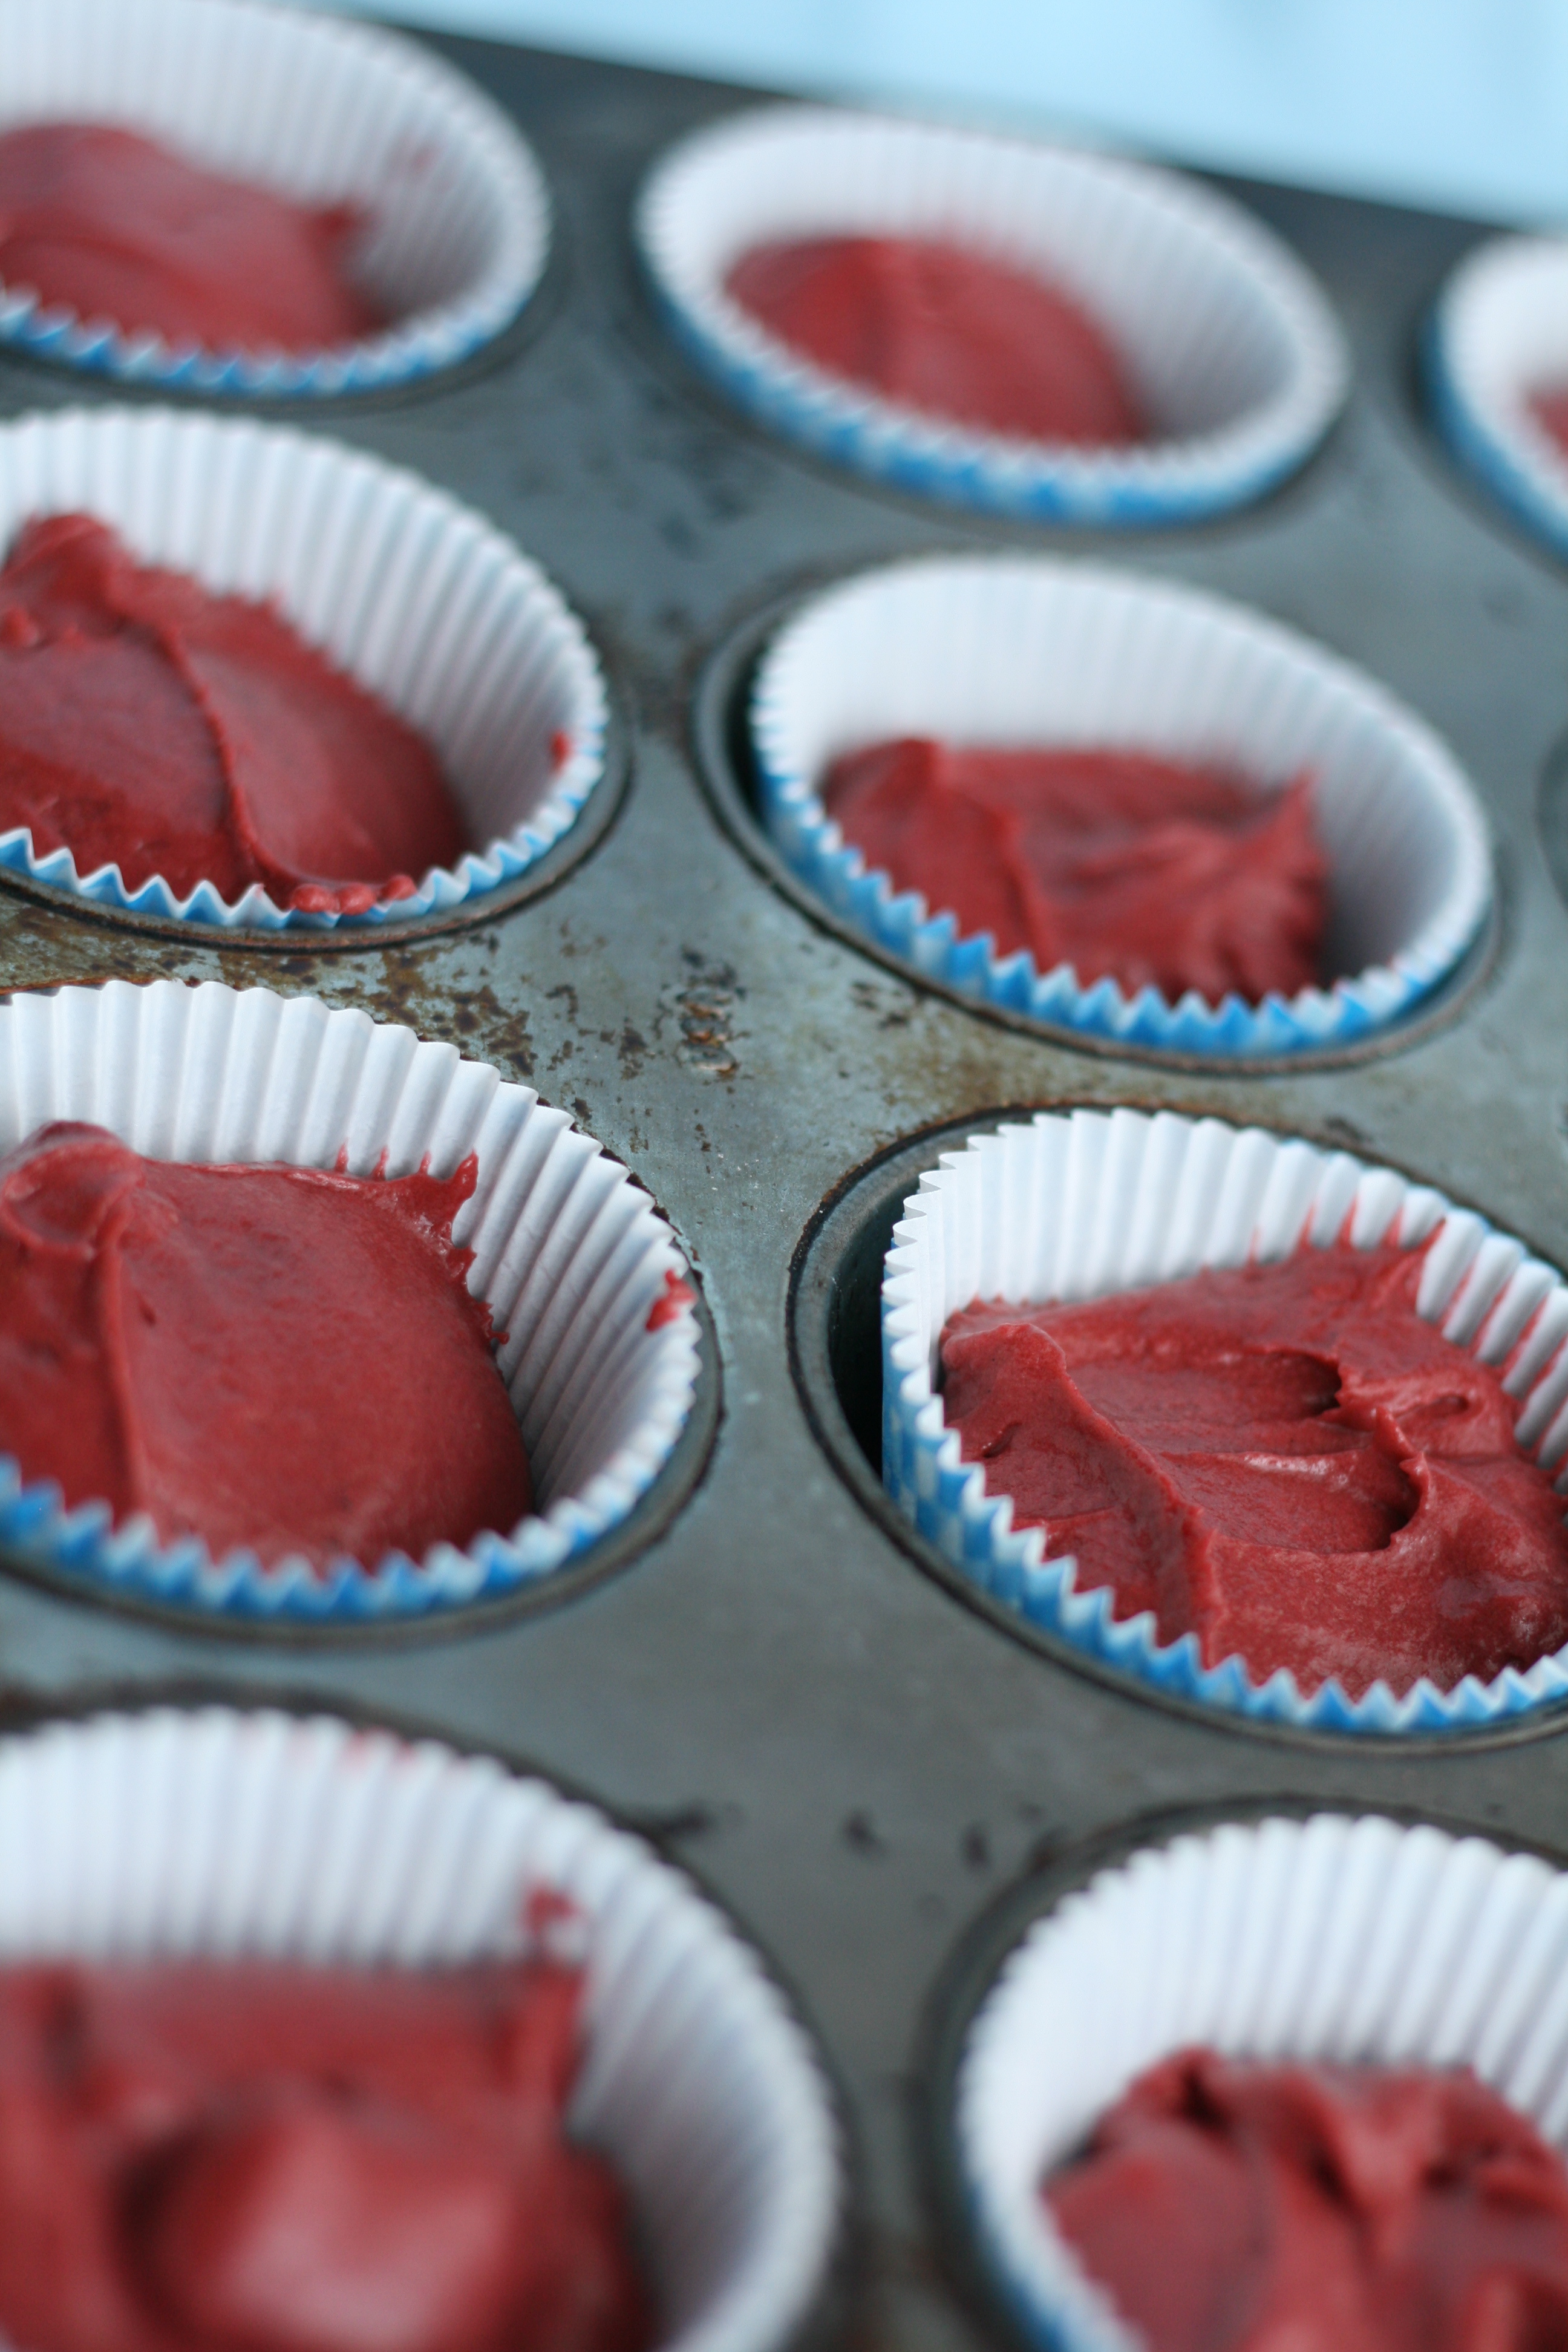
6.  Pour the batter into the liners and bake the cupcakes for 20 to 24 minutes, or until a wooden skewer comes out clean.
7. Cool the cupcakes for 5 minutes before inverting them on to a flat surface. Allow them to come to room temperature before frosting.

Cream Cheese Frosting
recipe by yours truly 

2 sticks of Unsalted Butter (room temp)
16 oz. Cream Cheese (room temp)
1 tsp. Vanilla Extract
Dash of Sea Salt
3-4 c. Powdered Sugar

1. Cream together butter and cream cheese.
2. Add vanilla extract and salt. Mix.
3. Add powdered sugar one cup at a time. Mix well between each addition. After 3 cups, taste to see if additional powdered sugar is necessary.
4. Ice your cupcakes. Looking for tips? Check out the last post.

If you missed it, click here for the sailboat decorations. For matching invitations, click here.
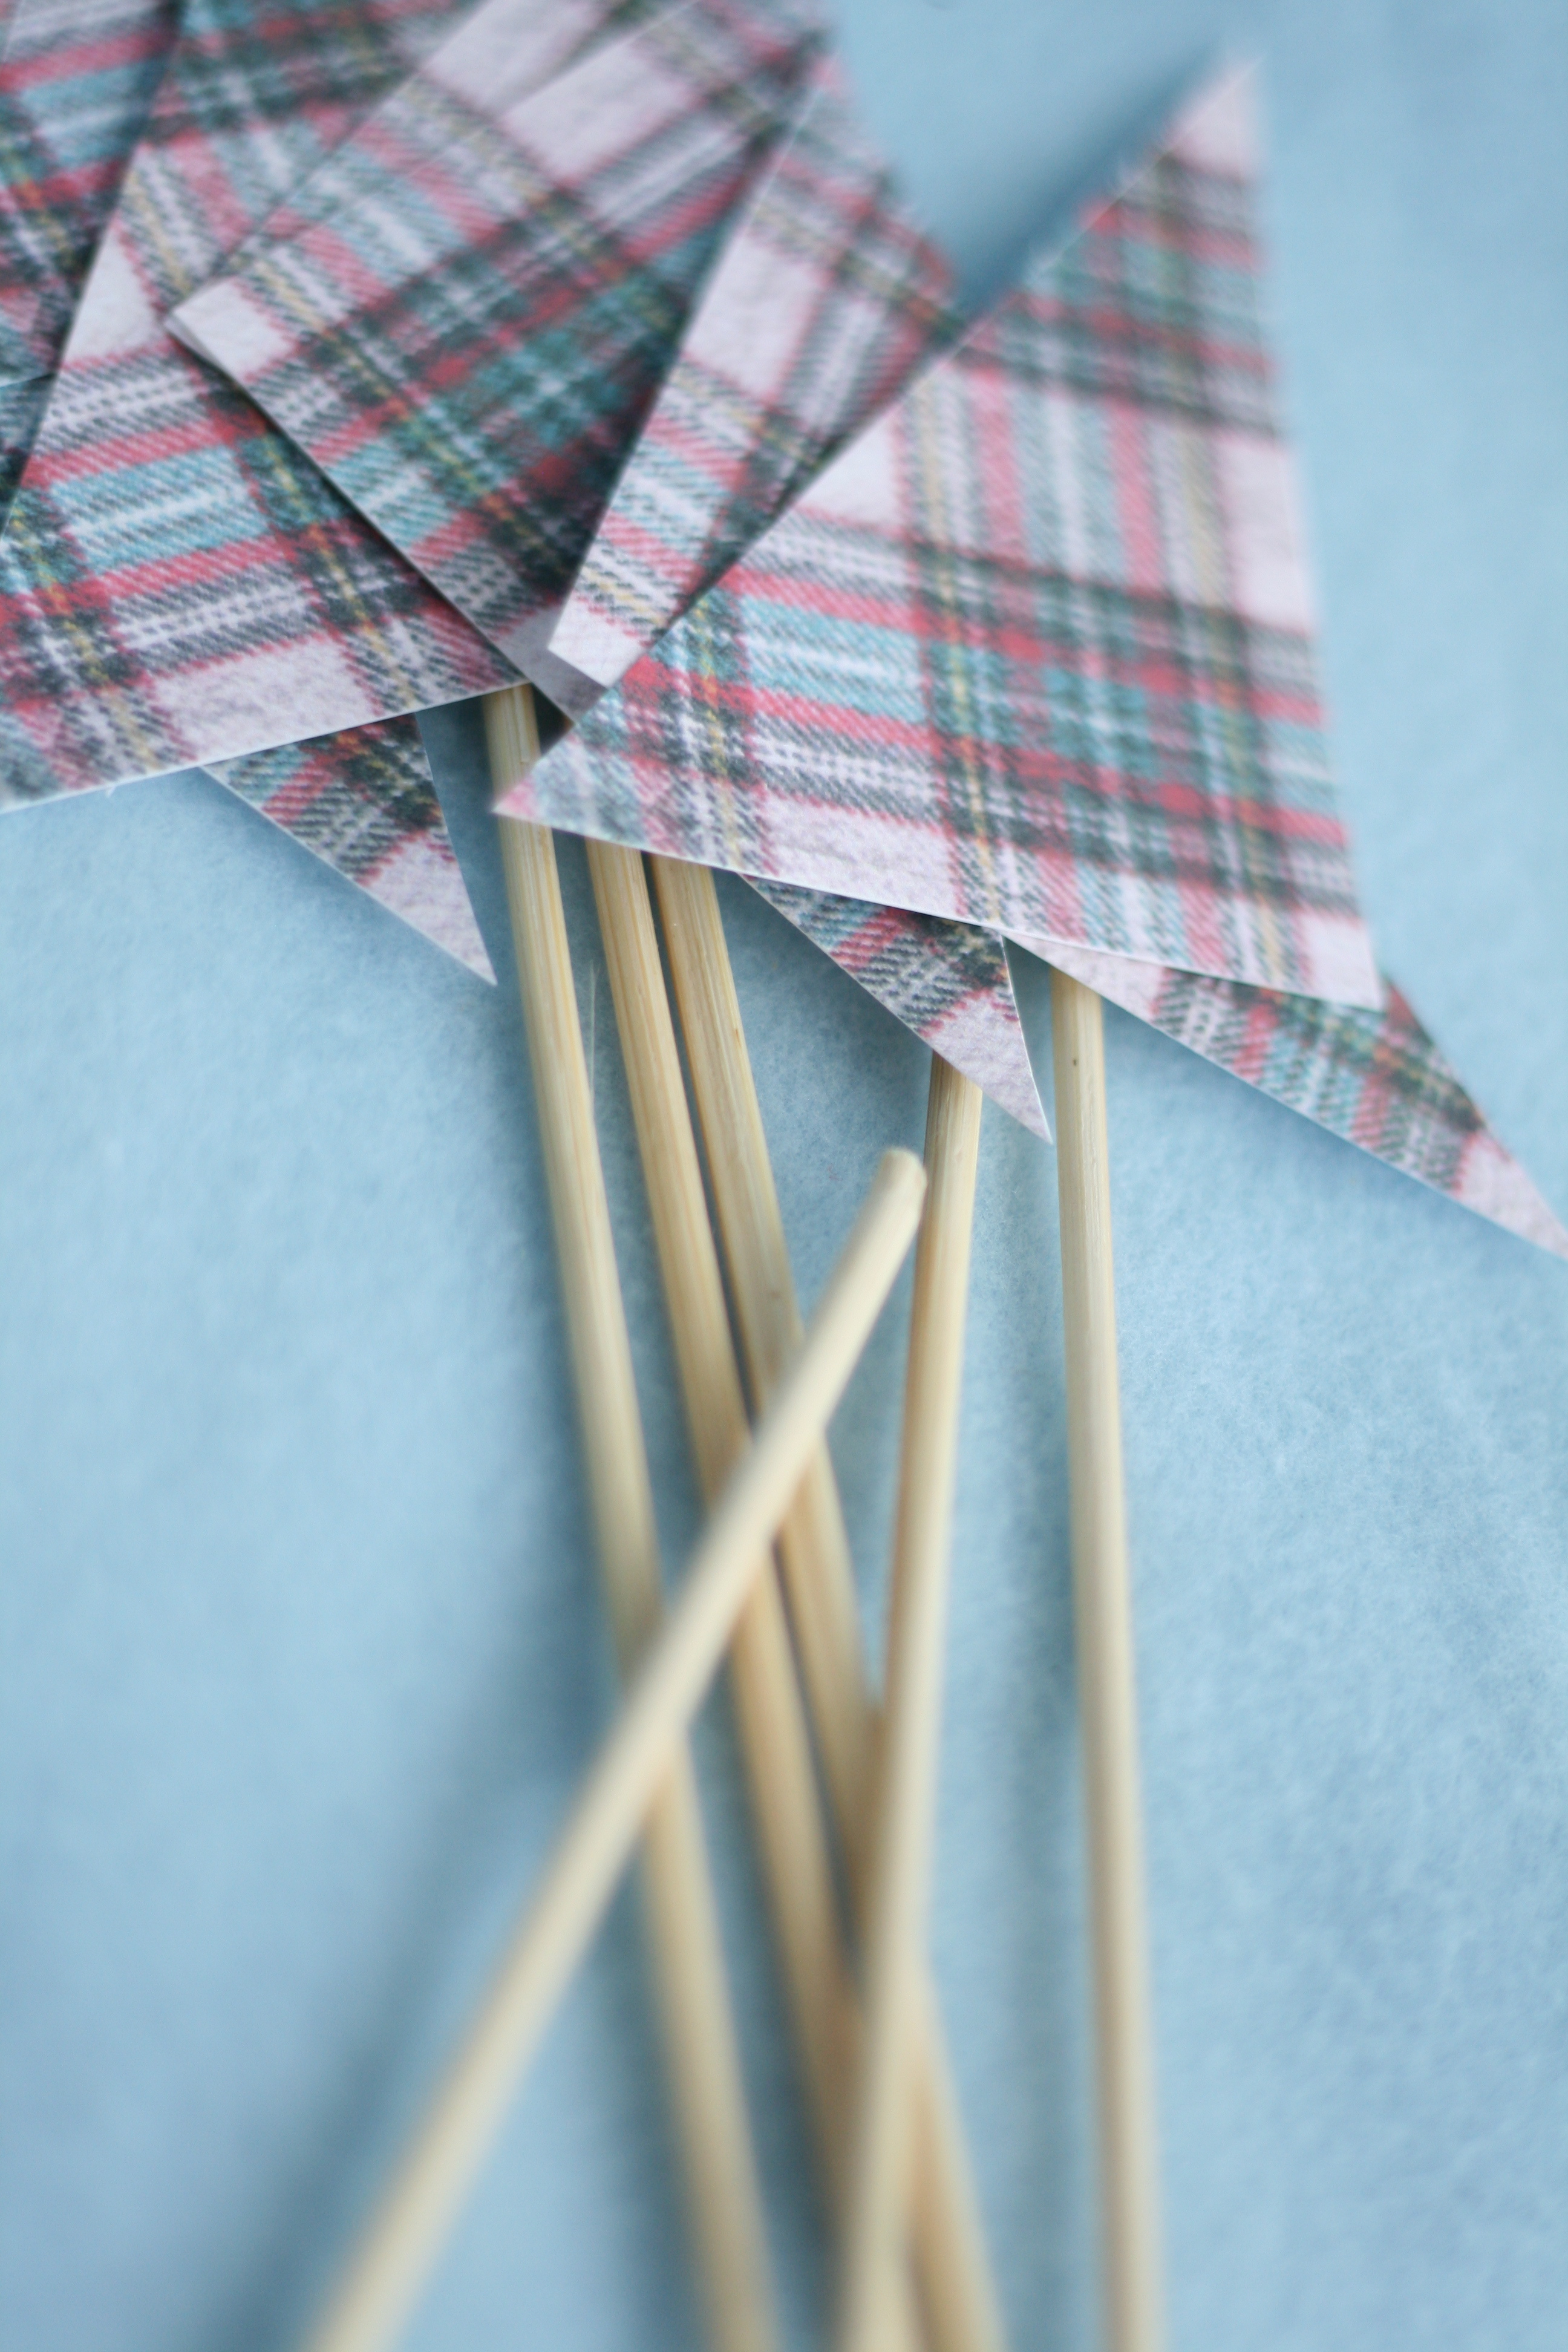
P.S.—These lovely little sailboats made their debut on the very talented Shauna Younge’s blog! Thanks Shauna!

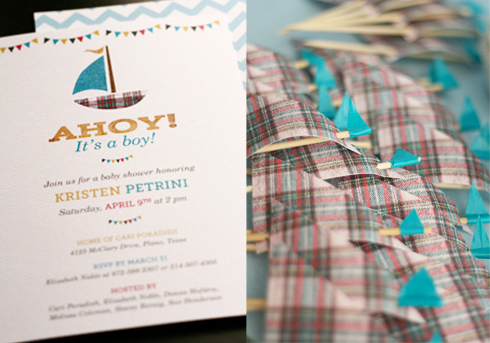
Remember the Ahoy! It’s a boy! invites I shared with you a couple weeks ago? I told you I may or may not be making cupcakes with a cute DIY topper. Well, I wasn’t lying. It’s time for more sharing and free downloads!

This post includes DIY instructions for the sailboat cupcake toppers. Another post on the recipe for red velvet cupcakes and cream cheese frosting is to come. So sit down, get out a pen an paper (or just bookmark this page), and let’s get decorating!

Here’s what you’ll need:
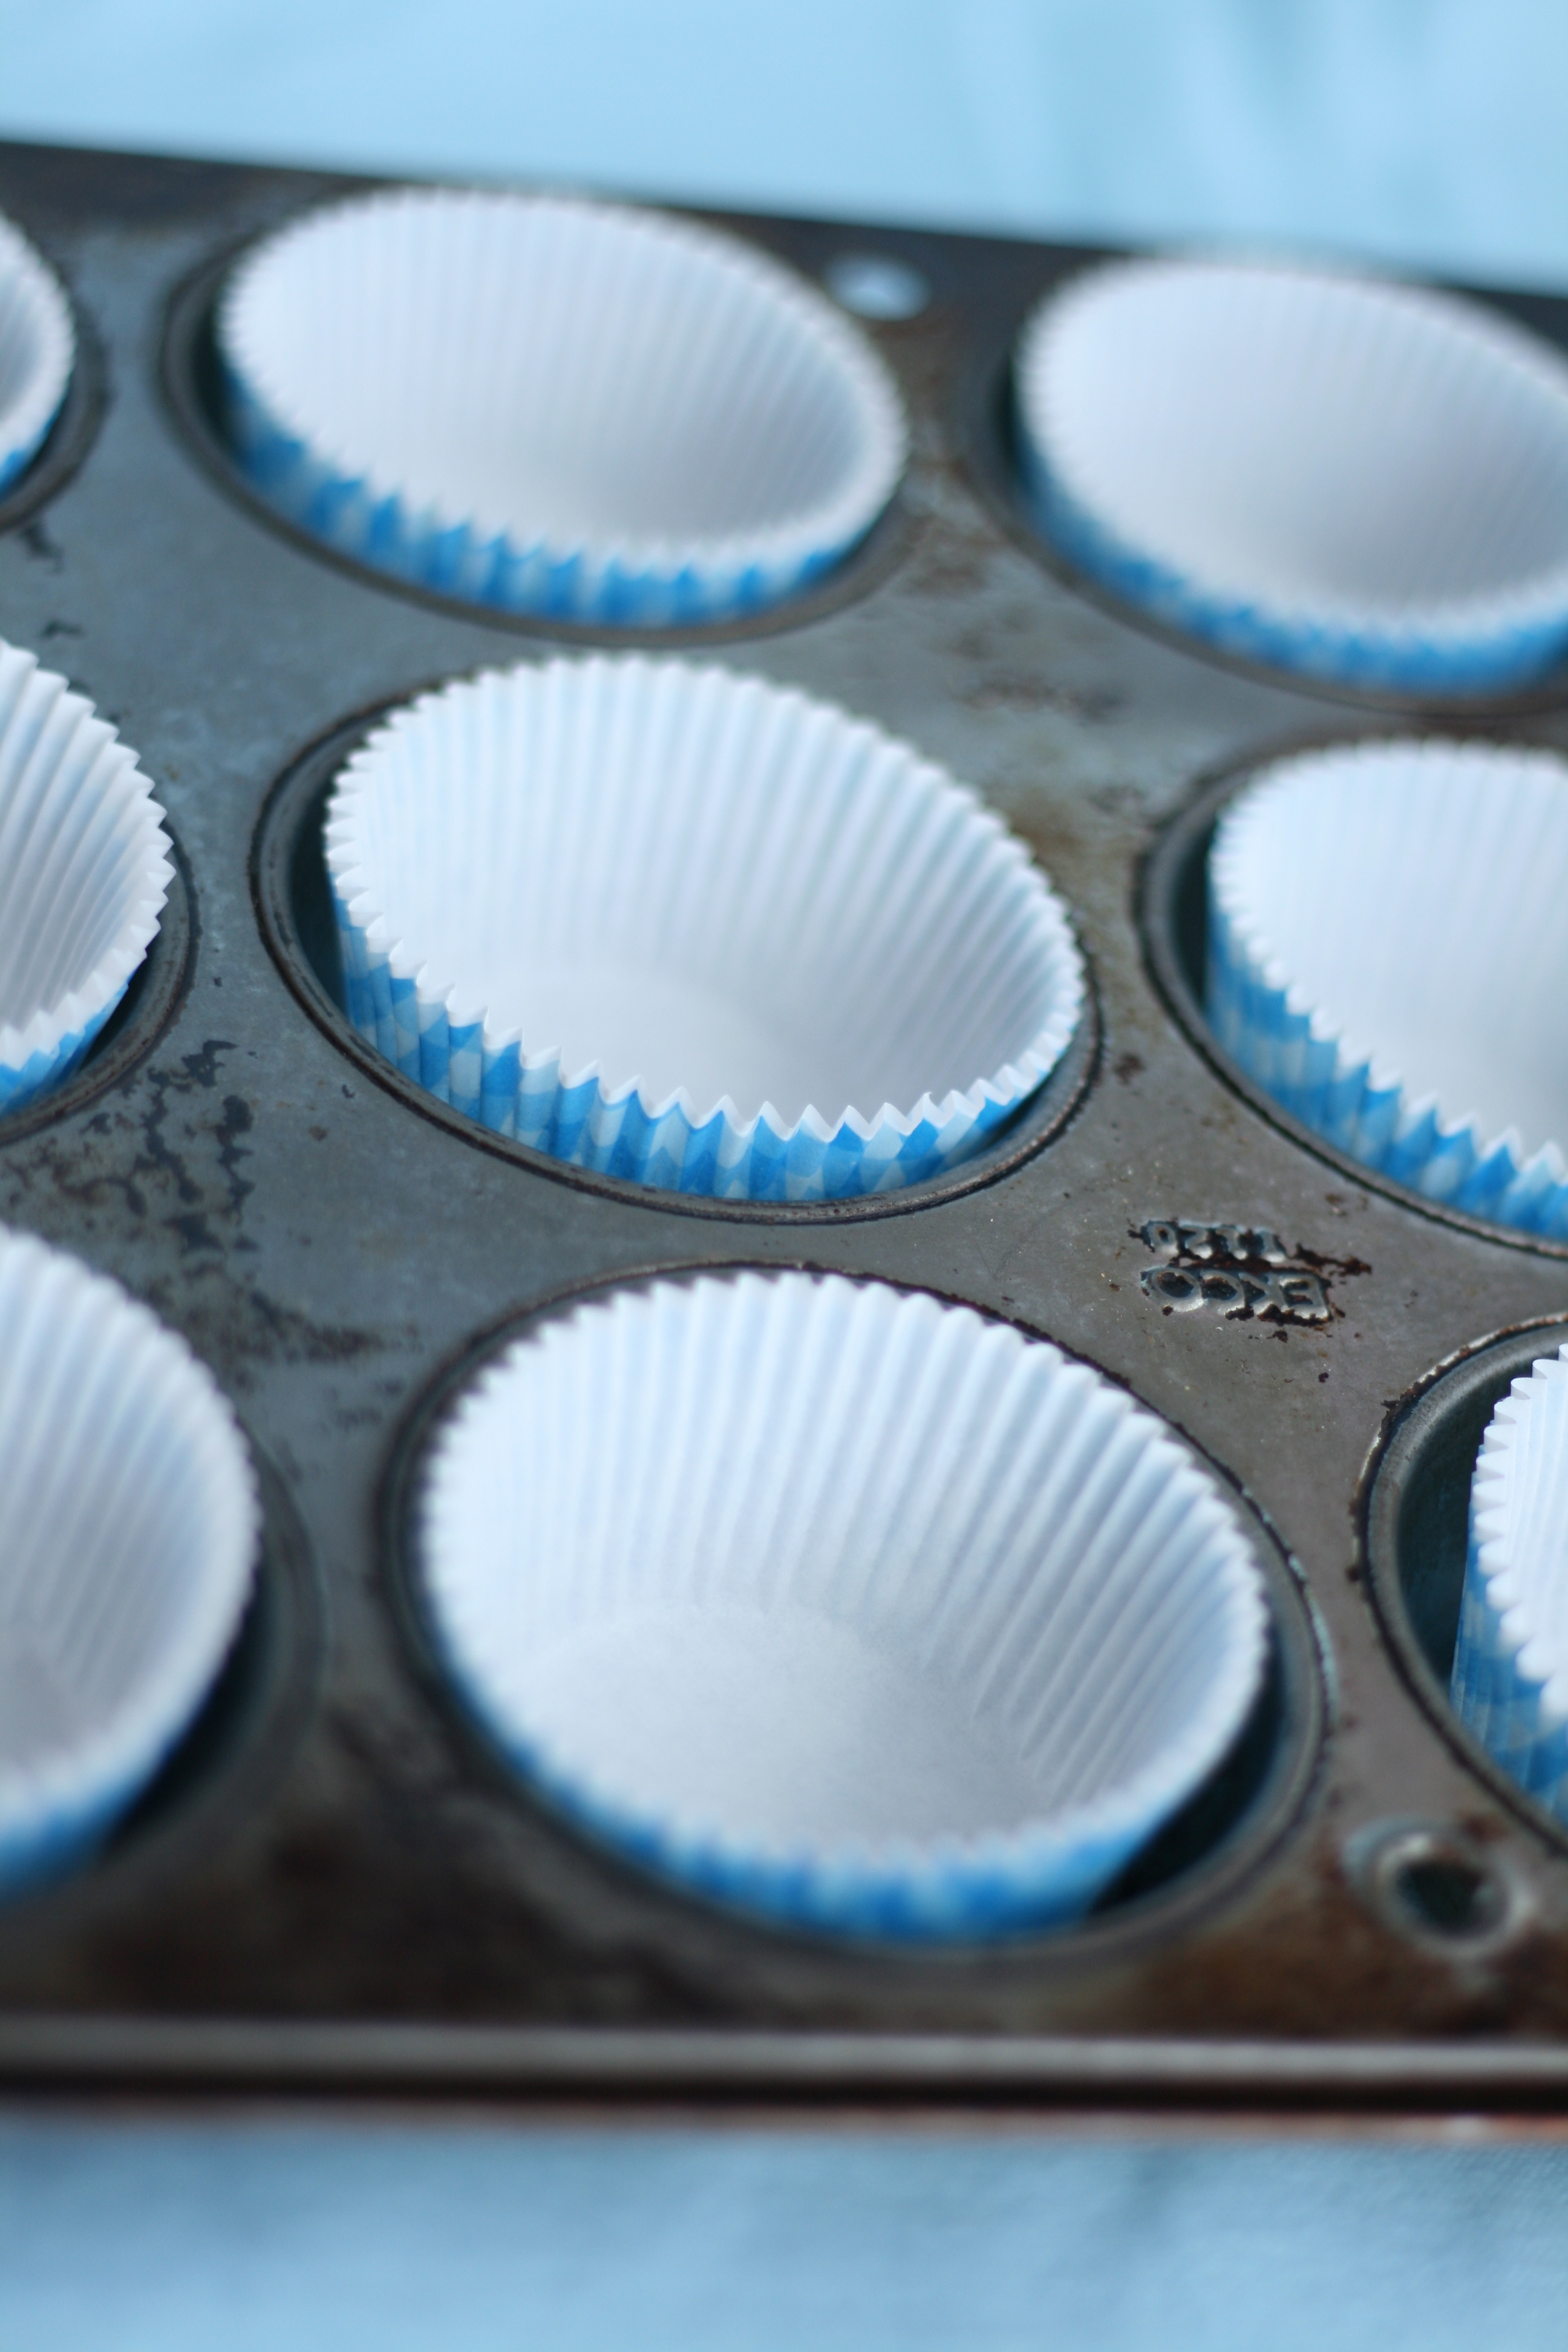
• Plaid Cupcake Liners (I ordered mine from Bake it Pretty. Sweet LuLu is another great resource for cute baking supplies.)
• White Cupcake Liners (Always double up your liners so you can actually see the pretty liner. If you use one liner, when the cupcake bakes, the color of the cupcake will bleed into the liner thus losing its pretty pattern. Sad.)
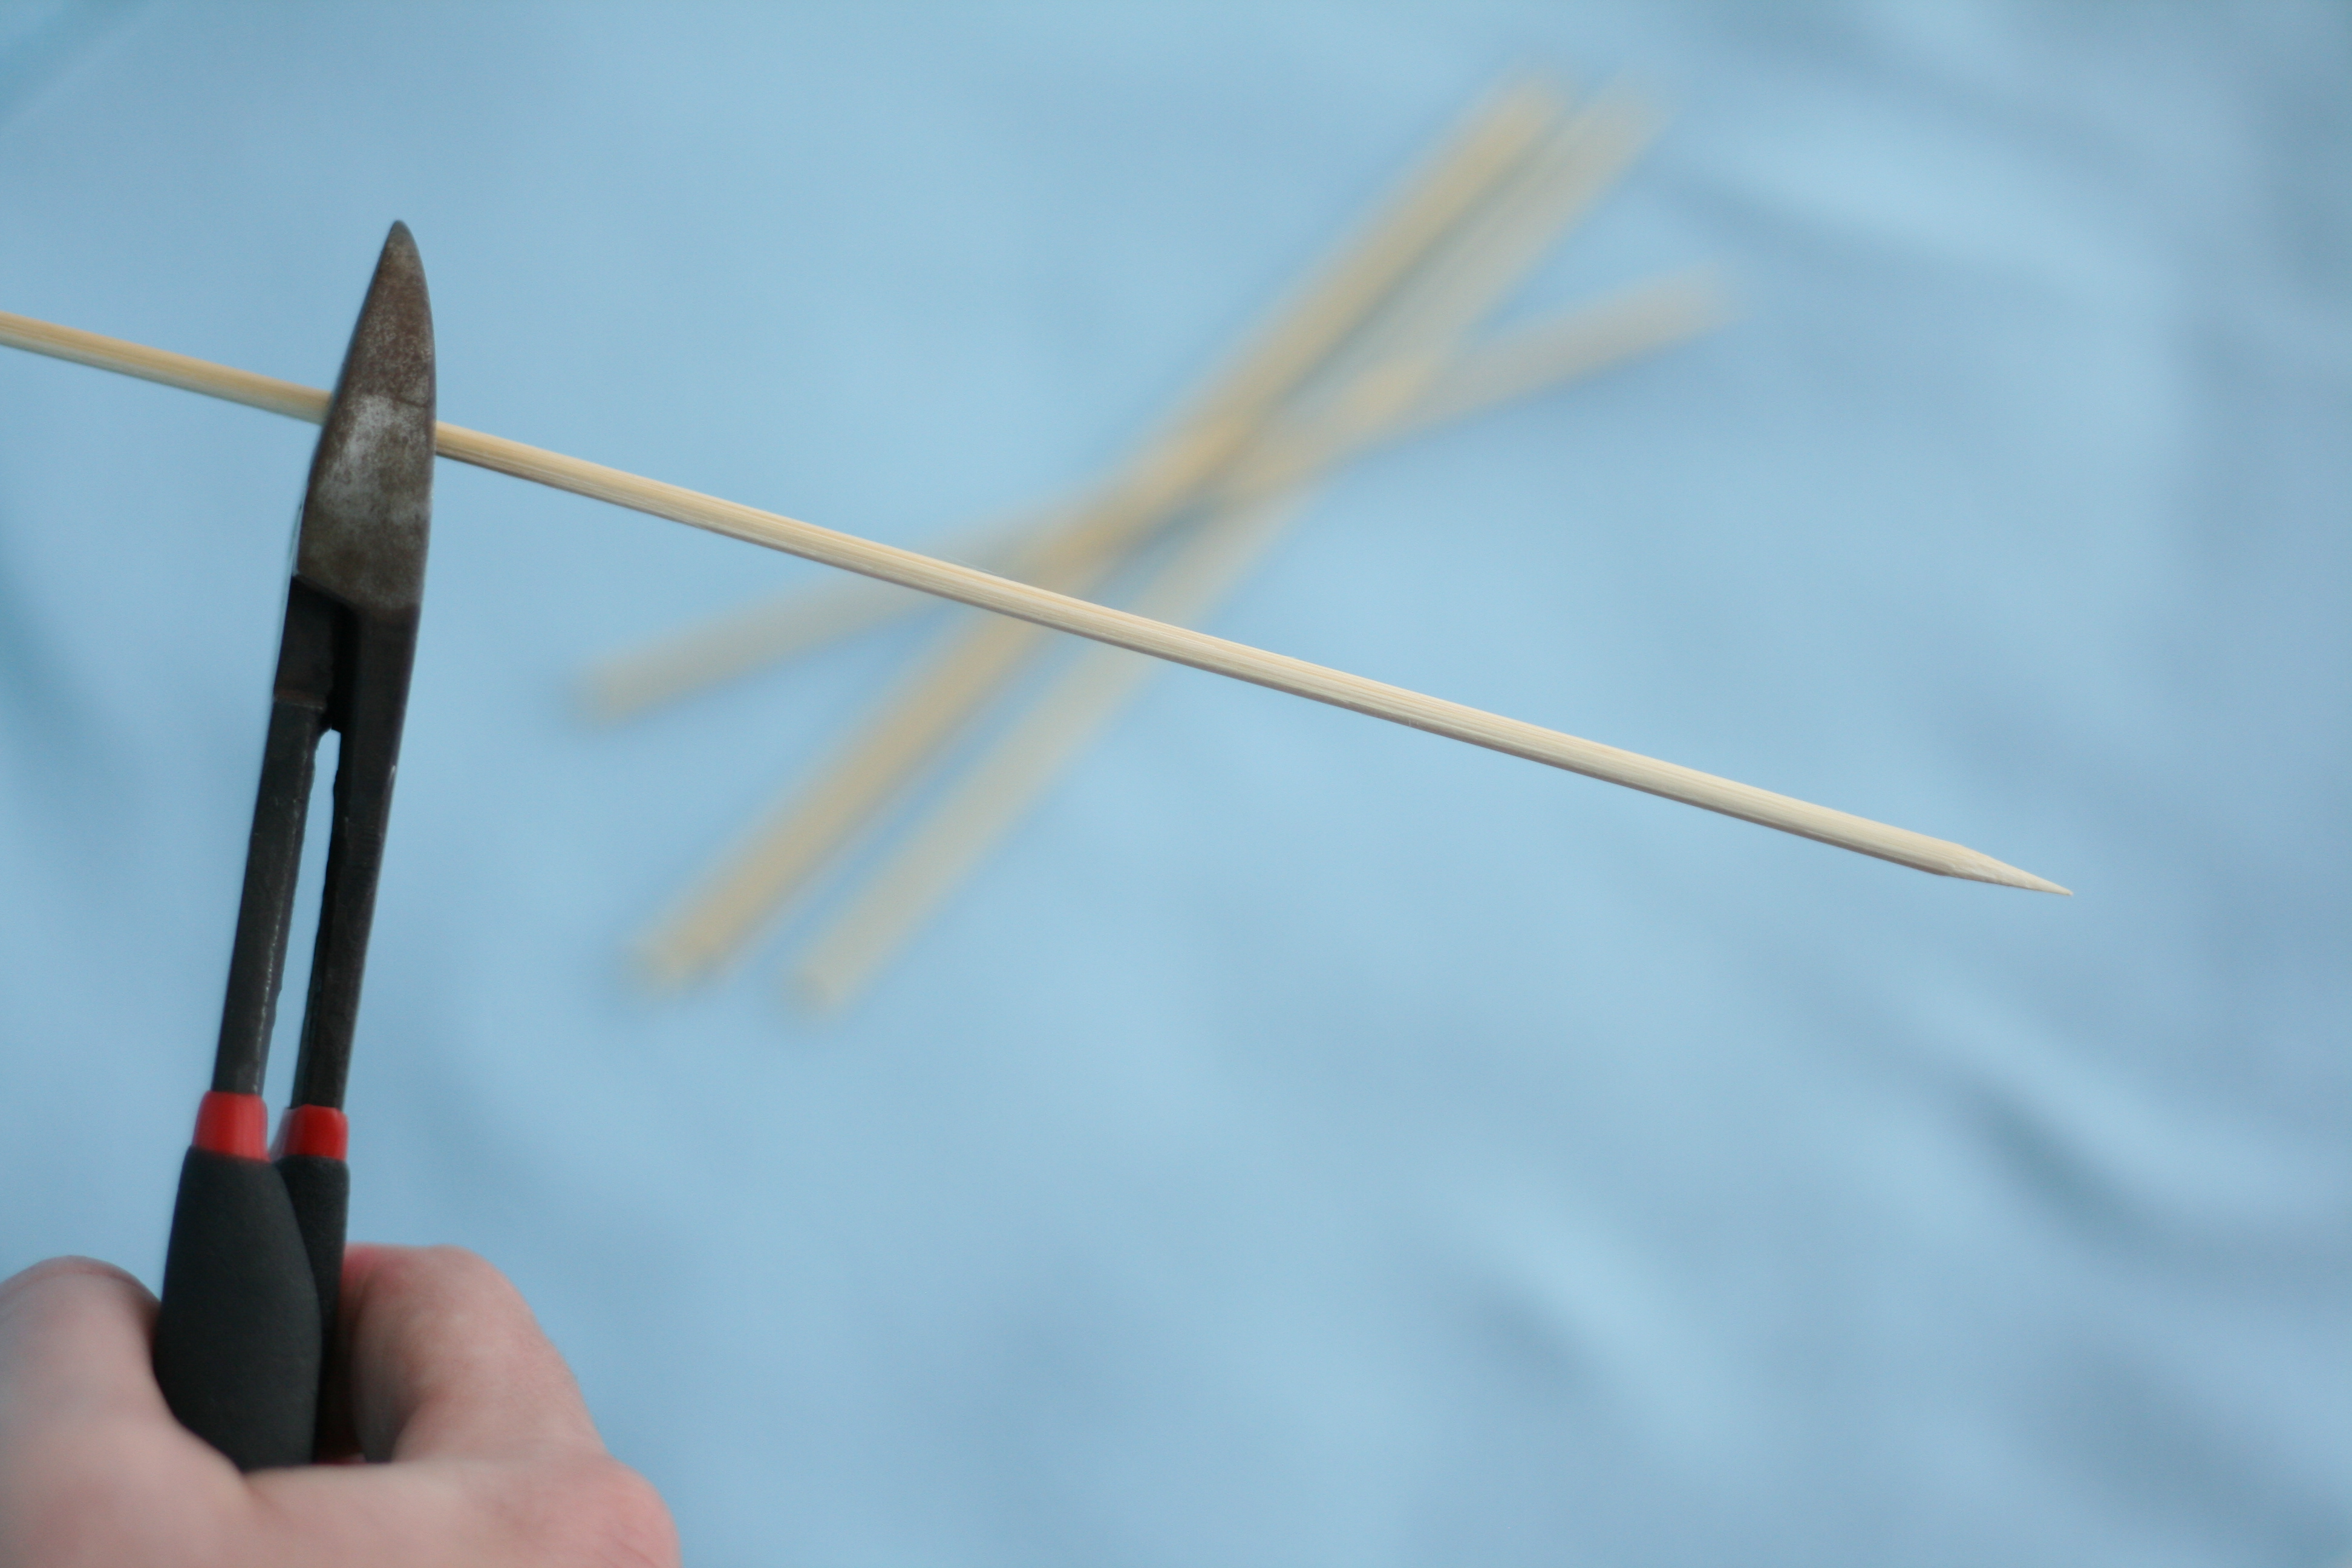
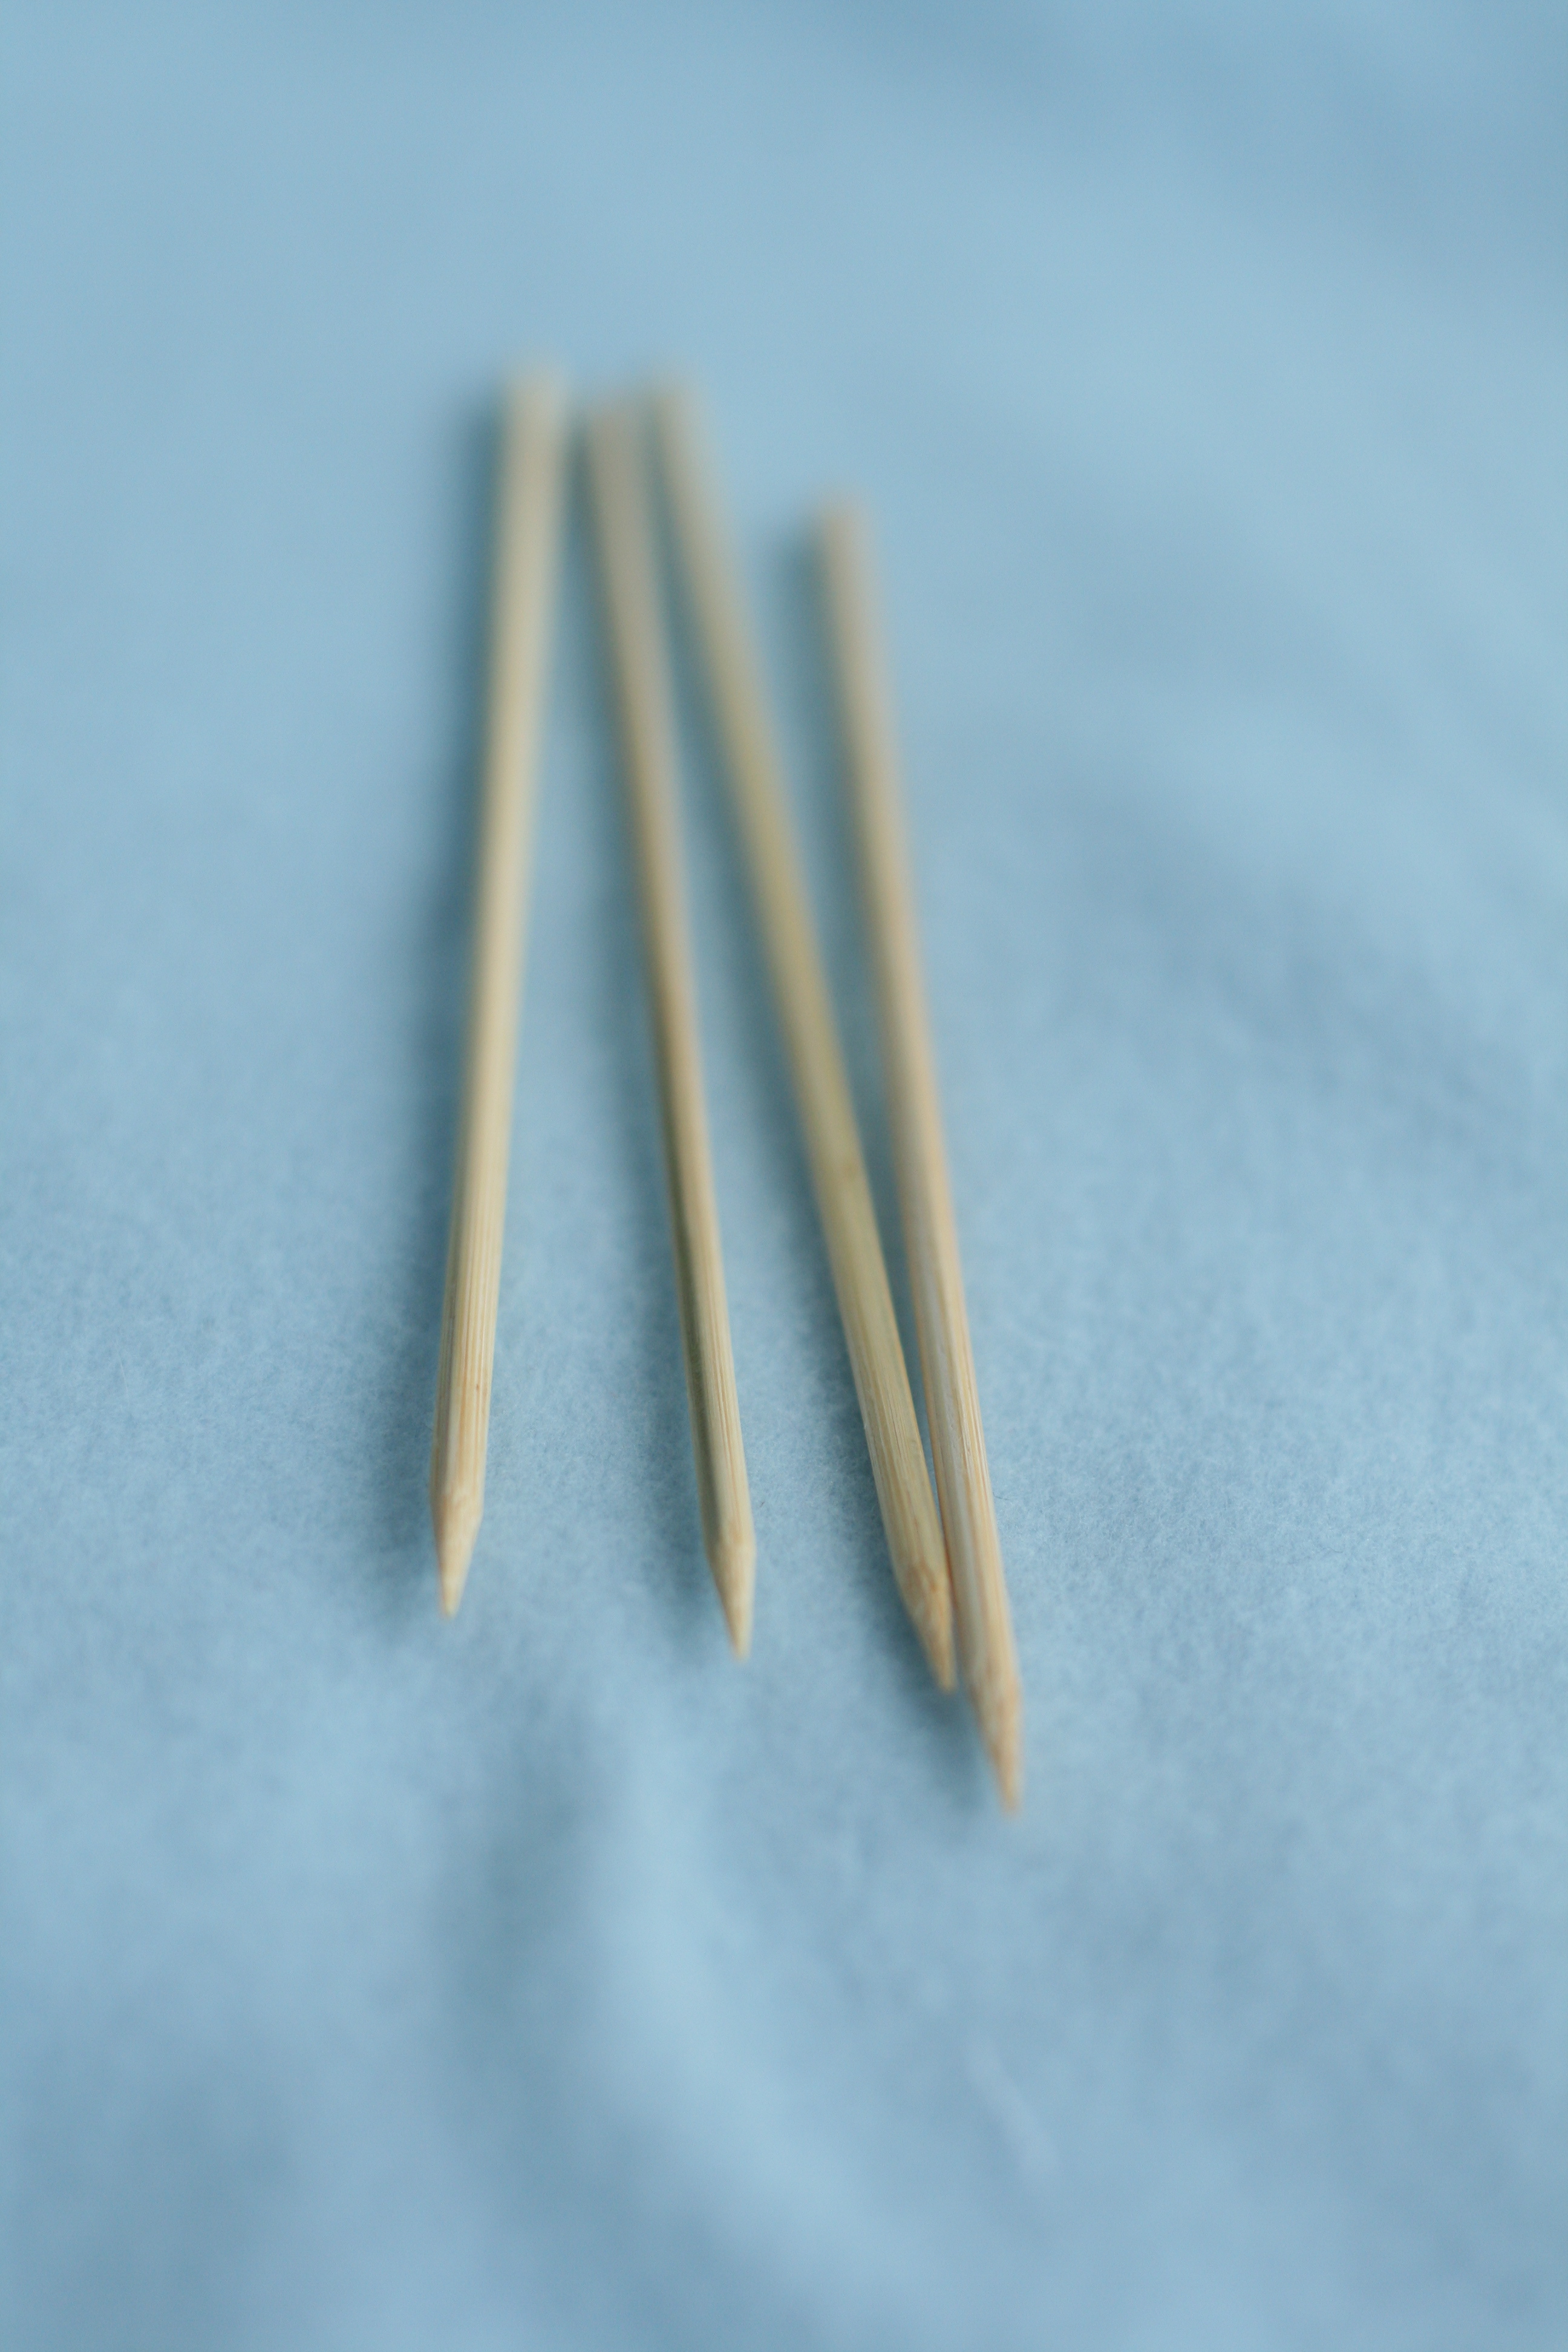
• Wooden Skewers (Think kabobs.)
• Wire Cutters
FauxMartha Cupcake Sail Pattern
• Printer
• Textured, cardstock weight paper
• Scissors
• Exacto Knife
• Cutting Board
• Colored Duck Tape (or colored masking tape)

Here’s how to achieve the look (pictures below):
1. Make and bake your cupcakes, using a recipe of your choice. Remember to use 2 liners. Place the white liner inside the plaid liner. Allow cupcakes to fully cool before icing and decorating.
2. Meanwhile, cut wooden skewers about 5″ long using wire cutters or some other cutting utensil. Keep the side with the pointed end. Don’t worry if the wood begins to fray where you made the cut. We will cover that up shortly.
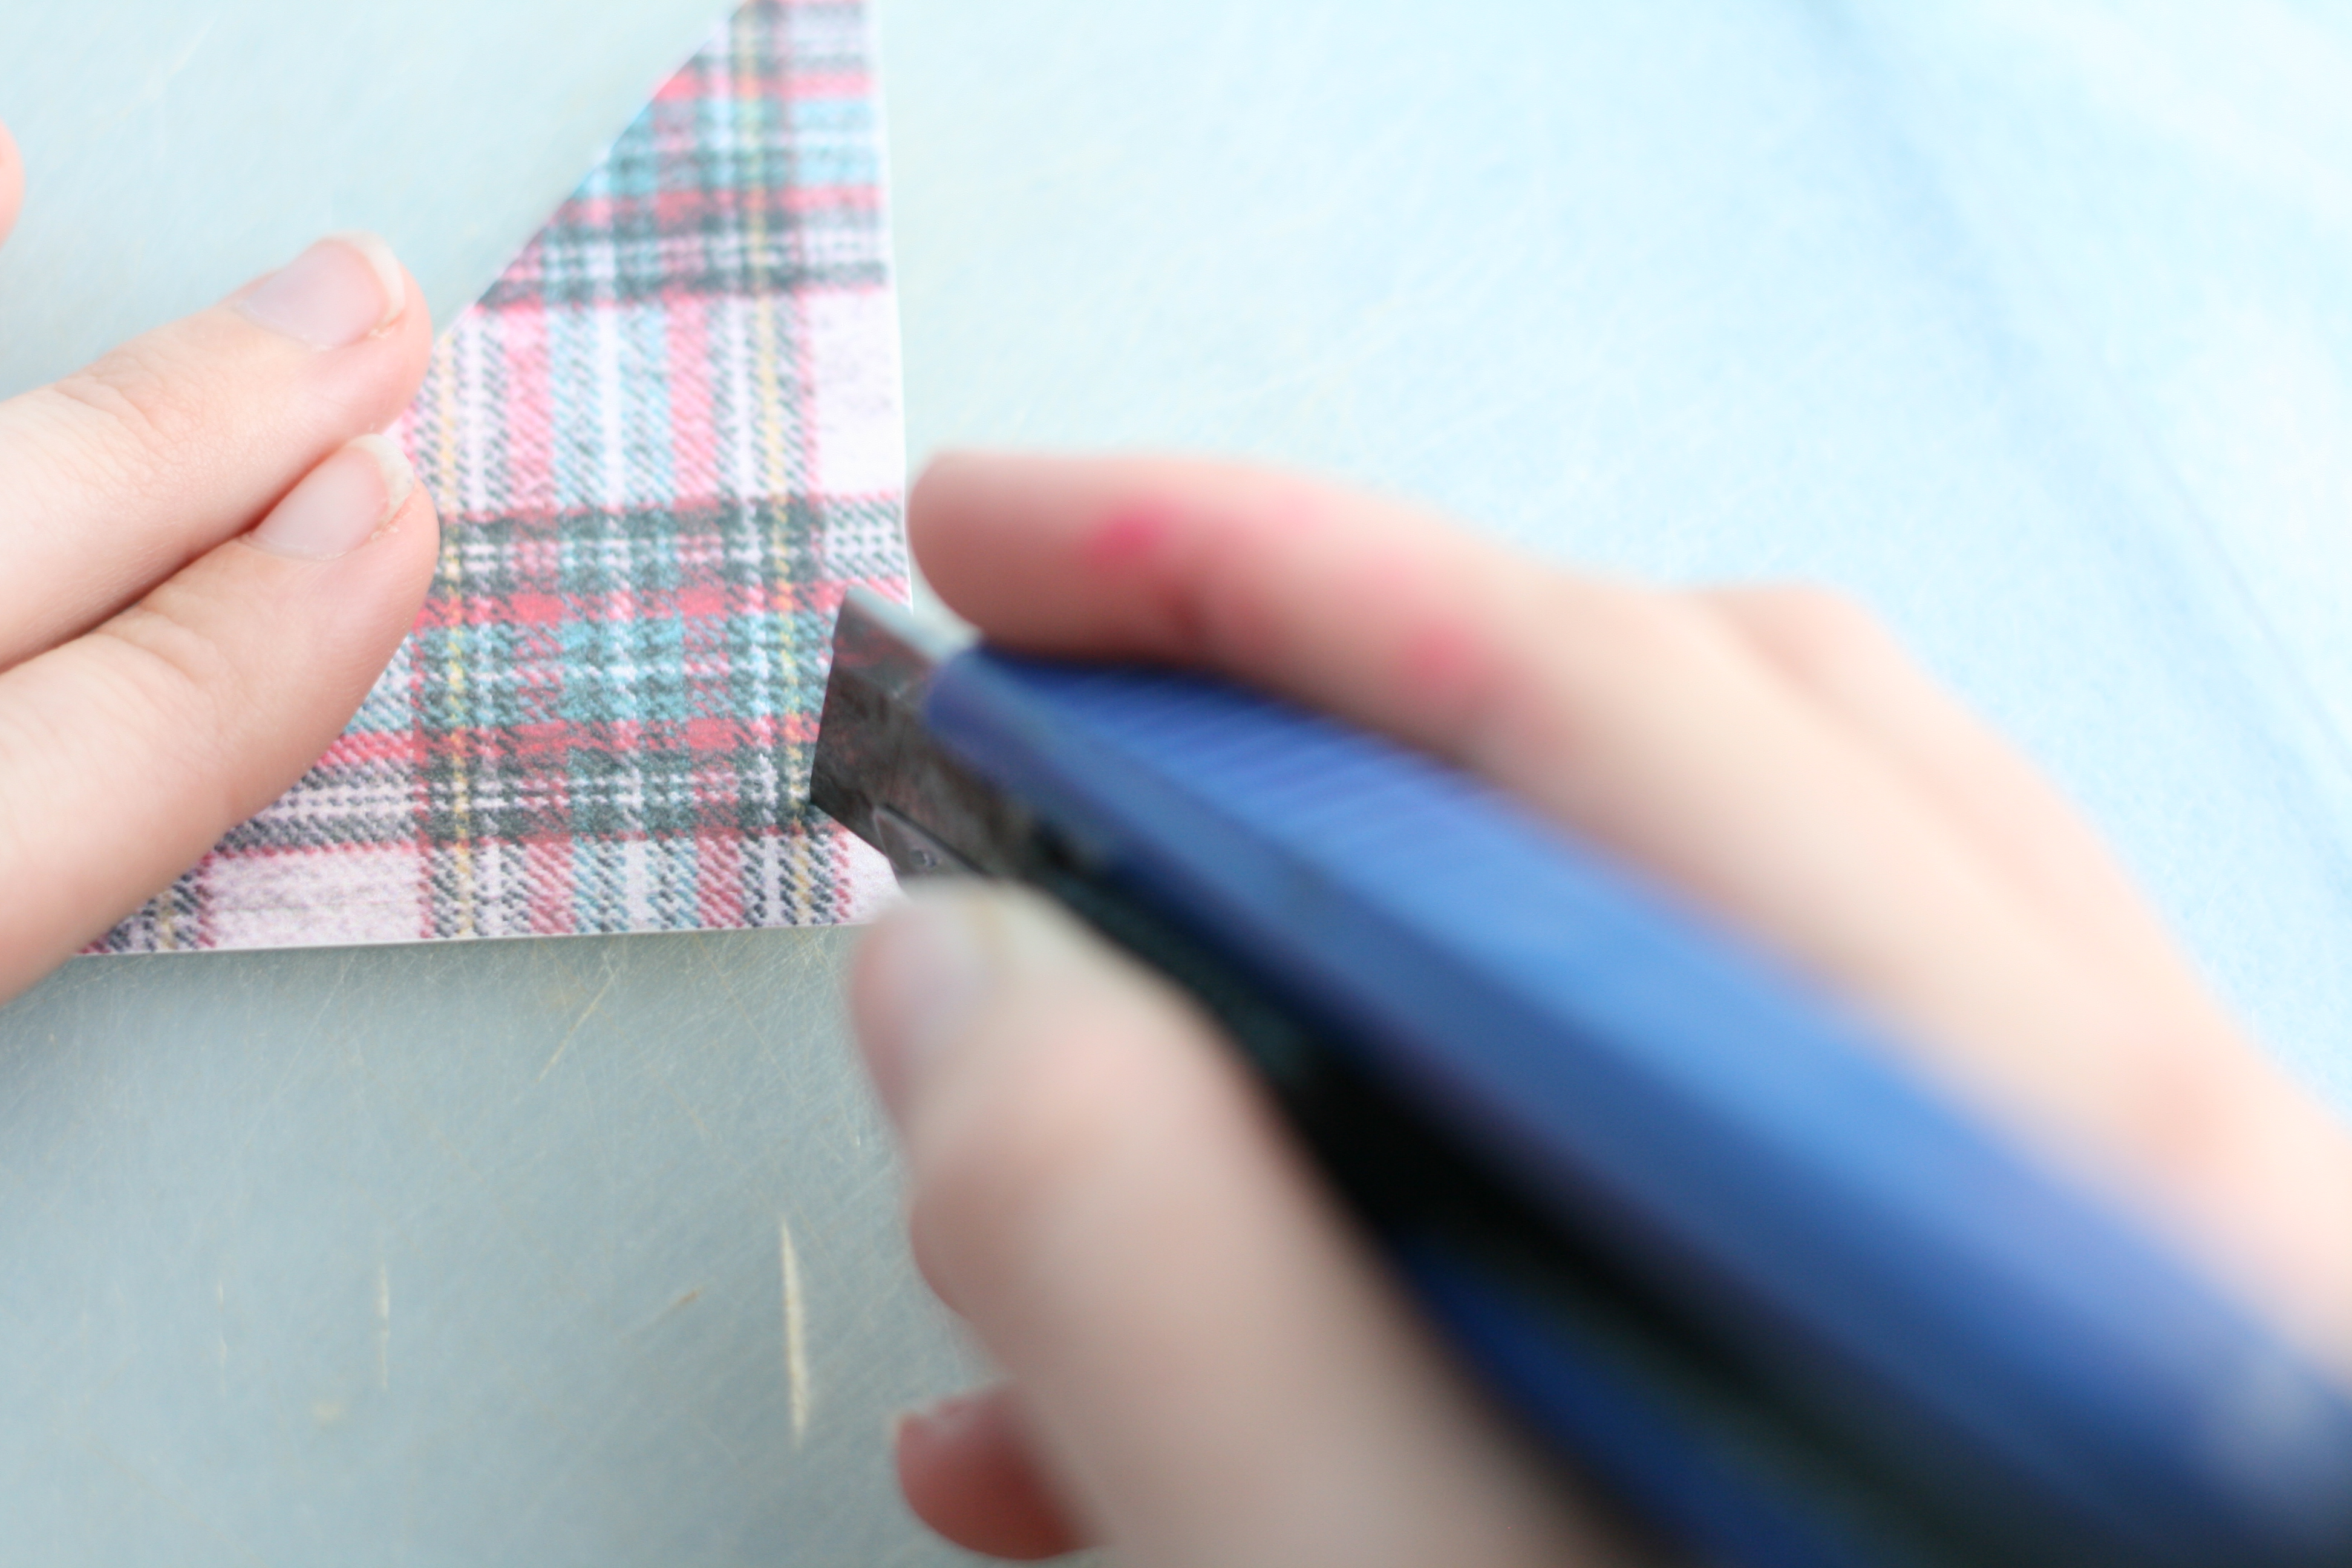
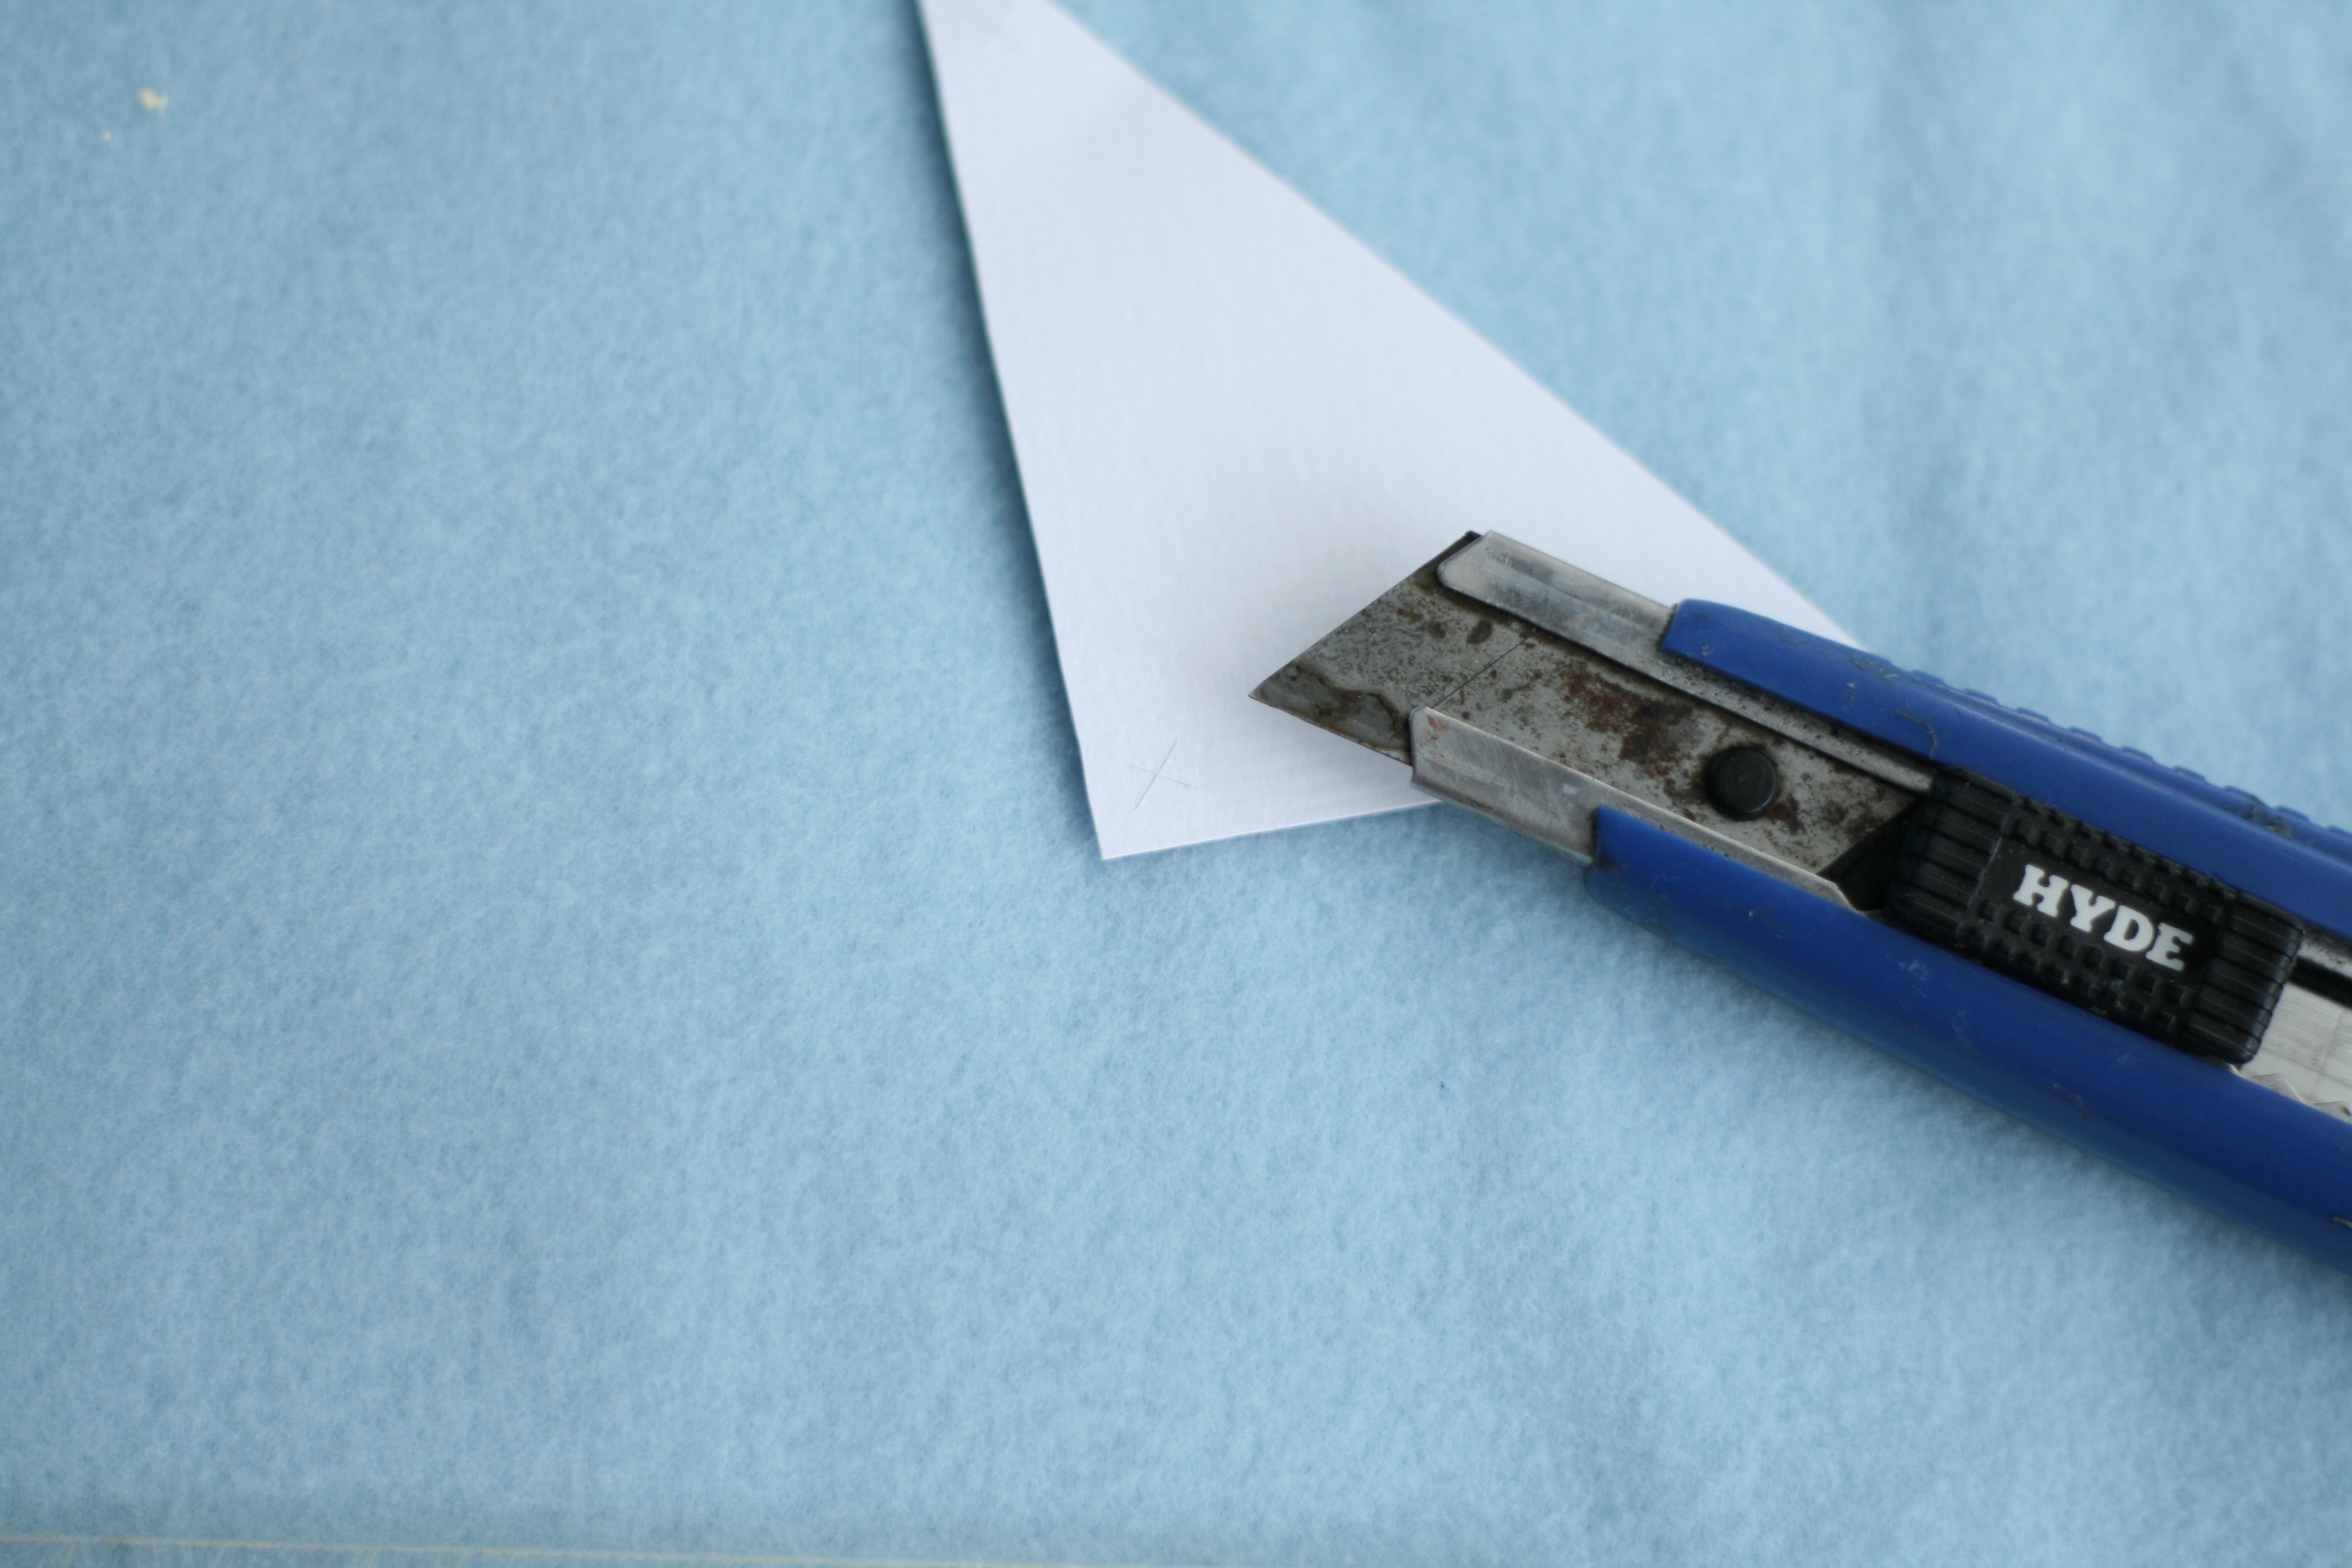
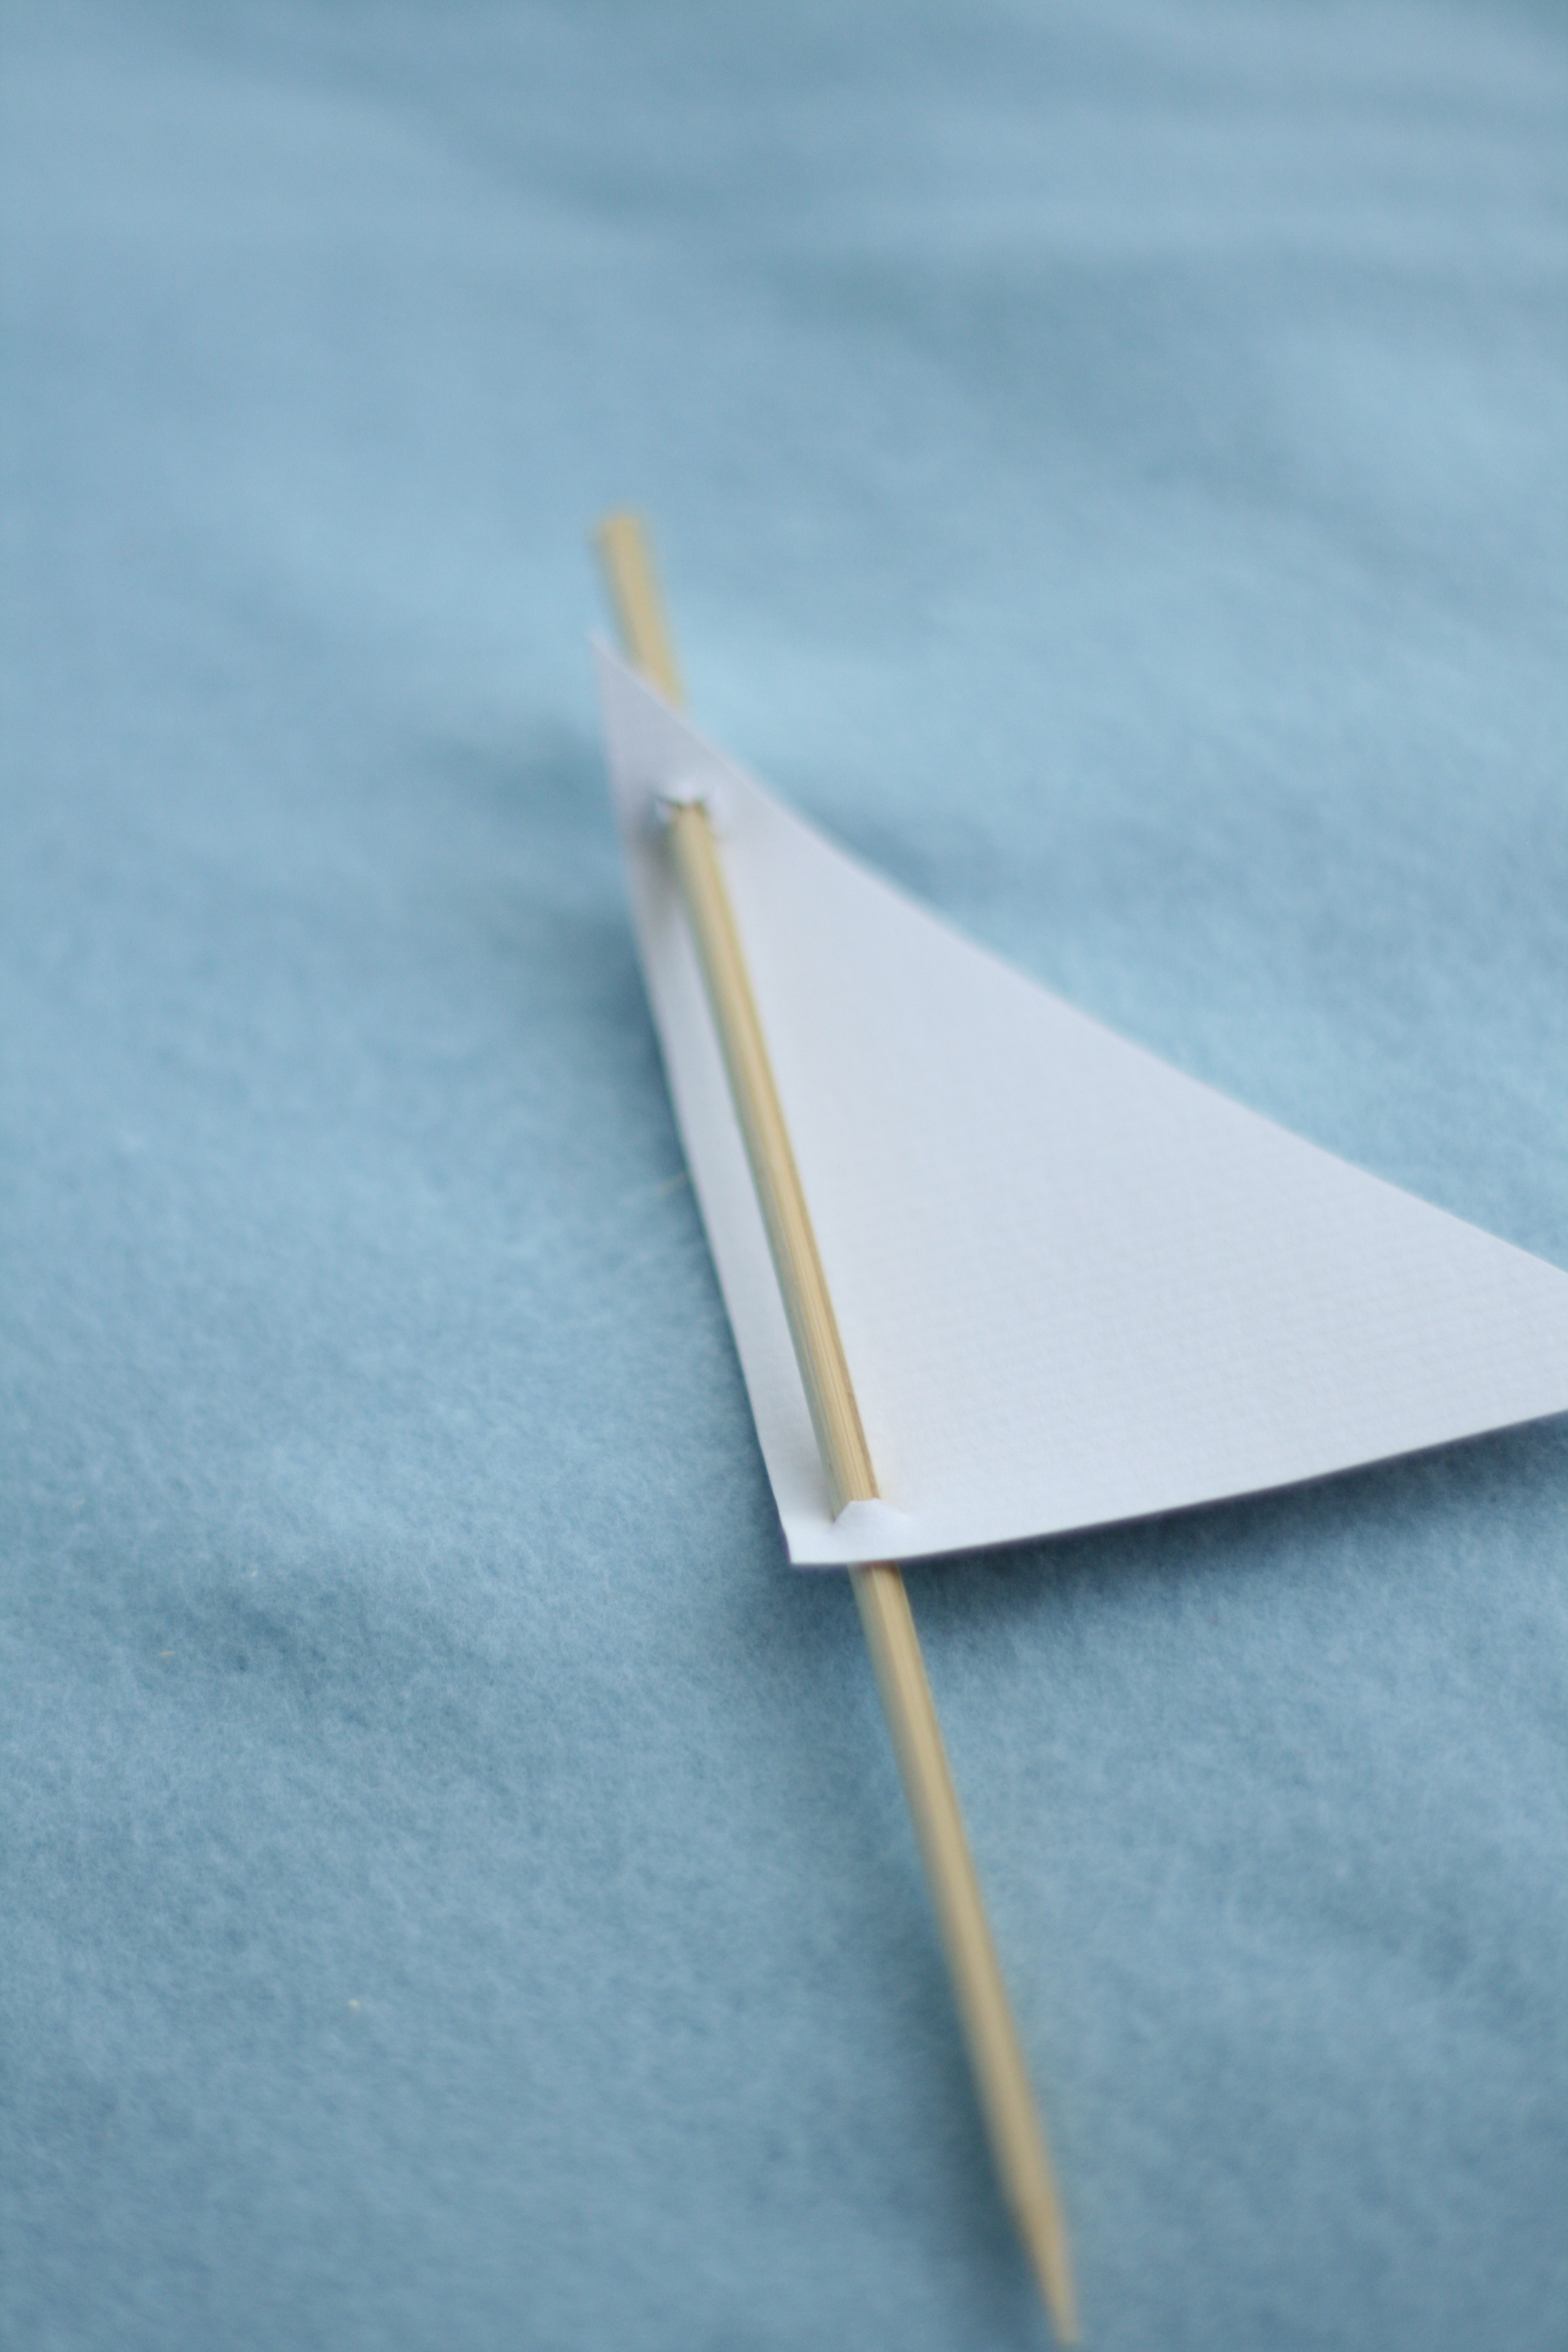
3. Print out the FauxMartha Cupcake Sail Pattern on textured cardstock. Cut out each sail. Using the longest side of the triangle (not the angle), cut an “x” at the top and bottom on a cutting board. Insert pointed end of wooden skewer into the top “x” on the printed side. Continue to insert the skewer through the second “x”.
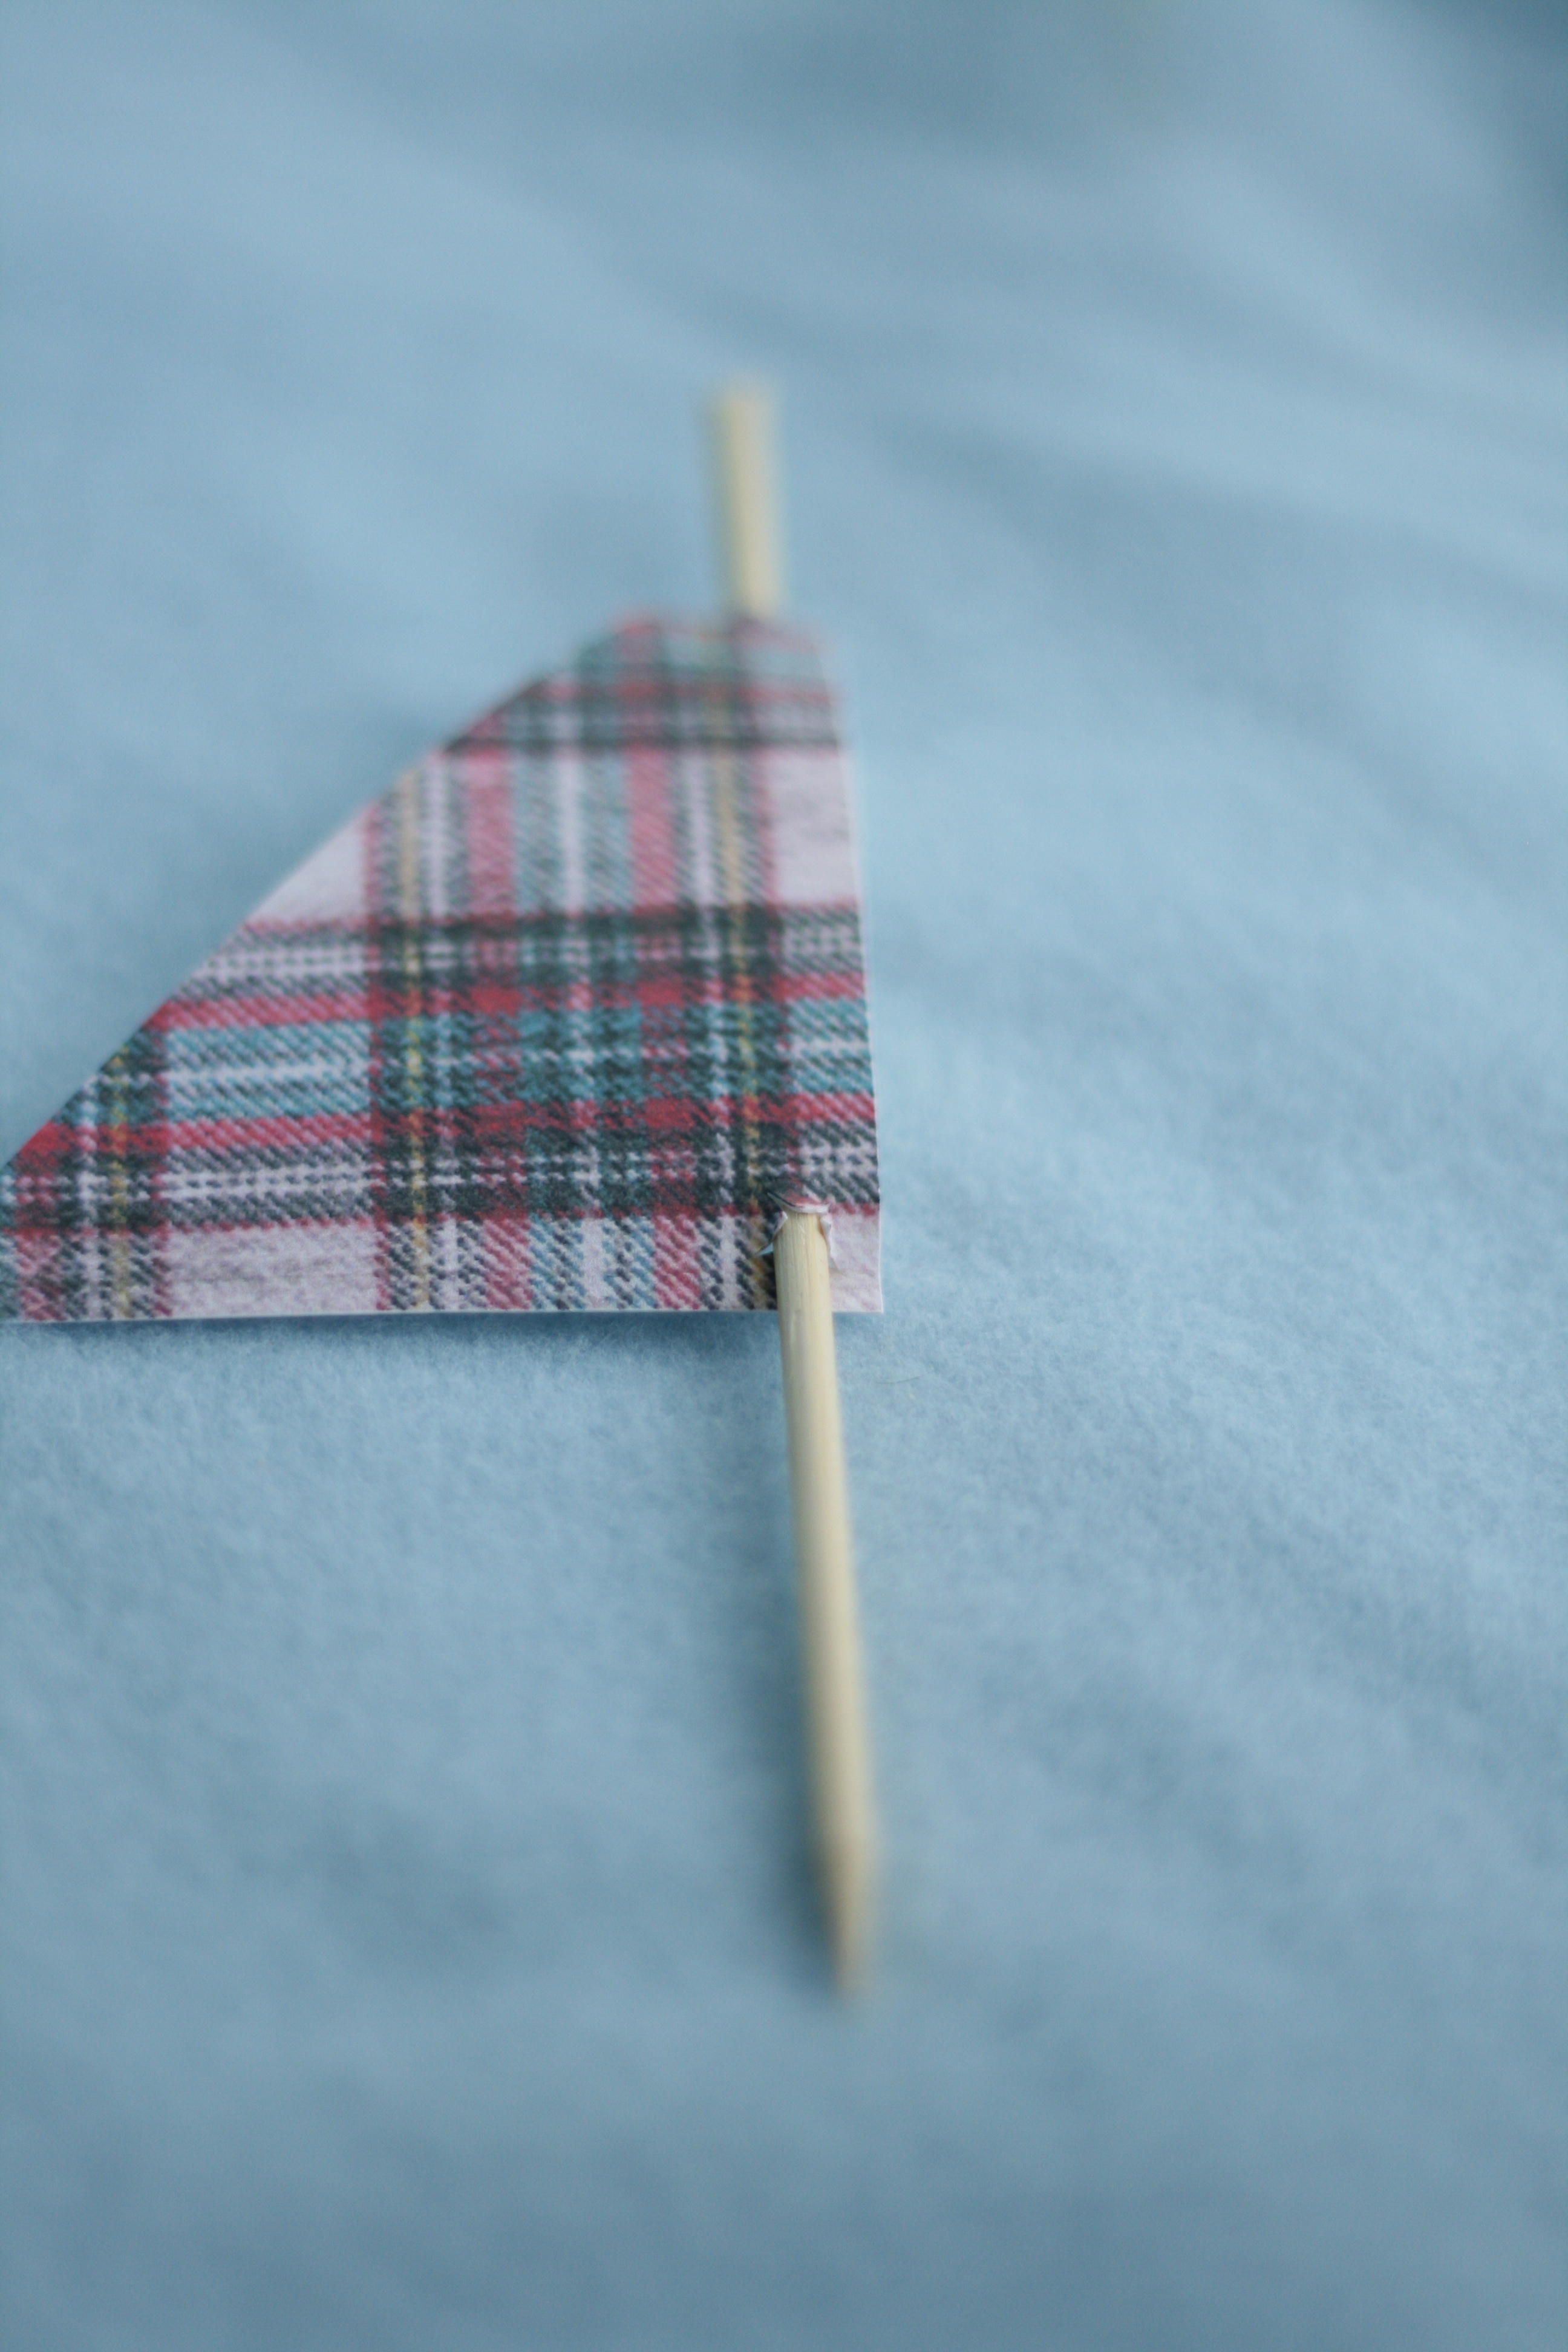
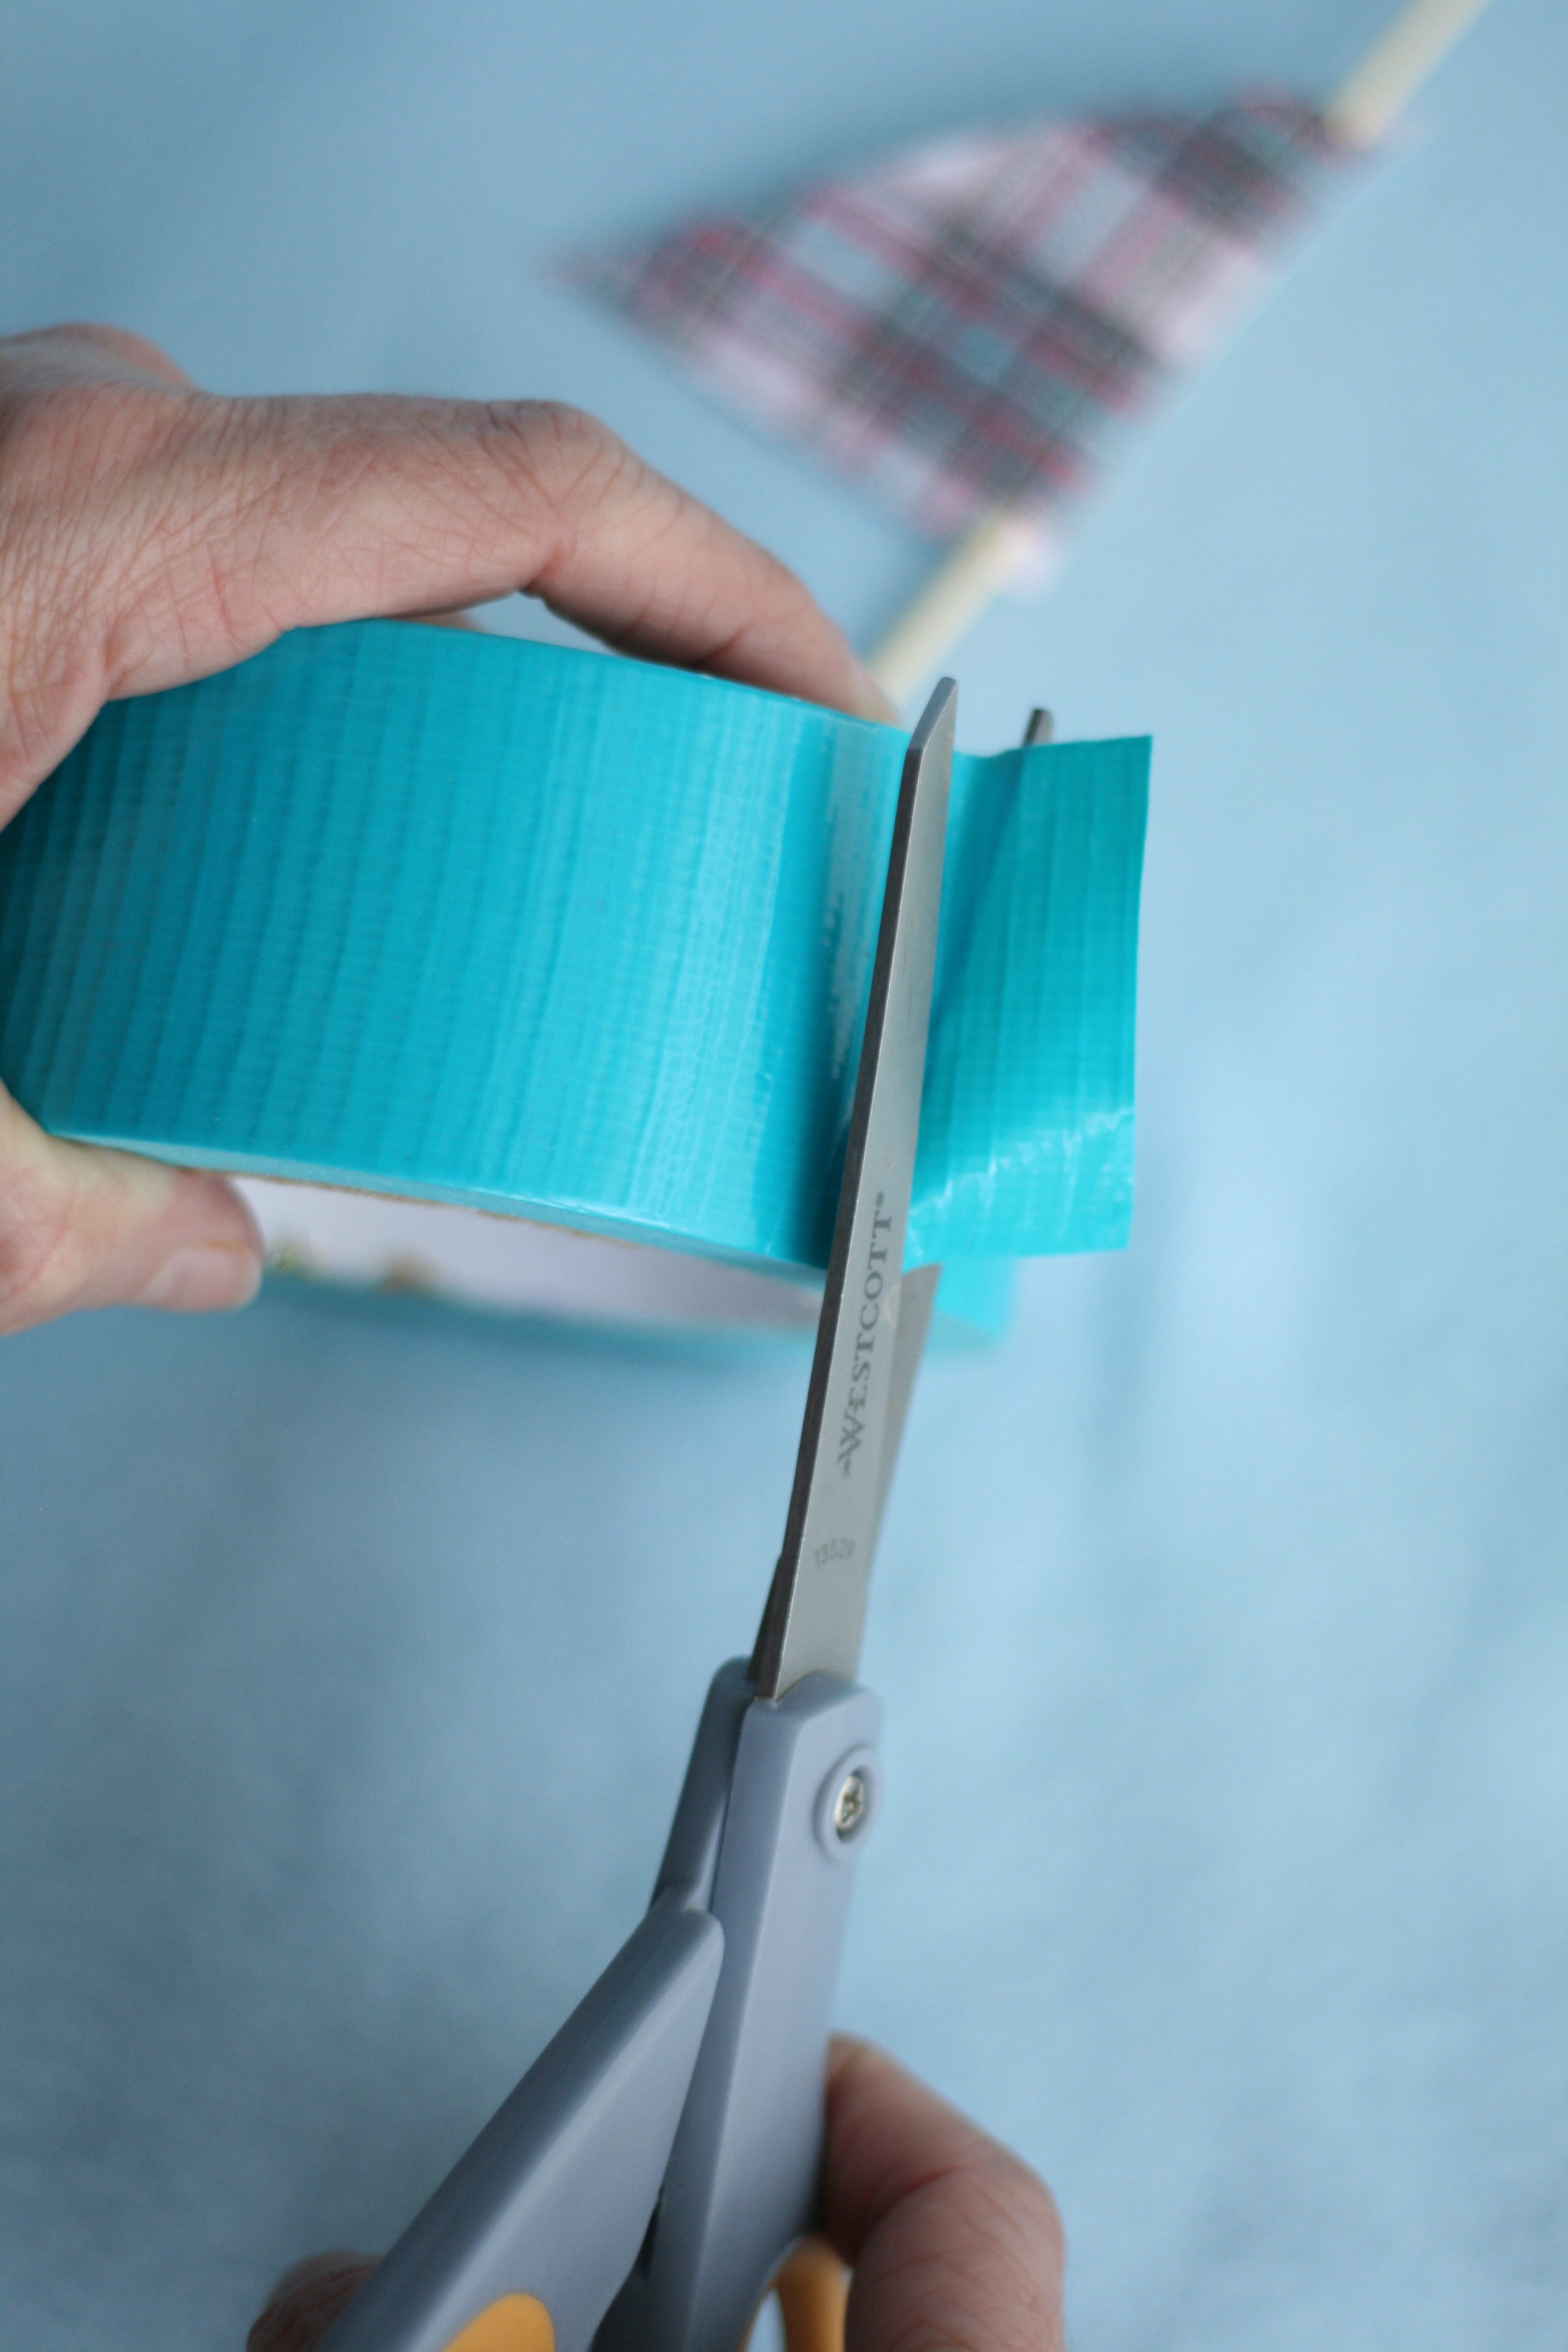
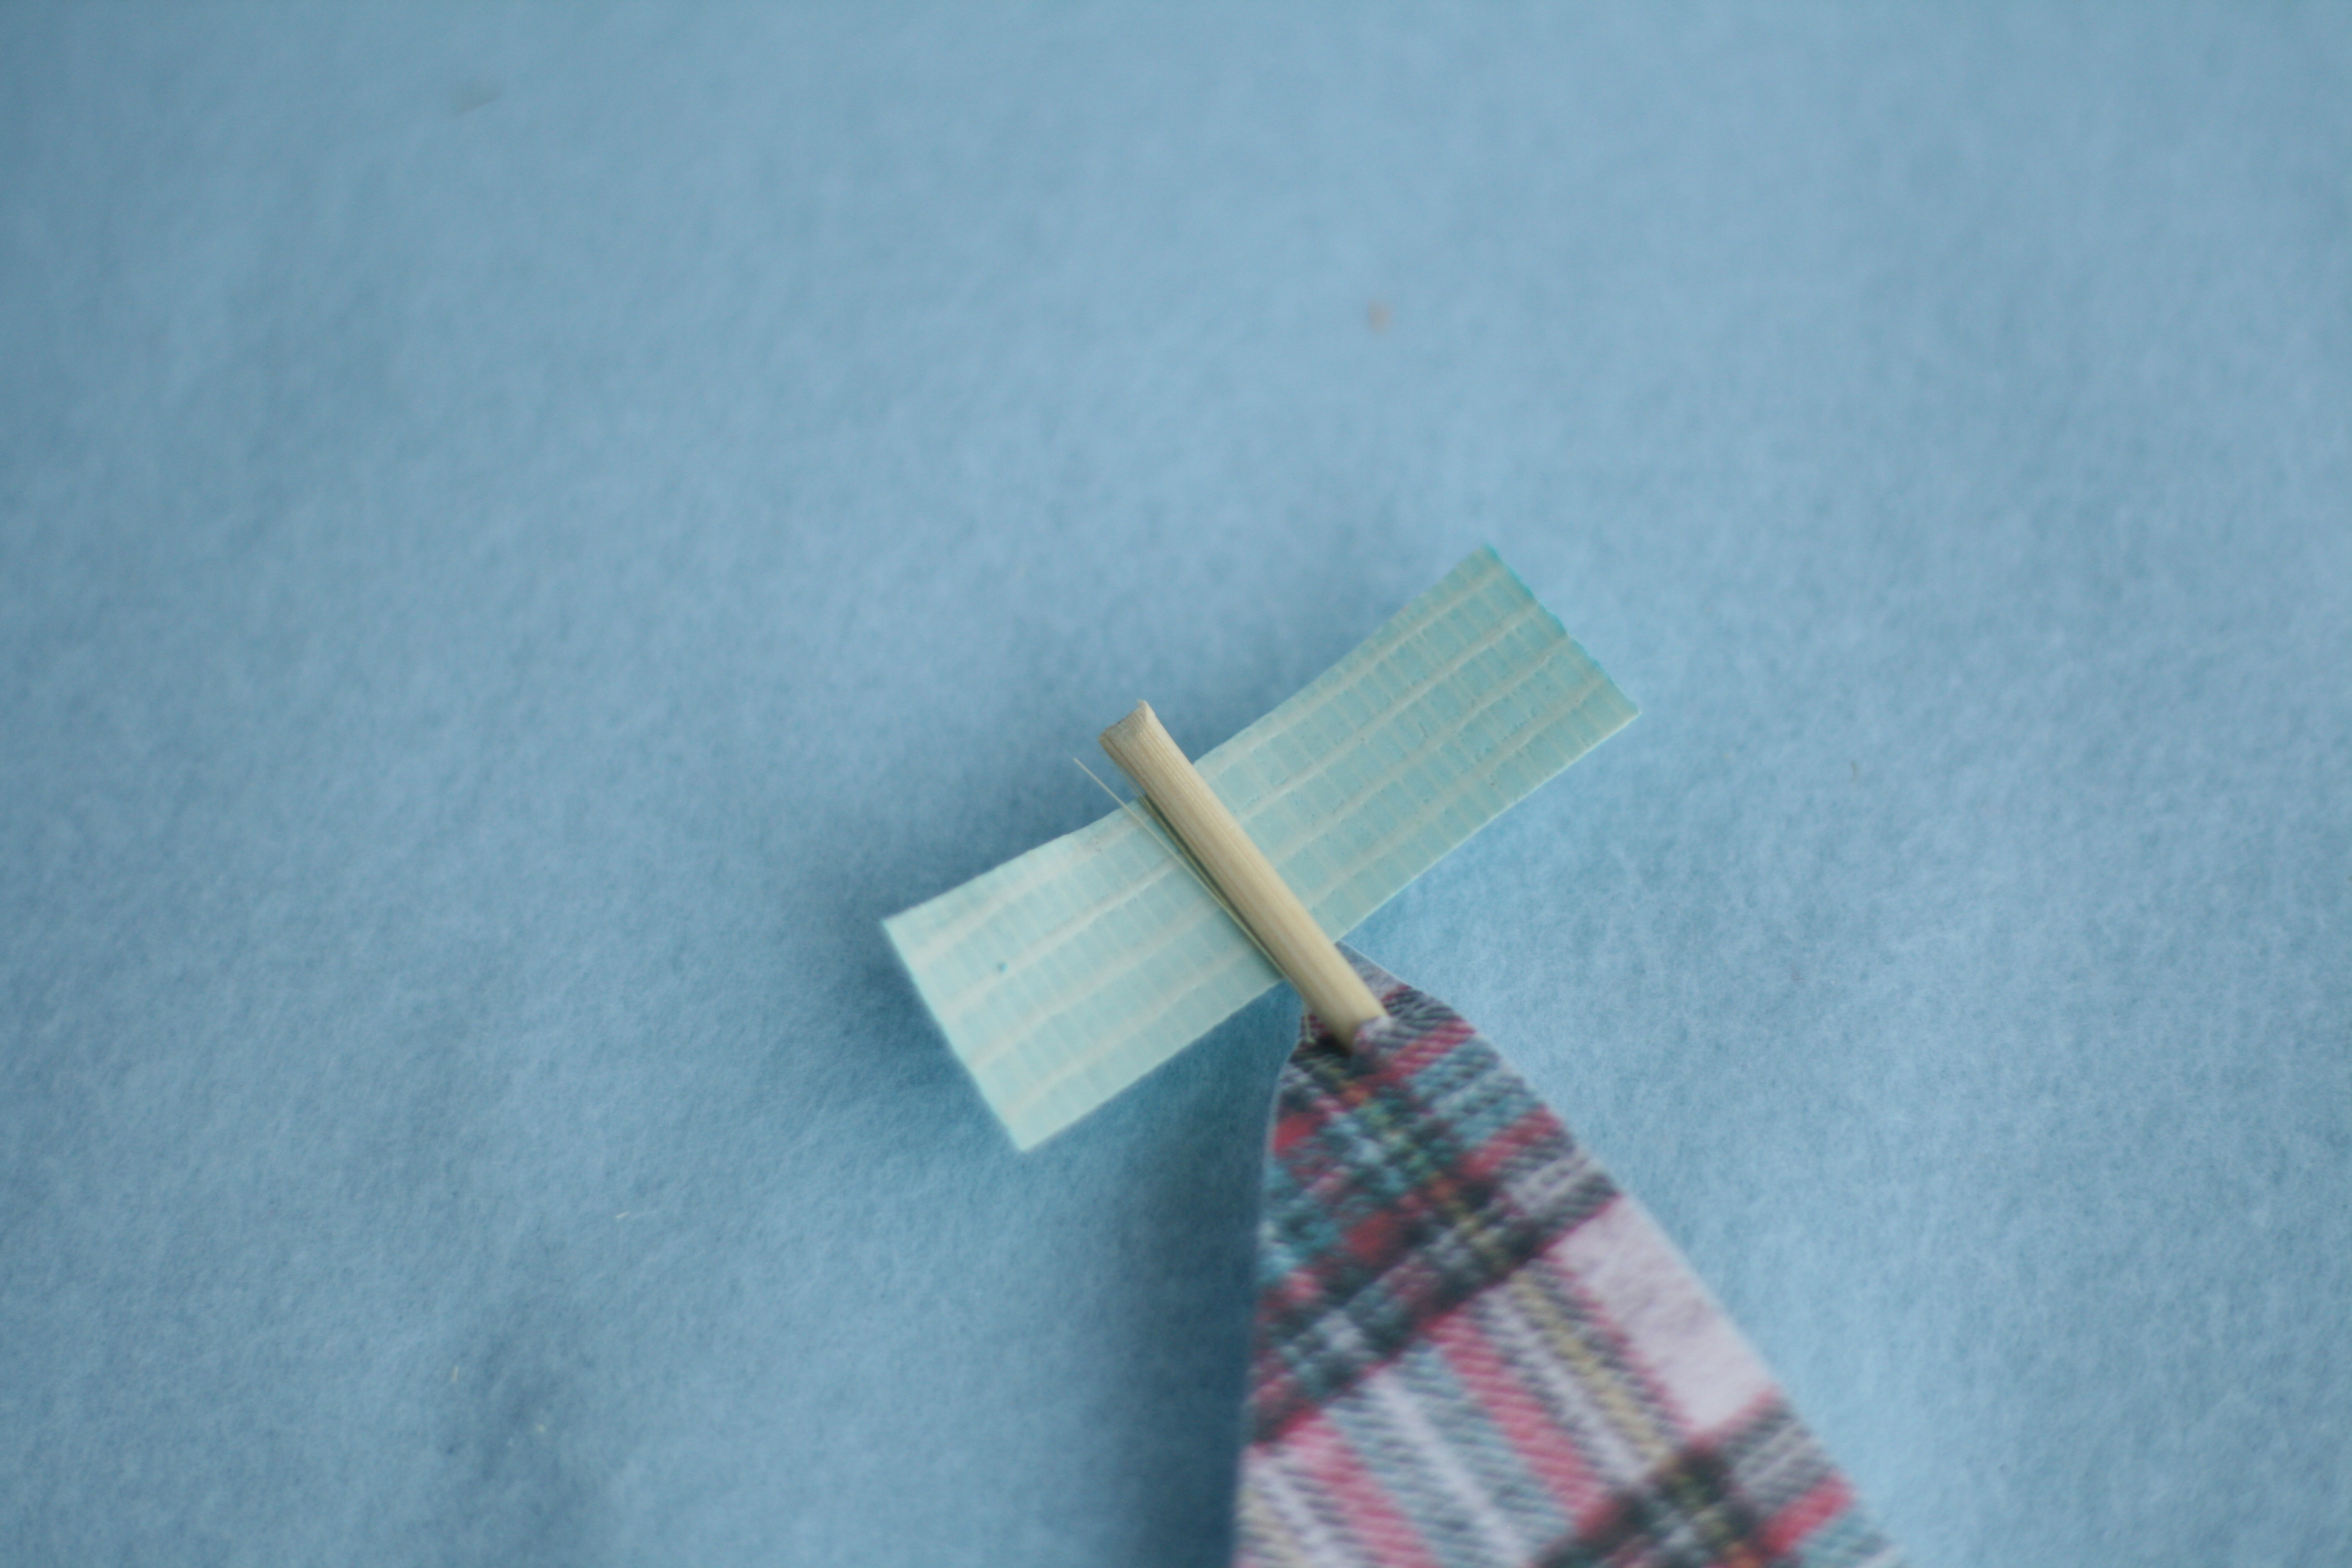
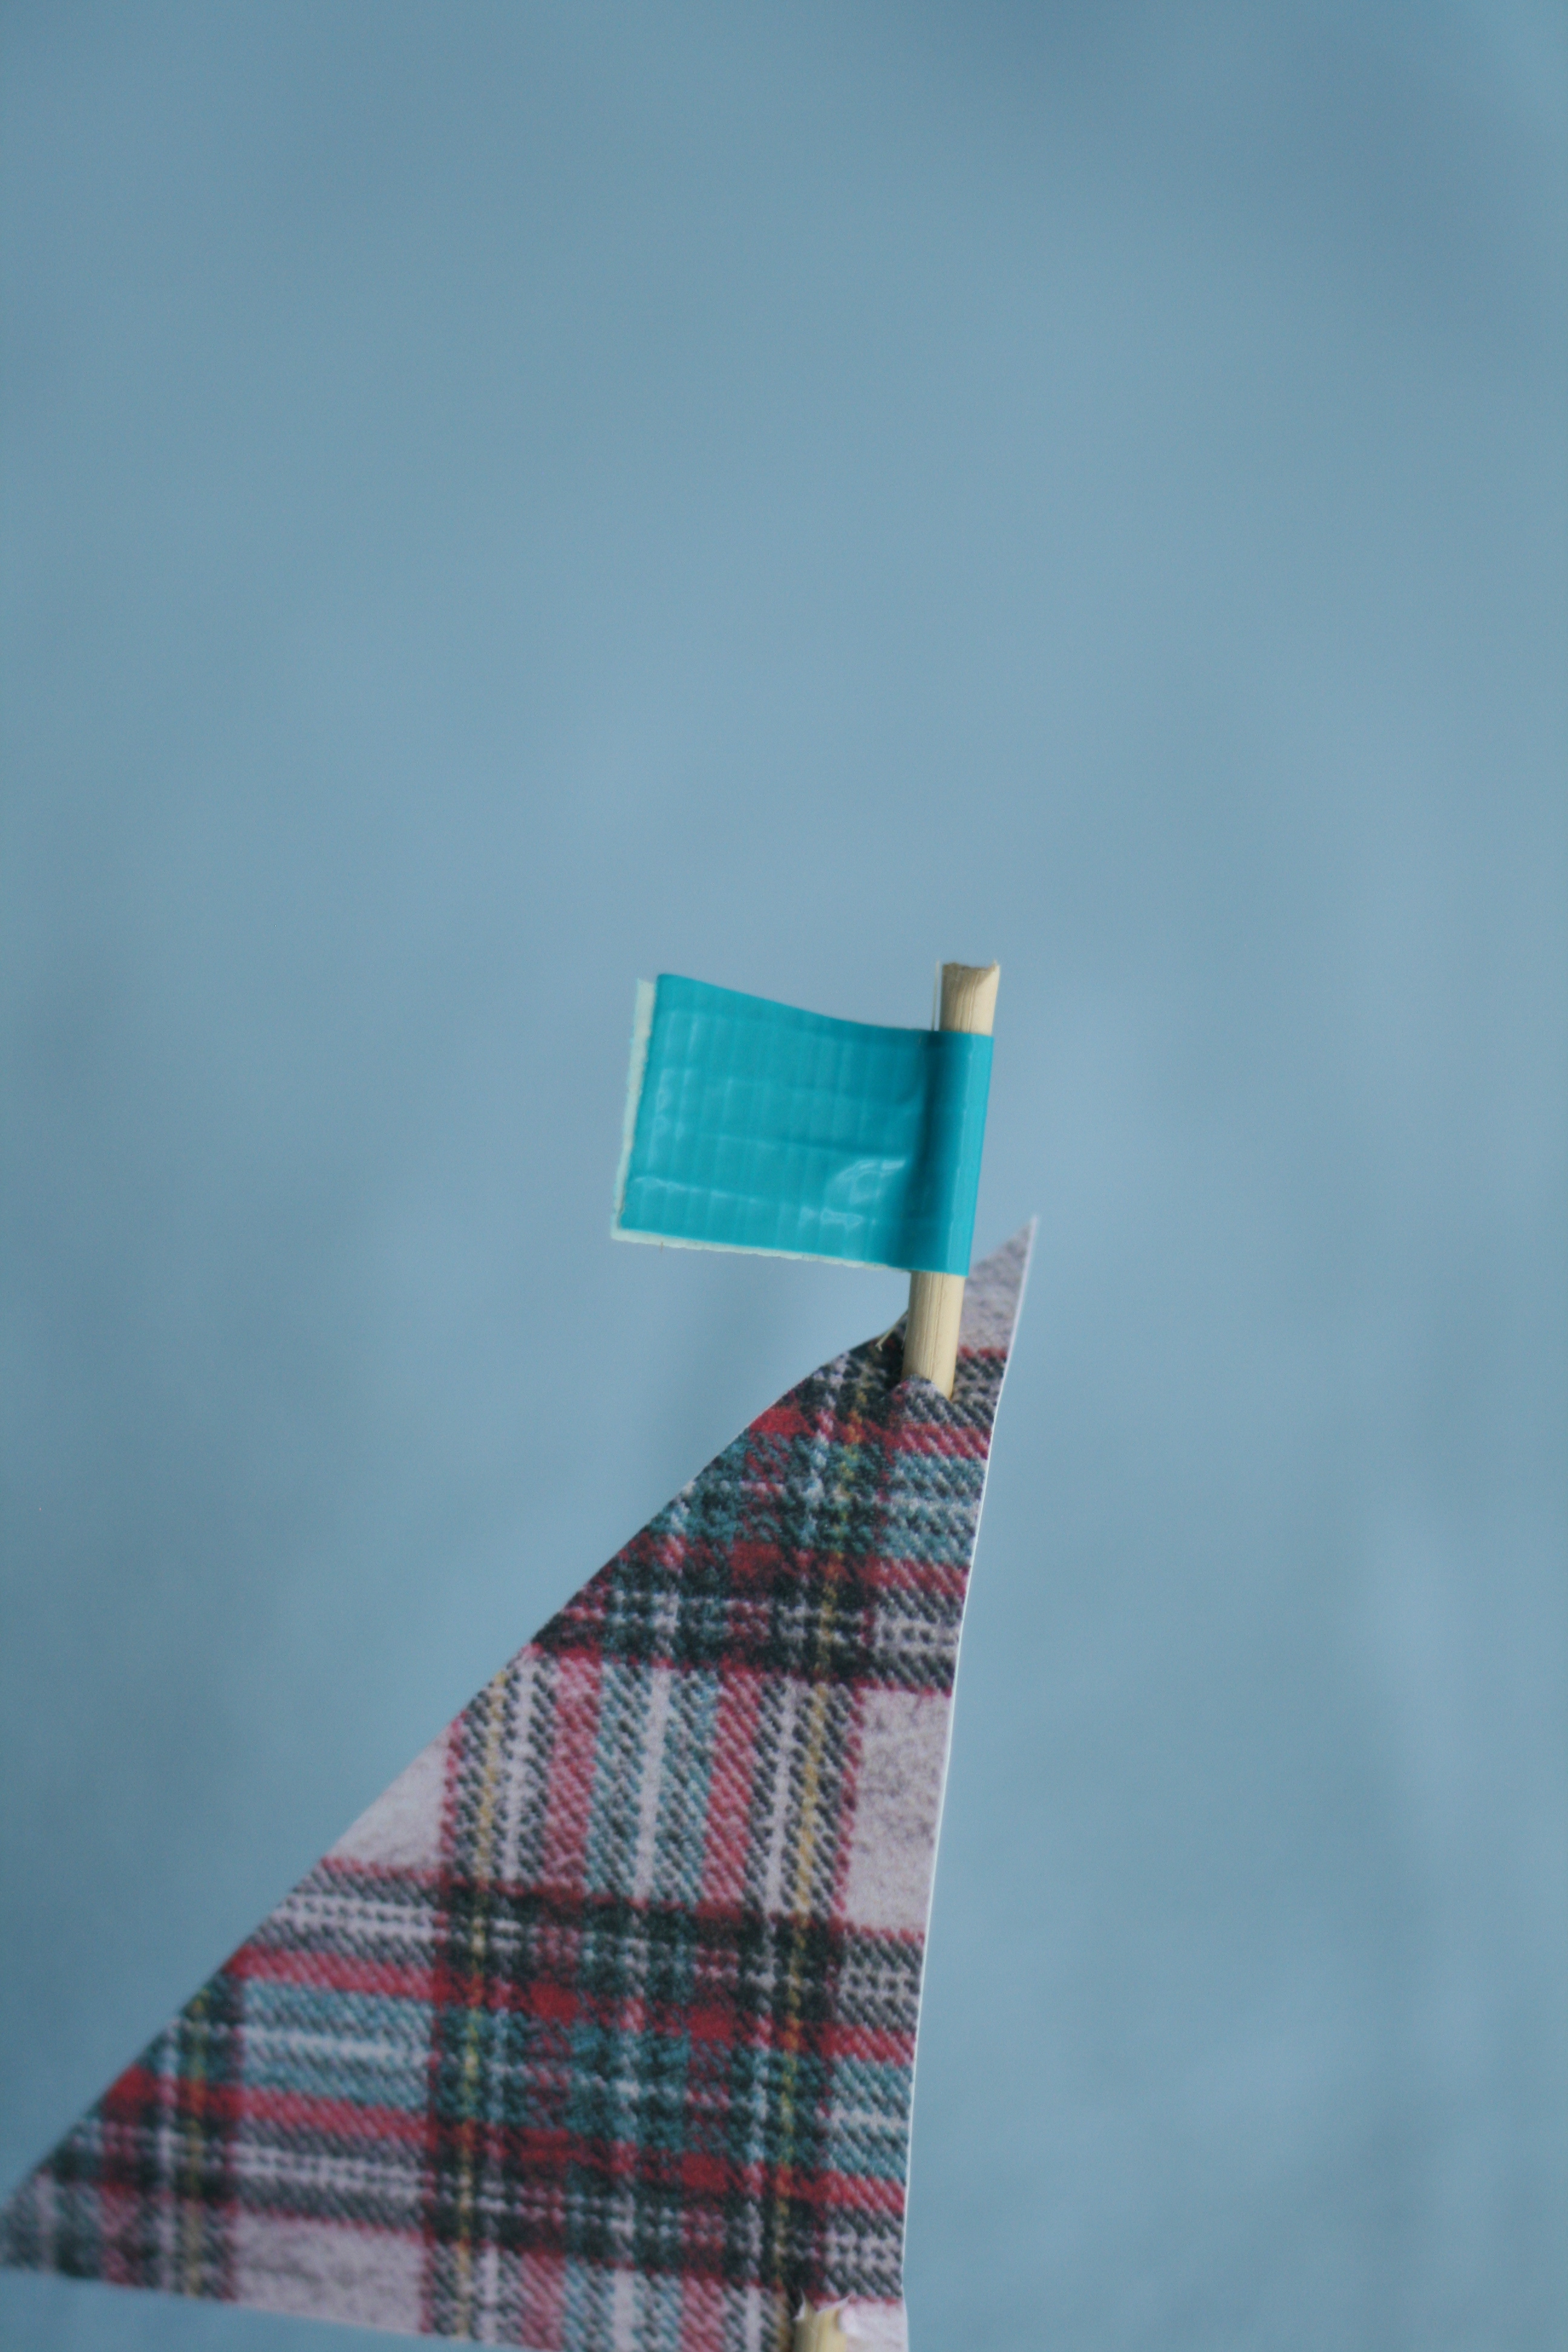
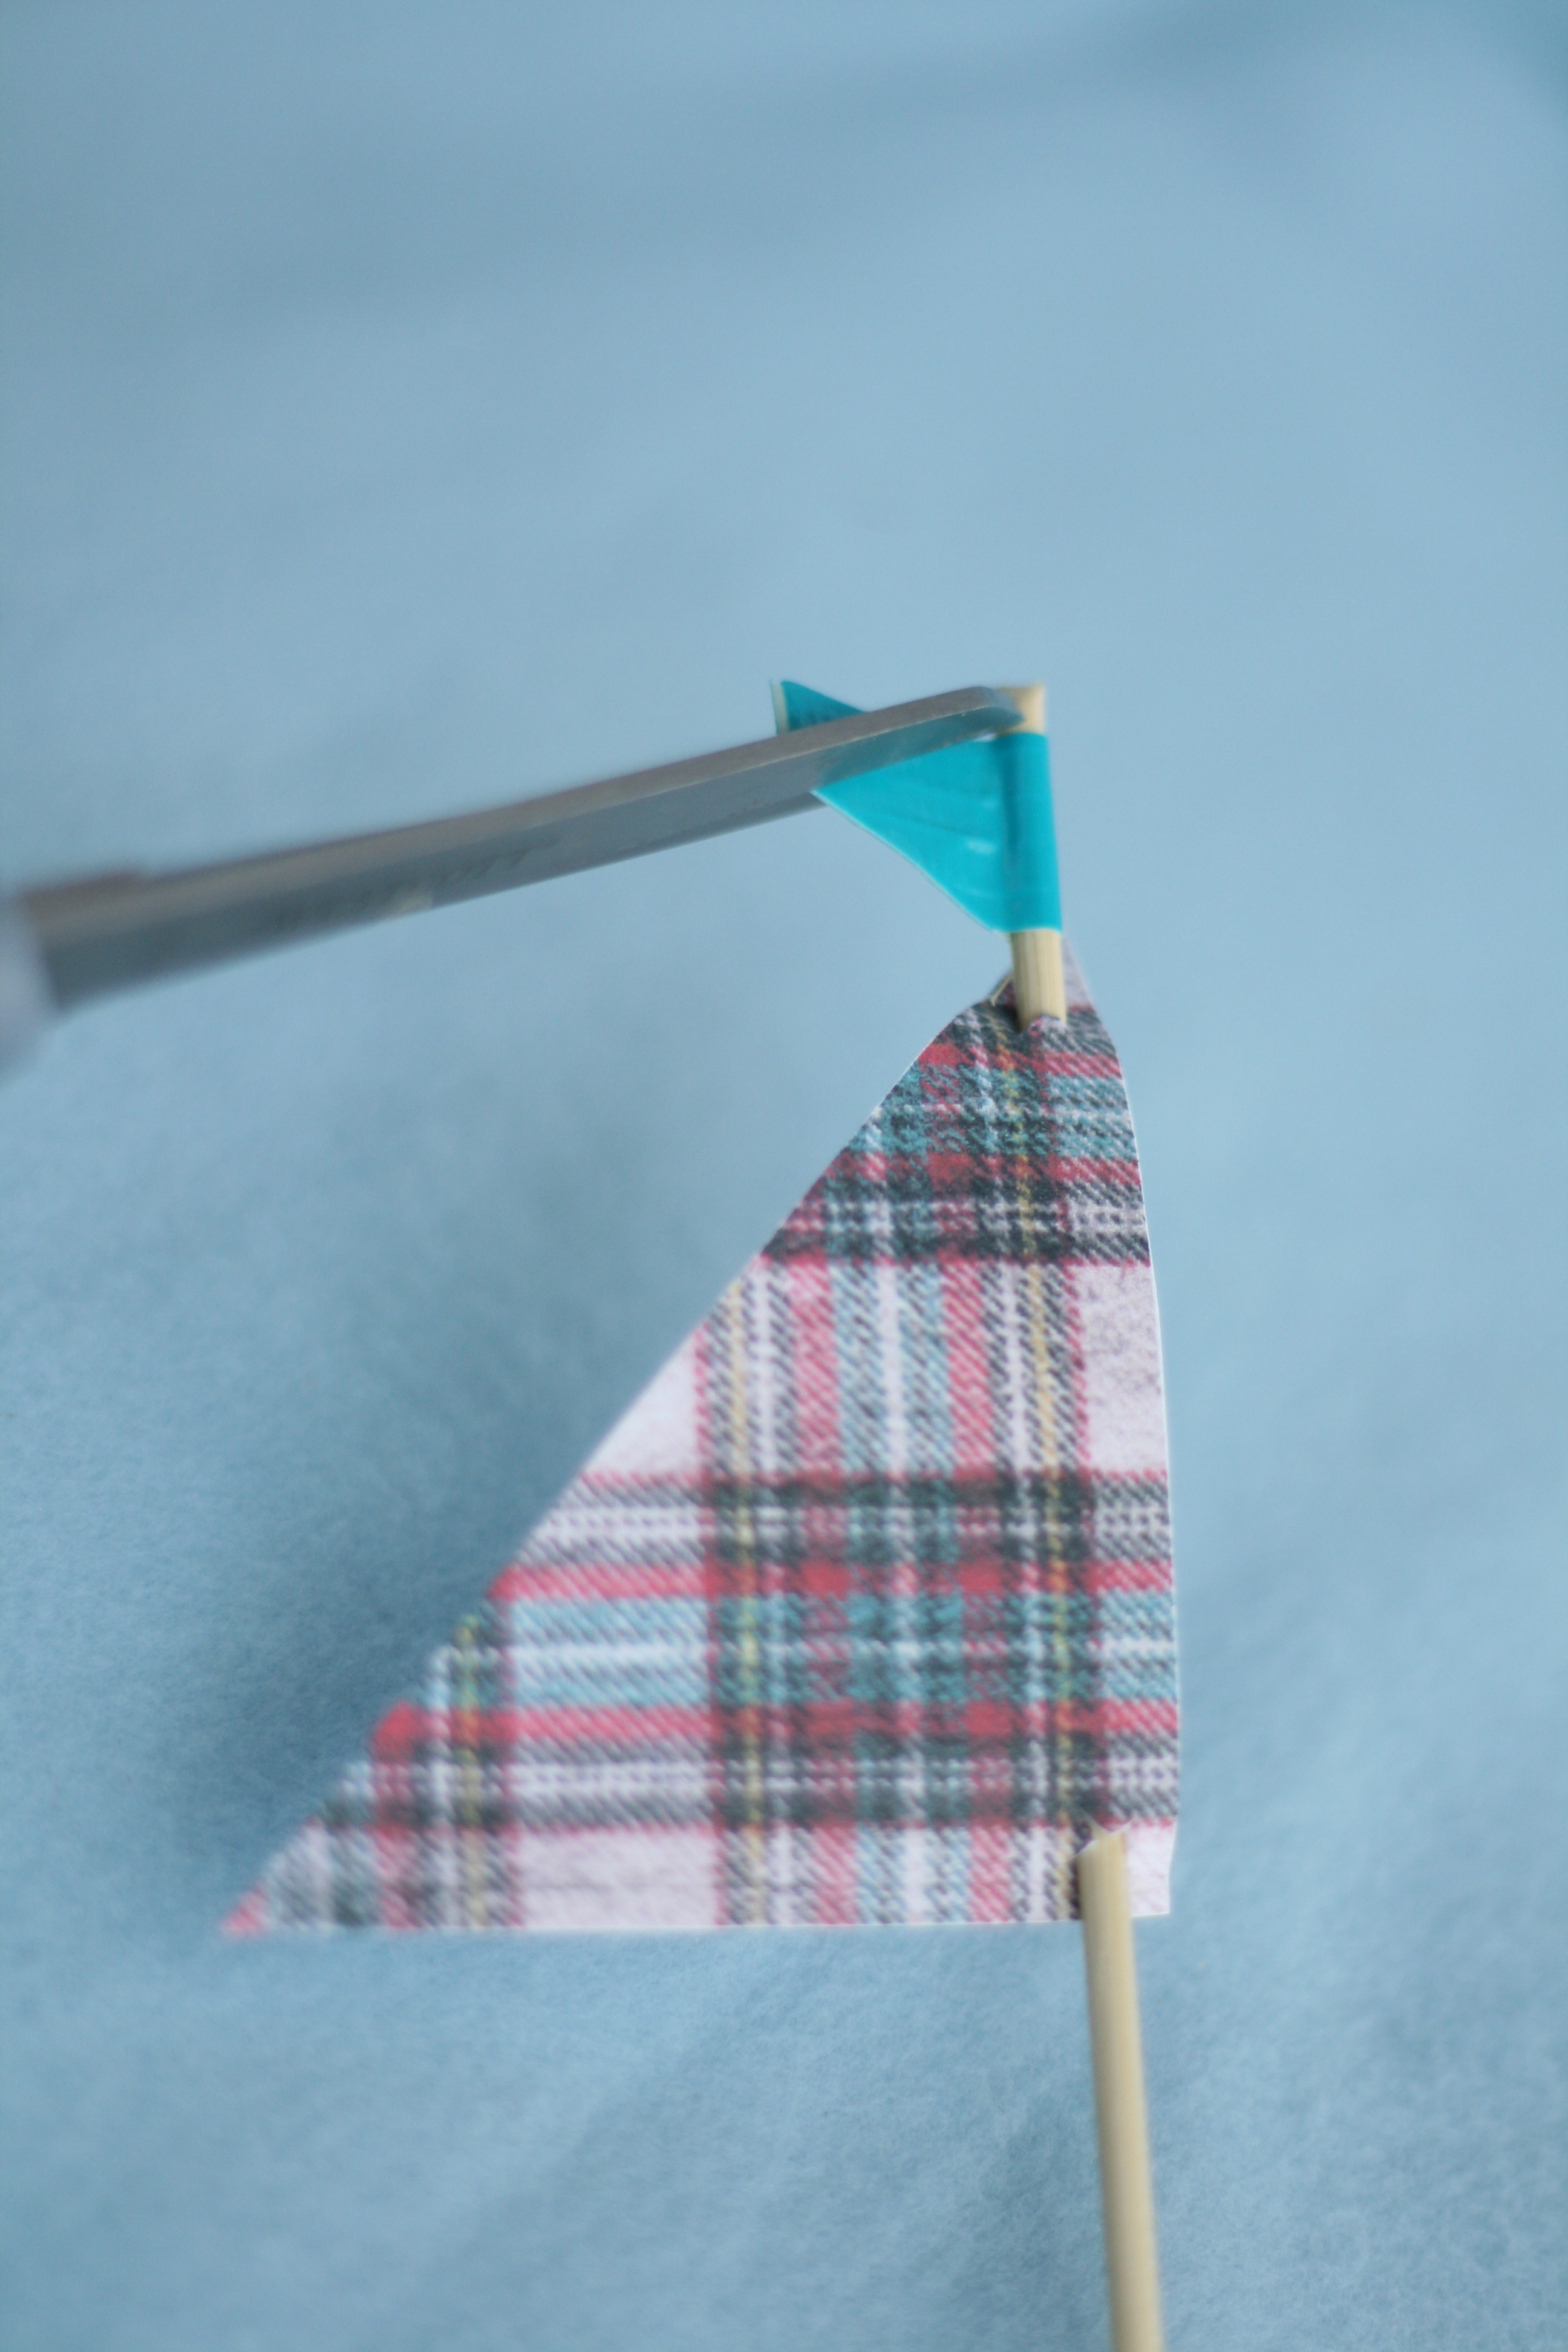
4. Cut thin 1/2″ strips of duck tape. Place tape on the top of skewer where you made your original cut. Evenly fold over. Make 2 diagonal cuts to achieve a flag. Push sail up to give it that curved wind blown look.
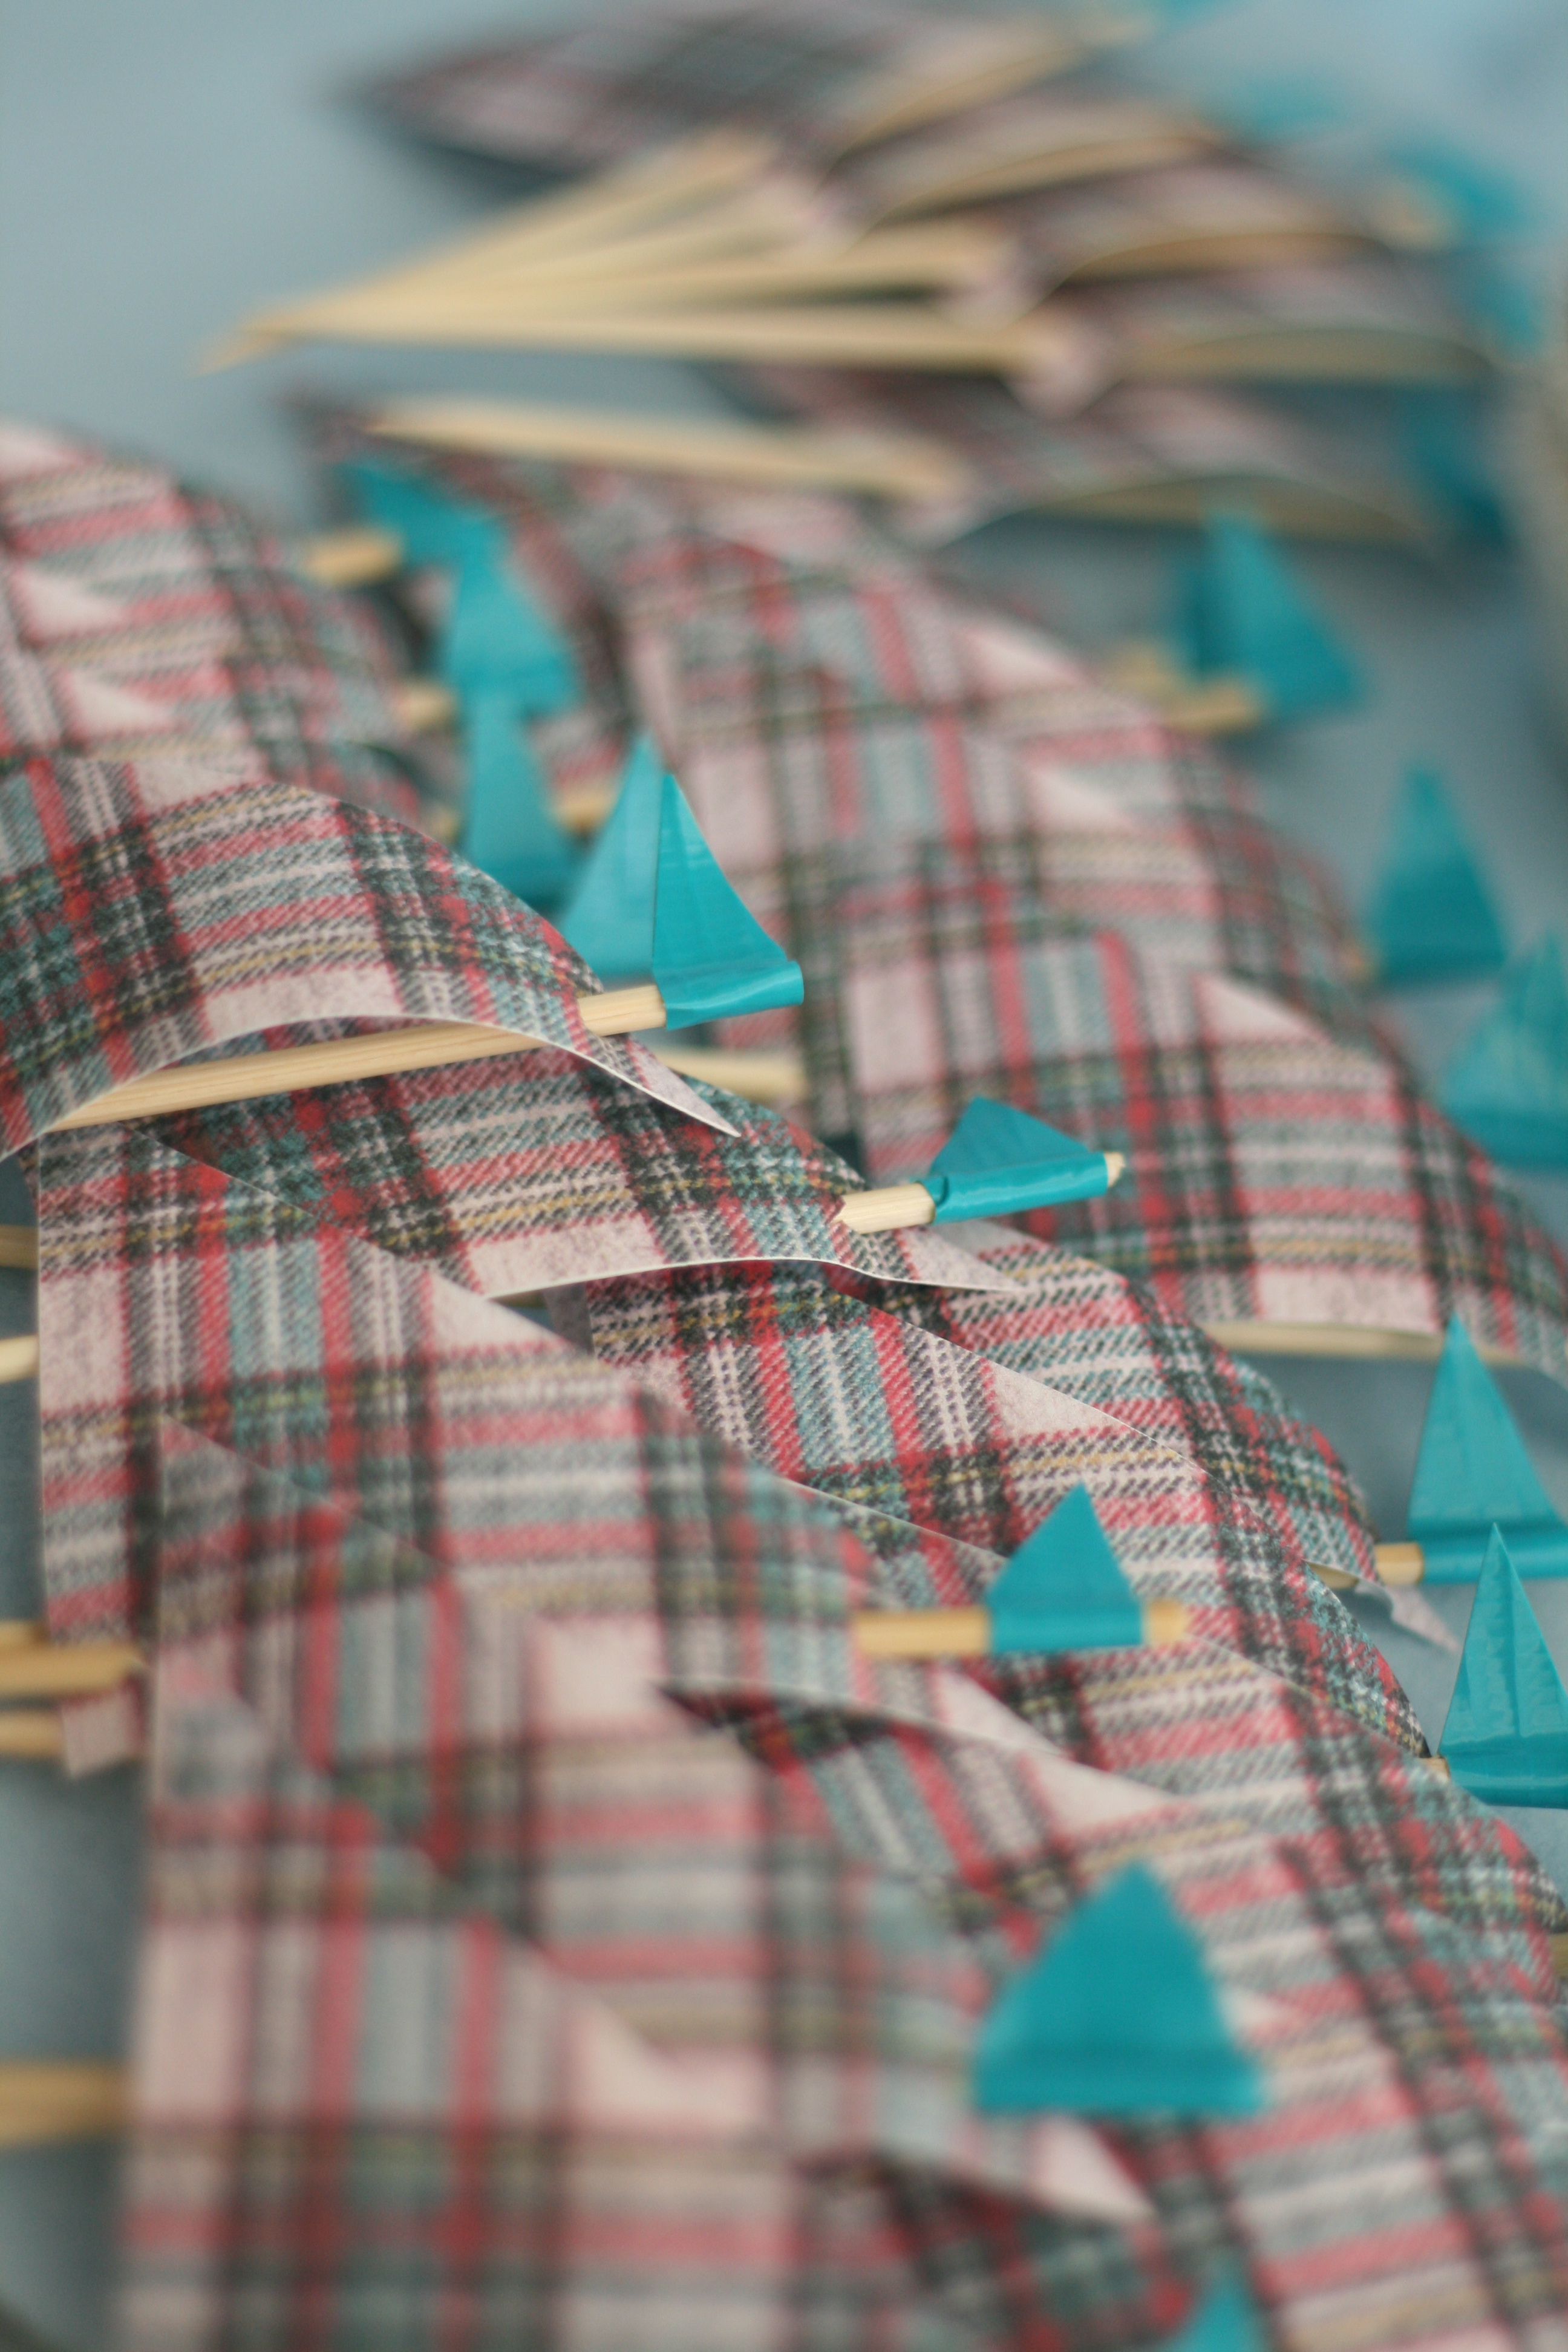
5. Ice your cupcakes with the frosting of your choice. I use the Wilton Dessert Decorator Pro to ice my cupcakes. In order to get the thick swirls, I don’t use a tip. Place pointed end of the sail into cupcake and you’ve got yourself a cute sailboat cupcake!

If your visual, like me, these should help:

If you missed them, click here for the matching baby shower invites. Now that you have everything you need to get started, happy baby shower planning!

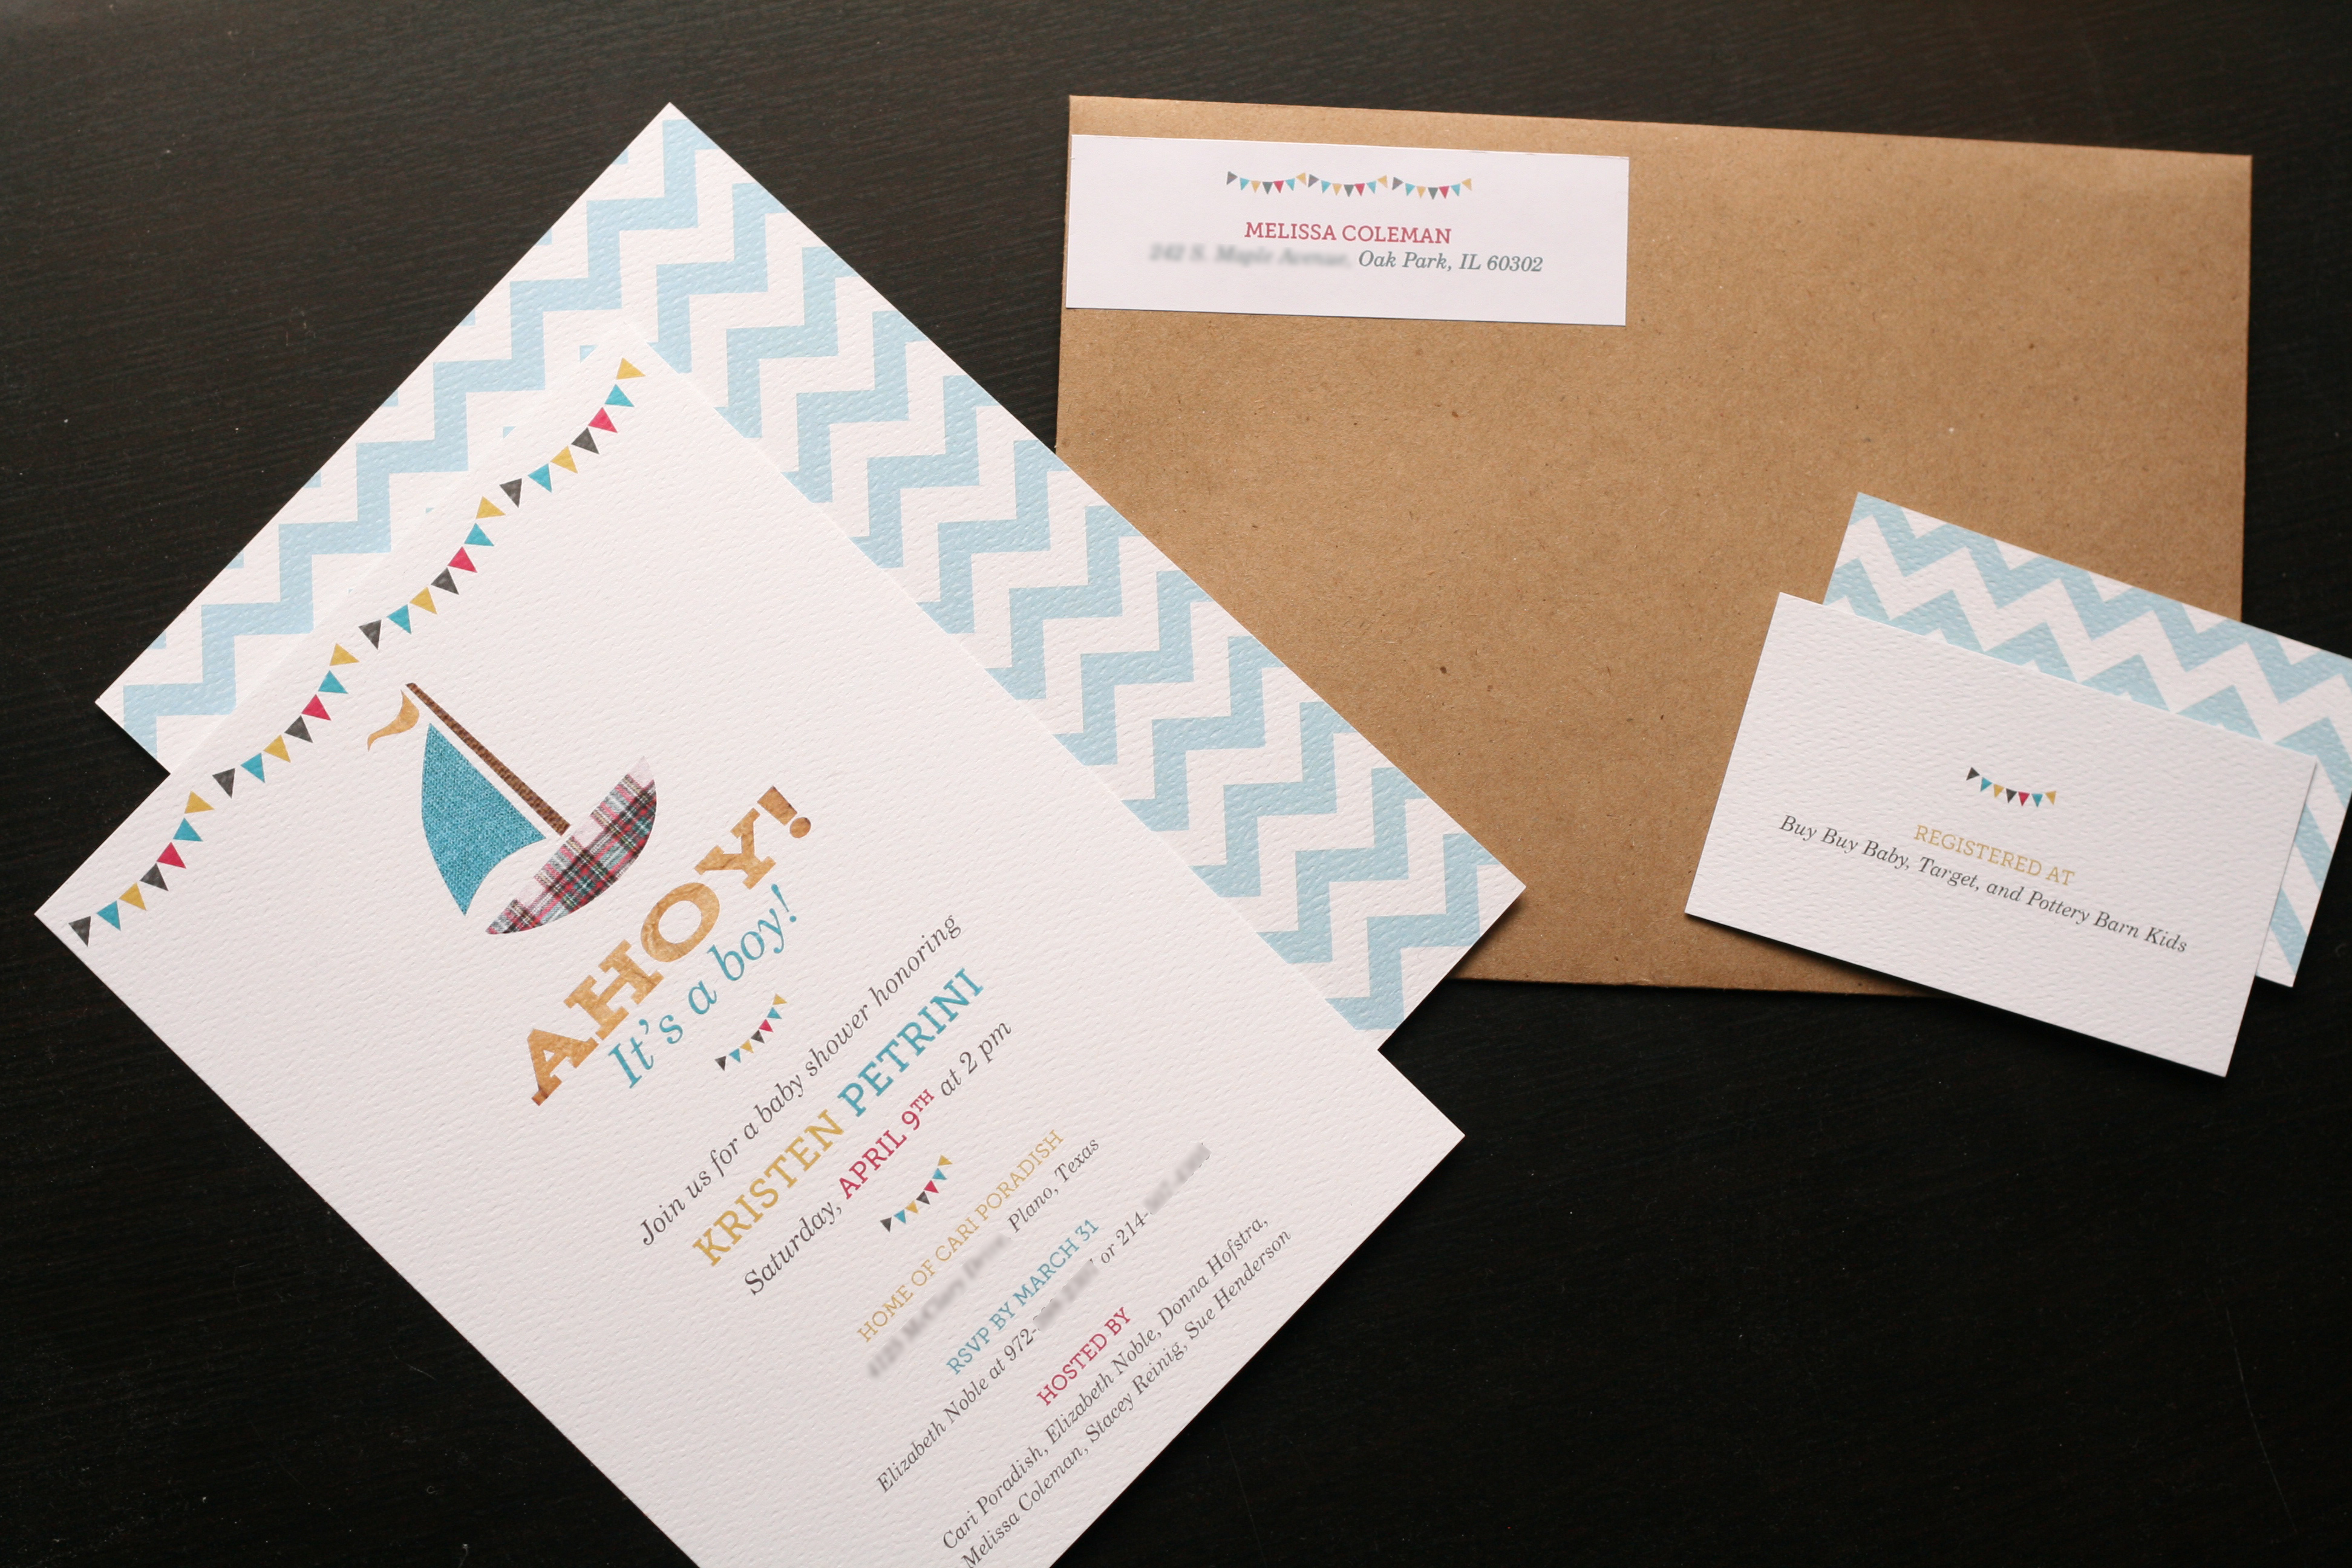
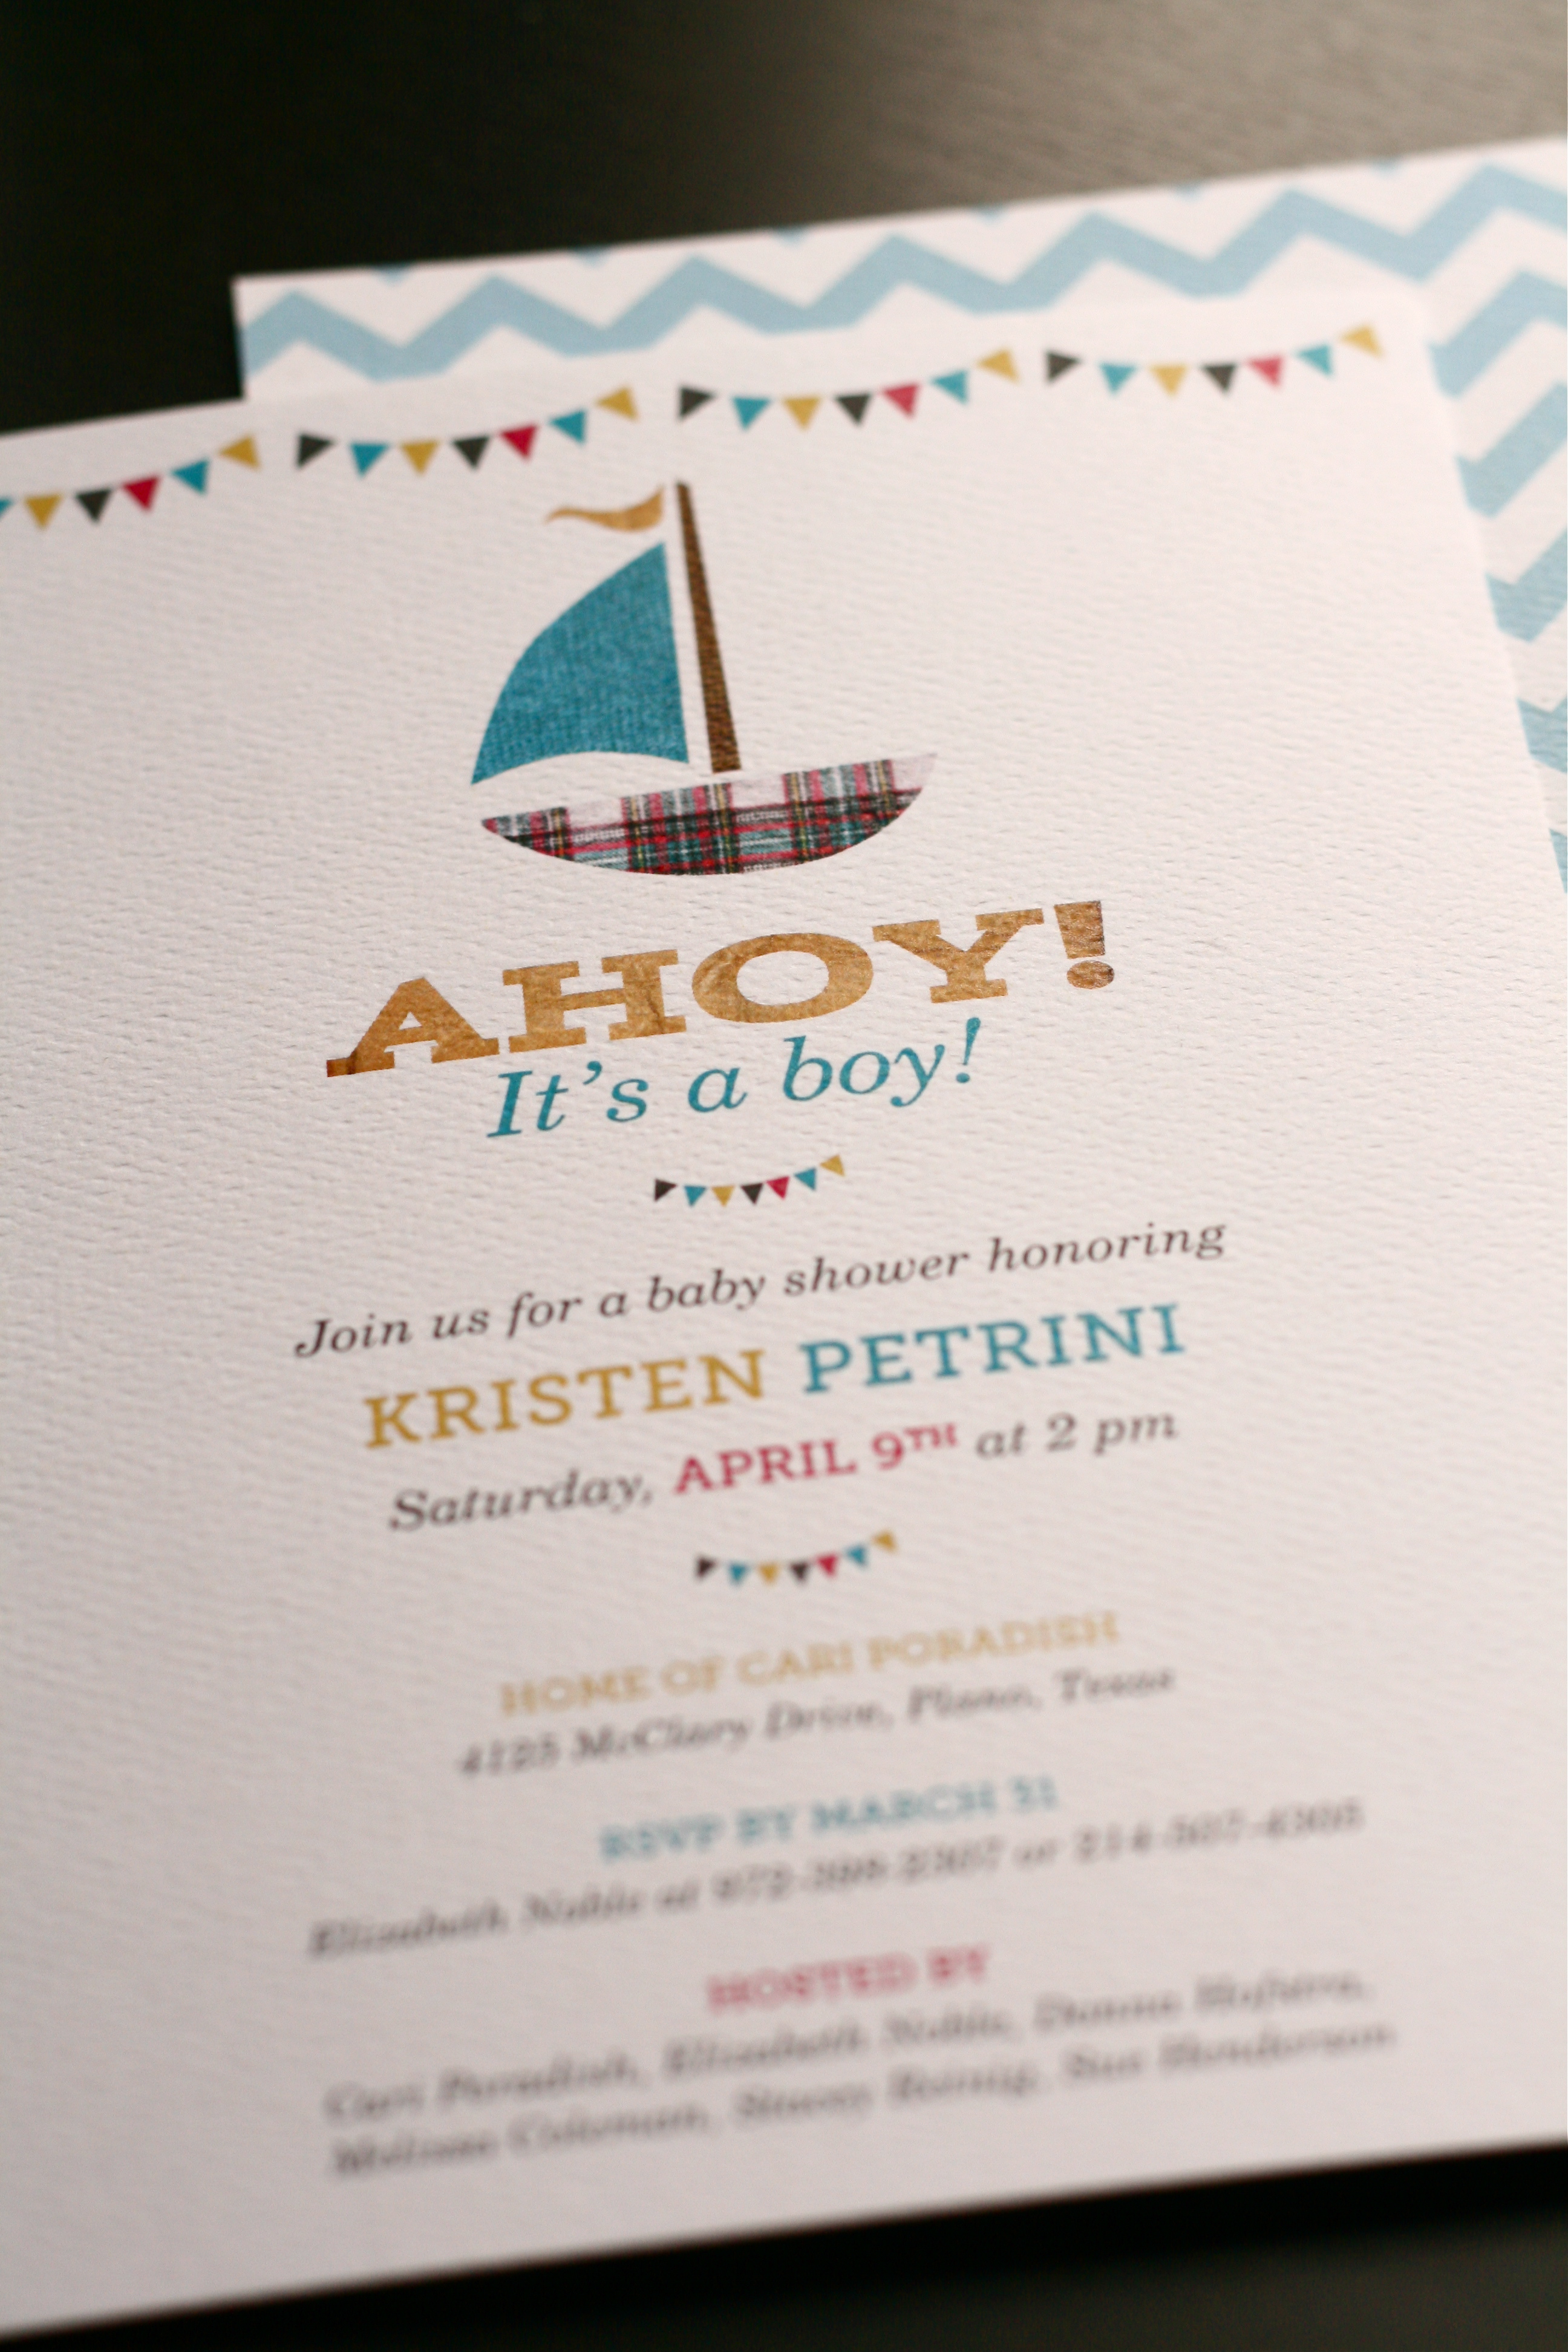
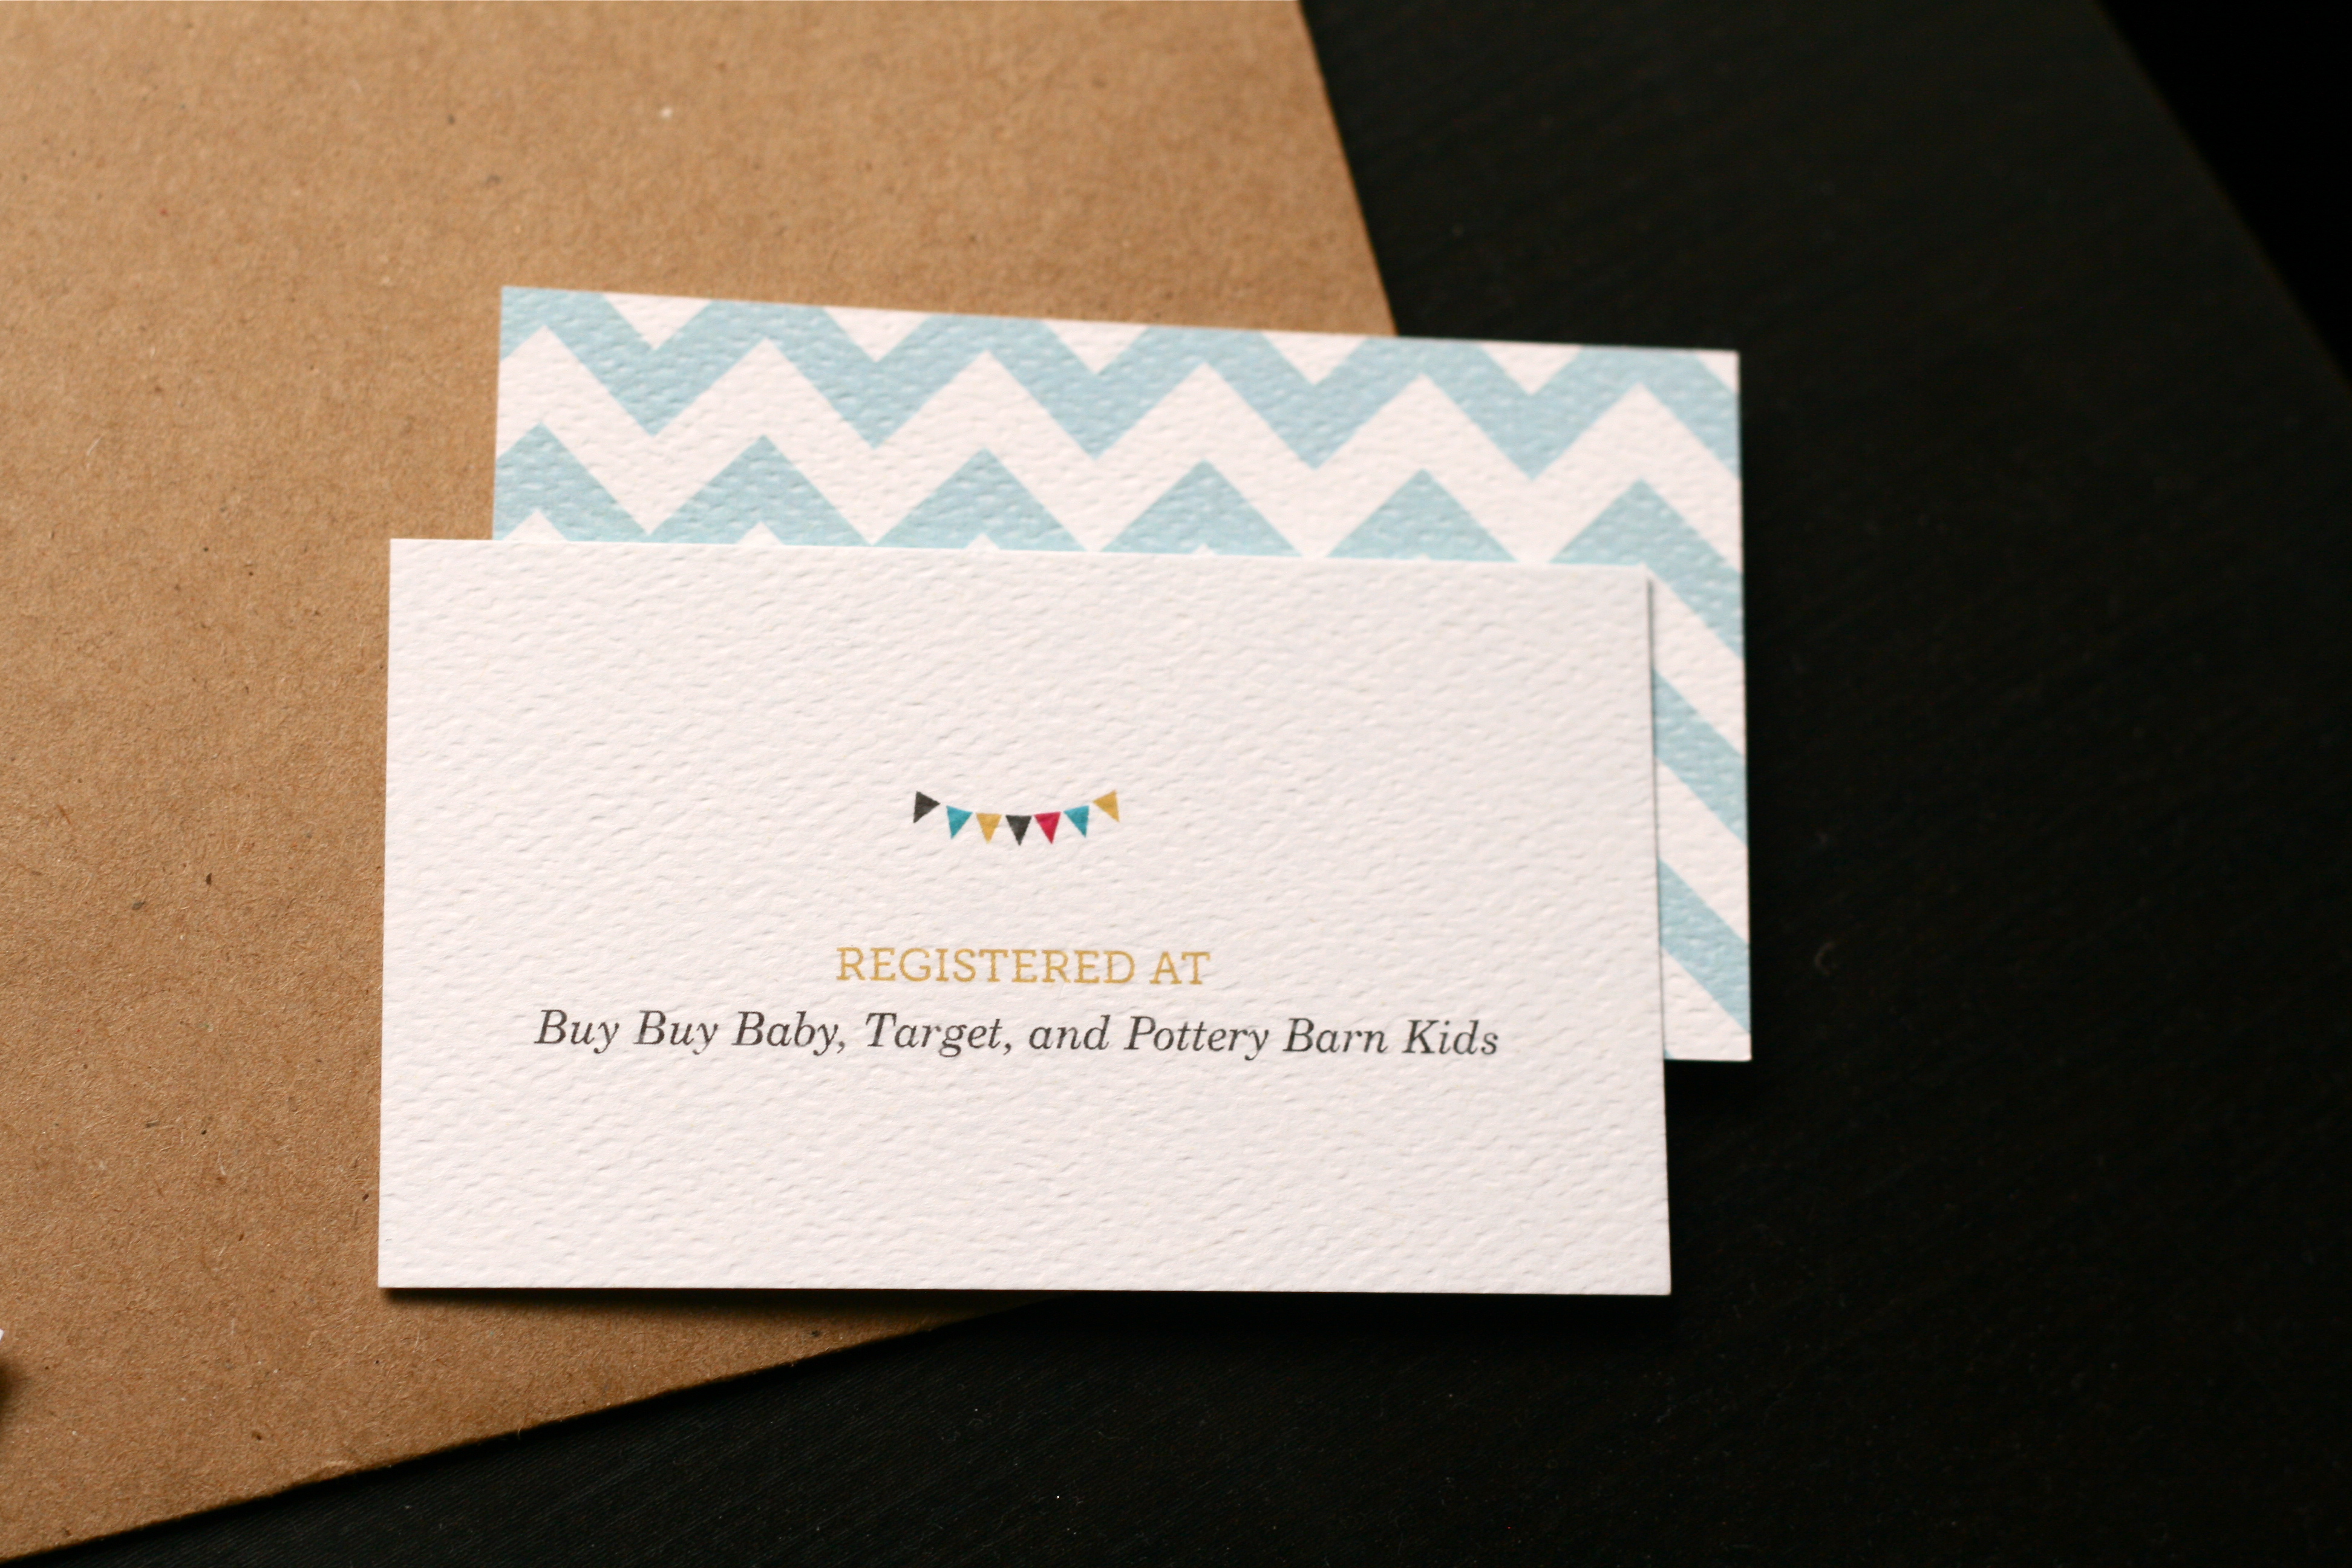
I’m headed out of town to help throw a baby shower for a good friend from home. But before I leave, I want to share these “Ahoy! It’s a boy!” invites with you. And by share, I mean free download. Keep reading…

Chevron, plaid, craft paper. Oh my!

Tiny, cute flags. Yes please!

Whoever said a slight shade of pink is not welcome at a baby boy’s shower?

Free fonts are a budget’s dream.

Since you kept reading, it’s time for the good stuff! Here’s how to create this same look yourself:
1. Order A-7 Craft Paper envelopes from Envelope.com.
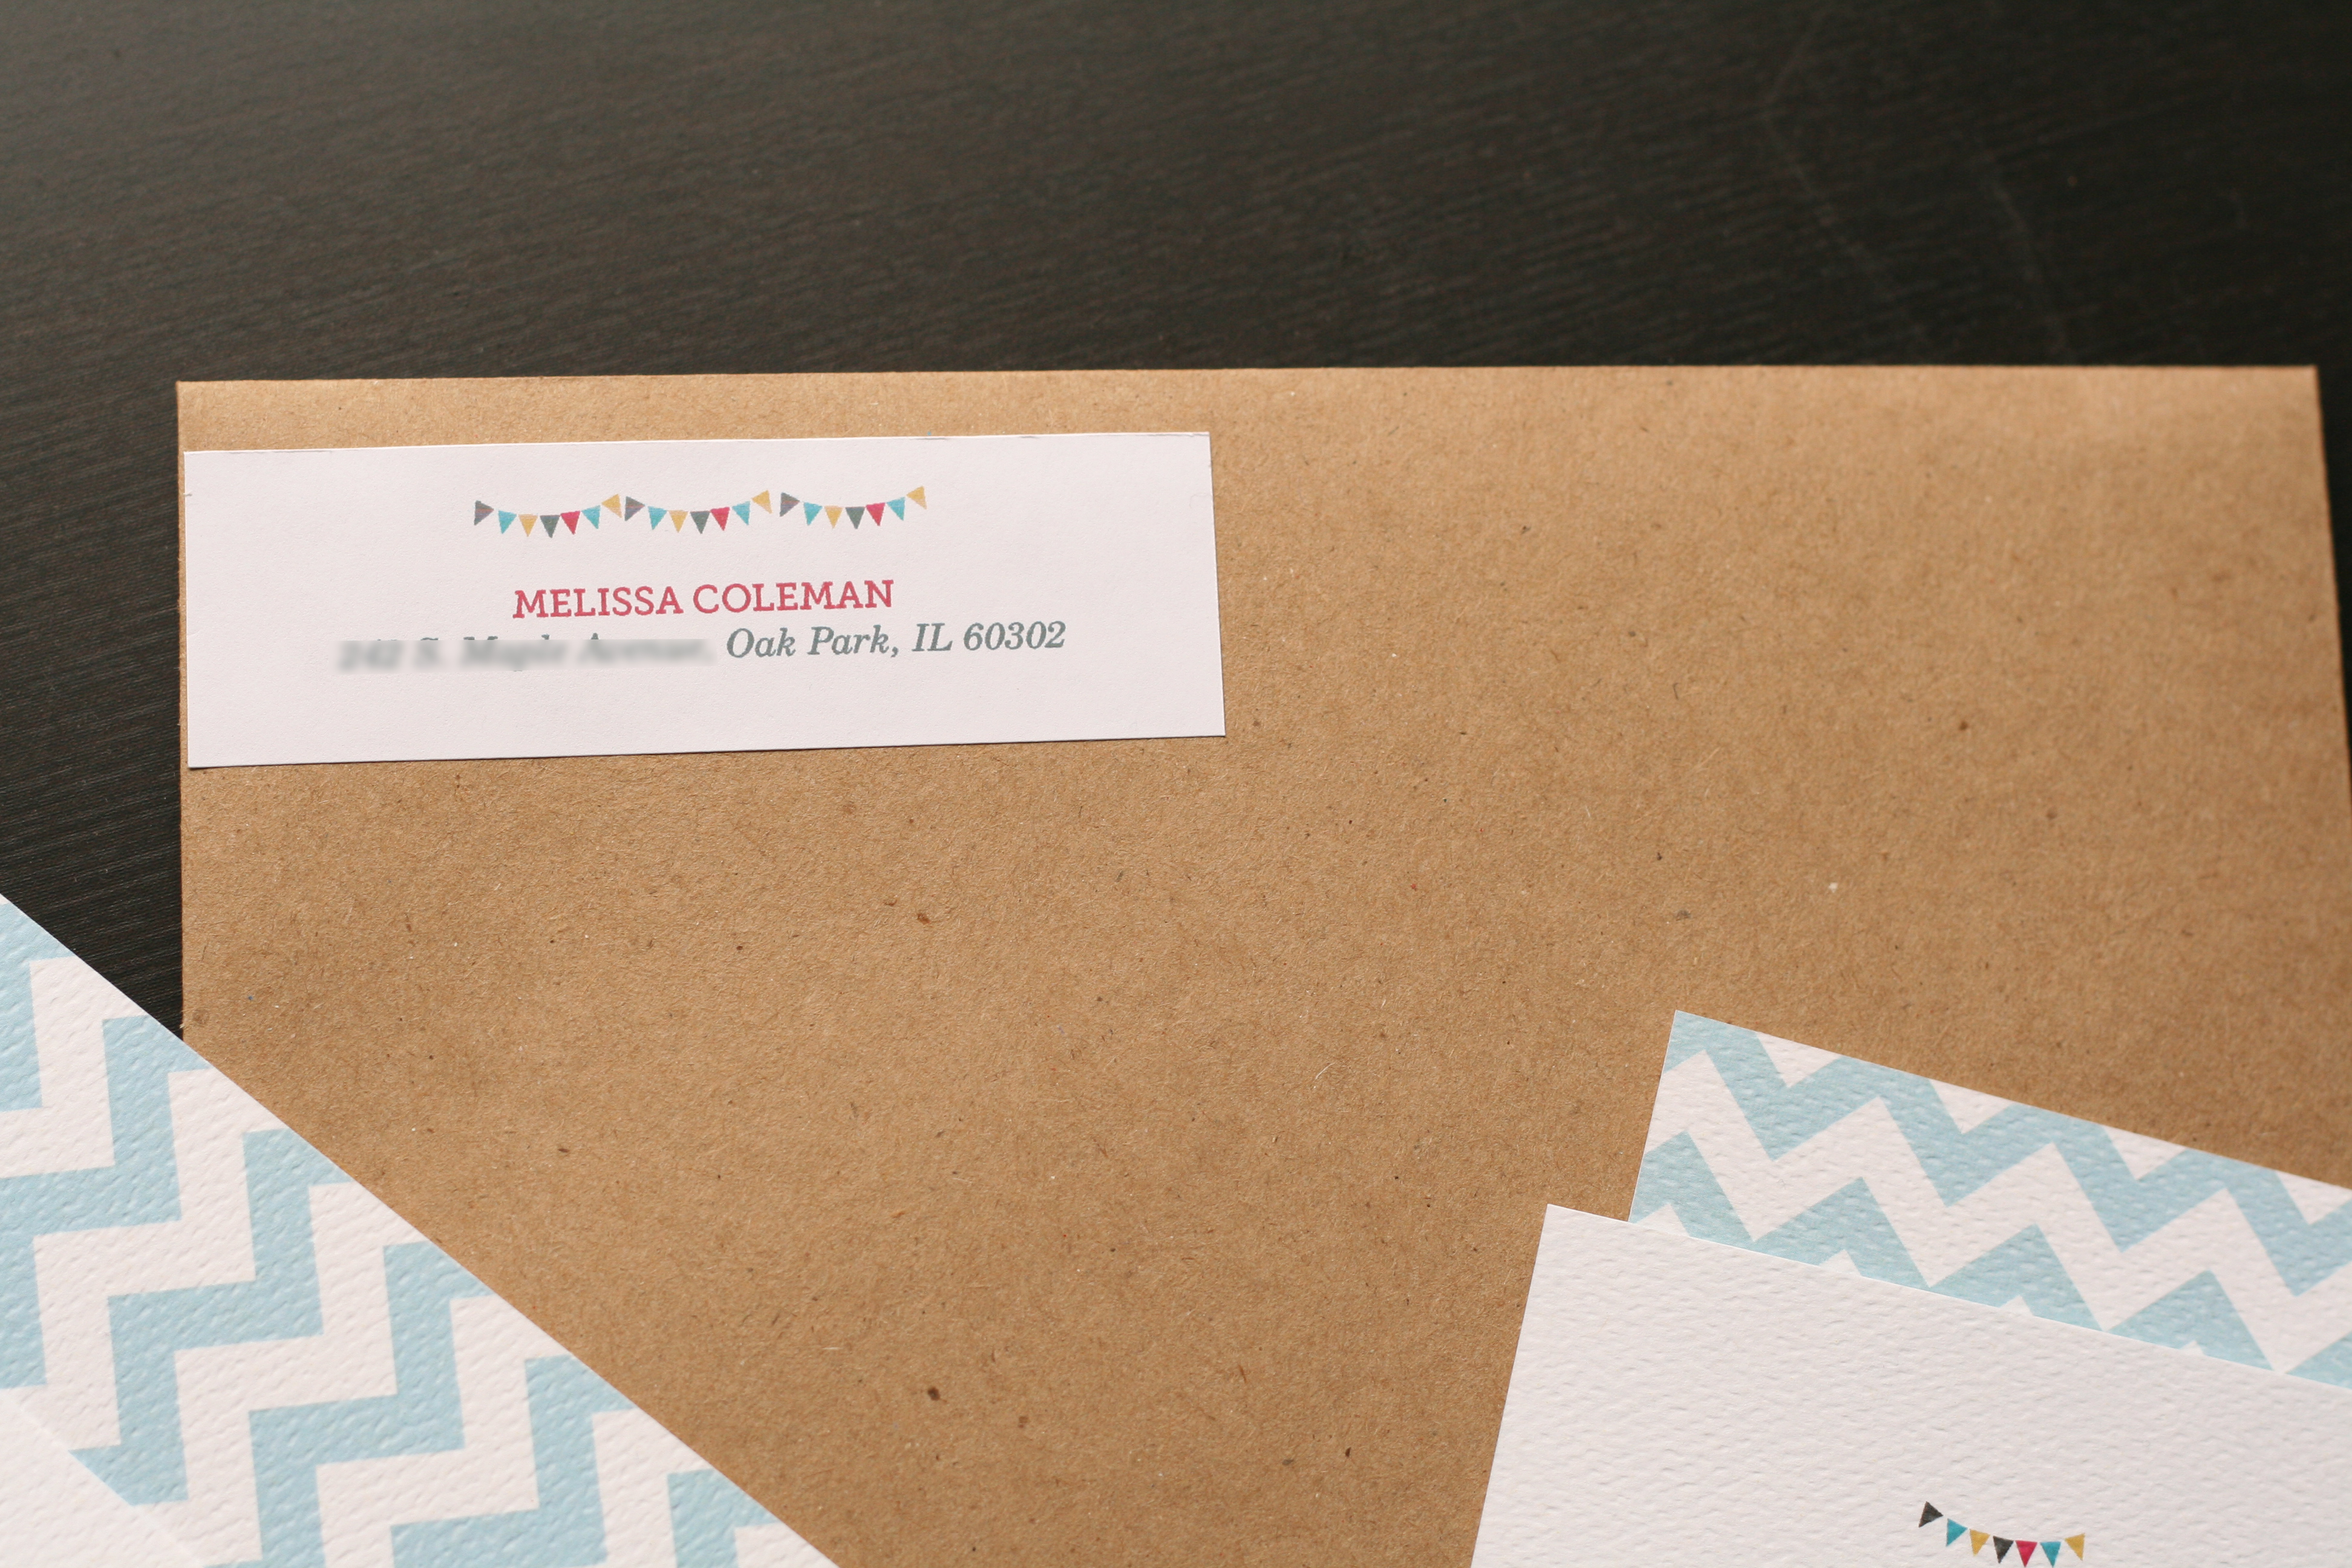
2. Download the 5×7 invite! (The PDF is designed with 2-invites up on a page; front/back.)
3. Download the free font, Museo Slab, to help complete the look. You’ll also need a nice italic font to accompany it that can be found on your computer. (I used Century Schoolbook Italic).
4. Use an editing program to fill in your specific information.
5. Print the invites on a thick, textured white paper. (I used a Neenah paper—Sundance Felt.)
6. Finally, mail those cute suckers out, and plan the party!

Stay tuned for a post on the food portion of the shower. I may or may not be making cupcakes with a cute DIY topper.

Oh nuts! I’ve been keeping a secret from you. A good kind of secret. Not the bad kind. Who am I kidding? I’m no good at keeping secrets. I’ve already spilled the beans. Can you guess what it is?

Drum roll please…Oh! Nuts. That’s my secret! Or should I say, my secret weapon. I’ve been dying to try a couple new recipes that call for almond flour, and they were nice enough to send me some. I’ve made my own almond flour before, but let me tell you, it’s tedious. Blanch almonds. Peel off skins (this takes forever!). Blend up finely. Who knew you could buy almond flour? This stuff is a time life saver! And it makes some darn good tarts.

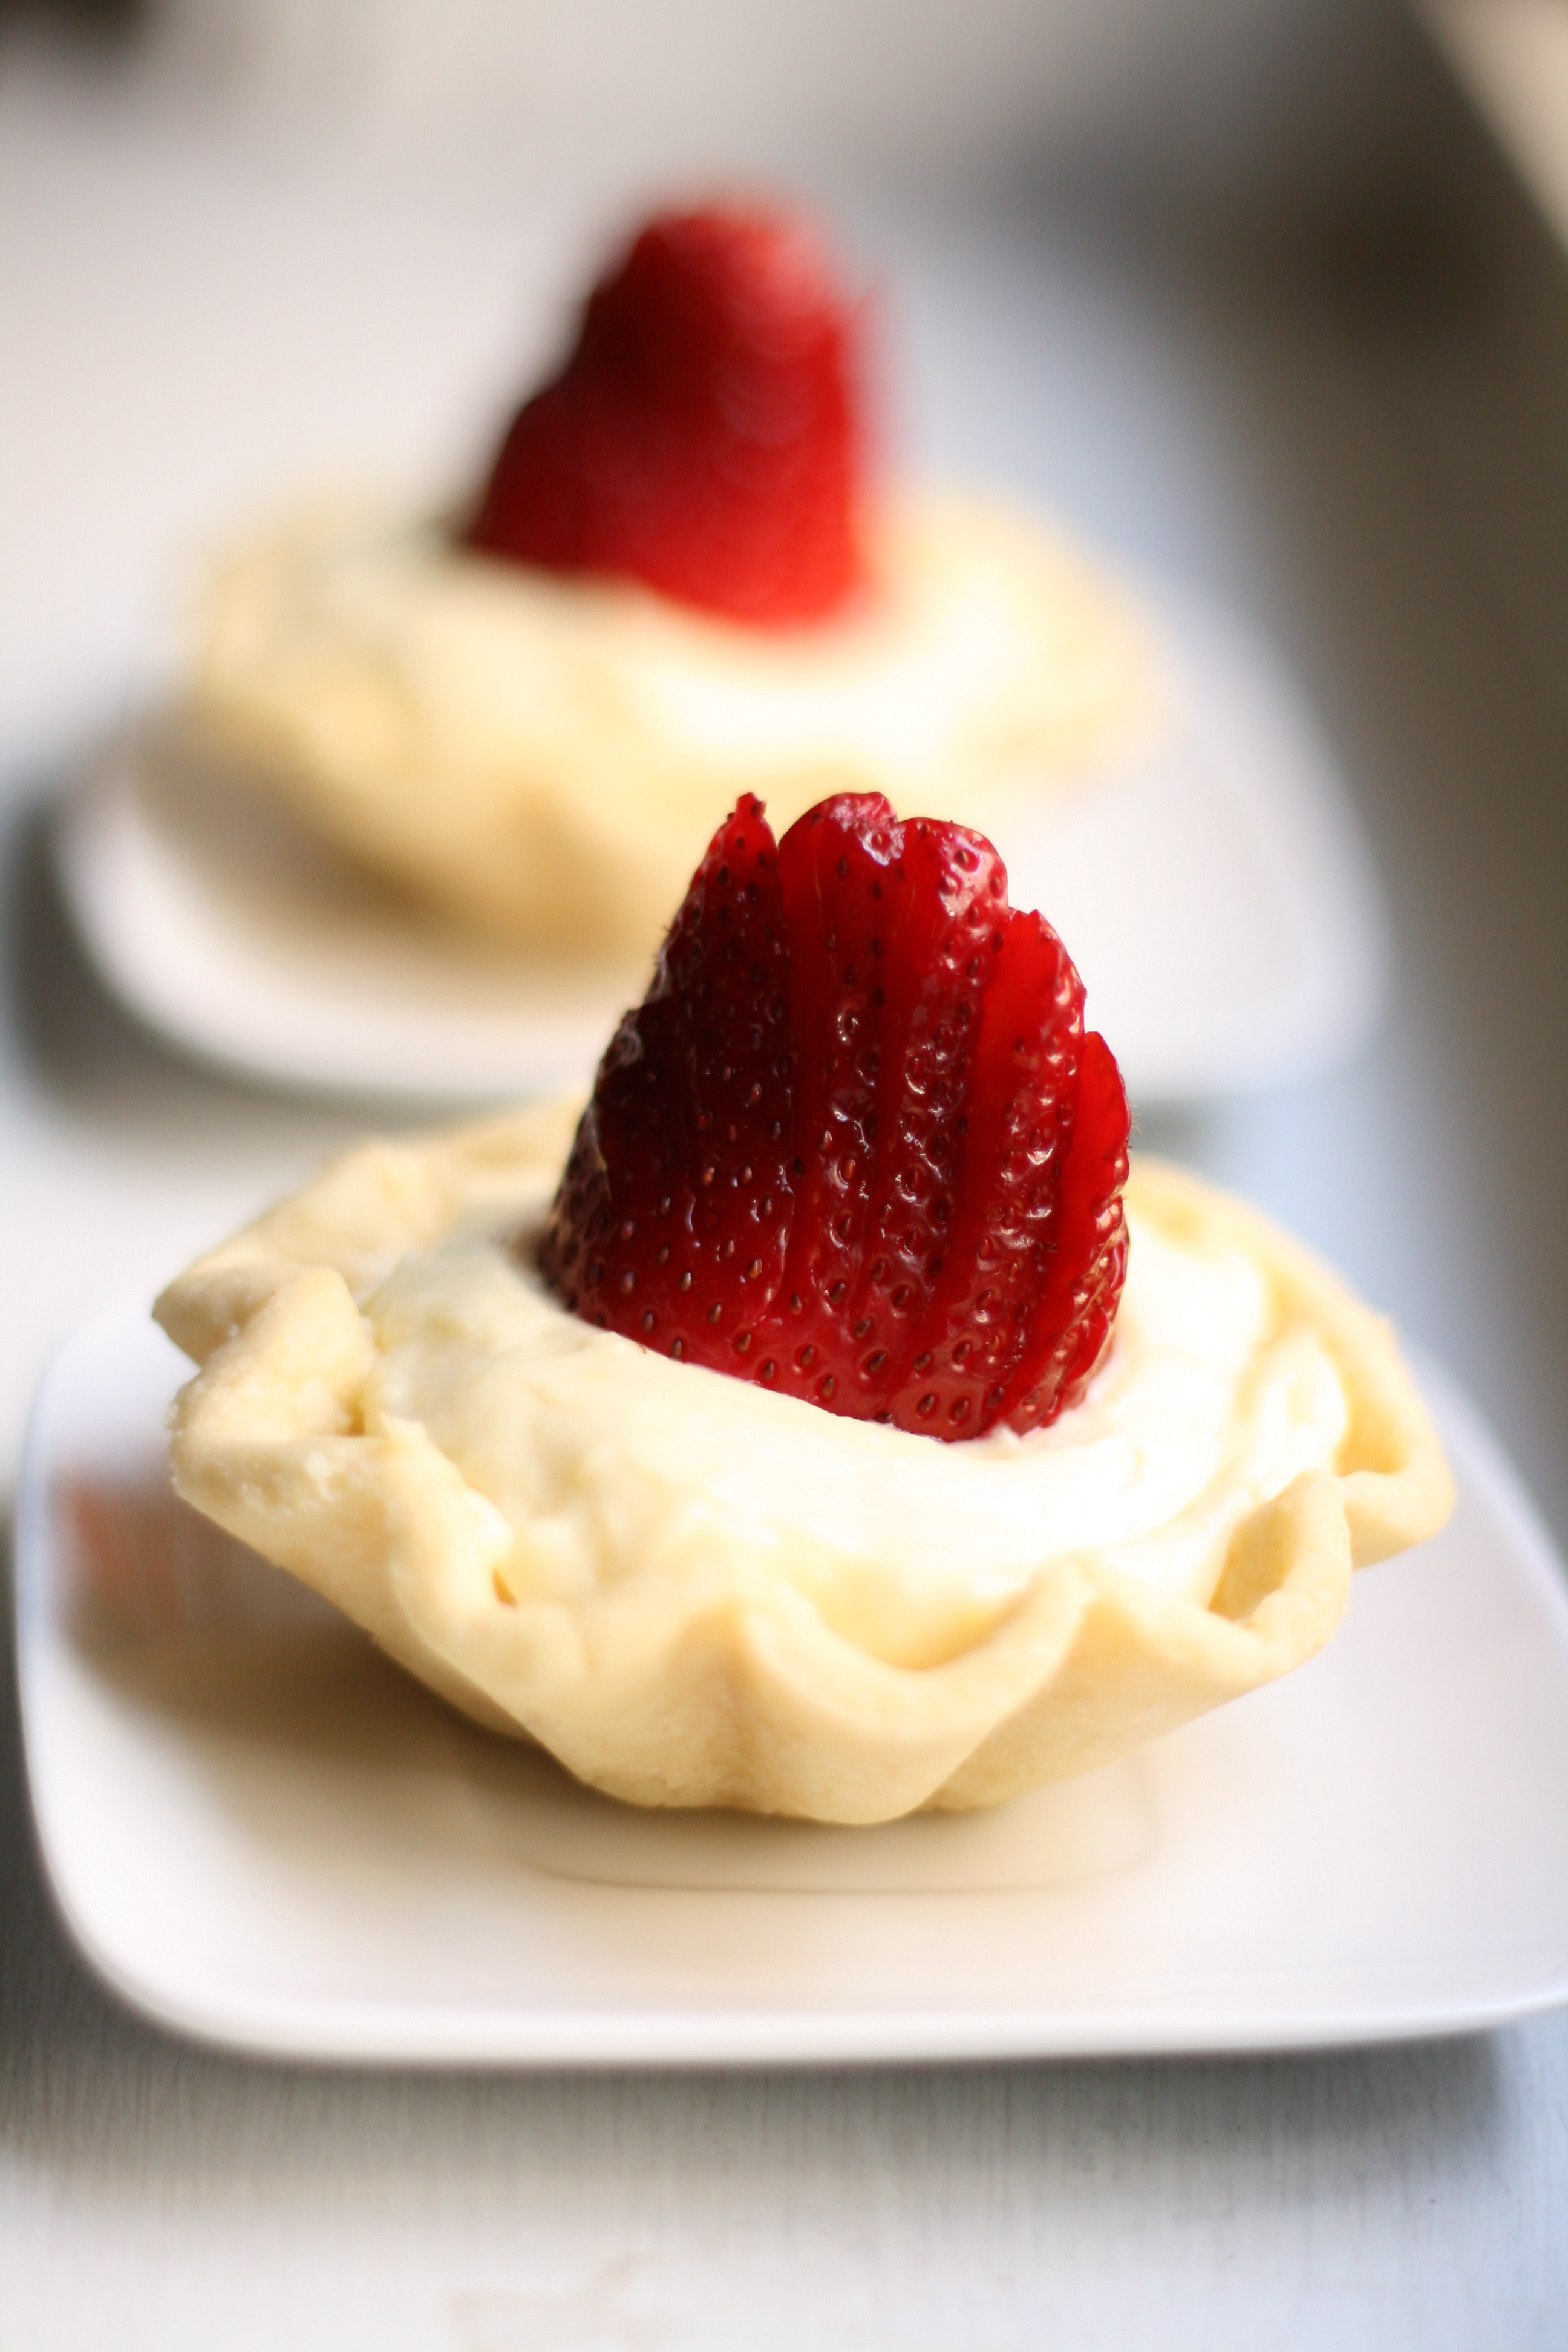
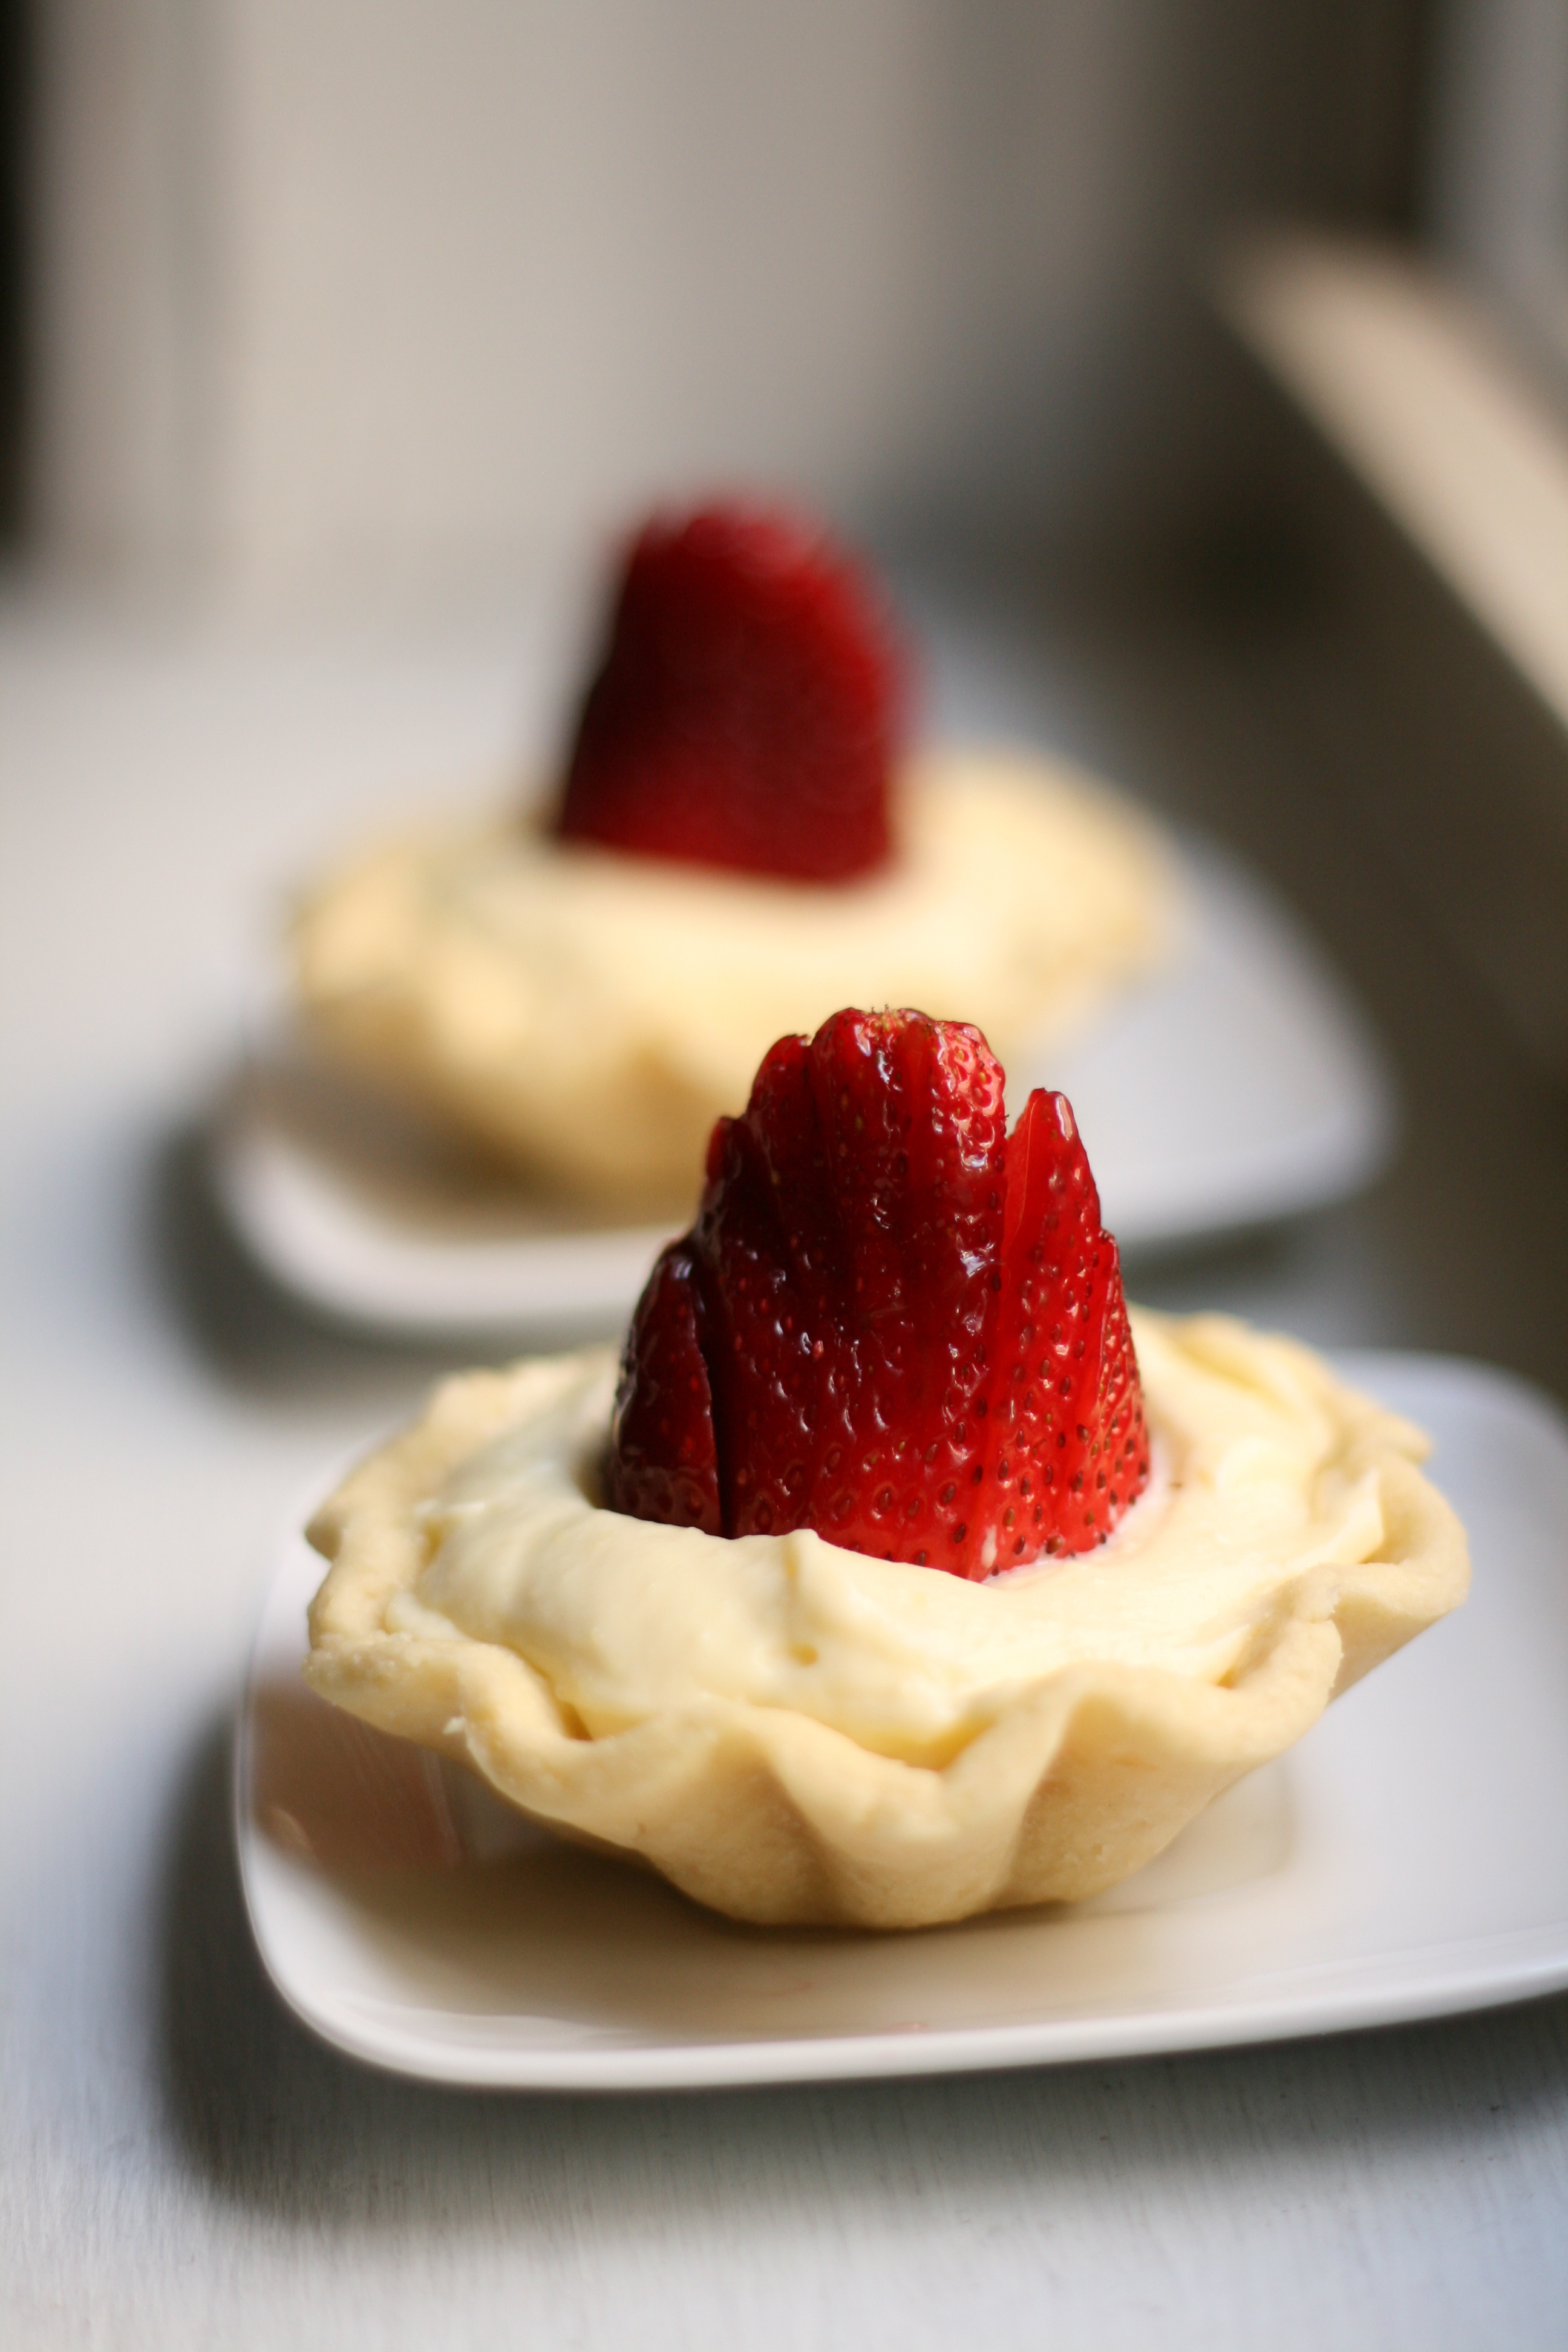
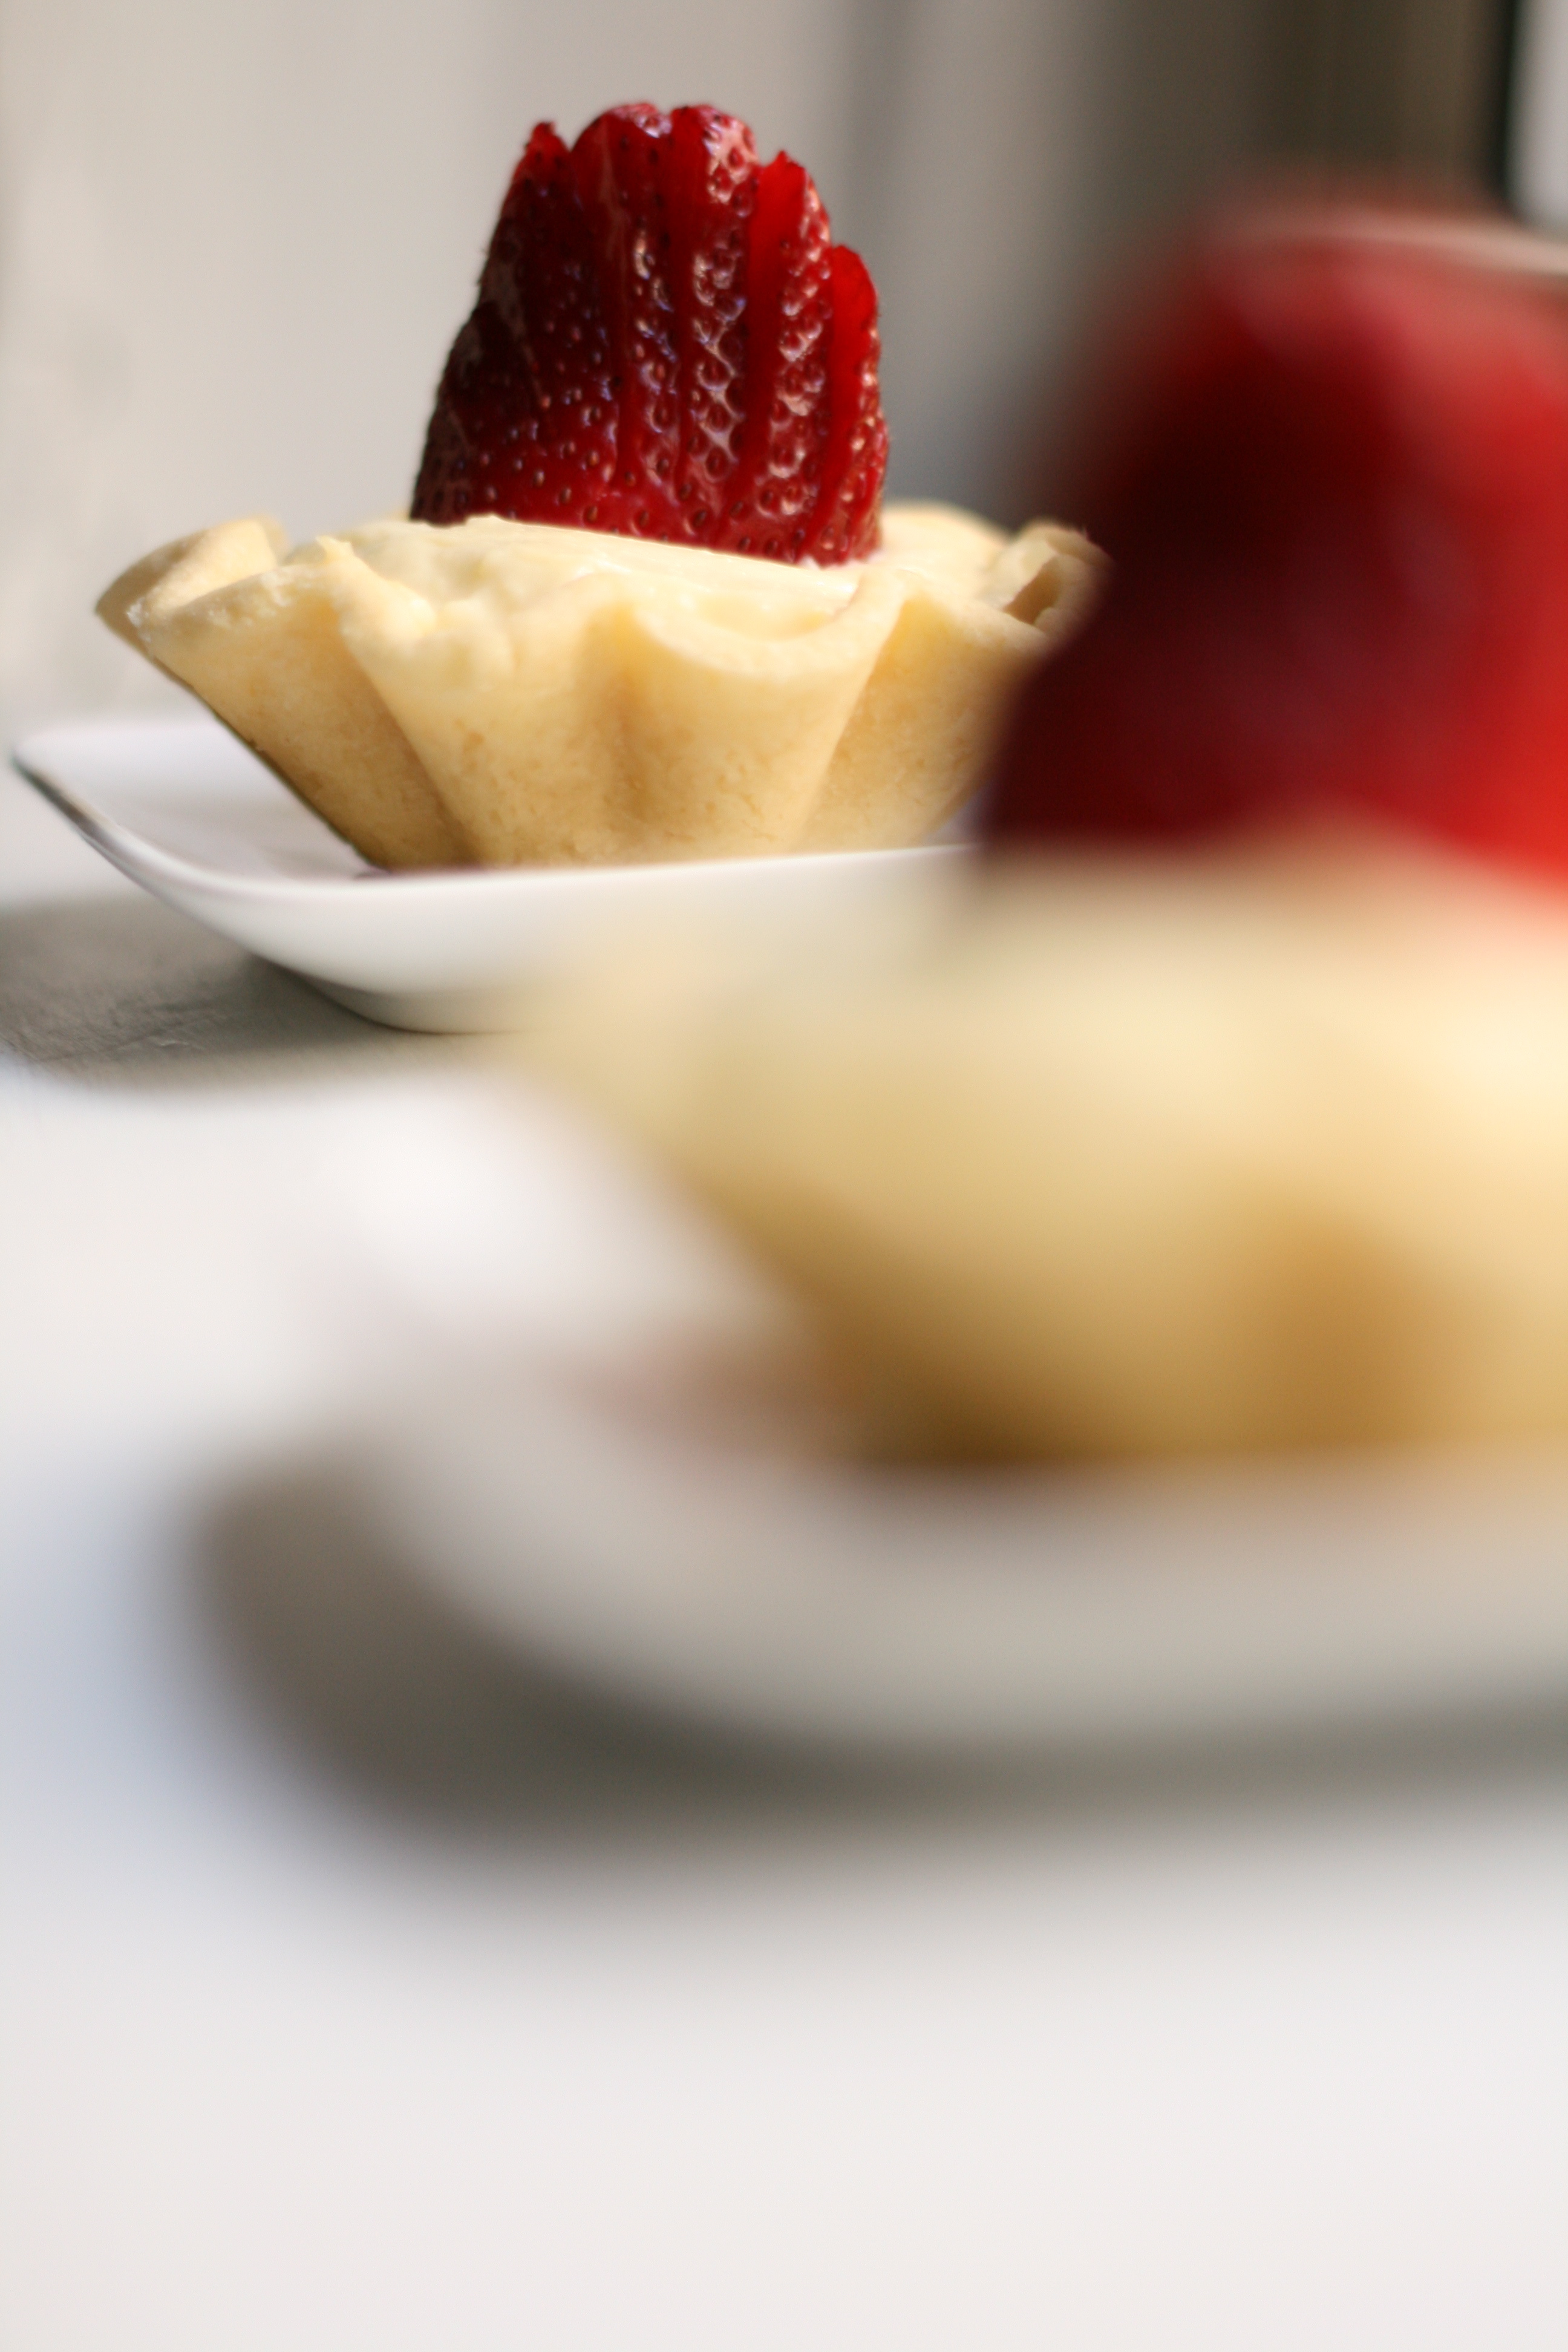
Mini Almond Tarts with a Strawberry on Top
yields 12 3-inch brioche molds

Almond Tart Dough
recipe from Martha Stewart
1/2 cup (1 stick) unsalted butter, room temperature
2 tablespoons confectioners’ sugar
1/2 large egg, beaten
1 cup all-purpose flour
1/2 cup plus 1 tablespoon almond flour

1. In the bowl of an electric mixer fitted with the paddle attachment, beat together butter and sugar until well combined. Add egg and mix, scraping down the sides of the bowl as necessary.
2. In a medium bowl, combine both flours. With the mixer on low speed, add flours all at once; mix until well combined.
3. Turn dough out onto work surface and form into two disks. Wrap with plastic wrap and refrigerate until chilled, at least 4 hours and up to overnight.
4. Once dough is ready, preheat oven to 350°.
5. Place dough on a floured work surface, sprinkle dough with flour, and roll out to 1/4-inch thick. (You may have to wait until dough comes closer to room temp in order to roll out.) Cut out 12 circles using a 3 1/4-inch round cutter, re-rolling dough if necessary. Place each circle in a mini 3″ brioche mold, gently pressing down on the bottom and sides. Place filled molds on a baking sheet; transfer to a freezer for 20 minutes.
6. Transfer baking sheet to oven and bake tart shells until just golden brown, 12 to 15 minutes. Transfer tart shells, in their molds, to a wire rack to cool completely.

Almond Pastry Cream
recipe adapted from America’s Test Kitchen
2 c. half and half
1/2 c. sugar
Pinch of salt
5 egg yolks
3 tbsp. cornstarch
4 tbsp. unsalted butter, cut into 1/2″ pieces and chilled
1 tsp. almond extract

1.Bring half and half, 6 tablespoons of the sugar, and salt to a simmer in a saucepan over medium-high heat, stirring occasionally.
2. In a separate bowl, whisk together egg yolks, cornstarch, and remaining 2 tablespoons of sugar until smooth. Once half and half begins to simmer, slowly whisk one cup of the simmering half and half into the egg yolk mixture to temper, stirring constantly. Once combined, slowly whisk mixture back into the simmering sauce pan. Turn heat down to medium, and whisk constantly for about 30 seconds. Lava like bubbles will begin to burst on surface.
3. Remove pan from heat, and stir in chilled butter and almond extract. Transfer to bowl, and place plastic wrap directly on surface. Refrigerate until firm, about 3 hours.
4. After pastry cream is chilled, pipe or scoop into prepared almond tarts.
5. Prepare strawberries by chopping off end with stem. Set strawberry up on flat side, and make thin slices almost cutting to bottom. Squeeze strawberry in center to fan out and set in pastry cream.
6. Cover and refrigerate. Serve chilled.

TIPS
• Tart dough and pastry cream can be made up to 2 days in advance.
• Tart shells can be cooked one day in advance. Cover and leave at room temperature.
• Assemble tarts day of serving, no earlier.
Can you tell I’m a little obsessed with almonds right now? Last post—almond sugar cookies. Next post—it’s a secret (I guess I’m full of secrets these days, good ones though). But I can tell you, almond flour will be present.

Don’t wait. Check out Oh!Nuts, get your almond flour, and make tarts!


© The Faux Martha 2024. Privacy Policy. An exclusive Member of Mediavine Food.