I’ve departed from my normal flour, butter, and sugar gig this week. I hope you don’t mind.
Confession: I’m a mexican food junkie, and I eat way too much guacamole. But I wasn’t always this way. Sadly, my unrefined childhood taste buds didn’t crave guac until I was in college. I lost a good 20 years of consumption. However, I think I’ve made up for it in the last six years. Thank goodness for its health benefits.
Every time I make guac, I think of my mom. She first introduced me to it with a recipe called—Game Day Guacamole. I can still see it peeking out of her overly stuffed light blue checked recipe box. Excuse me while I reminisce. The fact that food has the ability to conjure up vivid memories makes me love it even more.
I wish I could say that I still use the Game Day recipe, but I don’t. Being the hard-headed person that I am, I had to come up with my own recipe. I blame it on the artist in me. I’m like a dog marking its territory. I have to put my stamp on everything. Knowing how I am now, I can only imagine what I was like as a child. My apologies Mom and Dad. But lucky for you, I have perfected my recipe. At least to my liking. So go ahead, and give it a try.
The best thing about this recipe—it’s not a science. Precision isn’t a must. Taste as you go. Follow your gut. And put your own stamp on it, or not.
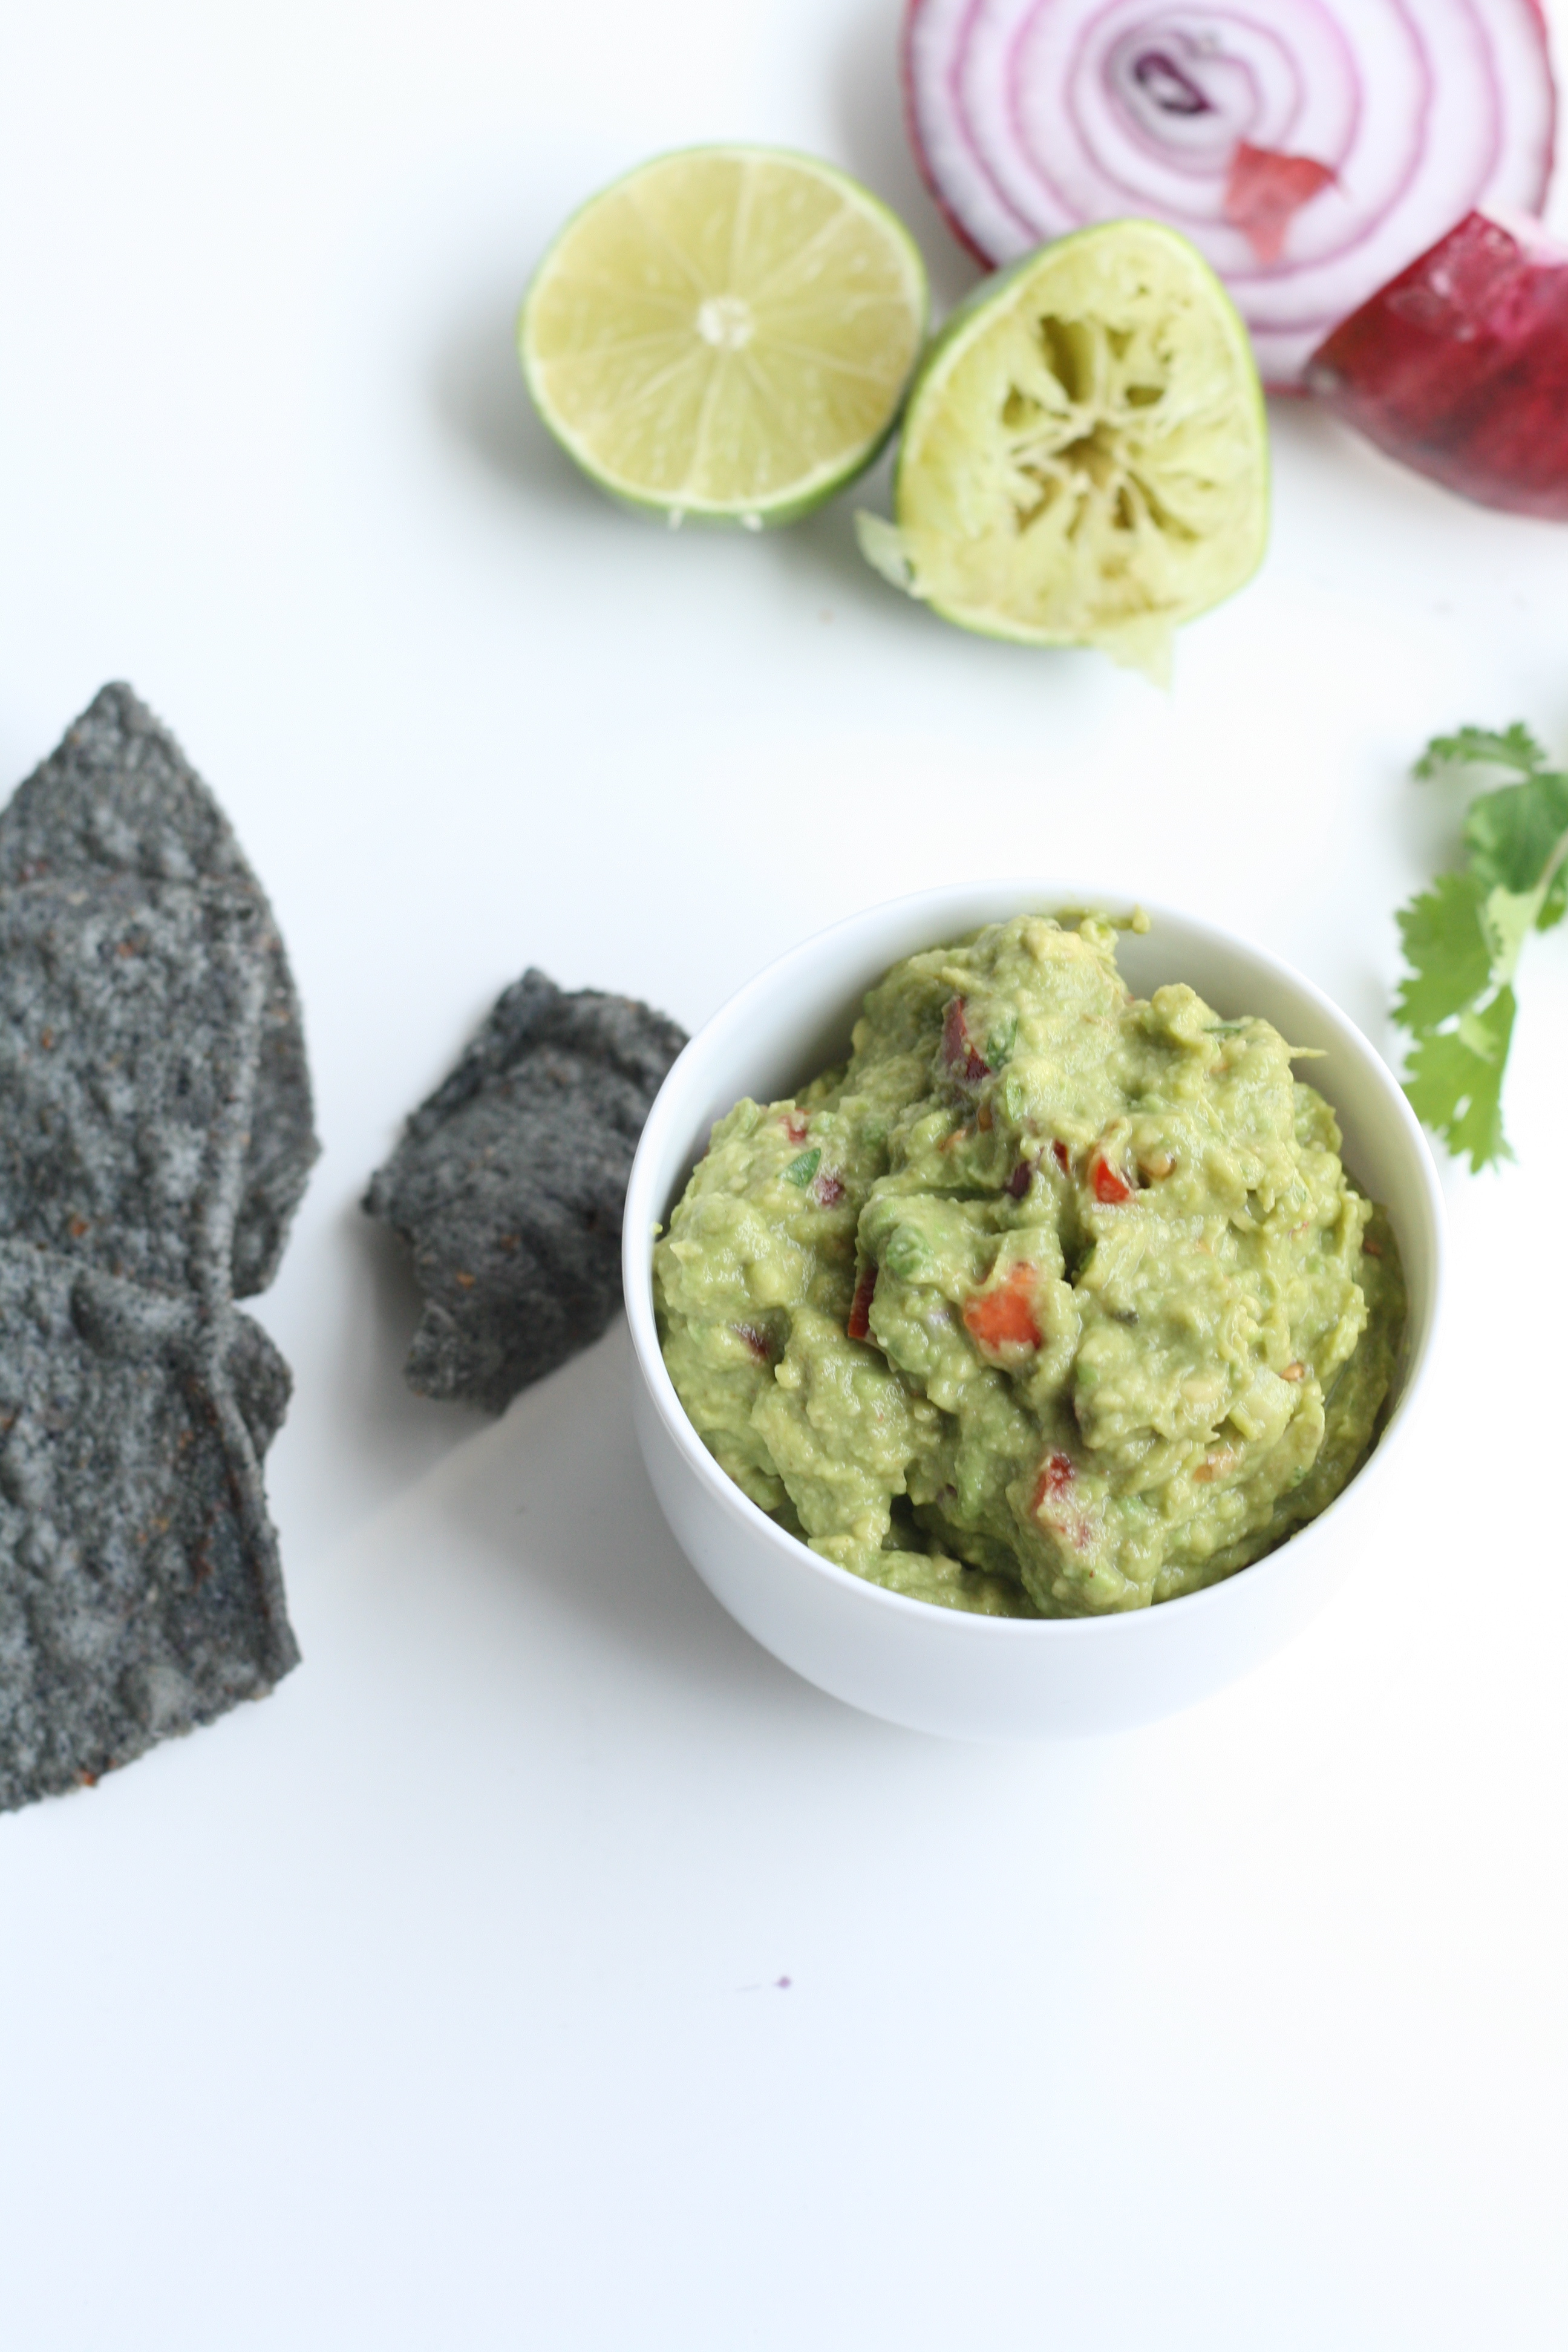
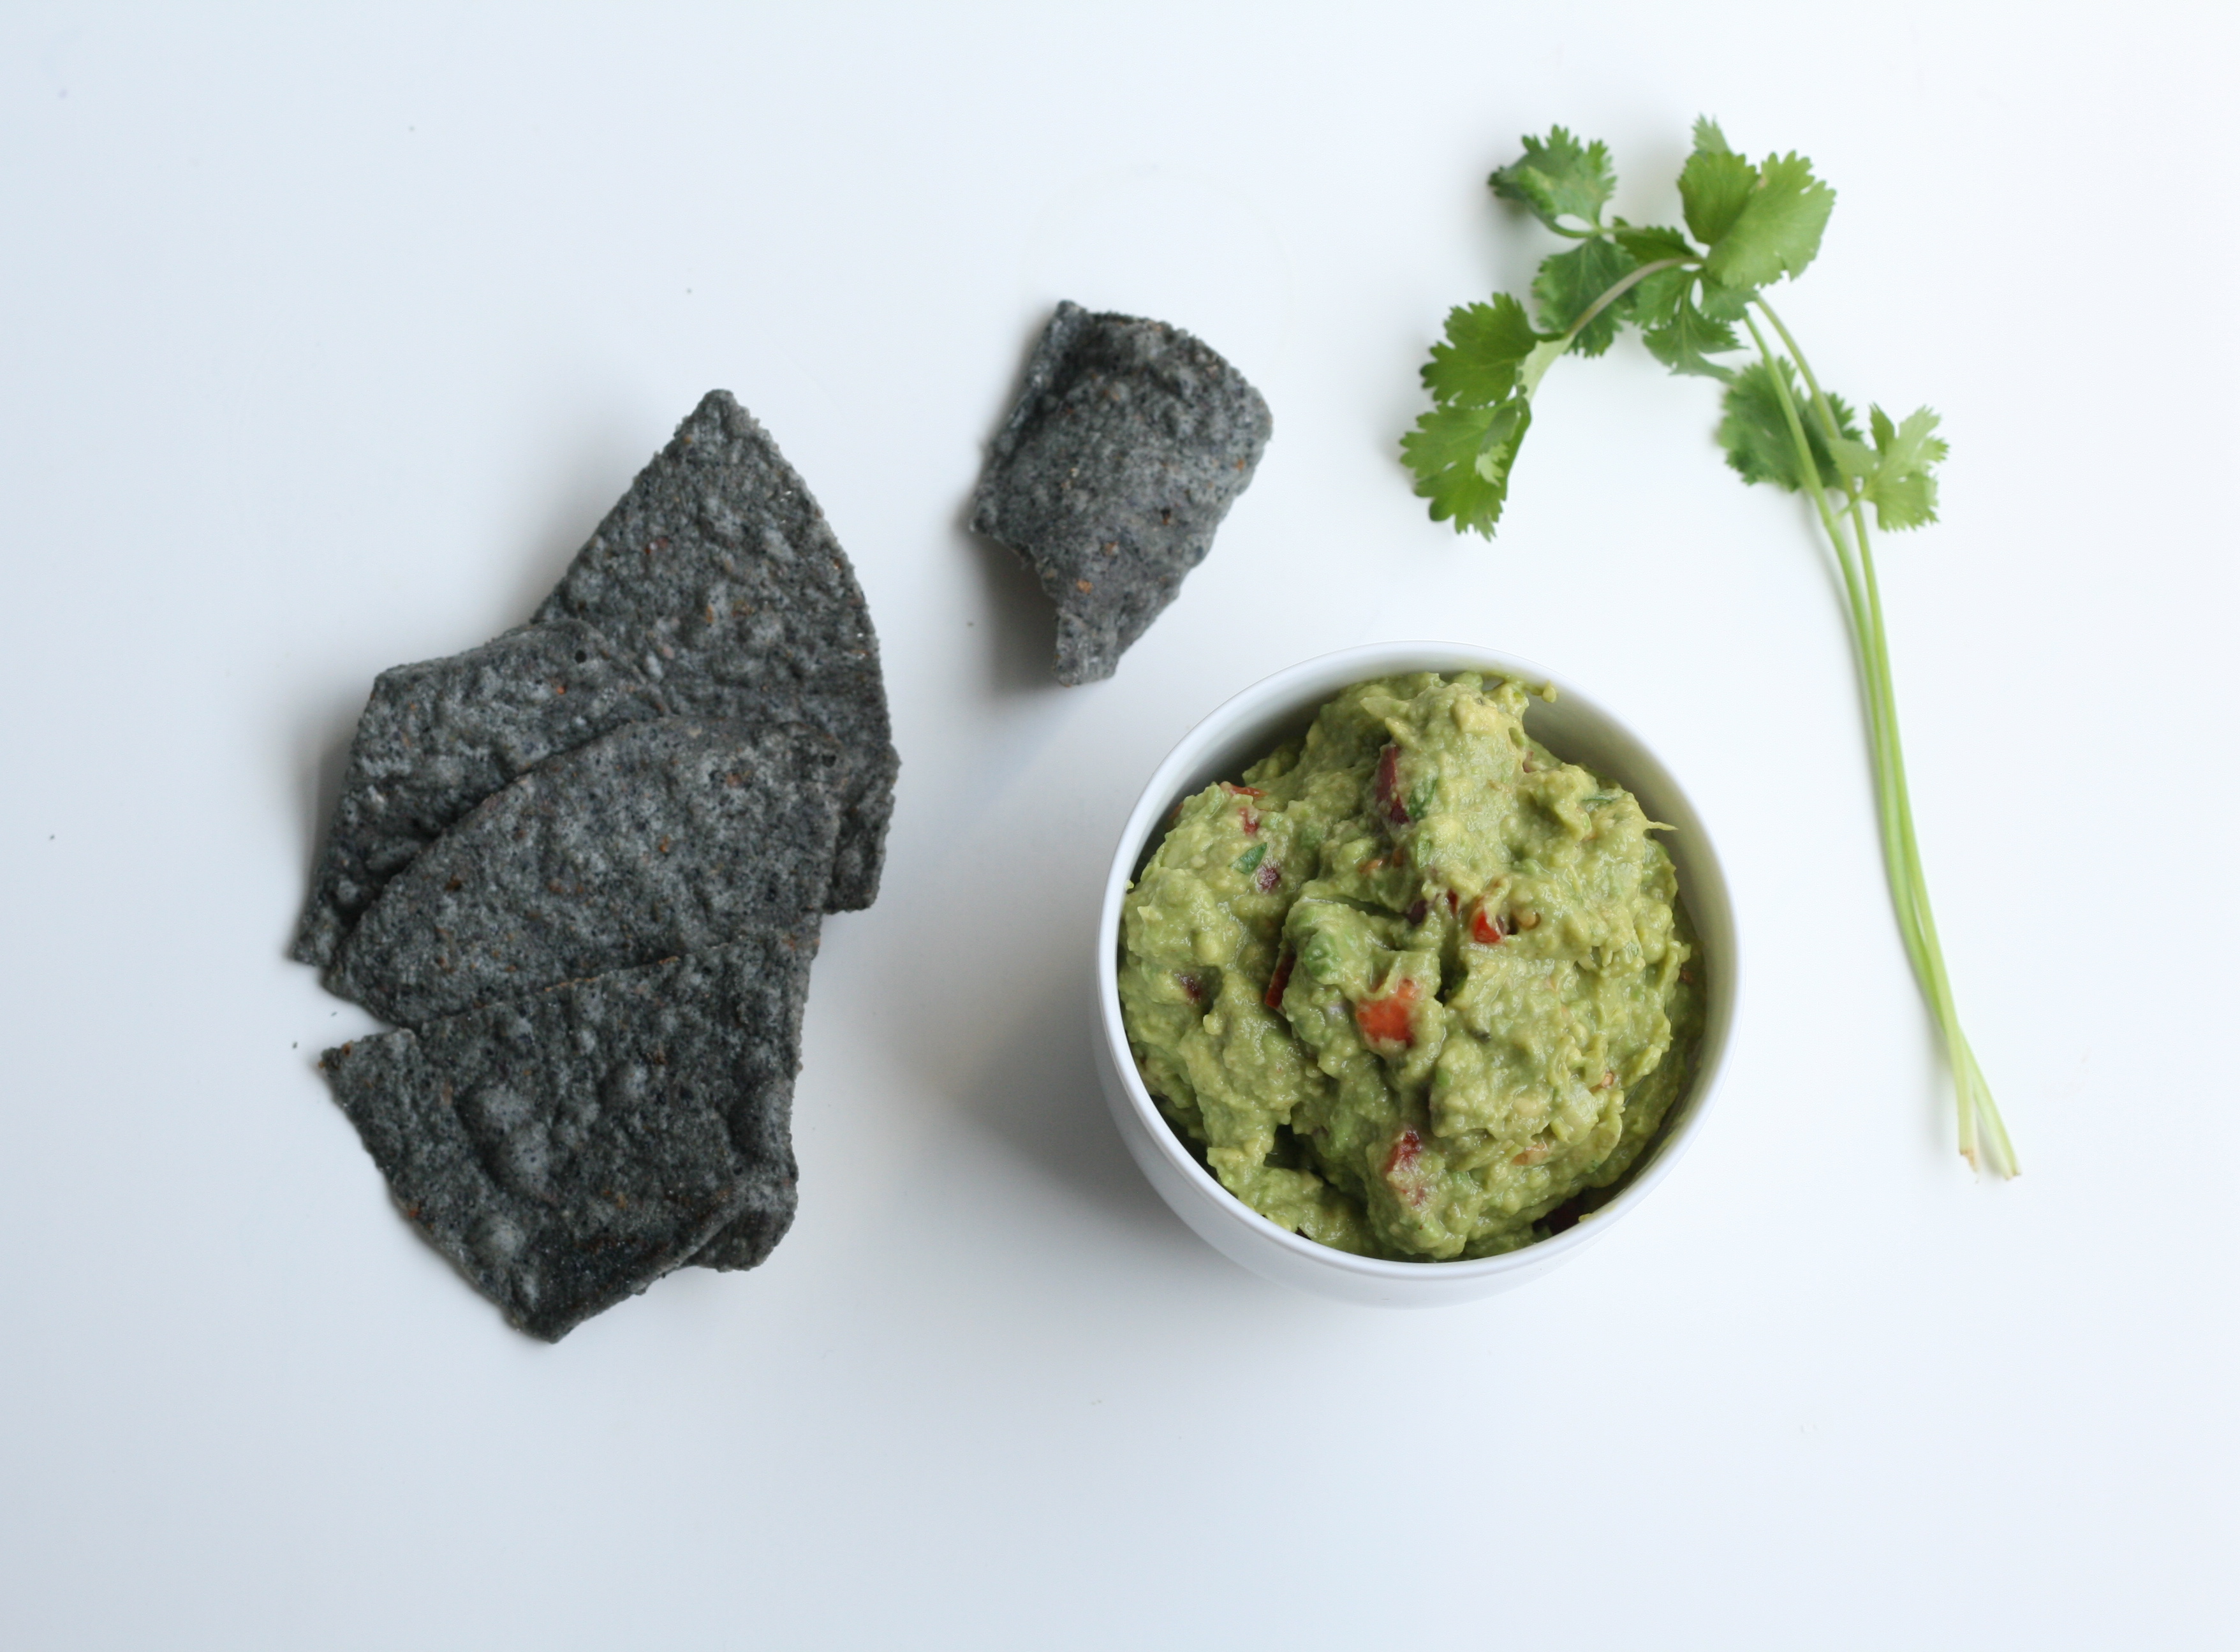
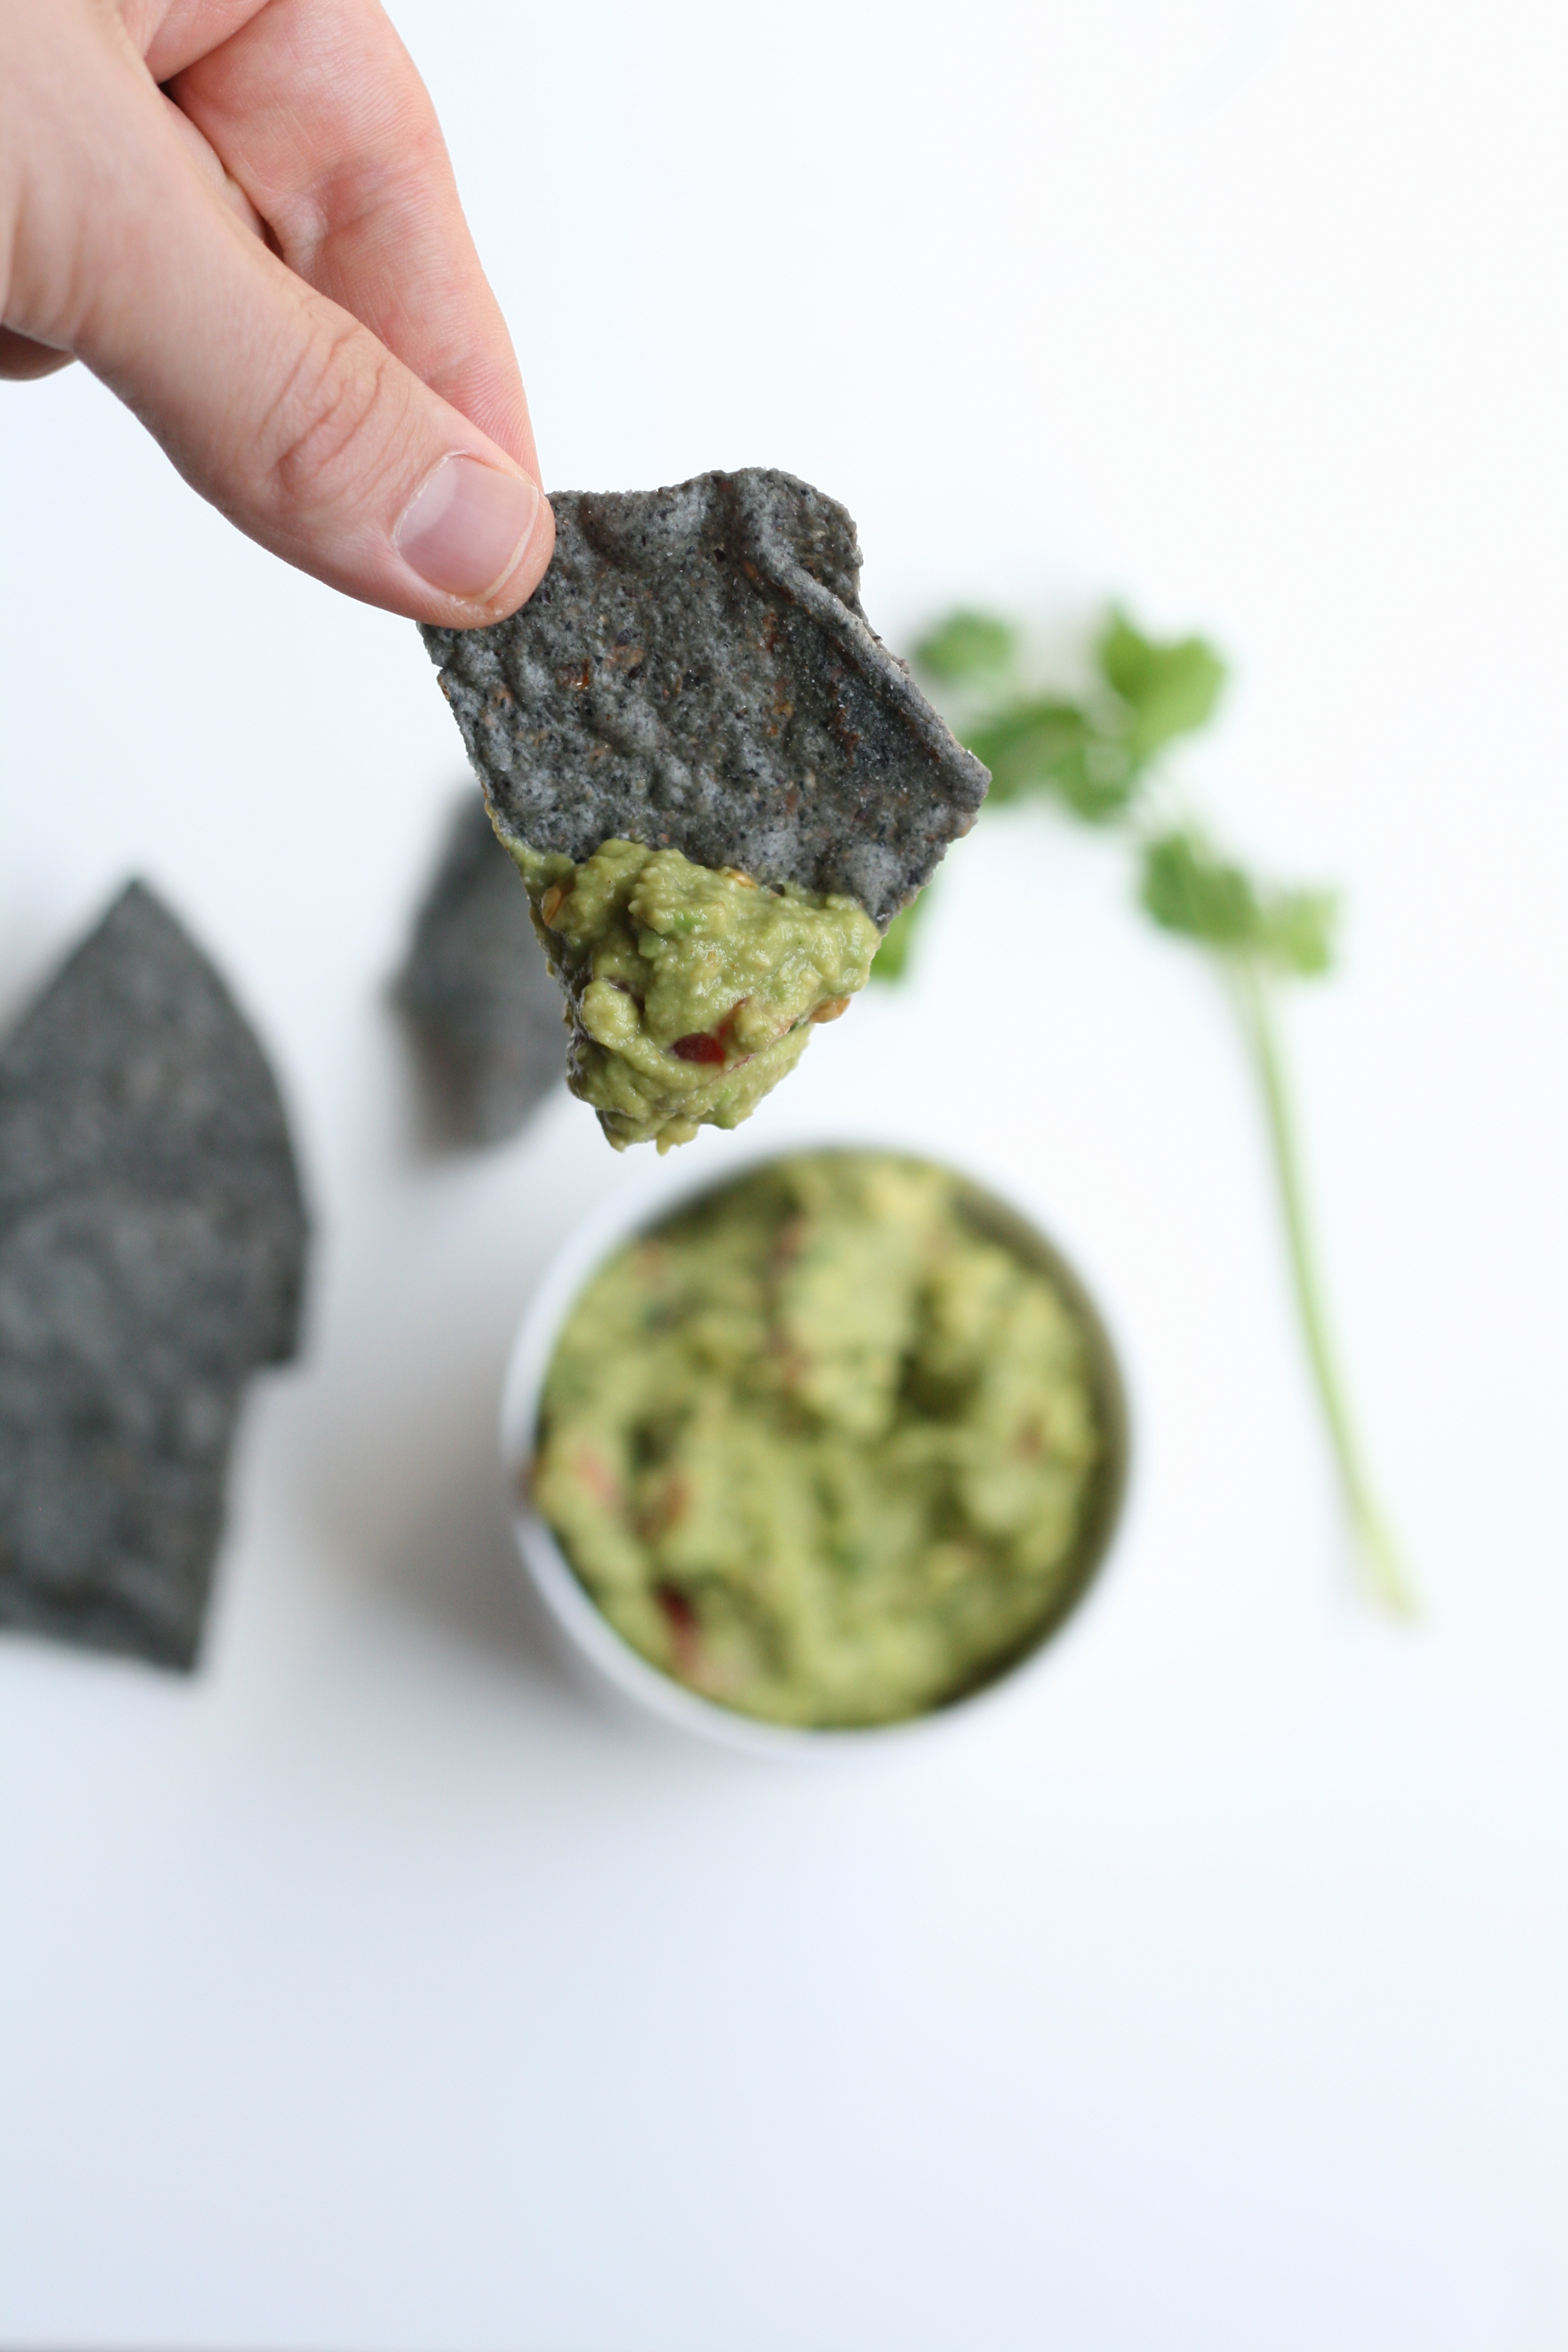
Guacamole recipe from yours truly
5 ripe avocados, peeled 1/4 c. chopped grape tomatoes 2 tbsp. chopped red onion 2 garlic cloves, minced 1 tbsp. fresh cilantro, chopped 3-6 jarred jalapeños, chopped 1 1/2 tsp. cumin half of a lime, squeezed sea salt
1. Add avocados to a large bowl and mash. Click here for a peeling how-to. 2. Mix in tomatoes, onion, garlic, cilantro, jalapeños, cumin, and lime juice. 3. Add Sriracha and sea salt to taste. 4. Taste. Add more where you see fit. It’s usually salt or cumin for me. 5. Press plastic wrap on surface of guacamole. This will keep oxygen from creeping in and turning things brown before you serve it.
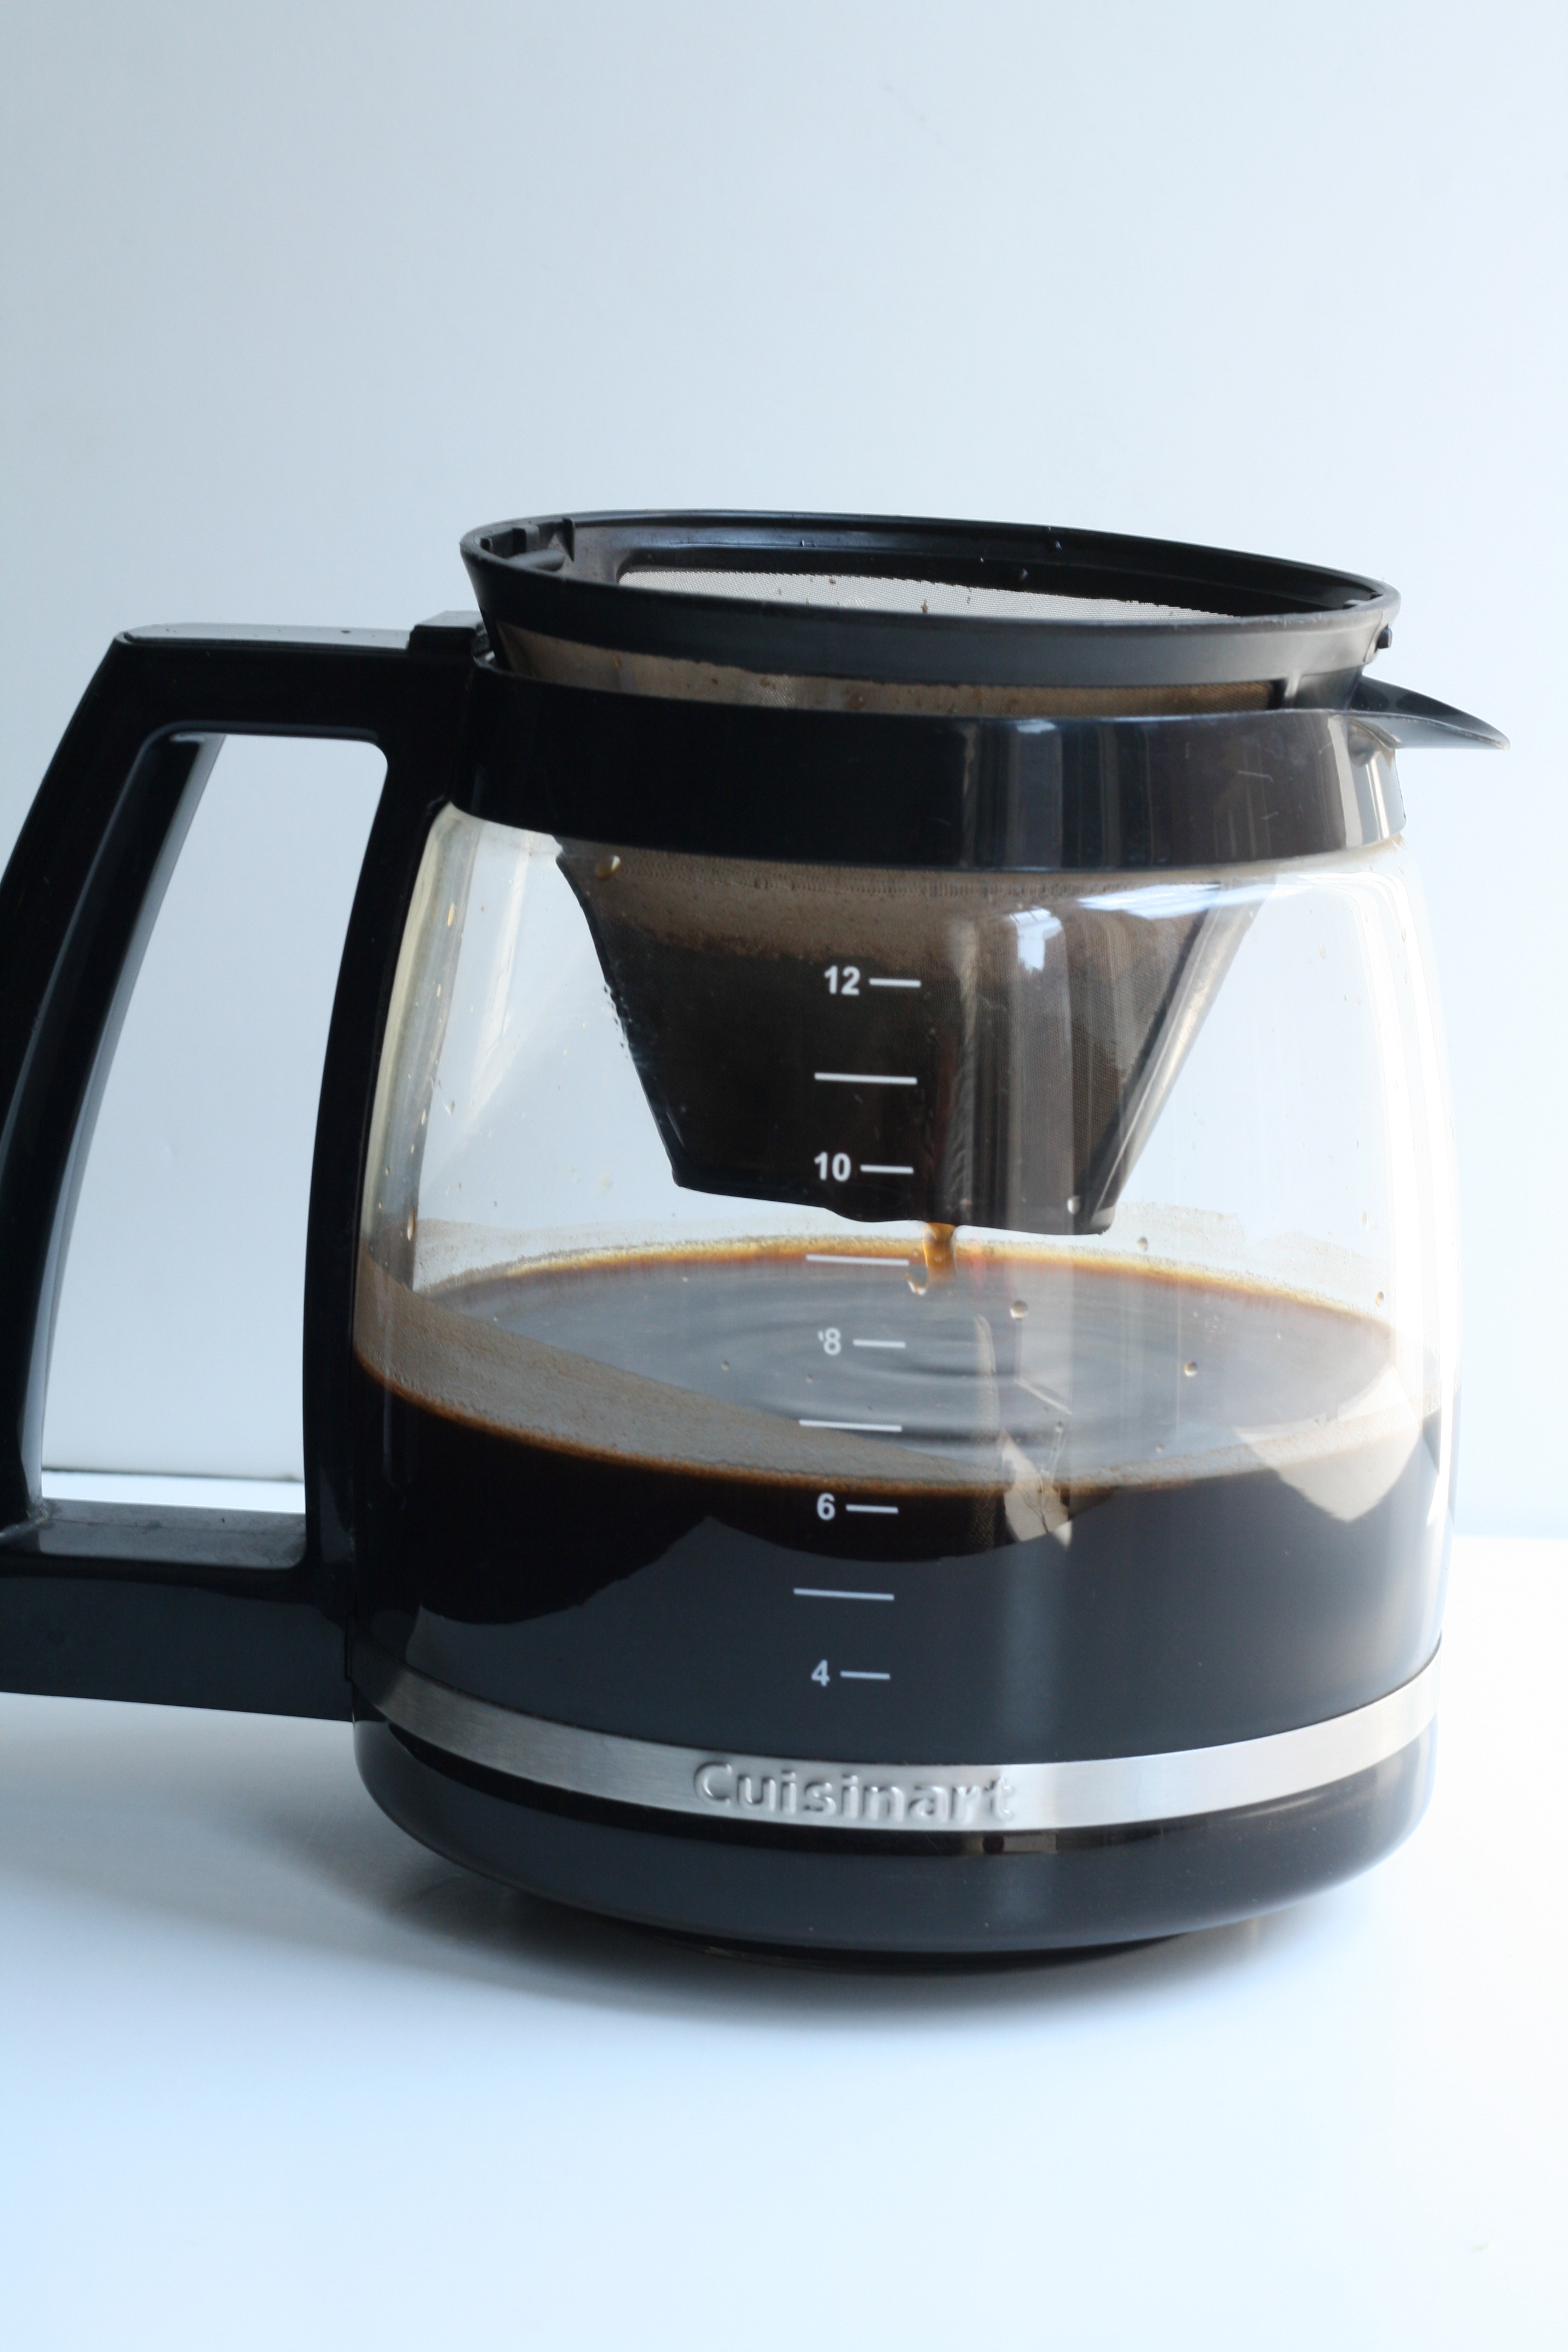
I’m writing this post as fast a my warm swollen fingers can type. I’m not telling you anything new when I say it’s hot out. Horribly hot. And I hate abhor the heat. The only thing that can make it better—iced coffee.
So stop what you’re doing right now and start making this. It has to sit overnight. You’ll thank me later, I promise. Your mornings will be happier and cooler. Your forehead will perspire a bit less. And your freshly pressed (Huh? Not me.) shirt wont stick to your damp back. It’s a christmas miracle in July.
No brewing is involved. I’ll explain below.
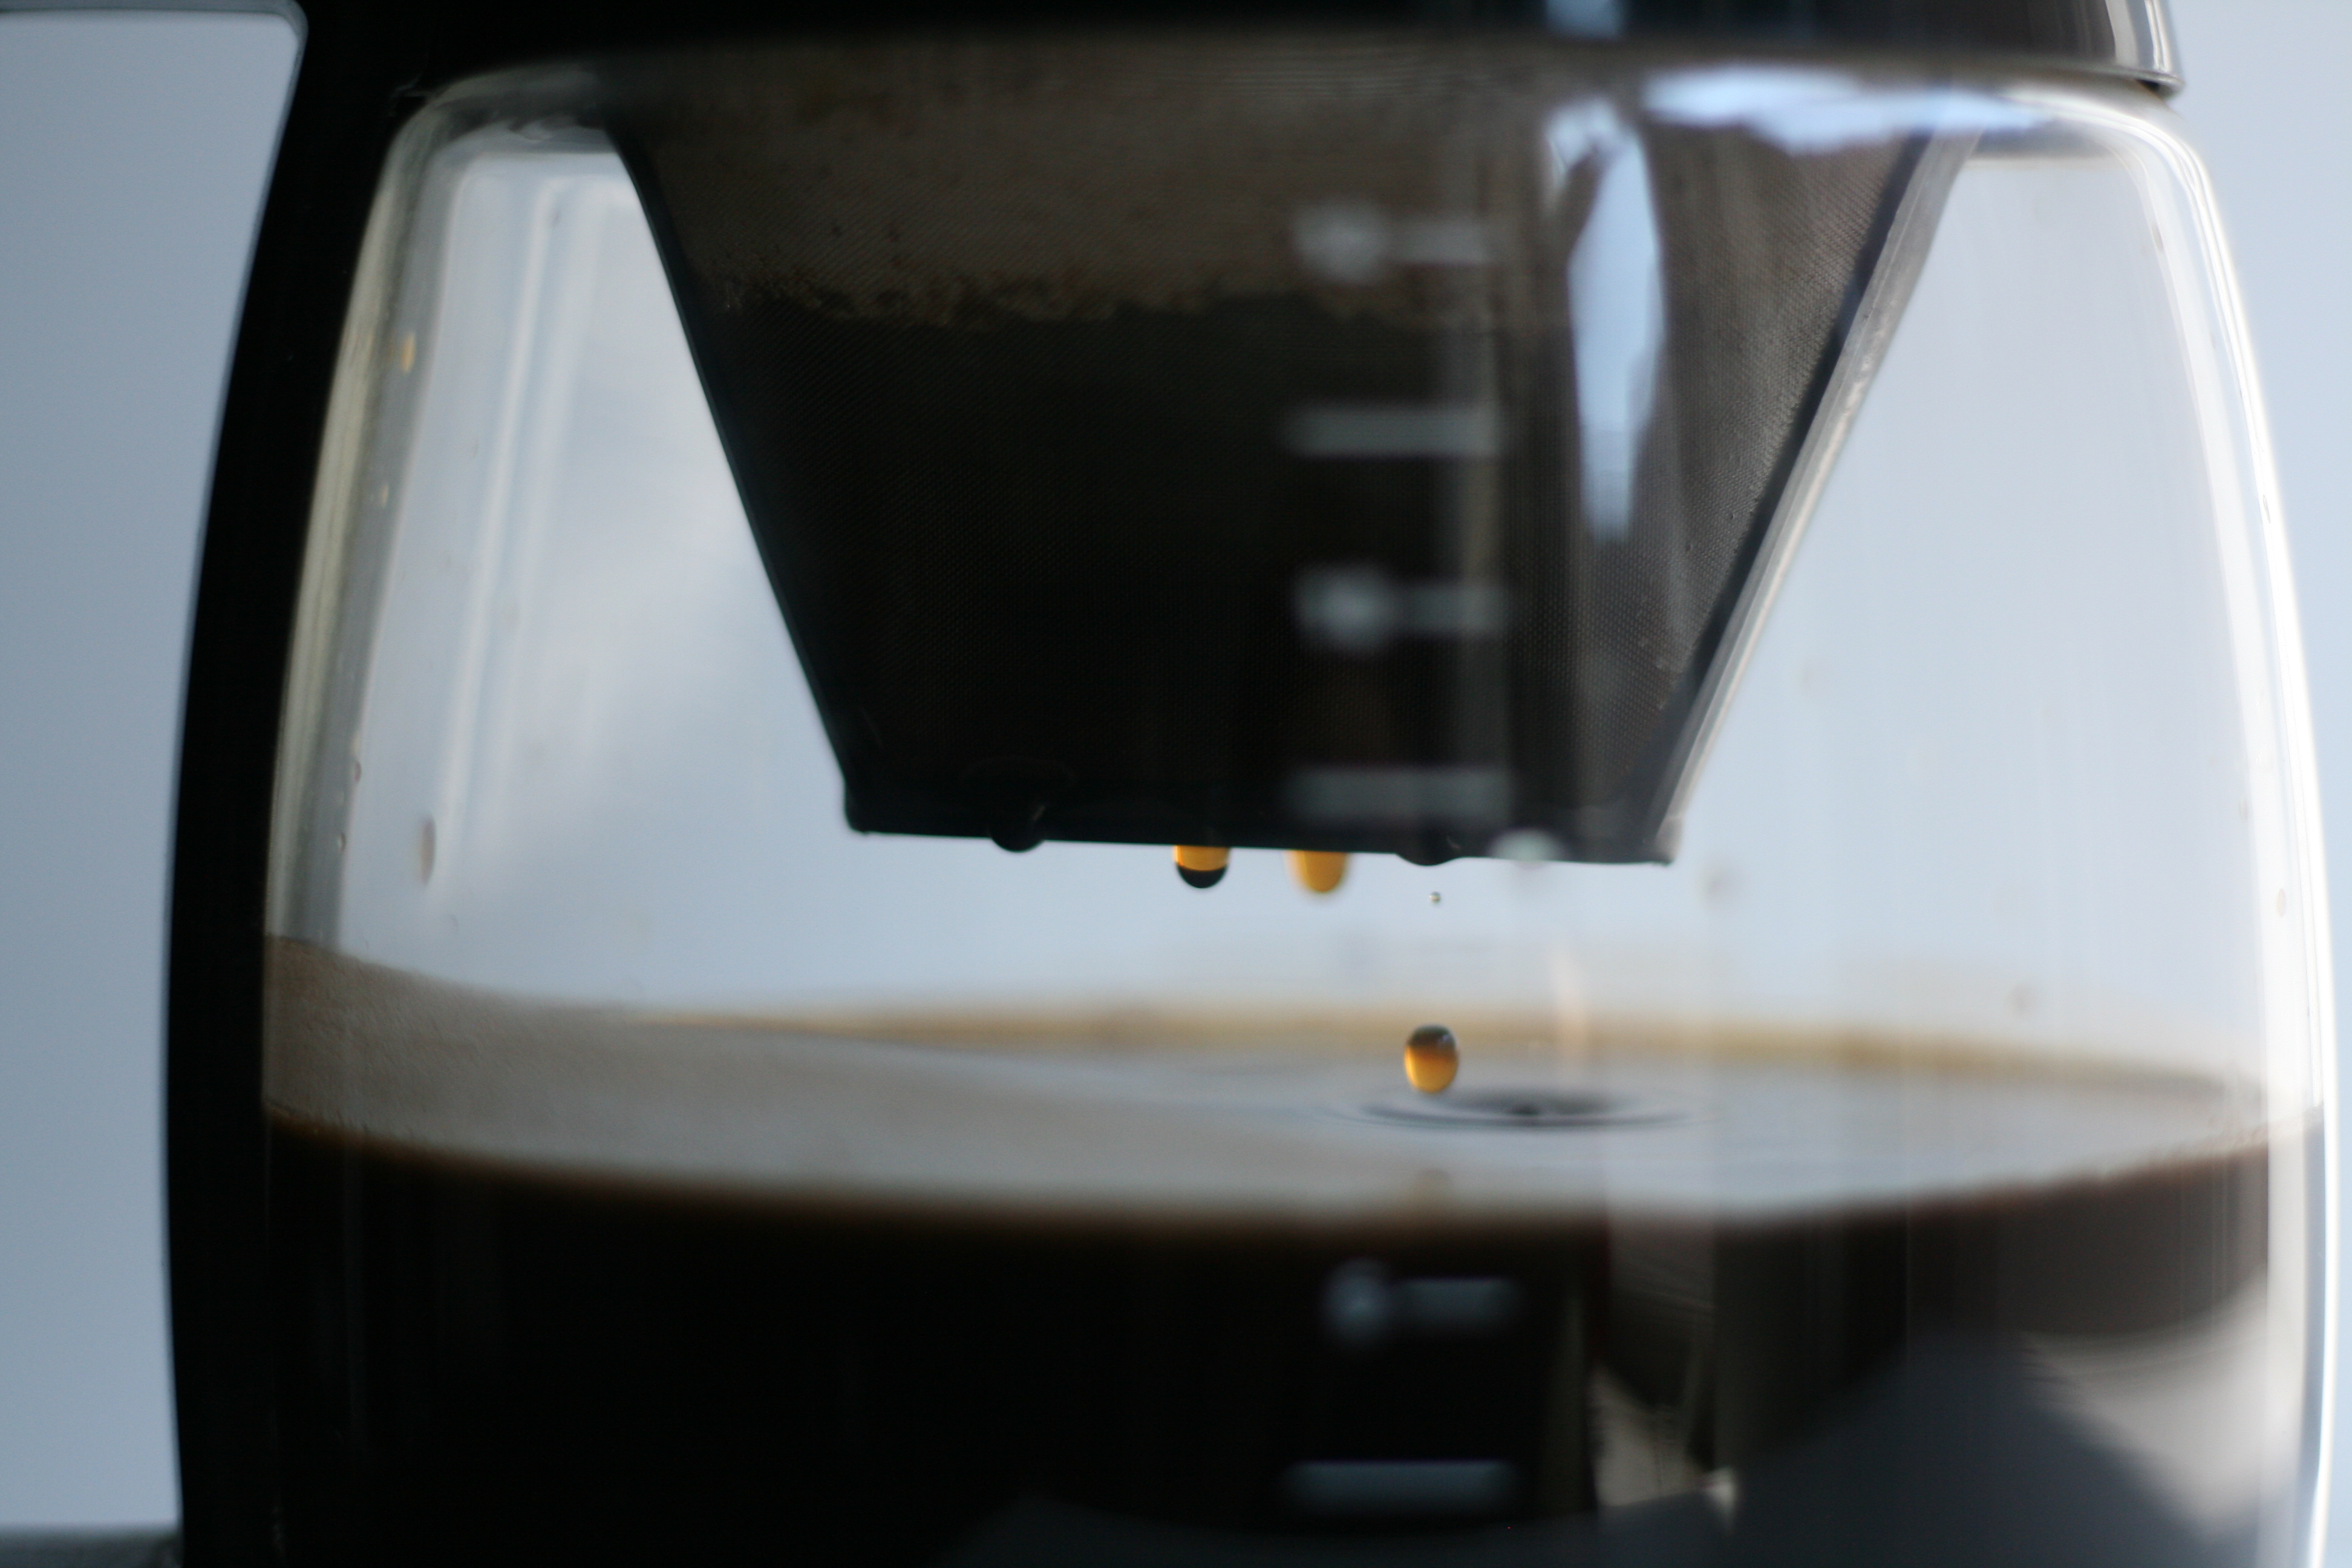
Drip, drip, drip.
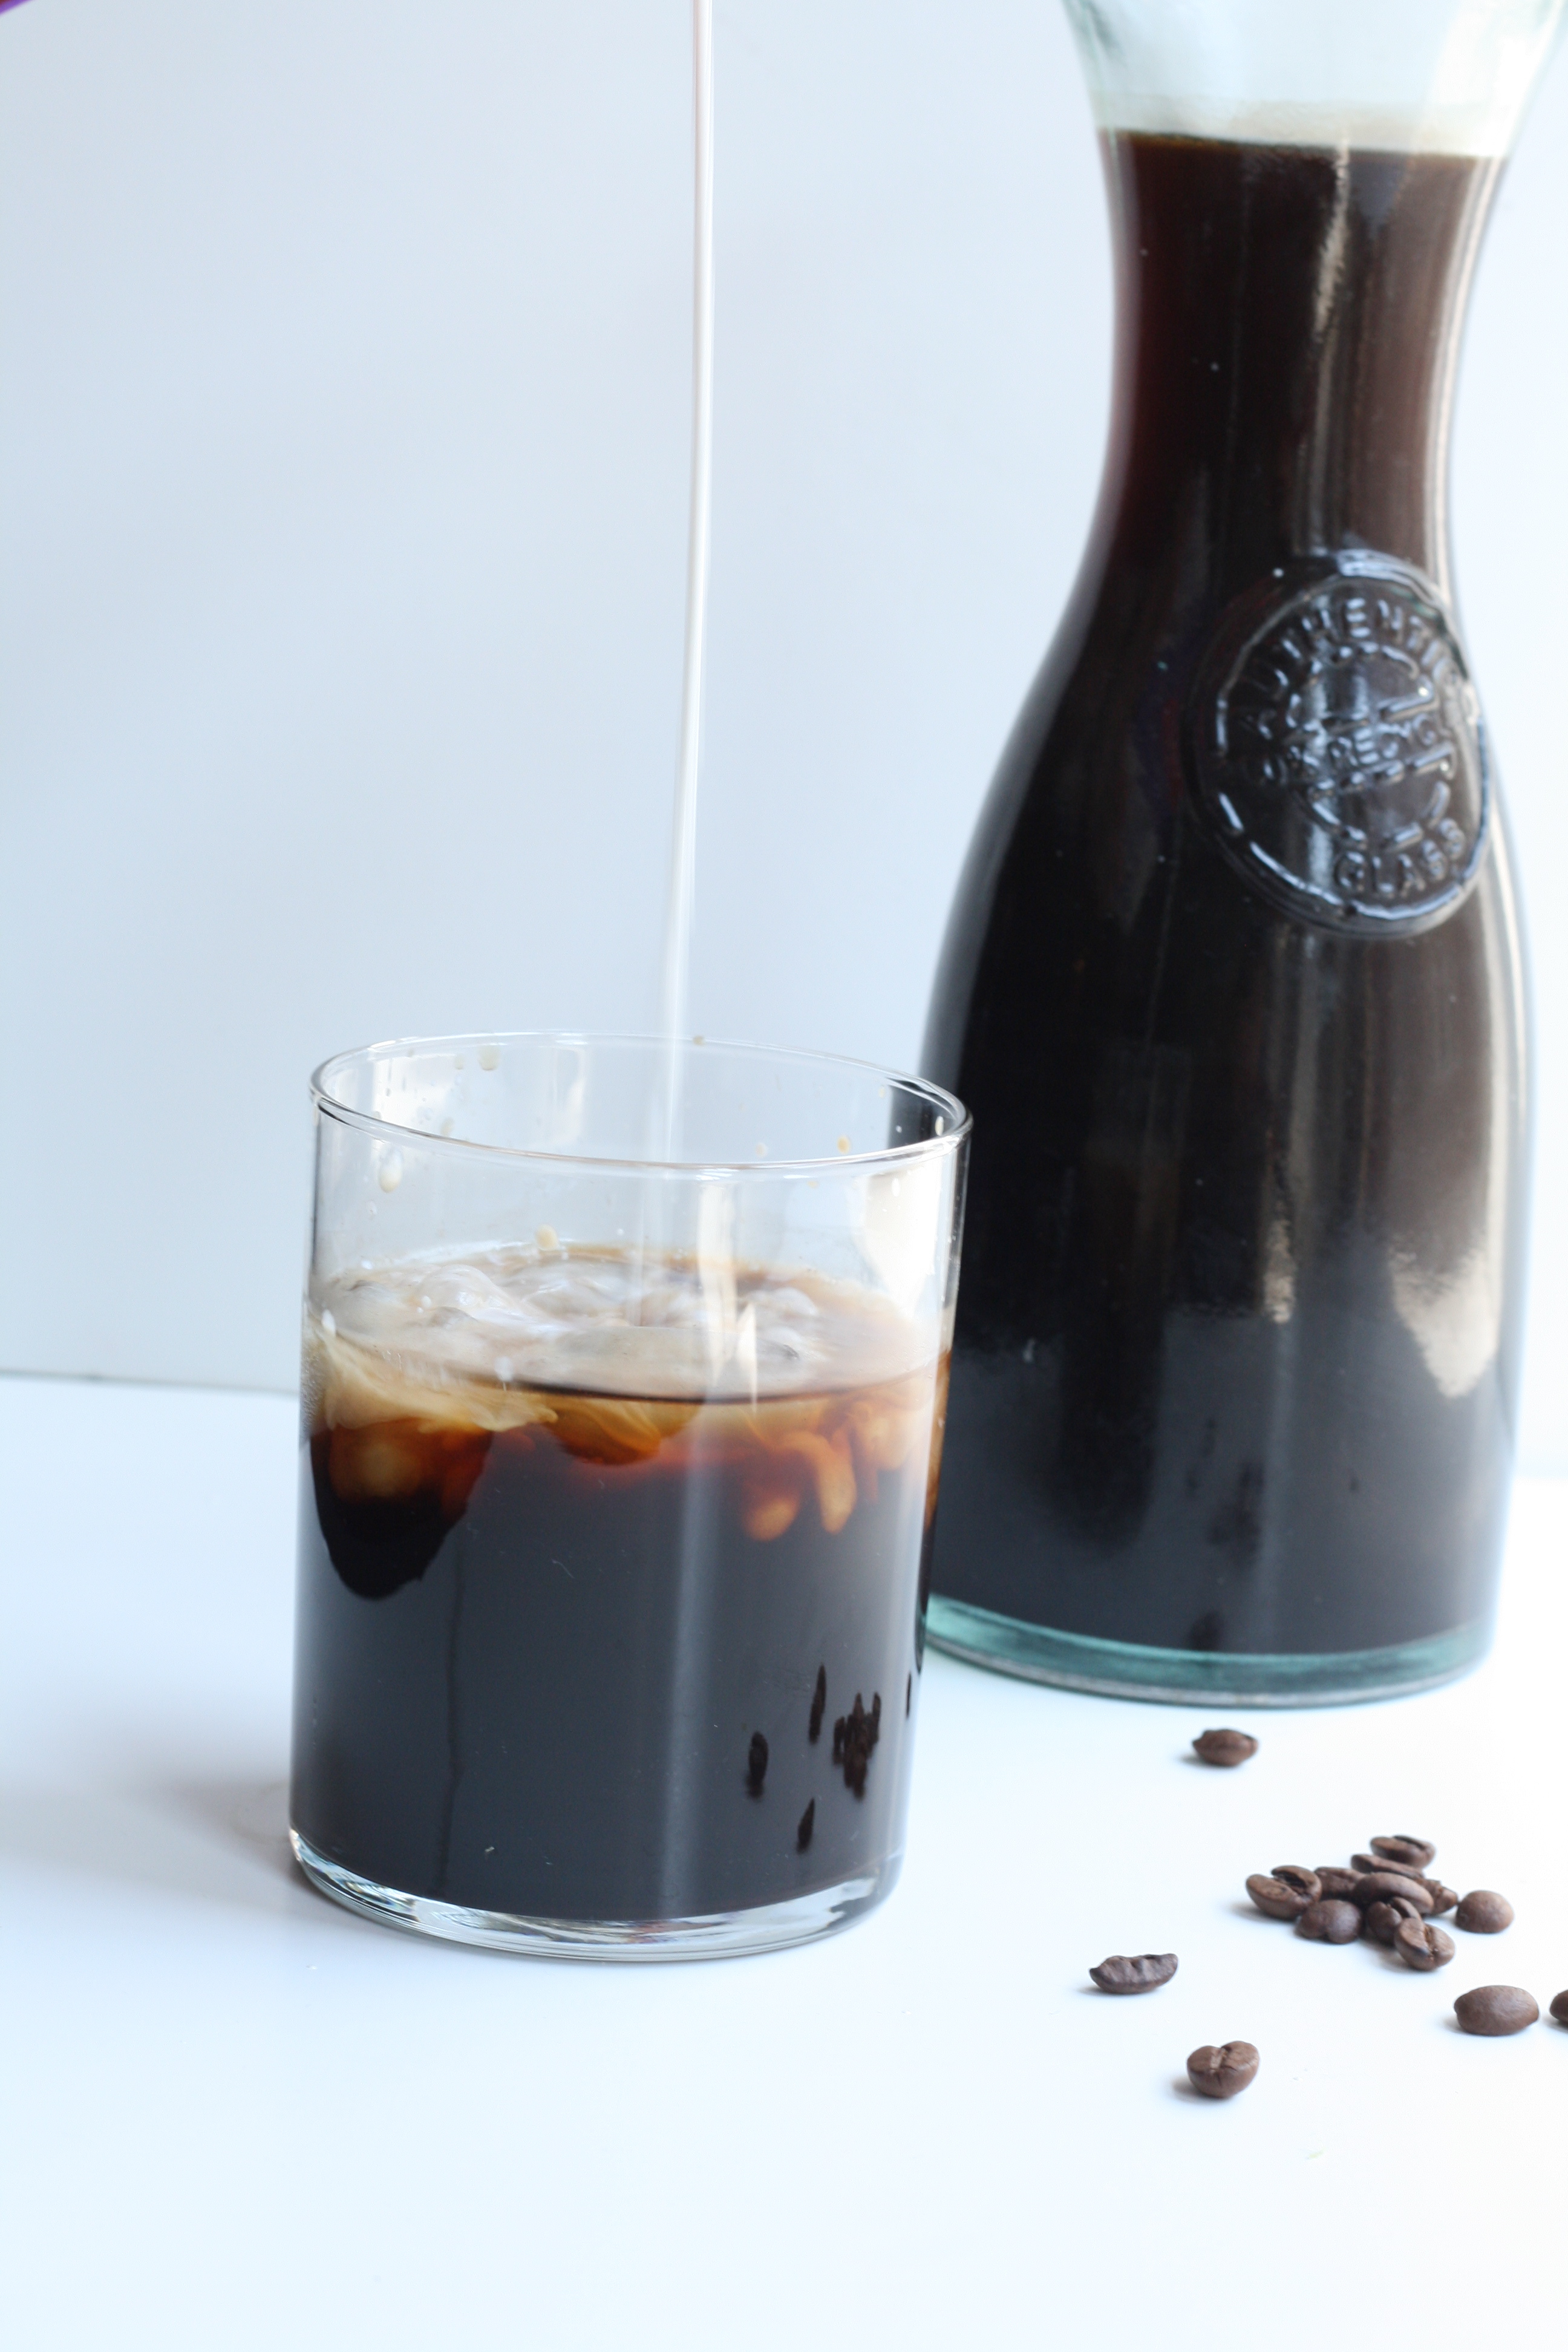
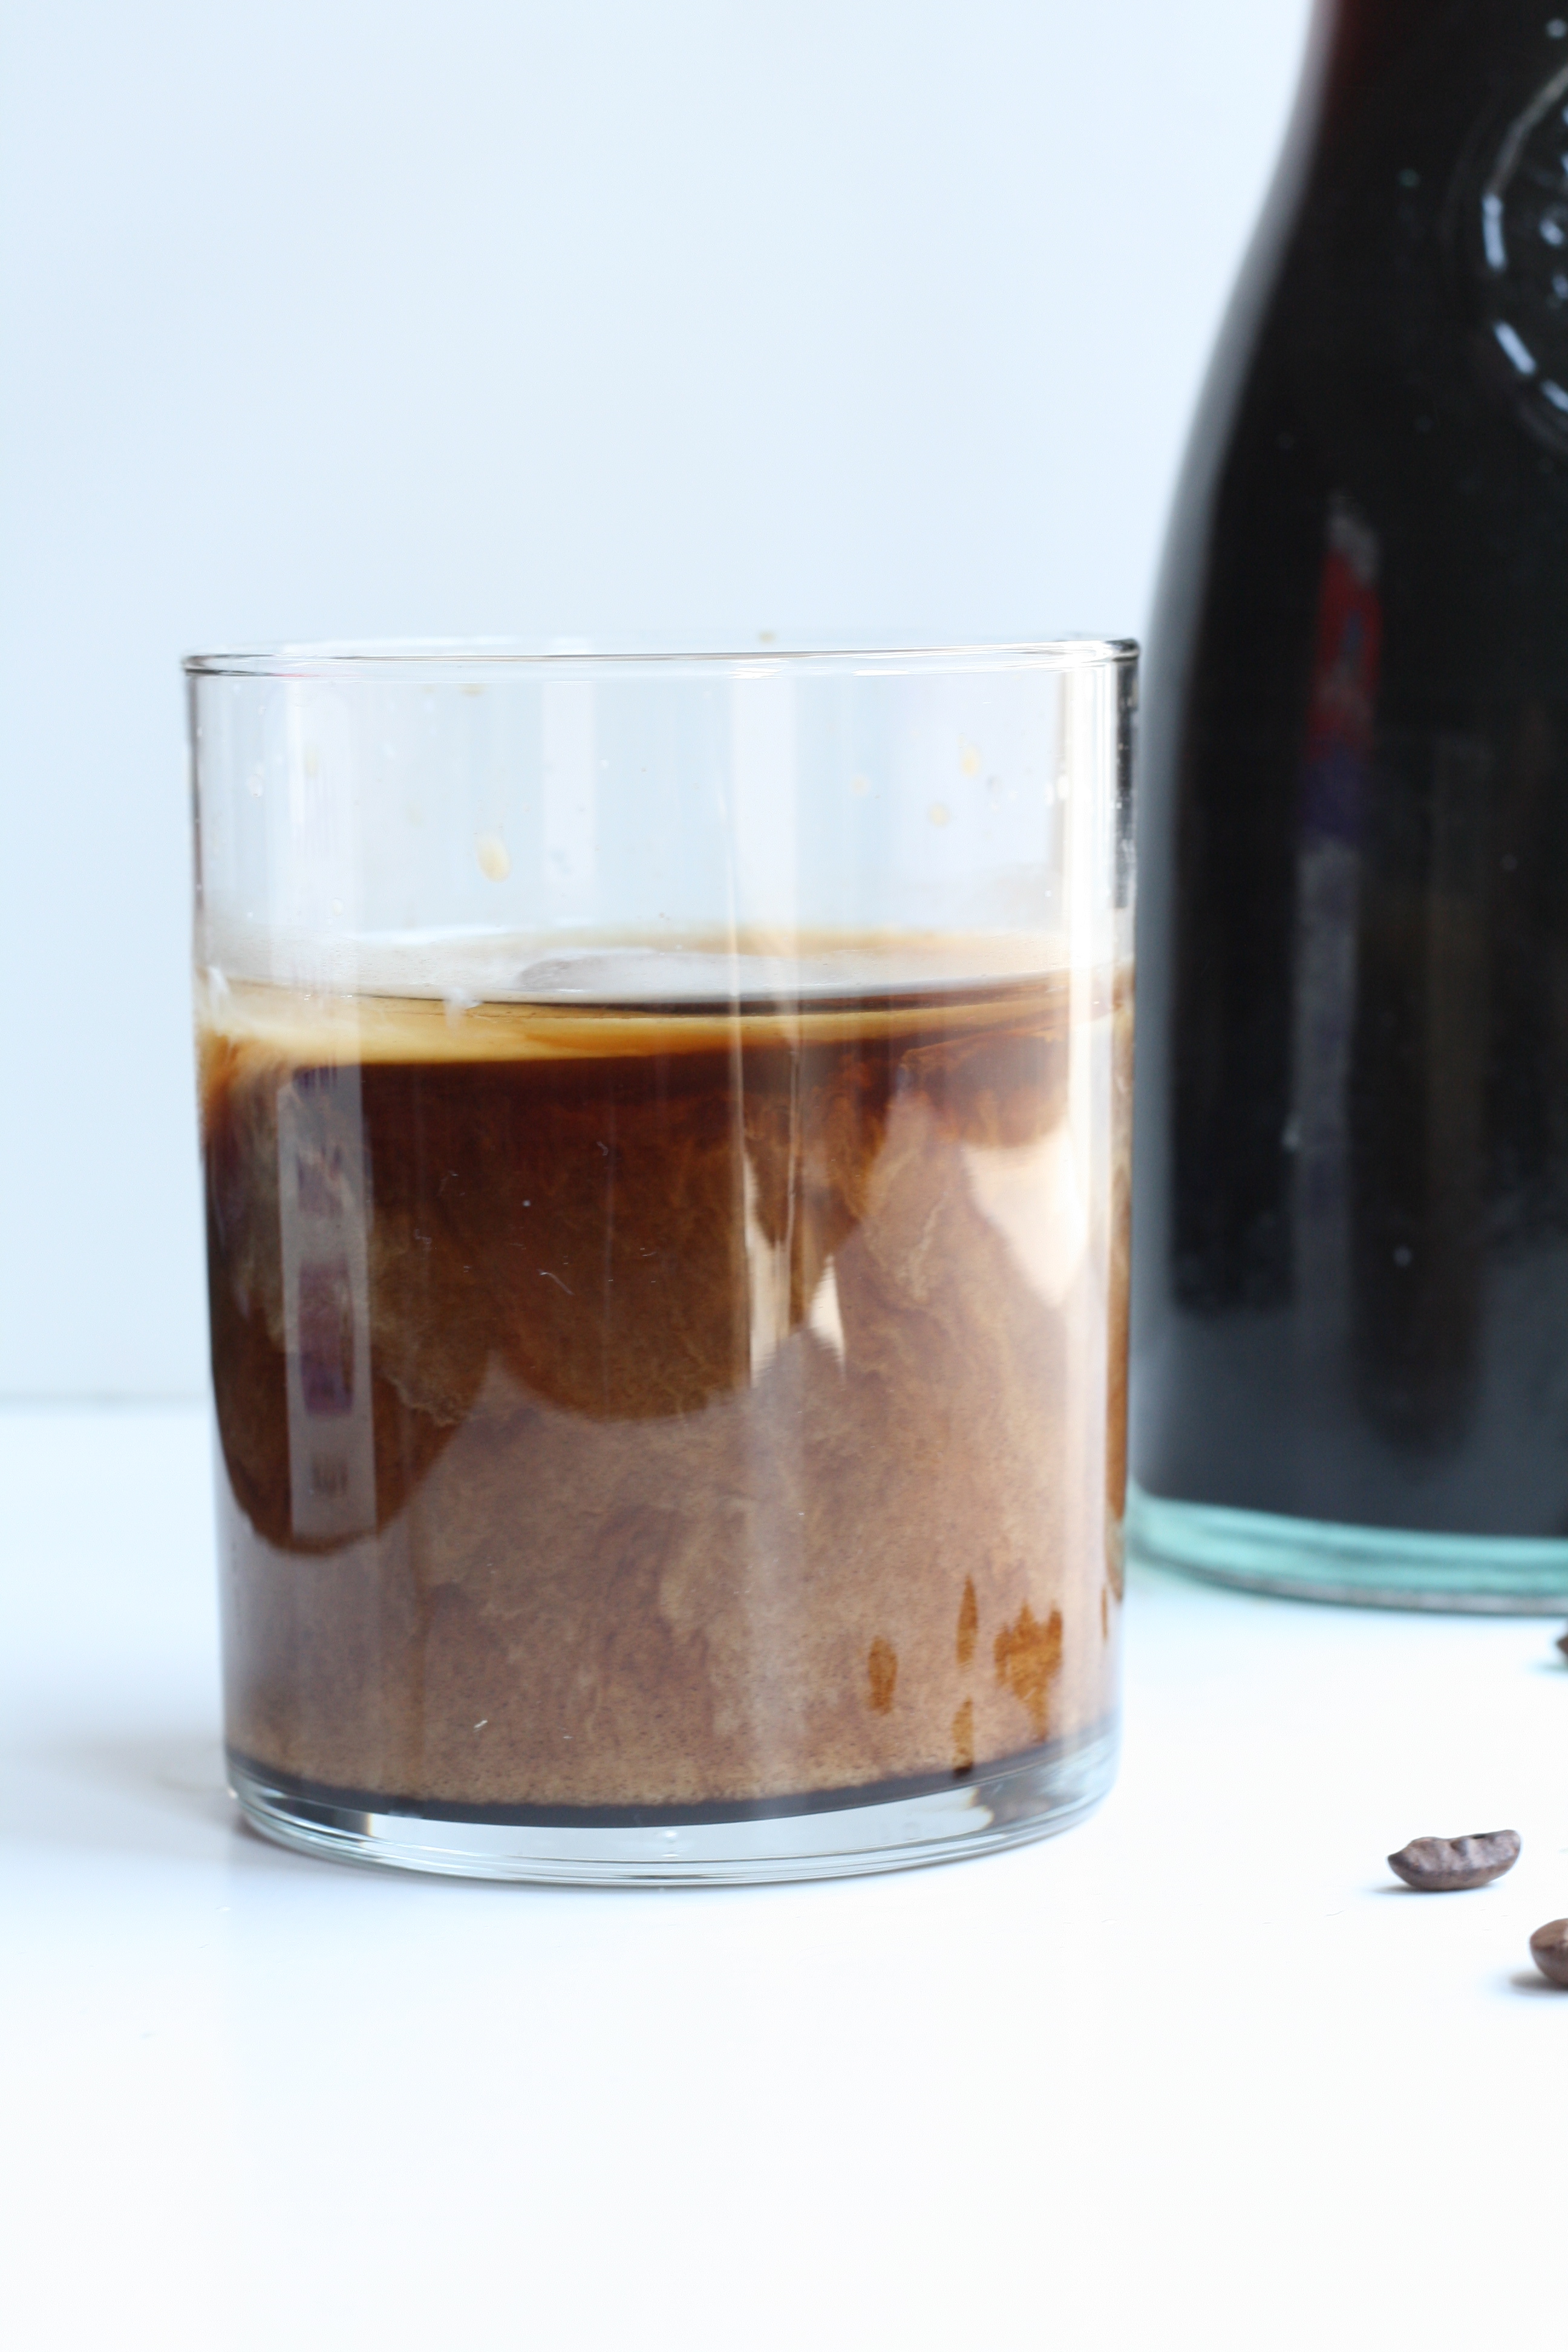
With a dash of cream.
All better.
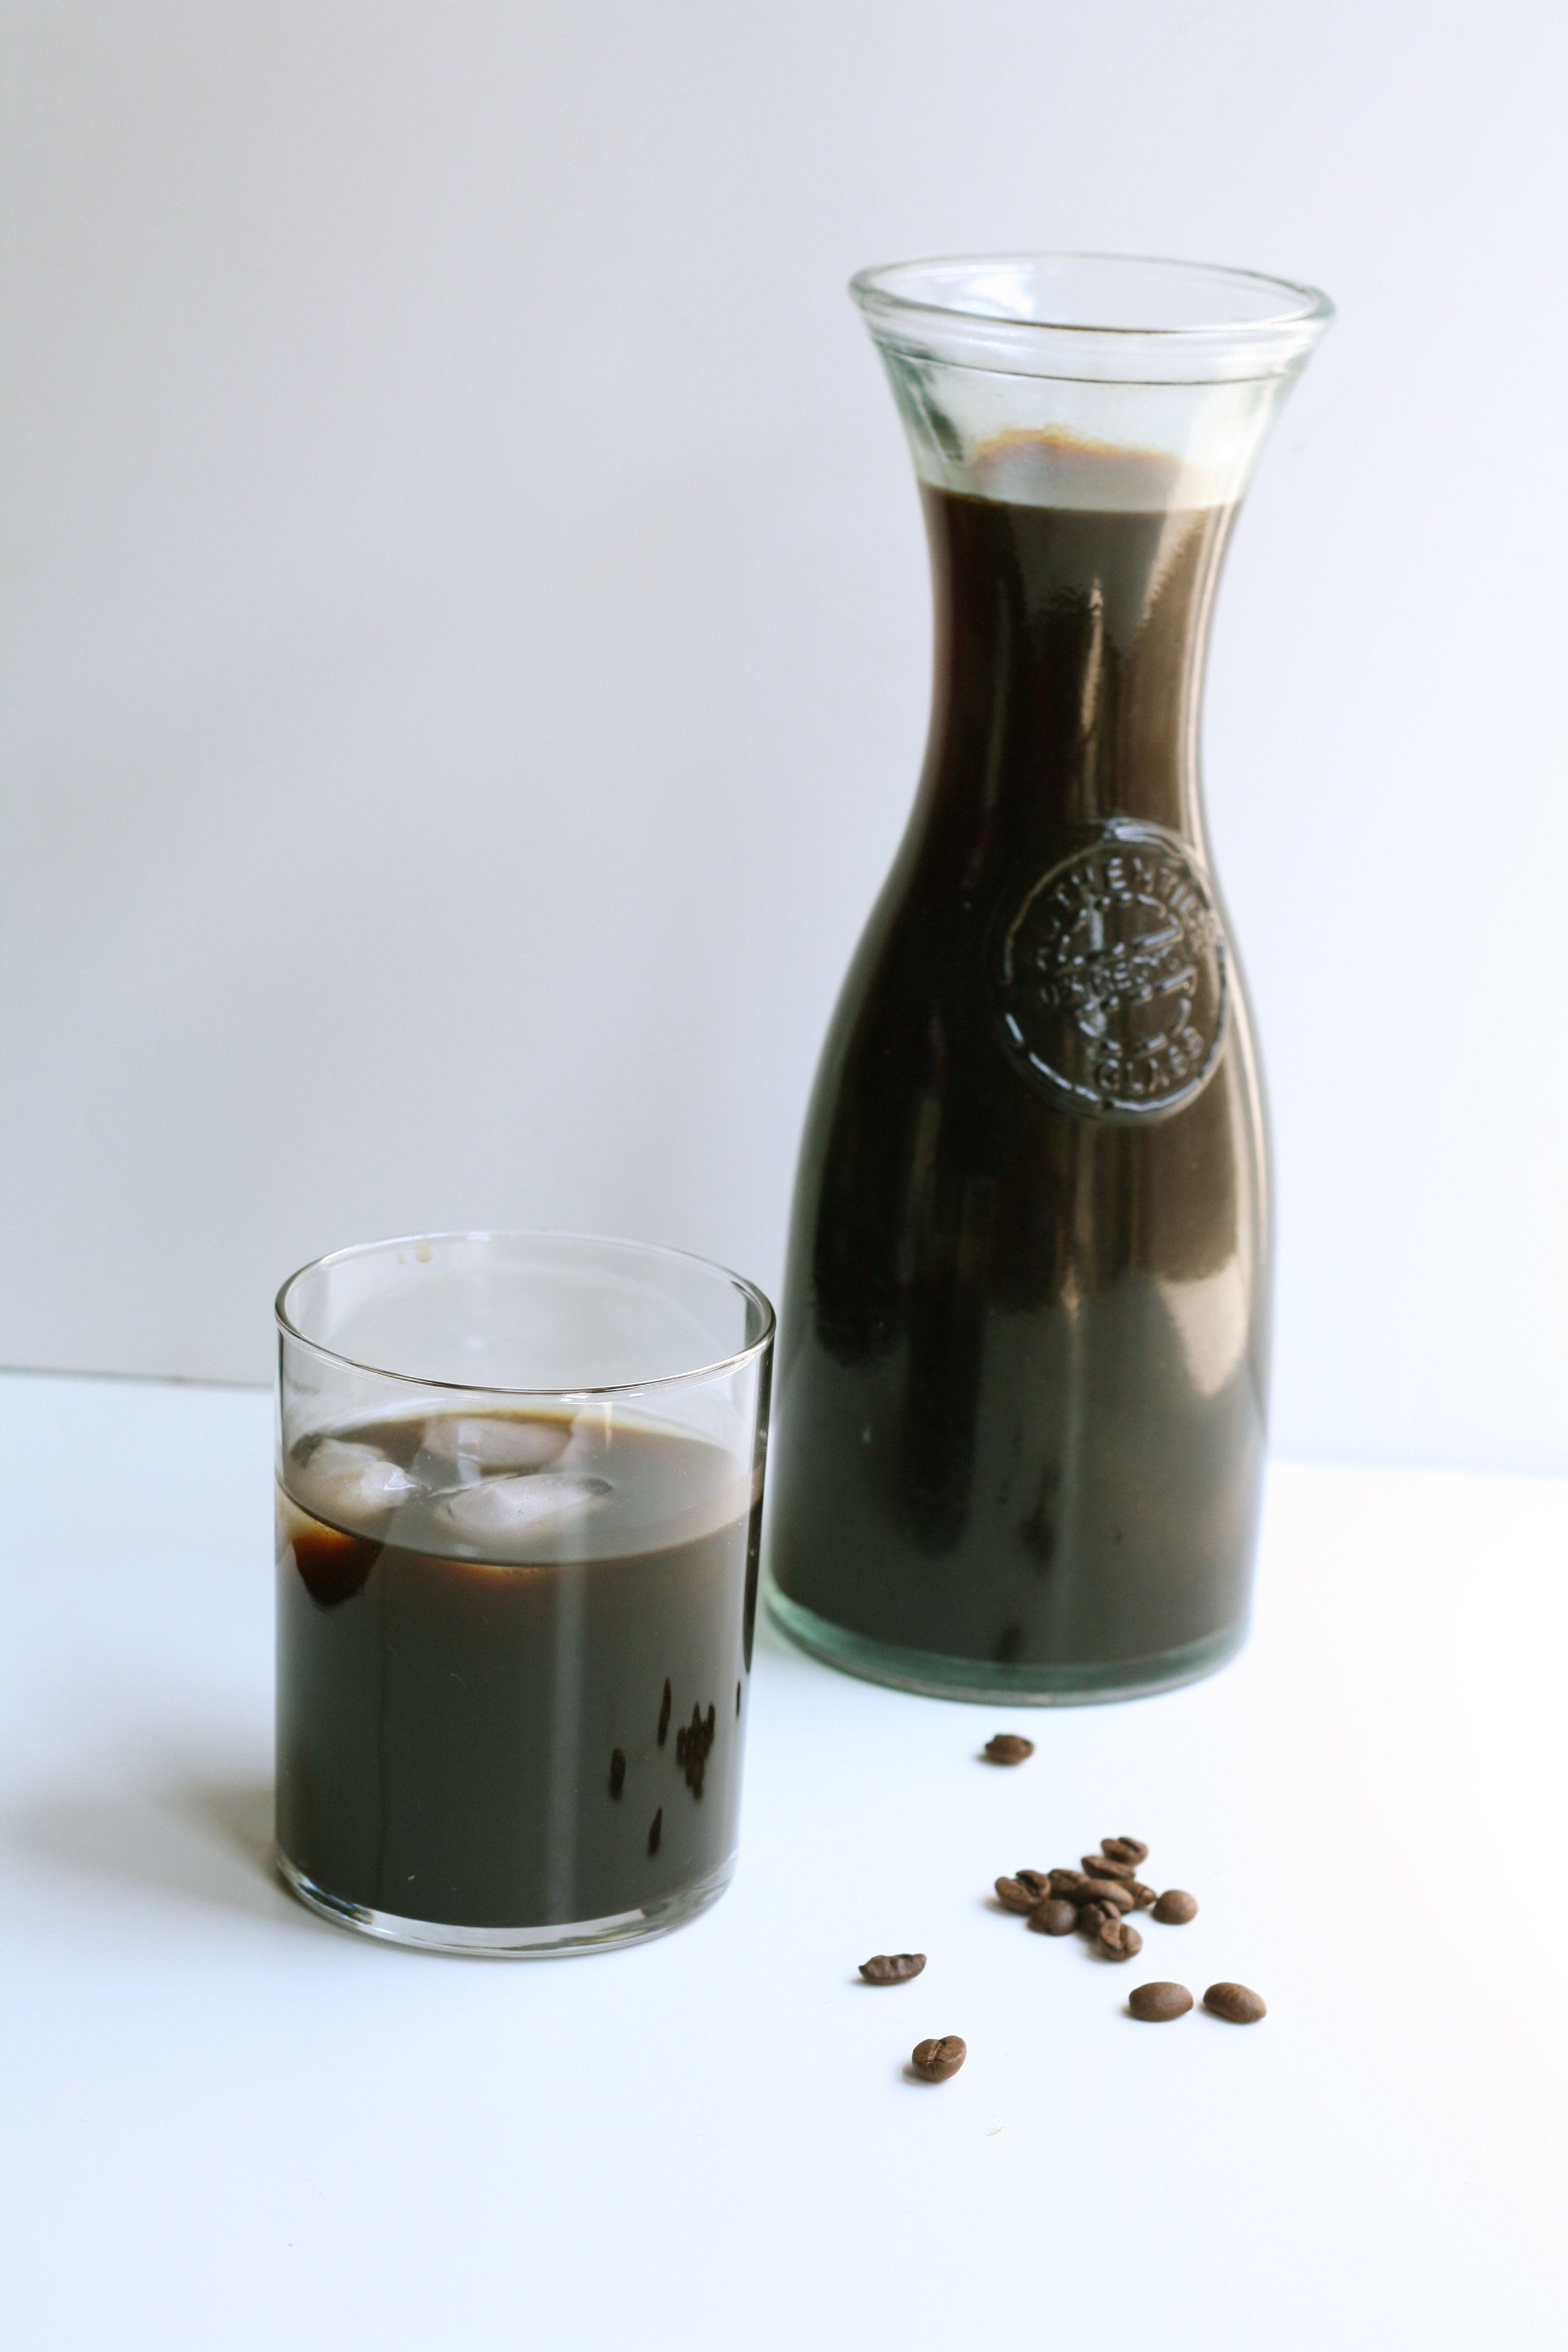
Iced Coffee recipe from Smitten Kitchen, makes about 6 drinks
1 c. coffee (medium-coarse grind) 4 1/2 c. water
1. Pour coffee and water into a bowl. Cover and let sit for 12 hours. 2. Pull out your coffee carafe and filter. Place filter in the opening of the carafe and pour coffee mixture. Once strained, you have your concentrate so to speak. 3. Fill glass with equal parts concentrate and water, plus ice cubs. Or if you’re like me, just add ice cubes to the concentrate. I like it blacker than black. Store leftover concentrate covered in fridge. 4. Celebrate the lack of perspiration over your morning cup of joe. 5. Finally, friends don’t let friends drink hot coffee in the summer. Spread the word!
Just warning you—I’m coming off a migraine while writing this post. Please attribute poor grammar, crazy talk, or confusing sentences to this.
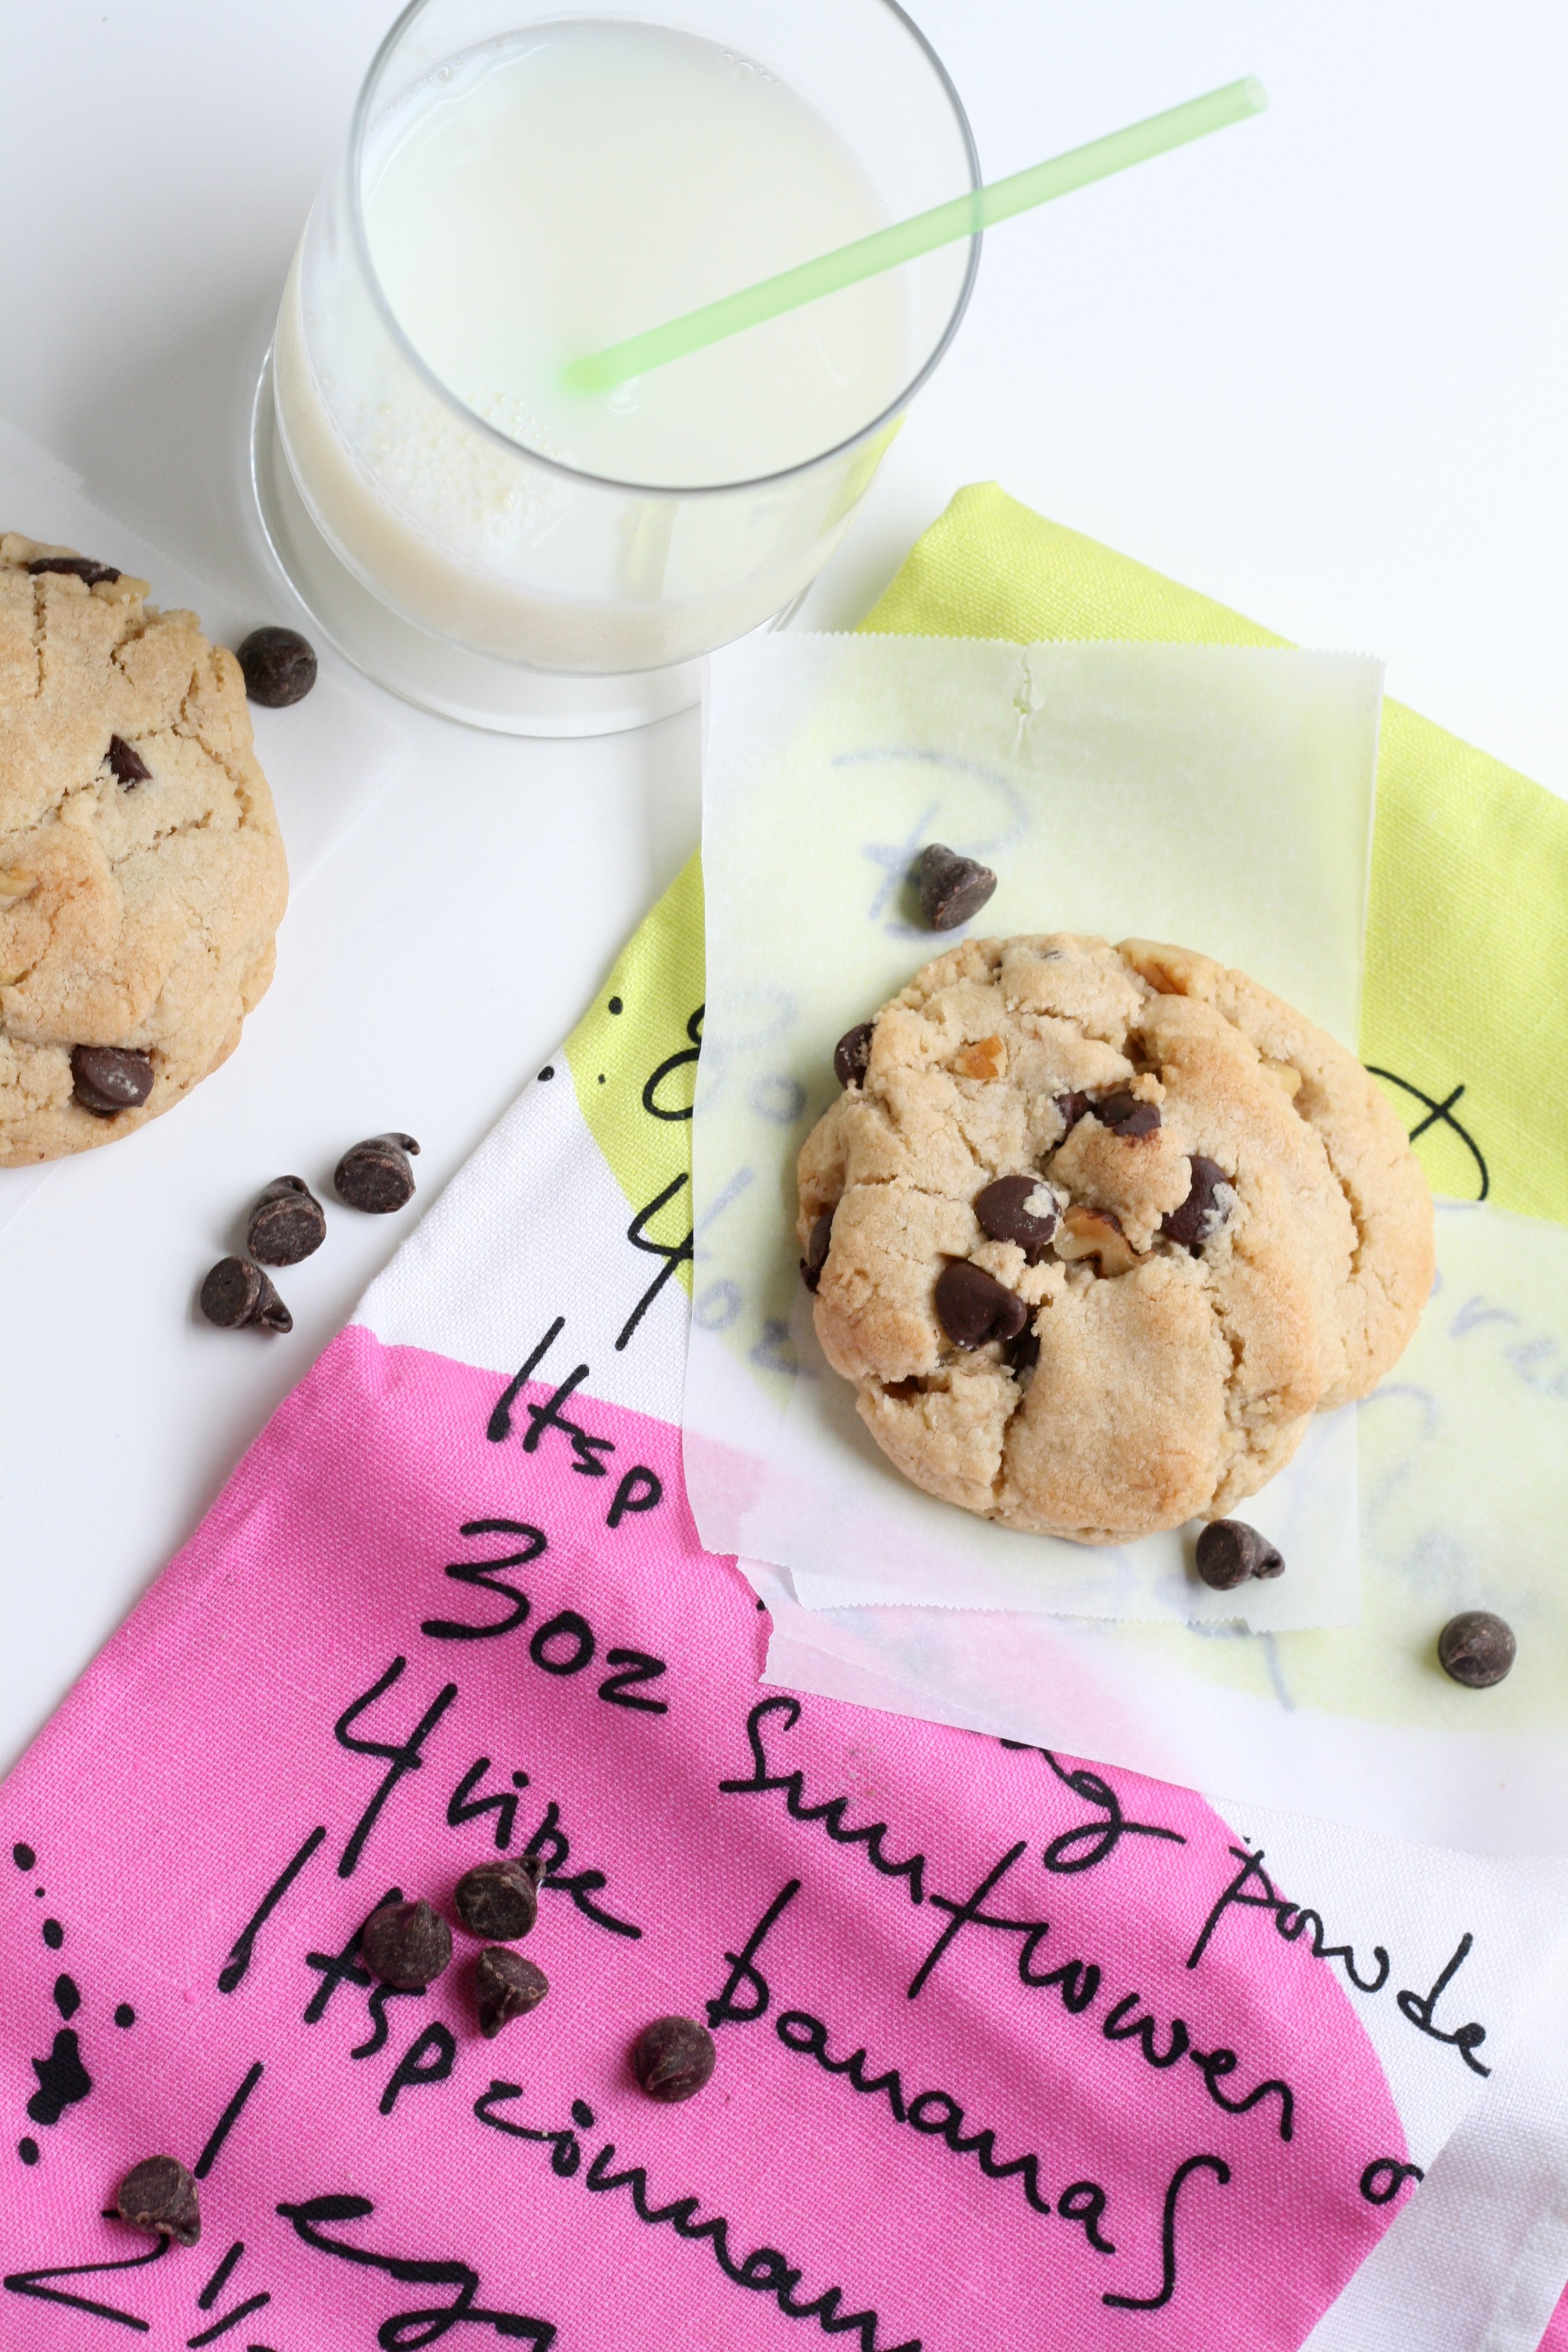
Apple does it. They make revisions. My Mac is on version 10.6.6. So I’m gonna do it too. I’m revising my Not Your Mom’s Chocolate Chip Cookie recipe. 2.0 here we go. It’s not that the last recipe was bad, but I thought it could use a little improving. I’m my own worst critic. You know how it goes.
The last recipe wasn’t sweet enough for me. But I fought and fought adding more sugar. 2 cups is kinda a lot. Eventually, I caved and gave it a try. 2 1/2 cups later, I’m not turning back. Sweeter is definitely better! And with that, my brain is spent. Sorry for the short post. The fog is just too thick. But not as thick as these delish 2.0 cookies!
12 ounces (2 c.) good quality semisweet chocolate chips
1 c. crushed walnuts
Instructions
Using a grater, grate chilled butter into a large bowl. Make sure to scrape out butter left on grater. If butter is too warm, stick it in the freezer for 5 minutes.
Add sugars to the butter. Using a mixer, mix until just combined. Do not over beat.
Add vanilla and eggs, and mix until just combined. Again, do not over beat.
In a separate bowl, whisk together flour, salt, baking powder, and baking soda.
Add flour mixture to butter mixture, and mix until just combined. Dough will look crumbly. You are right on track.
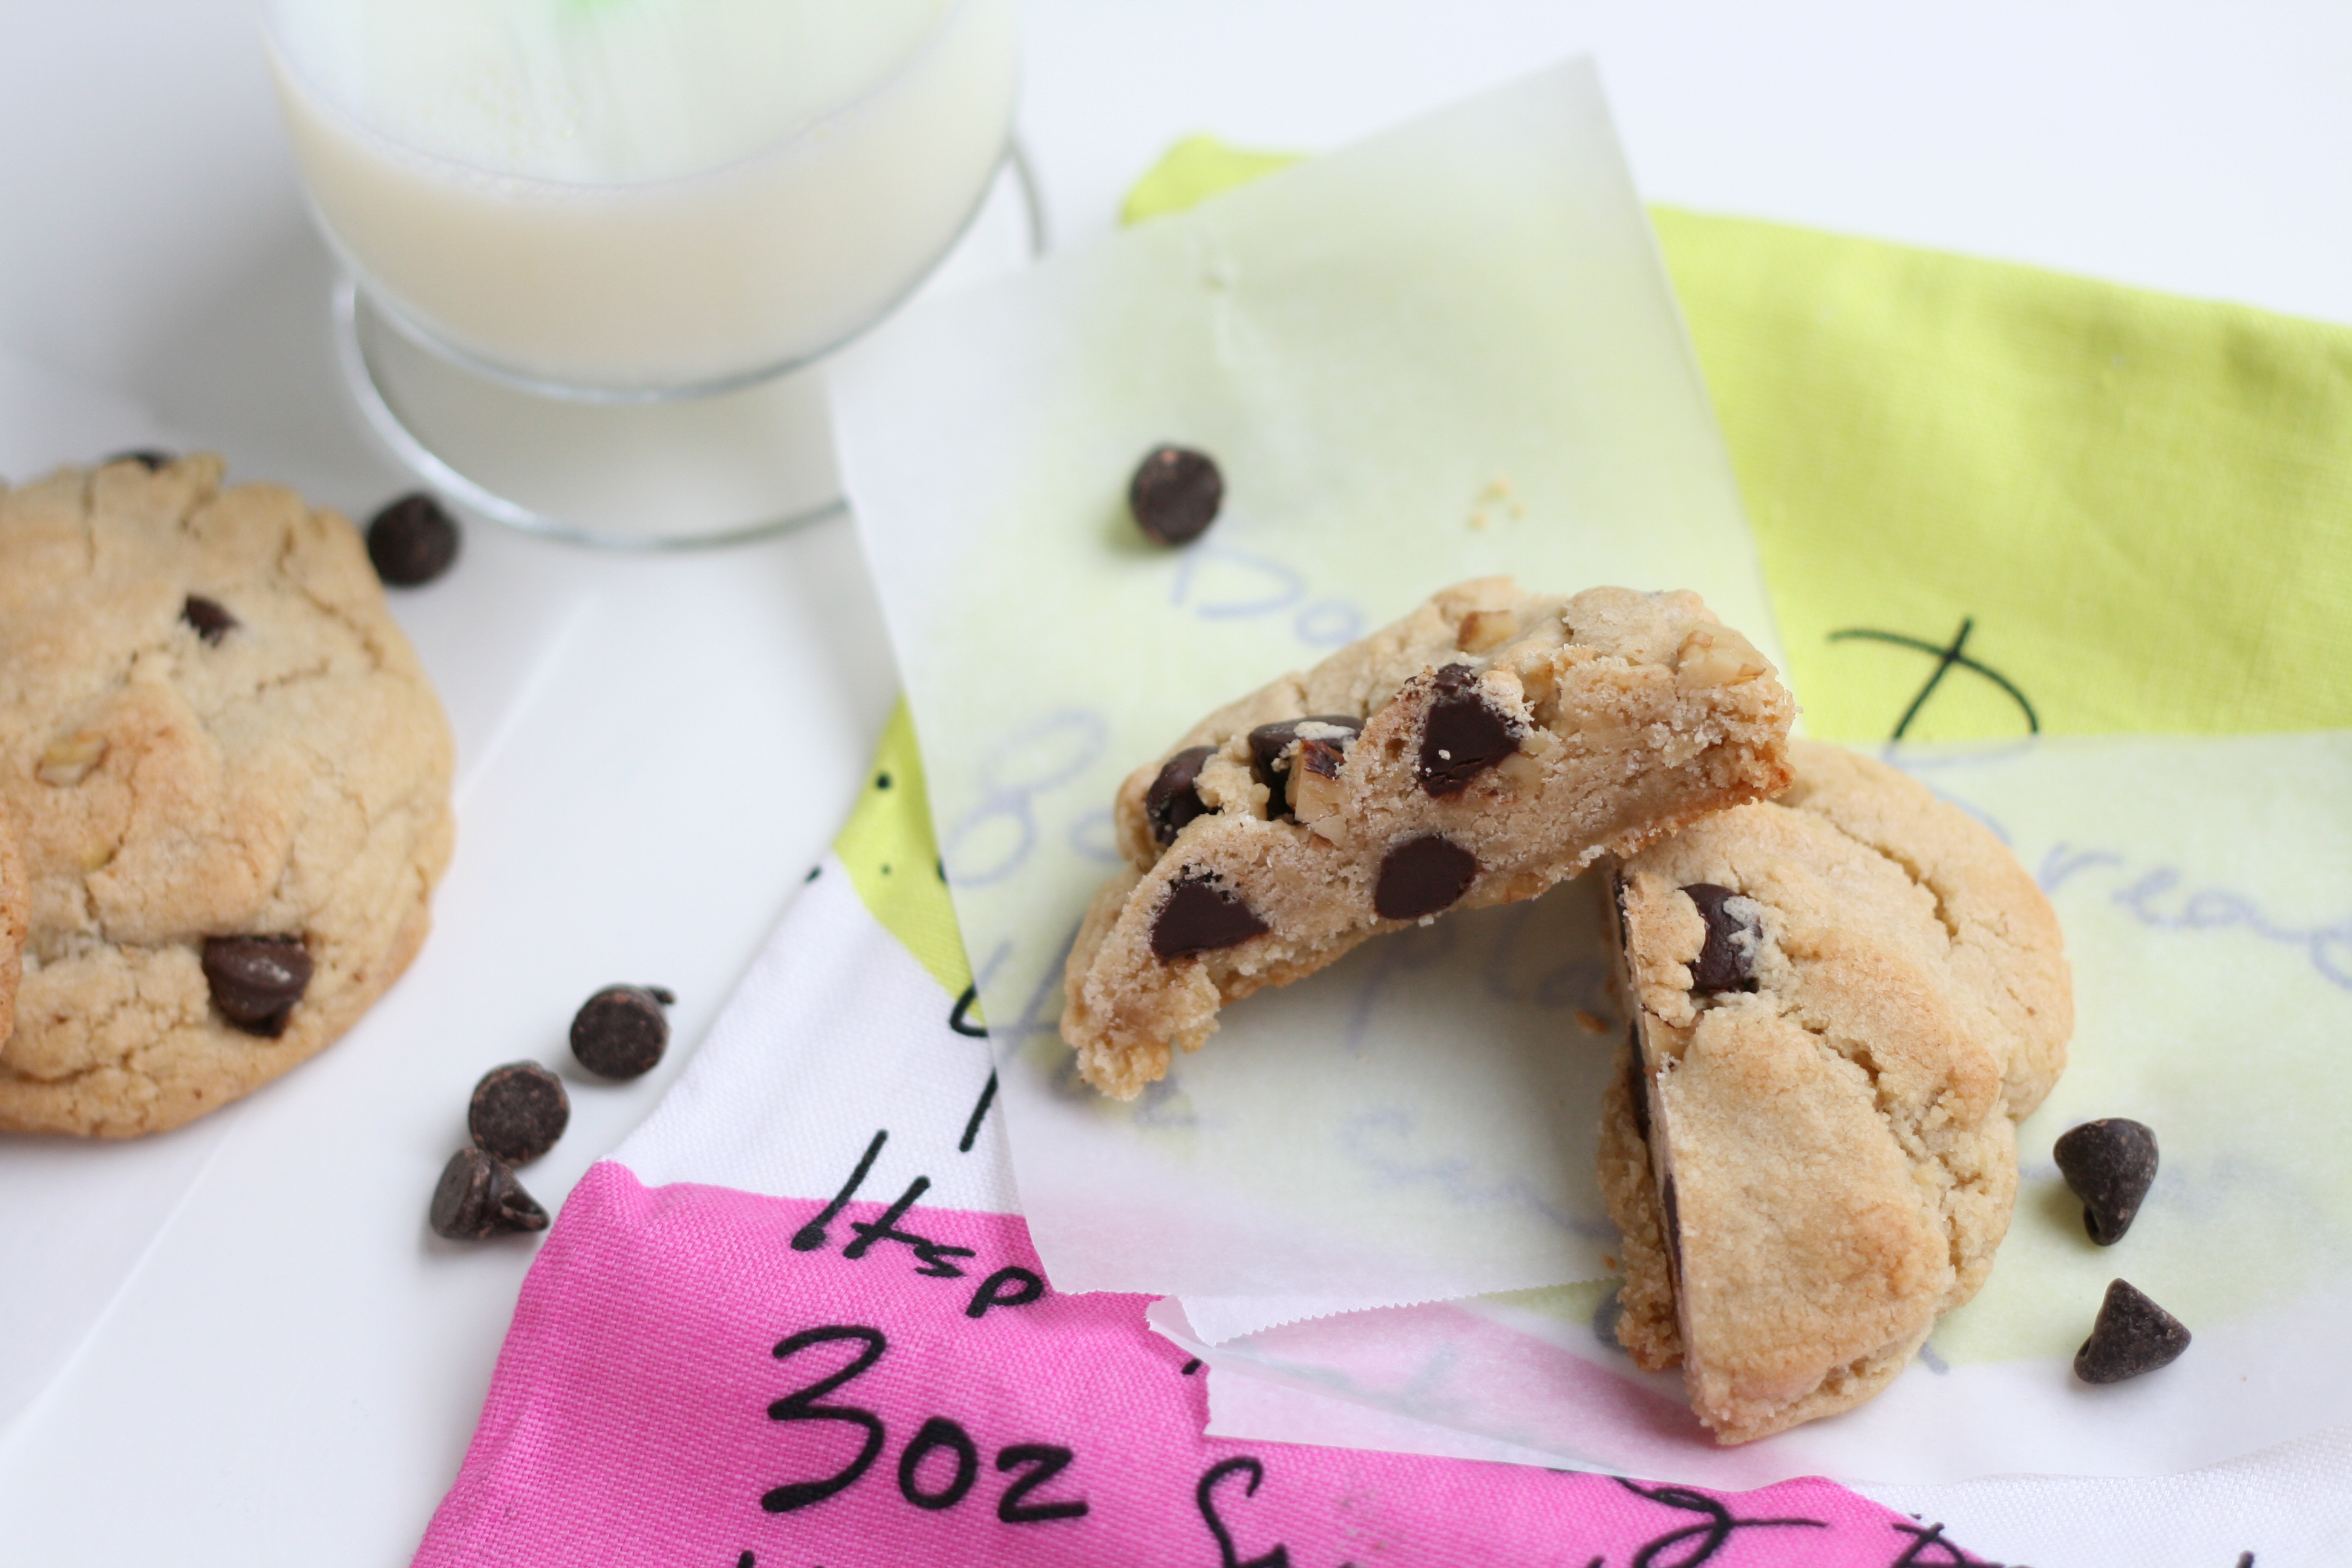
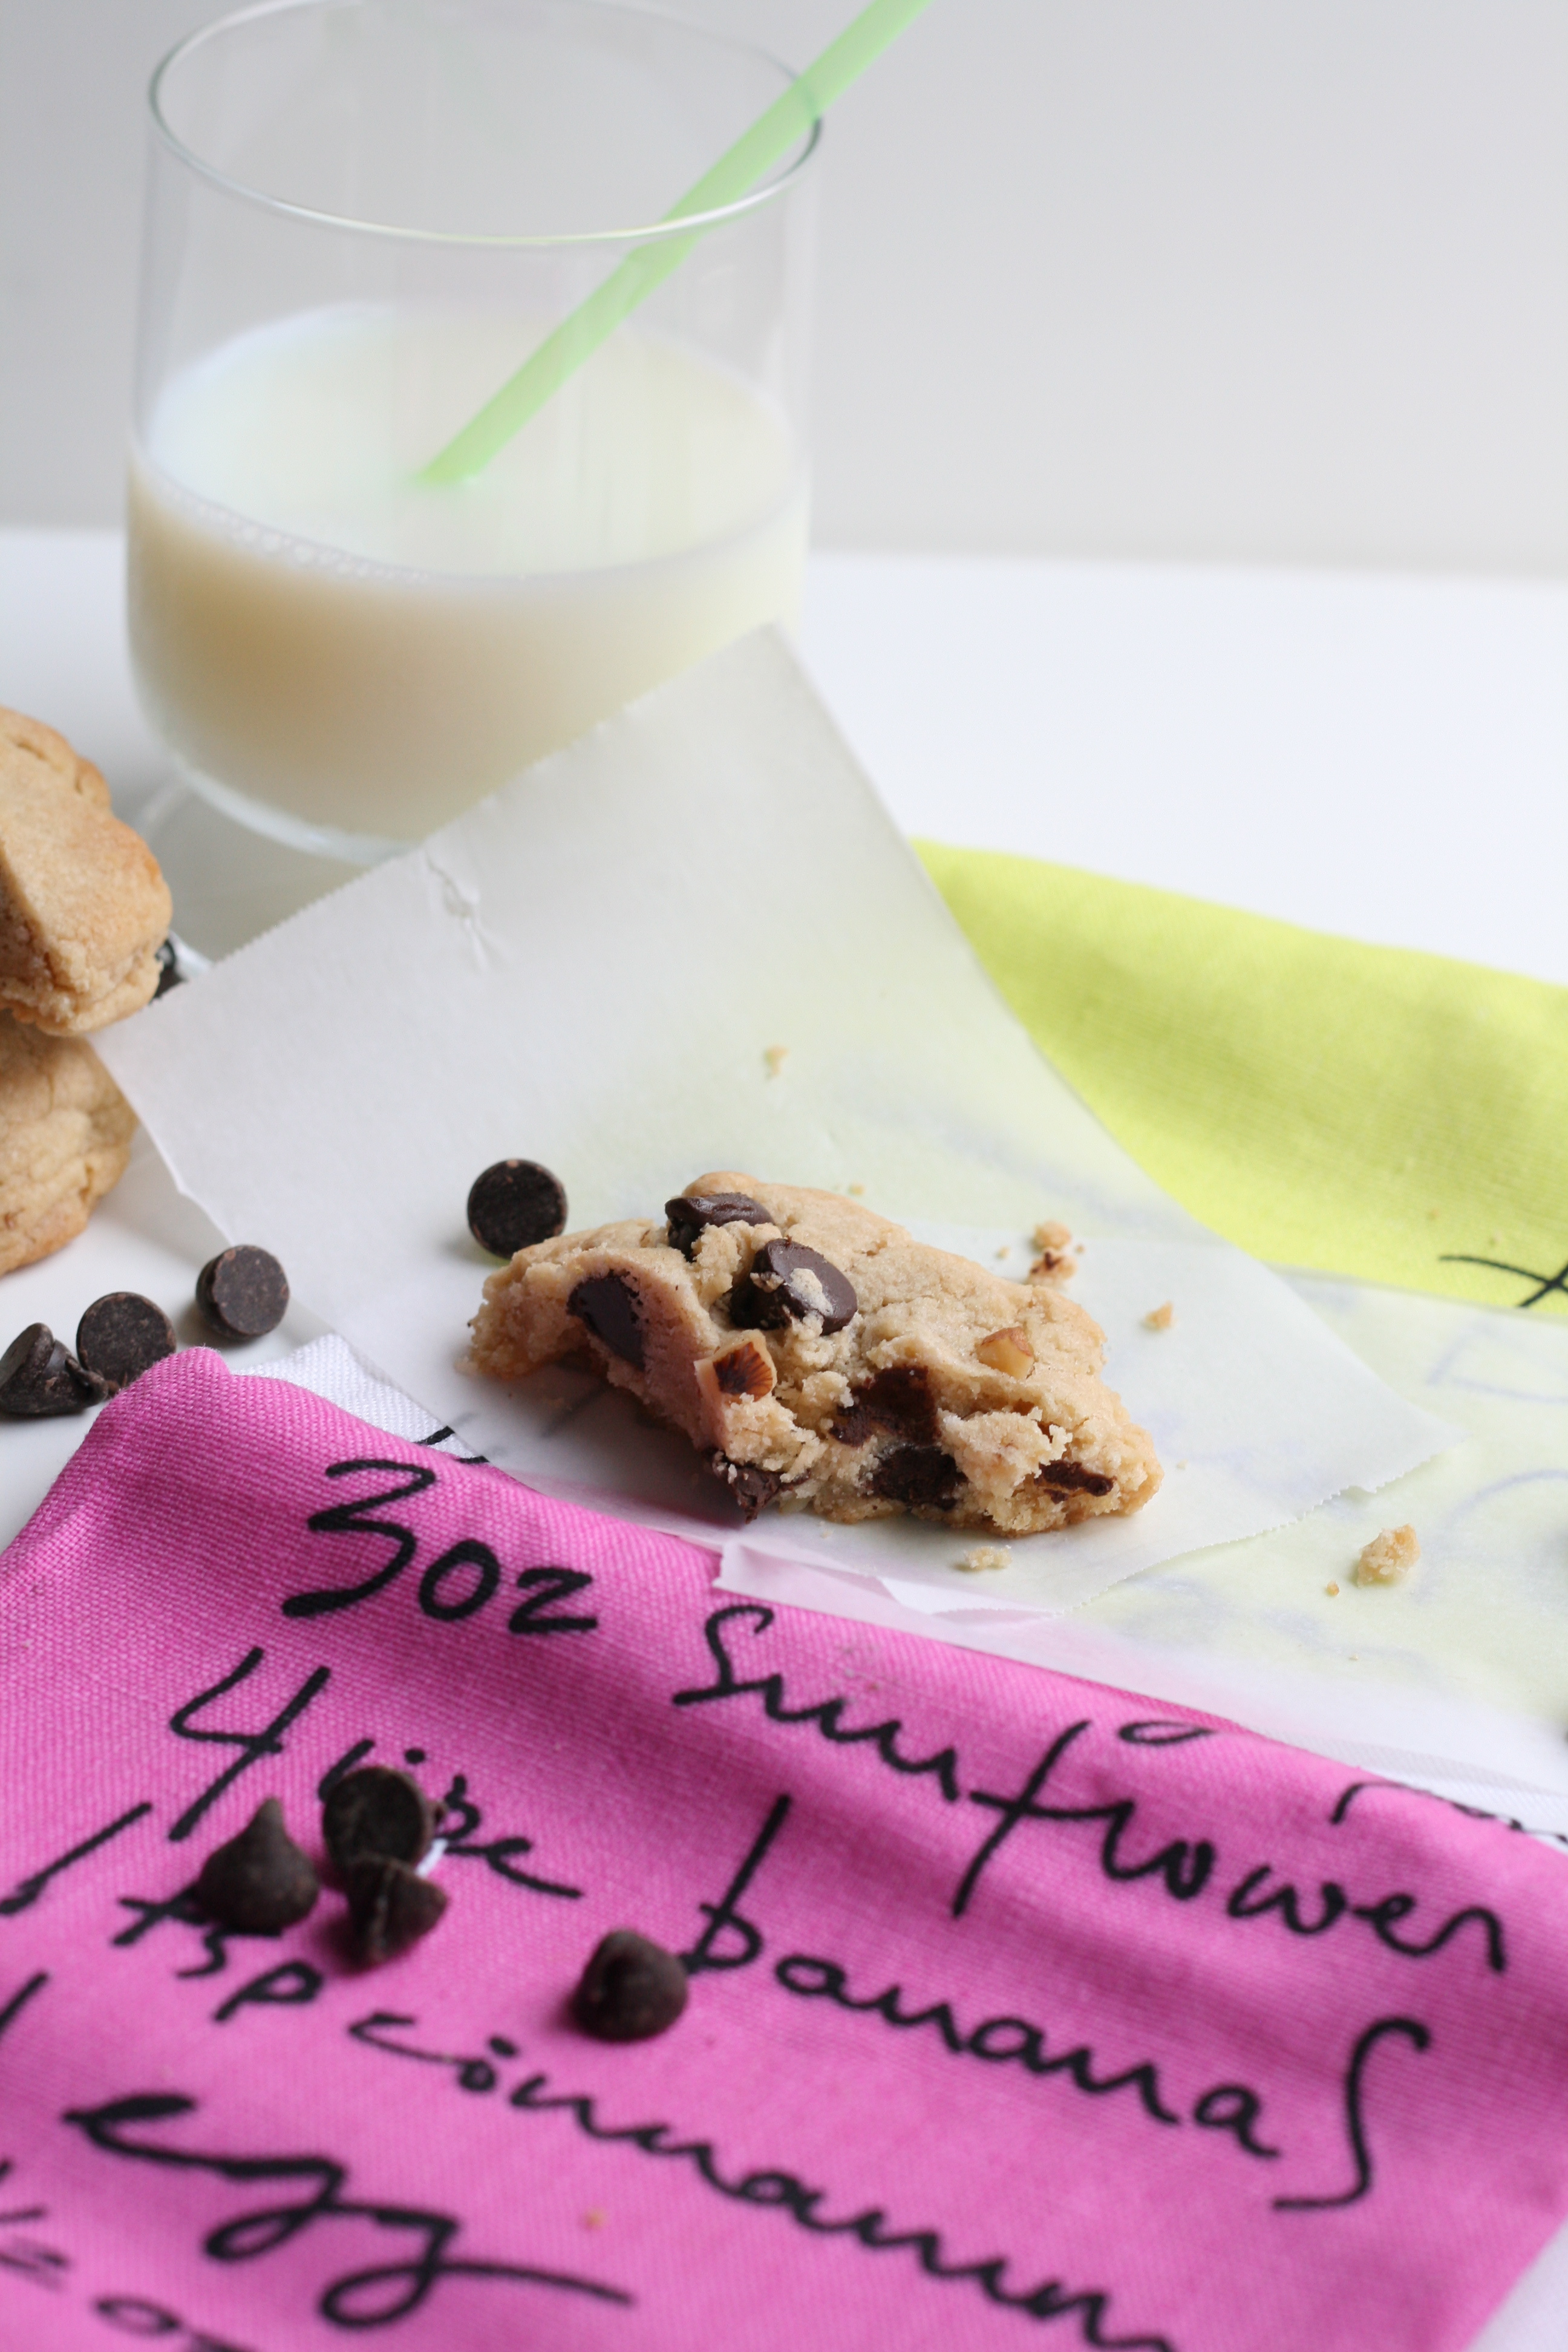
Stir in chocolate and crushed walnuts.
Take off your rings—you’re gonna need your hands for this. Gather dough into a large ball, as you would if you were making a snow ball. Place on pan lined with a Silpat or parchment paper. Only bake 6 cookies at a time, trust me on this. When I baked 12 at a time, they seemed to flatten out a bit more.
Preheat oven to 375°. Meanwhile, place cookies in the fridge.
Bake for 18 minutes or until slightly browned around edges. Cookies will still be doughy in the middle.
Allow to cool completely before eating. They taste so much better with a rest. The doughy center will stiffen up.
Notes
• You can make smaller versions of these cookies (or rather normal-sized cookies). It will yield double the amount. Bake 8 up at a time and reduce the cook time to 13-15 minutes.
• If you’re a flour sifter, skip it for this recipe.
• Skipping the walnuts will yield a flatter cookie. Additional flour is needed. (I haven’t tested it yet without. If you do, please let me know!)
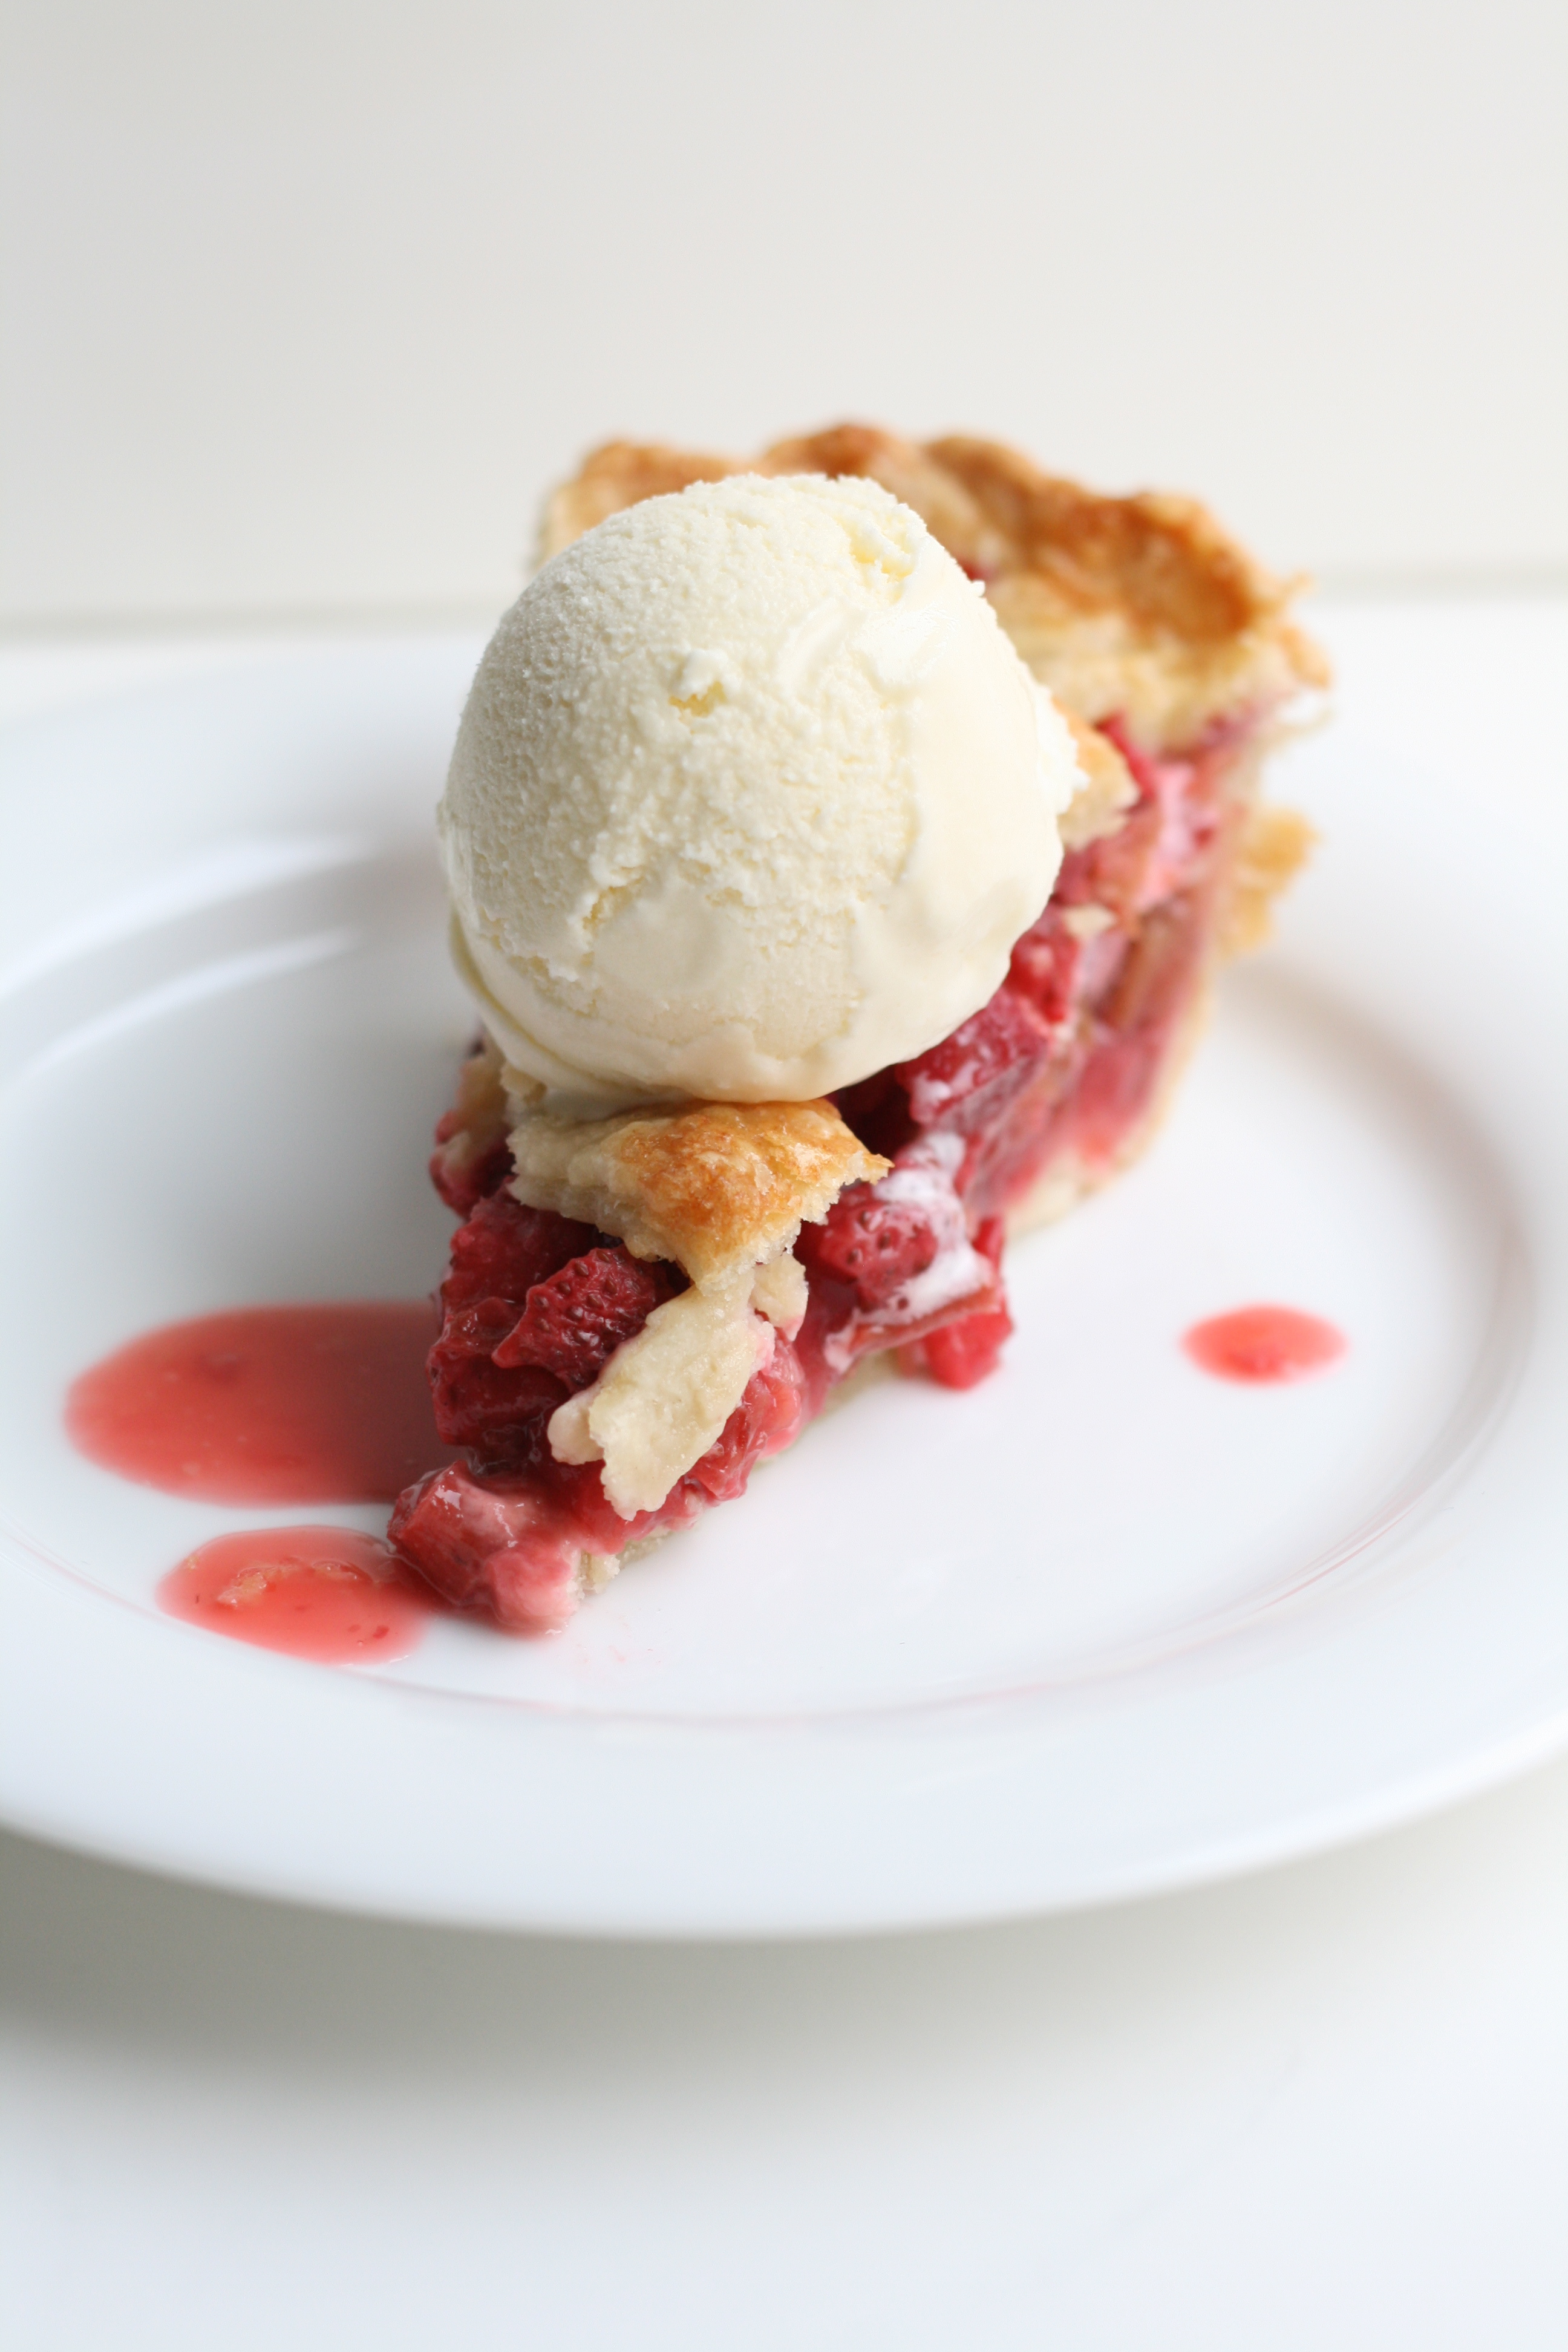
While you’re reading this, I’m in my favorite place in the world with my favorite people. Graduate school husband and I are on vacation with my family in the mountains of Colorado. Also known as heaven. I didn’t want to go AWOL on you though, so I made a pie and stuck it in the cyber space freezer until now. I hope you are well fed even while I’m away.
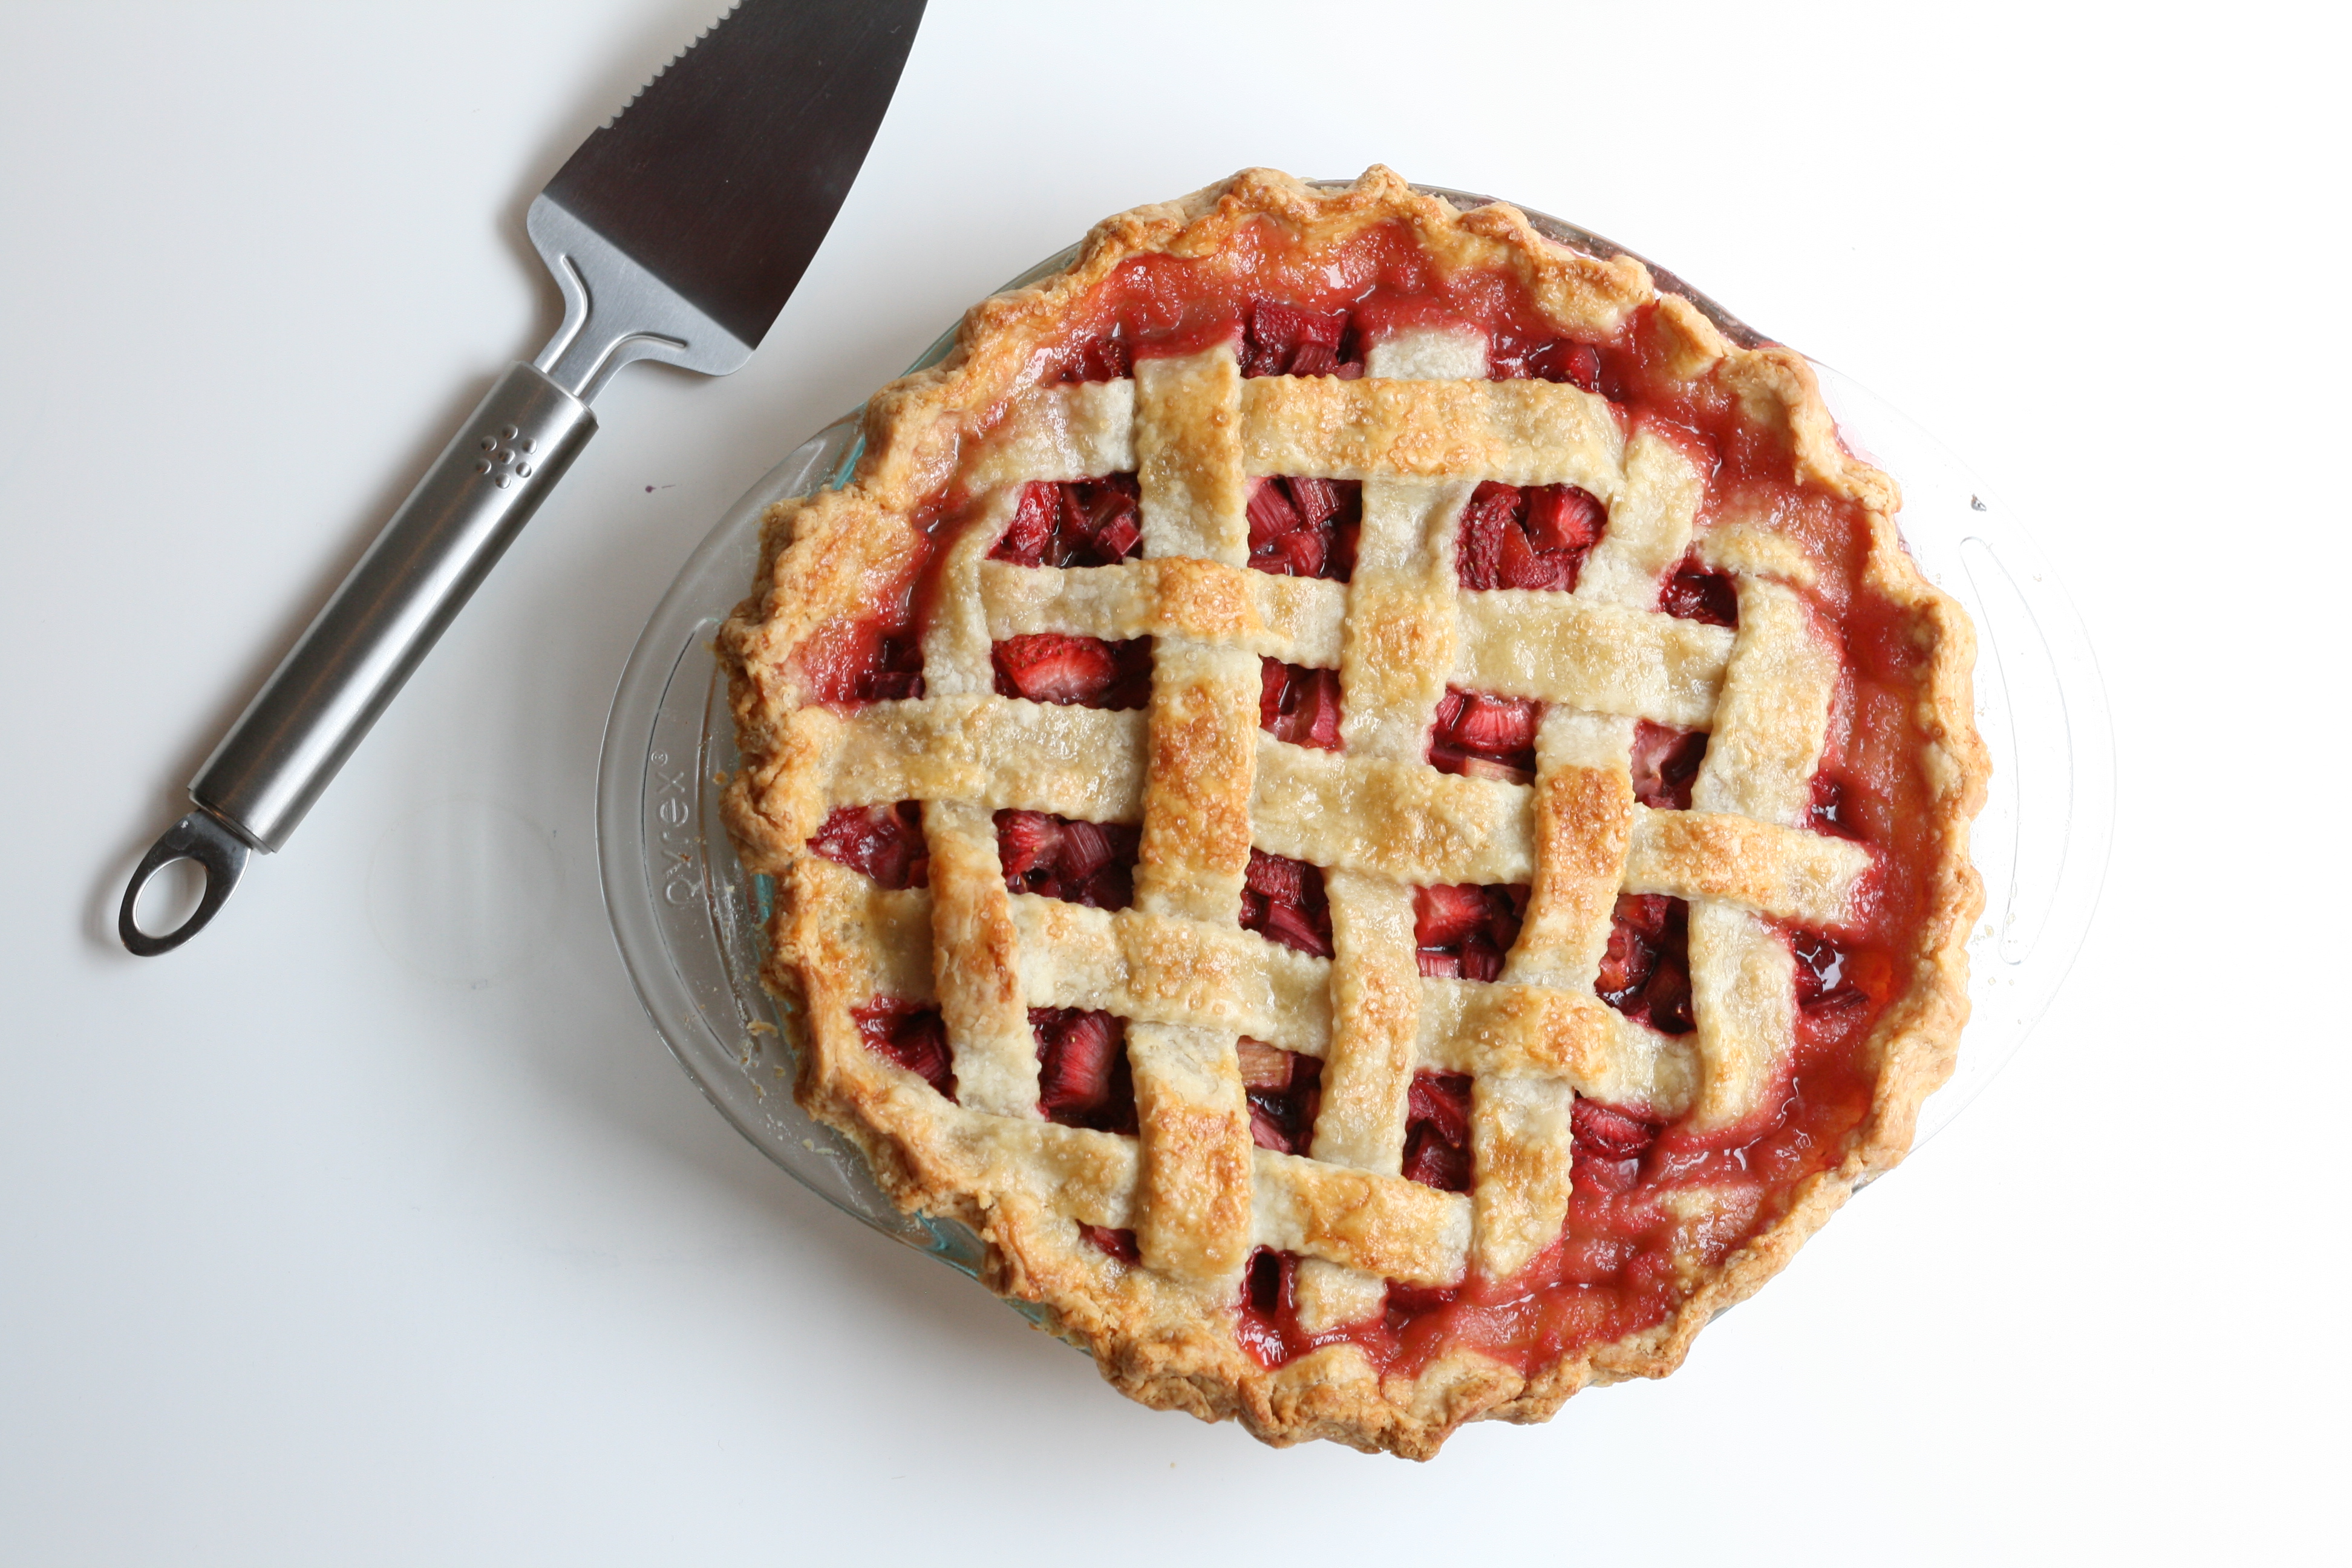
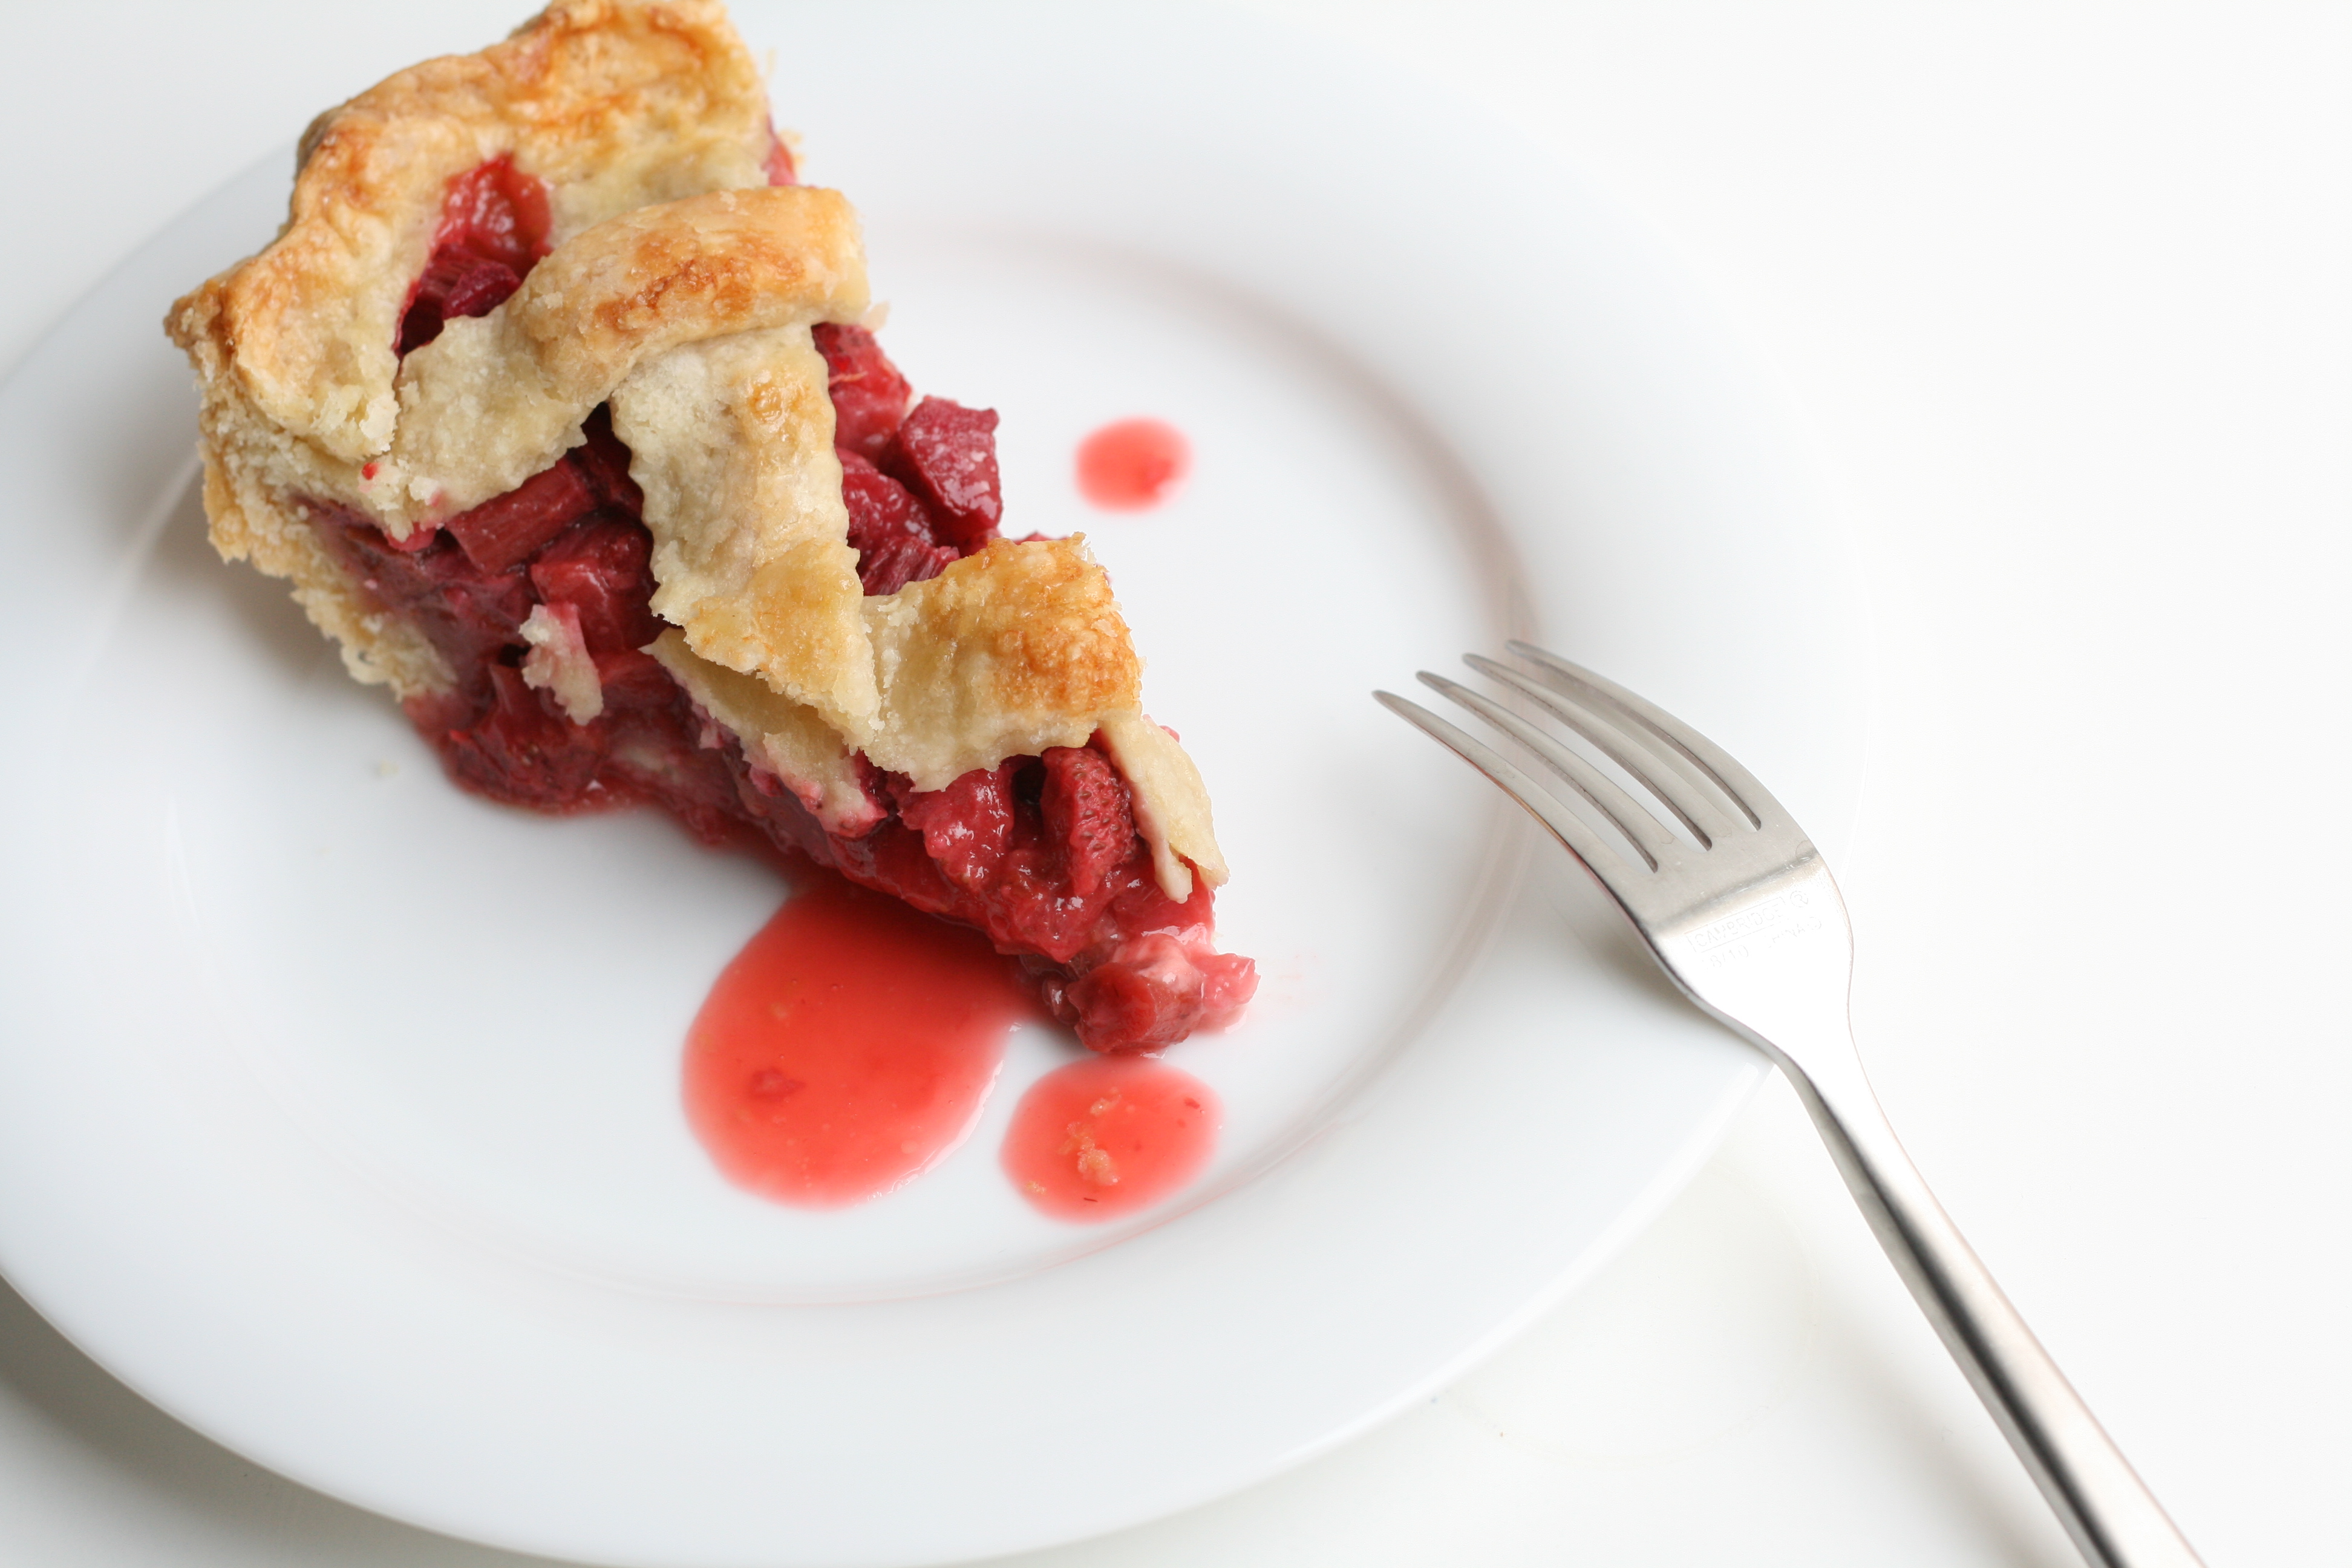
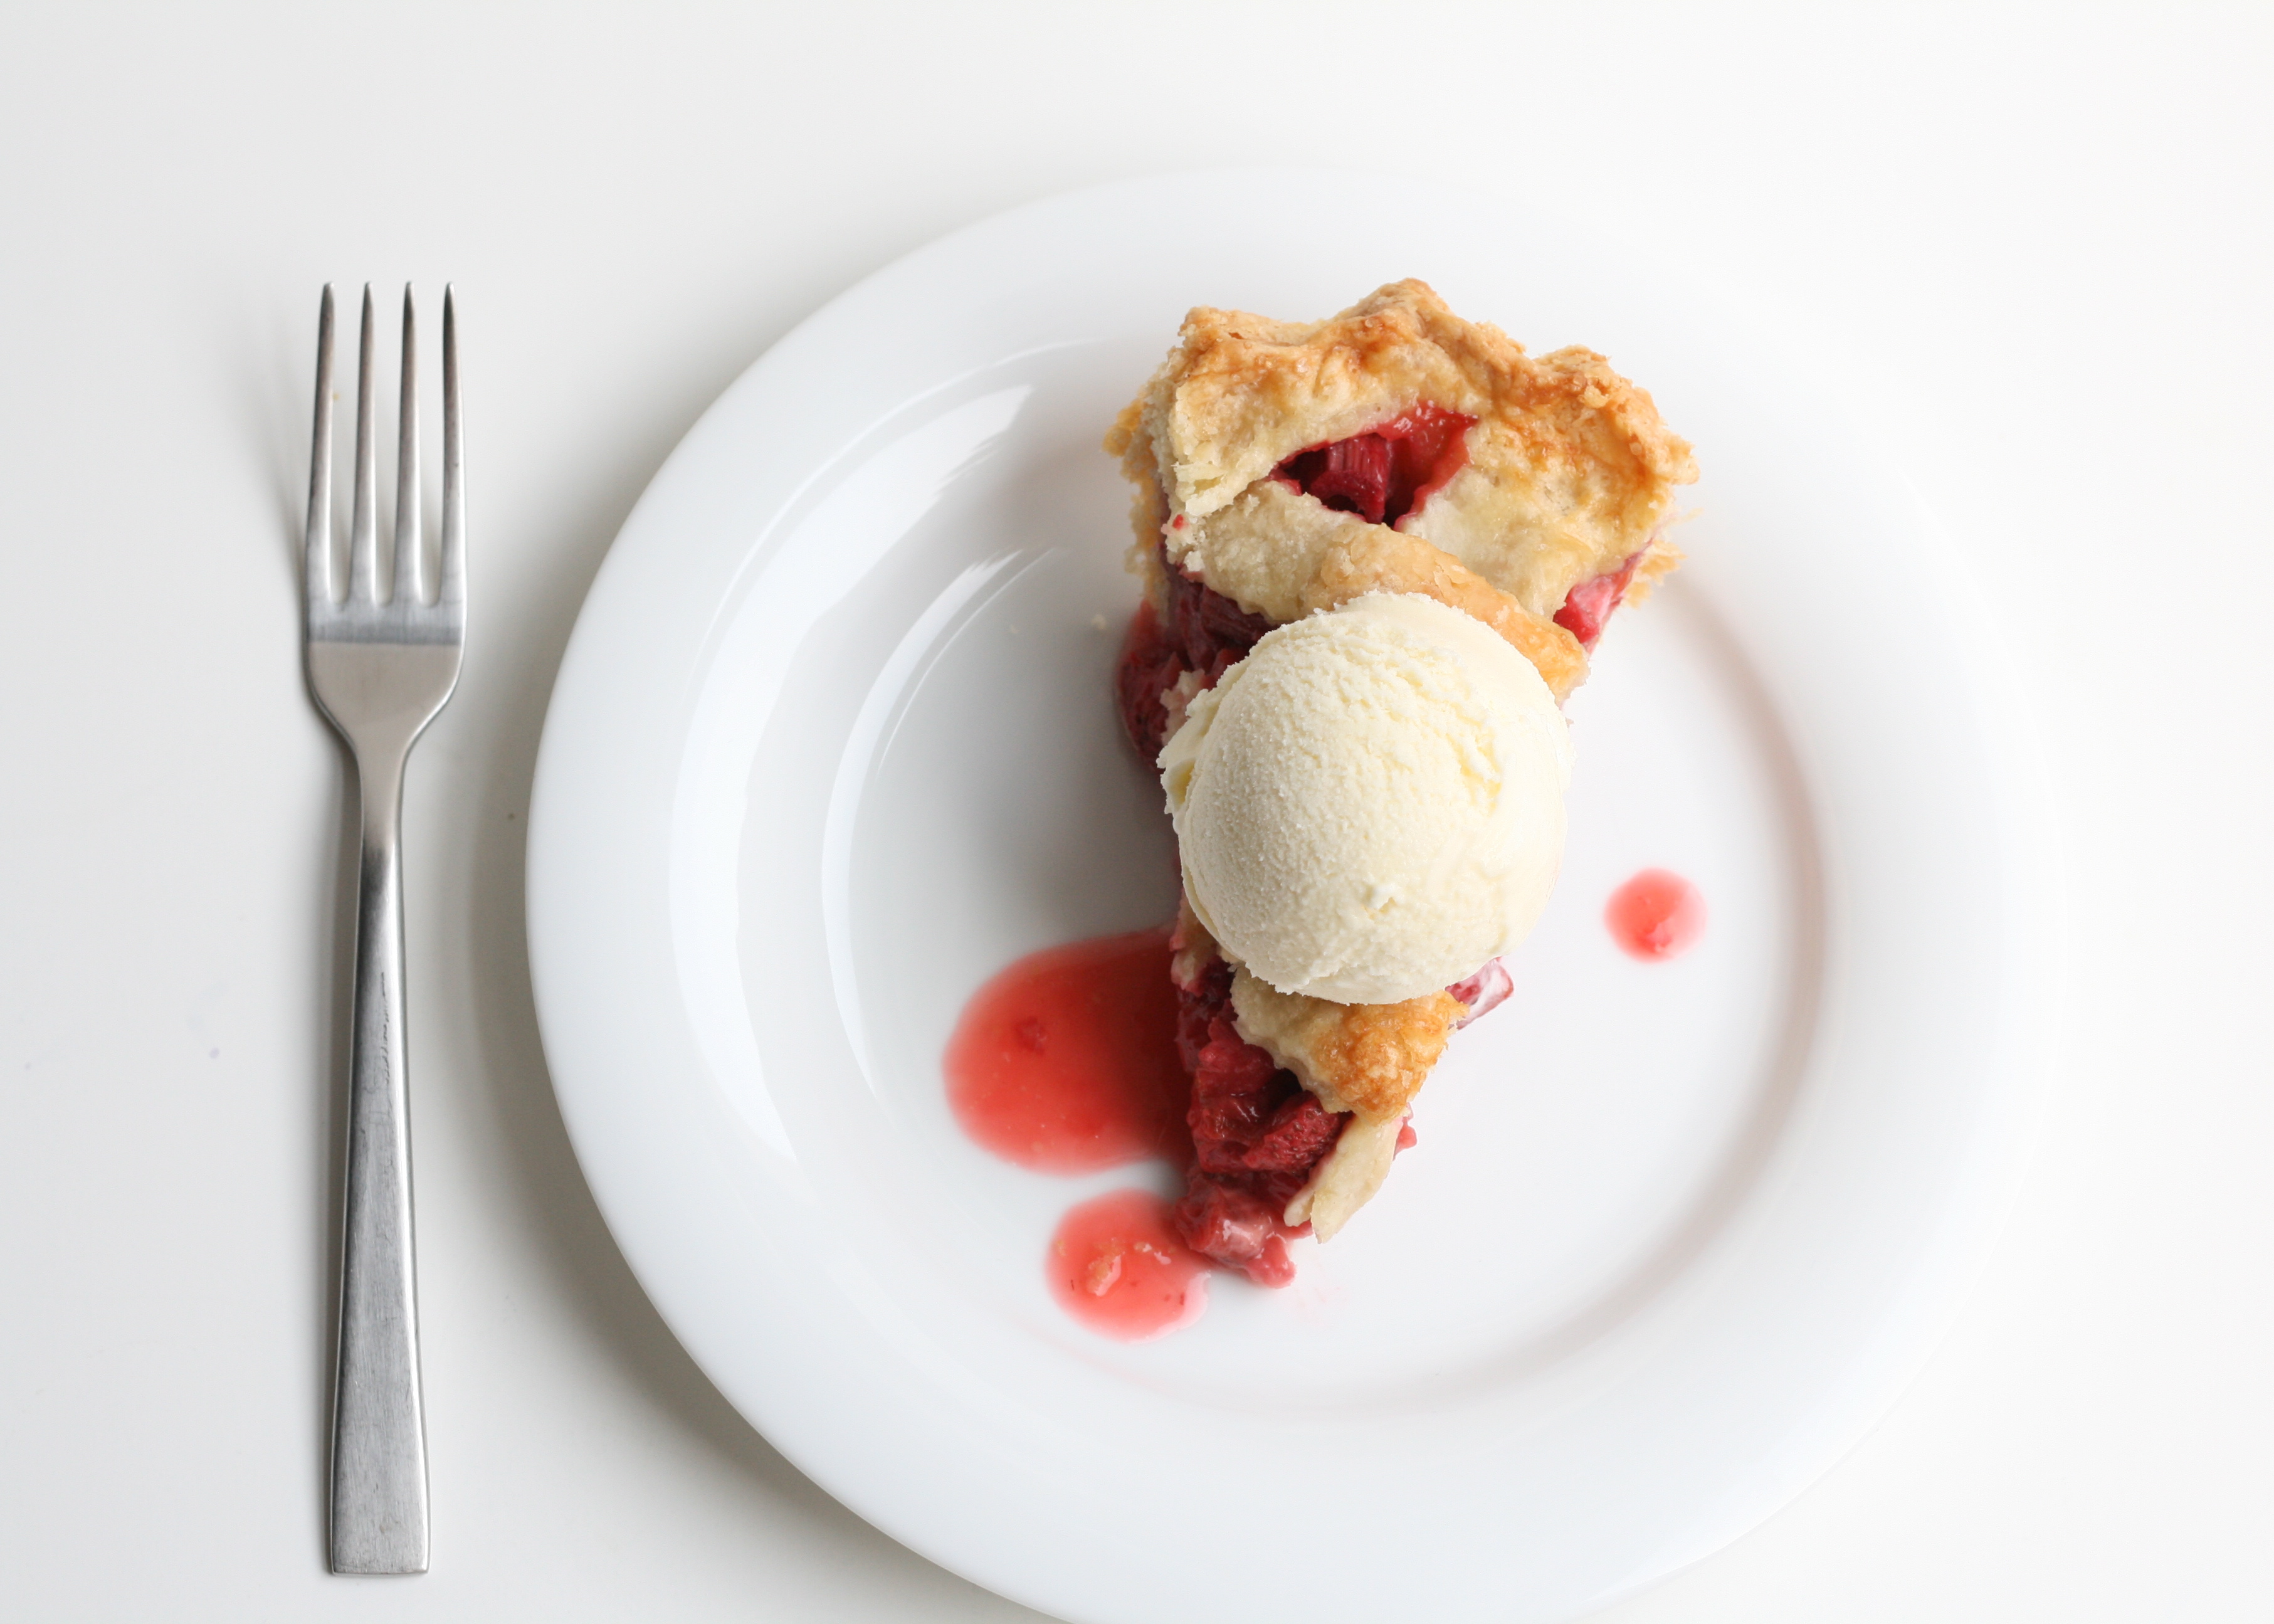
I think I’m gonna be one of those wives/moms who make their family a weeks worth of dinner when they go out of town. It’s because I care. And I care about you! So without further adieu, I give you Strawberry Rhubarb Pie. Happy 4th everyone!
PIE CRUST makes enough for 2 single pies or 1 double crust (This is my go-to recipe) 2 1/2 c. AP unbleached flour 2 tbsp. sugar 1 tsp. sea salt 2 sticks (8 ounces) unsalted butter, very cold 1 c. water with ice
STRAWBERRY RHUBARB MIXTURE 3 1/2 c. sliced rhubarb 1 16 oz. container strawberries, hulled, halved (about 3 1/2 c.) 1/2 c. packed brown sugar 1/2 c. sugar 1/4 c. cornstarch 2 tbsp. fresh squeezed orange juice 1/4 tsp. sea salt
TOPPING 1 egg 1 tsp. cream turbinado
Note: I like to make my dough by hand so that I can control the size of the butter. Flaky crust = chunks of butter.
1. Make crust. Place flour, sugar, and salt in bowl. Whisk together. 2. Dice butter and place into flour mixture. Using a pastry knife, cut butter into flour until it resembles coarse meal. 3. Using a pastry fork (or continue using the pastry knife) add 1/2 c. of the ice cold water into mixture and combine. Continue adding water 1 tablespoon at a time until dough just comes together. You may not need the full cup of water. 4. Cut in half and cover the 2 disks in plastic wrap. Before rolling out, place in fridge for 1 hour, or place in freezer for 15 minutes to chill. This will make the dough easier to work with. 5. Make strawberry rhubarb mixture. Combine all ingredients in bowl, mix, and set aside. 6. Roll the dough out on a well floured surface large enough to overhang in a pie dish. Fold the dough in fourths and transfer to pie dish. Place in freezer for 5 minutes if too warm. 7. Pour strawberry/rhubarb mixture into pie dish. 8. On a well floured surface, roll out second disk. Using a pastry wheel, cut dough in the same direction, about 3/4″ wide. Place 5 strips across, using the longer strips in the middle and the shorter strips on the end. Think back to your childhood craft days, and create a lattice with the dough placing 5 more strips in the opposite direction. Over, under, over, under. 9. Seal the edges of the dough by folding over. I use a bit of cold water to help smooth things out. Create a decorative edge with your pointer finger and thumb held together pushing the dough in with your thumb. And repeat. Clear as mud? A forked edge works nicely as well. 10. Whisk together one egg and a teaspoon of cream. Brush over the top and sprinkle with turbinado. 11. Place in freezer for 20 minutes. This helps the dough to hold its shape when it goes in the oven. Preheat oven to 400°. Bake for 2o minutes. Lower the temp to 335° and continue baking for 40 minutes. Once crust begins to brown, cover with foil. 12. Allow pie to set up for at least an hour before serving.
This cake was supposed to be easy. I was going to brag about how fast I whipped it out. Ha Ha Ha. Oh the irony. One thing got in the way. That stupid virtue. You know the one. Patience. I’m scowling at the word as I type.
This recipe is easy. You just have to be patient. Don’t worry—I was impatient for you. I’ll let you know when you’re about to derail this simple recipe, making it complicated.
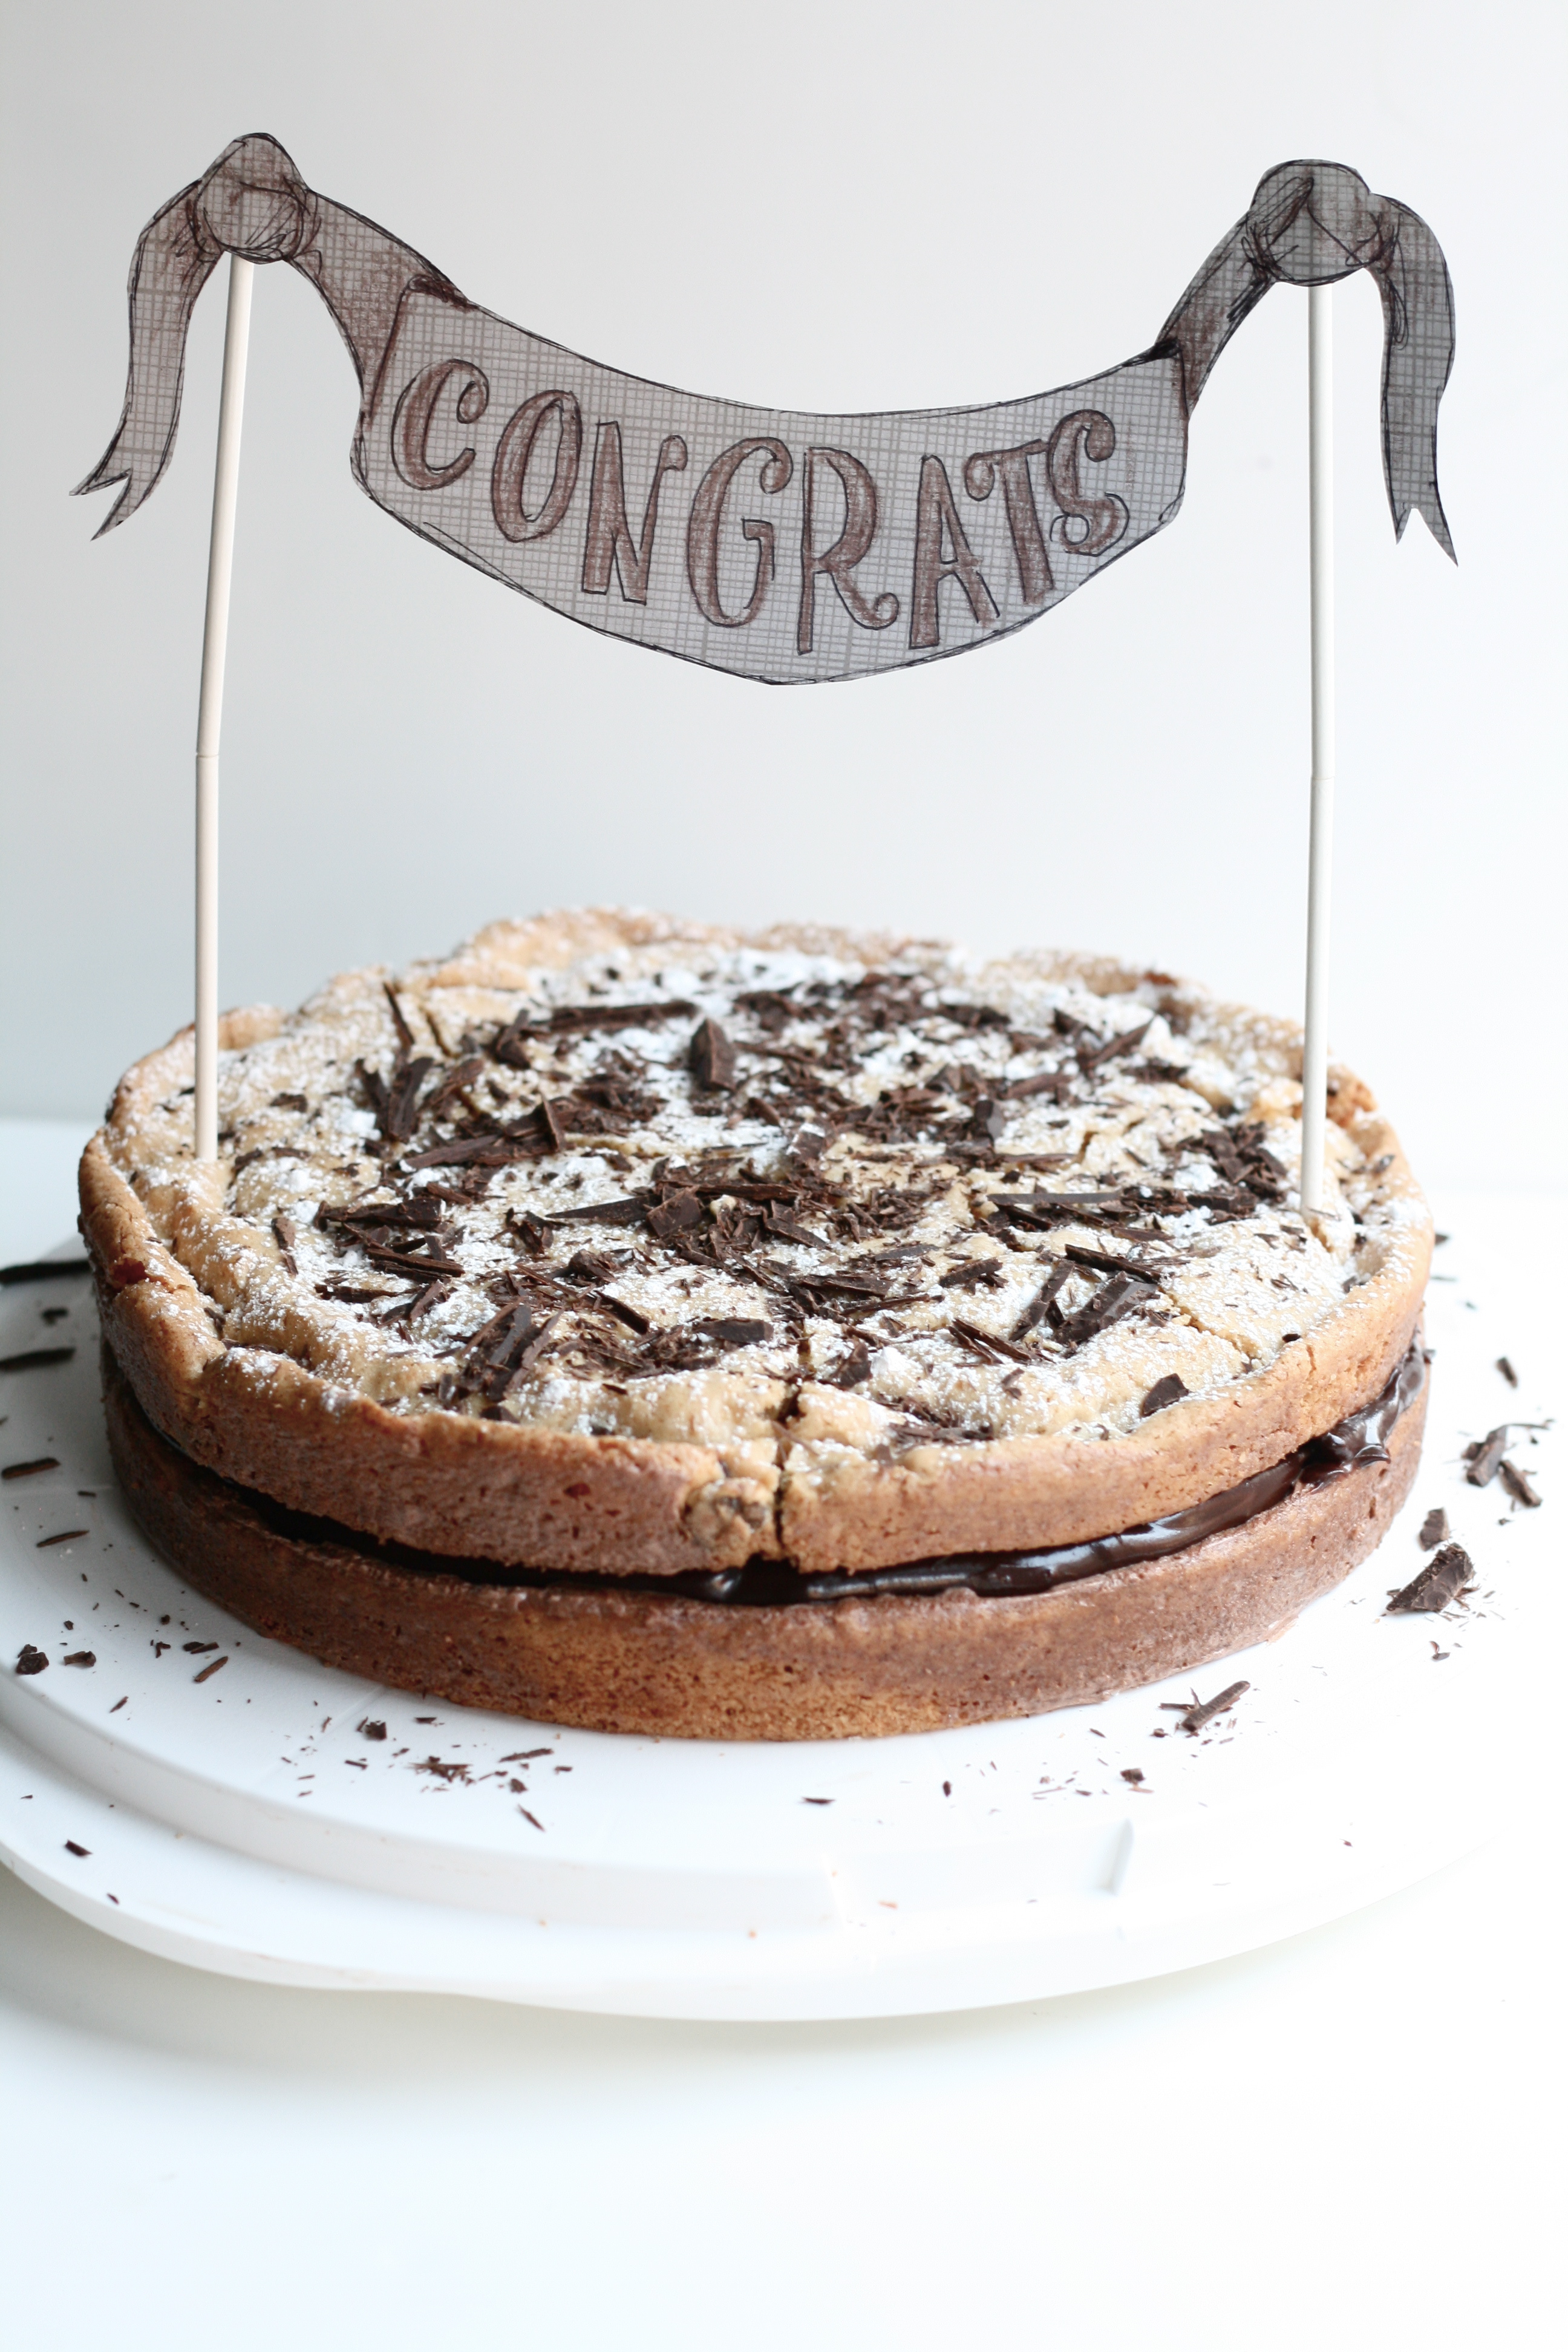
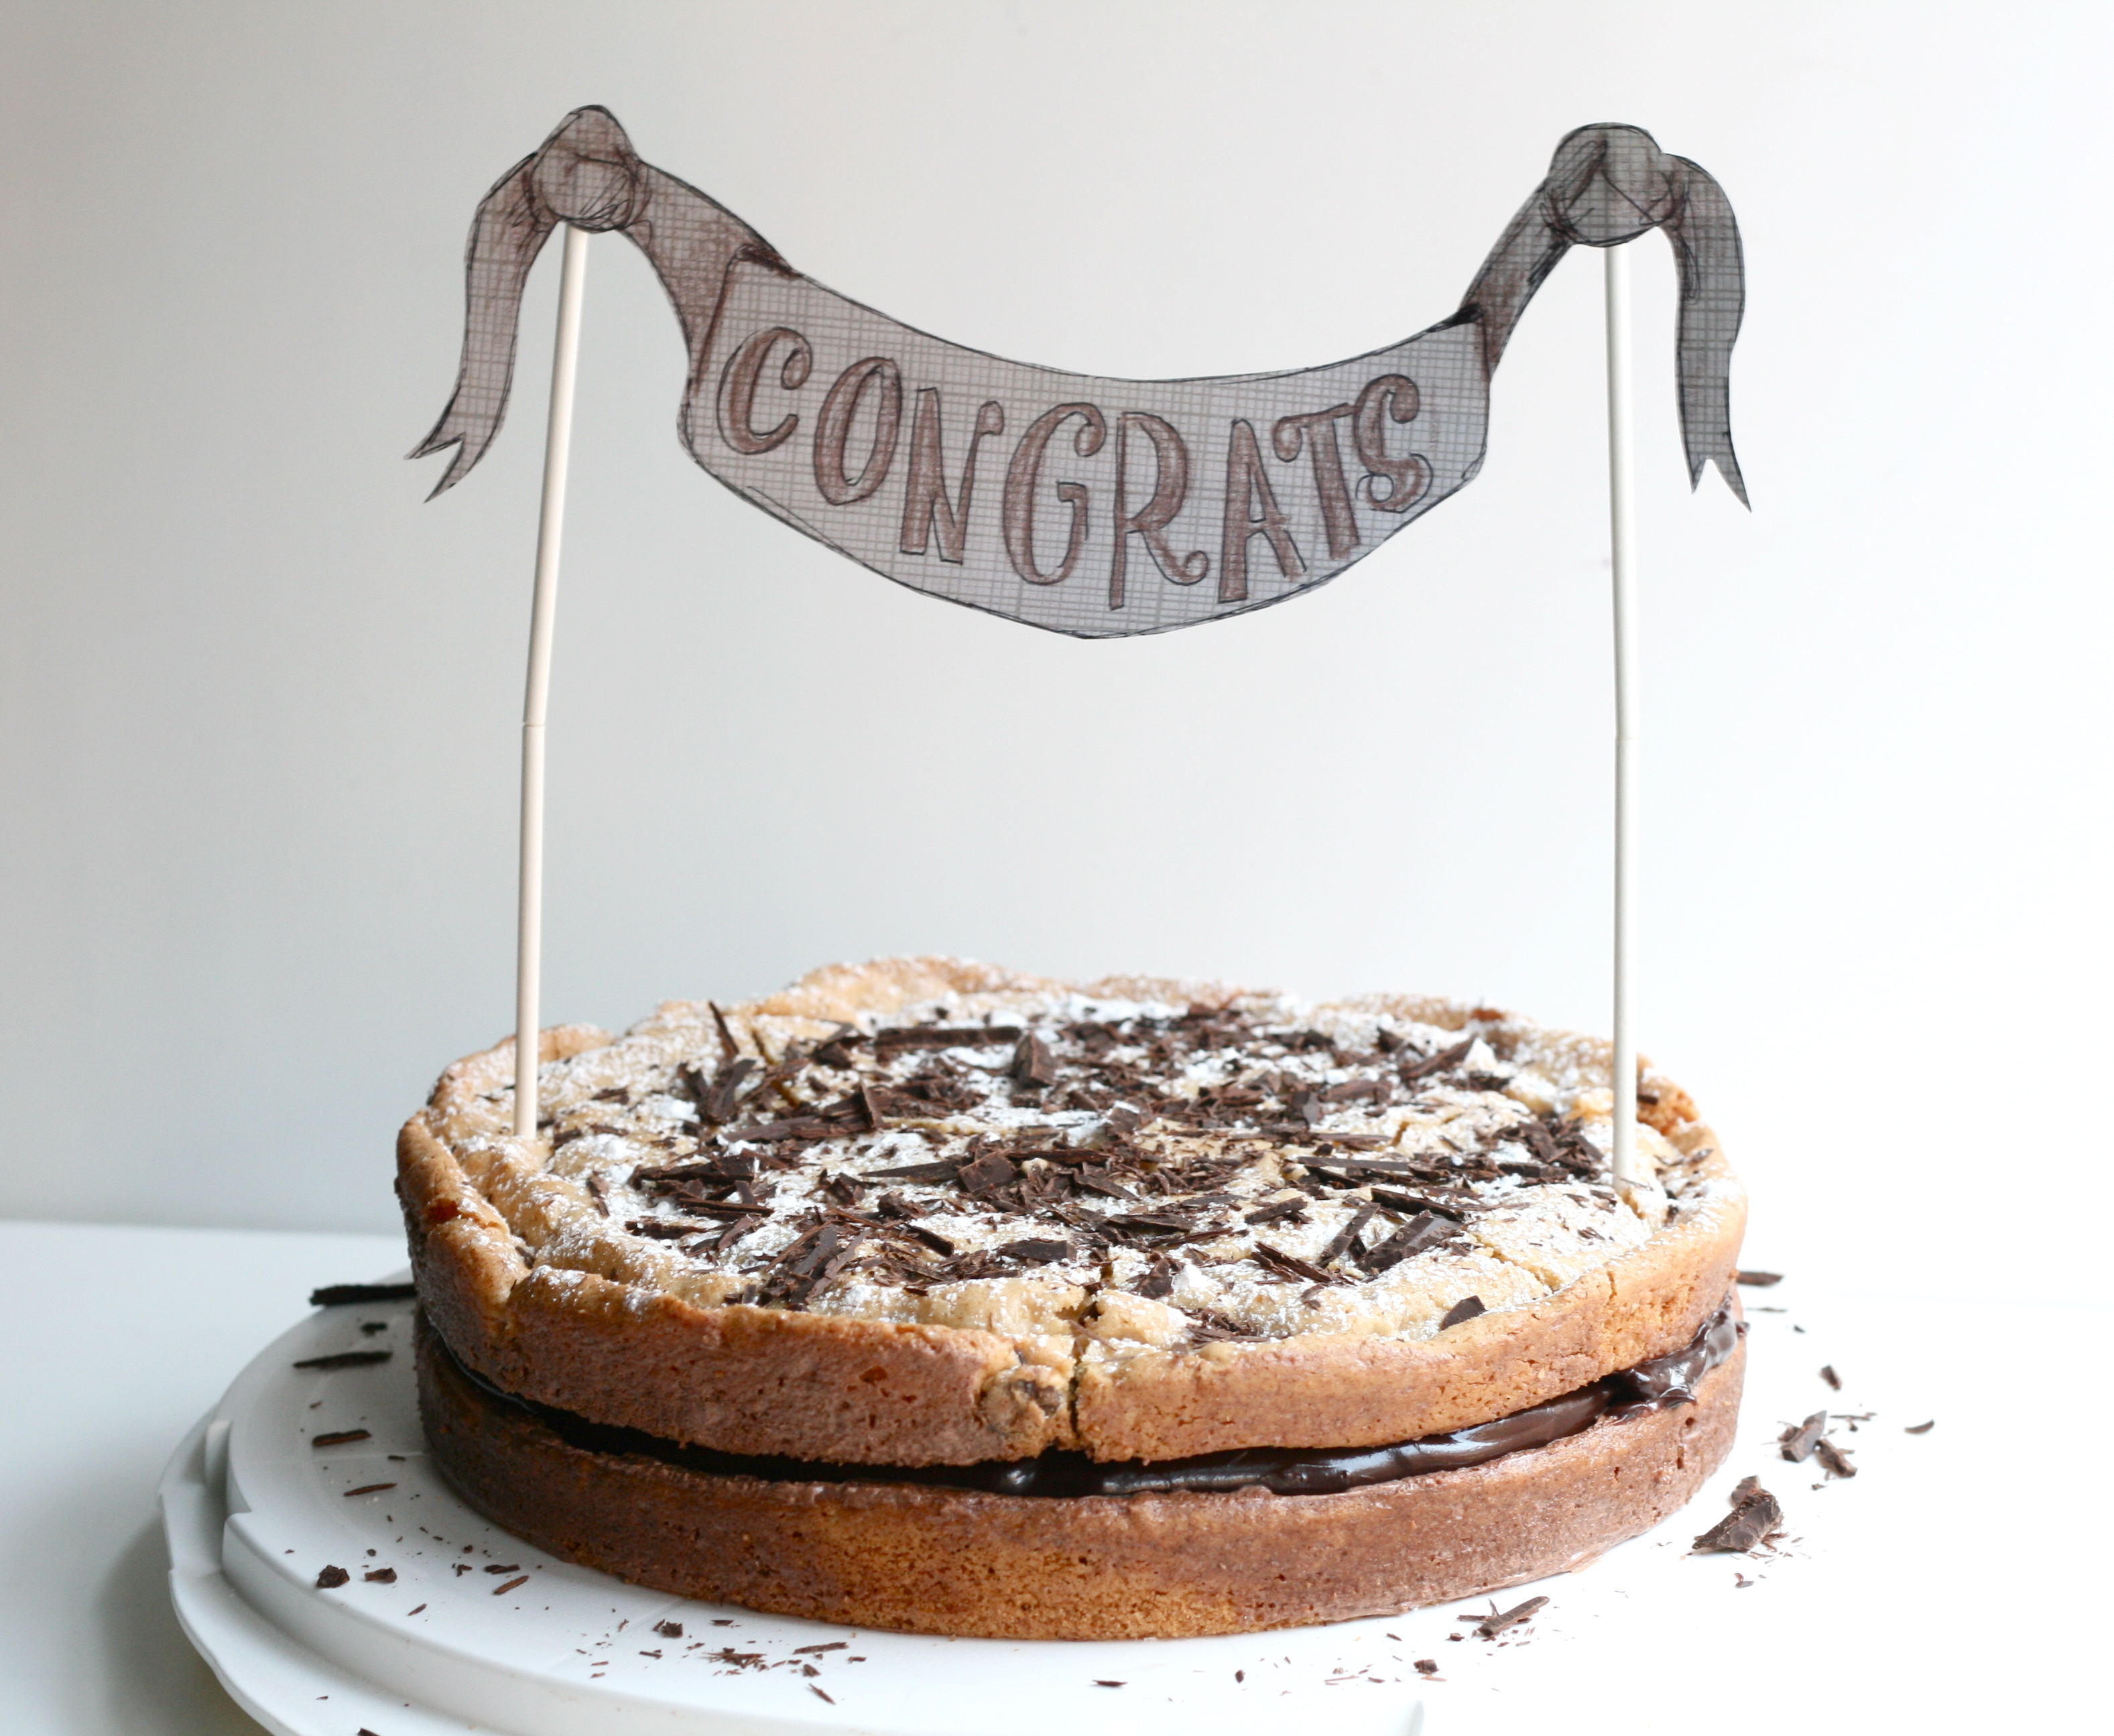
I really needed this cake to be simple. I got home from work at 5:30 pm, and had to be somewhere by 7:43 pm—leaving me a little over 2 hours to make a cake. Not bad. So while I made the cake, graduate school husband went to the grocery store to pick up the goods for the icing. Made the cake, no problem. I was home by 11 and ready to whip up a quick icing. In my defense, the word ‘icing’ was deceiving. Ganache would have been a better word choice. Needless to say, I exercised impatience. The icing wasn’t thickening as fast as I wanted to go to bed. So, I whipped up a meringue and added it to the icing thinking it would help it to stabilize. It was a runny mess. However, I proceeded to pour it all over the cake. What was I thinking? Meanwhile I looked at the remnants of the bowl with the orignal chocolate icing. Guess what. It had thickened up. In an abnormally calm manner, I directed graduate school husband to make another batch of ganache. He normally doesn’t involve himself in my baking adventures, but he was so helpful. I proceeded to scrape the cake of the runny chocolate mess. No lie, I wiped it down with a wet paper towel. We let the ganache set overnight and went to bed. 12:30pm. By morning, the ganache was perfect, so I re-iced the cake. Sprinkled with powdered sugar and shaved dark chocolate.
I was so thankful the cake was still salvageable. I’m not sure if this congrats sign ended up being for me or for my graduate school husband, although it was intended for him. He and his coworkers just finished up their practicum for the year and had a BBQ to celebrate/say goodbye. I’m going to miss those guys. They welcomed me into the group as if I were one of them. They gave me a nickname. They ate my food.
And they devoured this cake. Thank the Lord it turned out. I promise to be more virtuous.
WET INGREDIENTS 1/4 c. milk 2 tsp. vanilla extract
DRY INGREDIENTS 2 c. AP unbleached flour 1 tsp. baking powder 1/2 tsp. sea salt 1/2 c. semi-sweet chocolate chips
CREAMING INGREDIENTS 10 tbsp. unsalted butter, room temp 1 1/4 c. sugar 3/4 c. lightly packed brown sugar 1 large egg 1 egg yolk
1. Preheat oven to 335° and place rack in middle position. Line the bottom of two 9-inch round pans with parchment paper. 2. Combine wet ingredients in a bowl. Combine dry ingredients, except the chocolate chips, in separate bowl. Set aside. 3. Using a spatula, toss 2 tablespoons of the wet ingredients with the chocolate chips in a small bowl. Add 1/4 cup of the dry ingredients. Toss again to coat evenly. This will keep the chocolate chips from sinking to the bottom of the cake. 4. Mix butter and sugars in the bowl of a standing mixer fitted with paddle attachment until well creamed, about 3 minutes. 5. Add egg and egg yolk one at a time. 6. Alternately add dry and wet mixtures about a quarter at a time without pausing between additions. 7. Removed the bowl and fold in the chocolate chips with a spatula. The dough will be thick—more like cookie dough than cake batter. 8. Divide dough into prepared pans. It will be too thick to fill the pan to the edges, but will spread under the heat of the oven. Bake for 30-35 minutes or until edges crown and surface is browned. 9. Cool the cakes in pans to room temperature, then invert them using a small offset spatula to release edges. 10. Make ganache. Spread thick layer between the two cakes. Dust the top with confectioners sugar. Shave dark chocolate and sprinkle on top.
Chocolate Icing/Ganache
1 c. heavy cream 1/4 c. sugar 1 stick unsalted butter, softened 10 oz. bittersweet chocolate 2 tsp. vanilla extract dash of sea salt
1. In a saucepan over medium heat, bring cream and sugar to a light simmer, stirring occasionally. Place the butter, chocolate, vanilla, and sea salt in a large bowl. 2. Pour hot cream over ingredients in the bowl and let stand for a few minutes to melt the chocolate. Whisk until smooth and set aside to cool, but do not refrigerate. Here’s the part where you may derail if you neglect that virtue. Be patient. It will set up. 3. Once the icing has thickened, stir it with a flexible spatula to a spreadable consistency.
For a downloadable PDF of the cake banner and instructions, click here.
Remember when I redid my post on Spinach Quiche a couple weeks ago? Well, I’m at it again. But I promise this is the last re-do for awhile. Brand spanking new content is on the way.
By the way, sorry I’ve been MIA this week. I’ve been working on a couple freelance design projects. Not only have I neglected the blog, but I’ve neglected dinner. We’ve been ordering pizza or scrambling eggs every night. Don’t judge. This week will probably be no better. I’ll be spending the week at the HOW Design Conference.
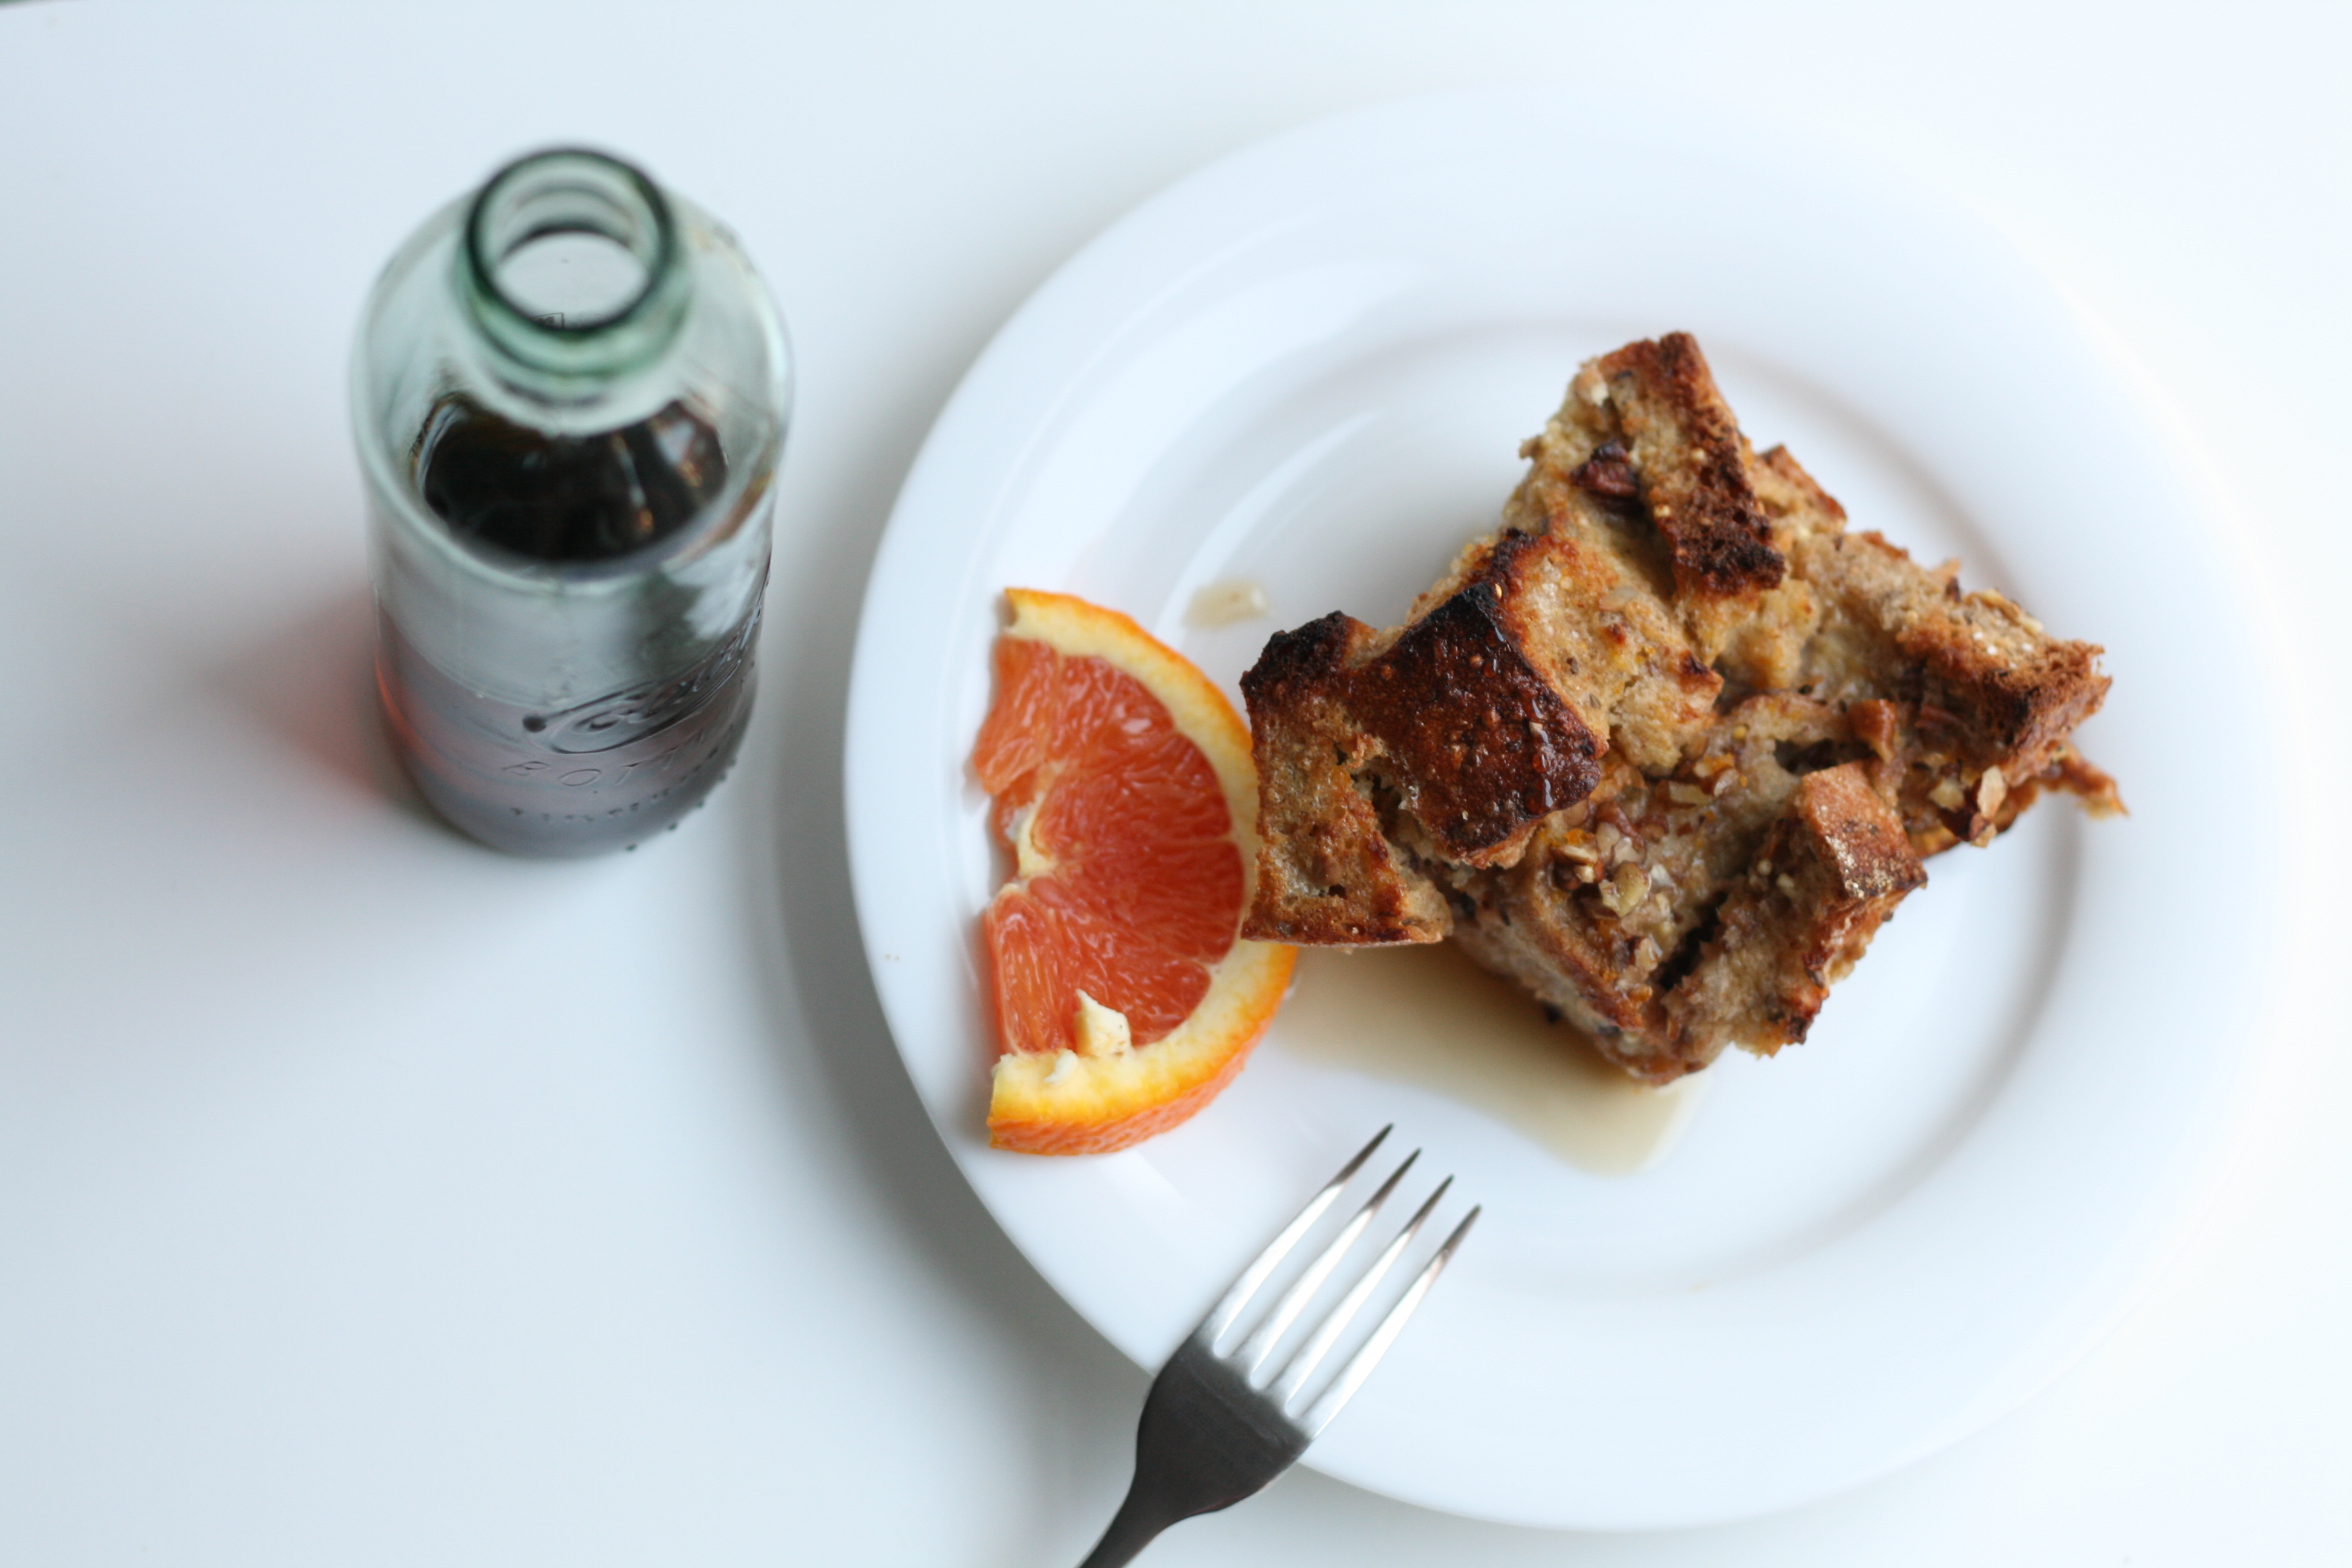
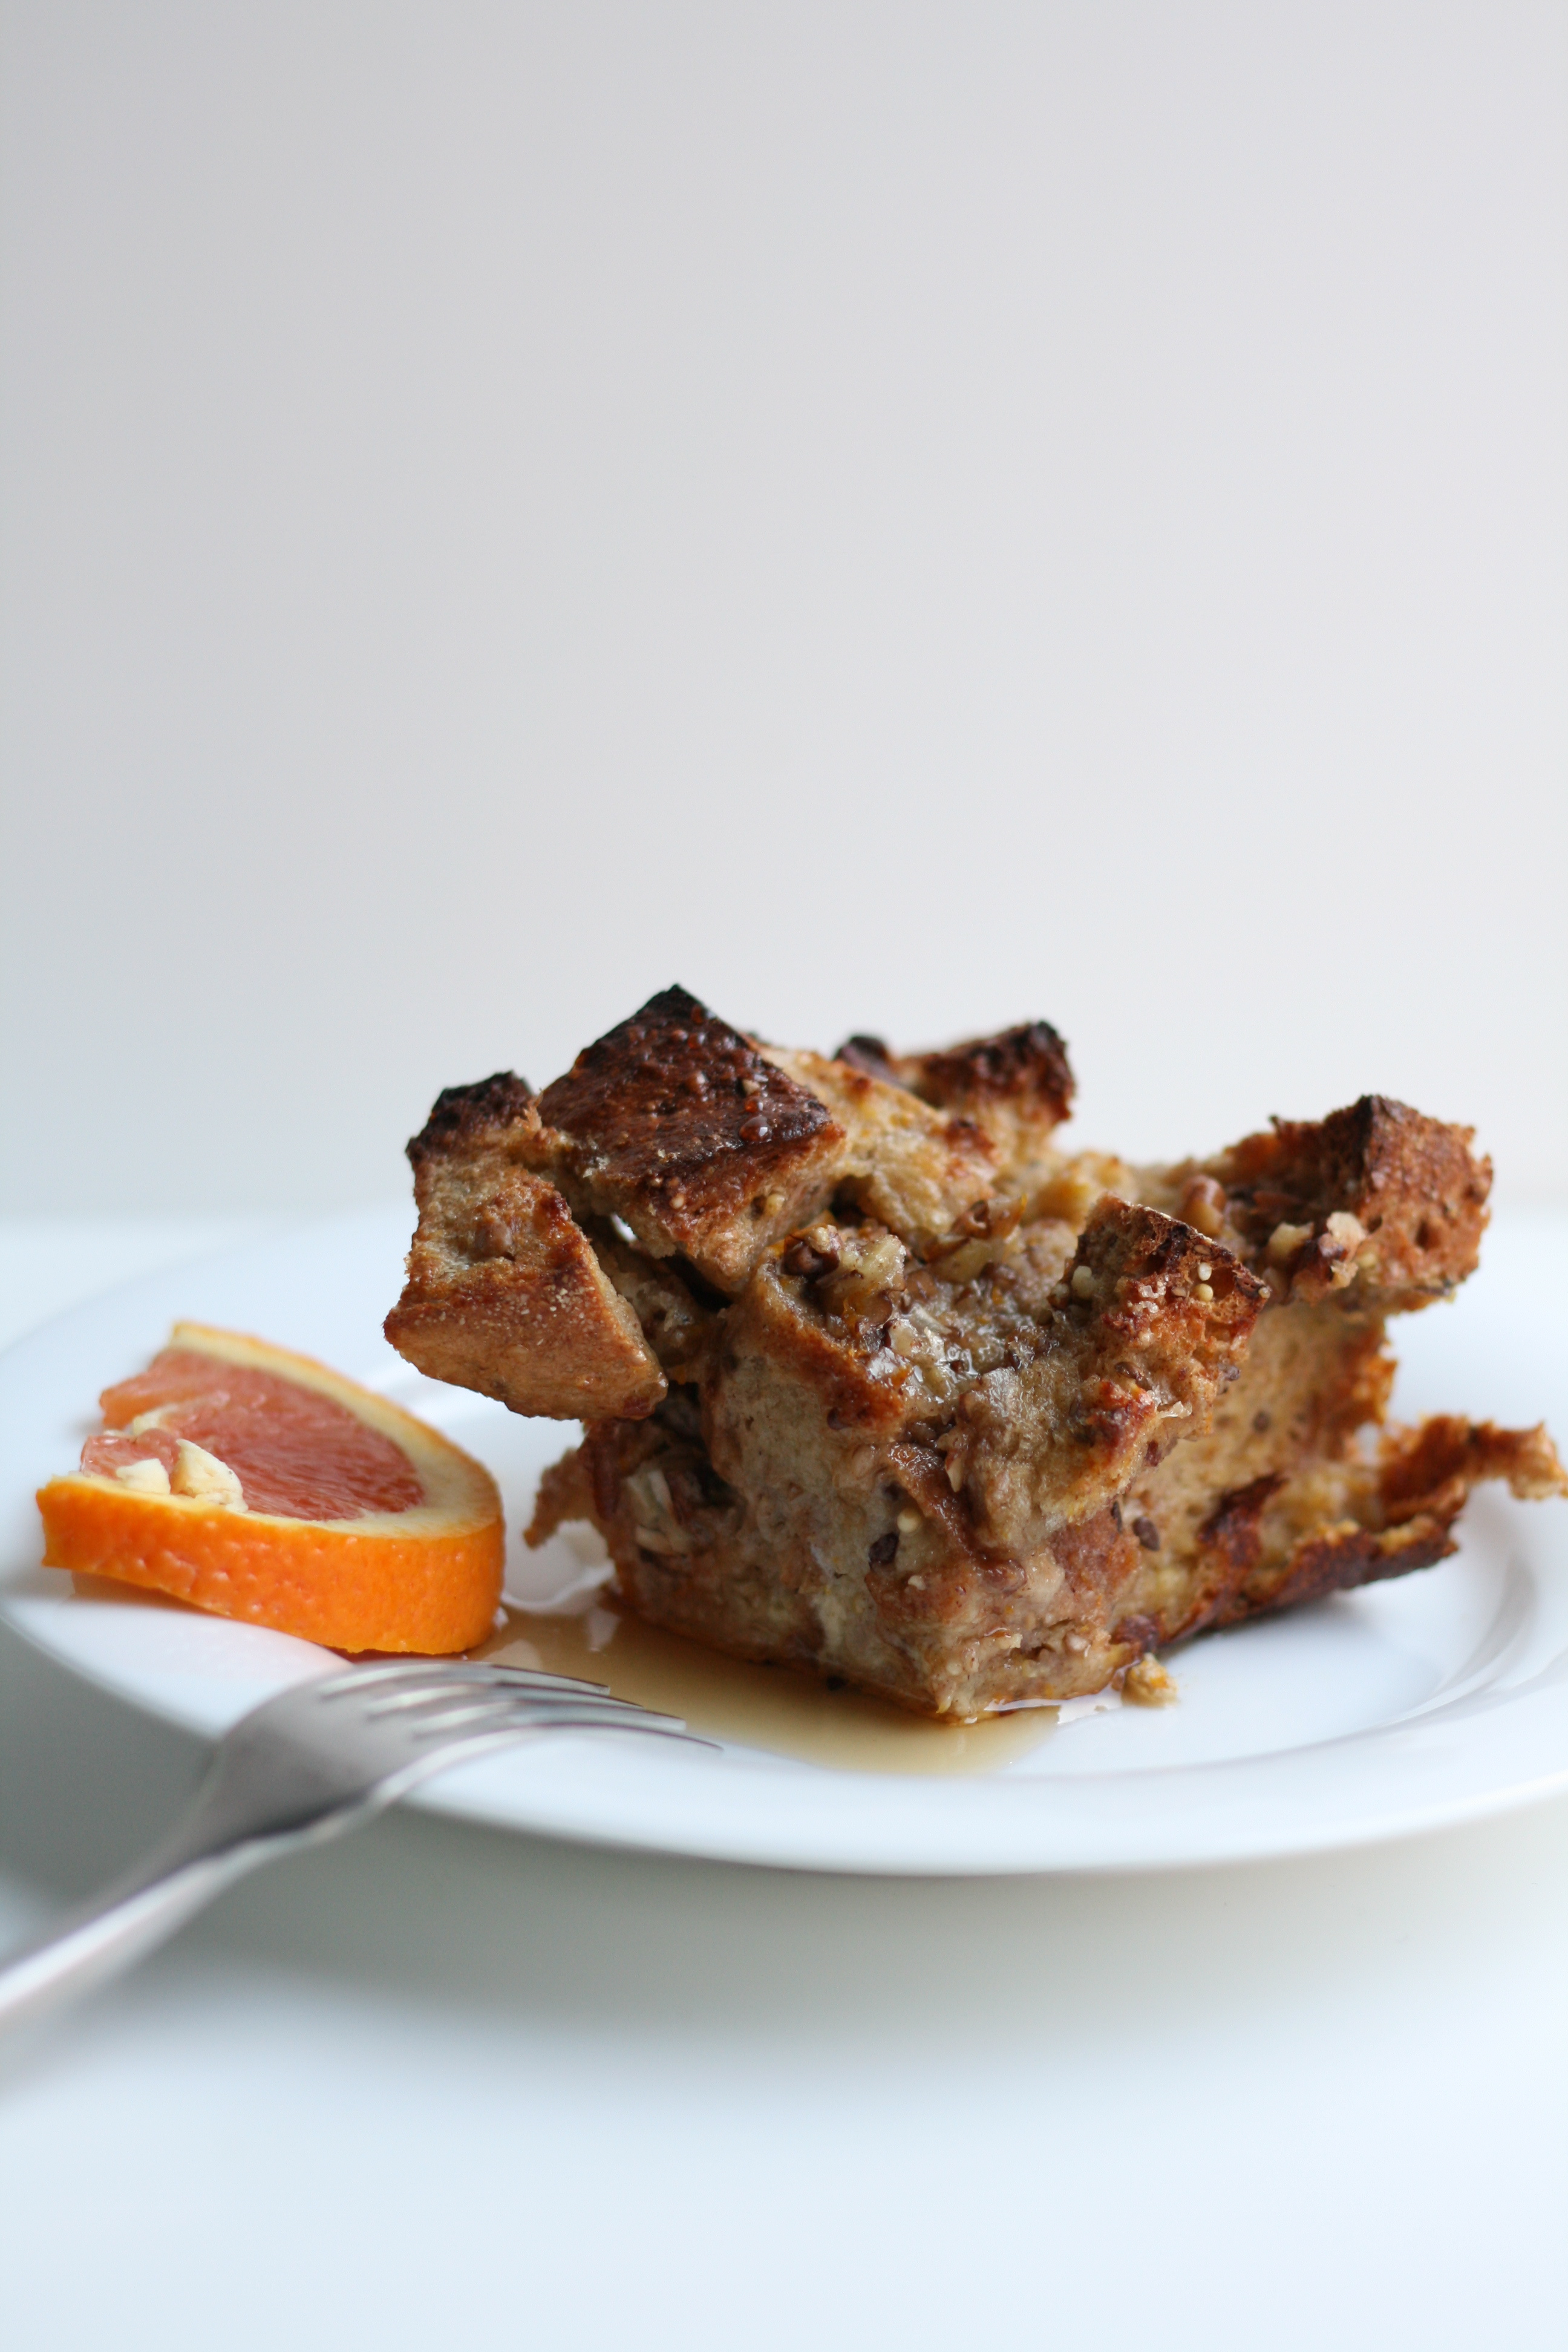
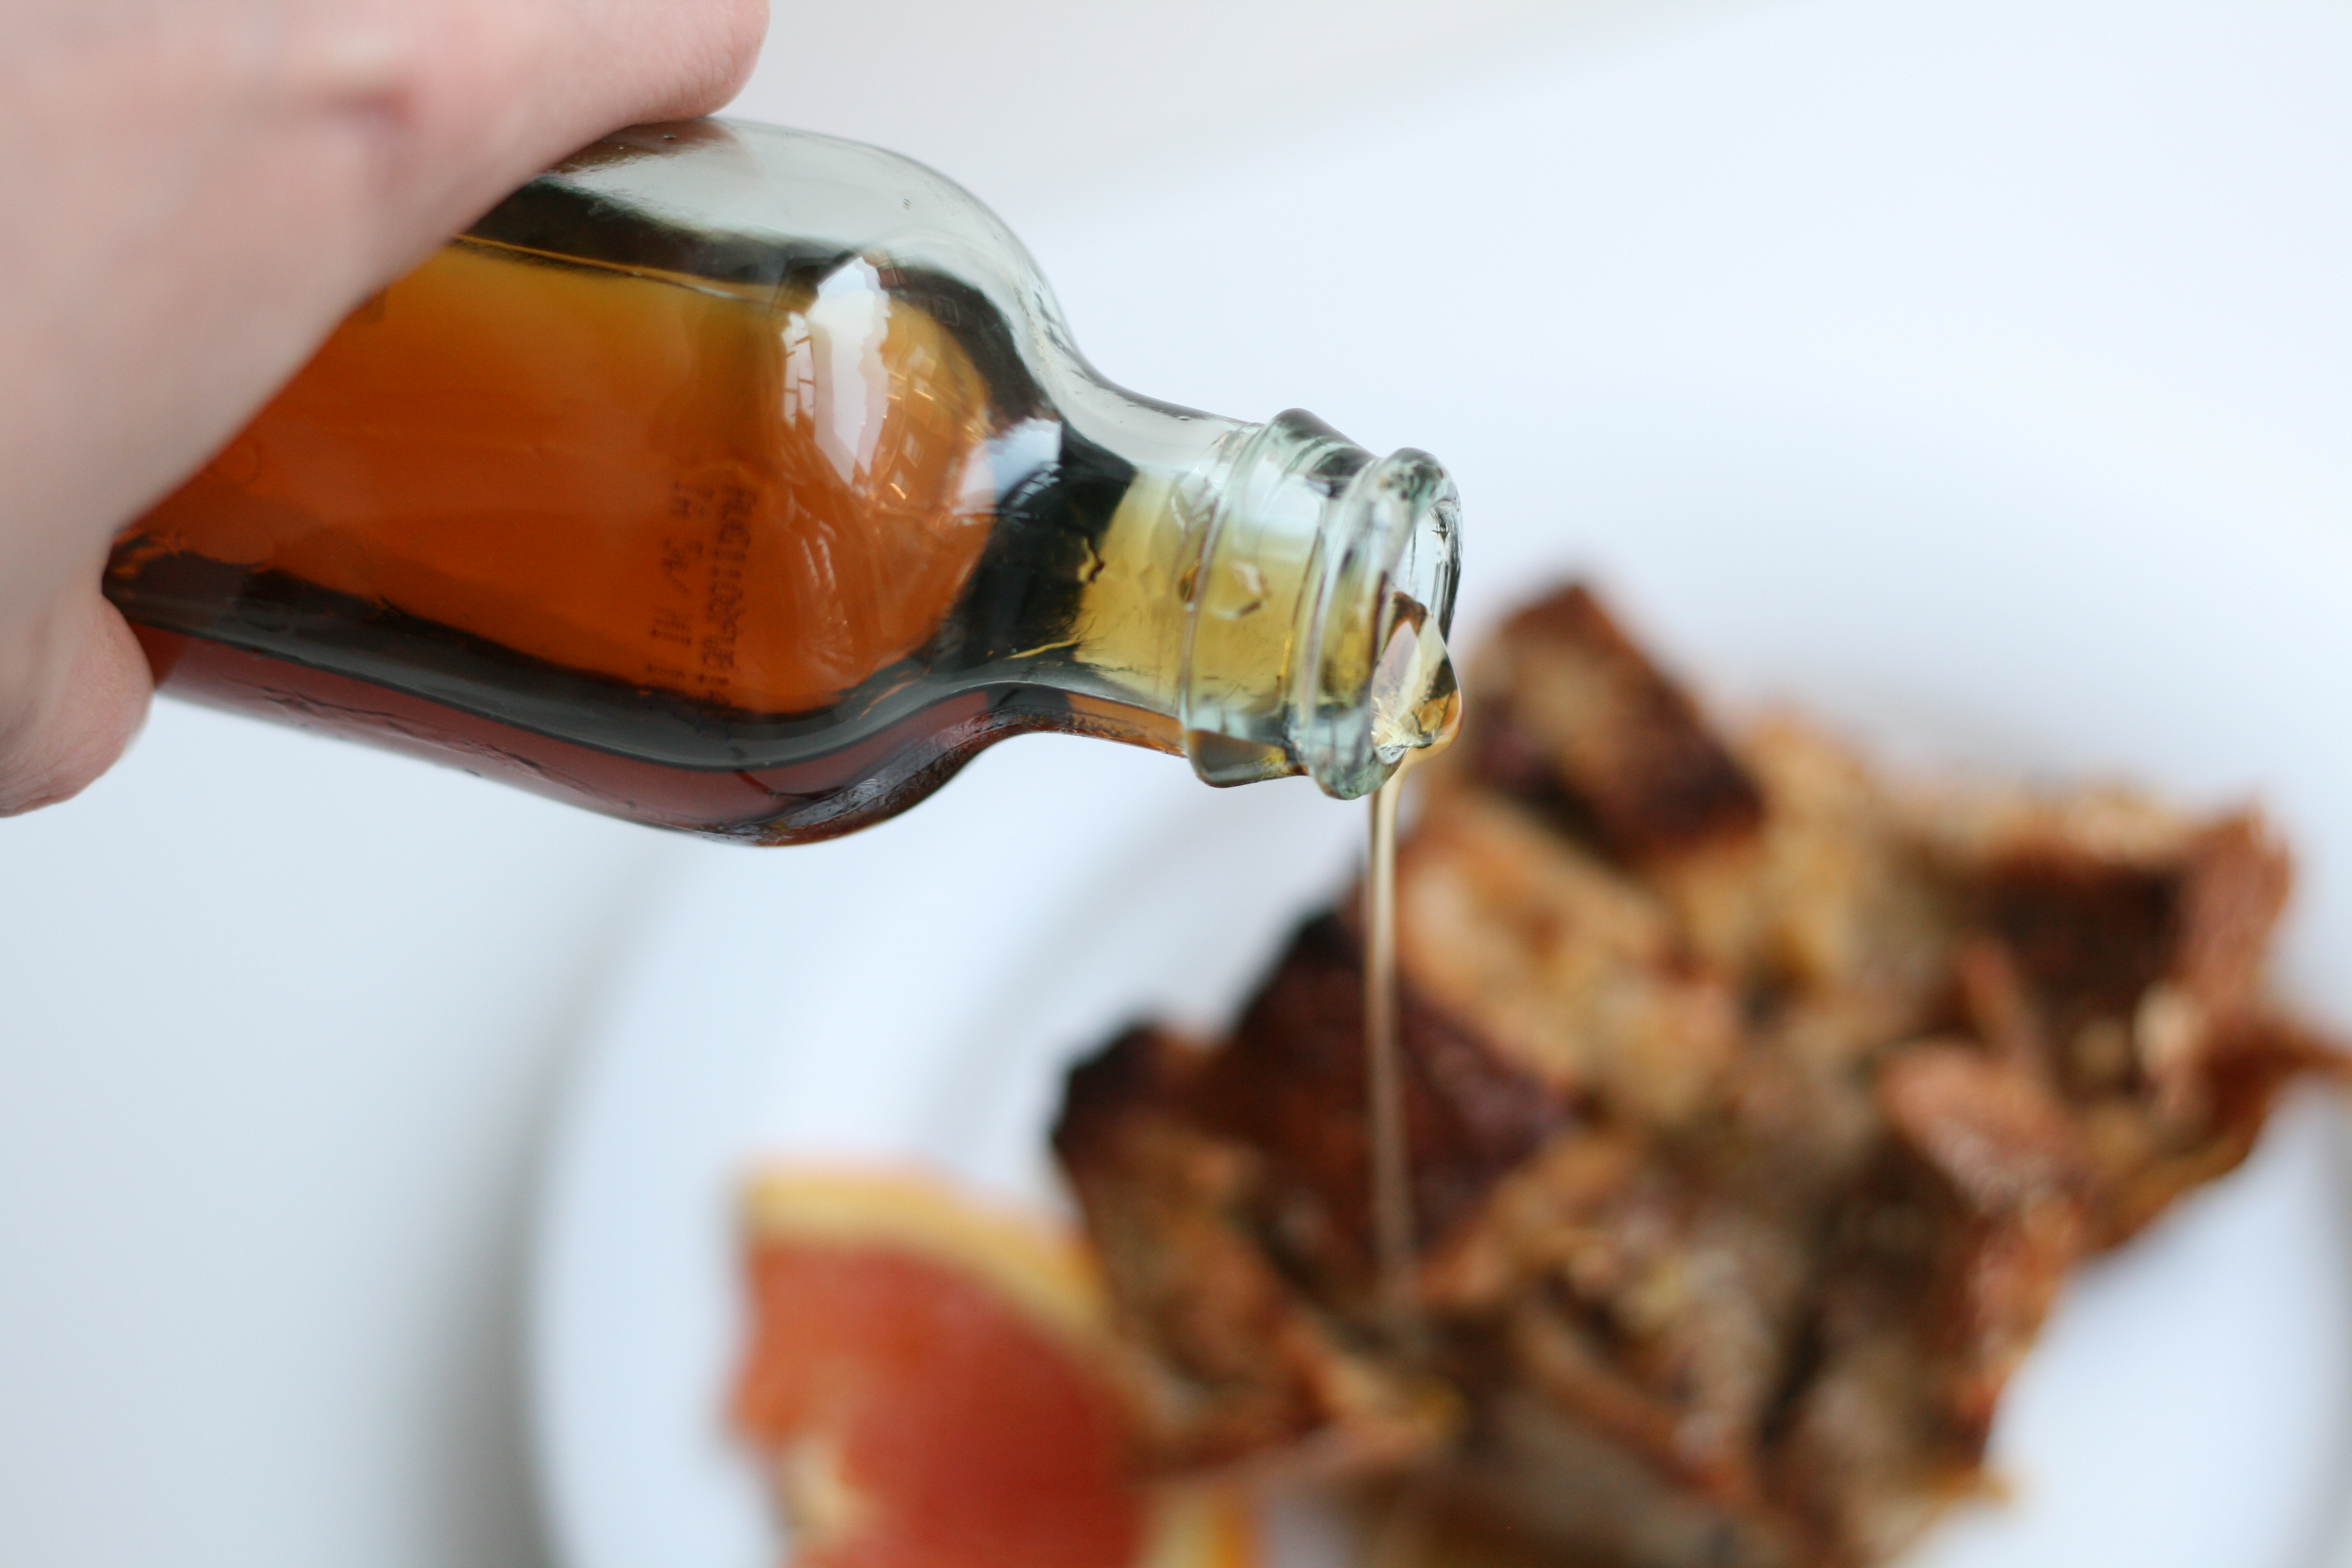
Enough about work. Let’s talk about Baked French Toast. It’s a classy breakfast casserole in my book, if you can even call it a casserole. It’s wonderfully versatile. The best part about baked french toast—you prepare it the night before and bake it in the morning. I don’t know about you, but I’m not much of a morning person. The less work I have to do in the AM, the better. How do all you mom’s do it? I can barely get myself out of the door in the morning. Needless to say, baked french toast makes my mornings easier. And on the weekends, it lets me sleep in longer. Baked French Toast, I love you.
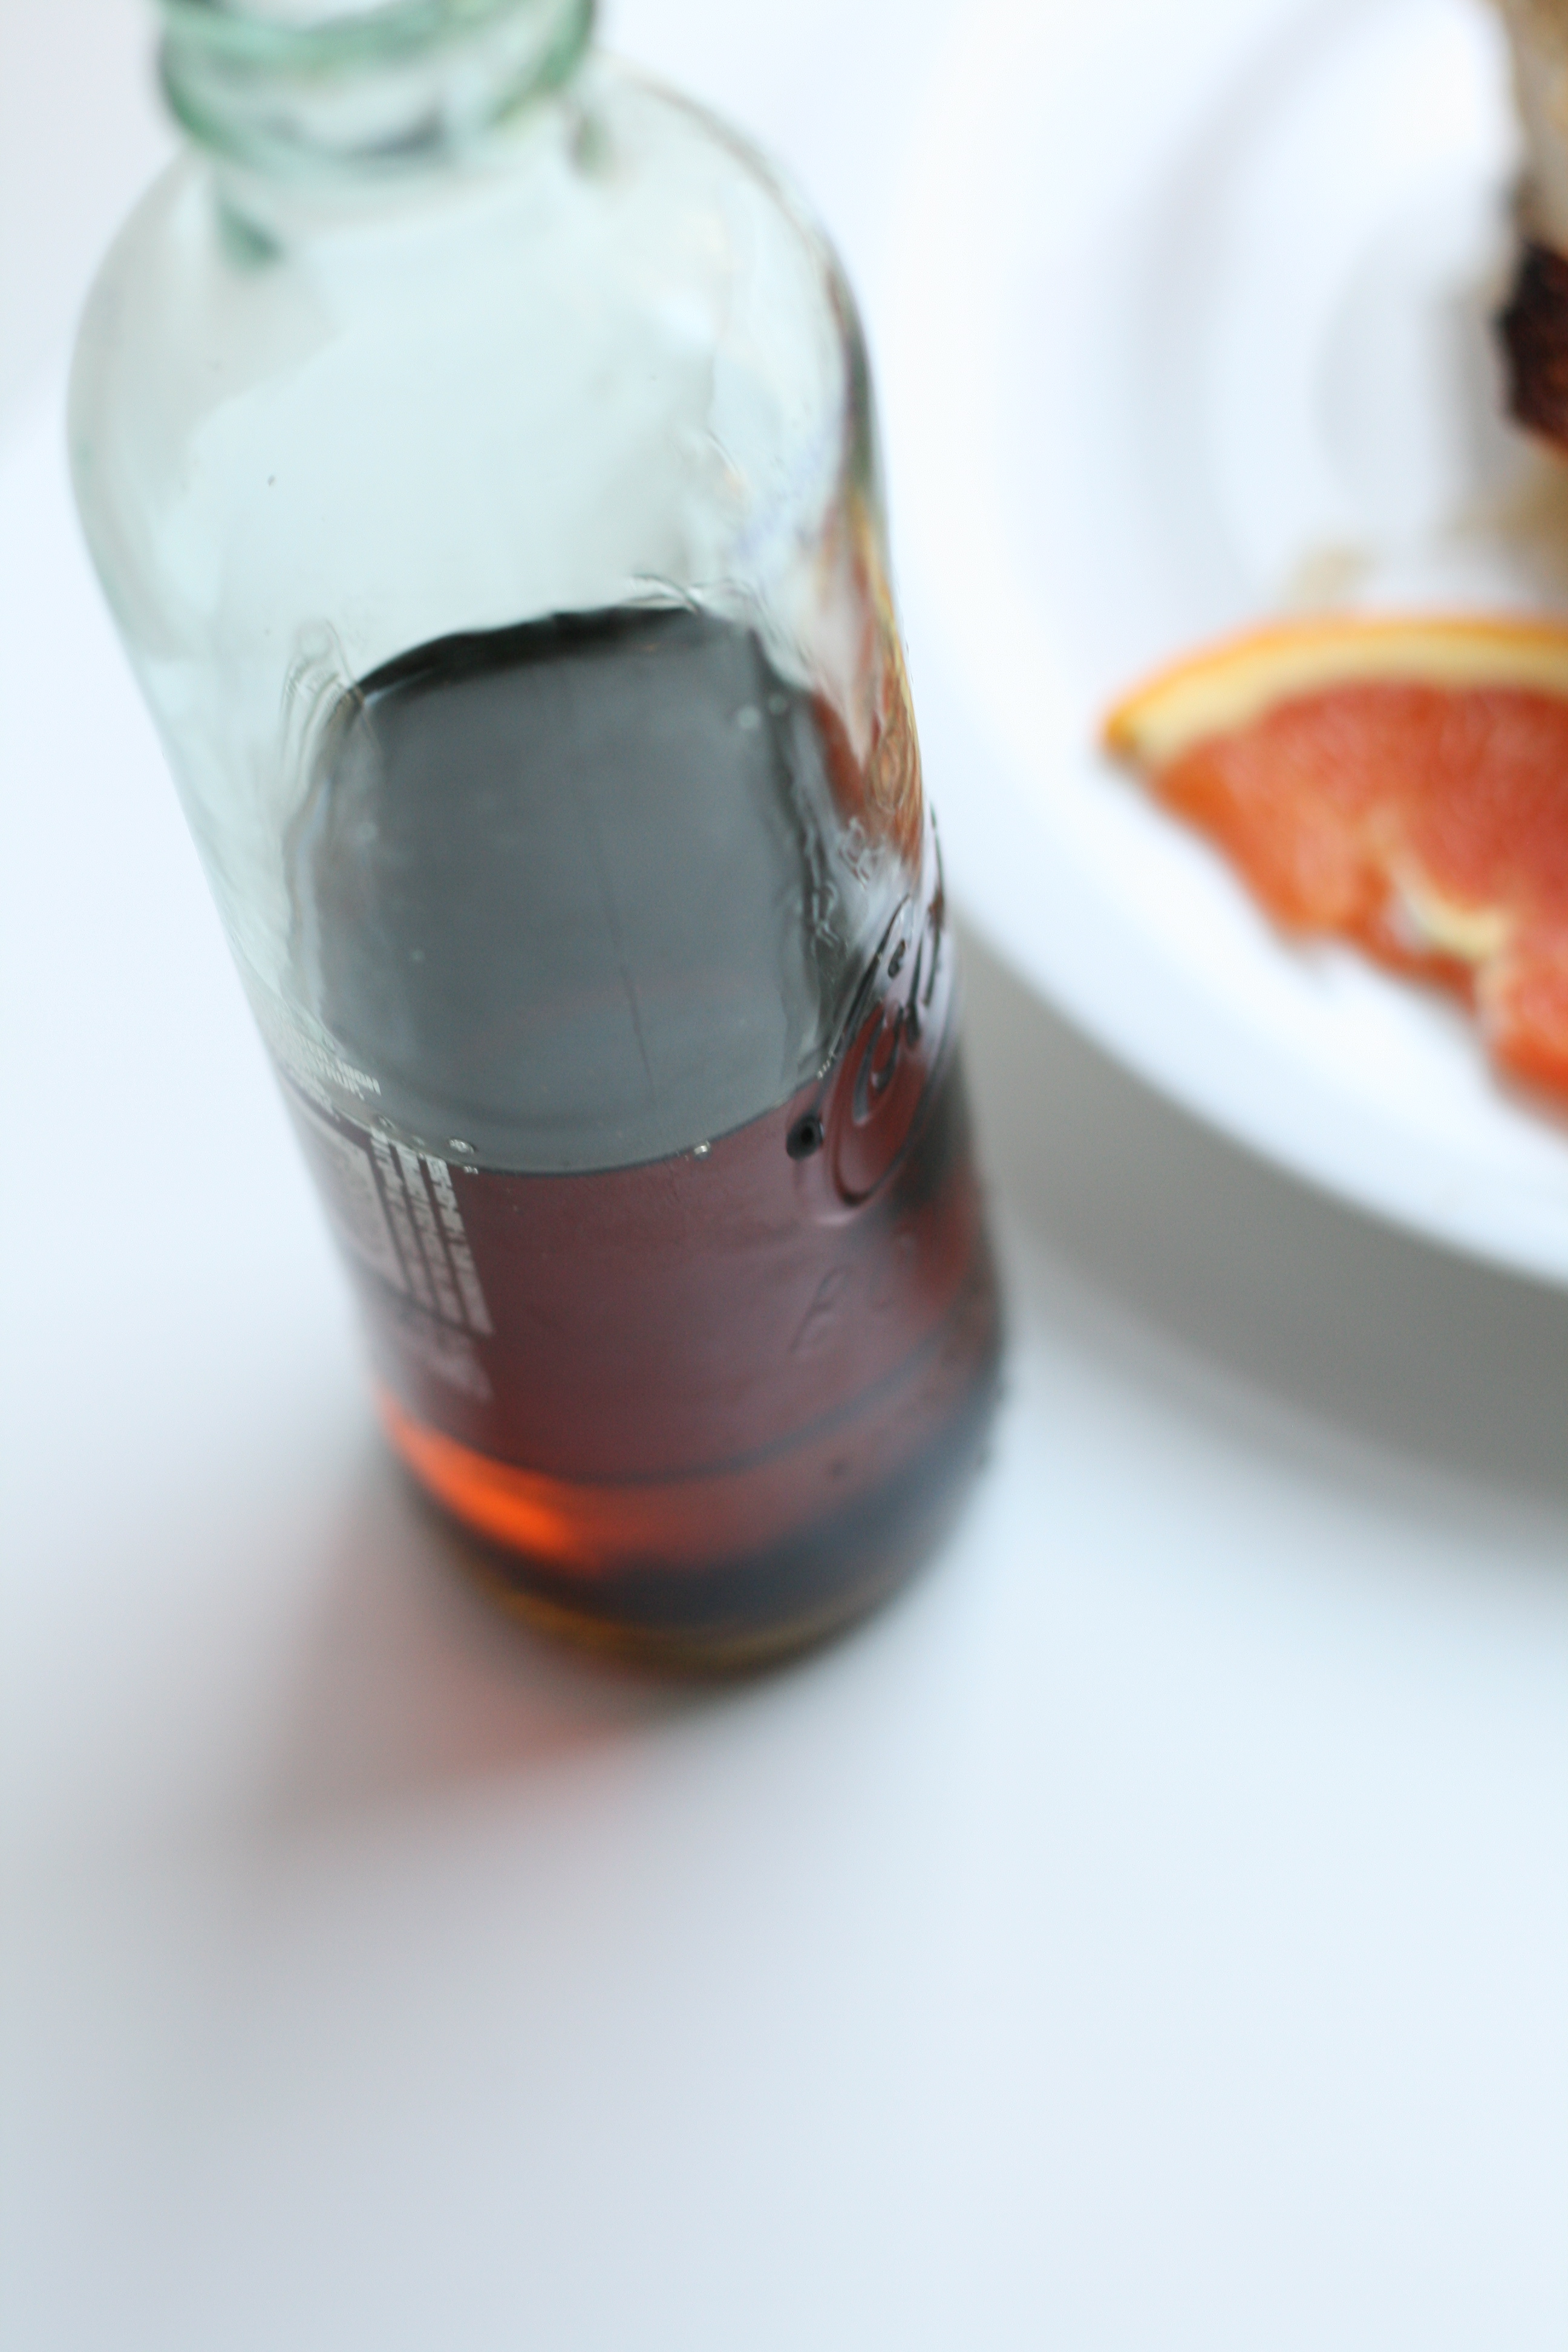
This recipe has a simple nutty orange flavor. I am a little obsessed with orange right now. I think it may be the new lemon. May I suggest that you serve it with 100% pure maple syrup? I made the switch a couple years ago. Once you go pure, you’ll never go back. And yes, that is a Coke bottle I’m serving the syrup in. It’s time invest in a syrup dispenser.
1/2 loaf of thick, hearty whole wheat bread cut in large cubes (about 2 cups)
small hand full of crushed pecans (about 1/3 c.)
3 c. of milk
4 eggs
2 tbsp. butter, melted
1 tbsp. turbinado
1 1/2 tsp. cinnamon
1 tsp. of vanilla extract
zest of half an orange
juice of half an orange
dash of sea salt
Instructions
Prep the night before serving. Cut bread and place in an 11 x 7 baking dish. Sprinkle with chopped nuts.
Whisk together milk, eggs, butter, turbinado, cinnamon, vanilla, zest, juice, and salt in a separate bowl.
Pour mixture over bread. It should almost cover bread.
Cover and let sit and soak overnight in fridge.
Morning of, preheat oven to 425°. Sprinkle top with a pinch of turbinado. Bake for 30 minutes or until liquid is set. Cover with foil after 15 minutes to prevent burning.
Enjoy with warmed 100% pure maple syrup.
Recipe Card powered by
Did I mention the new Facebook page? Click ‘Like’ to receive even more updates and chat!
If I tell you a secret, will you promise to keep reading?
I don’t really like cinnamon rolls.
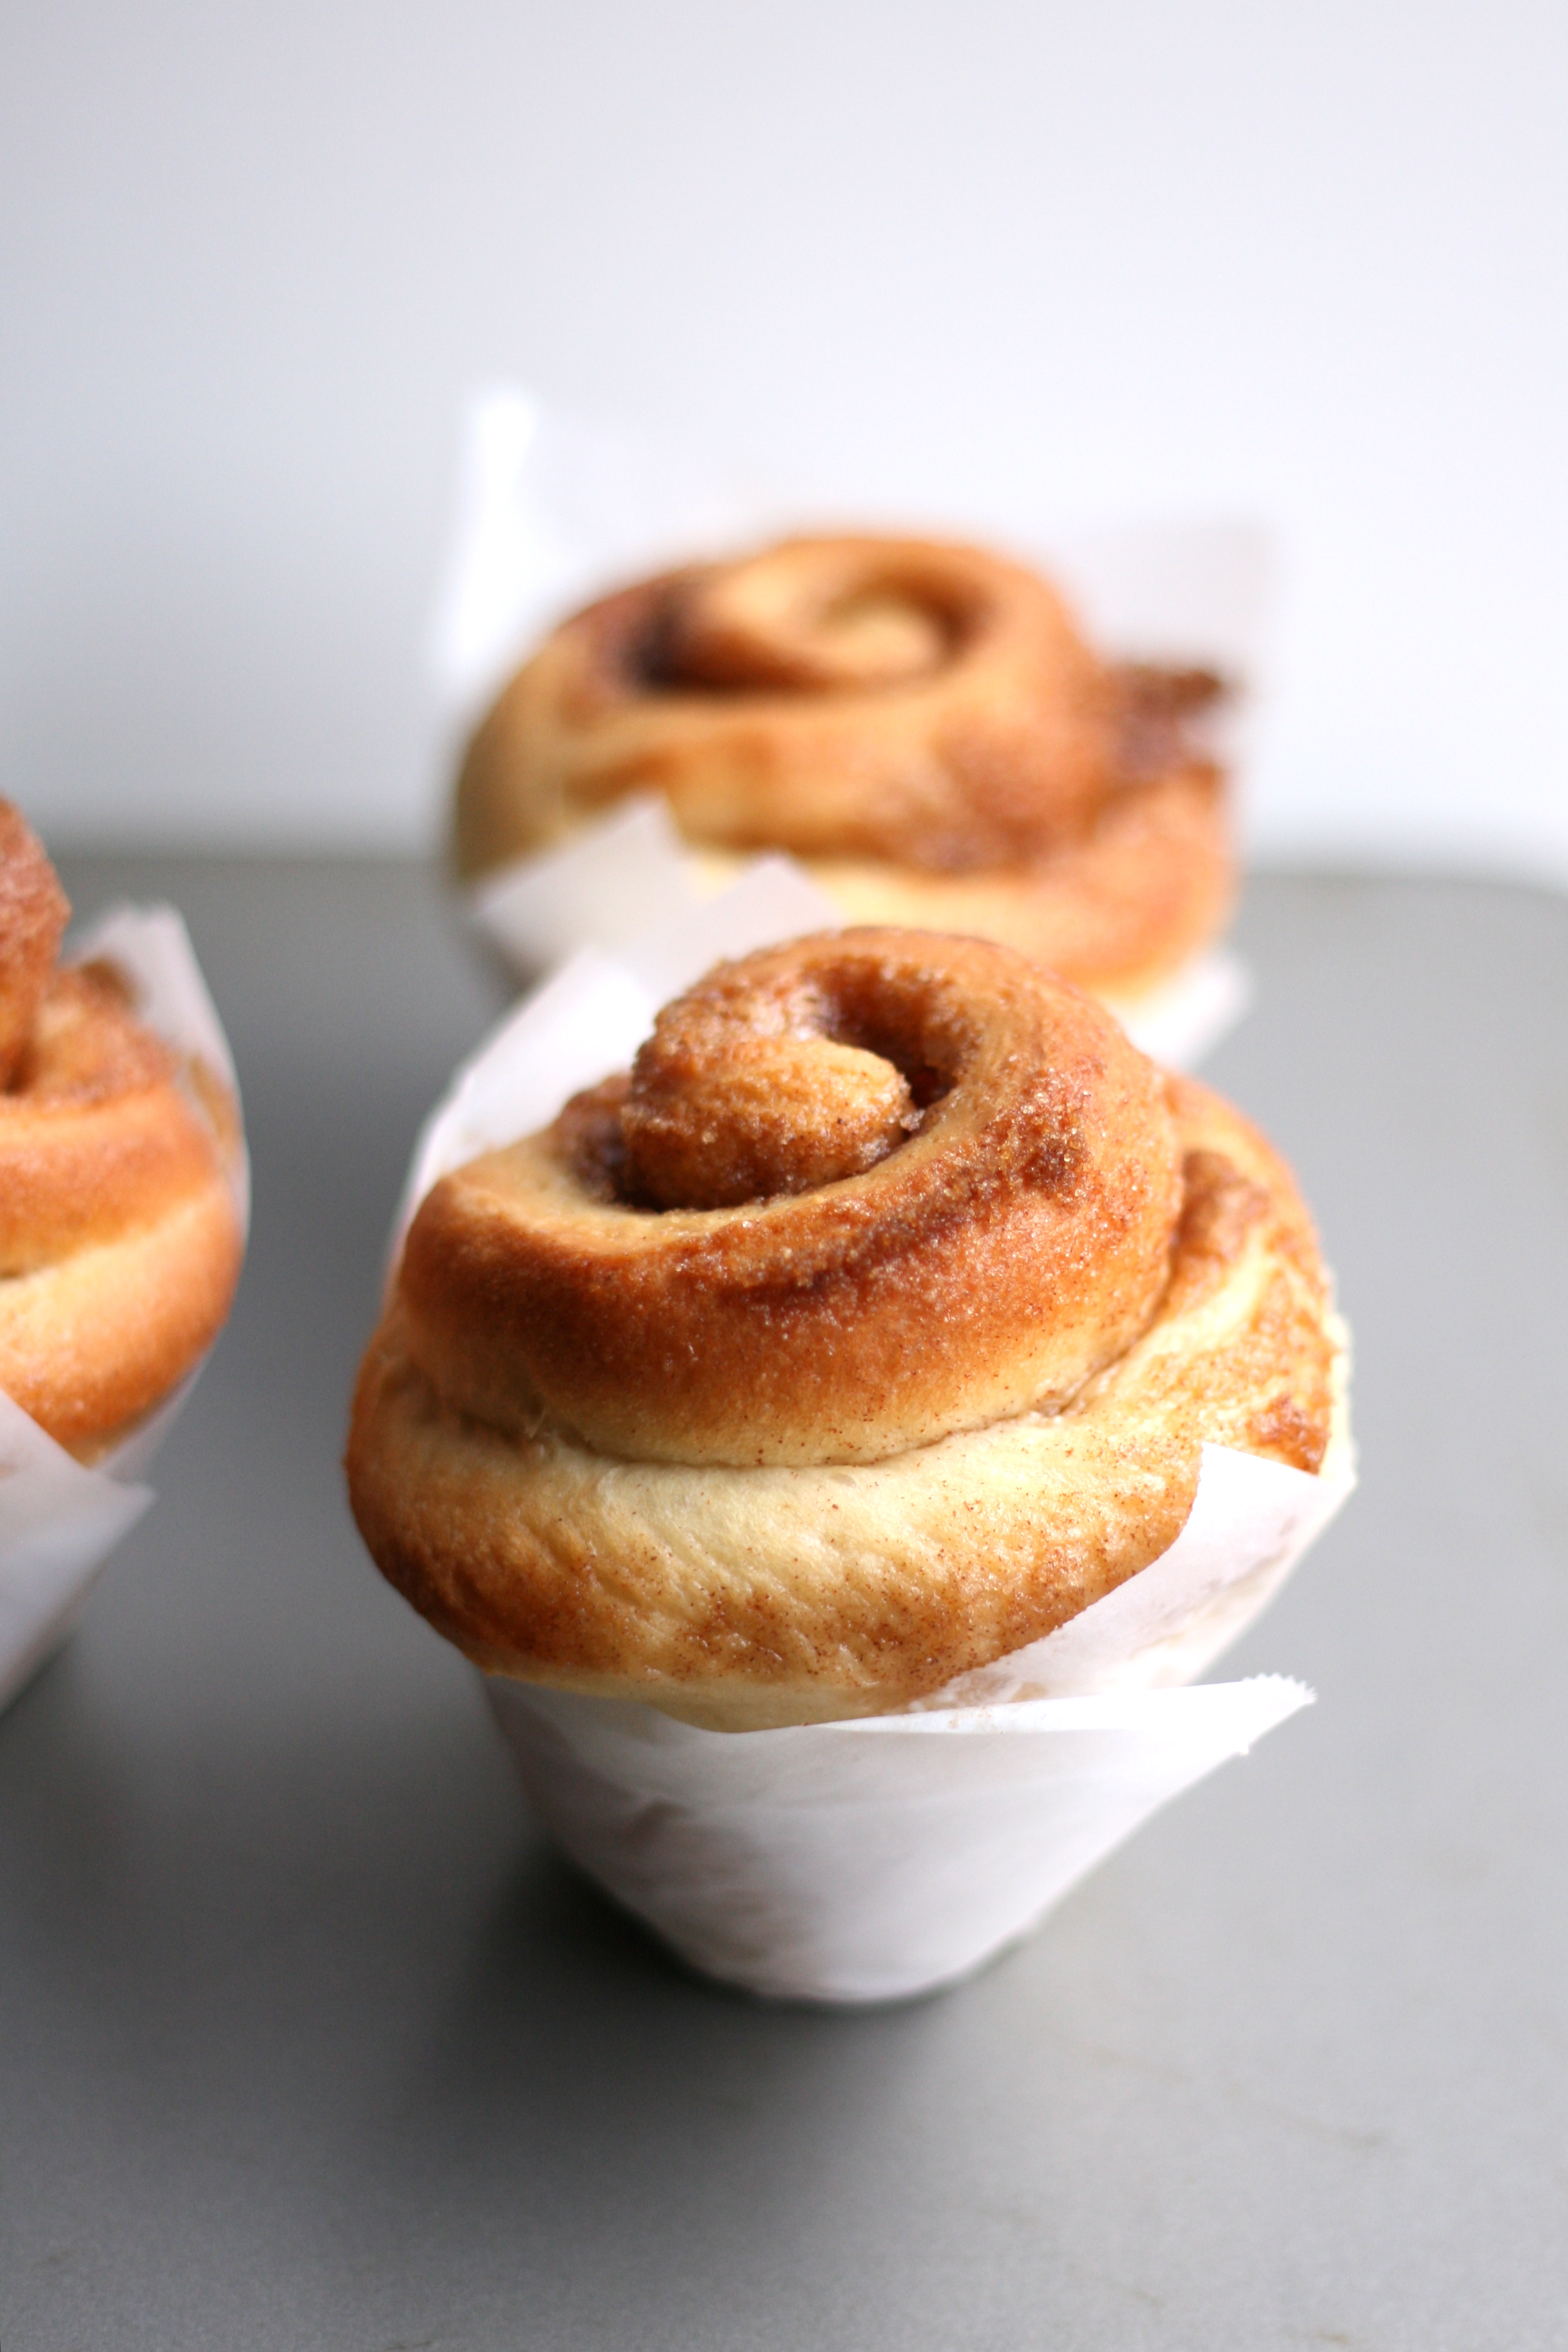
I can hear the gasps and the cars outside screeching to a halt. I know it’s a sin not to like these. But if I eat anything too sweet first thing in the morning, my blood sugar is off the rest of the day. And then I’m grumpy. With a headache. Please forgive me? Luckily, my husband and his co-workers love cinnamon rolls. They devoured these little muffins.
I use the term muffin loosely literally. Graduate school husband had to transport these guys to work—problem #1. And, with no plates or forks around at work, they needed to be edible by hand—problem #2. So I came up with the parchment paper muffin idea. I’m sure it’s been done before, but it’s new to me. Not to mention, they’re kinda cute served individually.
Please forgive me, but I hope you enjoy these more than I did. Dang blood sugar.
SWEET DOUGH 3/4 c. whole milk, warmed to 110° 1 envelope (2 1/4 tsp.) rapid rise yeast* 6 tbsp. unsalted butter, melted and cooled 3 large eggs 4 c. AP unbleached flour 1/4 c. sugar 1 1/4 tsp. salt
1. Add a pinch of sugar to the warmed milk. Add yeast and allow to proof for 5 minutes until foamy. 2. Whisk together melted butter and eggs. 3. Combine 3 1/2 cups of the flour, sugar, and salt together in a standing mixer fitted with the dough hook. With the mixer on low speed, add the yeast mixture and the egg mixture, and mix until the dough comes together, about 2 minutes. 4. Increase the mixer speed to medium and knead until the dough is smooth and elastic, about 10 minutes. If after 5 minutes more flour is needed, add the remaining a little bit at a time until the dough clears the side of the bowl but sticks to the bottom (The more flour you add, the tougher the dough. Try to add as little as possible). 5. Turn the dough out onto a clean surface and knead by hand to form a smooth, round ball. Place dough in a bowl and wrap tightly with plastic wrap. Let rise in a warm draft free place until doubled in size, about 2 hours. (For the procrastinator method, click here.)
*If using instant yeast, there’s no need to activate the yeast with warmed milk. Use chilled milk instead.
SWEET CINNAMON MIXTURE 3/4 c. packed brown sugar 2 tsp. cinnamon 1/4 tsp. cloves Pinch of salt 2 tbsp. butter, melted and cooled
1. After dough has doubled in size, mix dry ingredients together in a small bowl. 2. Turn the dough out onto a lightly floured surface. Roll it out to a 16″ x 12″ rectangle (about the size of a Silpat). 3. Leaving a 3/4″ border along the top edge, brush the dough with the melted butter. Sprinkle with sweet cinnamon mixture, and press to adhere it to the dough. 4. Loosen the dough from the counter using a bench scraper, and roll the dough into a tight log. Pinch the seam closed and roll log seam side down. 5. Slice the cylinder into 12 evenly sized rolls using a serrated knife. Arrange the rolls cut side down in a 13″ x 9″ baking pan. OR, cut 12 squares of parchment paper and press into muffin tin. 6. Cover and let rise until doubled in size, 1 to 1 1/2 hours. (If making ahead of time, forgo the second rise and place the rolls in the fridge. Allow for second rise in the morning before baking.) 7. Adjust oven rack to middle position and heat oven to 350°. Bake 25-30 if baking normal style or 15-20 minutes if baking muffin style.
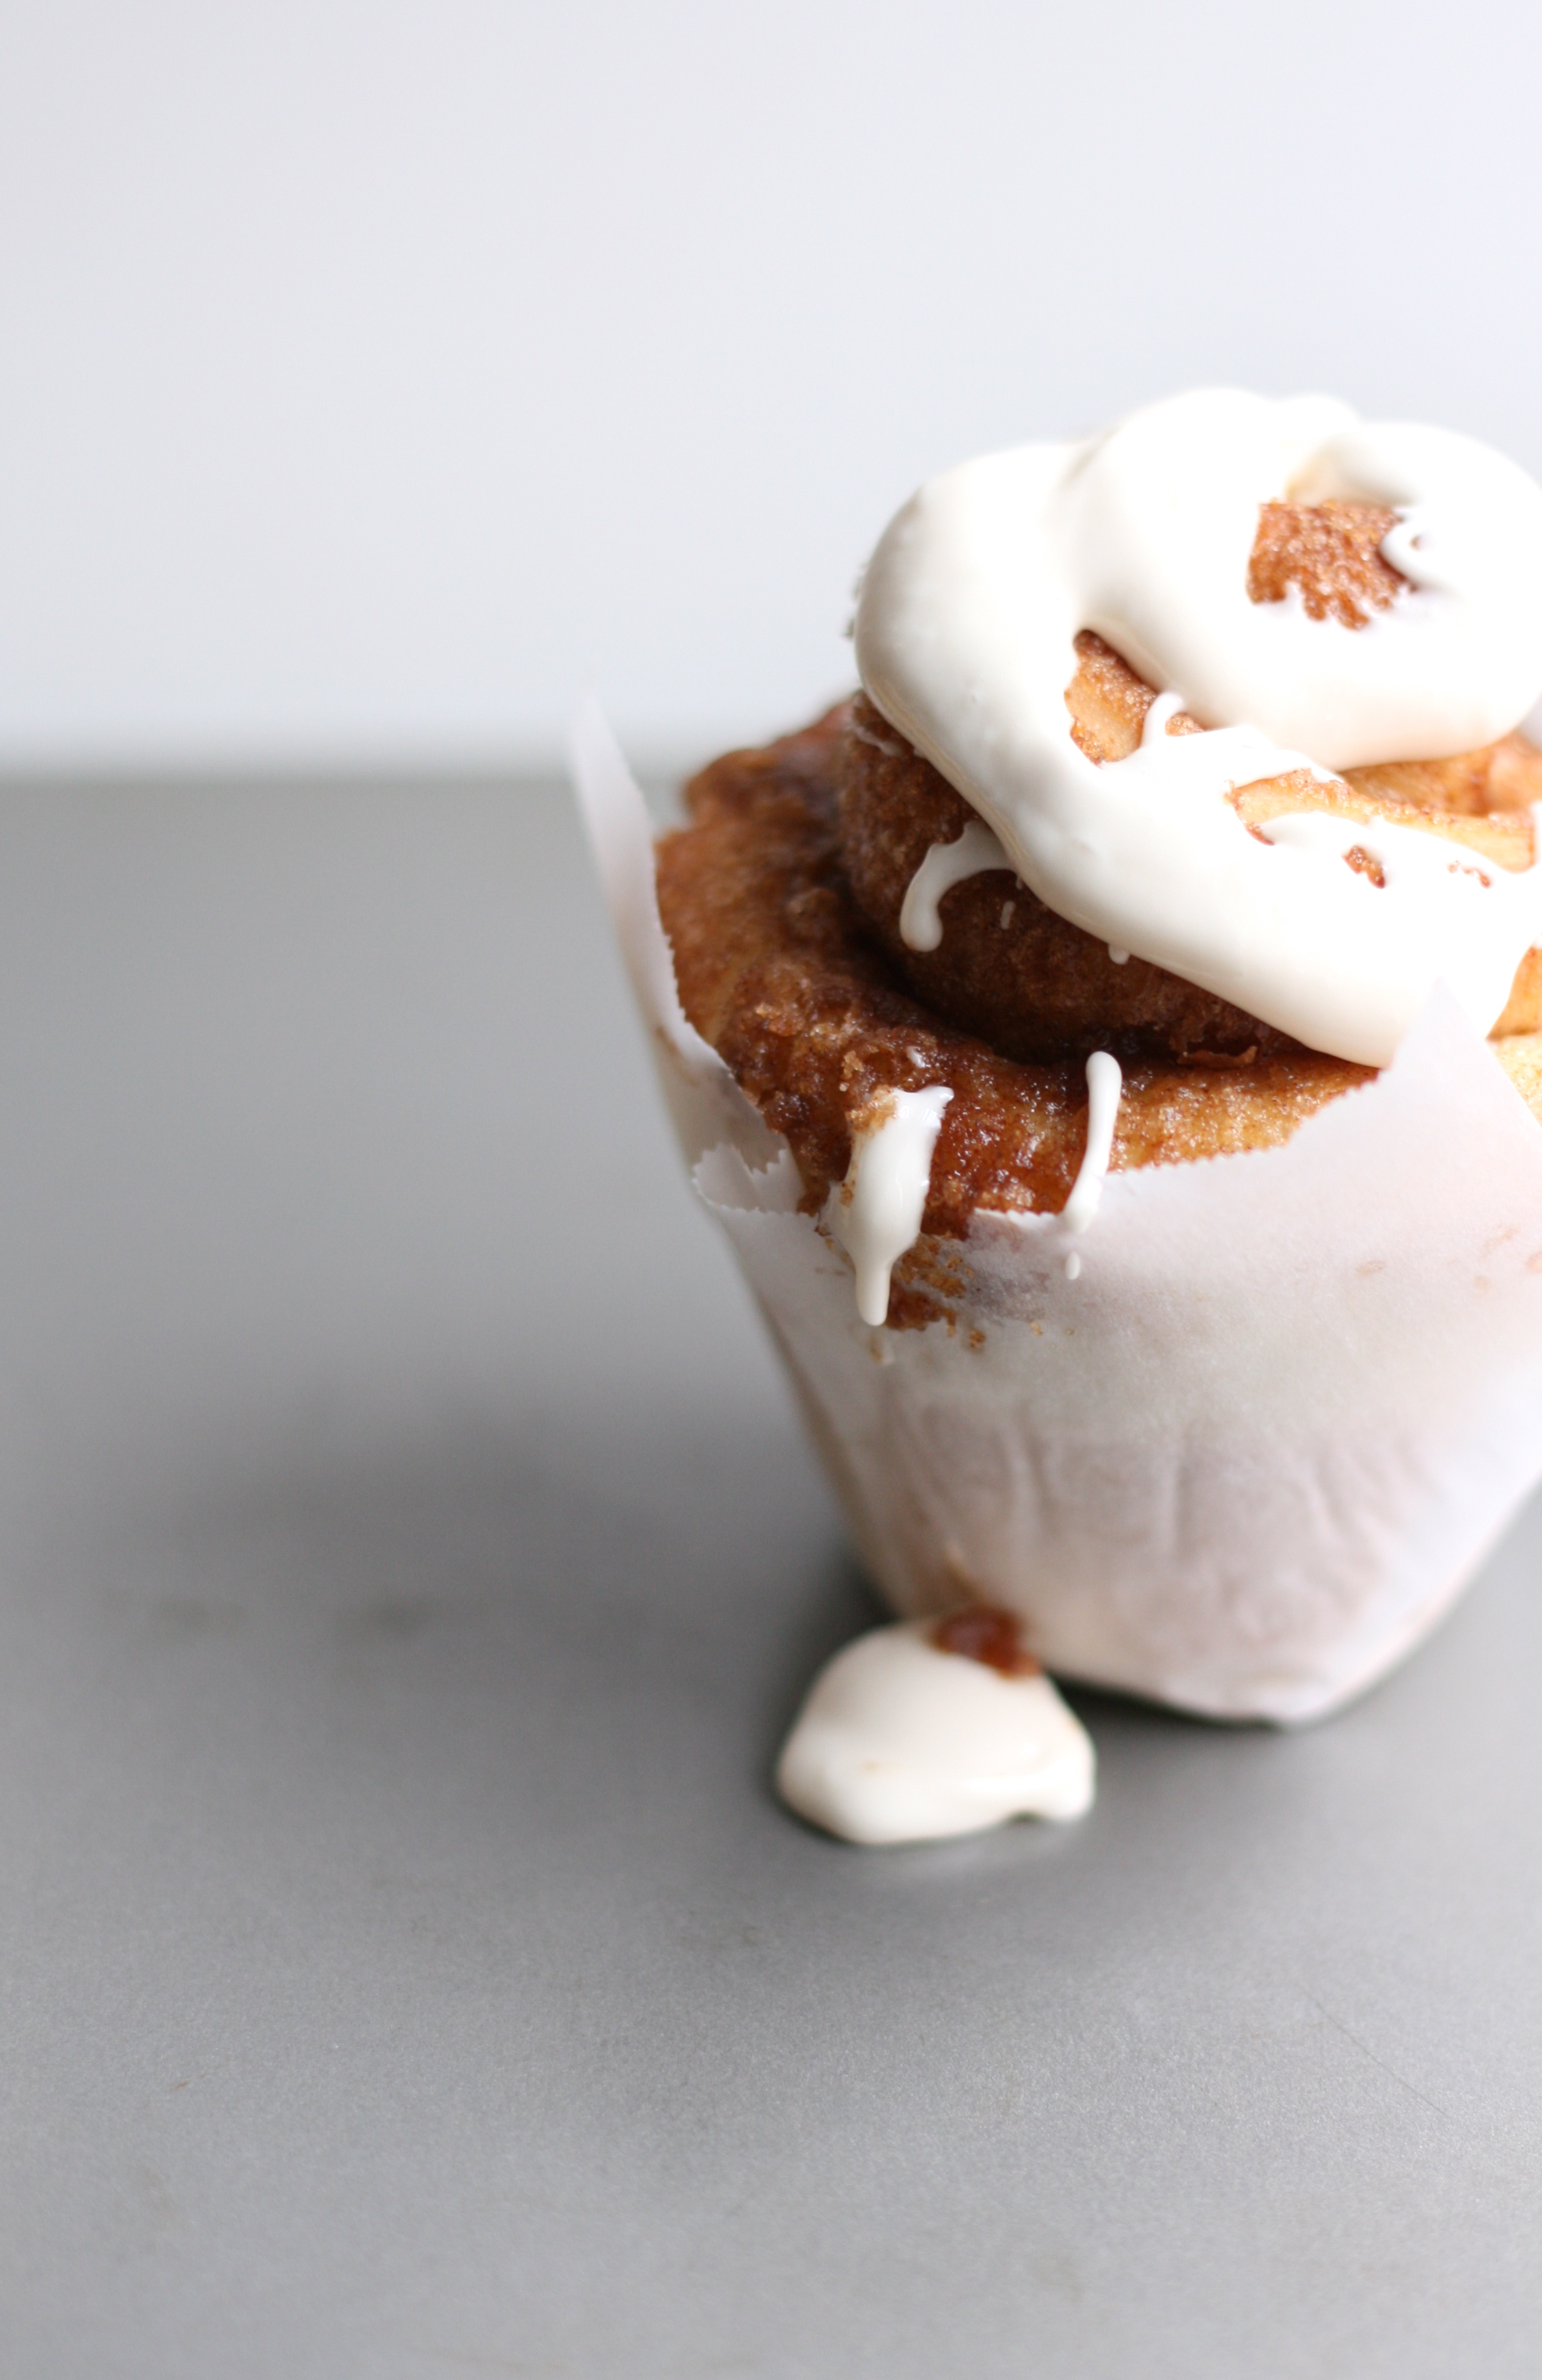
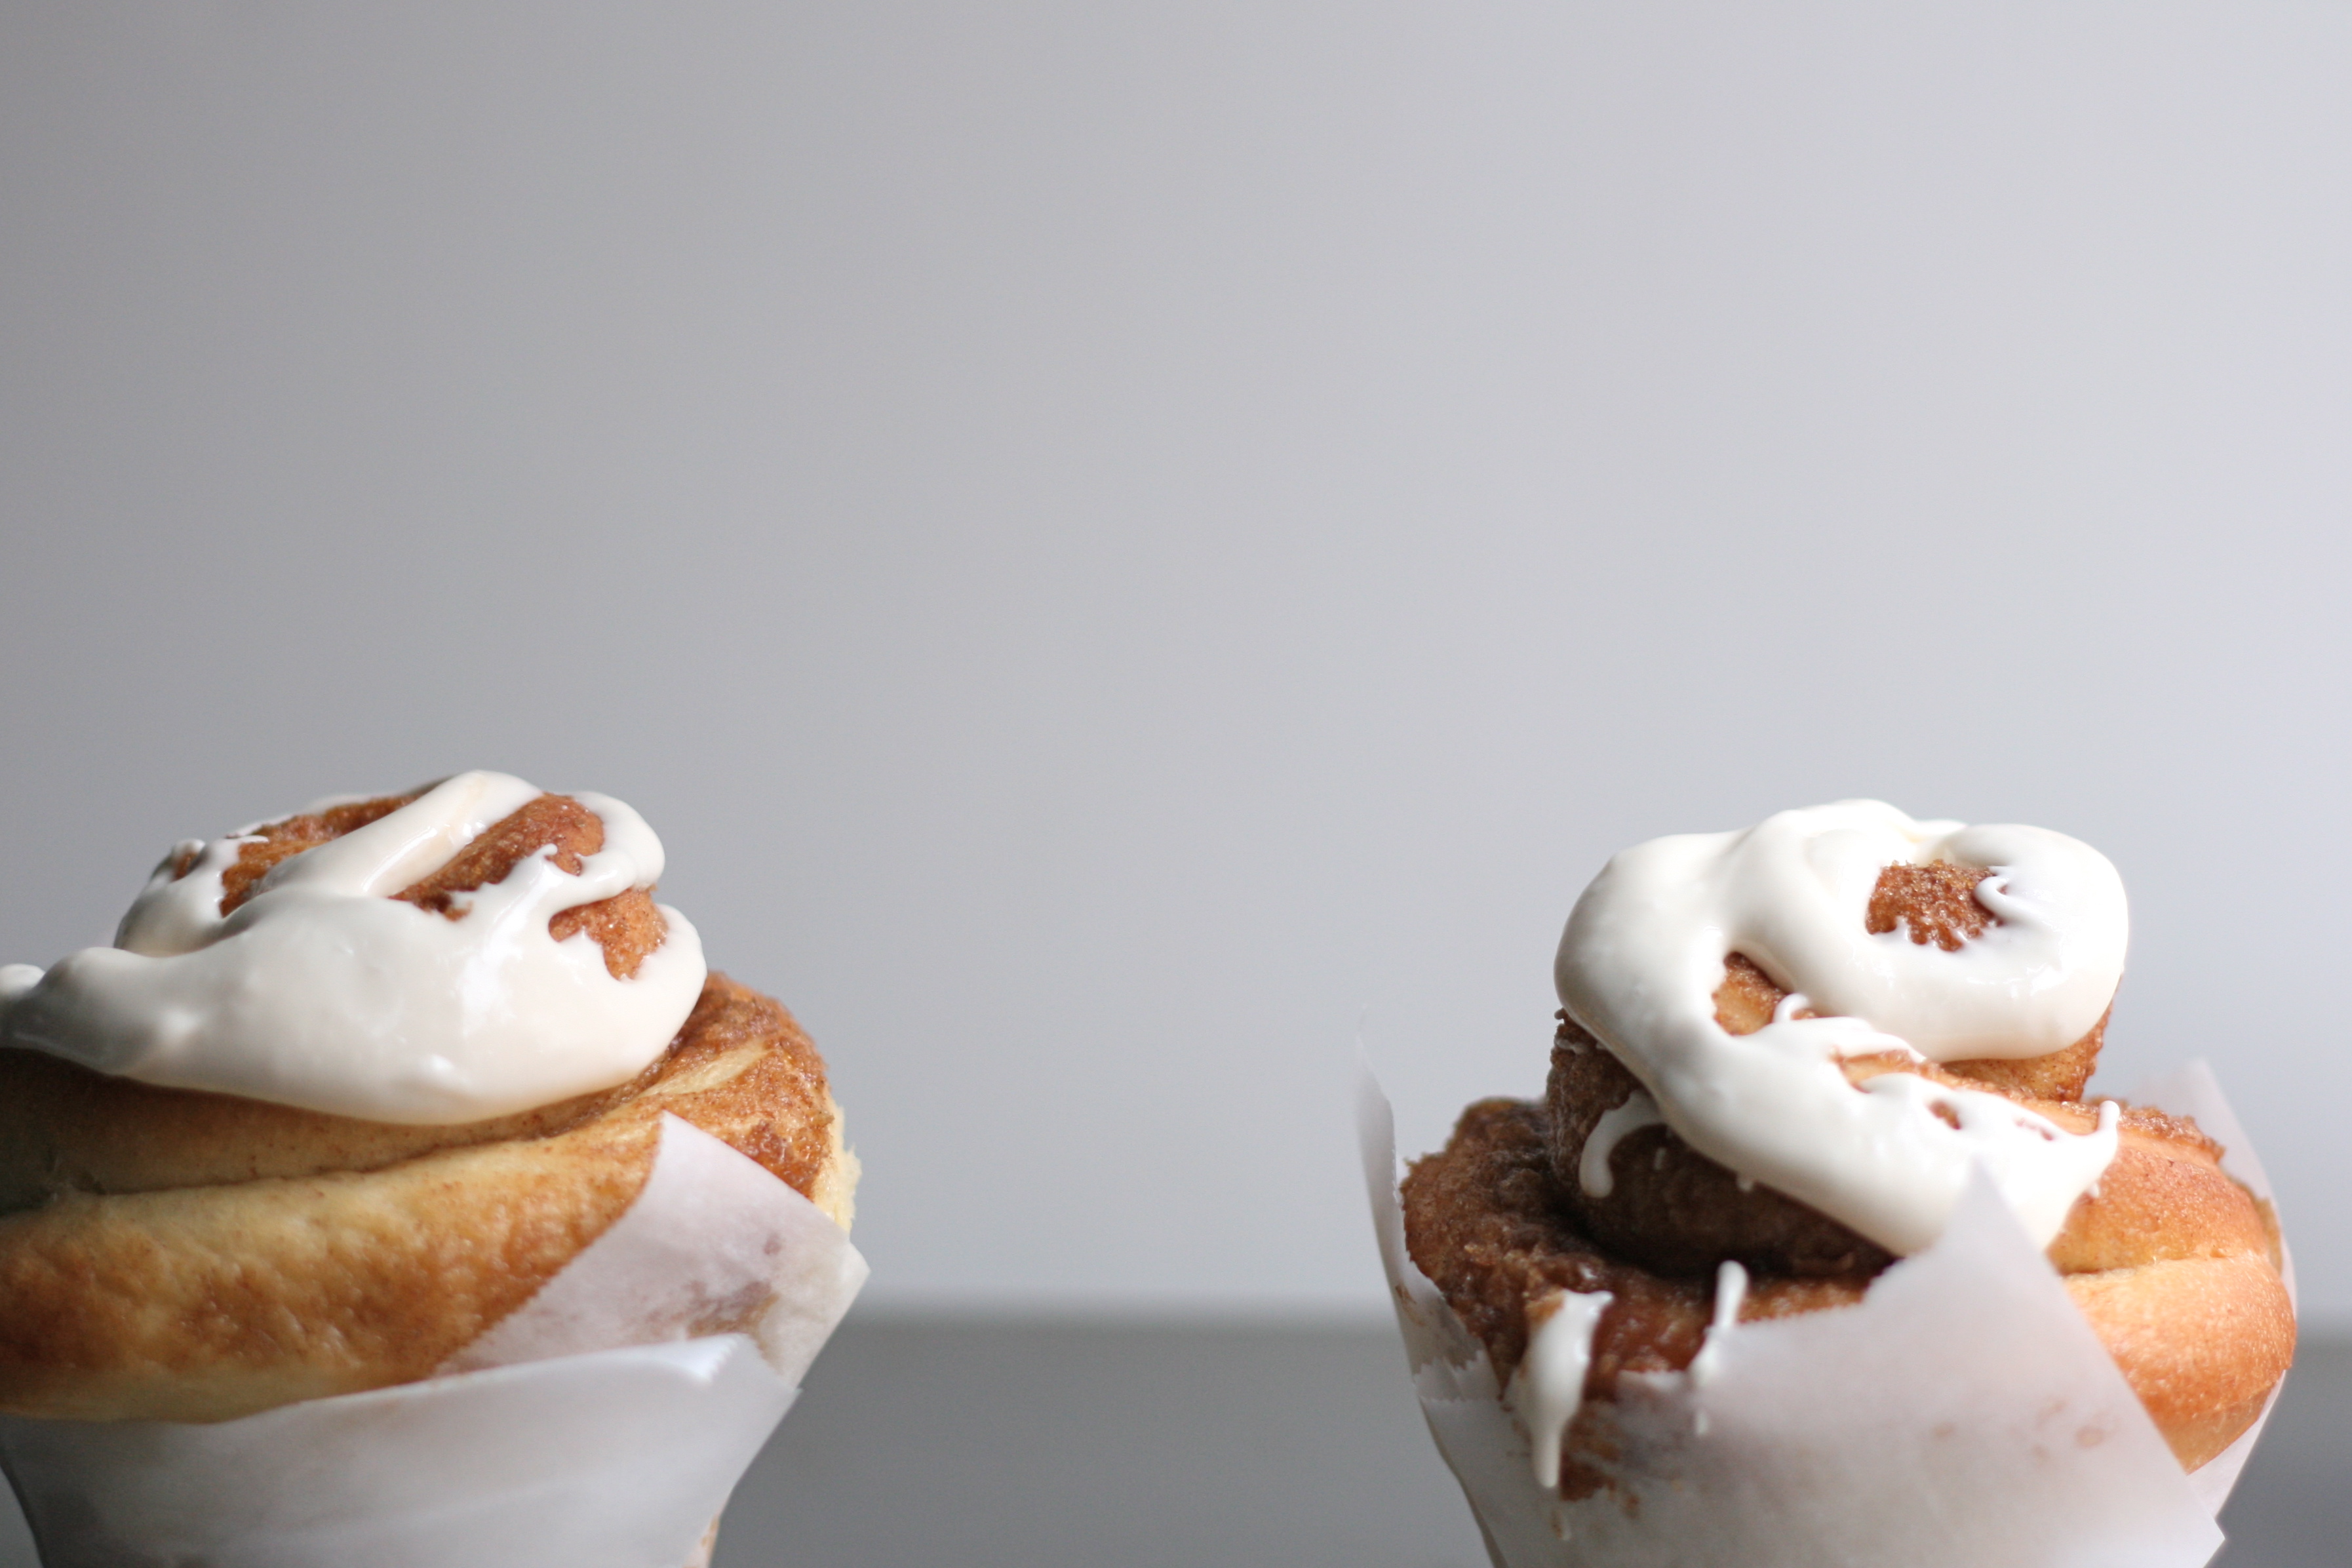
GLAZE 1 1/2 c. confectioners’ sugar 3 tbsp. cream cheese, softened 3 tbsp. of heavy cream, half and half, or milk 1/2 tsp. vanilla extract
1. Allow rolls to cool for at least 5 minutes. (I made my rolls the night before, warmed them up for about 5 minutes in a 350° oven the morning of, and then iced them.) 2. Using an electric mixer, mix together the confectioners’ sugar, softened cream cheese, cream, and vanilla in a medium bowl until smooth. To thicken, add more powdered sugar. To thin add more cream. 3. Drizzle with the glaze and serve.
I’m not sure if anyone else has this problem—but from time to time, my bread flops. It fails to rise. And it’s the worst feeling ever. I’m embarrassed to say that I used to boil water before pouring it over yeast. Needless to say I killed the yeast. Big time.
Luckily, I’ve learned a thing or two since. So to ease your bread making, yeast rising fears, I made a video. Just humor me. This is my first video making attempt. Definitely a faux and not a pro when it comes to this.
How to proof yeast 1. According to your recipe, add warm liquid (s) to bowl. It should between 110°-115°. Use a thermometer to be sure. When you get more comfortable, you can ditch the thermometer. I hold my hand just above the water to detect warmth. You want it to be warm but not hot. I’m not a mom yet, but I imagine the baby bottle squirt on wrist technique will work for this as well. 2. Add a pinch of sugar to the liquid whether the recipe calls for it or not. Sugar feeds the yeast and helps it to grow. If the recipe calls for sugar, only add a pinch during this step. 3. Pour yeast into bowl. Give it a little stir and watch it proof or foam. Bubbles will begin to appear on the surface. This takes 5-10 minutes. 4. Use yeast mixture according to recipe.
Why proof? Proofing allows you to make sure the yeast is active before you add it to the rest of the ingredients. If it fails to proof, start over. Most likely you’ve only wasted water and a pinch of sugar.
Give it a try with the Brioche Burger Buns recipe. I wish you great success in your bread rising adventures!