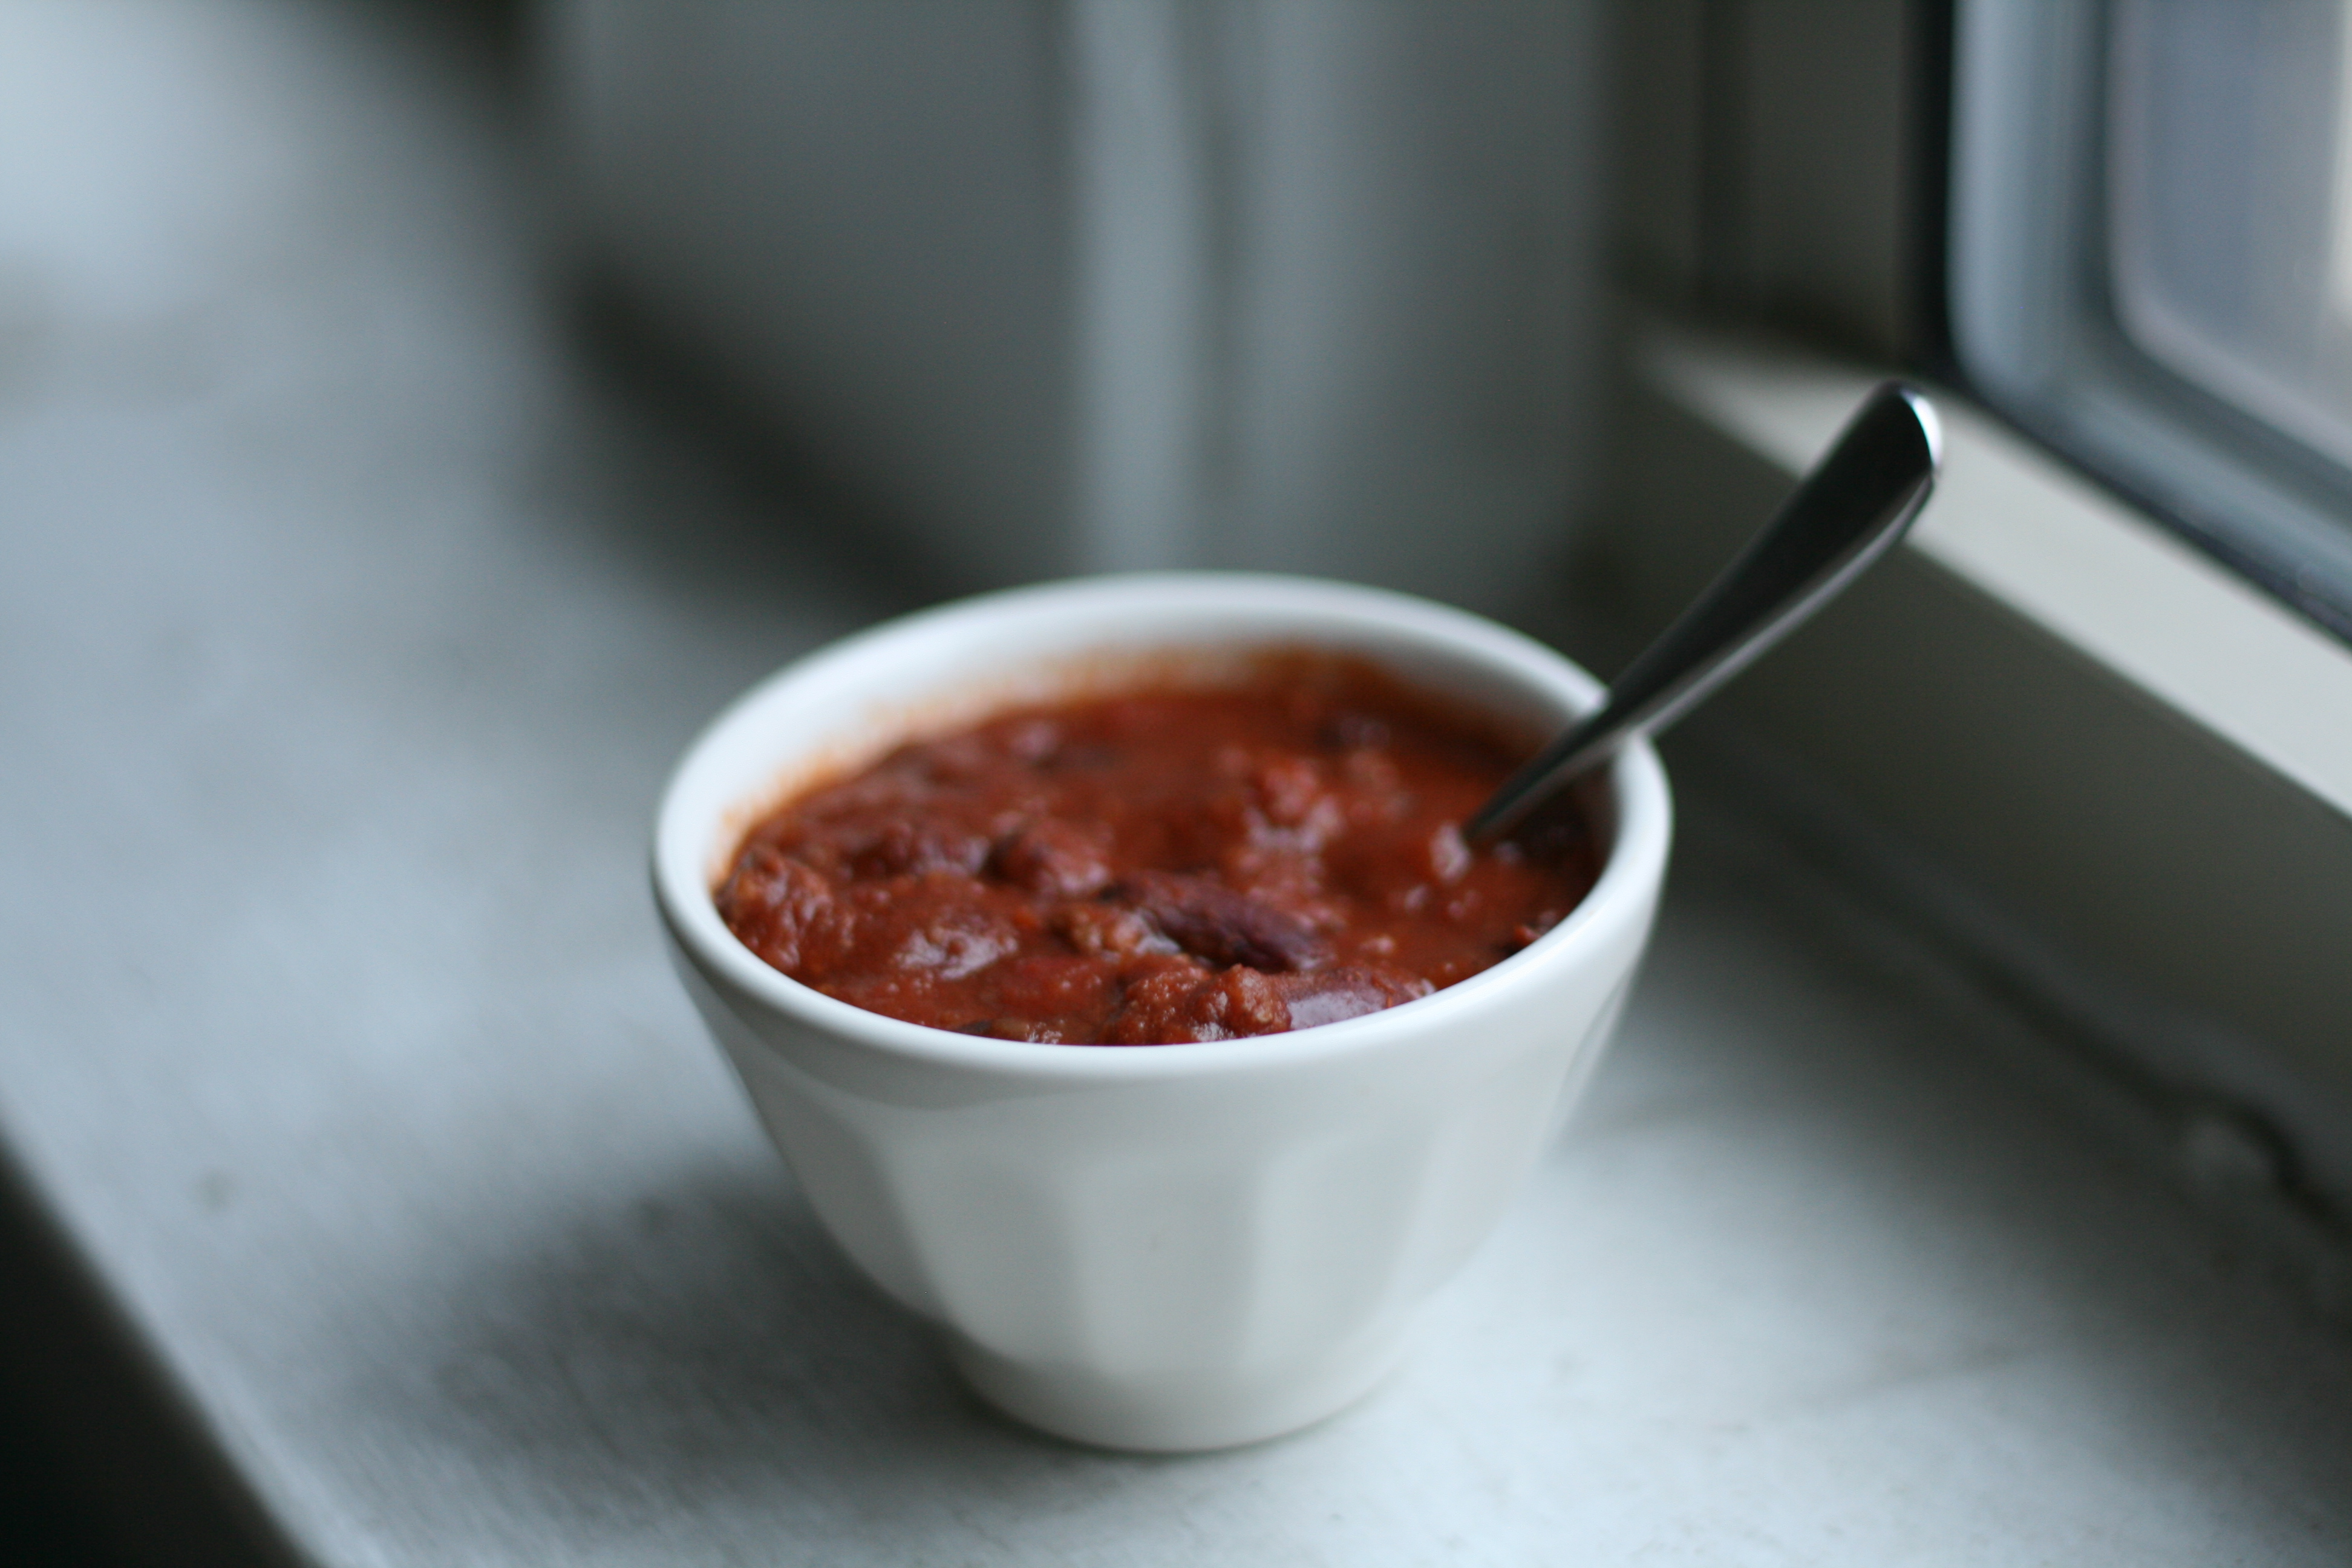
I love chili.

Maybe it’s because of all of the good memories surrounding it. My mom made chili a lot growing up. While she made the chili, I was in charge of adding the egg and milk to the Jiffy Cornbread mix. Without fail, every Halloween we’d have a bowl of it before going trick-or-treating. Those were good times.

When I make chili, it makes home feel a little closer. Two and a half years ago, I married my best friend and moved to Chicago. Here, winter lasts about 5 months out of the year, providing many opportunities to make chili. So, I set out to recreate my mom’s chili. After a couple attempts, “the chili” was concocted. A friend asked me for the recipe last year, only problem being that it was in my head. I guess that’s not the only problem—I rarely use measuring utensils. When I cook, I smell, dump, and taste. Kevin, my husband, alerted me to this the other day. I always open the spice jar and smell it before dumping in the guesstimated amount. I guess I cook with my nose just as much as I do my taste buds. This is no good for sharing recipes.

Today, though, I got out my measuring spoons.

Chili
serves 8

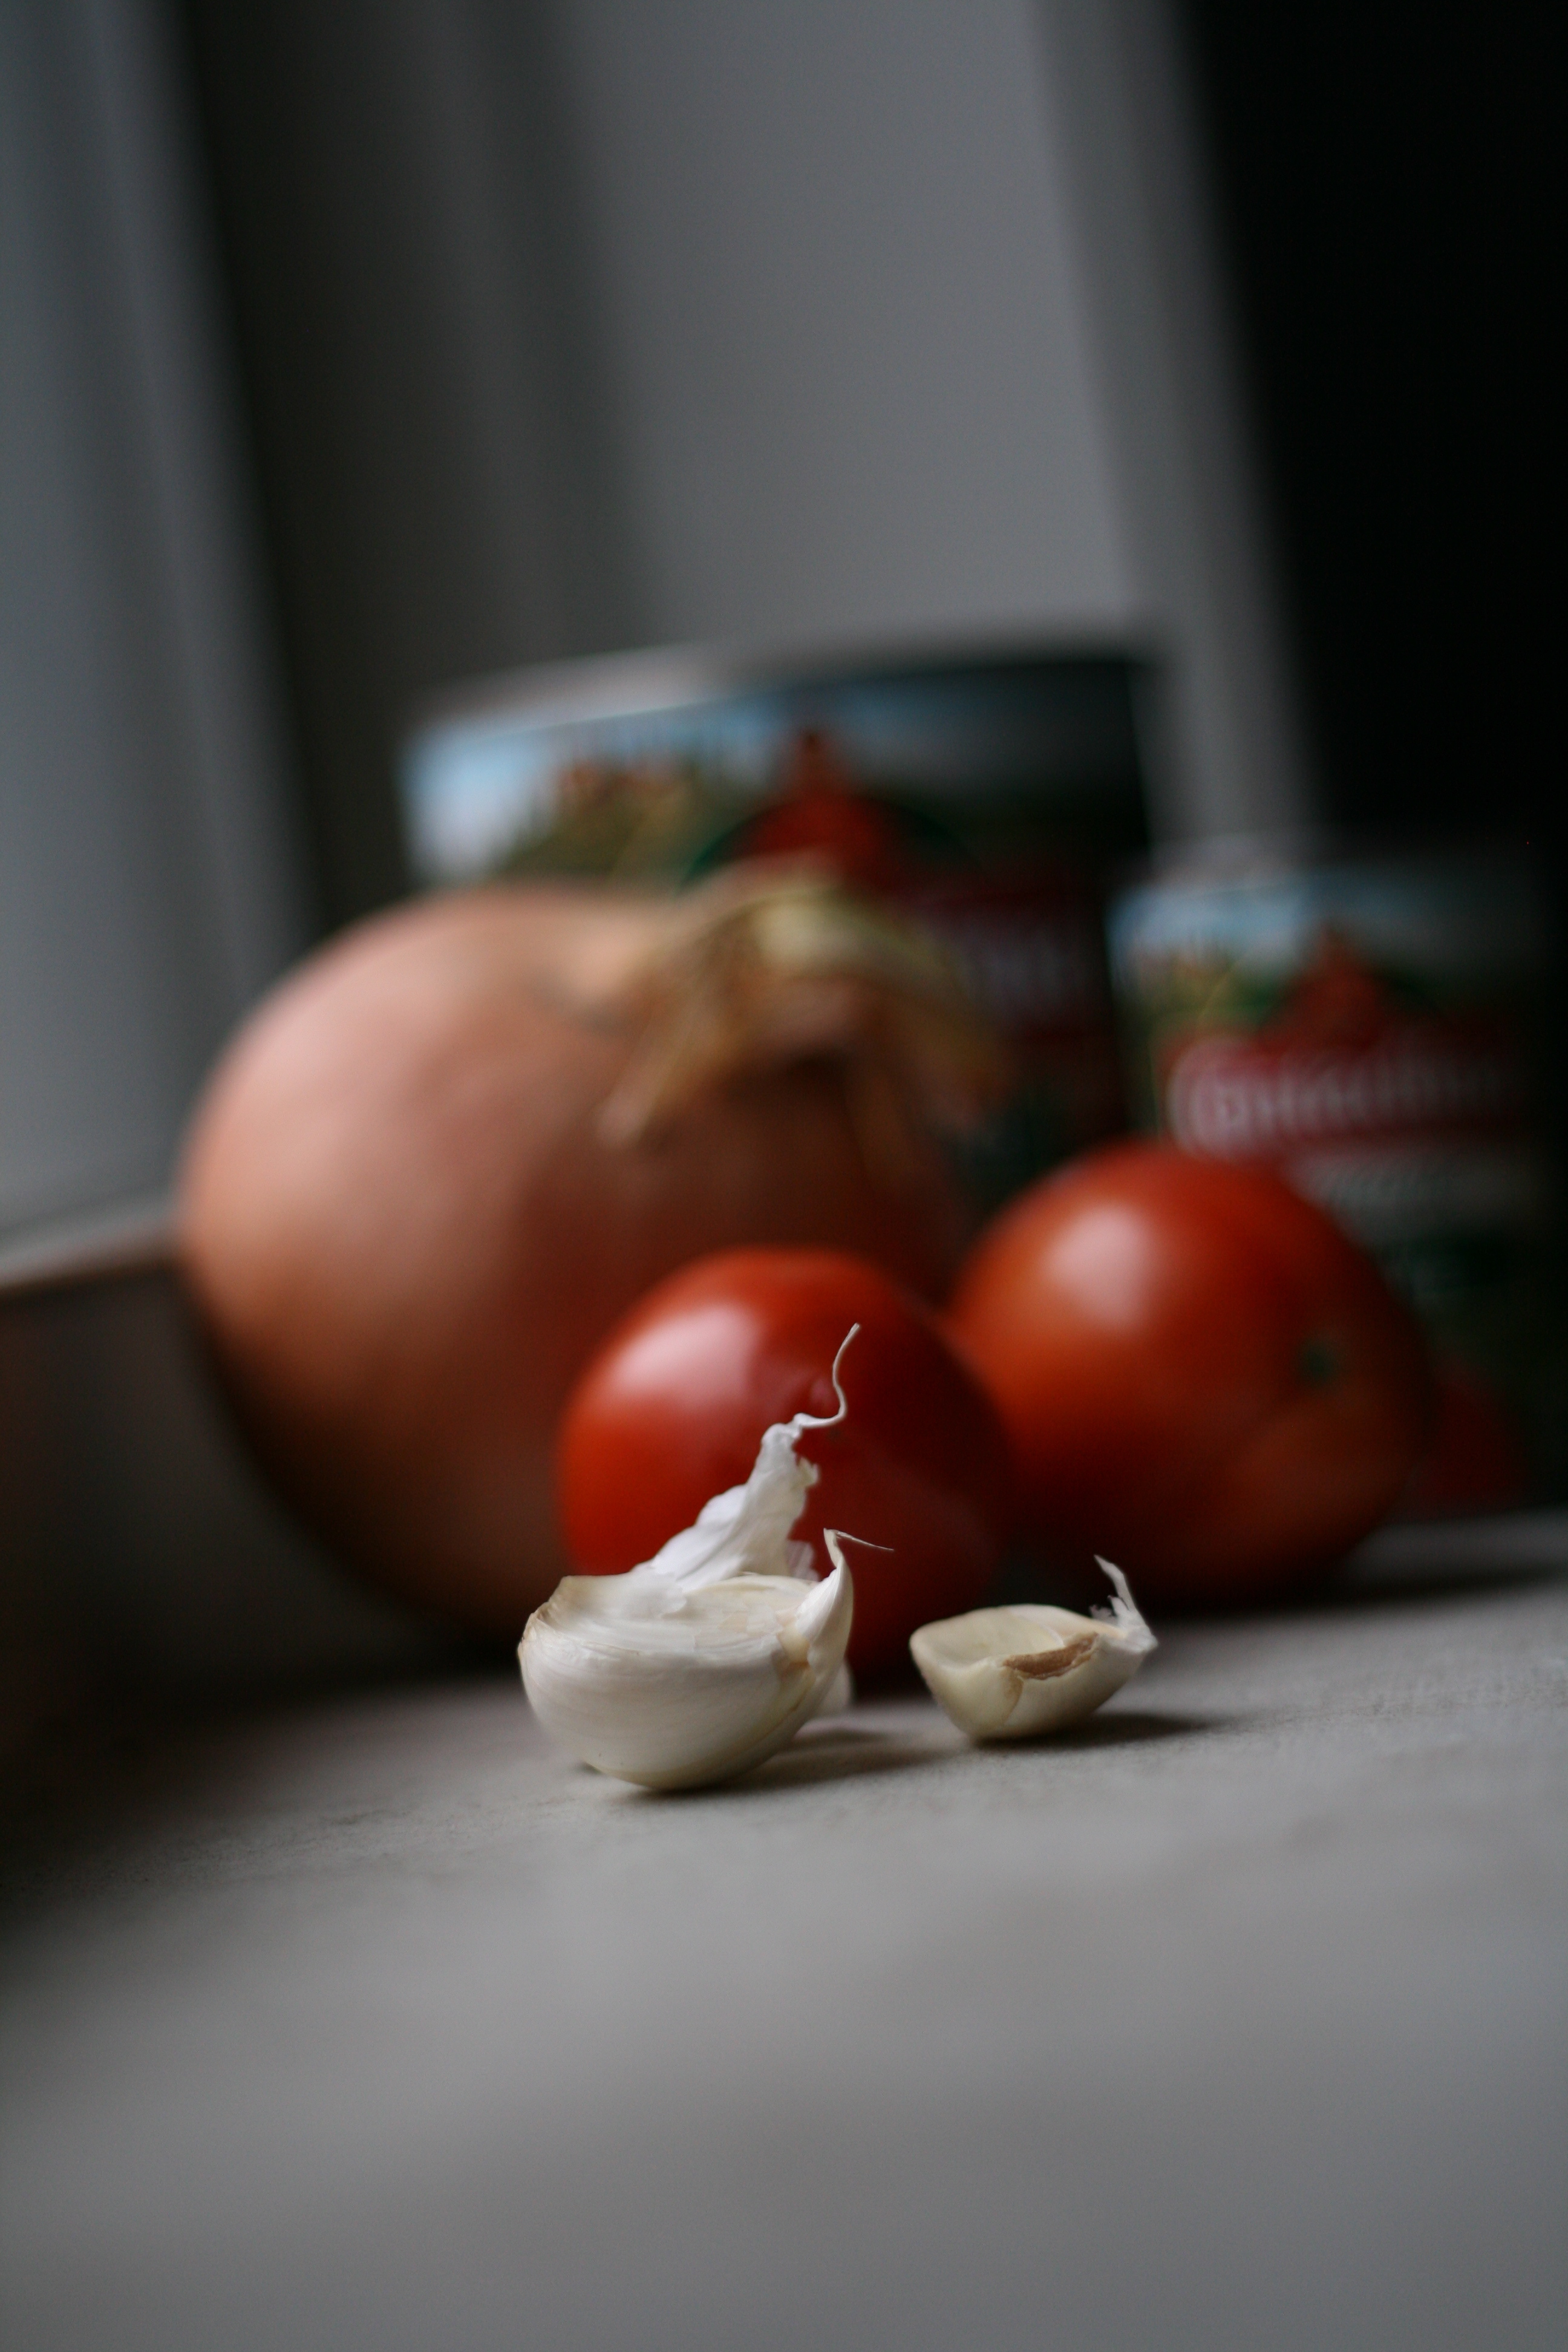
1 large sweet onion (make sure it’s sweet!)
4 garlic cloves
6 roma tomatoes
28 oz. crushed tomatoes
6 oz.  tomato paste
1 lb. lean ground beef
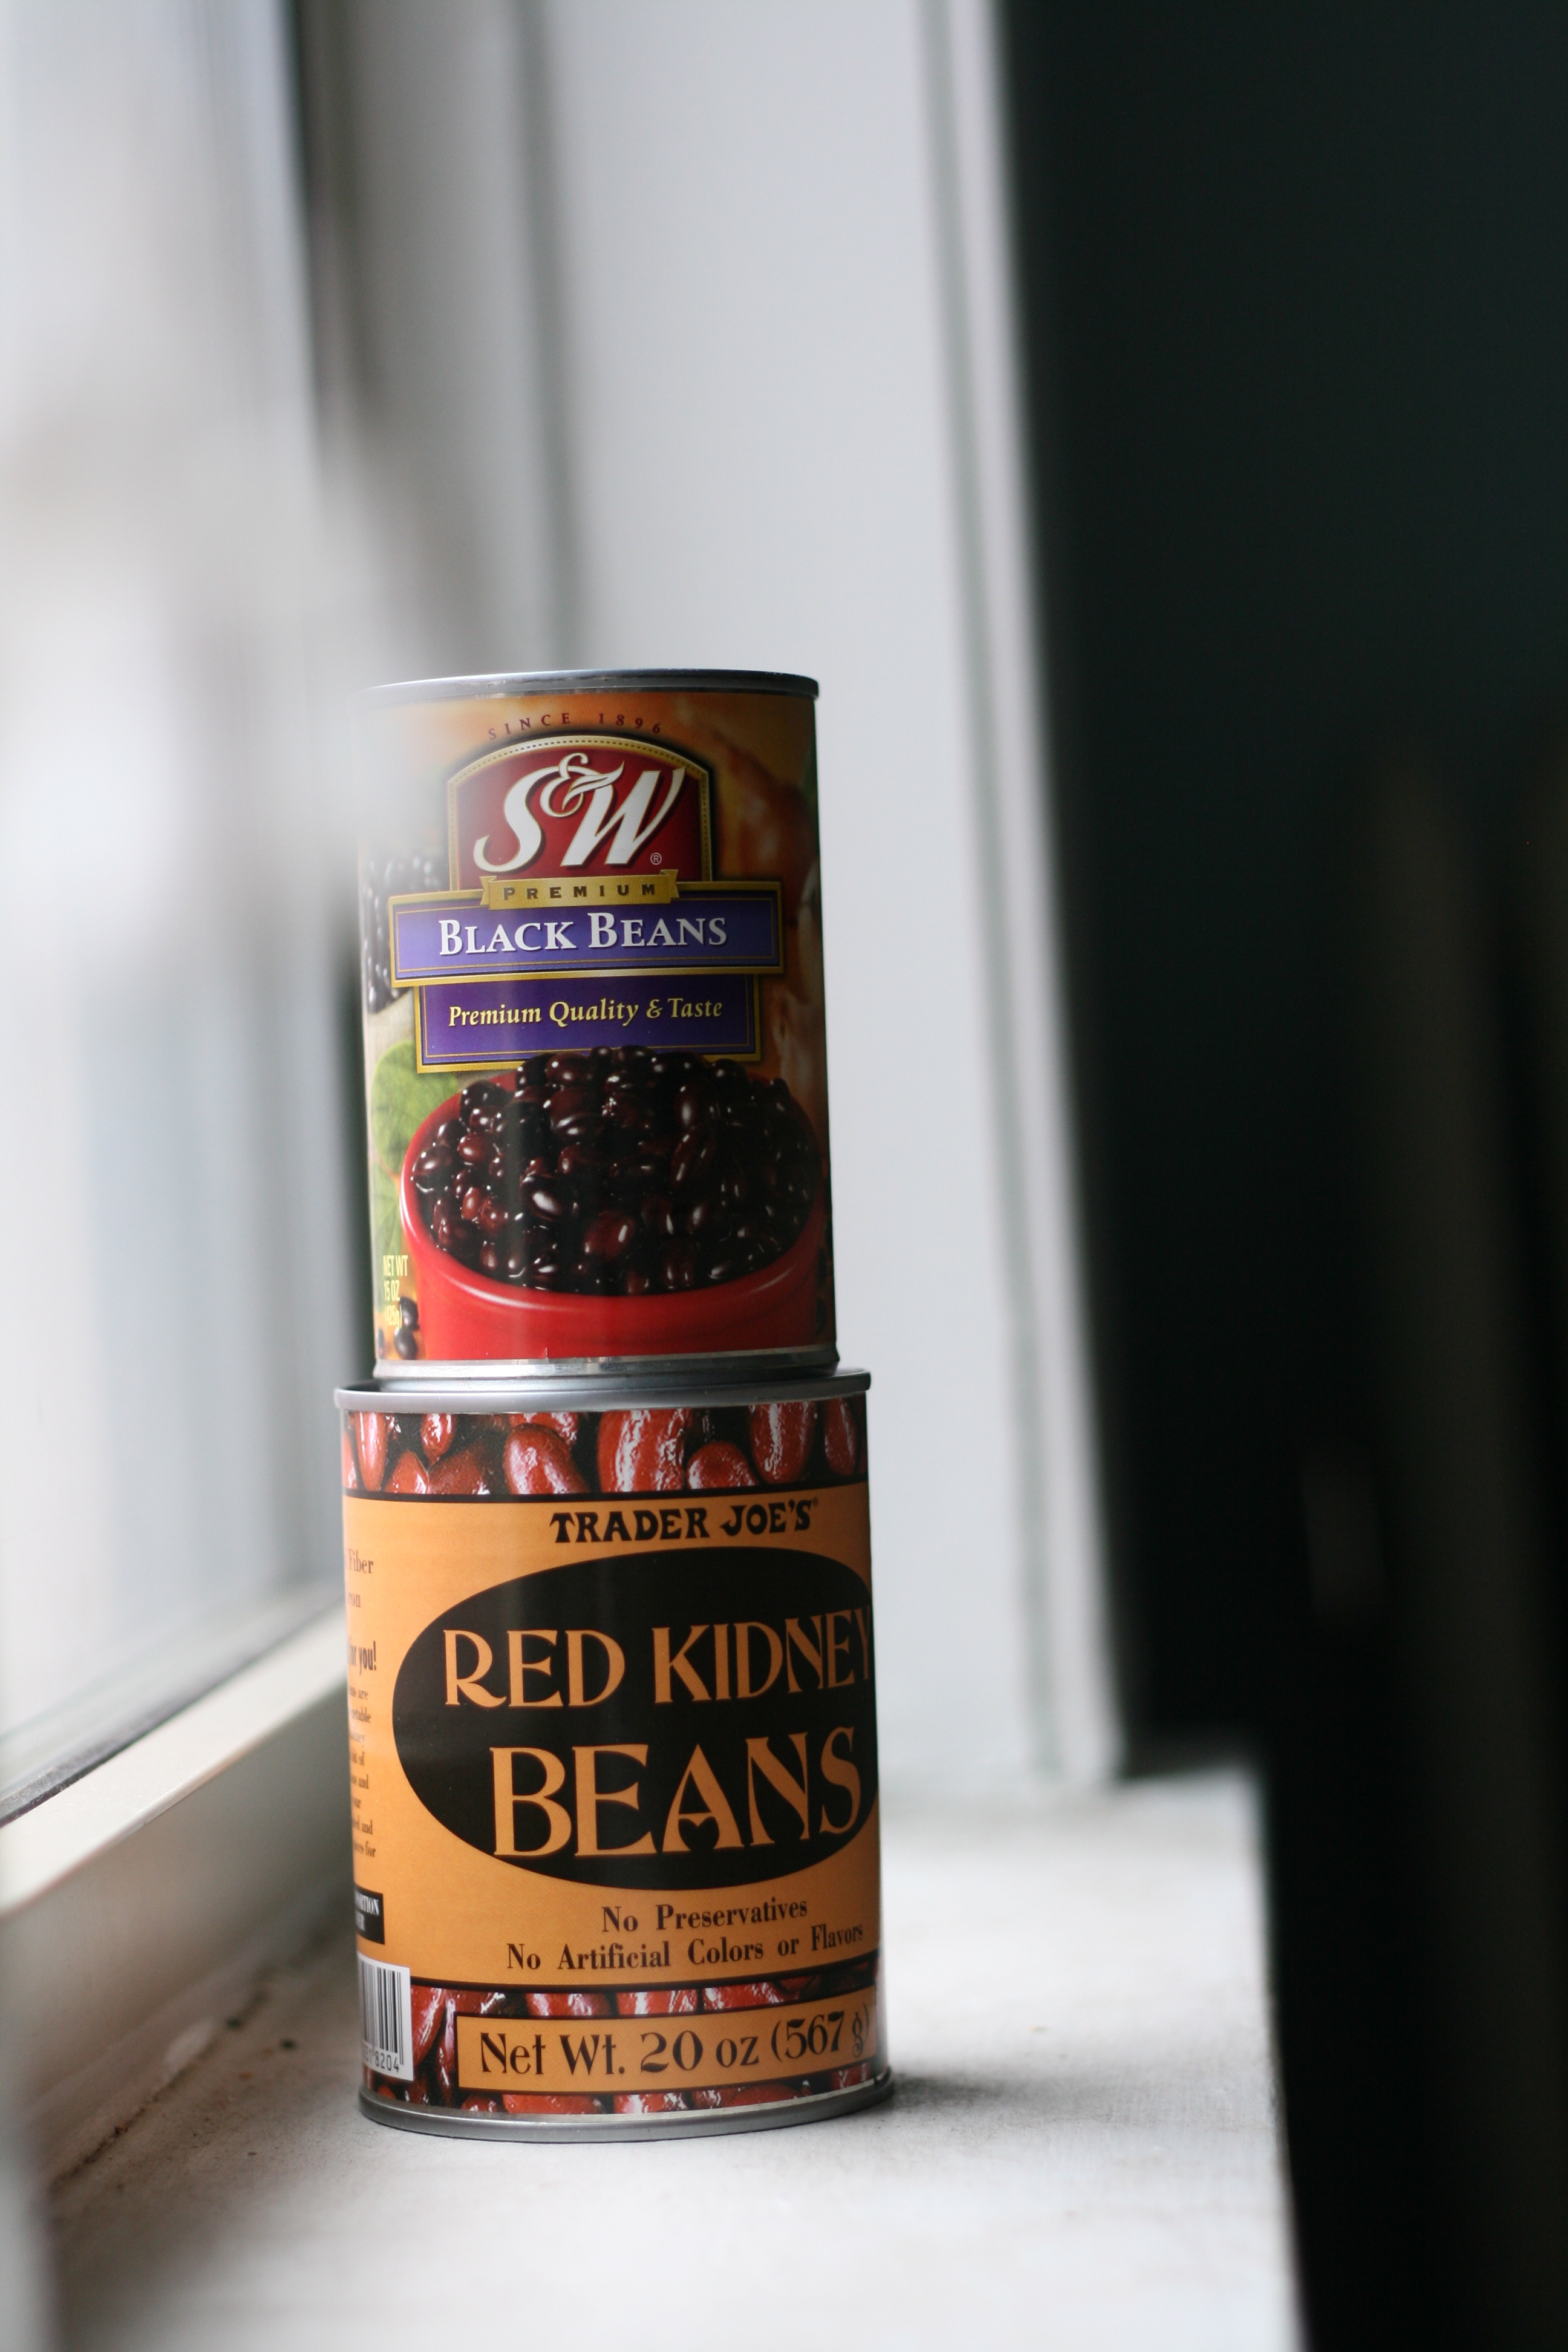
15 oz. can red kidney beans, drained
15 oz. can light red kidney beans, drained
15 oz. can black beans, drained
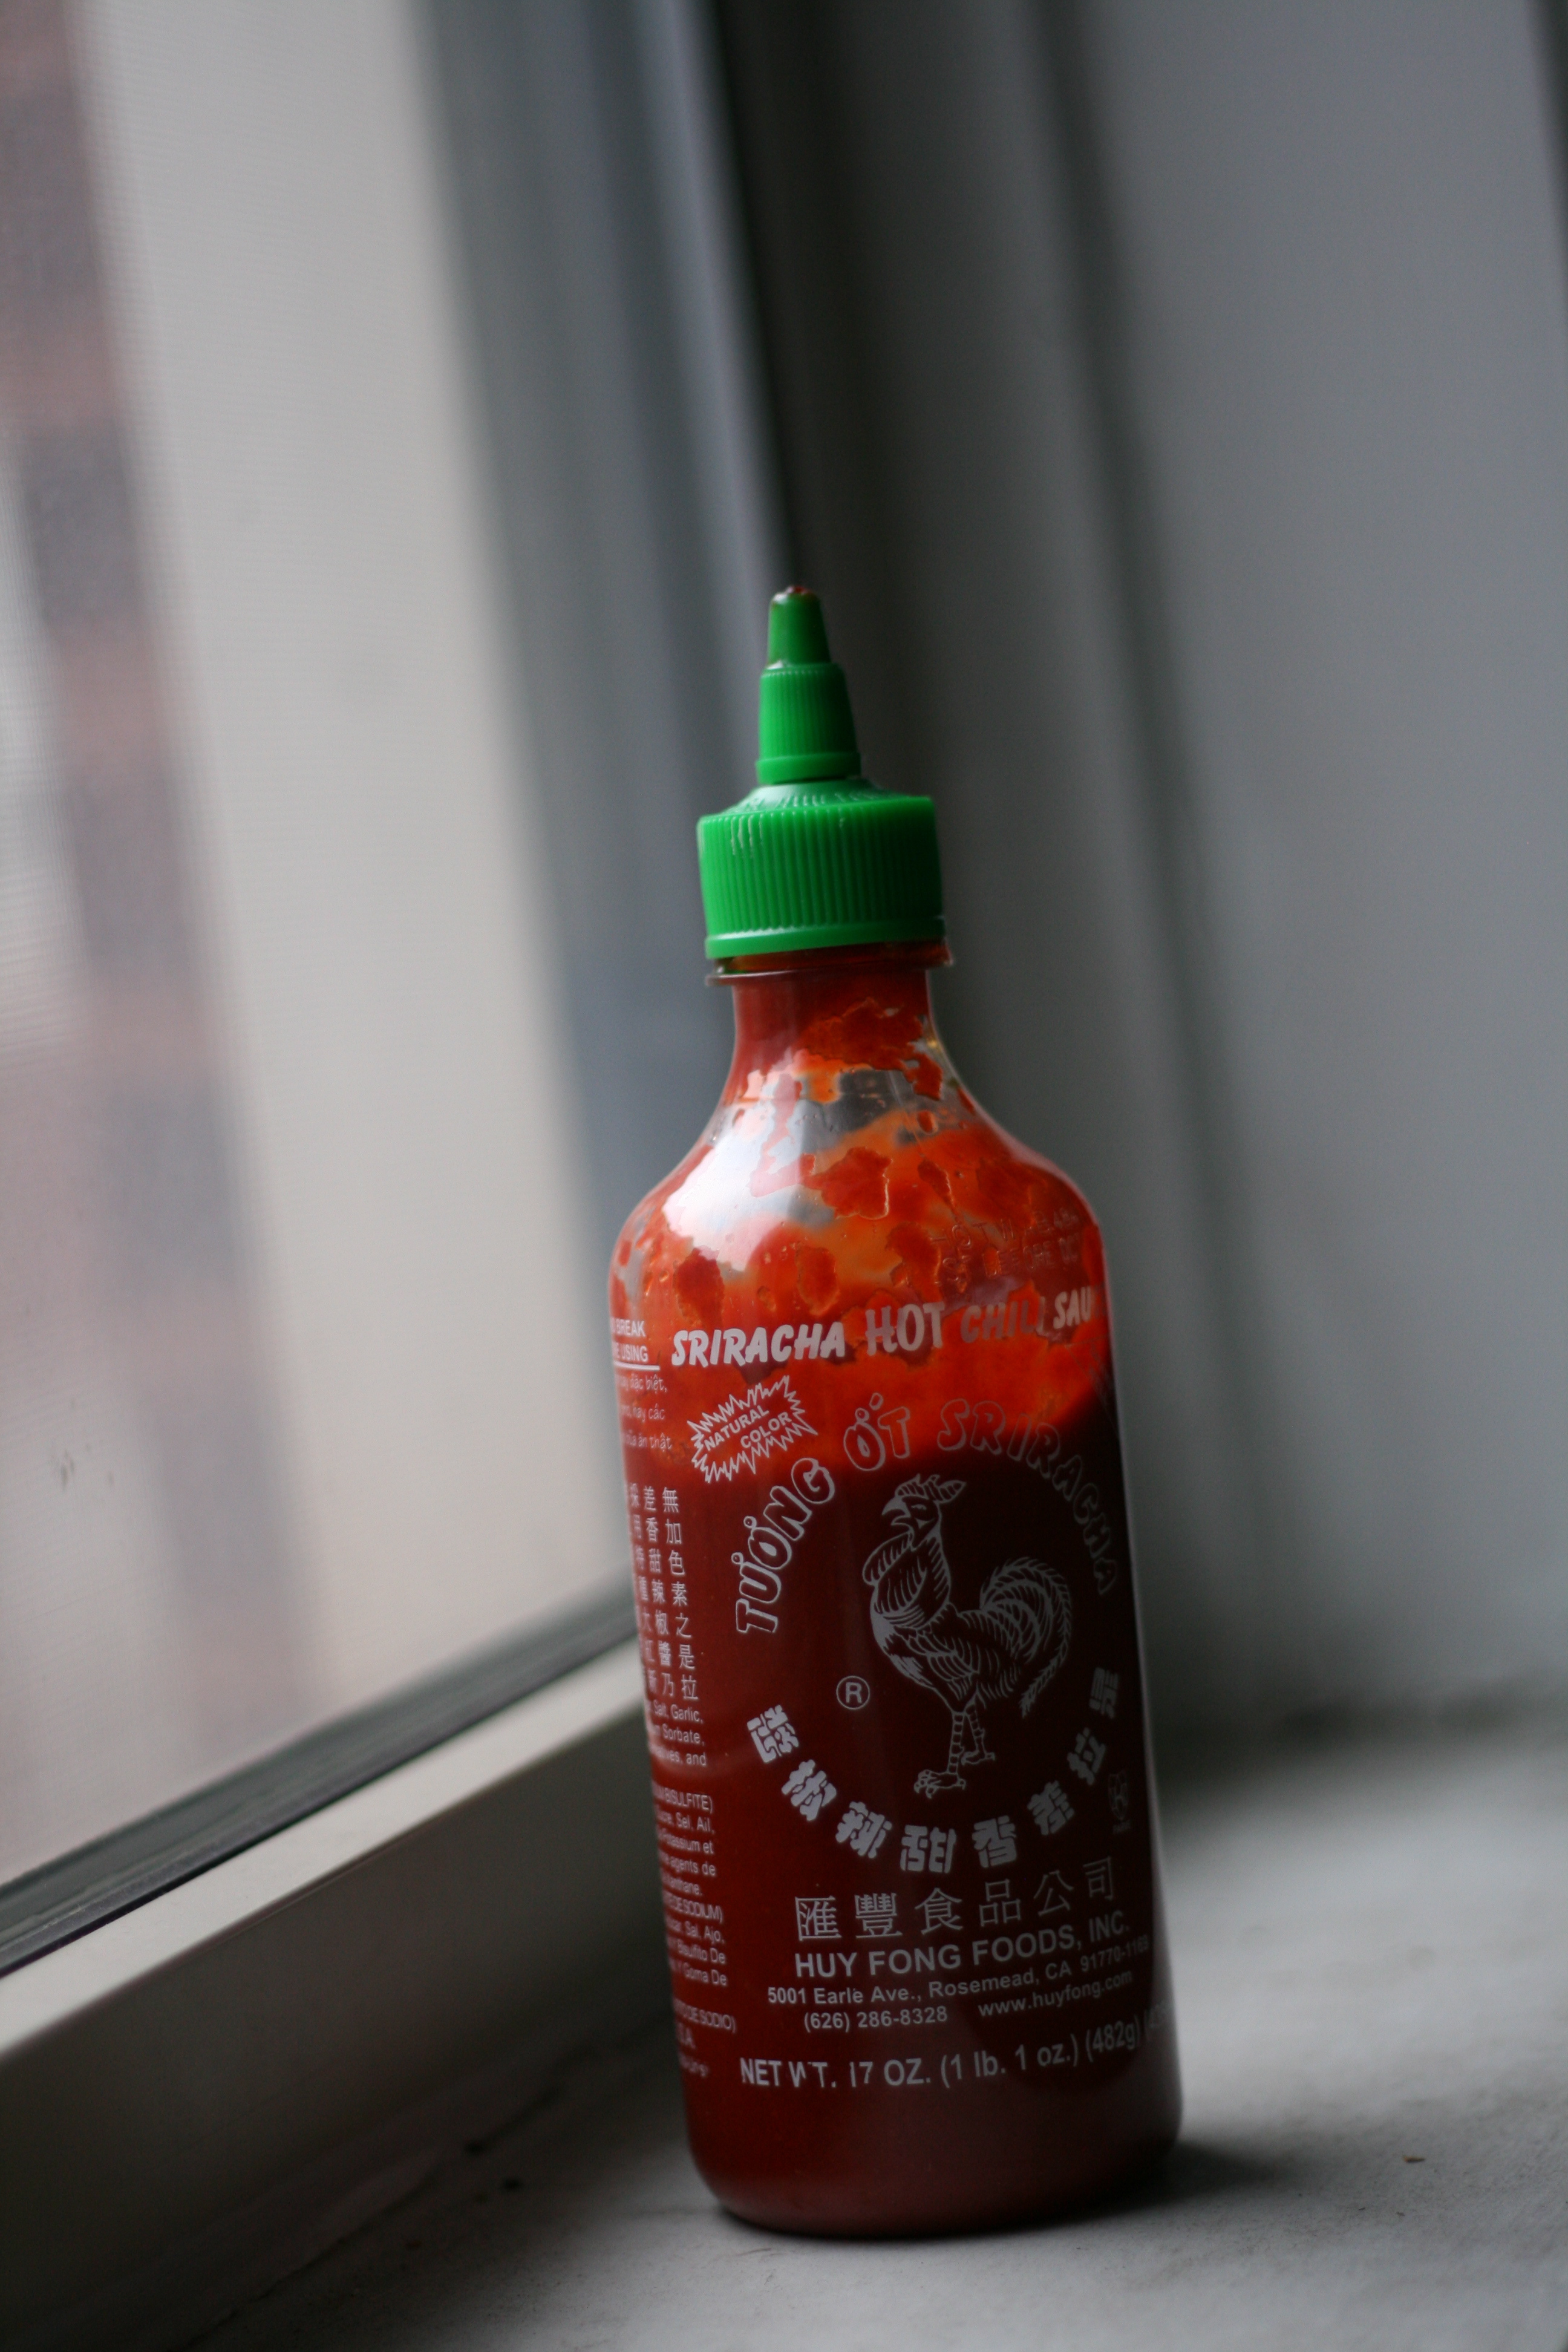
Hot Chili Sauce (we call this chinese ketchup)
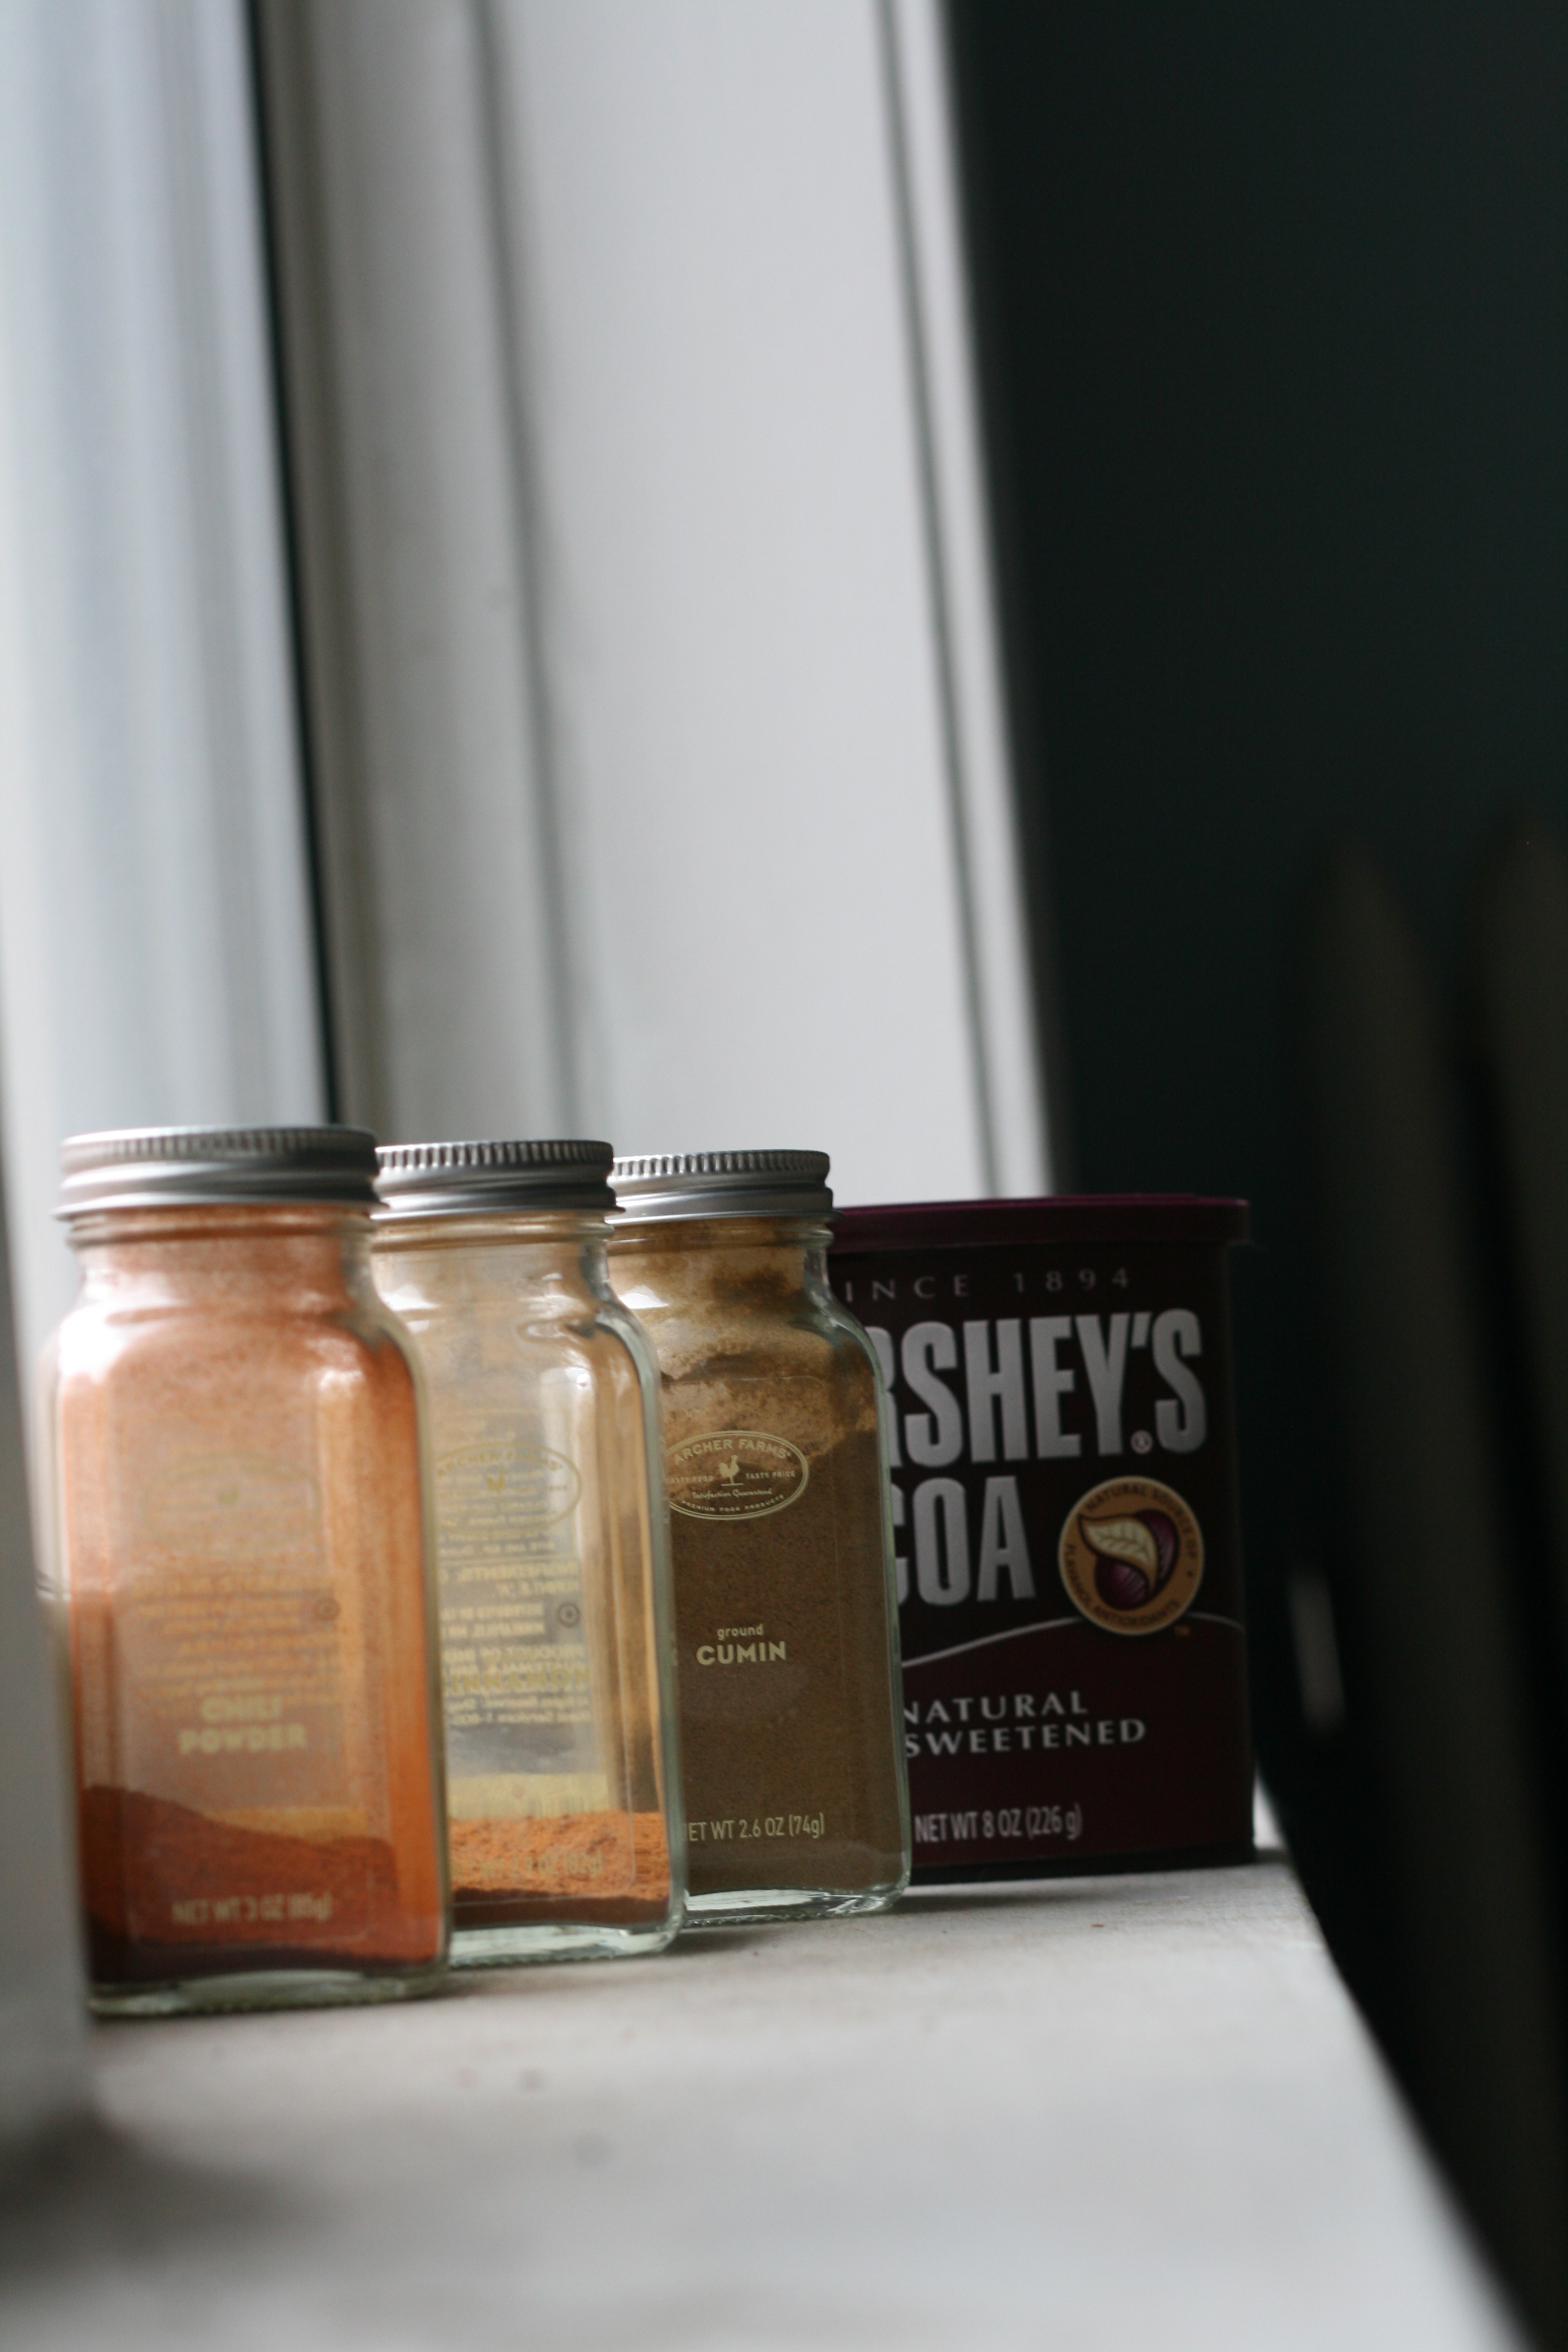
2 tbsp. cumin
2 tbsp. chili powder
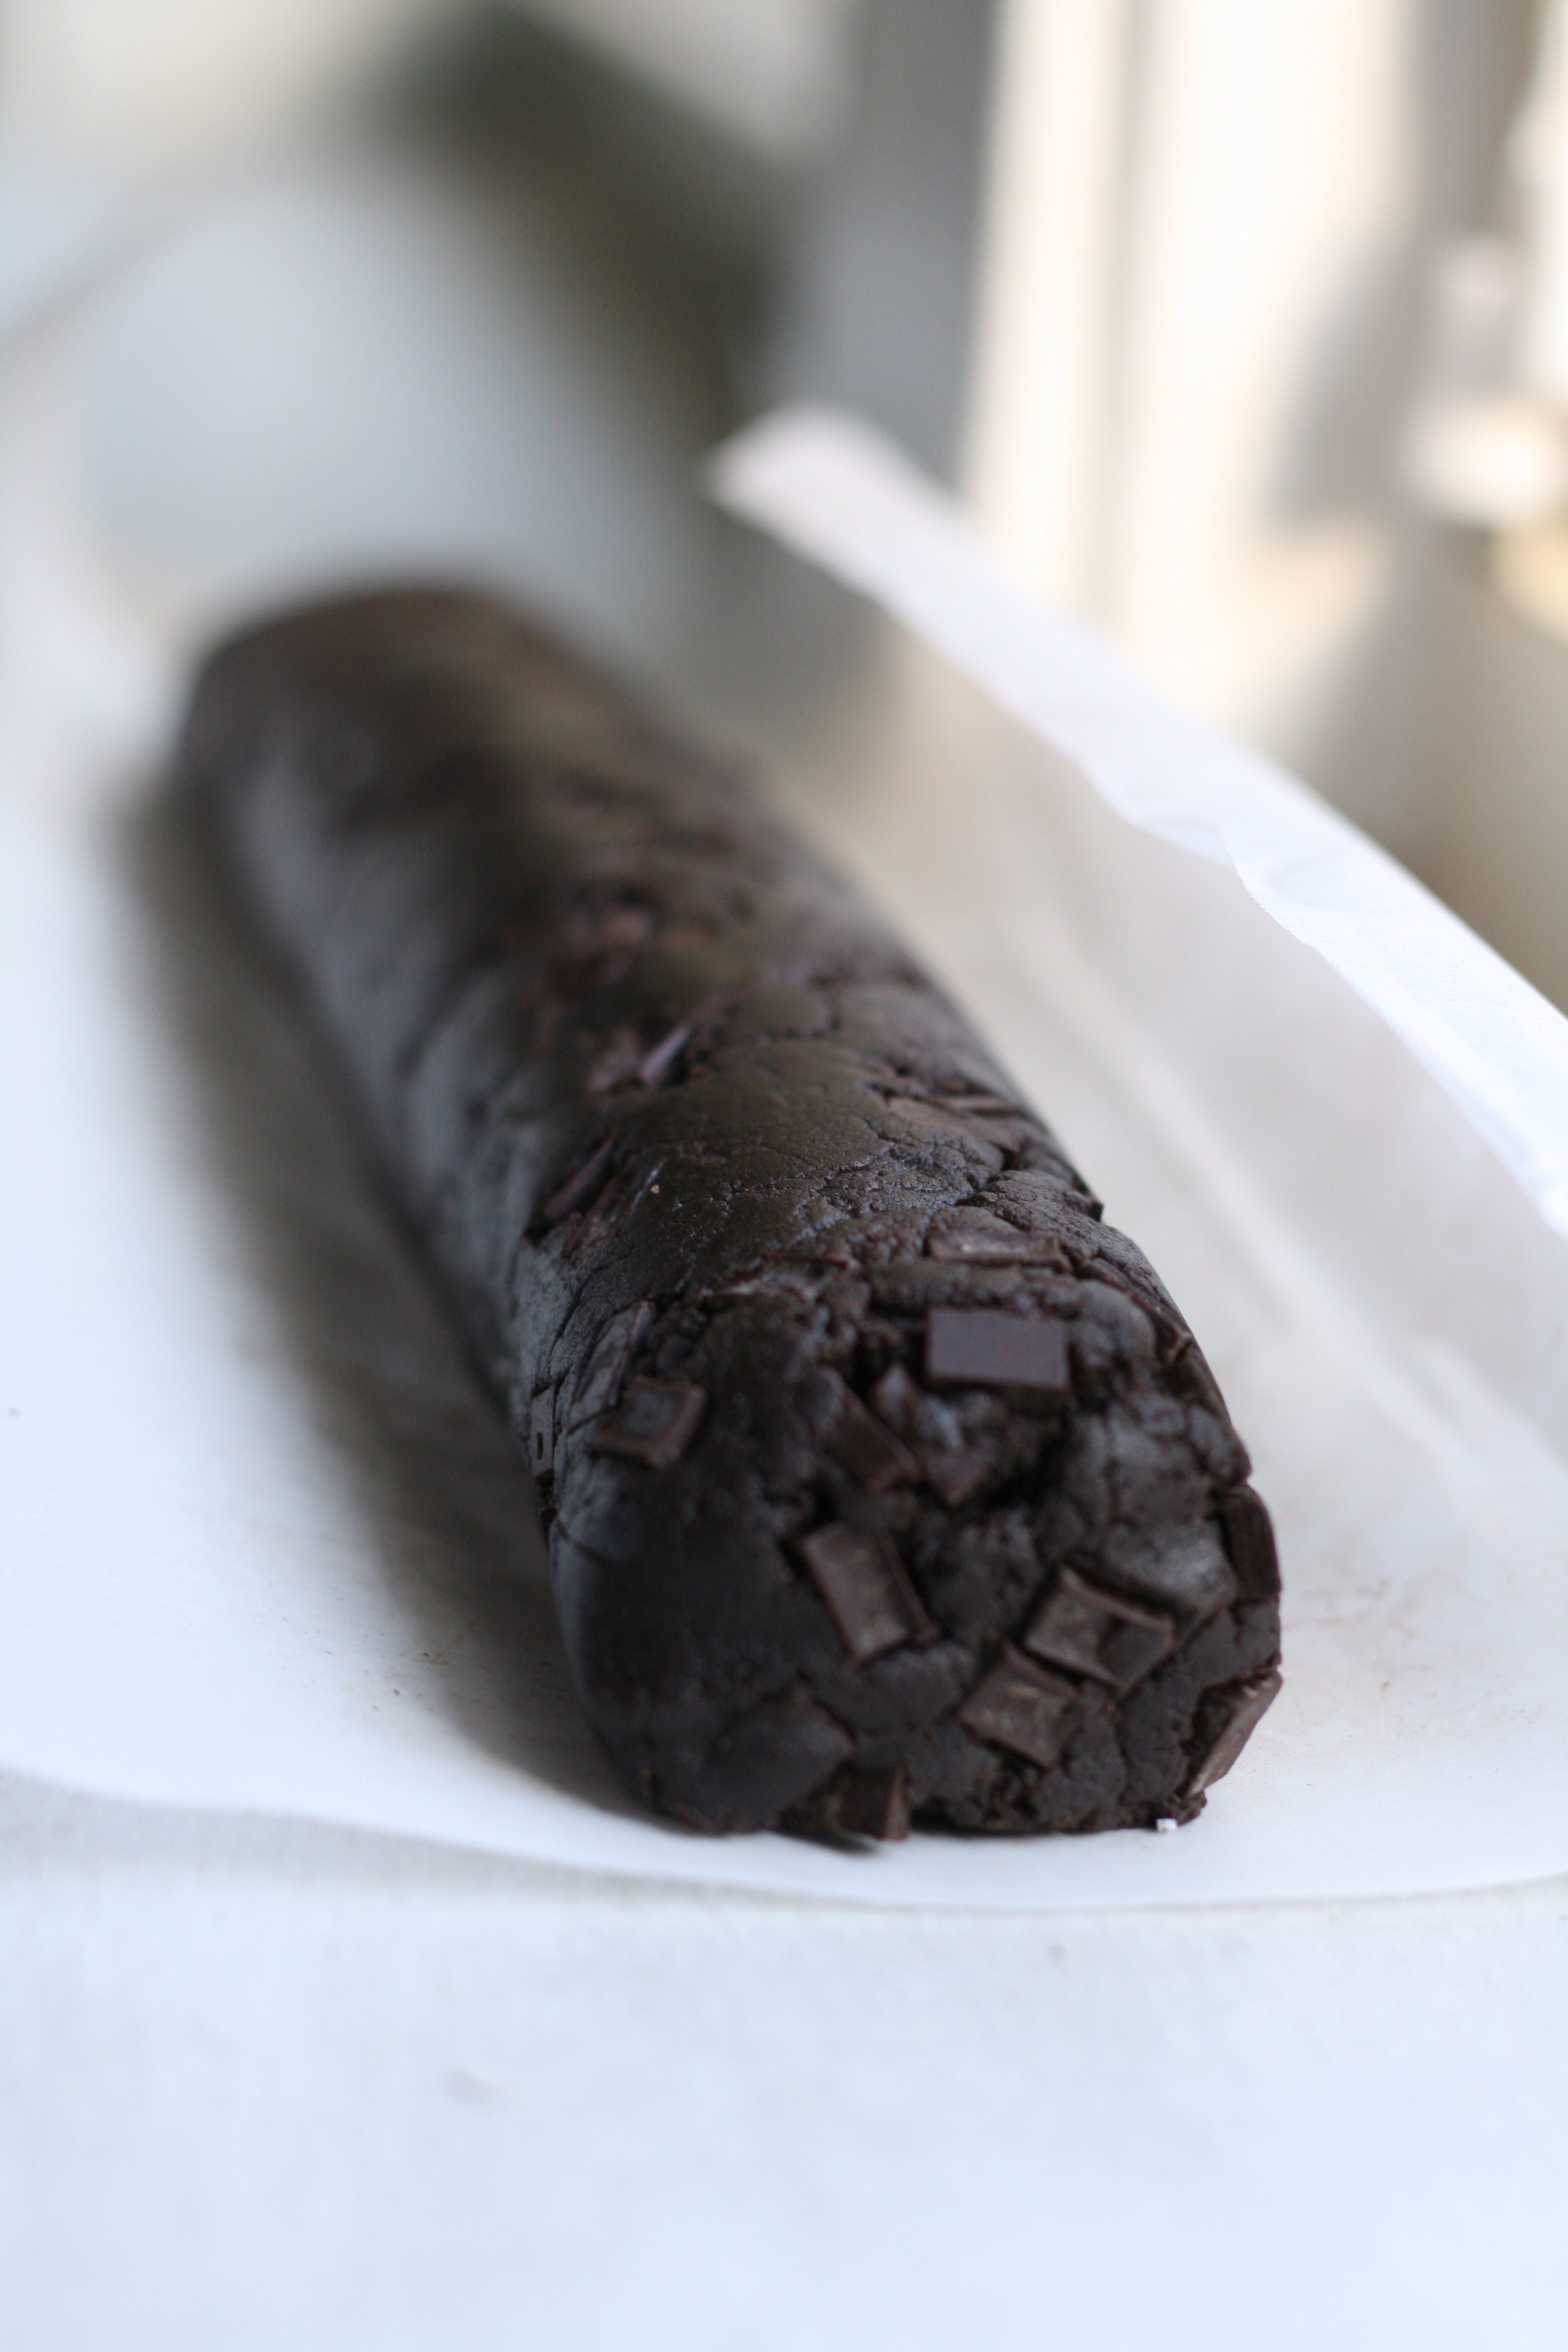
1 tbsp. unsweetened chocolate powder
1 1/2 tsp. cinnamon
Salt
Olive oil

1. Dice onion and garlic. Don’t worry about chopping too finely. You’ll take care of that in a minute.
2. In a stock pot with olive oil and salt, sauté onion and garlic for about 10 minutes.
3. Meanwhile, dice tomatoes.
4. Add tomatoes into the stock pot, and allow to cook for another 10 minutes.
5. While the tomato mixture is sautéing, cook ground beef until browned.
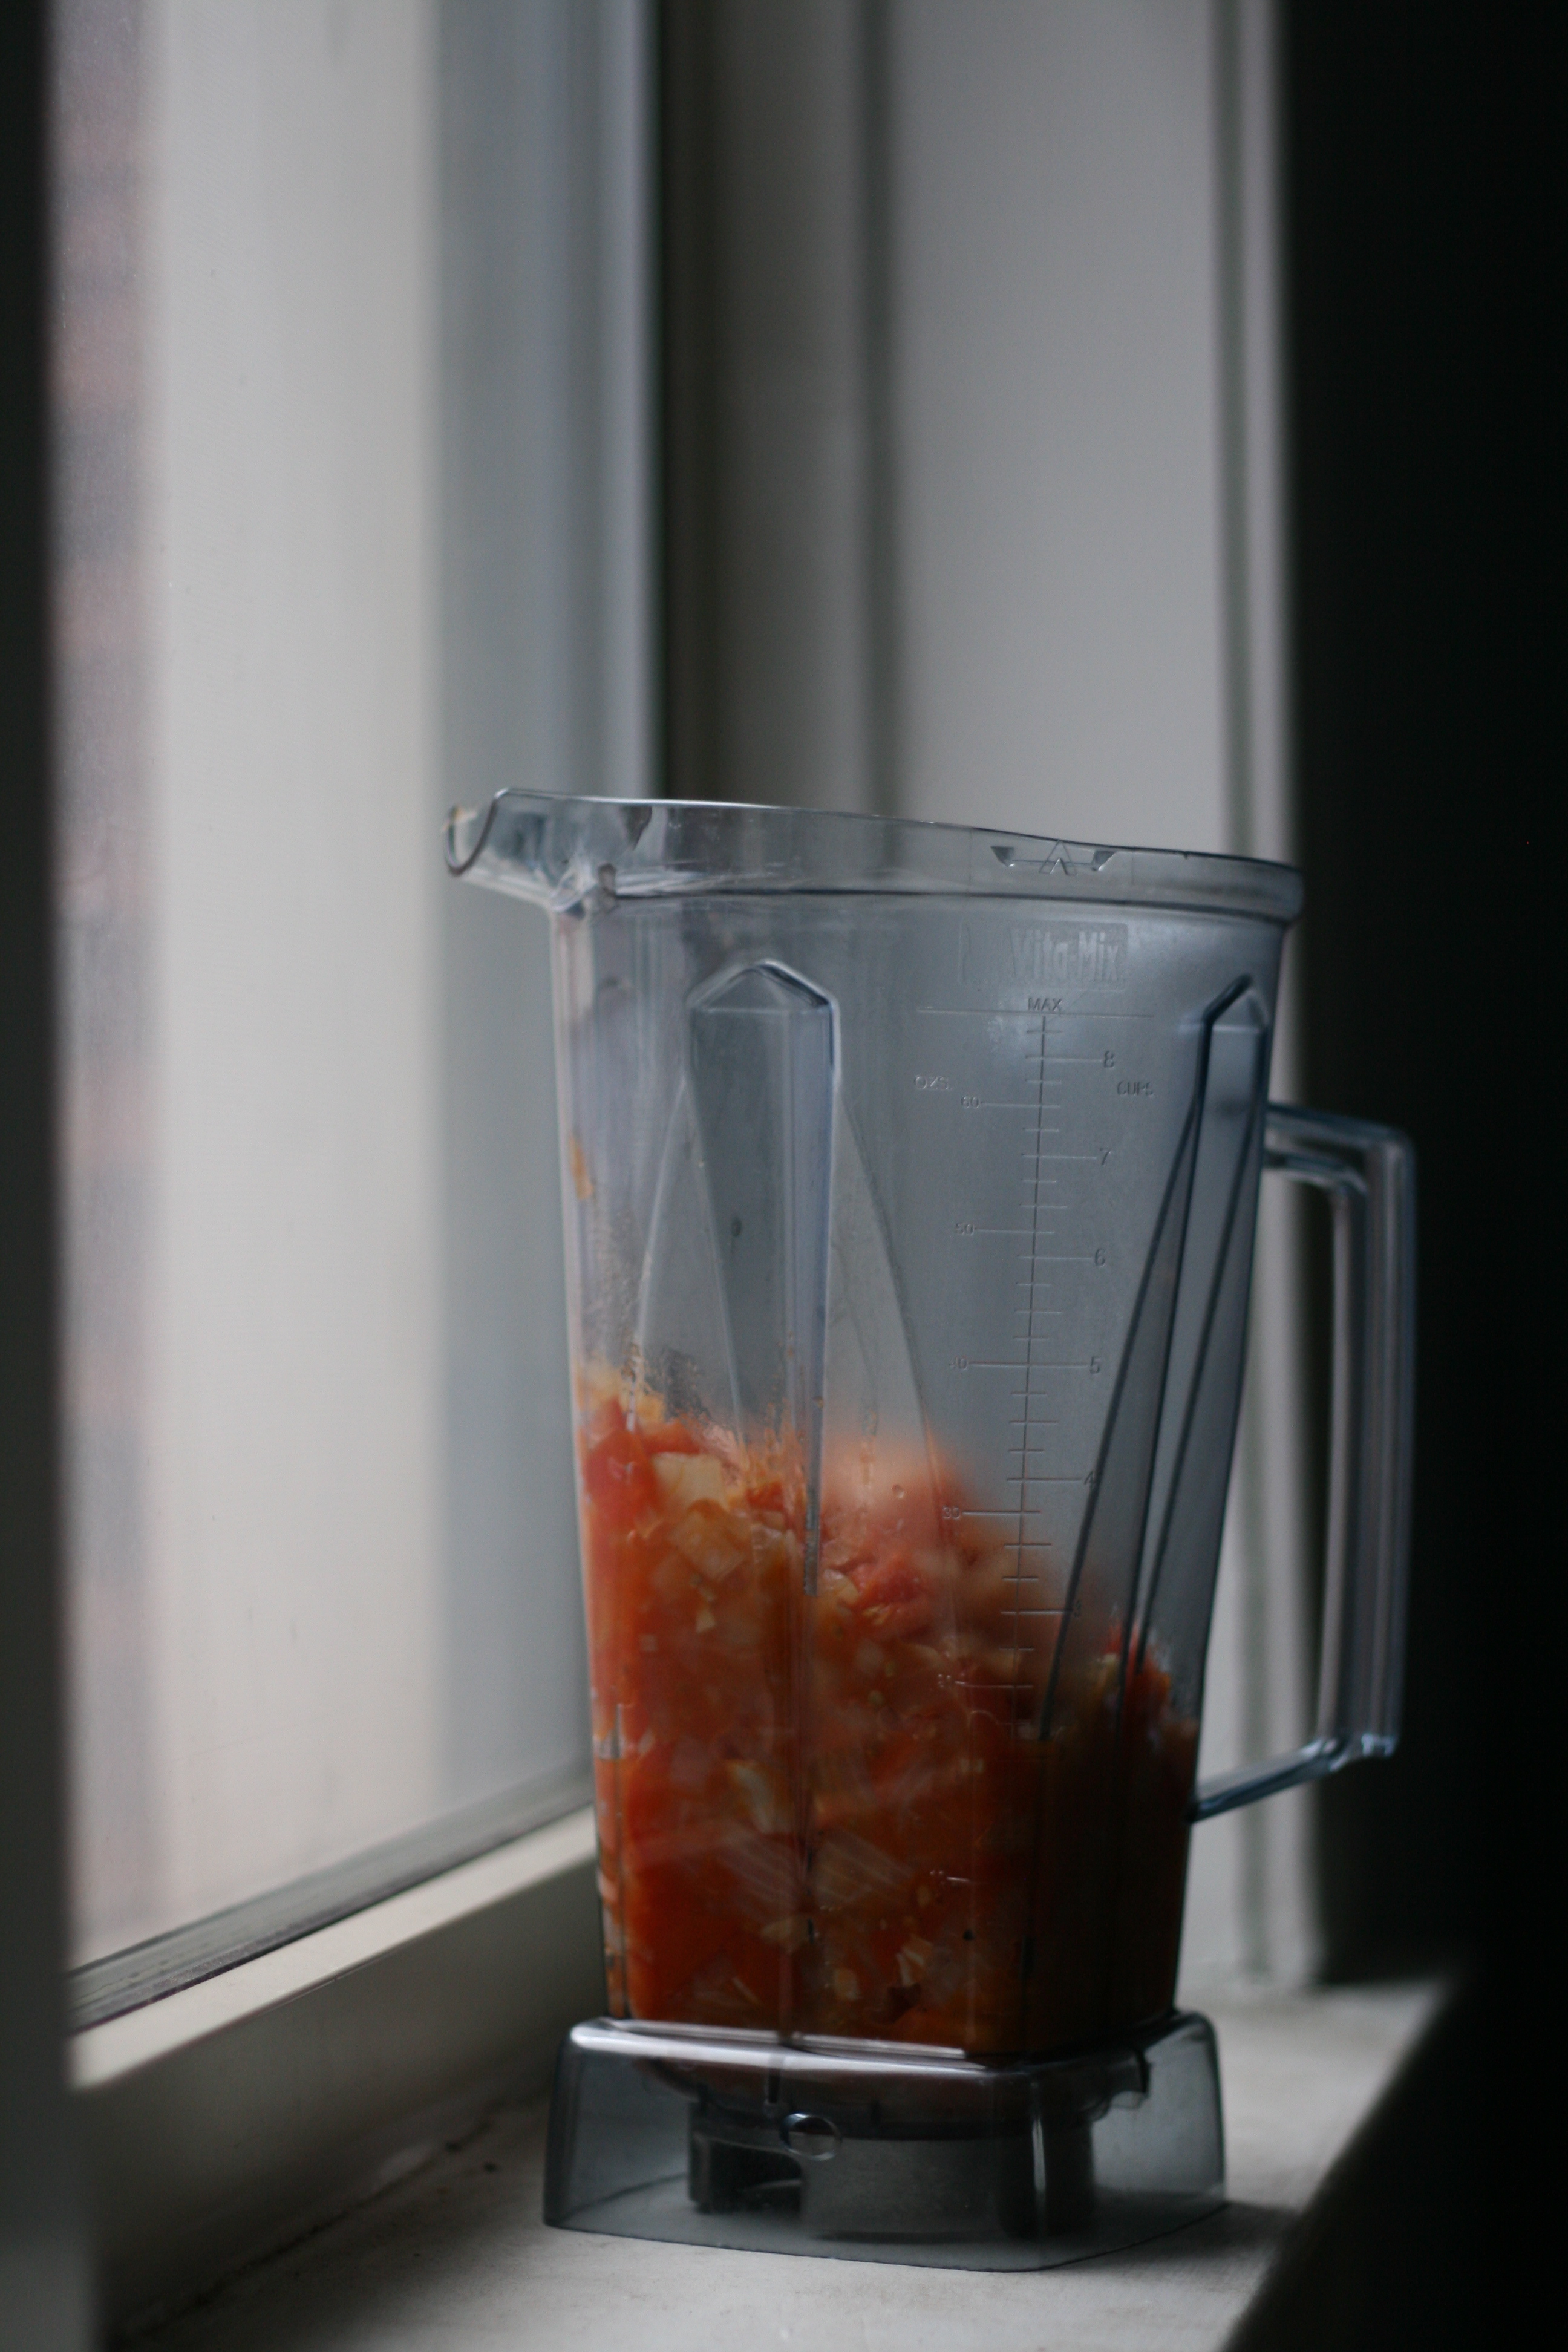
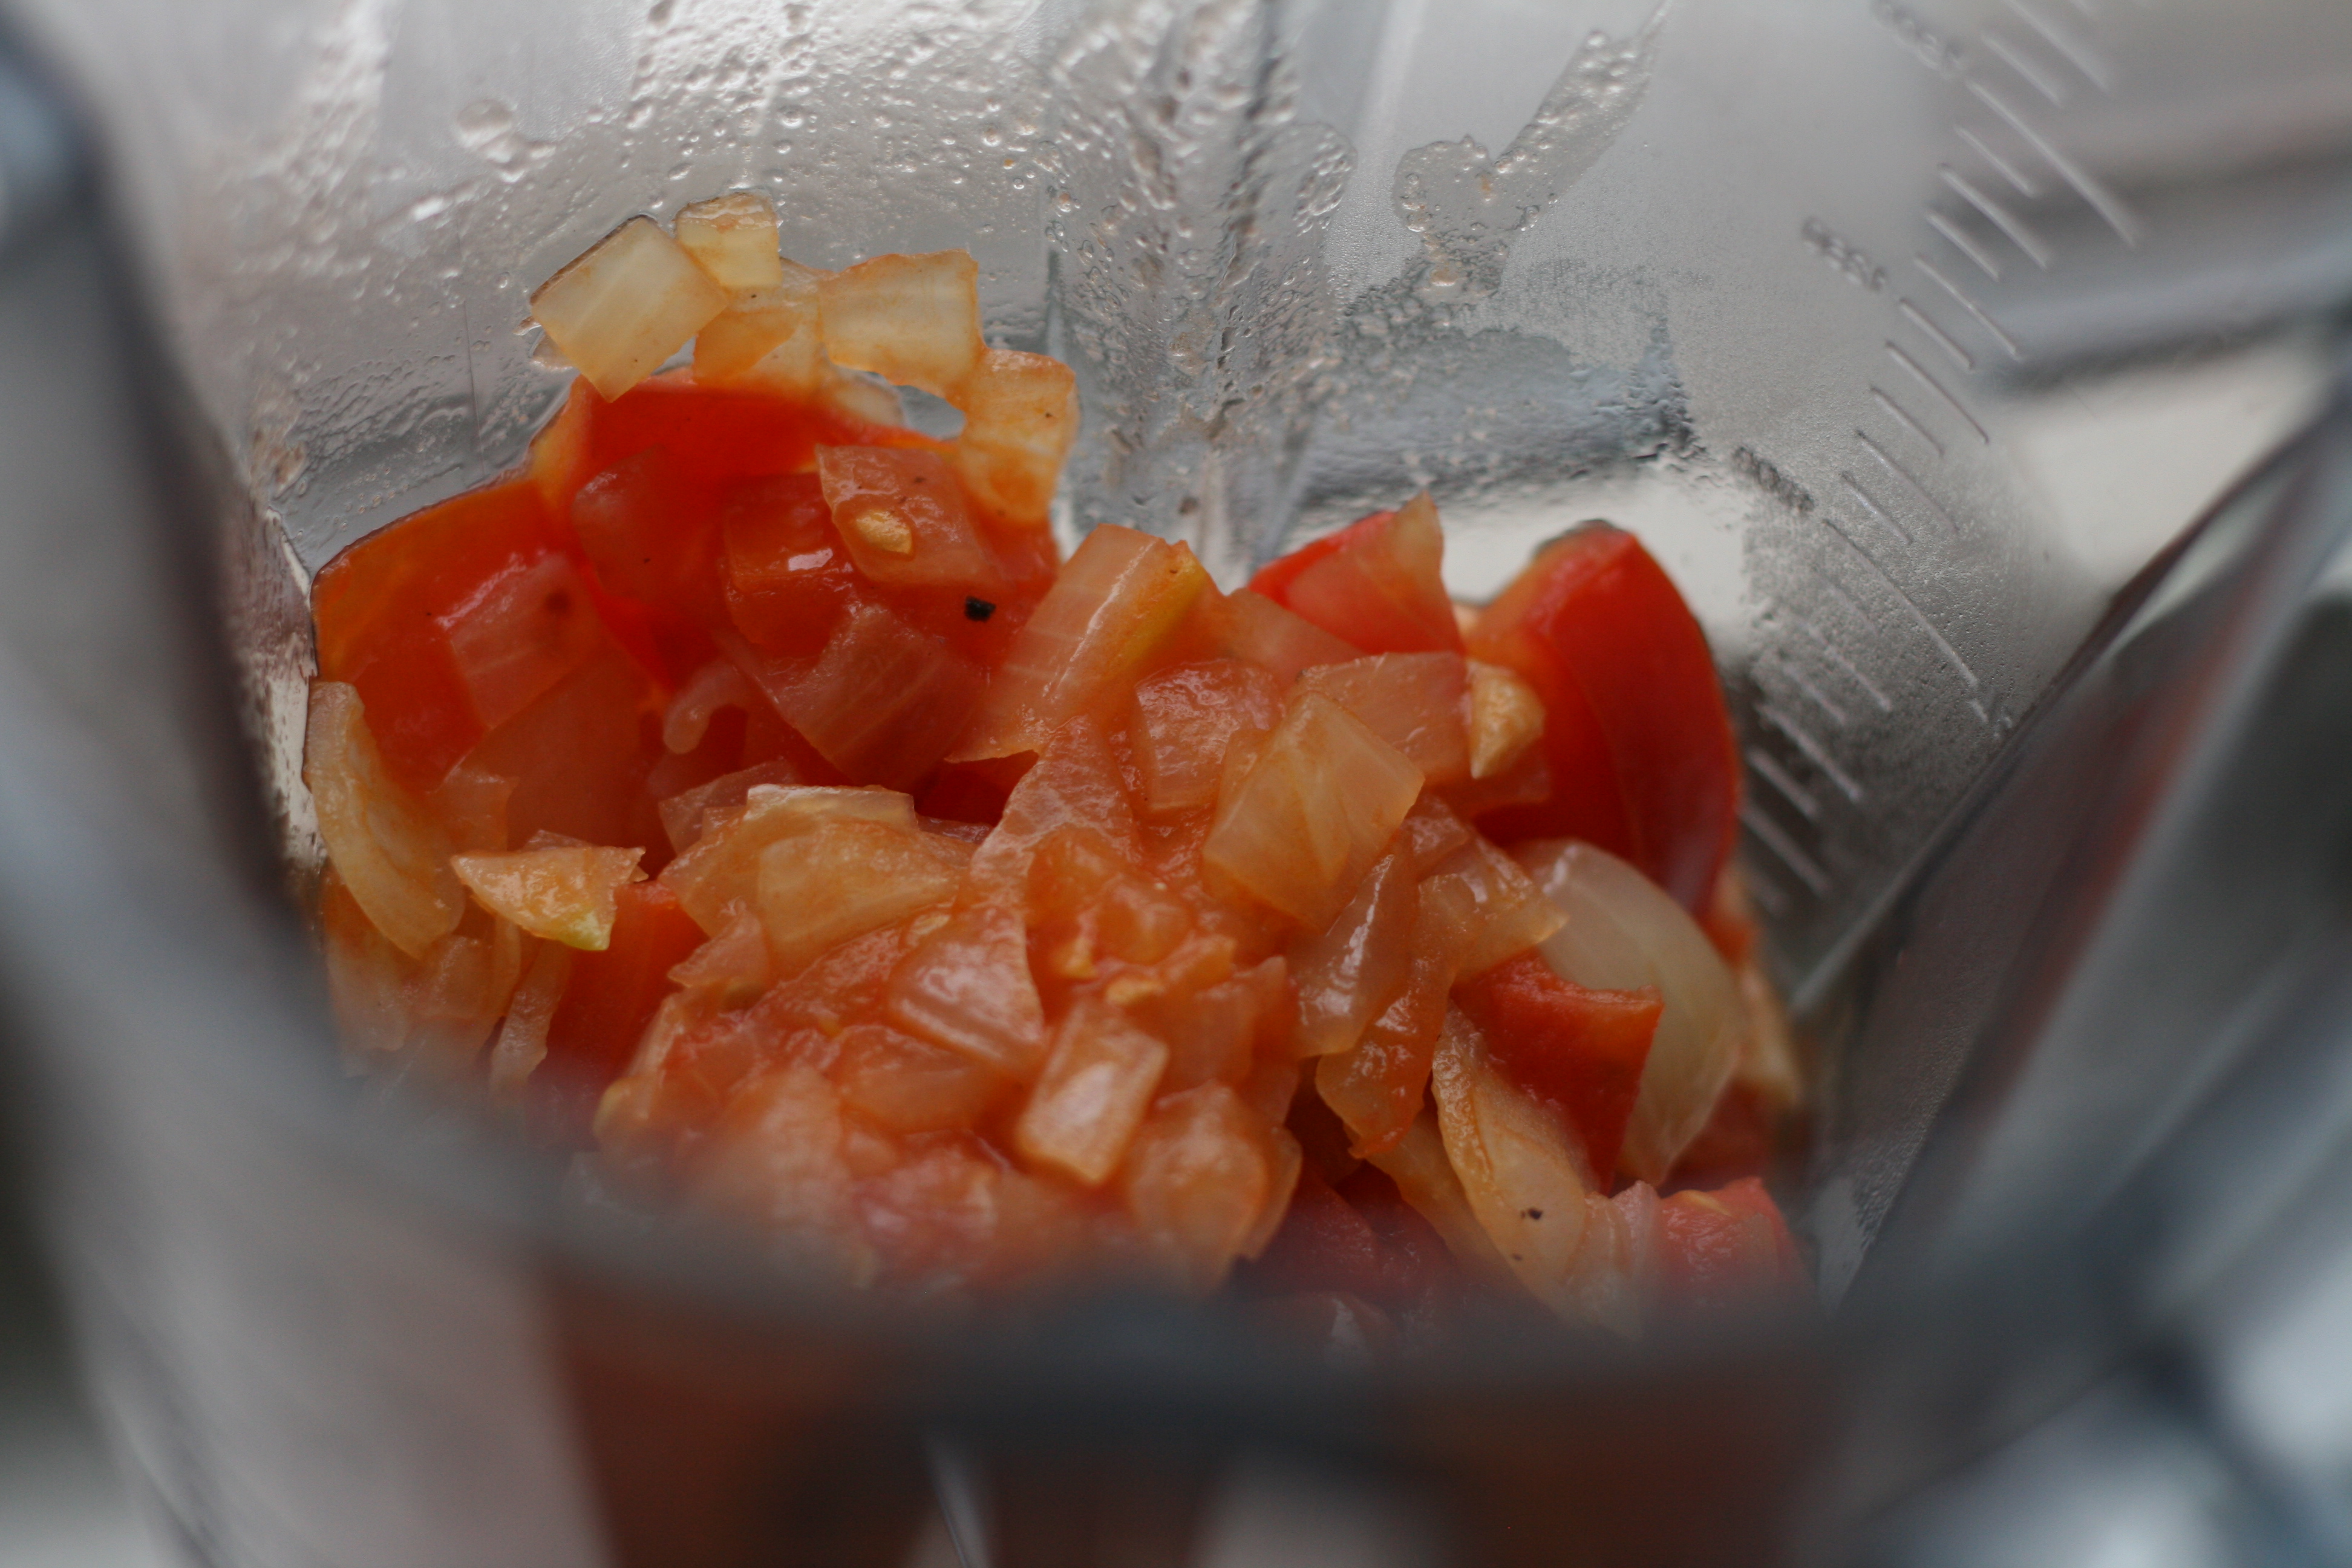
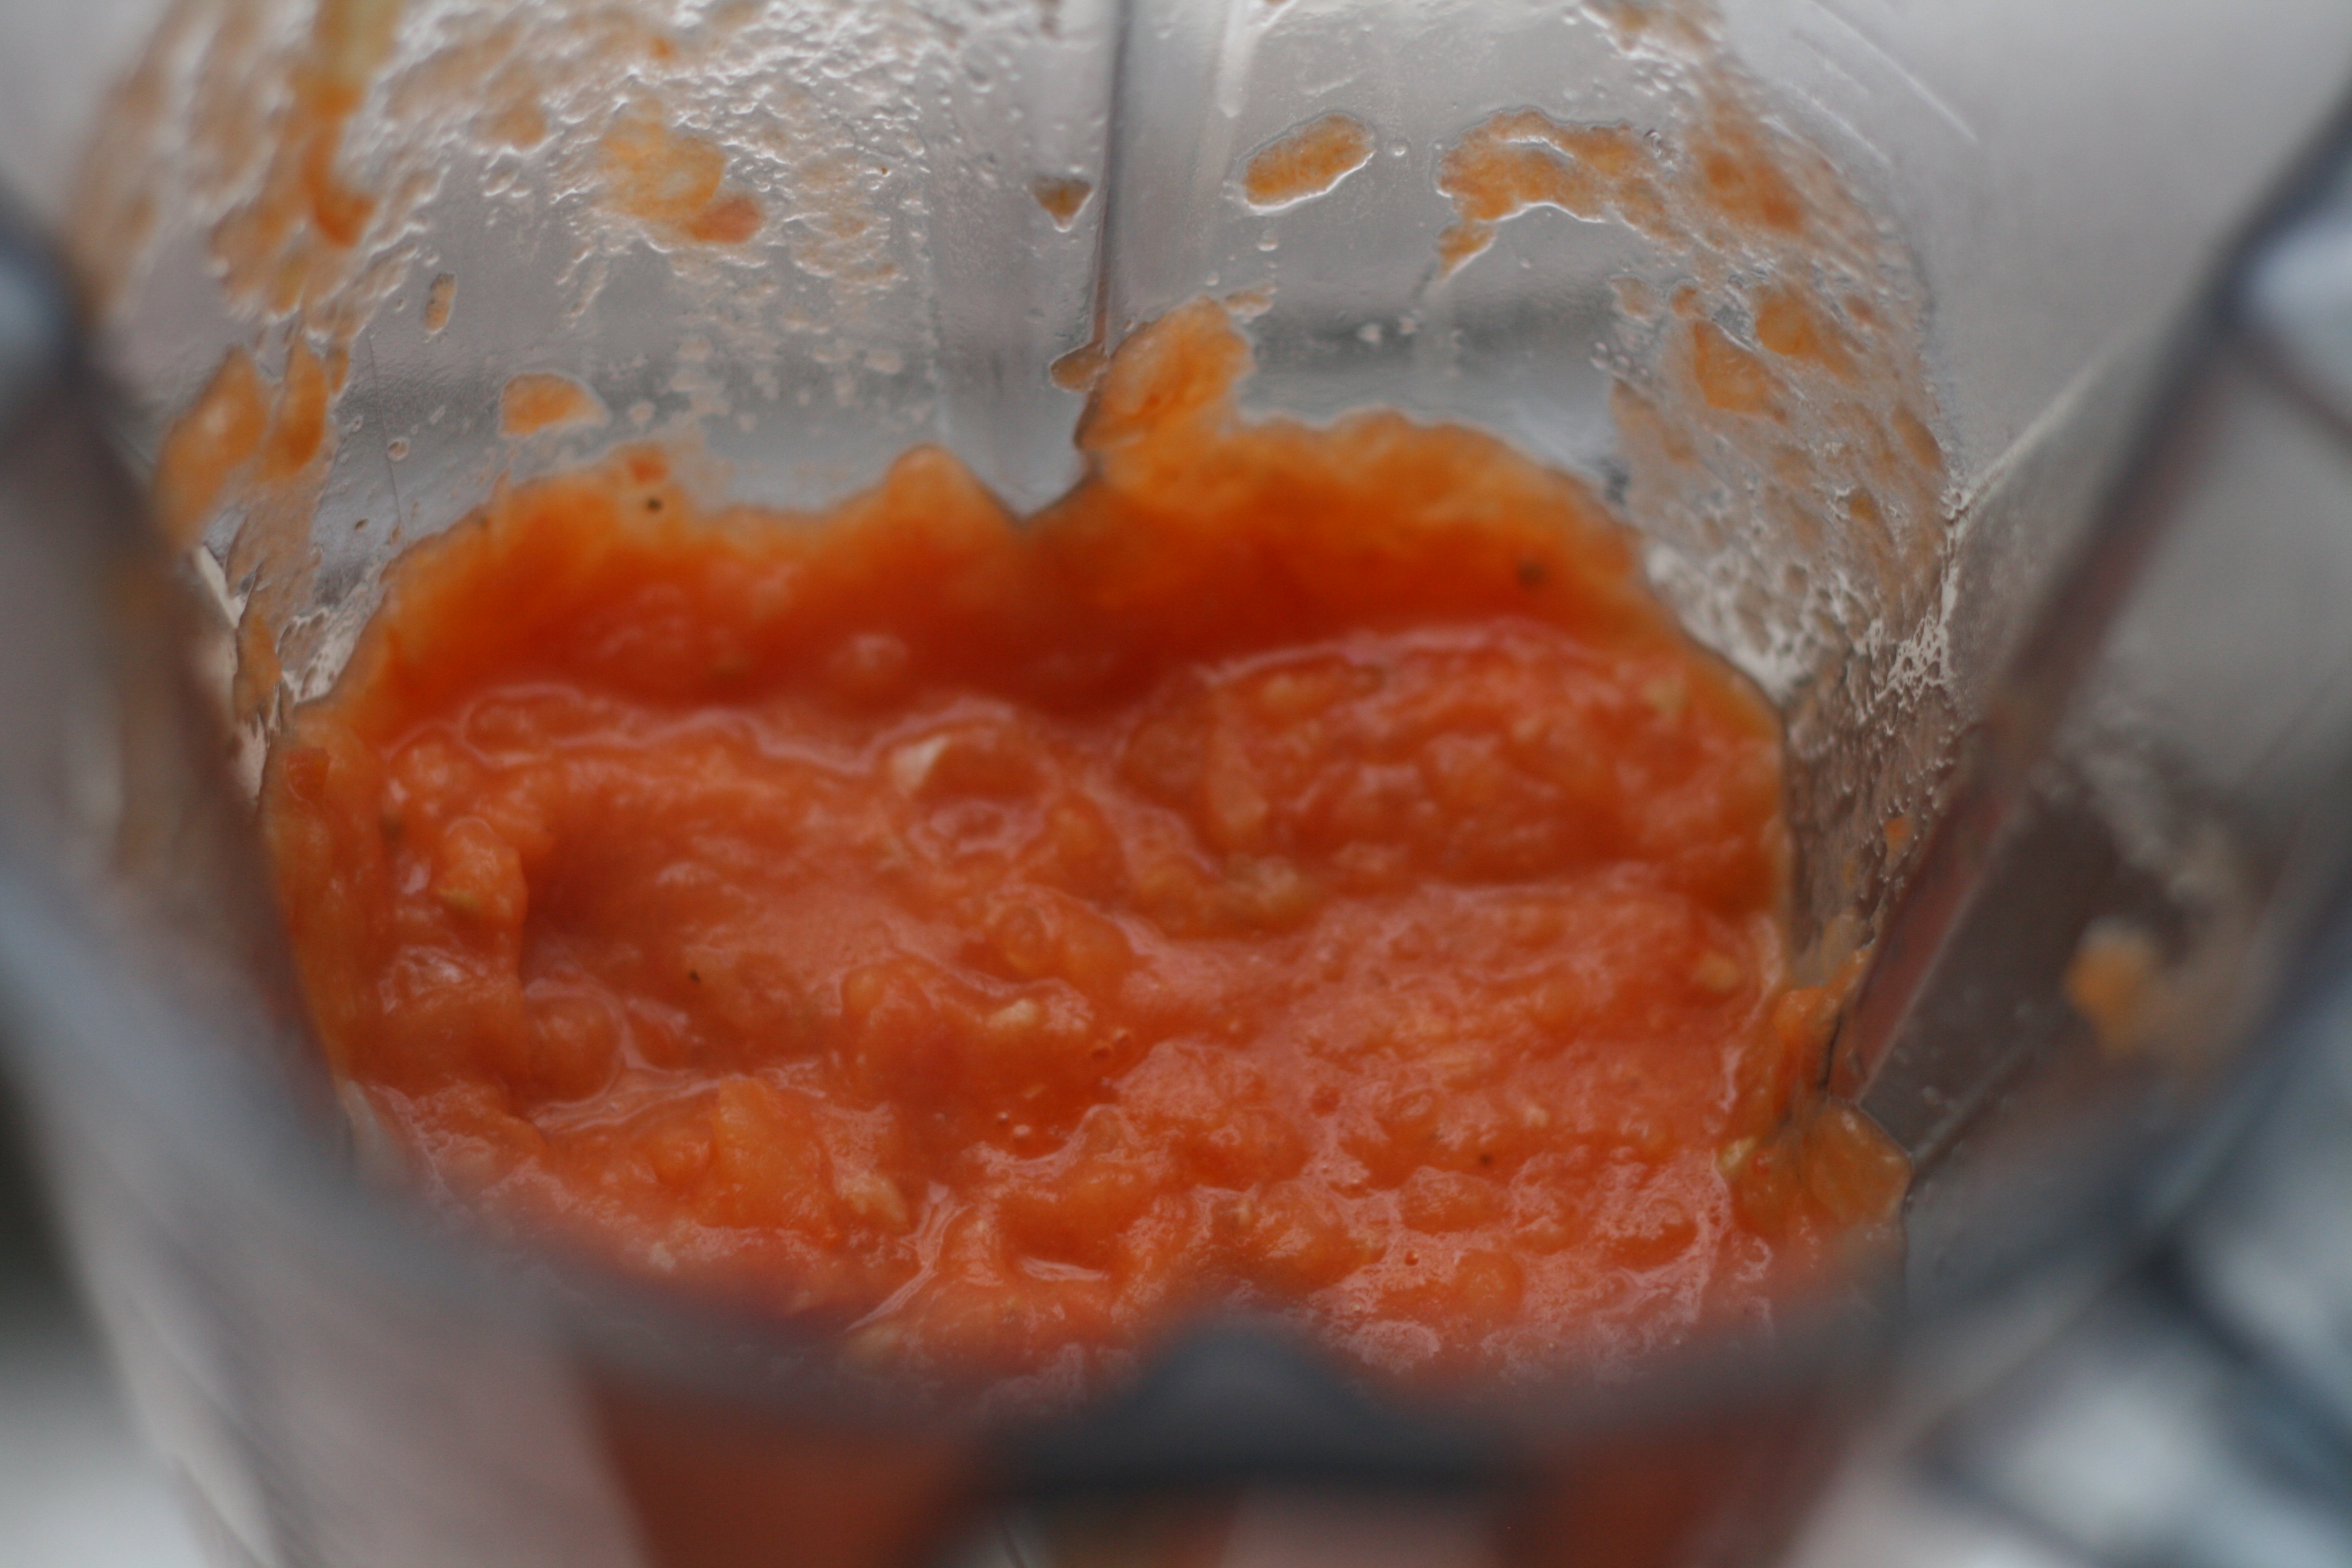
6. Pour sautéed tomato mixture into a food processor, and pulse for 20 seconds. (This will help get rid of those pesky tomato skins that curl up and look unappetizing.)
7. Add mixture back into stock pot along with the browned meat, crushed tomatoes, tomato paste, beans, and spices. Add hot chili sauce and salt to taste. Stir.
8. Simmer for an hour. (I recommend tasting 30 minutes in to make sure everything is on par. Go with your gut, or should I say your nose, and add extra spices if needed.)
9. Top with your favorite chili toppings. (We love to add brown rice or pita chips, hot sauce, cheese, and cilantro.) Serve.

For all the people out there like me, here is a visual recipe.

I hope this makes home feel a little closer for you too!

If you know anything about me, you know that I like to do everything myself. If I can make it, then there’s no need to buy the pre-made stuff. And the taste. Do I even need to go there? It’s always better homemade especially when you are whipping up salad dressing.

Salad dressing is very easy to make. And I have something that makes it even easier—a dressing emulsifier! For Christmas, my mother in law bought me one, and it works like a charm. She bought it at William Sonoma, but I have seen them at Crate and Barrel and Sur la Table.

Before I tell you all the perks of this product, lets talk emulsion. The definition of emulsion is “a fine dispersion of minute droplets of one liquid in another in which it is not soluble or miscible.” What in the heck does all that jibber jabber mean? Let’s break it down in layman’s terms. Picture this: oil and water. If you pour them into a glass bowl, they separate. However, if you whisk them vigorously for a length of time, they come together. This my friends is the process of emulsion, and this is how you make dressing.

Now for the perks. This dressing emulsifier emulsifies! Imagine that. According to the product description it has a corkscrew like stir stick which is in charge of emulsifying. This takes out the vigorous whisking you would normally have to do. Even better, this allows you to re-emulsify the dressing after it has been sitting in your fridge for a couple days. It’s also got a great little pouring spout with a cute lid. It’s made of a clear plastic allowing you to see inside the container. And, best of all, it has recipes right on the container with markers showing you how much of each ingredient you need. Are you still reading this, or are you at the store waiting in line to pay? In this case, I hope it’s the later. This is a kitchen must have.

In case you want to make this and you don’t yet have this gadget, here’s the recipe with a couple additions I make to the recipe on the bottle.

Balsamic Vinaigrette

1/2 c. olive oil
1/4 c. balsalmic vinegar
1 clove of garlic, minced
squirt of honey, if desired.
dash of oregano
Salt and pepper to taste

1. In a bowl, add balsamic vinegar, minced garlic, honey, salt, and pepper.
2. Pour olive oil into the mixture slowly while whisking continuously. Whisk until the oil and mixture are combined.
3. Serve immediately. If making ahead, whisk again before serving.

Will keep in fridge for about a month.

Did you lose sleep wondering how I served these homemade pasta noodles? Hopefully not.

Originally, I thought I would coat these cute little guys in a pink vodka sauce. Then I remembered New Years was only days ago. Something lighter was in order. Drum roll please—so I decided to go with Pesto. Spinach Pesto that is.

This recipe comes from one of my favorite cookbooks—Everyday Food. It’s quick. Easy. Healthy. What more could you ask for?

Spinach Pesto
Everyday Food

1/2 c. walnuts
1/2 c. parmesan cheese
4 c. lightly packed fresh spinach leaves
1 garlic clove
1/2 c. extra-virgin olive oil
Coarse salt and ground pepper

1. Preheat oven to 350°. Spread nuts evenly on a rimmed baking sheet; toast in oven until golden and fragrant, 8 to 10 minutes. Let cool completely.
2. In a food processor, combine nuts, spinach, parmesan, and garlic; season generously with salt and pepper. Process until nuts are finely chopped. With machine running, pour oil in a steady stream through the feed tube; process until smooth.
3. In a saucepan, add pesto to your cooked homemade noodles. (I also sauteed a couple chopped tomatoes and an onion for extra veggies prior to adding the noodles with pesto to the saucepan.) Cook for 5 minutes and serve.

Pesto will keep for 1 week in the fridge.

I have to be honest, I was nervous how this would turn out. First time making homemade noodles with my new machine. First time making spinach pesto. This could have spelled disaster. Thankfully, it was just the opposite. We ate every last noodle and then wished for more.

This weekend I ventured into the world of homemade pasta. And I’m never turning back. Grocery store, packaged pasta has nothing on fresh pasta. Sure, I’ll still use the grocery store pasta for convenience during the week. But on the weekend, I’m pulling out the pasta maker.

You’re gonna need one of these, assuming you have a KitchenAid:

It’s a pasta press! You can purchase one at William Sonoma. (The link also has a video about the product if you want a sneak preview.) I am ashamed to say, I got this last Christmas. That is, Christmas of ’09. And I’m just now getting around to using it. Lame. I know. I have a couple excuses I could throw out, but honestly there’s no good excuse not to use this beautiful piece of machinery. Homemade pasta is the bomb.com.

Light Wheat Pasta
recipe from KitchenAid

2 1/2 c. sifted whole wheat flour
1 c. sifted bread or unbleached flour
4 large eggs
6 tbsp. water
1/2 tsp. salt

1. Place all ingredients in mixer bowl. Attach flat beater and turn to Speed 2. Mix 30 seconds.
2. Exchange flat beater for dough hook. Turn to Speed 2 and knead for 2 minutes. Remove dough from bowl and hand knead for 1 to 2 minutes.
3. Get out your pasta press. Use manufacturers instructions and make pasta!

TIPS
• Dough too dry? Add a tablespoon of water at a time.
• Dough too moist? Add a tablespoon of flour at a time.

Stay tuned to hear how I served the pasta.

Baked Oatmeal | @thefauxmartha

Post and recipe updated: 5.26.14

The temperature has turned to cold. Family and friends are gathered in droves. Thanksgiving is in a couple of days and you’re probably wondering what to serve all those people for breakfast. First thing that comes to everyone’s mind—breakfast casserole. Over done. High in calories (save those precious numbers for your turkey dinner). Heavy on the stomach. Try something new this year—Baked Oatmeal. If you have to, think of it as Oatmeal Casserole. Original. Low in calories. Light on the stomach. Best of all, it feeds lots of people! Read more

Whoopie Pies are the new cupcake. Okay, maybe that’s not true but it might be after you try one. Upon eating, it’ll leave you exclaiming, “Whoopee!” Literally.

Whoopie Pies stepped onto the scene through the Amish tradition. As the story goes, Amish wives used their extra cake batter to bake mini cakes. Thou shalt let nothing go to waste. They’d plop some icing in between two small cakes and pack it into their husband’s lunch box. After biting into these little gems, a common response from the male would be “Whoopee!” And there you have it—the Whoopie Pie was born.

Since the previous post tells you how to make homemade pumpkin puree, let’s go ahead and make Pumpkin Whoopie Pies! ‘Tis the season.

Pumpkin Whoopie Pies
Makes 12; Recipe adapted from Matt Lewis of Baked bakery via Martha Stewart
Visual learner? Watch this video.

FOR THE PIES
3 cups all-purpose flour (I used half AP flour, half whole wheat flour)
1 teaspoon salt
1 teaspoon baking powder
1 teaspoon baking soda
2 tablespoons ground cinnamon
1 teaspoon ground ginger (original recipe calls for 1 tbsp)
1 teaspoon ground cloves (original recipe calls for 1 tbsp)
a dash of nutmeg
2 cups firmly packed dark-brown sugar
1 cup canola oil
3 cups pumpkin puree, chilled
2 large eggs
1 teaspoon pure vanilla extract

FOR THE FILLING
3 cups confectioners’ sugar
1/2 cup (1 stick) unsalted butter, softened
8 ounces cream cheese, softened
1 teaspoon pure vanilla extract

1. Make the pies: Preheat oven to 350°. Line two baking sheets with parchment paper or a nonstick baking mat; set aside.
2. In a large bowl, whisk together flour, salt, baking powder, baking soda, cinnamon, ginger, and cloves; set aside. In another large bowl, whisk together brown sugar and oil until well combined. Add pumpkin puree and whisk until combined. Add eggs and vanilla and whisk until well combined. Sprinkle flour mixture over pumpkin mixture and whisk until fully incorporated.
3. Using a small ice cream scoop with a release mechanism, drop heaping tablespoons of dough onto prepared baking sheets, about 1 inch apart. Transfer to oven and bake until pies are just starting to crack on top and a toothpick inserted into the center of each pie comes out clean, about 15 minutes. Let cool completely on pan.
4. Make the filling: Sift confectioner’ sugar into a medium bowl; set aside. In the bowl of an electric mixer fitted with the paddle attachment, beat butter until smooth. Add cream cheese and beat until well combined. Add confectioners’ sugar and vanilla, beat just until smooth. (I only used about 2 1/2 cups of confectioners sugar.)
5. Assemble the whoopie pies: Line a baking sheet with parchment paper and set aside. Transfer filling to a disposable pastry bag and snip the end. When pies have cooled completely, pipe a large dollop of filling on the flat side of half of the pie. Sandwich with remaining pie, pressing down slightly so that the filling spreads to the edge of the cookies. Transfer to prepared baking sheet and cover with plastic wrap. Refrigerate pies at least 30 minutes before serving and up to 3 days.

TIPS:
• Runny batter is not your friend. If you find yourself in this situation, you may need to add a little more flour to help a batter out.
• Make sure to bake an even amount of pies.
• Mini Whoopie Pies make for a good portion size! And they’re cute.

Dear Blog, Please excuse my absence. I had to get a ganglion cyst removed, was in a cast, and couldn’t really bake or type for that matter. But now I’m back! Yours Truly, Fauxmartha

It’s pumpkin time. Well, maybe it’s on the tail end of pumpkin time, but it’s not too late. Too late for what? Duh, roasting your own pumpkins. This year, try forgoing buying that canned pumpkin. Not that it’s bad, but this is so much better. I promise.

The best pumpkins for baking are known as cheese pumpkins or sugar pumpkins. You want to stay away from using the big carving pumpkins (pictured above in the middle). They make for a stringy and watery puree. Unknowingly, I did this last year. And it’s true—watery and stringy. This year, I went with sugar pumpkins. They are small. Decently smooth to the touch. Some may call them cute. And guess what, they’re orange. (Cheese pumpkins are not true orange. Read here to find out more about pumpkin varieties.) You can buy them at specialty grocery stores (Trader Joe’s, Whole Foods, etc). I bought mine at the Farmer’s Market. The look tiny but produce plenty of pumpkin meat.

There are several ways to turn a pumpkin into pumpkin puree. Some people cut the pumpkin into chunks and steam them. Others do the same thing, but microwave instead of steam. I prefer the roasting method. In my opinion it’s the easiest and tastes the best, but others may disagree.

Roasting Sugar Pumpkins
adapted from MarthaStewart.com
1. Preheat oven to 400°.
2. With a sharp knife, cut slits in the pumpkin so it can breathe while roasting.
3. Place pumpkin(s) in a baking dish with about 1″ of water.
4. Bake for about 1 1/2 hr, until skin is easily pierced.
5. Peel off skin of pumpkin. If needed, use a peeler.
6. Cut pumpkin in half and allow to cool for about 15 min.
7. Scoop out seeds. I used a melon baller to do this.
8. Throw the “meat” of the pumpkin into a food processor or blender and puree until smooth.
9. Allow to cool and add to your recipe in place of the canned stuff; or refrigerate for up to 2 days or freeze.

Stay tuned to hear where this puree made it’s debut. It’ll leave you saying Whoop-ee!

If there is one thing you could do to change the world what would it be?

World peace.

We’ve all heard this question and answer a million times while watching the Miss America Pageant or Miss Congeniality. What if world peace could be brought…in the form of a cookie?

This is exactly what Dorie Greenspan‘s neighbor thought (Dorie is the author of this recipe). He gave Dorie the idea to dub these cookies World Peace Cookies after exclaiming, “we’re convinced that a daily dose of the cookies is all that’s needed to ensure planetary peace and happiness.” I have to agree with Mr. Neighbor.

Because she’s the brains behind this peace, I’m going to let Dorie describe these decadent morsels. “The cookies are chocolate sables, French shortbreads, but, because they’ve got more brown sugar than white in them, they’ve got more chew than most shortbreads. They’ve also got a generous amount of dark chocolate chunks and enough fleur de sel, moist, coarse-grained French “finishing” salt (i.e., salt to be used in teensy quantities as a spice or condiment), to make them noticeably salty and completely addictive, in the way so many good things with salt are.” This rings music to my ears. My #1 baking philosophy is to use high quality, coarse salt. The contrast of salt makes the sweetness taste that much sweeter. And who can say no to chocolate? So now I have just one question for you—If there is one thing you could do to change the world what would it be?

Without further adieu, I give you…

World Peace Cookies
Recipe housed by Bon Appetit

1 1/4 cups all purpose flour
1/3 cup natural unsweetened cocoa powder (I used dark unsweetened cocoa)
1/2 teaspoon baking soda
11 tablespoons (1 stick plus 3 tablespoons) unsalted butter, room temperature
2/3 cup (packed) golden brown sugar
1/4 cup sugar
1 teaspoon vanilla extract
1/4 teaspoon fine sea salt
5 ounces extra-bittersweet chocolate (I used dark chocolate chunks)

1. Sift flour, cocoa, and baking soda into medium bowl.
2. Using electric mixer, beat butter in large bowl until smooth but not fluffy. Add both sugars, vanilla, and sea salt; beat until fluffy, about 2 minutes.
3. Add flour mixture; beat just until blended (mixture may be crumbly). Add chopped chocolate; mix just to distribute (if dough doesn’t come together, knead lightly in bowl to form ball).
4. Place dough on a sheet of parchment paper. Roll into 1 1/2-inch-diameter log. Chill until firm, about 3 hours or flash freeze for 30 minutes. (Can be made 3 days ahead. Keep chilled.)
5. Preheat oven to 325°F. Line baking sheets with parchment paper or silpat. Using thin sharp knife, cut logs crosswise into 1-inch-thick rounds. Space 1 inch apart on prepared sheets. Bake 1 sheet at a time until cookies appear dry (cookies will not be firm or golden at edges), 11 to 12 minutes. If frozen, cook about 5 extra minutes. Transfer to rack; cool.

TIPS
• Not keen on dark chocolate? Replace it with chunks of milk chocolate, white chocolate, nuts, andes mints, etc.
• Place cookies in a cute package, give to a friend, and spread world peace.
• Enjoy cookies within 3ish days of baking. They tend to dry out quickly.


© The Faux Martha 2024. Privacy Policy. An exclusive Member of Mediavine Food.