
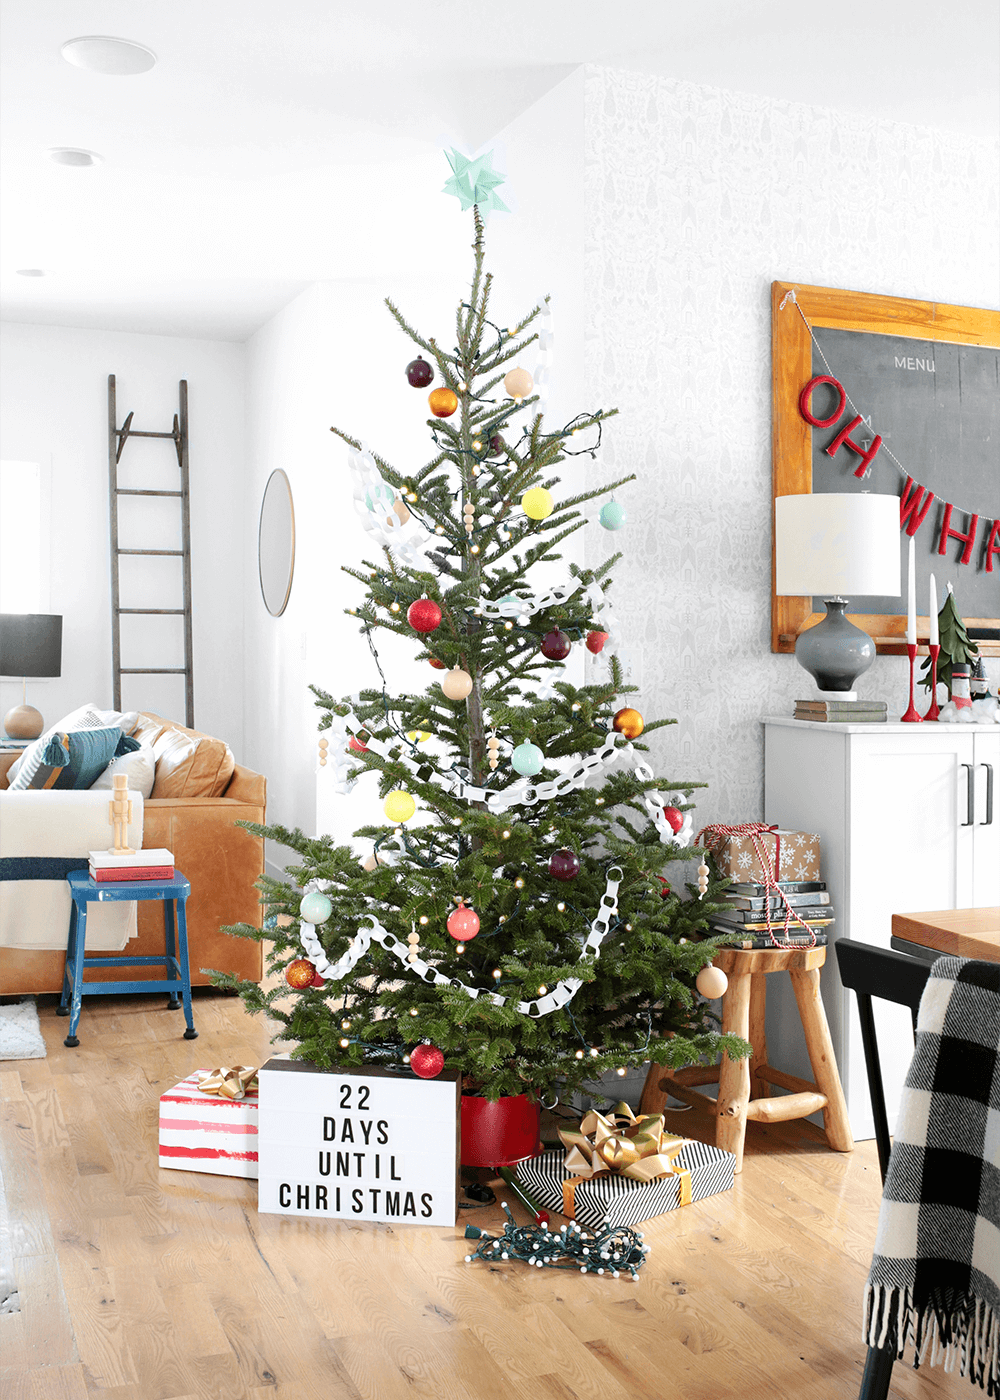
We’ve always kept our Christmas tree simple with colorful ball ornaments. They appease my need for simplicity, Hal’s need for color, and Kev’s need, well, he doesn’t have many needs in regards to all this hubbub. While the jingles jingle over the speakers, we decorate the whole house within a couple hours. It all comes down just as easily. There’s a lightness and a brightness to the look of it all, to the ease of it all. Of course, that stands in stark contrast to the very hard parts about this season, which is why I try to keep this side of things simple. Simple like these DIY Nordic Wooden Ornaments we added to the tree this year.
These wooden balls were left over from a year-long parenting experiment that went quite well. I planned on sharing our experience with the experiment, but anything too parent-y on the internet has a way of going sideways. Maybe one day I’ll tell you about it. In the meantime, I want to tell you about these DIY Nordic Wooden Ornaments for your tree, for a gift topper, or for a snowy, crafty afternoon.
How to make DIY Wooden Nordic Ornaments
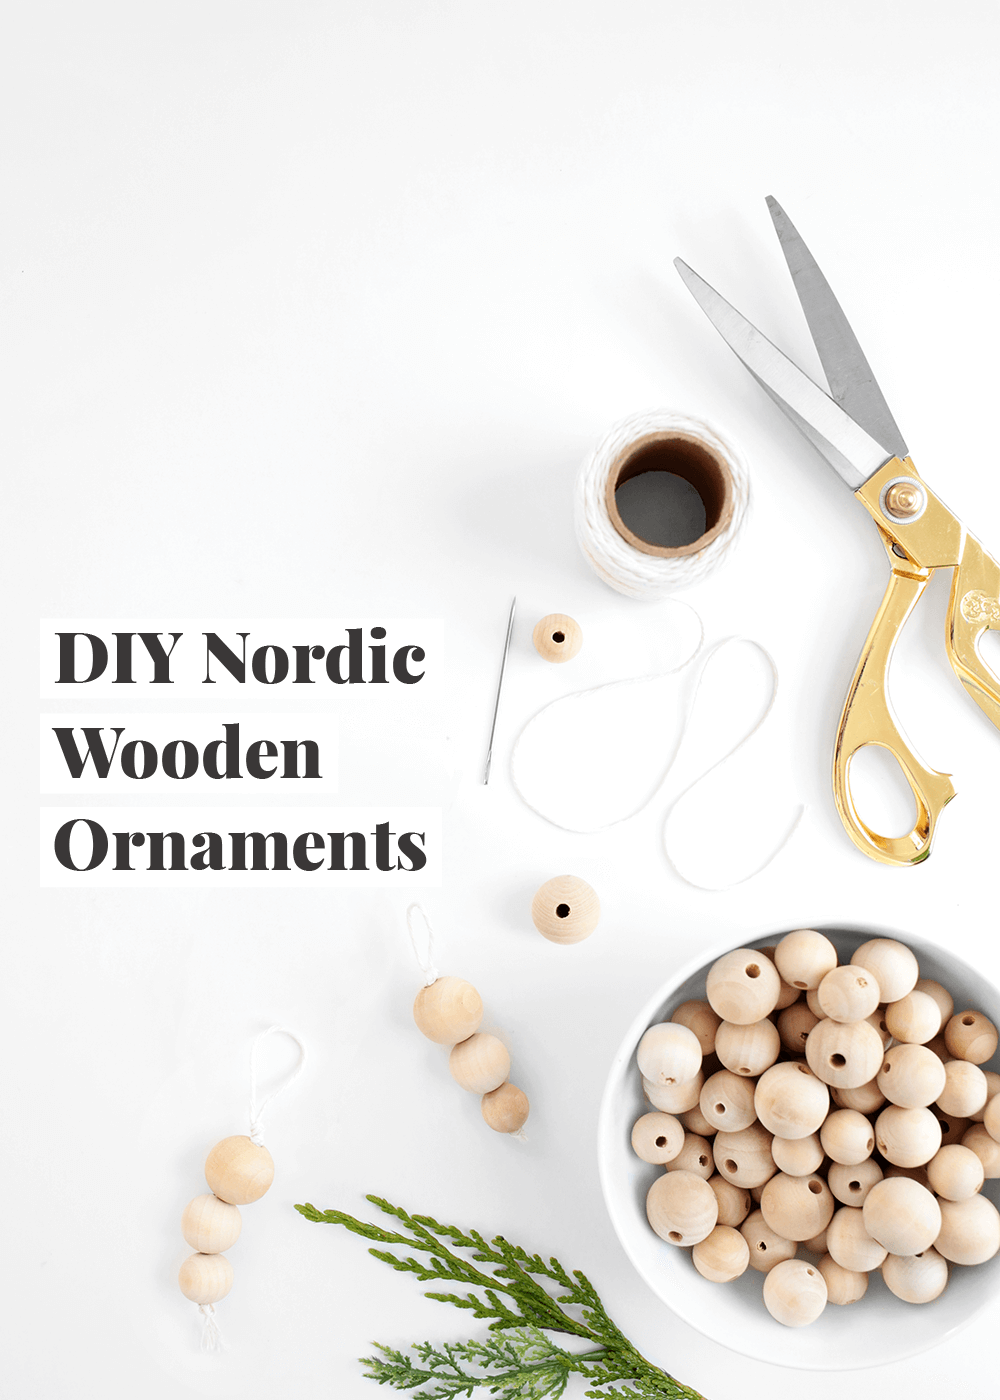
What you’ll need
- Multi-size wooden beads
- Thick cooking twine (like the kind you use to truss a chicken)
- Large eye thick sewing needle

Step 1
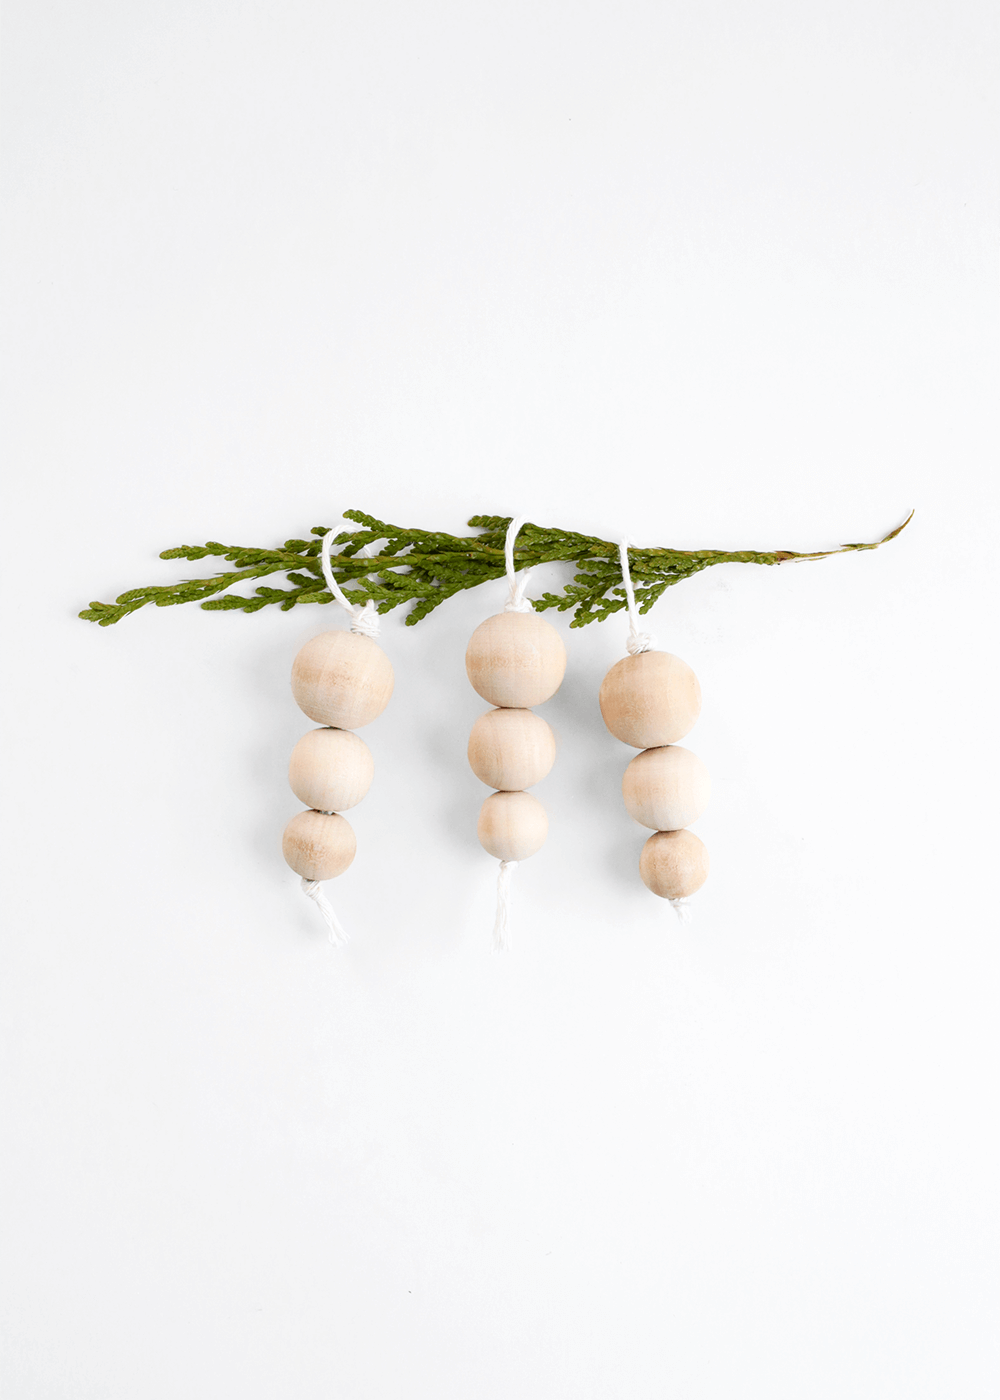
Cut a 13-inch long piece of twine. Thread it through the needle head. Gather 3 beads: a small, medium, and large. Start by stringing through the large bead first, then medium, then small. You’ll be left with a piece of twine threaded through the beads.

Step 2
Next, remove the needle and rethread it through the other end of the twine, on the side with the large bead. String it back through the beads, starting with the large bead, to create a loop. Keep a finger or pencil in the loop to keep it from slipping through the beads.

Step 3
Holding both cut ends of the string, tie a knot with enough room for a slight fringe at the bottom, being careful to keep the beads from falling off the loop end. A single knot is sufficient unless you’re working with thinner twine. Double knot as needed. Then tie a double knot on the end with the loop, nudging the knot as close to the large bead as possible. If your beads are larger or smaller than the ones listed, you’ll need to adjust the length of your twine accordingly. Hang your DIY Wooden Nordic Ornaments on your tree, on a present, or over a bottle of wine.

Merry minimal Christmas to you.
To see how we decorate the house for Christmas, head this way. For beautiful, exposed tree stands, head this way.


Comments
Your email address will not be published. Required fields are marked *