
Ingredients
Scale
- 1 c. warm water
- 2 tsp. active dry yeast
- 3 tbsp. sugar
- 3 tbsp. unsalted butter, melted
- 3 tbsp. warm milk
- 2 large eggs
- 3 c. bread flour, plus more
- 1 1/2 tsp. flaky kosher salt
- Topping
- 1 large egg
- sesame seeds
Instructions
- In a small bowl, combine warm water, yeast, and sugar. (The liquid should be between 110º-115º for the yeast to proof properly.) Allow yeast to proof until foamy, about five minutes.
- Heat butter and milk until melted. Whisk in eggs until evenly combined. Set aside.
- Into the bowl of a stand mixer, add flour and kosher salt. Whisk to combine.
- Stir together melted butter and yeast mixture. Add into the flour.
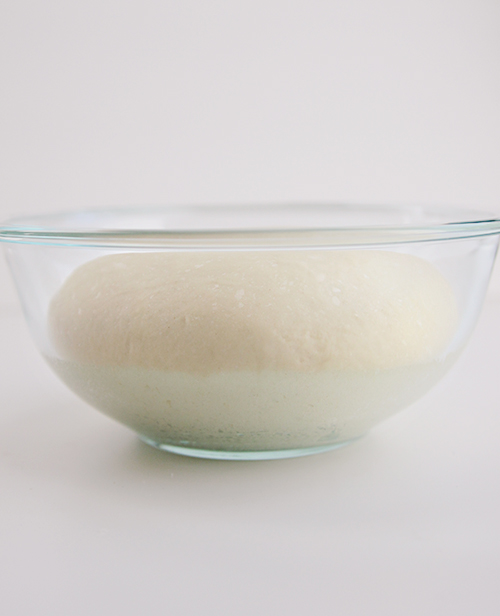
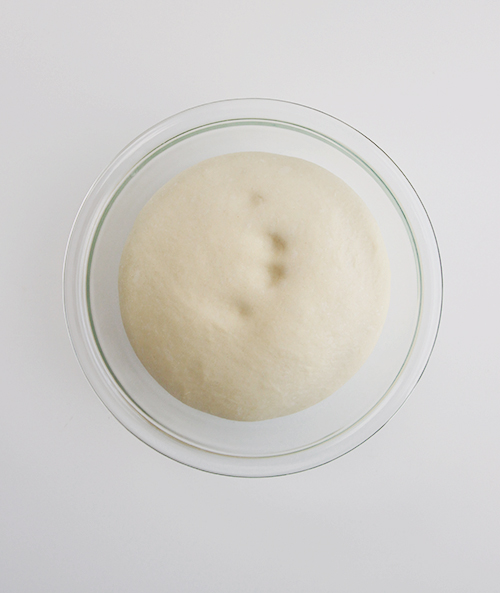
- With the dough hook attachment, mix on medium speed until a dough forms. Slowly add more flour until dough begins to pull from sides. Like a little wheat flour? Go ahead and use some now. Mix for about 8 minutes. Shape dough into a ball. When ready, dough should be on the slightly sticky side but will easily mold into a ball.Cover bowl with towel. Let rise in a warm place until doubled in bulk, two hours. (For the procrastinators, speed up the rising time by preheating oven to 350º for 1 minute. Turn off and place bowl in warm oven, about 1 hour.)
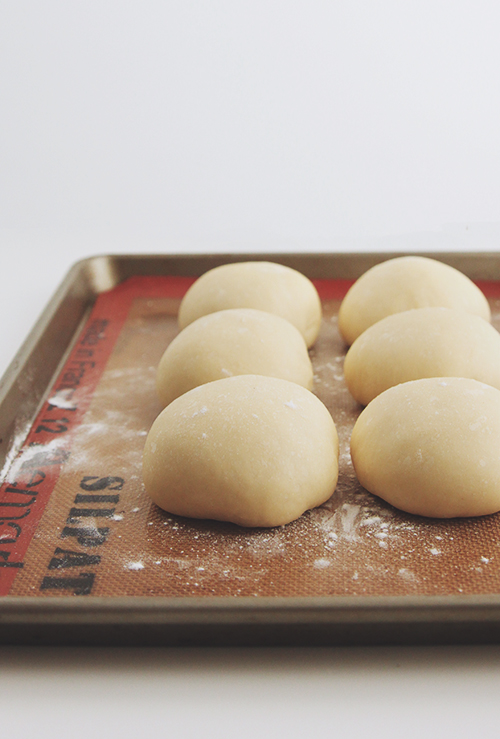
- Line baking sheet with parchment paper or Silpat. Divide dough into 12 equal parts, lightly flouring dough if necessary. Gently roll each into a ball and place two to three inches apart on baking sheet. Cover loosely with towel, and let buns rise in a warm place for two hours. (Or, use the procrastinator technique.)
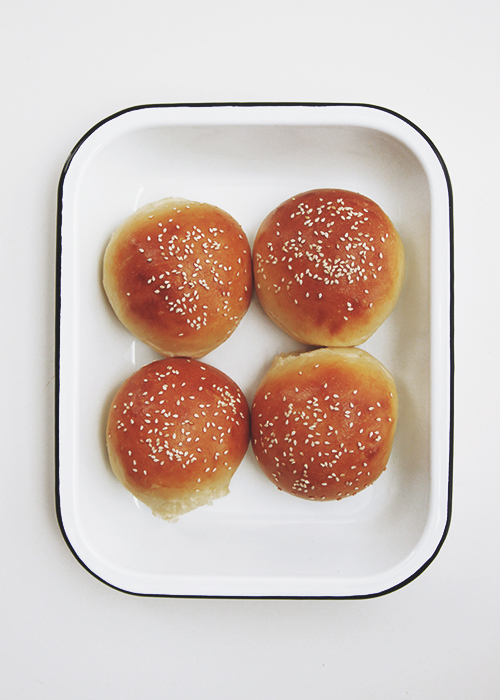
- Set a large shallow pan of water on oven floor. This will help steam the buns. Preheat oven to 400º with rack in center. Make topping. Beat remaining egg, and brush tops of buns. Sprinkle with sesame seeds. Bake until tops are golden brown, 12-15 minutes. Transfer to rack and cool completely.
- Before serving, rewarm buns in a warm oven or slice and toast on the grill. Save leftover buns in an airtight container or freeze.
Notes
• Leary about working with yeast? Check this how-to video out.
• Substitute in some wheat flour if you wish, using a tad bit less to compensate its density.
• Have leftover buns? No problem. Stick them in a freezer safe bag. Make sure all the air is out. When you’re ready to use, take them out, wrap them in a damp paper towel, and, using the defrost setting on your microwave, defrost for no more than 5 minutes. They should be soft, warm, and ready to eat!


Sorry … meant Melissa! Too early in the morning!
Martha .. these look delicious and can’t wait to make them. Quick question .. I know you like the instant yeast where you can just add to the mixture without going through the proofing .. can that be used here?
Hi Hedy! Yes, yes! It works interchangeably. (I love your name, by the way!)
Just made these to accompany tonight’s pulled pork sandwiches. I was totally convinced that I had messed up the dough — it was SO sticky and it definitely didn’t ‘roll’ into perfect little buns. BUT, post 2nd rise, they were perfect, and I just pulled them out of the oven and they look like beauts! Yet another fabulous recipe Melissa — thank you! x
I LOVE LOVE LOVE the idea of making your own hamburger buns. I’m a firm believer a bun can make or break the burger. Looking forward to trying these …. or perhaps just eating them with butter and salt. 😉
I made these today at the recommendation of Mary from chattavore.com. I used your procrastinator shortcut and it worked like a charm! Absolutely delicious. Thanks!
these look amazing! wish i had seen the recipe before our memorial day bbg today. i’ll have to try these in the future!
I’m trying these for the holiday weekend! I’m wondering about potato starch…can it be stored in the freezer like flour?
Yeah! Let me know how they turn out. I keep my potato starch in the freezer. I’m glad you asked. I should have mentioned that!
So…I’m ridiculously embarrassed of how my buns turned out. I got nervous about using the procrastinator method and covering with a towel. I dampened the towel which I think was my downfall. They wouldn’t rise and didn’t get any color to them whatsoever. The taste was okay…they were tough though which was surprising since I tried not to add too much flour.
I will try again 🙂
Nooo! I’m super bummed for you. I hate it what bread doesn’t work! A couple things that may help—covering them with a dry towel keeps the drafts out. But I’m thinking the yeast didn’t proof. The warm liquids should be between 110-115 degrees. I’m going to make the recipe more specific.
Wow! Those look gorgeous! I’m not a great bread/dough maker [yet] but I would love to try my hand at these.
You should totally give these a try! they are super easy as long as the yeast proofs correctly.
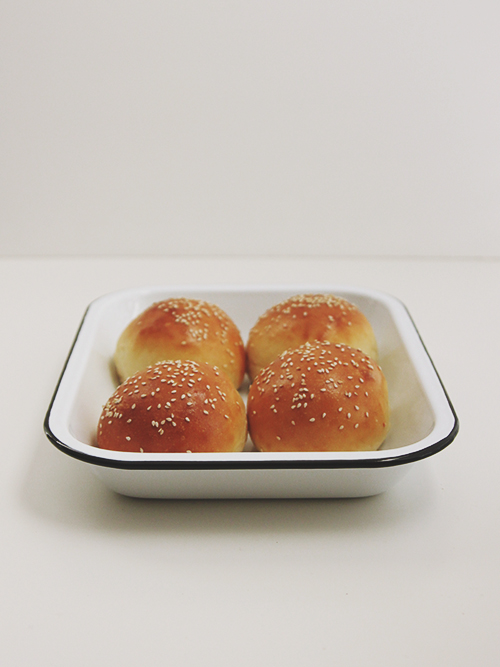
Gorgeous buns with a beautiful crust.