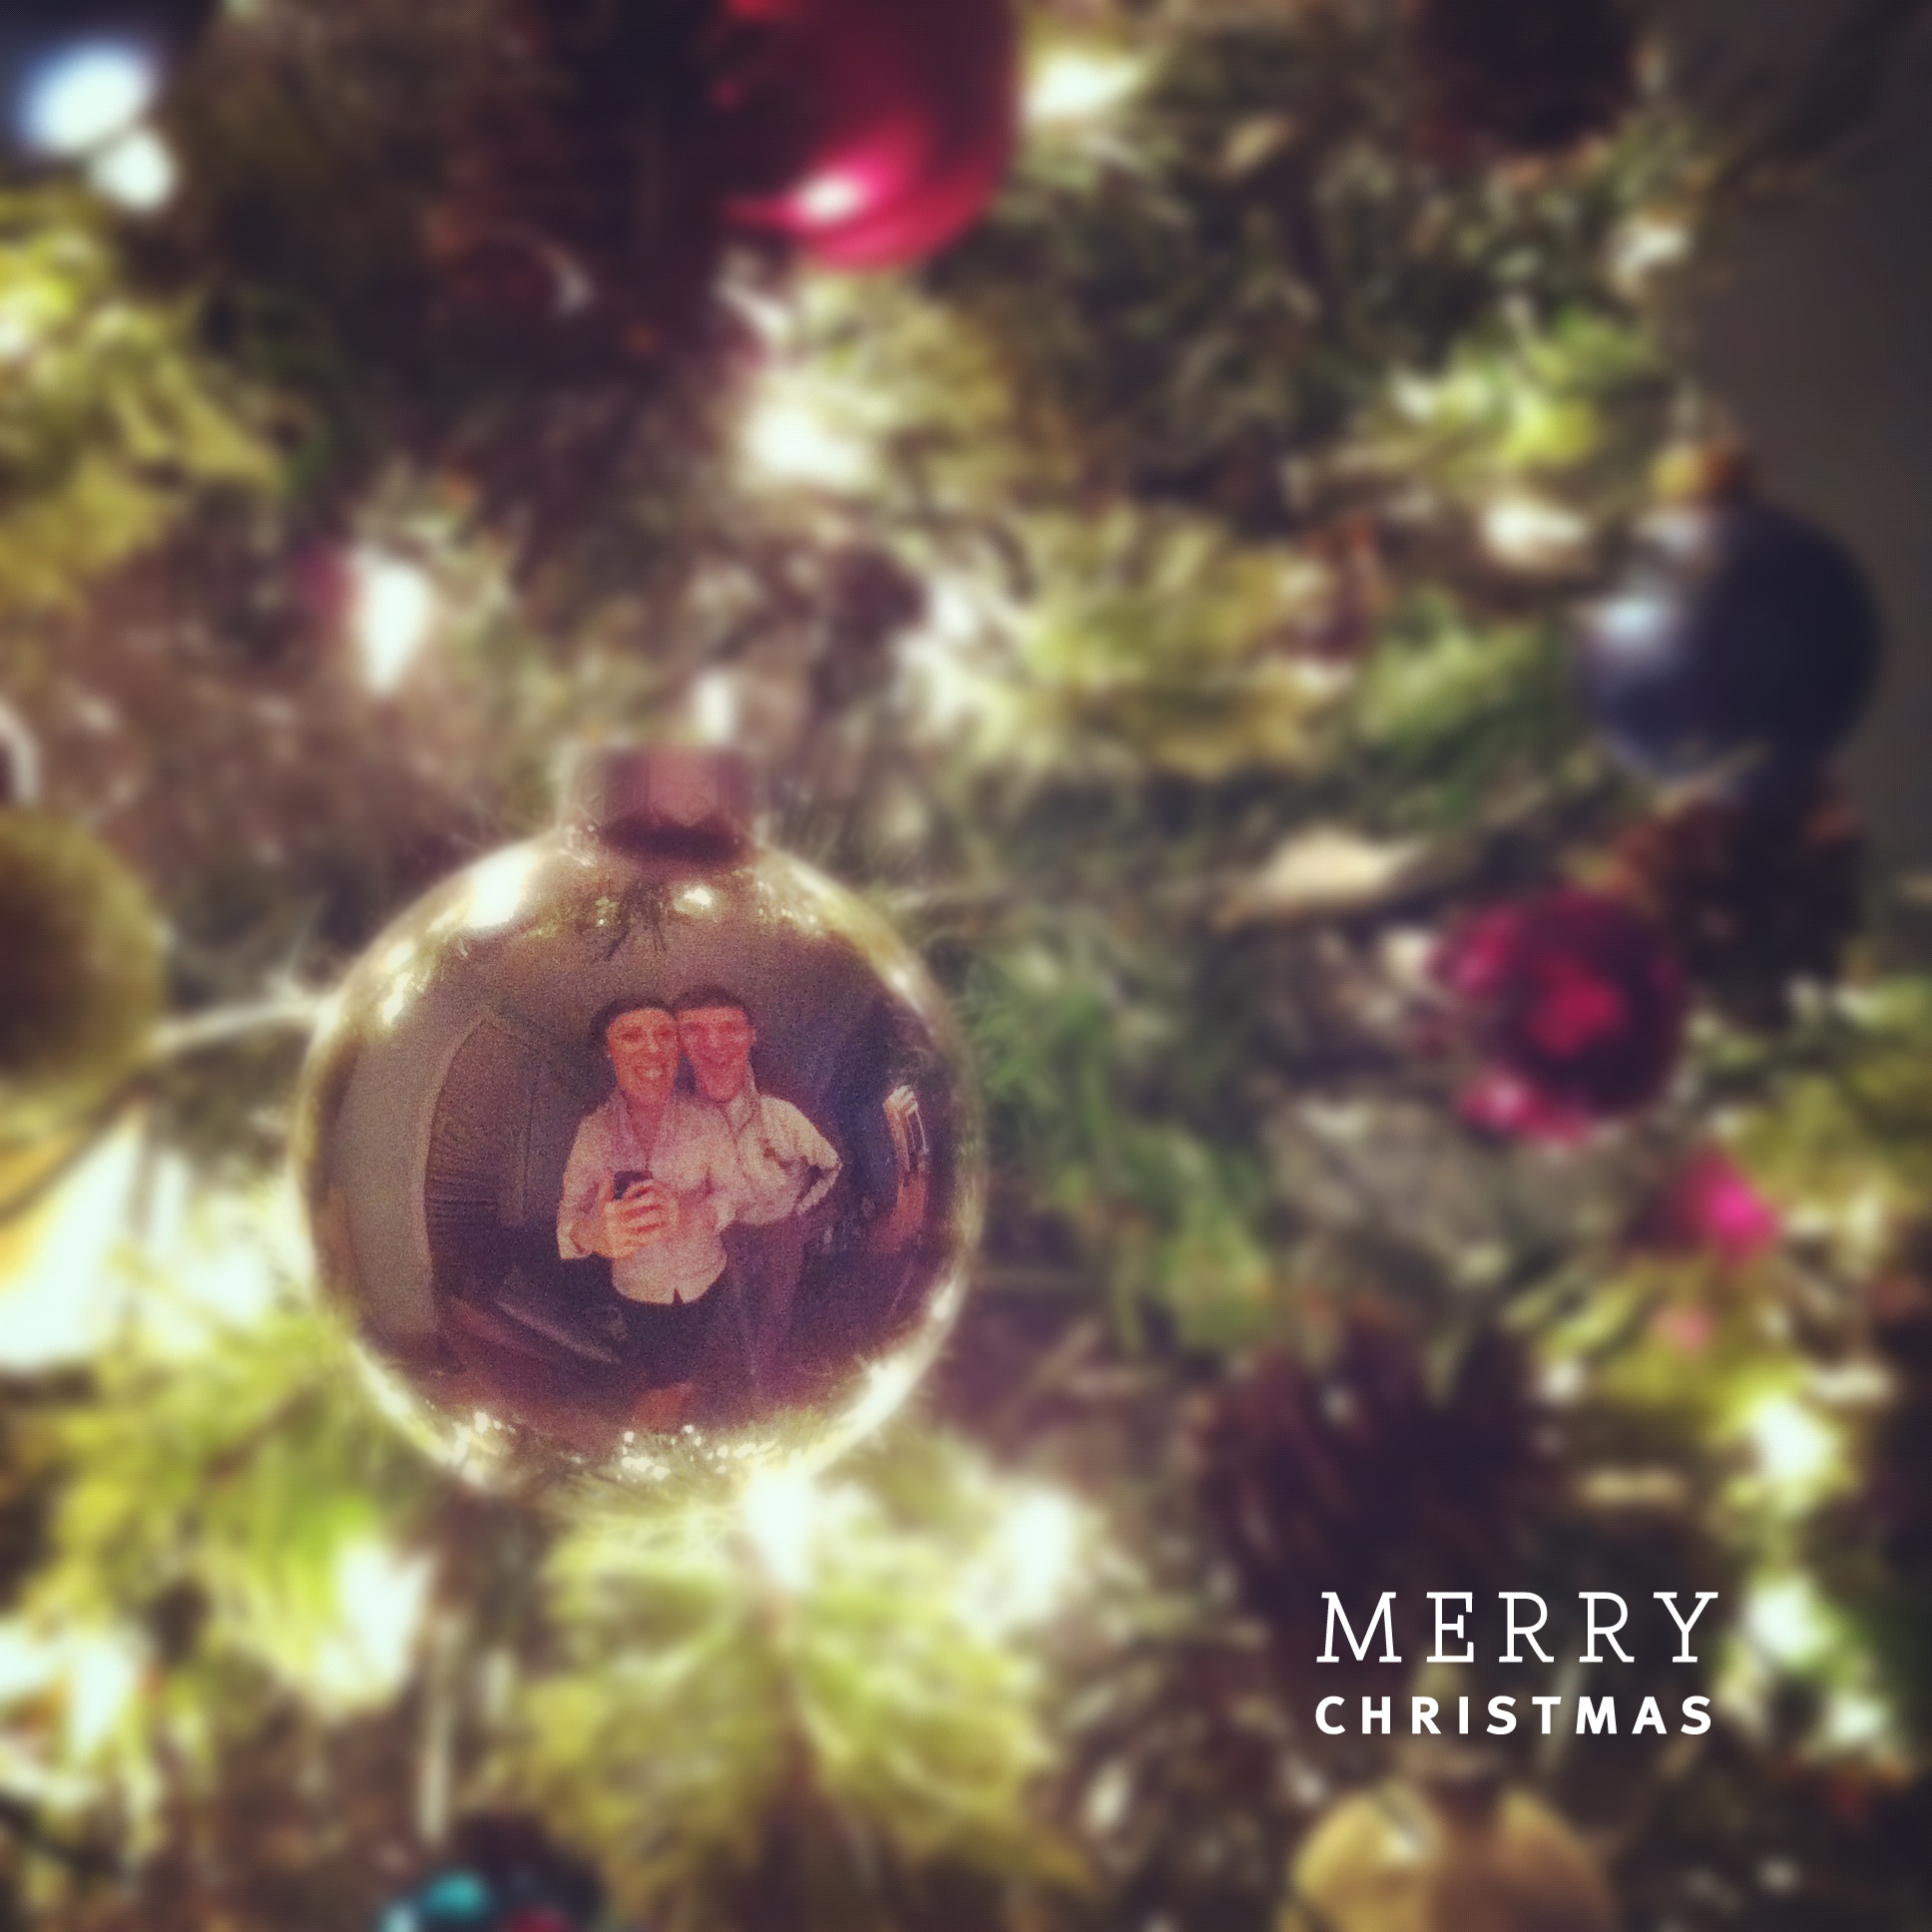
This time of year passes much too fast. Still trying to figure out how to make it last. All these late nights seemed like a good idea— Baking and listening to Christmas songs like Ave Maria. The scrawny tree, it twinkles, brightly in the background, With our goofy faces cast on every jewel-toned ornament around. Packing, wrapping, cleaning—that’s what we should be doing. Instead we’re in the kitchen inhaling Christmas in a Bowl, forget chewing. Tomorrow morning early, we should be on the road. If it’s anytime before 6:30, honey, please call a code. Ok, fine. I’ll be serious for a quick second. This has been a wonderful year, I reckon. Only one semester left of grad school for the husband. Match Day, February 24th, will tell us where we’re summoned. I’m a tiny bit excited with a touch of bittersweet. To watch our future unfold—I consider it a treat. I forgot to mention one little thing… Me and rhyming is like my tone deaf neighbor trying to sing. Now you probably think this poem is super trite. But what I really meant to say was—
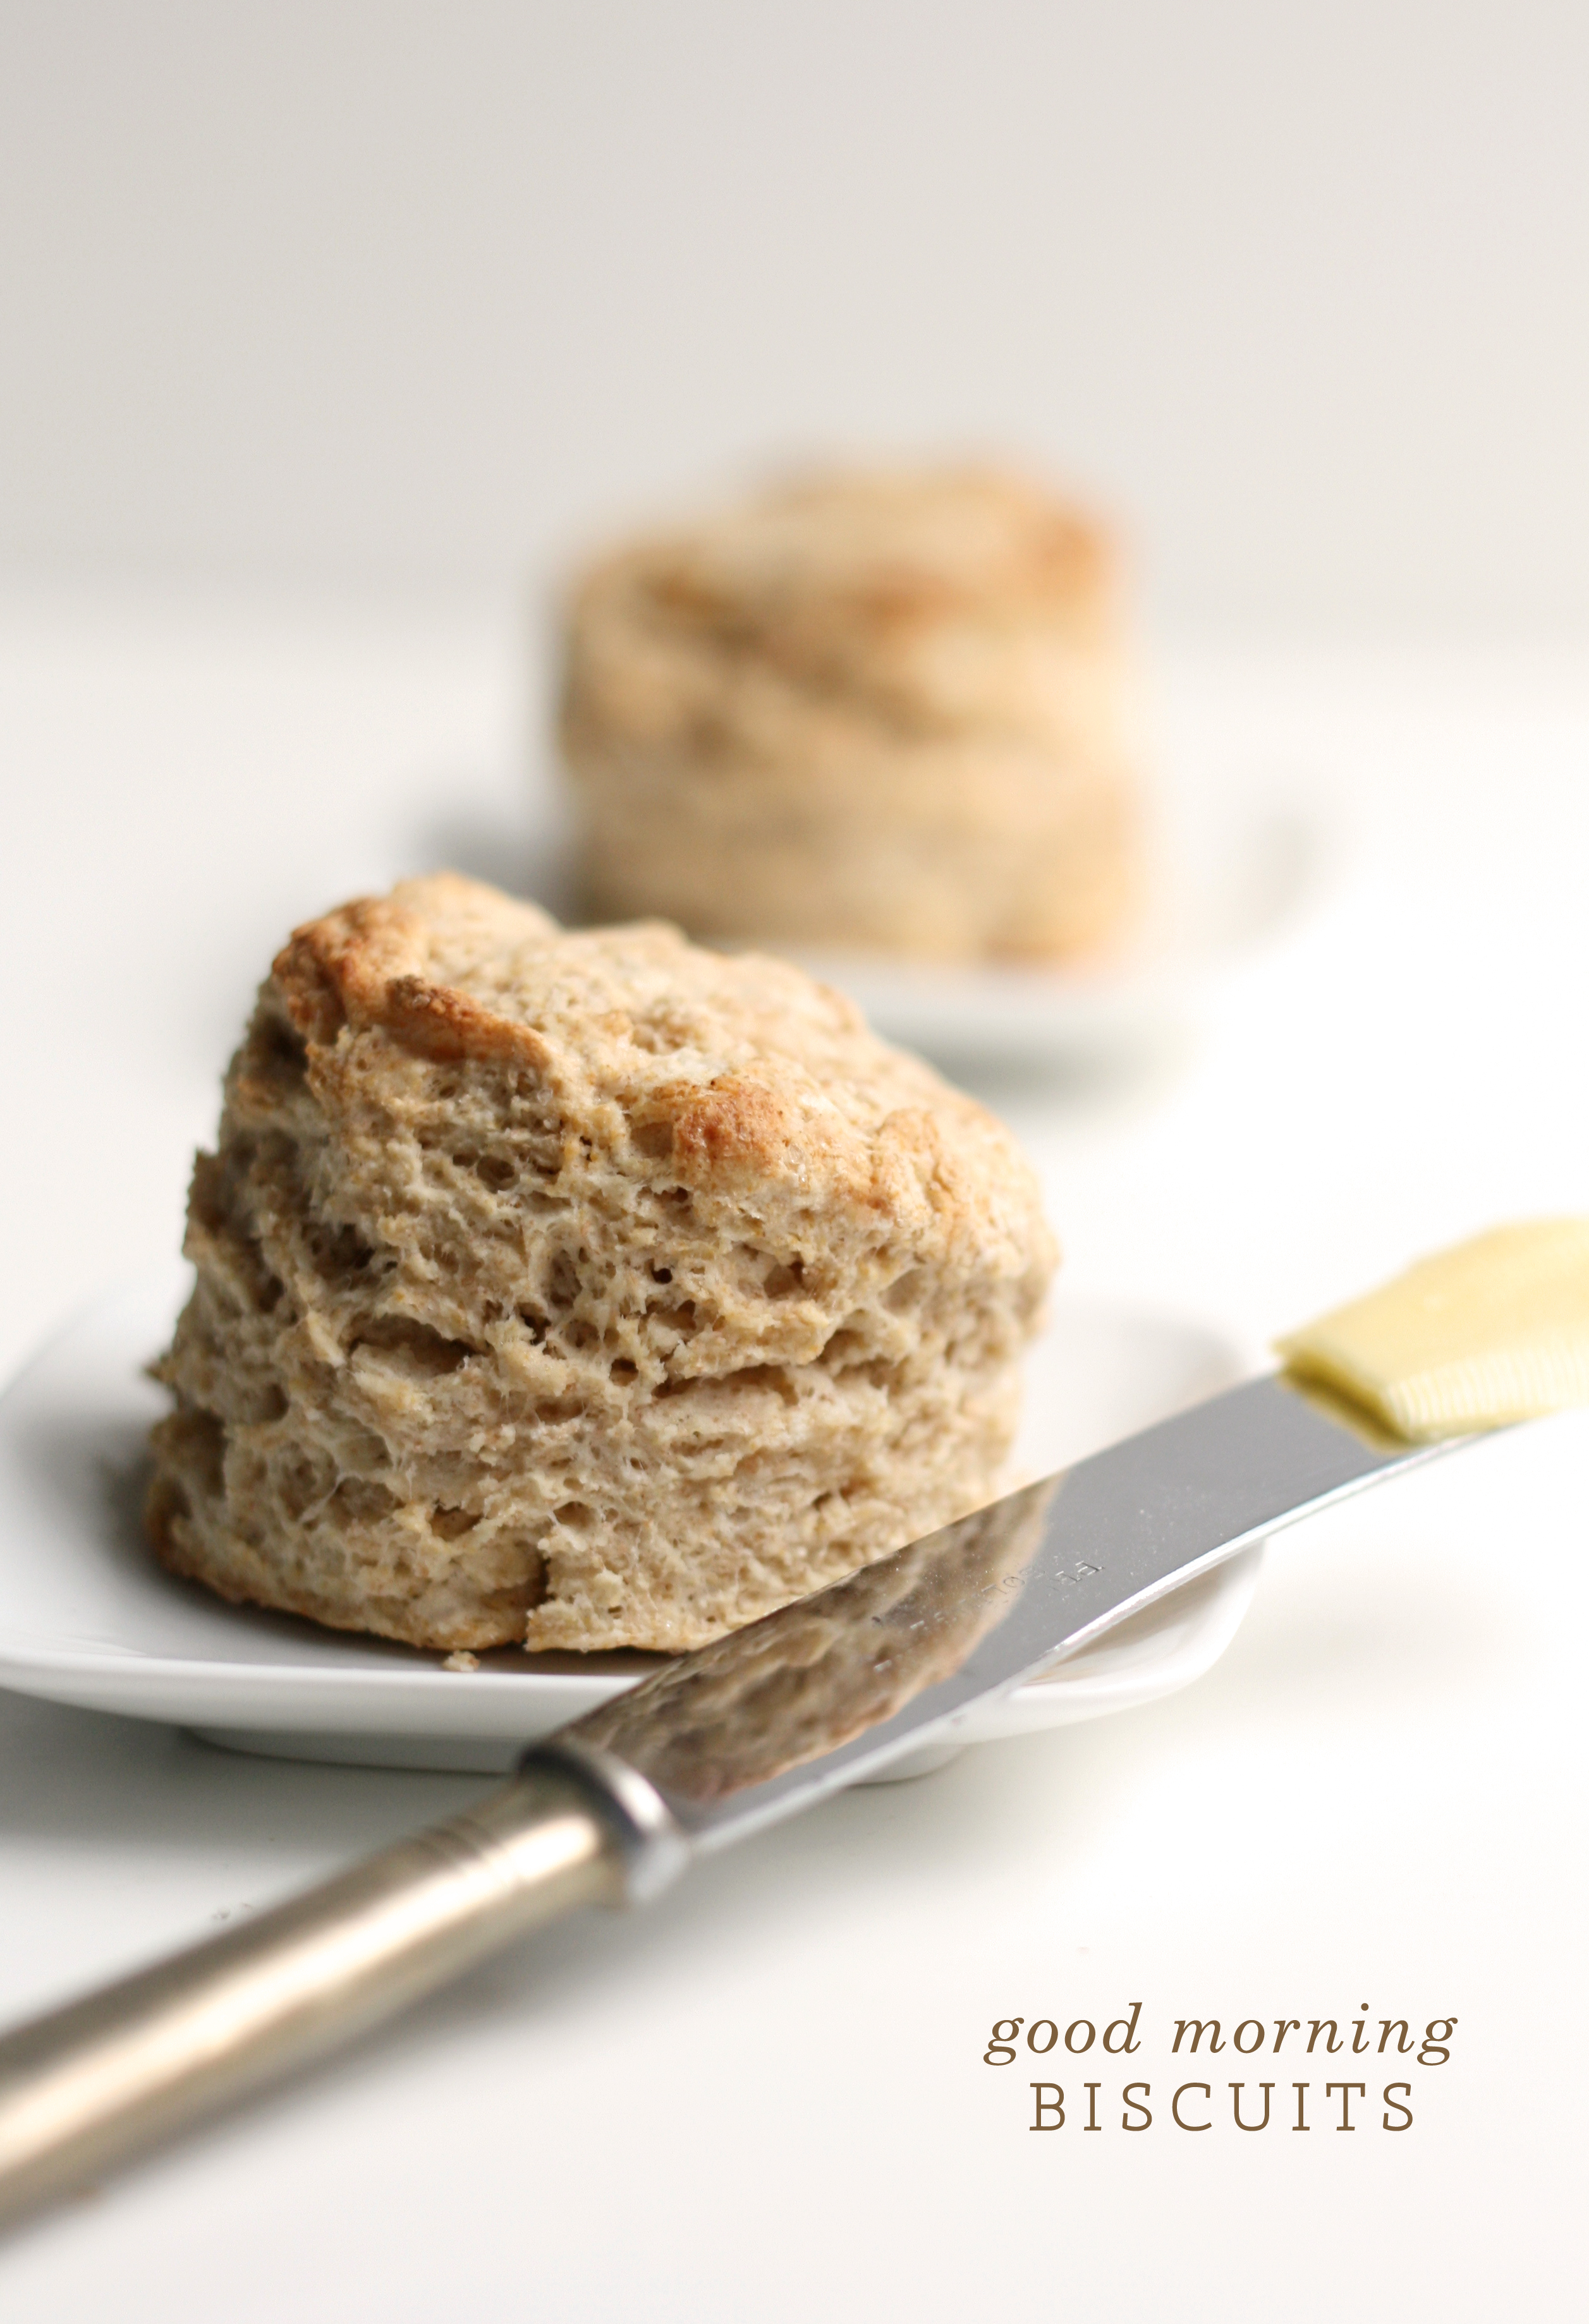
Have you noticed? Chicken Pot Pie. Chicken Noodle Soup. Apple Pie. I’ve been on a comfort food frenzy. And biscuits have been tugging at my pant leg for weeks now. If I didn’t know any better, I’d think I was pregnant. Or homesick. I’m craving biscuits about as much as I’m craving some good ole family time. Living far away from home has its disadvantages—like living far away from home. The miles apart are long. And the days till Christmas vacation seem endless. I’m counting on these tender in the middle but crunchy on the outside comfort-filled biscuits to tide me over in the meantime. And maybe a Christmas cookie or two. Read more
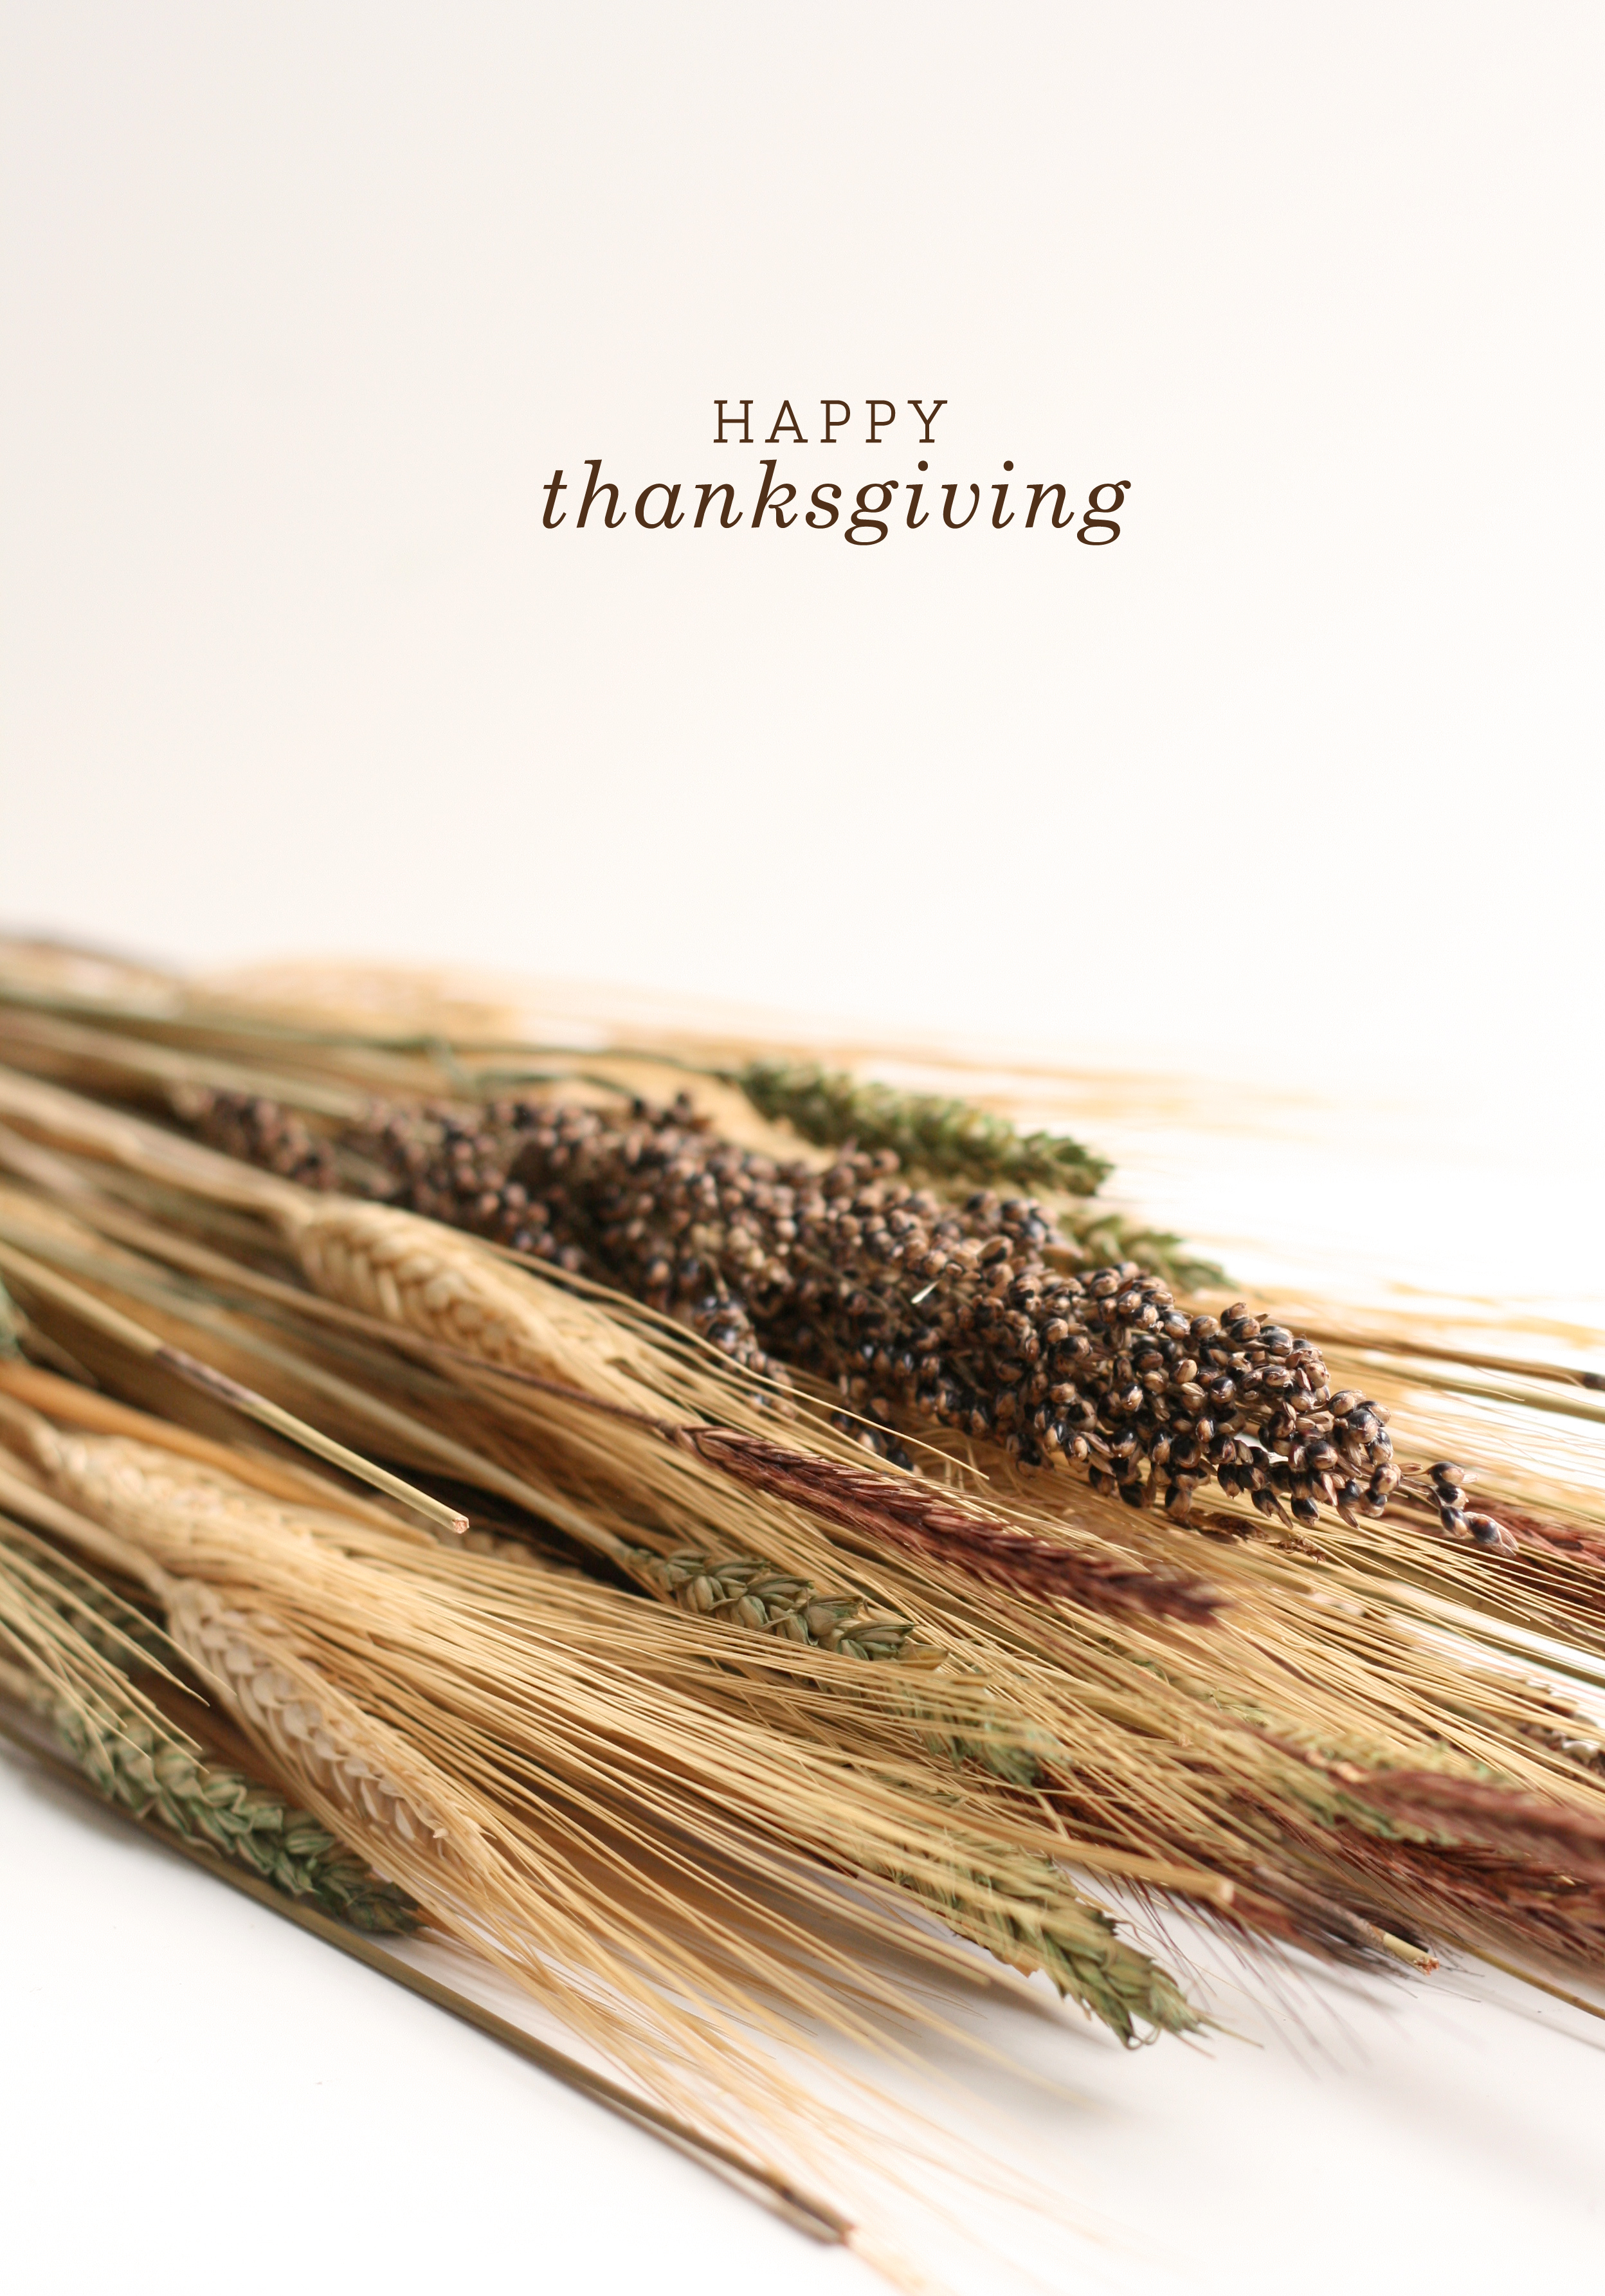
The turkey is brining. The pie crusts are resting. The cranberries have popped. And the hearty bread is drying out for tomorrow’s stuffing. Our tiny home smells of sautéed onions and celery with whispers of sage and thyme floating about. 1920s music is rolling through the speakers. With a glass of wine in hand, I’m ready to celebrate. To celebrate all the blessings this year harvested. It’s time to give thanks.
It’s back-to-school time again. And it’s kinda a big year for us. No, no little ones on the way. It’s Kevin’s (aka graduate school husband) last year of graduate school. Next year, we leave for internship. Time flies. Three short years ago, we married, moved to Chicago, and Kevin started graduate school in hopes of becoming a clinical psychologist. Hopes are beginning to turn into realities. And I’m gonna have to rewrite the first paragraph of my bio. One year closer to dropping the sugar momma title! Read more
I’ve departed from my normal flour, butter, and sugar gig this week. I hope you don’t mind.
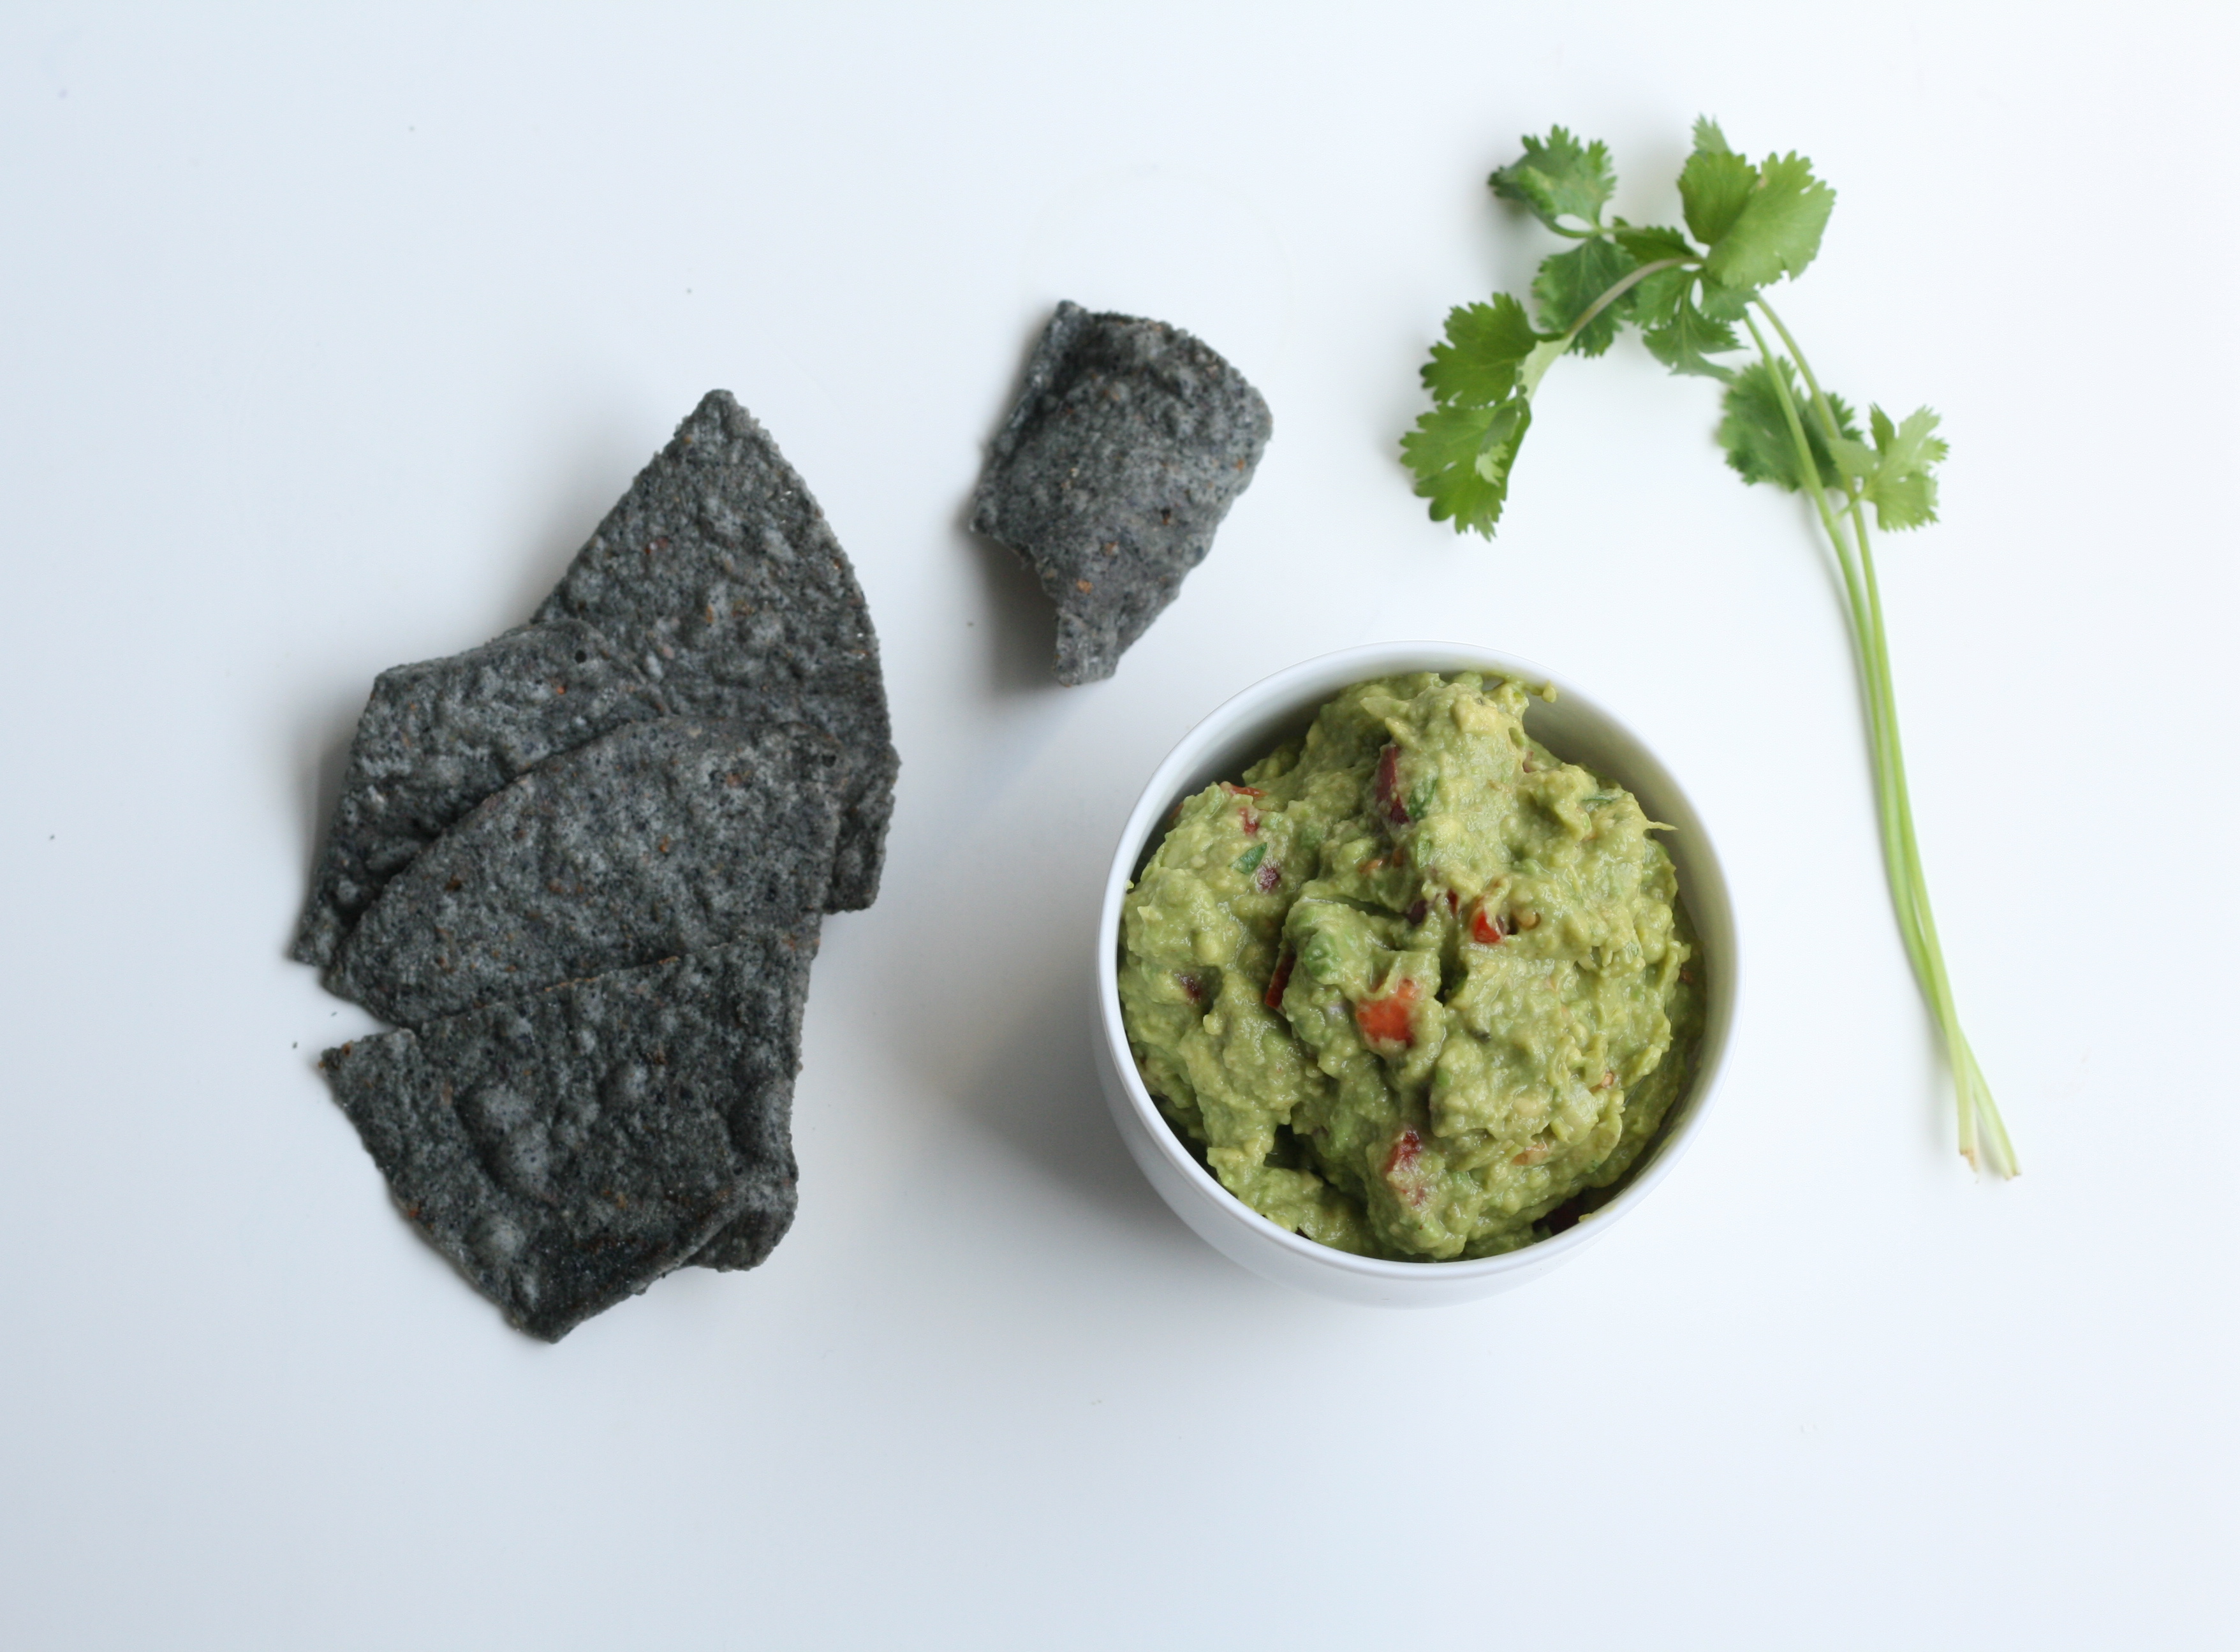
Confession: I’m a mexican food junkie, and I eat way too much guacamole. But I wasn’t always this way. Sadly, my unrefined childhood taste buds didn’t crave guac until I was in college. I lost a good 20 years of consumption. However, I think I’ve made up for it in the last six years. Thank goodness for its health benefits.
Every time I make guac, I think of my mom. She first introduced me to it with a recipe called—Game Day Guacamole. I can still see it peeking out of her overly stuffed light blue checked recipe box. Excuse me while I reminisce. The fact that food has the ability to conjure up vivid memories makes me love it even more.
I wish I could say that I still use the Game Day recipe, but I don’t. Being the hard-headed person that I am, I had to come up with my own recipe. I blame it on the artist in me. I’m like a dog marking its territory. I have to put my stamp on everything. Knowing how I am now, I can only imagine what I was like as a child. My apologies Mom and Dad. But lucky for you, I have perfected my recipe. At least to my liking. So go ahead, and give it a try.
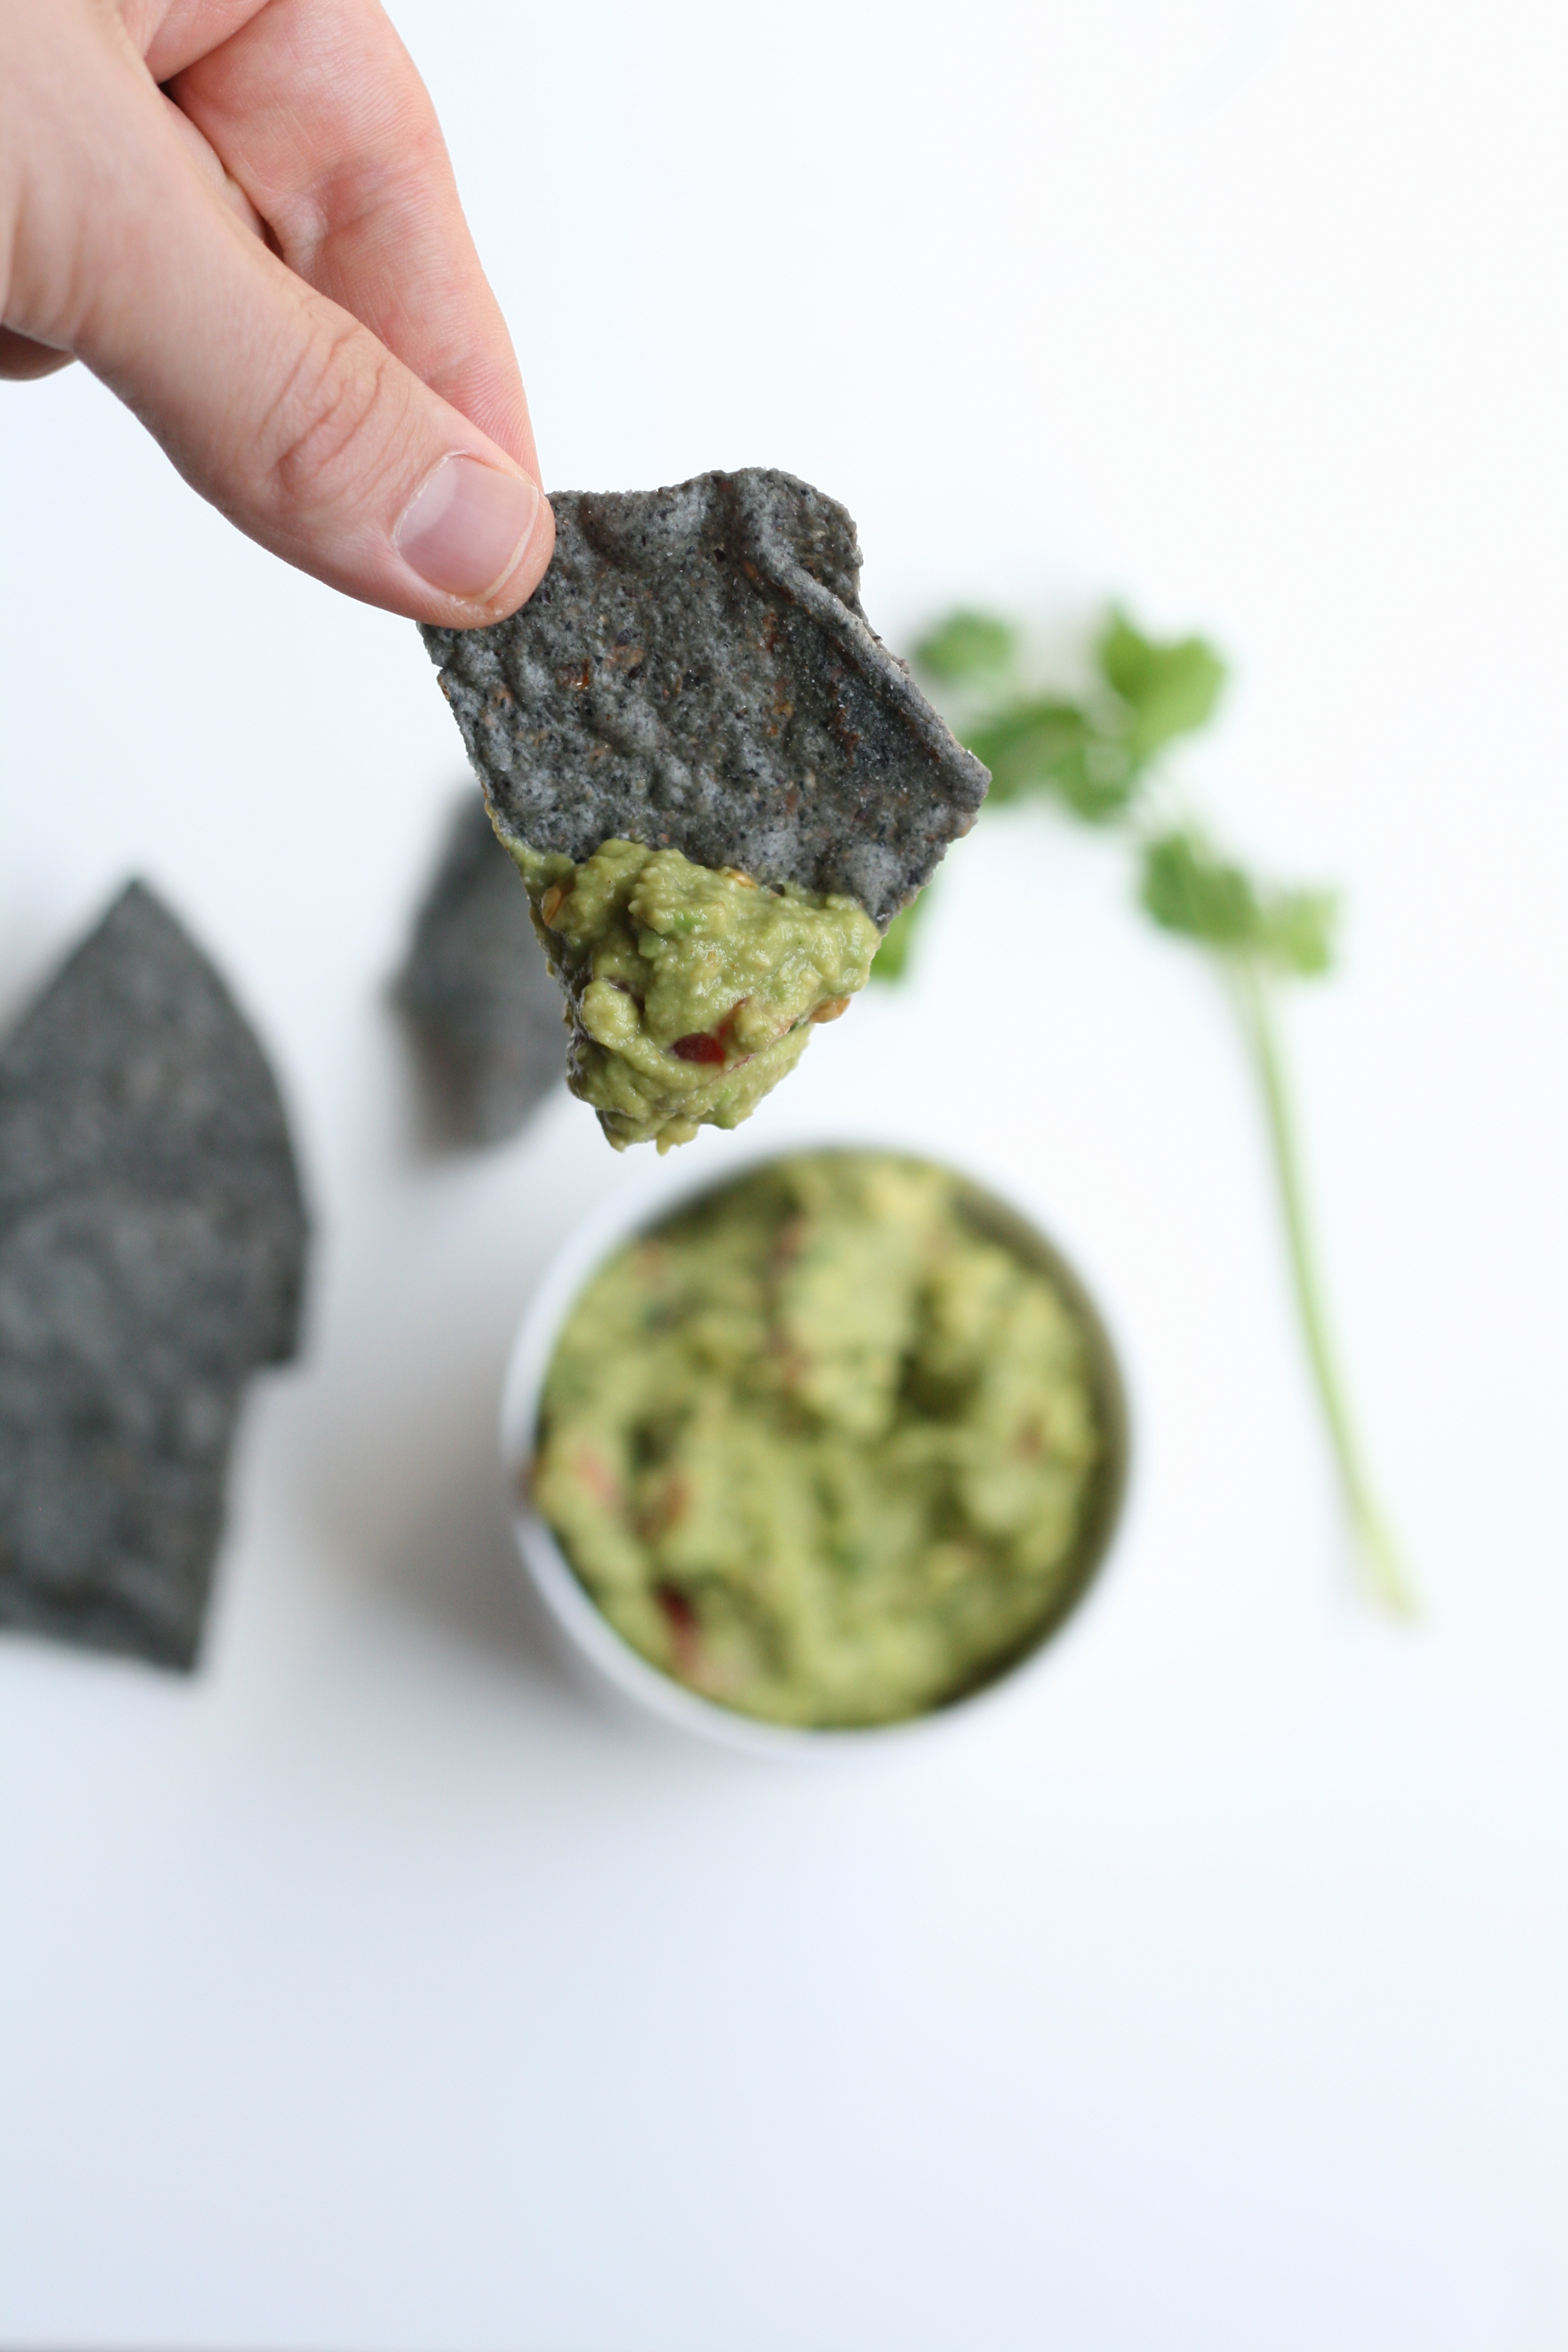
The best thing about this recipe—it’s not a science. Precision isn’t a must. Taste as you go. Follow your gut. And put your own stamp on it, or not.
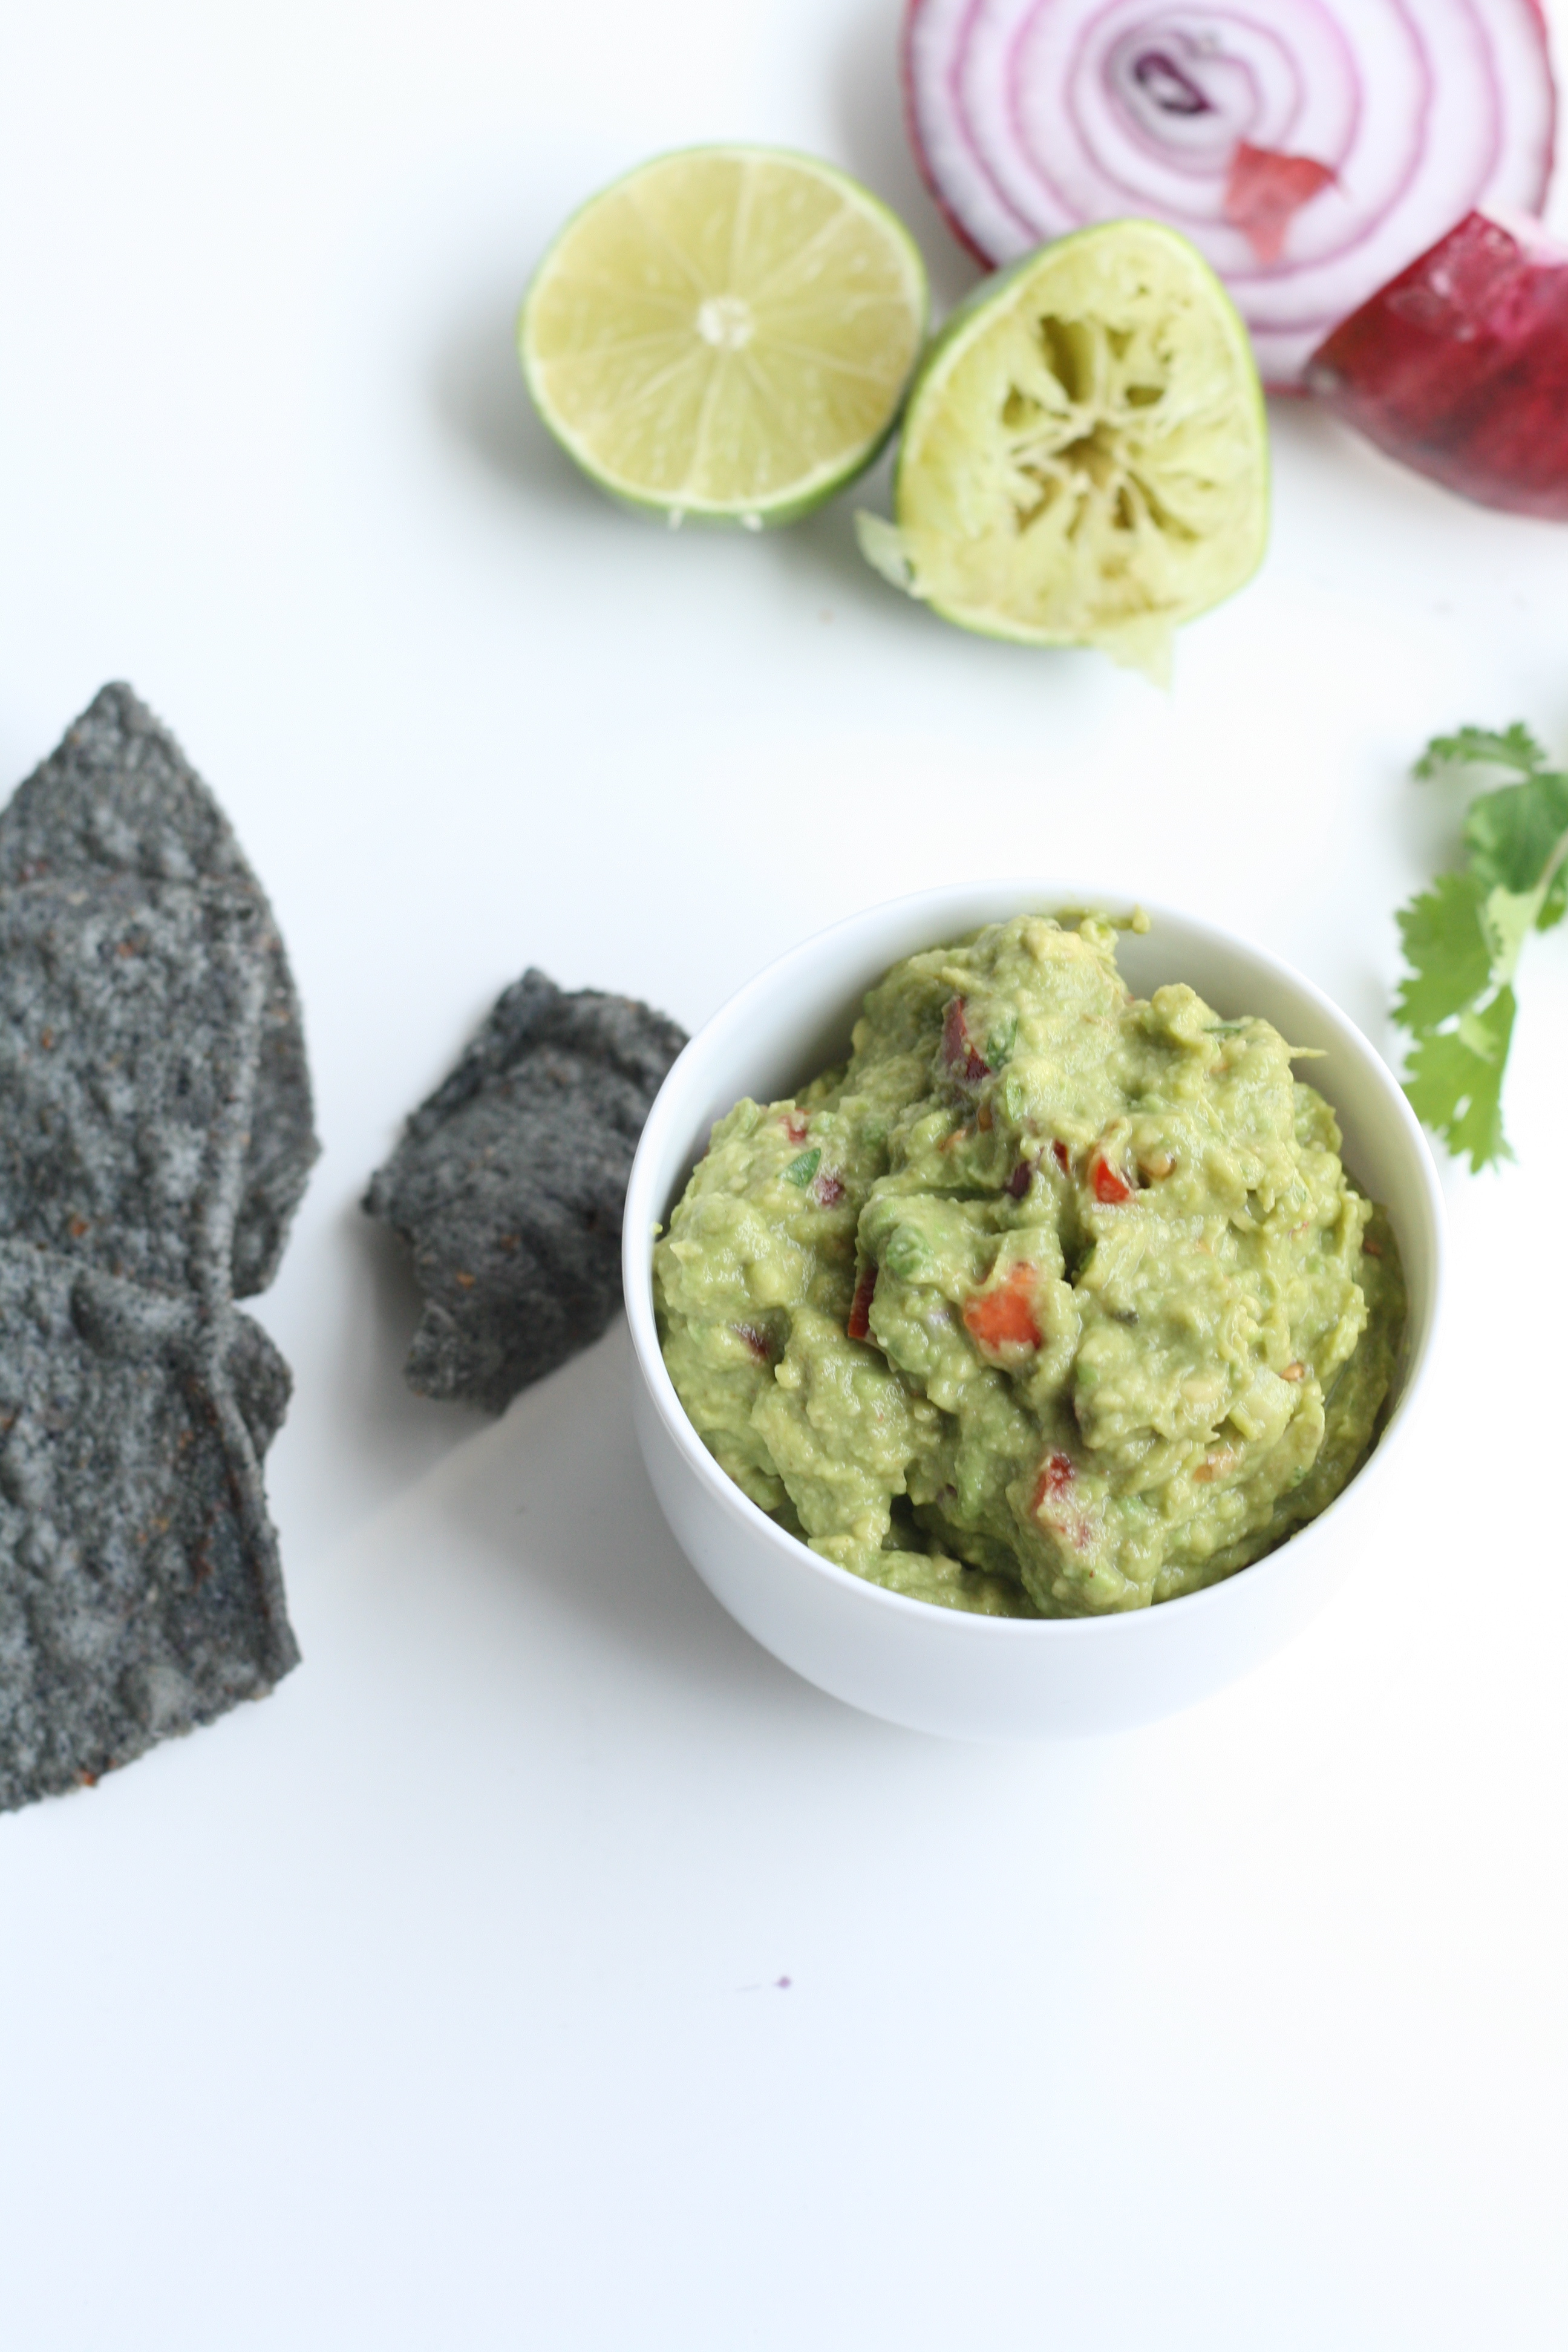
Guacamole recipe from yours truly
5 ripe avocados, peeled 1/4 c. chopped grape tomatoes 2 tbsp. chopped red onion 2 garlic cloves, minced 1 tbsp. fresh cilantro, chopped 3-6 jarred jalapeños, chopped 1 1/2 tsp. cumin half of a lime, squeezed sea salt
1. Add avocados to a large bowl and mash. Click here for a peeling how-to. 2. Mix in tomatoes, onion, garlic, cilantro, jalapeños, cumin, and lime juice. 3. Add Sriracha and sea salt to taste. 4. Taste. Add more where you see fit. It’s usually salt or cumin for me. 5. Press plastic wrap on surface of guacamole. This will keep oxygen from creeping in and turning things brown before you serve it.
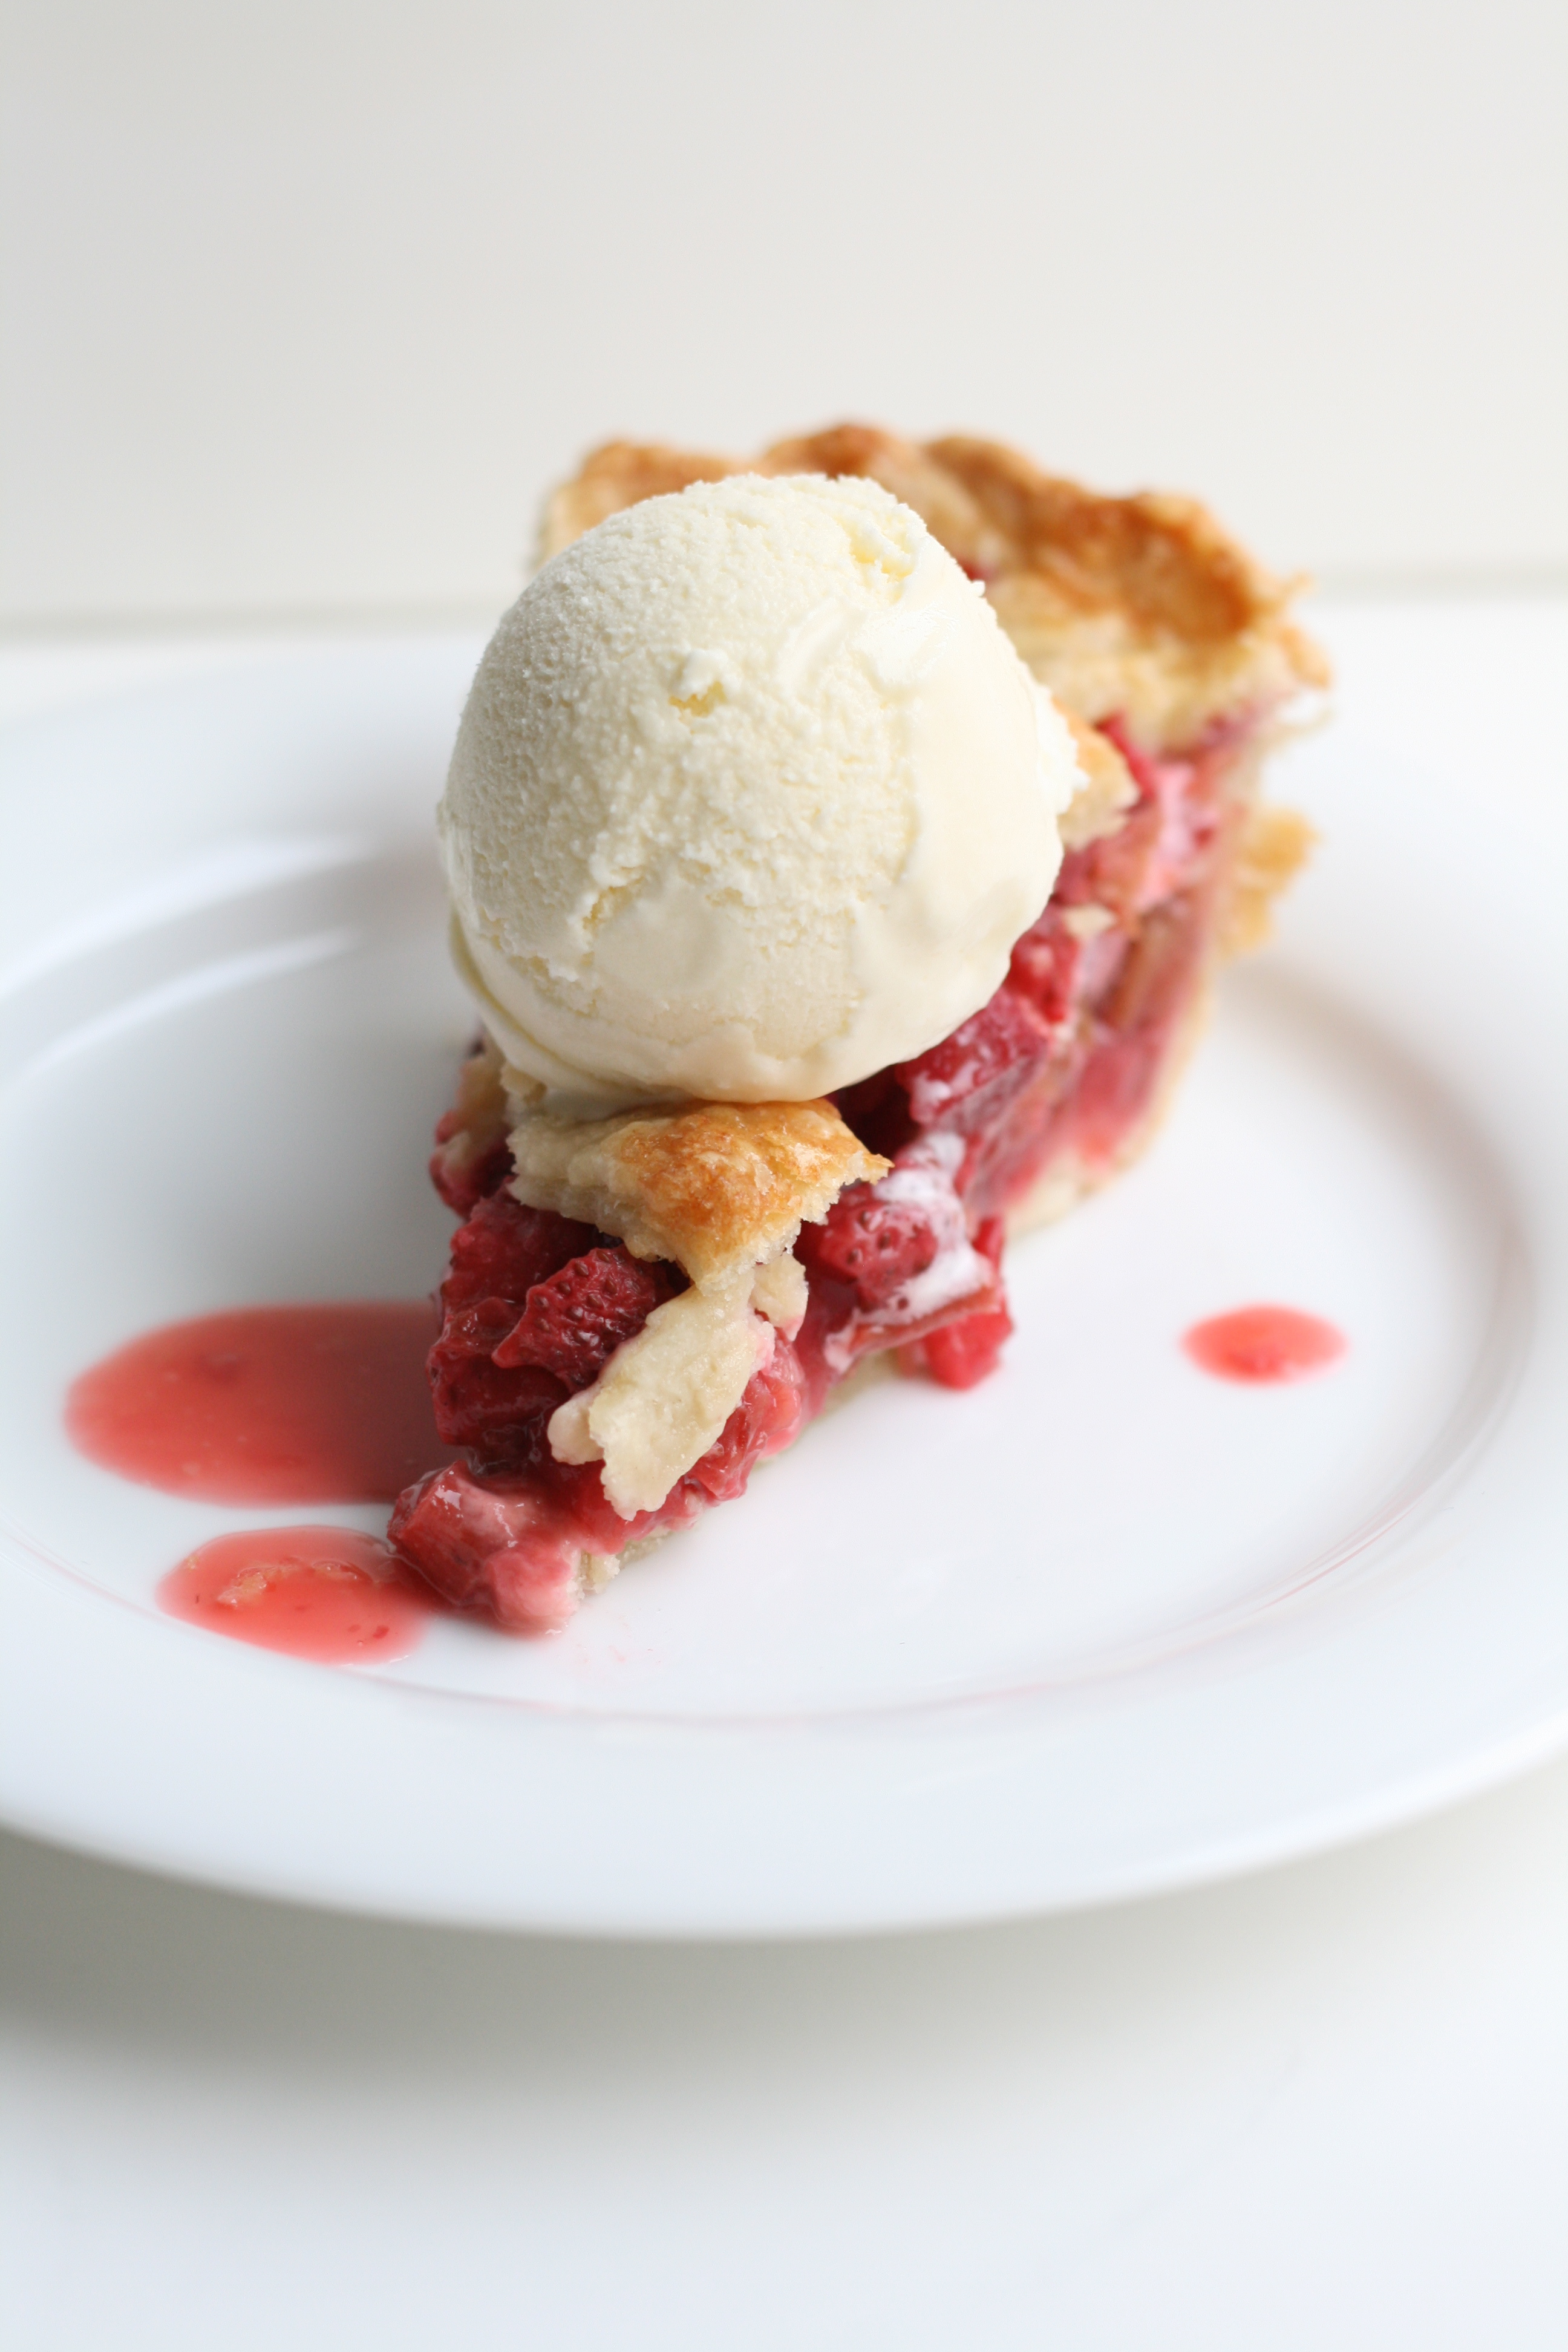
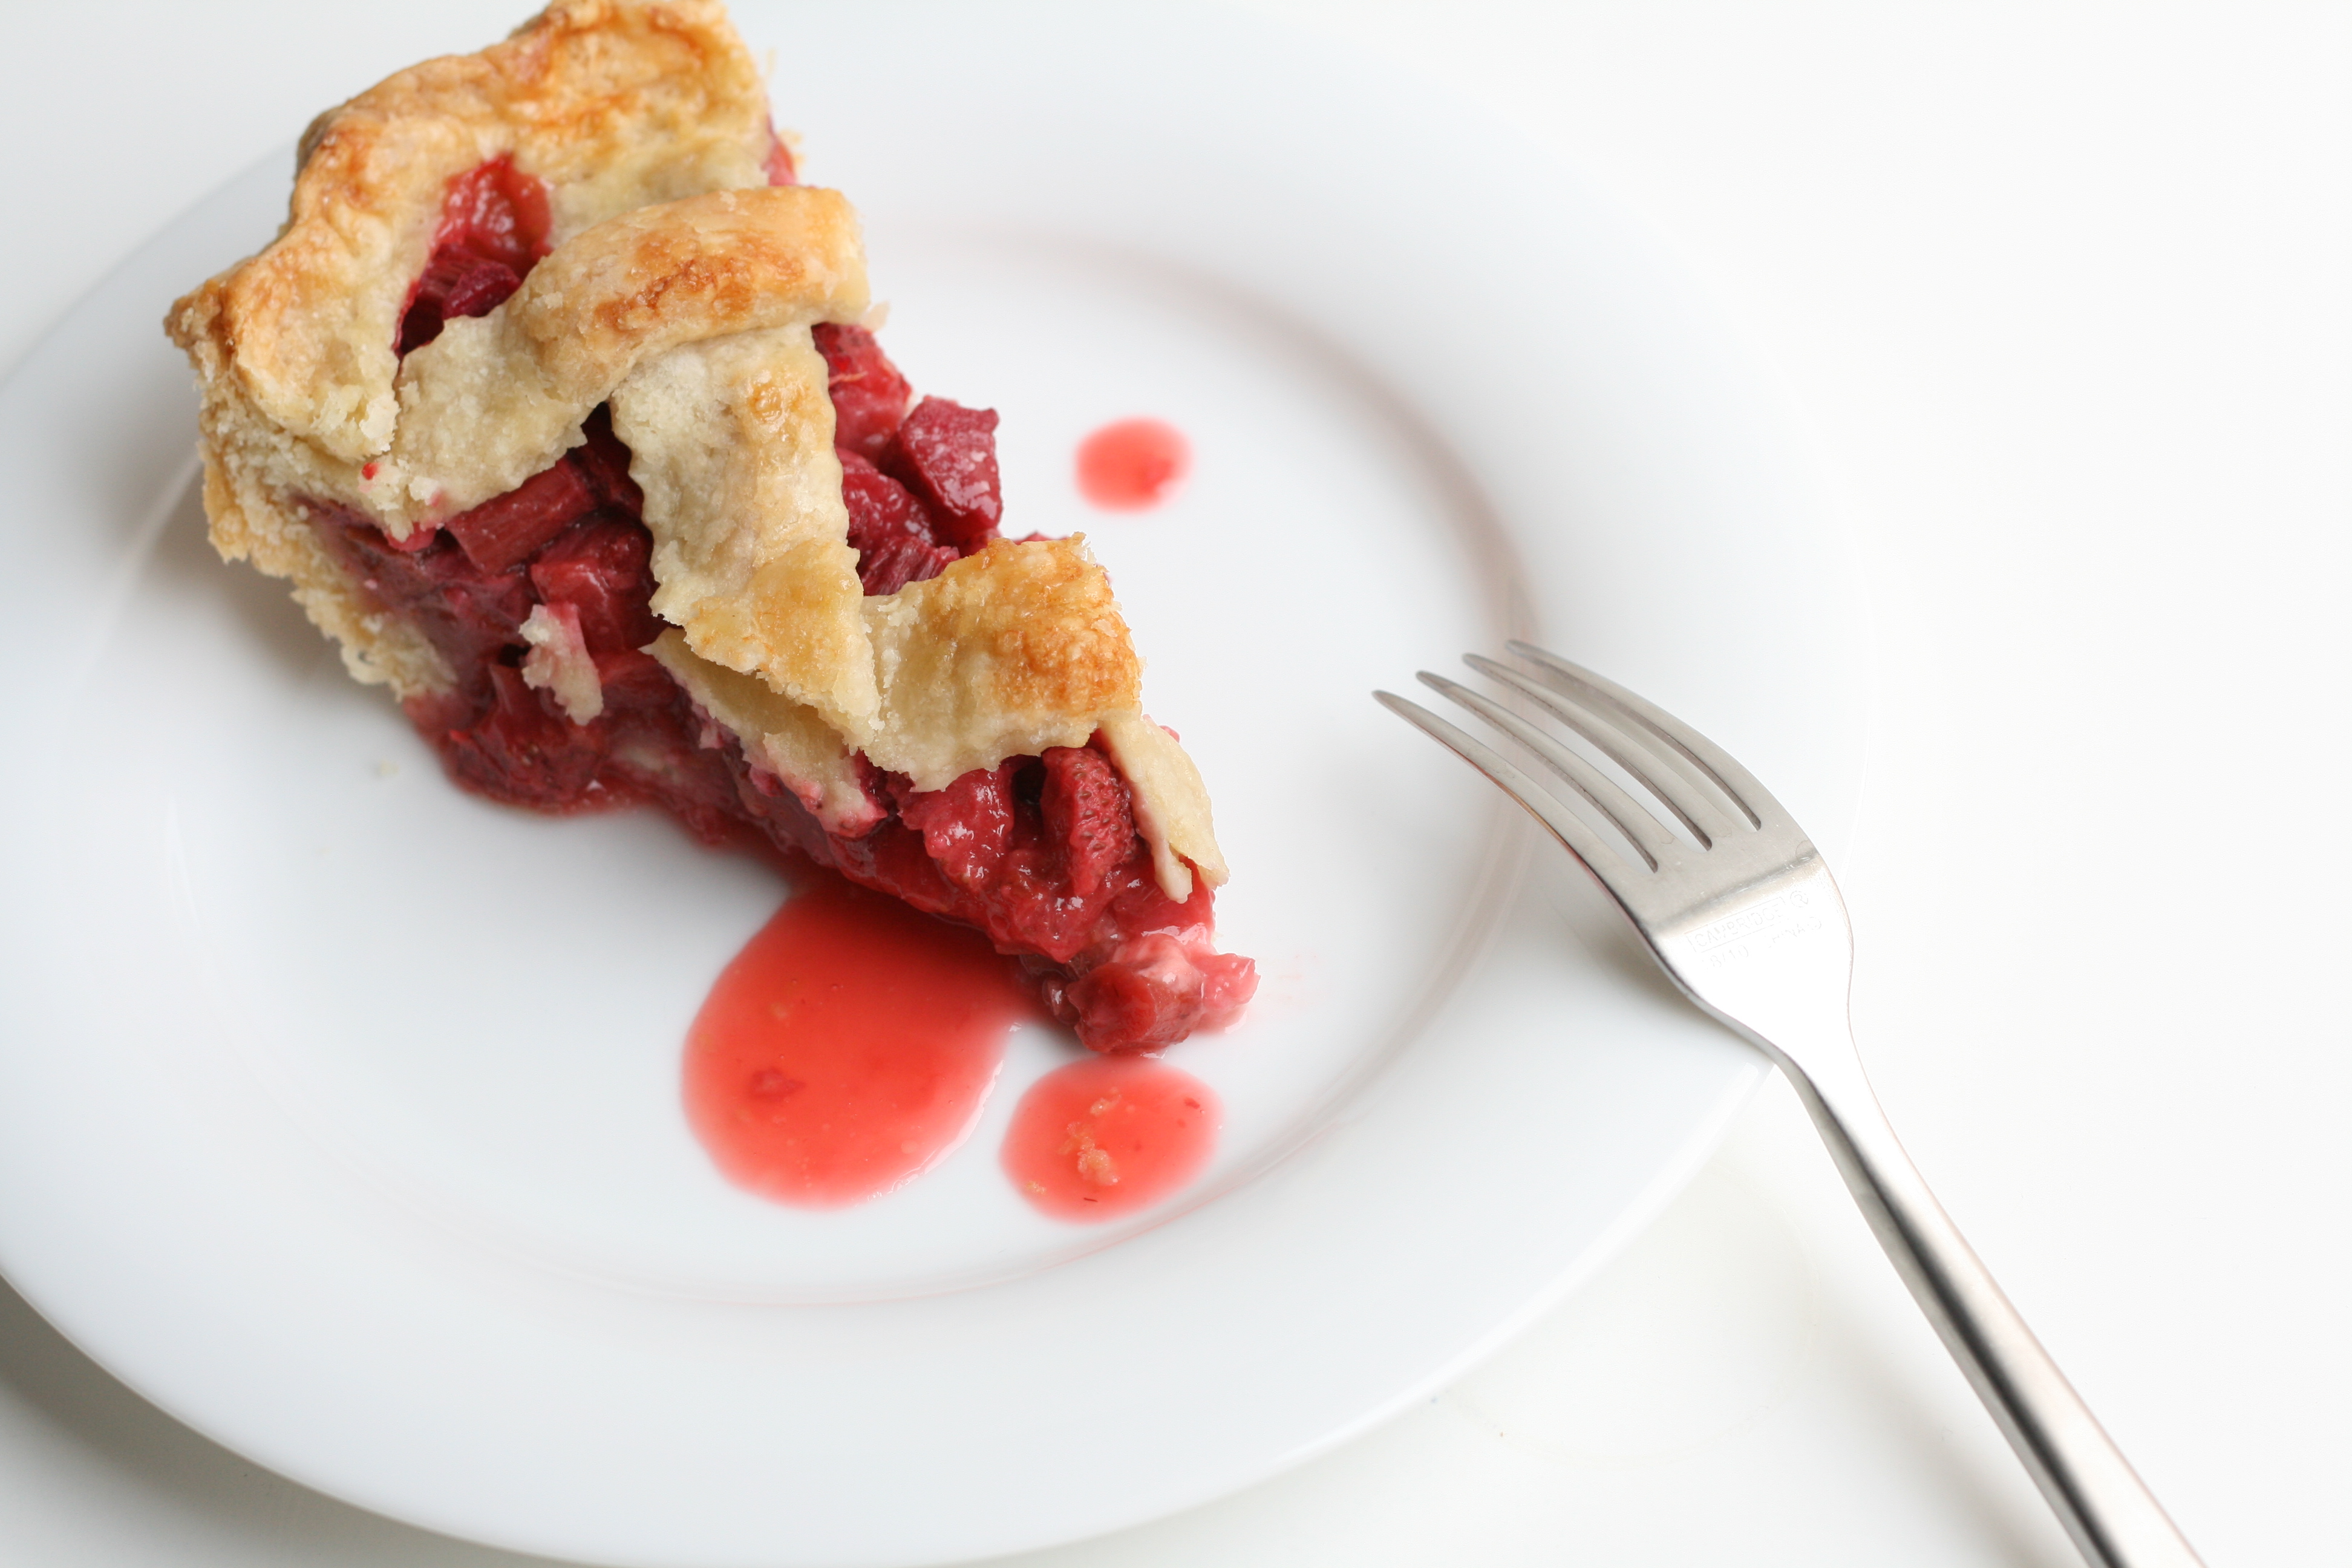
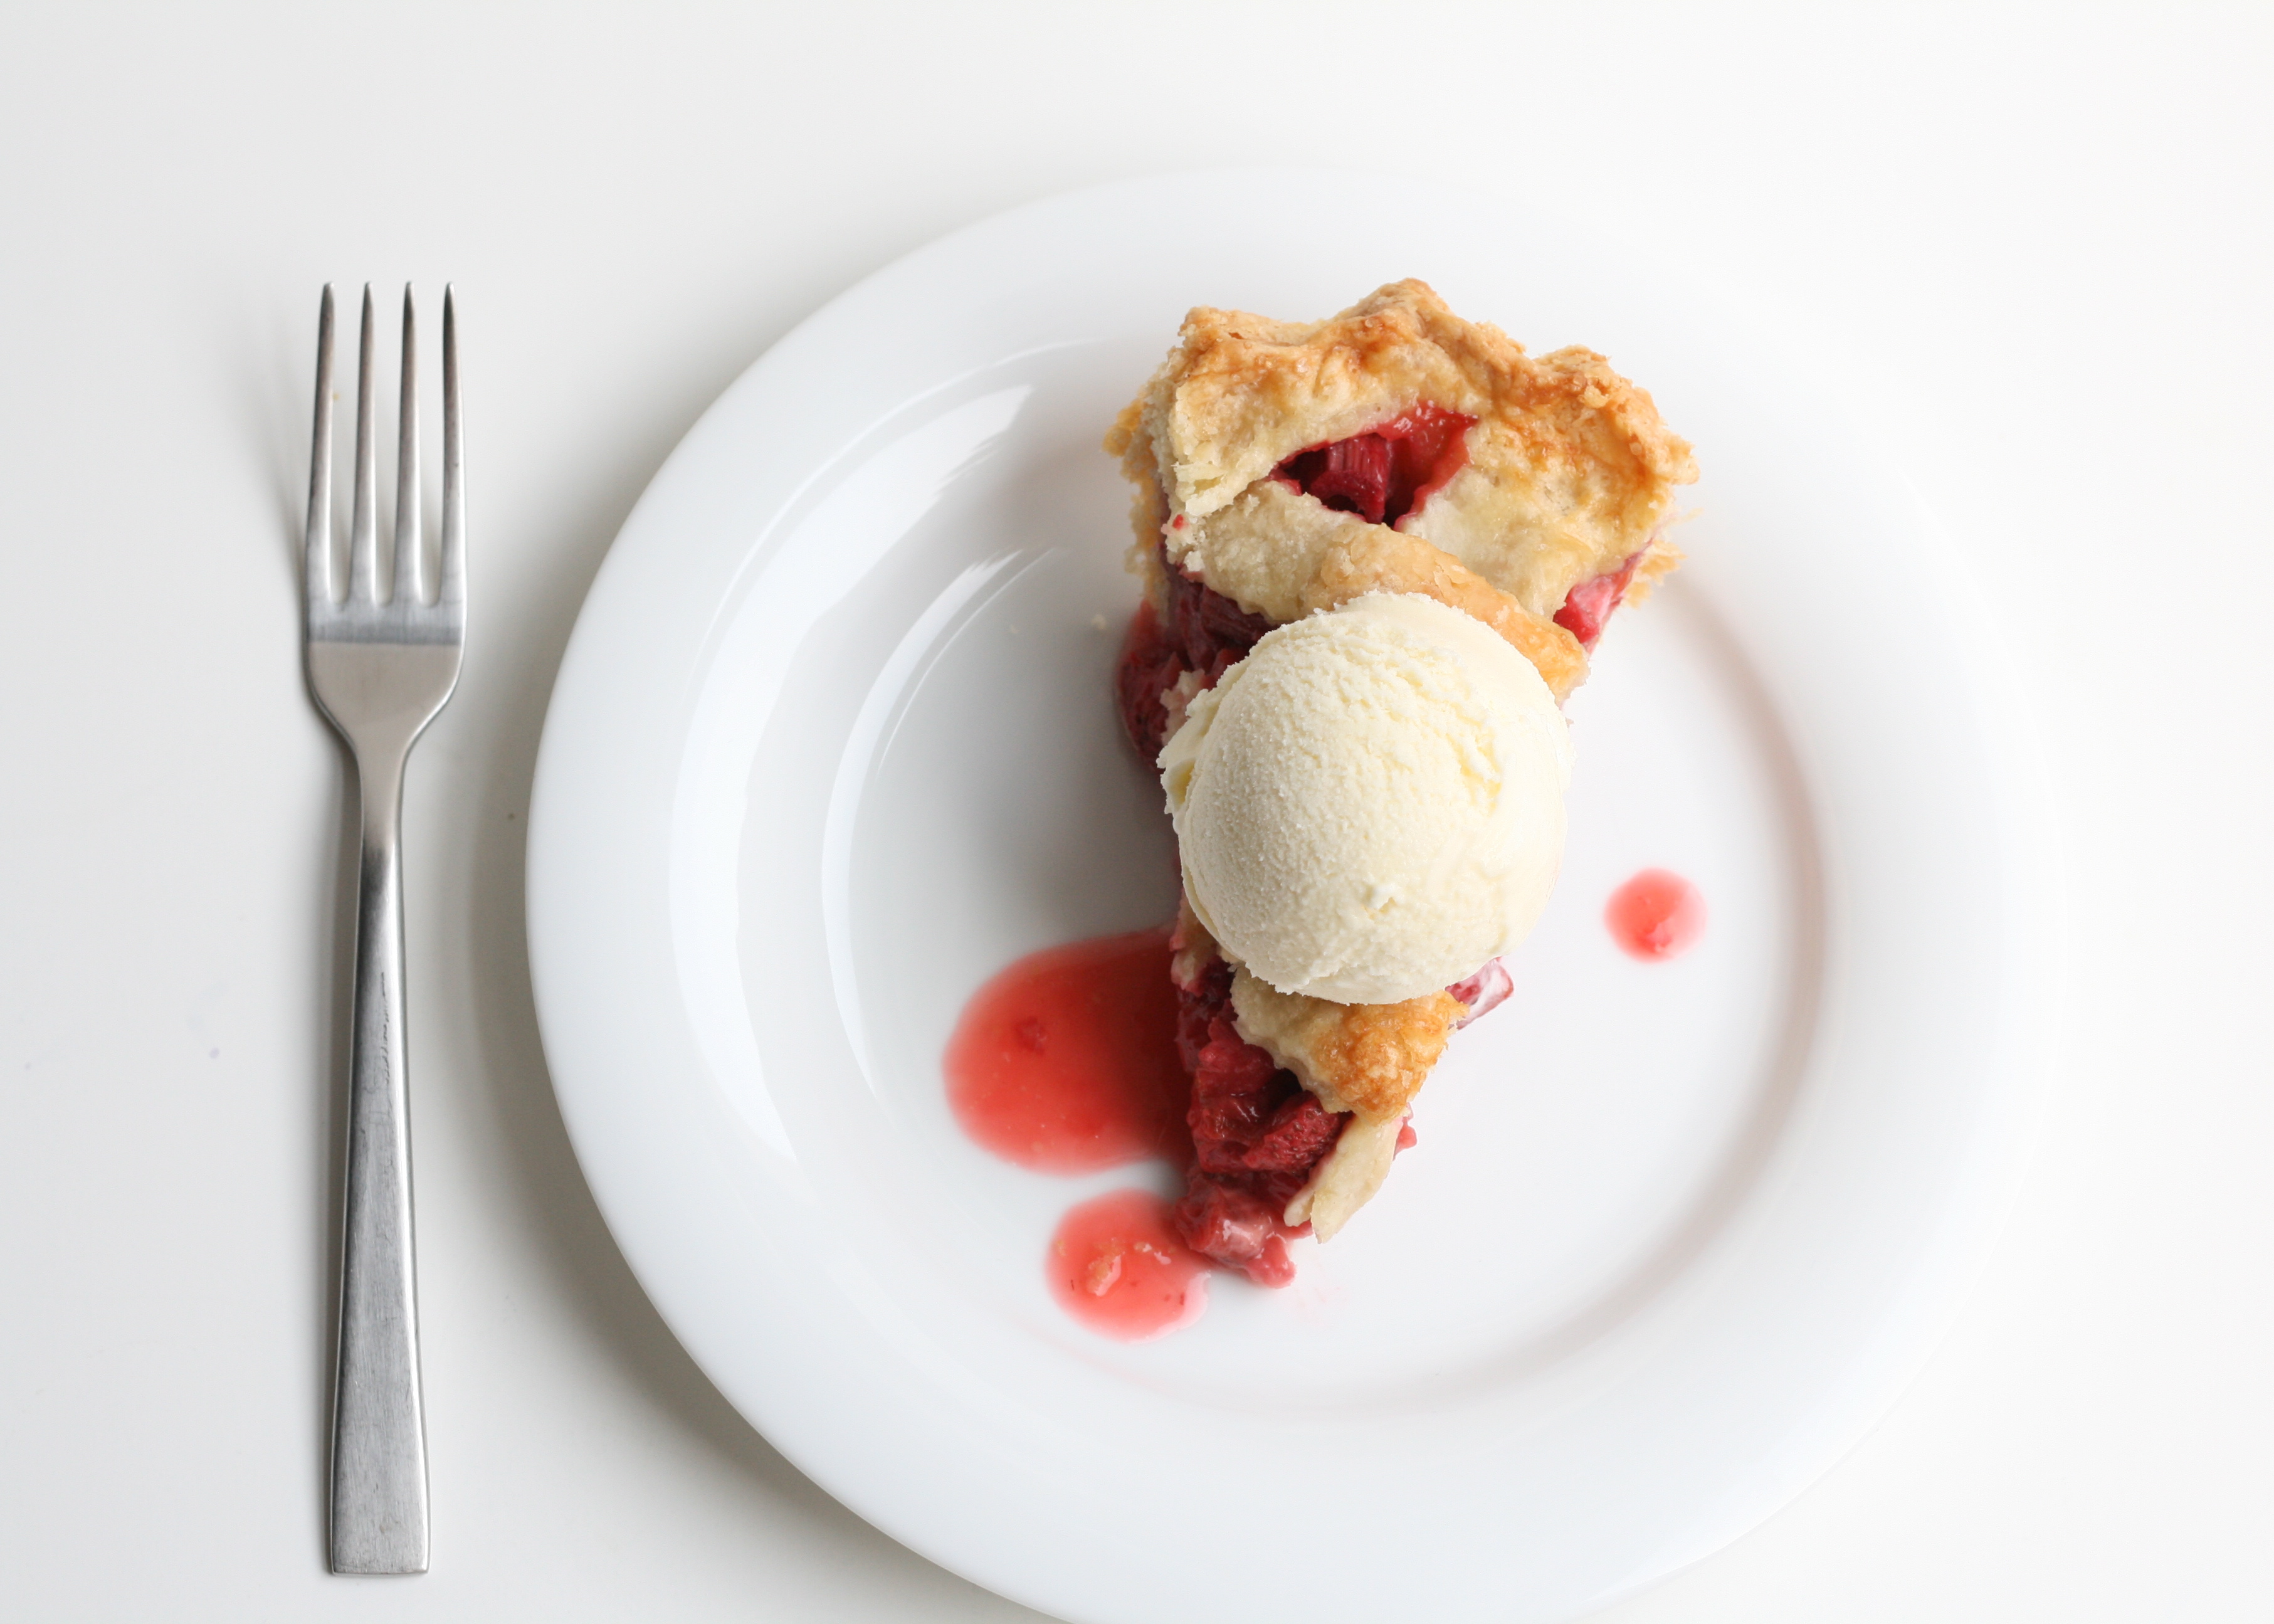
While you’re reading this, I’m in my favorite place in the world with my favorite people. Graduate school husband and I are on vacation with my family in the mountains of Colorado. Also known as heaven. I didn’t want to go AWOL on you though, so I made a pie and stuck it in the cyber space freezer until now. I hope you are well fed even while I’m away.
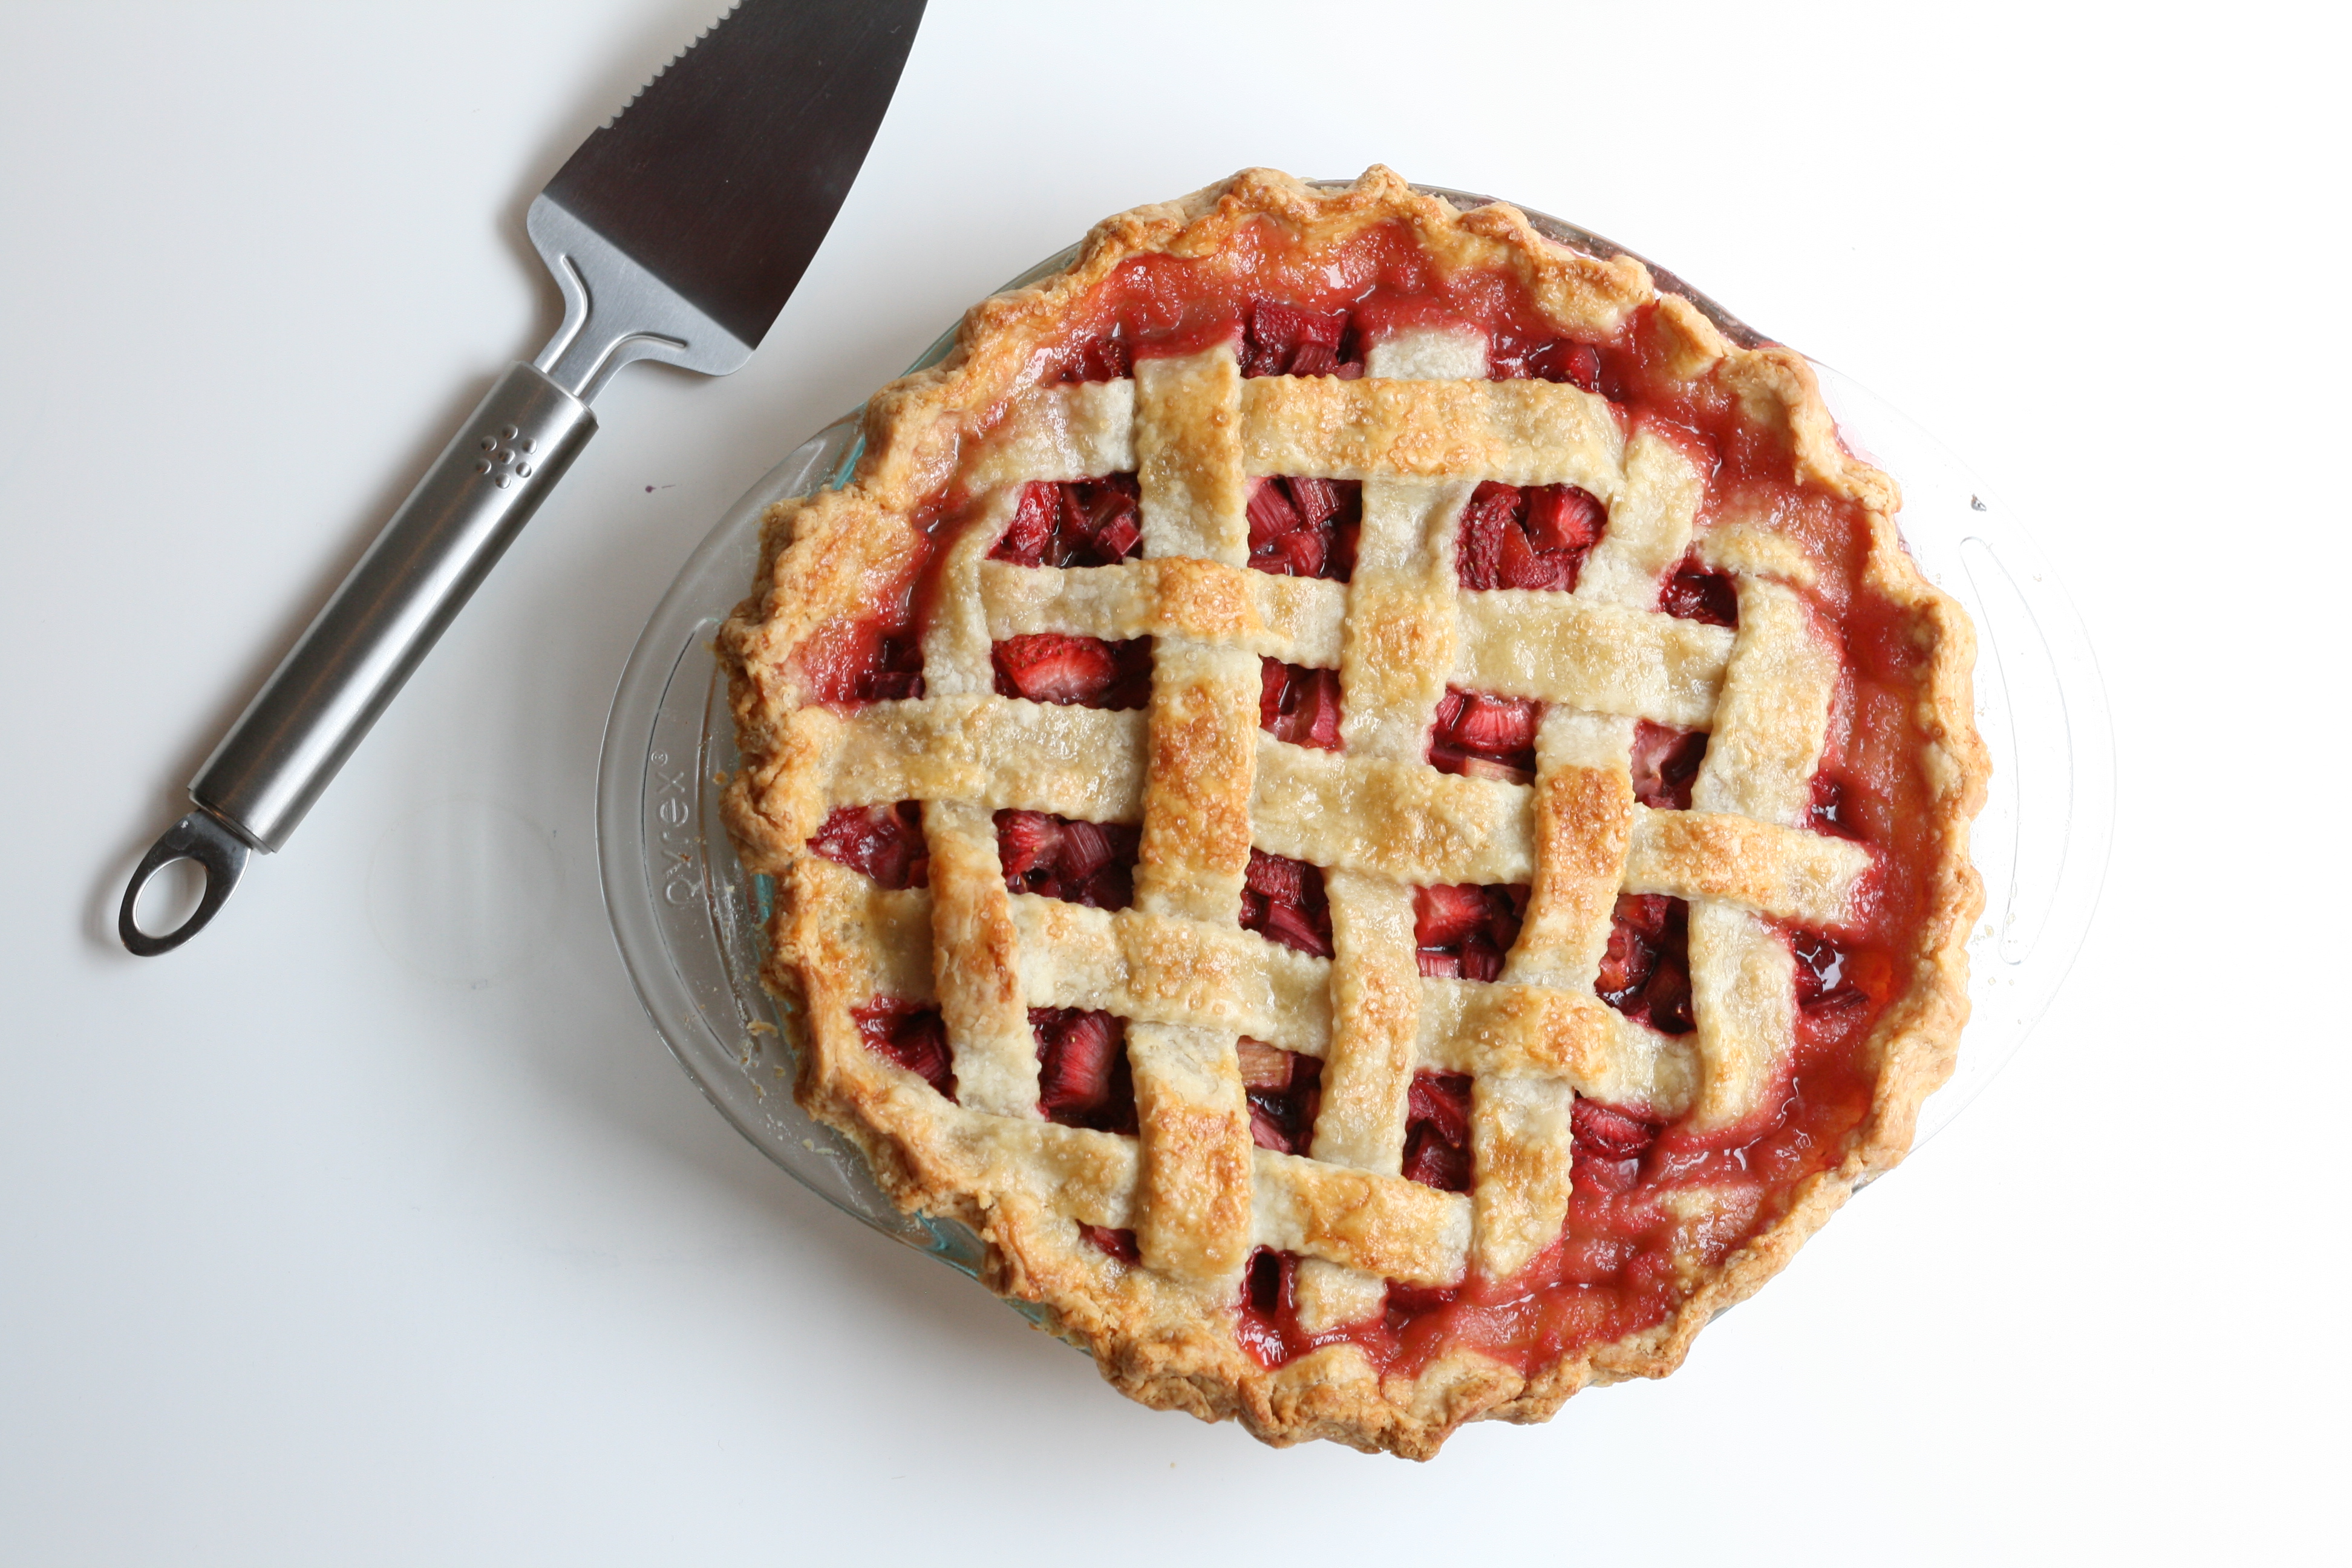
I think I’m gonna be one of those wives/moms who make their family a weeks worth of dinner when they go out of town. It’s because I care. And I care about you! So without further adieu, I give you Strawberry Rhubarb Pie. Happy 4th everyone!
PIE CRUST makes enough for 2 single pies or 1 double crust (This is my go-to recipe) 2 1/2 c. AP unbleached flour 2 tbsp. sugar 1 tsp. sea salt 2 sticks (8 ounces) unsalted butter, very cold 1 c. water with ice
STRAWBERRY RHUBARB MIXTURE 3 1/2 c. sliced rhubarb 1 16 oz. container strawberries, hulled, halved (about 3 1/2 c.) 1/2 c. packed brown sugar 1/2 c. sugar 1/4 c. cornstarch 2 tbsp. fresh squeezed orange juice 1/4 tsp. sea salt
TOPPING 1 egg 1 tsp. cream turbinado
Note: I like to make my dough by hand so that I can control the size of the butter. Flaky crust = chunks of butter.
1. Make crust. Place flour, sugar, and salt in bowl. Whisk together. 2. Dice butter and place into flour mixture. Using a pastry knife, cut butter into flour until it resembles coarse meal. 3. Using a pastry fork (or continue using the pastry knife) add 1/2 c. of the ice cold water into mixture and combine. Continue adding water 1 tablespoon at a time until dough just comes together. You may not need the full cup of water. 4. Cut in half and cover the 2 disks in plastic wrap. Before rolling out, place in fridge for 1 hour, or place in freezer for 15 minutes to chill. This will make the dough easier to work with. 5. Make strawberry rhubarb mixture. Combine all ingredients in bowl, mix, and set aside. 6. Roll the dough out on a well floured surface large enough to overhang in a pie dish. Fold the dough in fourths and transfer to pie dish. Place in freezer for 5 minutes if too warm. 7. Pour strawberry/rhubarb mixture into pie dish. 8. On a well floured surface, roll out second disk. Using a pastry wheel, cut dough in the same direction, about 3/4″ wide. Place 5 strips across, using the longer strips in the middle and the shorter strips on the end. Think back to your childhood craft days, and create a lattice with the dough placing 5 more strips in the opposite direction. Over, under, over, under. 9. Seal the edges of the dough by folding over. I use a bit of cold water to help smooth things out. Create a decorative edge with your pointer finger and thumb held together pushing the dough in with your thumb. And repeat. Clear as mud? A forked edge works nicely as well. 10. Whisk together one egg and a teaspoon of cream. Brush over the top and sprinkle with turbinado. 11. Place in freezer for 20 minutes. This helps the dough to hold its shape when it goes in the oven. Preheat oven to 400°. Bake for 2o minutes. Lower the temp to 335° and continue baking for 40 minutes. Once crust begins to brown, cover with foil. 12. Allow pie to set up for at least an hour before serving.
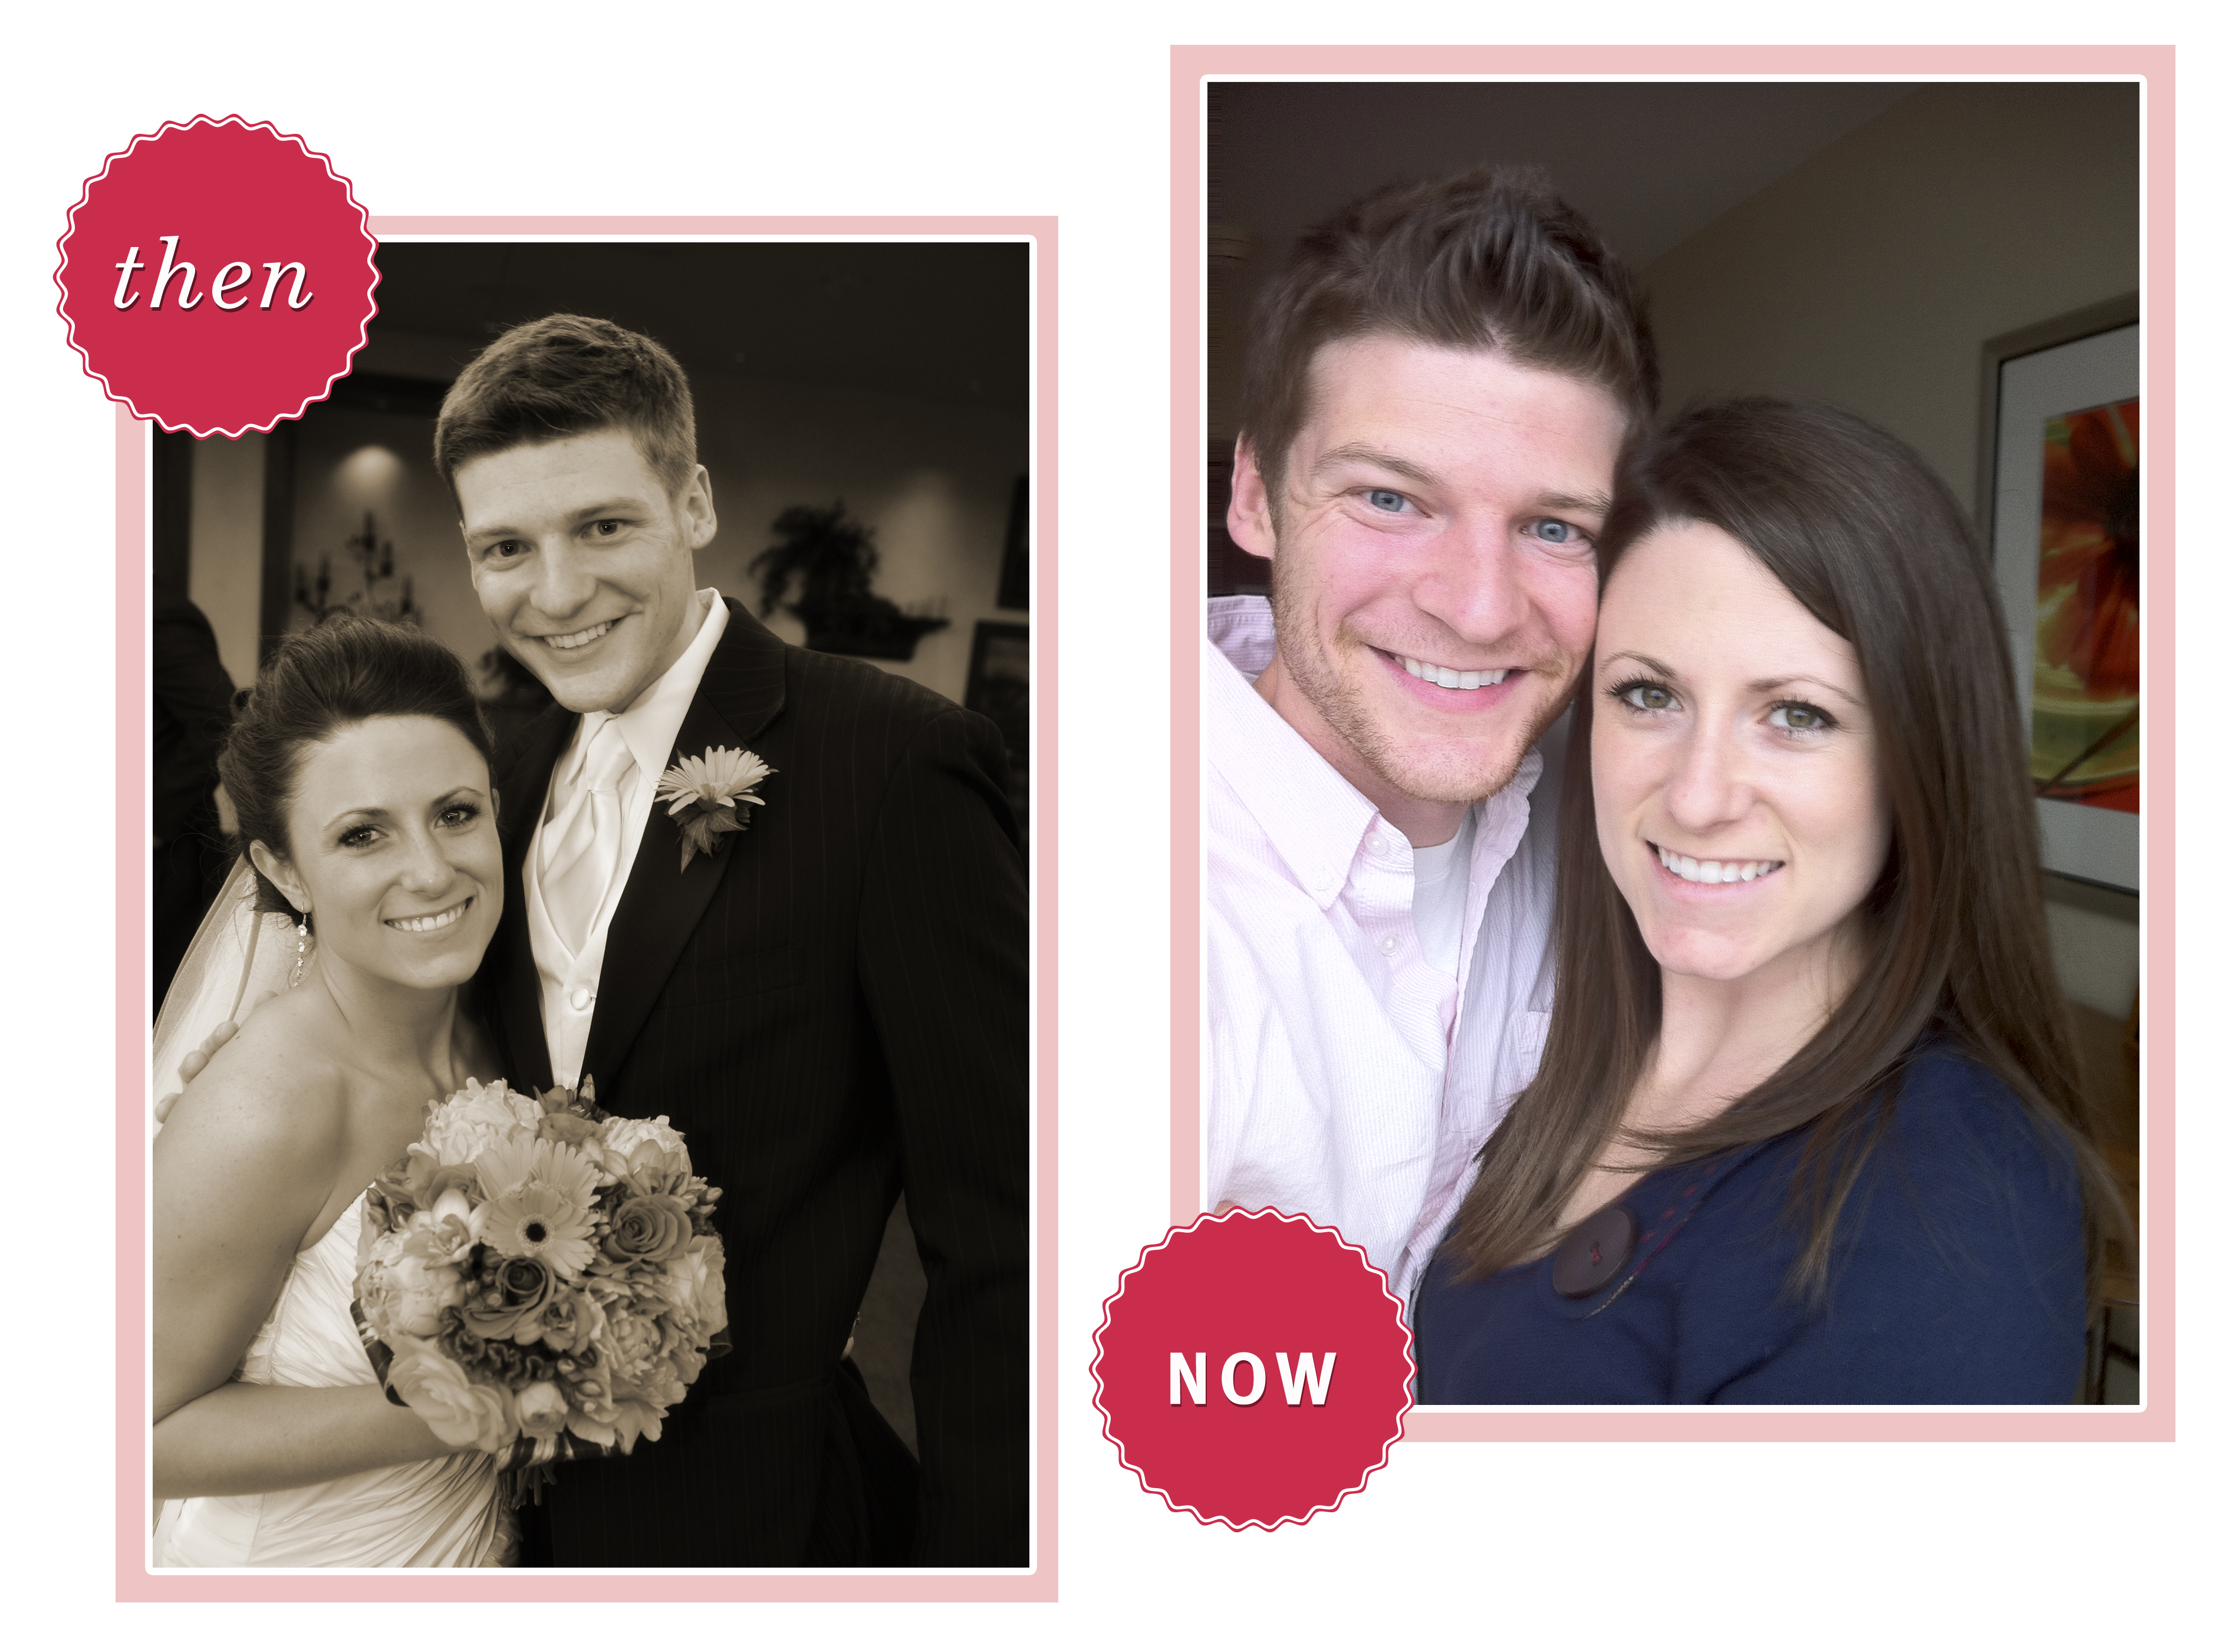
Three years ago today, we said I do. Three years! I guess we’re not newlyweds anymore. And I’m not so sad about that. I love that I know my husband 3 years better than I did when we got married. I love that I love my husband 3 years more than I did when we got married. The path hasn’t always been straight or easy, but it has been rewarding. So thankful to share this journey with Kevin, my sweet graduate school husband. To many decades more!
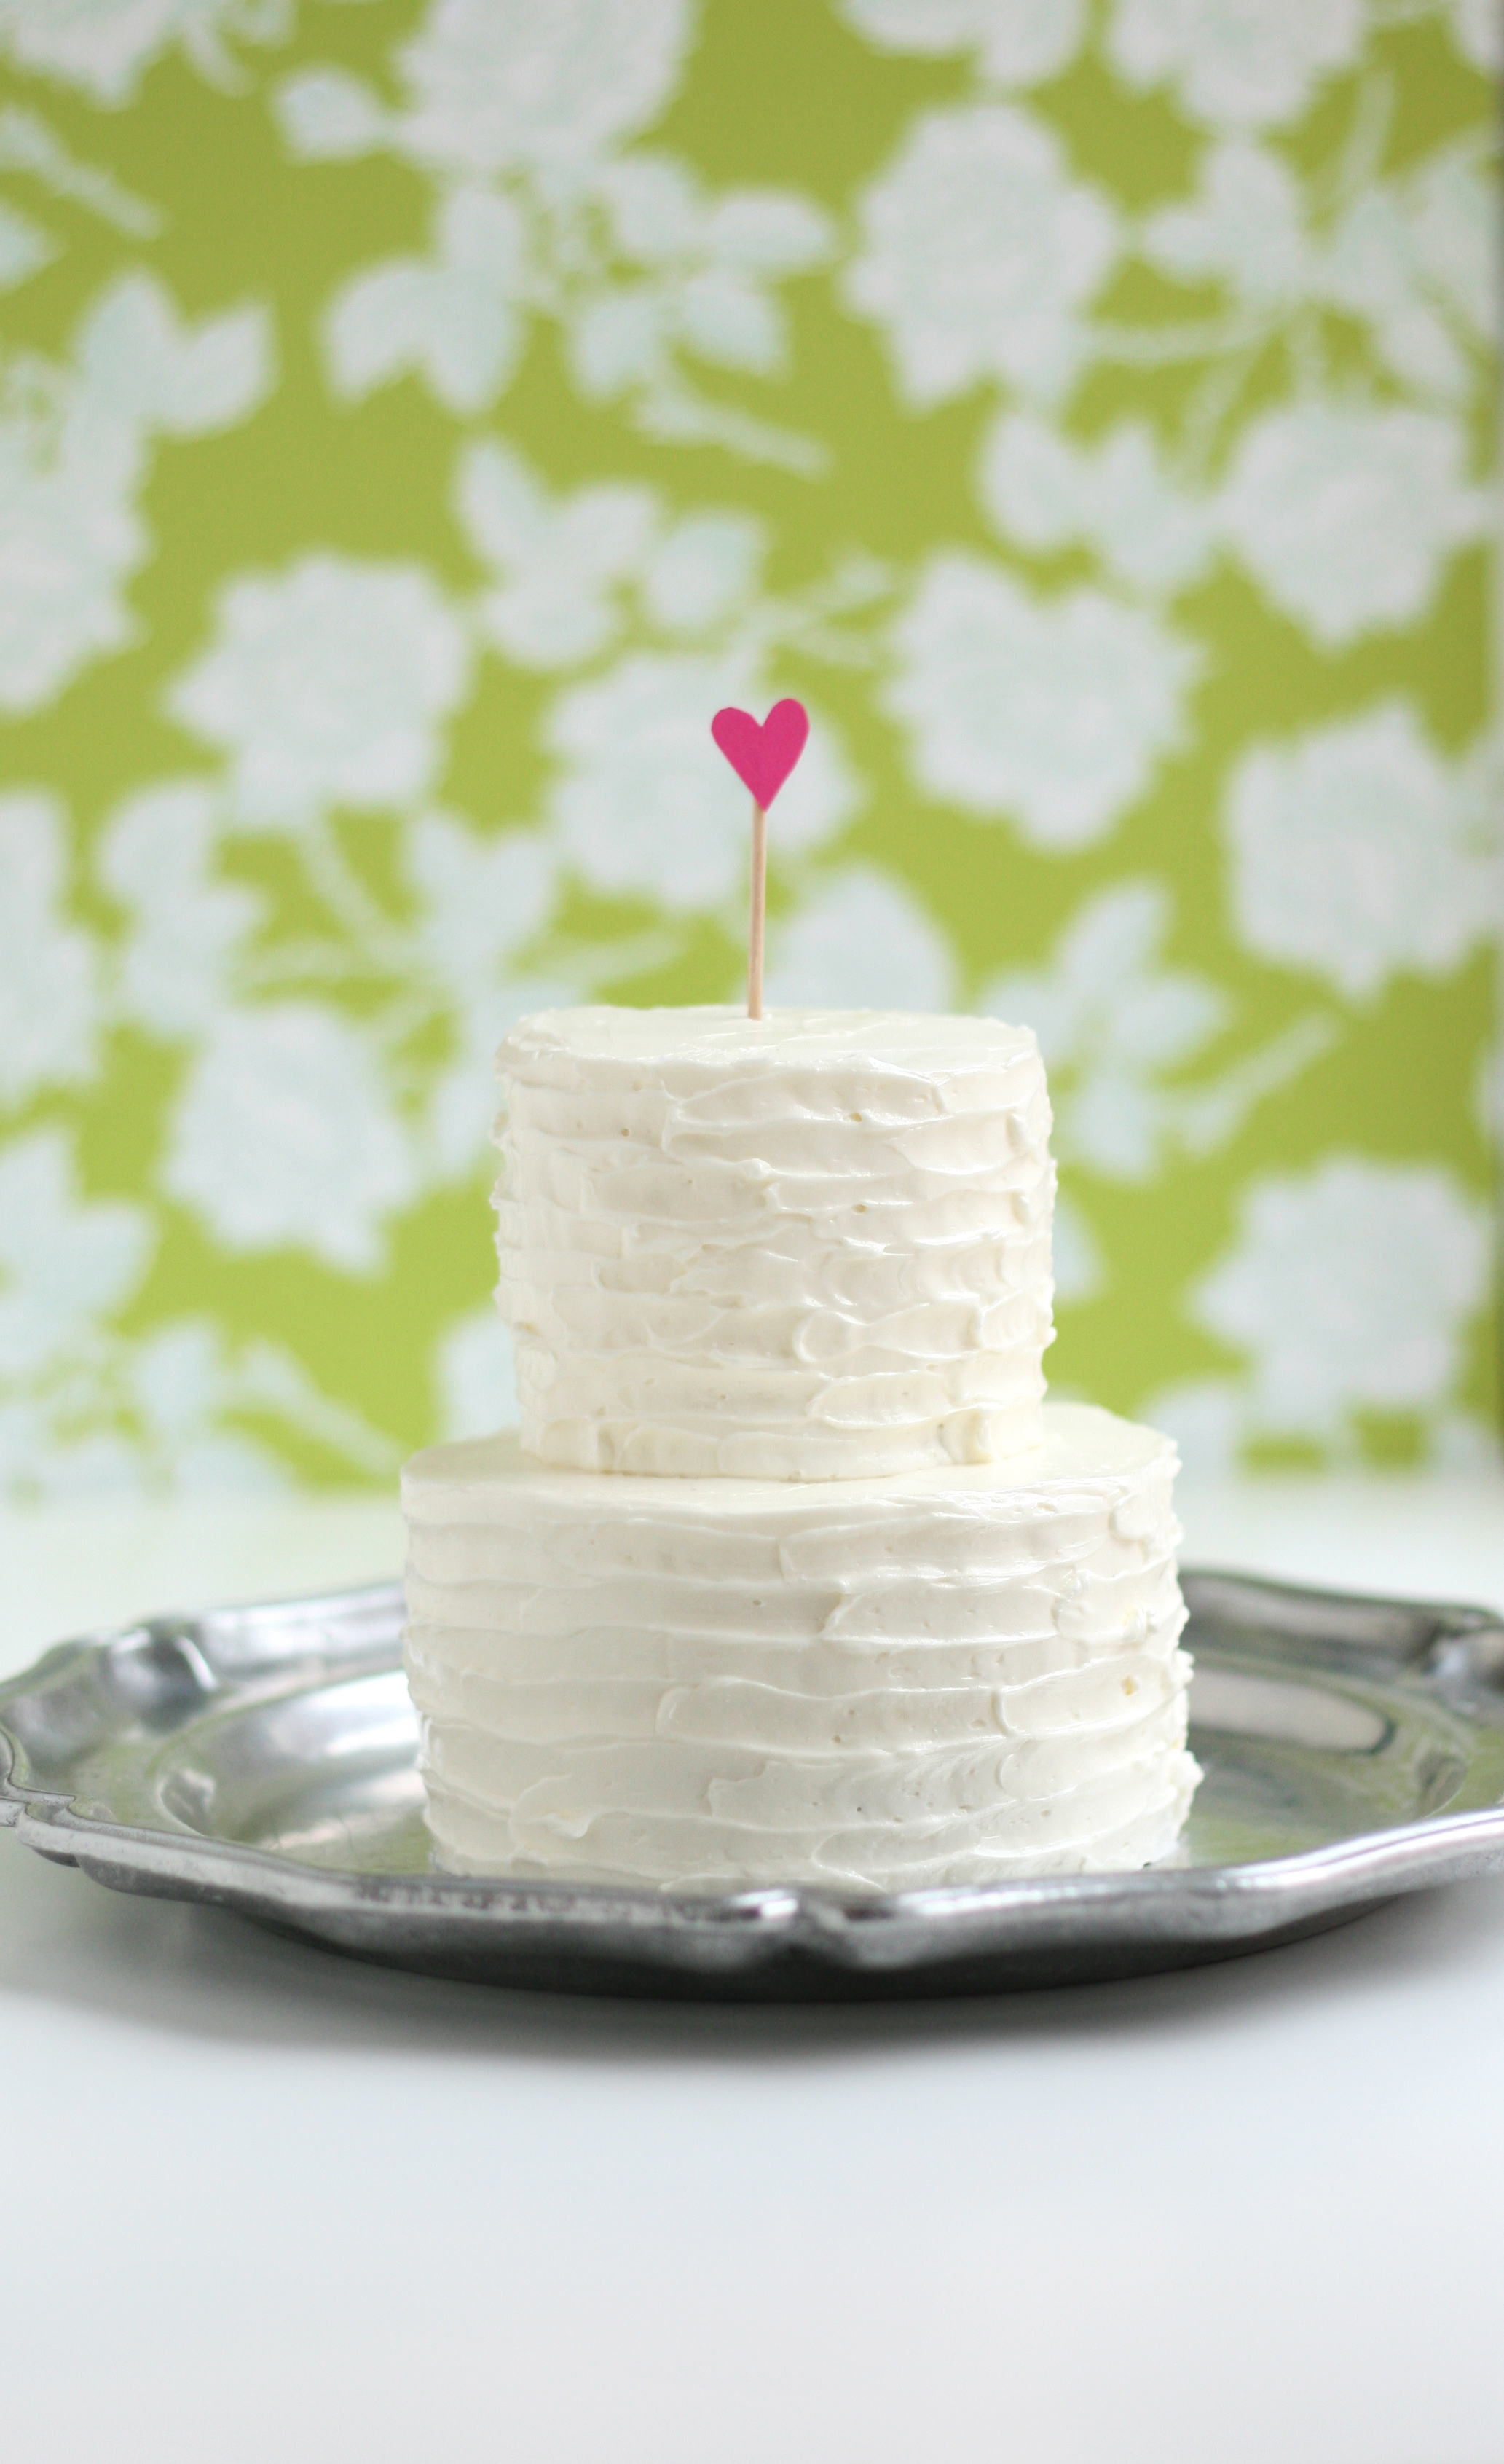
Speaking of sweet, I made a cake. A mini anniversary cake. I think I’ve started a new tradition in our marriage.
Isn’t it cute? Anything tiny is somehow cute. At it’s widest, it’s 3.5 inches—perfect for 2 people. It tastes like a wedding cake too. You know the wedding cake taste—fruity, decadent, and rich. So I took a risk and crafted a new recipe with hints of orange and almond (based off this one). Luckily the risk paid off—it’s my new favorite cake. Happy Anniversary to us!
Anniversary Cake Almond + orange cake, inspired by Cake Love makes one 9-inch pan
DRY 1/2 c.+ 2 tbsp. unbleached AP flour 2 tbsp. potato starch (I use Bob’s Red Mill) 3 tbsp. finely ground almonds 3/4 tsp. baking powder 1/2 tsp. salt
LIQUID 1/2 c. half and half 1/2 tsp. almond extract 1/2 tsp. orange zest 1 tbsp. orange juice, freshly squeezed
CREAMING 6 tbsp. unsalted butter, room temp 3/4 c. + 2 tbsp. extra-fine granulated sugar (I food process my regular sugar) 2 large eggs
1. Preheat oven to 350º. Set rack in the middle of the oven. 2. Set out ingredients and equipment. Sift flour. Finely pulse almonds to a flour like consistency. Measure dry ingredients into separate mixing bowl. Add flour and almonds and whisk together. Measure liquid ingredients into a separate bowl and set aside. Place butter and sugar in bowl of standing mixer. Crack eggs into a separate bowl and set aside. 3. In the bowl of a standing mixer fitted with paddle attachment, cream together the butter and sugar on the lowest speed for 3-5 minutes. (This will feel odd, but keep it on low.) 4. With the mixer still on the lowest speed, add the eggs one at a time, fully incorporating after each addition. Stop the mixer and scrape down the sides of the bowl. 5. Add the dry ingredient mixture alternately with the liquid mixture in 3 to 5 additions each, beginning and ending with the dry mixture. Move swiftly through the step to avoid overworking the batter. Don’t wait for the dry or liquid mixtures to be fully incorporated before adding the next. This step should take a total of about 60 seconds. 6. Stop the mixer and scrape the sides of the bowl all the way down. Don’t miss the clumps of ingredients hiding on the bottom. Mix on medium speed for 15 to 20 seconds to develop the batter’s structure. 7. Prepare the 9-inch round cake pan. Line the bottom with parchment paper. Do not spray the sides of the pan. (This helps to keep your cake from doming in the middle as it bakes. The cake is able to crawl up the side as it bakes and maintain an even shape.) 8. Place batter in pan. Bake for 28 minutes. 9. Once the top of the cake doesn’t jiggle in the center, test for doneness by inserting a toothpick into the middle of the cake. The center should be an even blonde color and the edges should be just beginning to pull away from the pan. When the skewer shows a touch of crumbs or comes out clean, the cake is done. 10. Cool cake for 20 minutes before removing from the pan. Use a small off-set spatula to loosen the cake from the rim of the pan. Carefully invert and remove parchment paper. Allow to cool completely before assembling.
Italian Meringue Buttercream with a hint of orange recipe from Cake Love by Warren Brown; makes 2-2 1/2 cups * a candy thermometer is necessary for this recipe
1. Set out ingredients and equipment. Separate the egg whites into the bowl of a standing mixer fitted with the whisk attachment (for the 1/2 egg white, crack into separate bowl and only add half of the white). Measure 1/2 cup sugar and the water into a 1-quart, heavy-bottomed saucepan. Gently stir to combine. Measure the remaining 2 tablespoons of sugar into a separate bowl. Cut the butter into tablespoon sized pieces and set aside. 2. To make the sugar syrup, place the candy thermomometer in the sauce pan and heat the mixture over medium-high heat. Partially cover with lid to capture the evaporating water—this helps to moisten the sides of the saucepan to prevent sugar crystals from forming. 3. With the mixer on high speed, begin whipping the egg whites to stiff peaks. When the peaks are stiff, you have a meringue. 4. Keep the mixture running and pour the 2 tablespoons of sugar into the meringue. 5. Raise the heat under the sugar syrup to bring the syrup to 245° if it’s not there already. When it has reached 245°, remove the thermometer and slowly pour the syrup into the meringue, with the mixer running. (It helps to hold the pan just above the height of the mixer. Pour confidently trying to hit the meringue and not the side of the bowl.) 6. After 1 to 2 minutes, reduce the speed of the mixture to medium for 3-4 minutes or until meringue is cooled. Add the butter 1 tablespoon at a time. Increase the mixer speed to high for 1 to 2 minutes or until the butter is fully incorporated. Add orange oil. Mix one final time.
Assemble the Cake 1. Using biscuit cutters, cut two 3.5″ circles and two 2.5″ circles. 2. Assemble the tiers separately. Fill bottom layer of each tier with buttercream. Apply a crumb coat to each tier. Refrigerate for 30 minutes. 3. Ice bottom tier and top tier separately. To achieve the rustic look, pull a butter knife around the circumference of the cake. Start from bottom and work up. 4. Using a flexible spatula, carefully place the top tier of cake on to bottom tier. Clean up any knicks in the move. The italian meringue buttercream repairs easily. 5. Store cake in refrigerator, covered. Serve at room temperature. *For in-depth cake assembly instructions, click here.
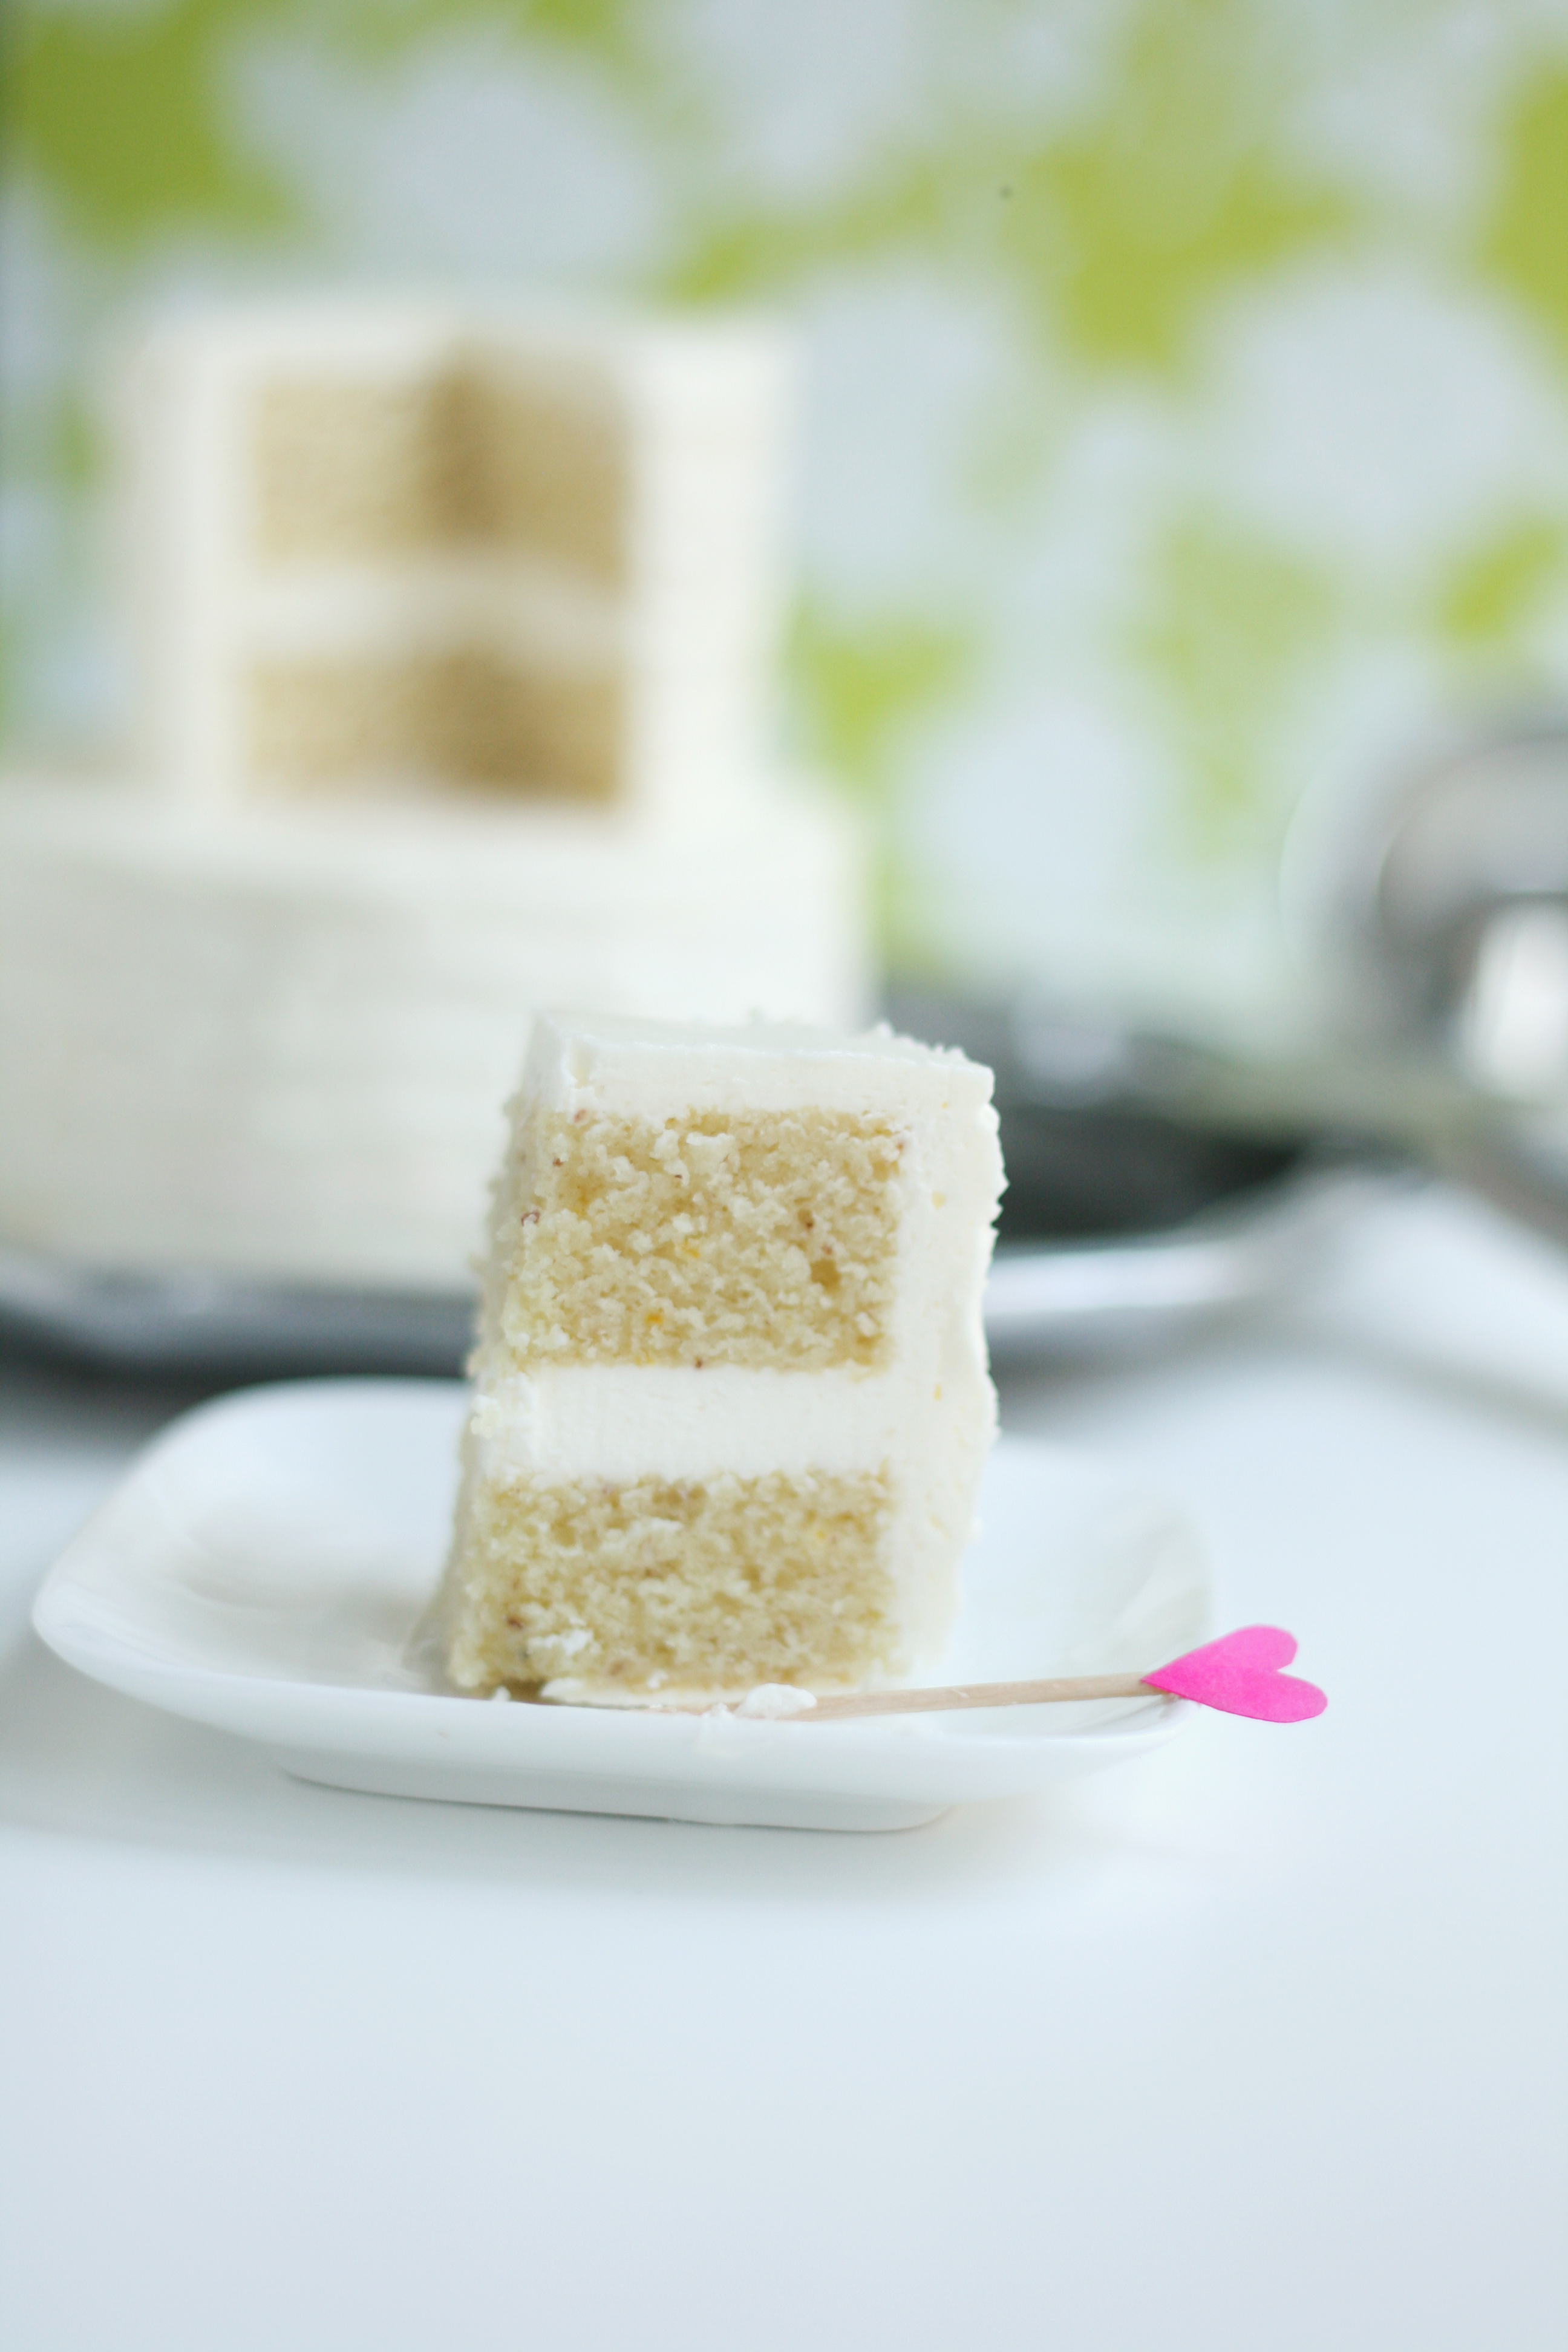
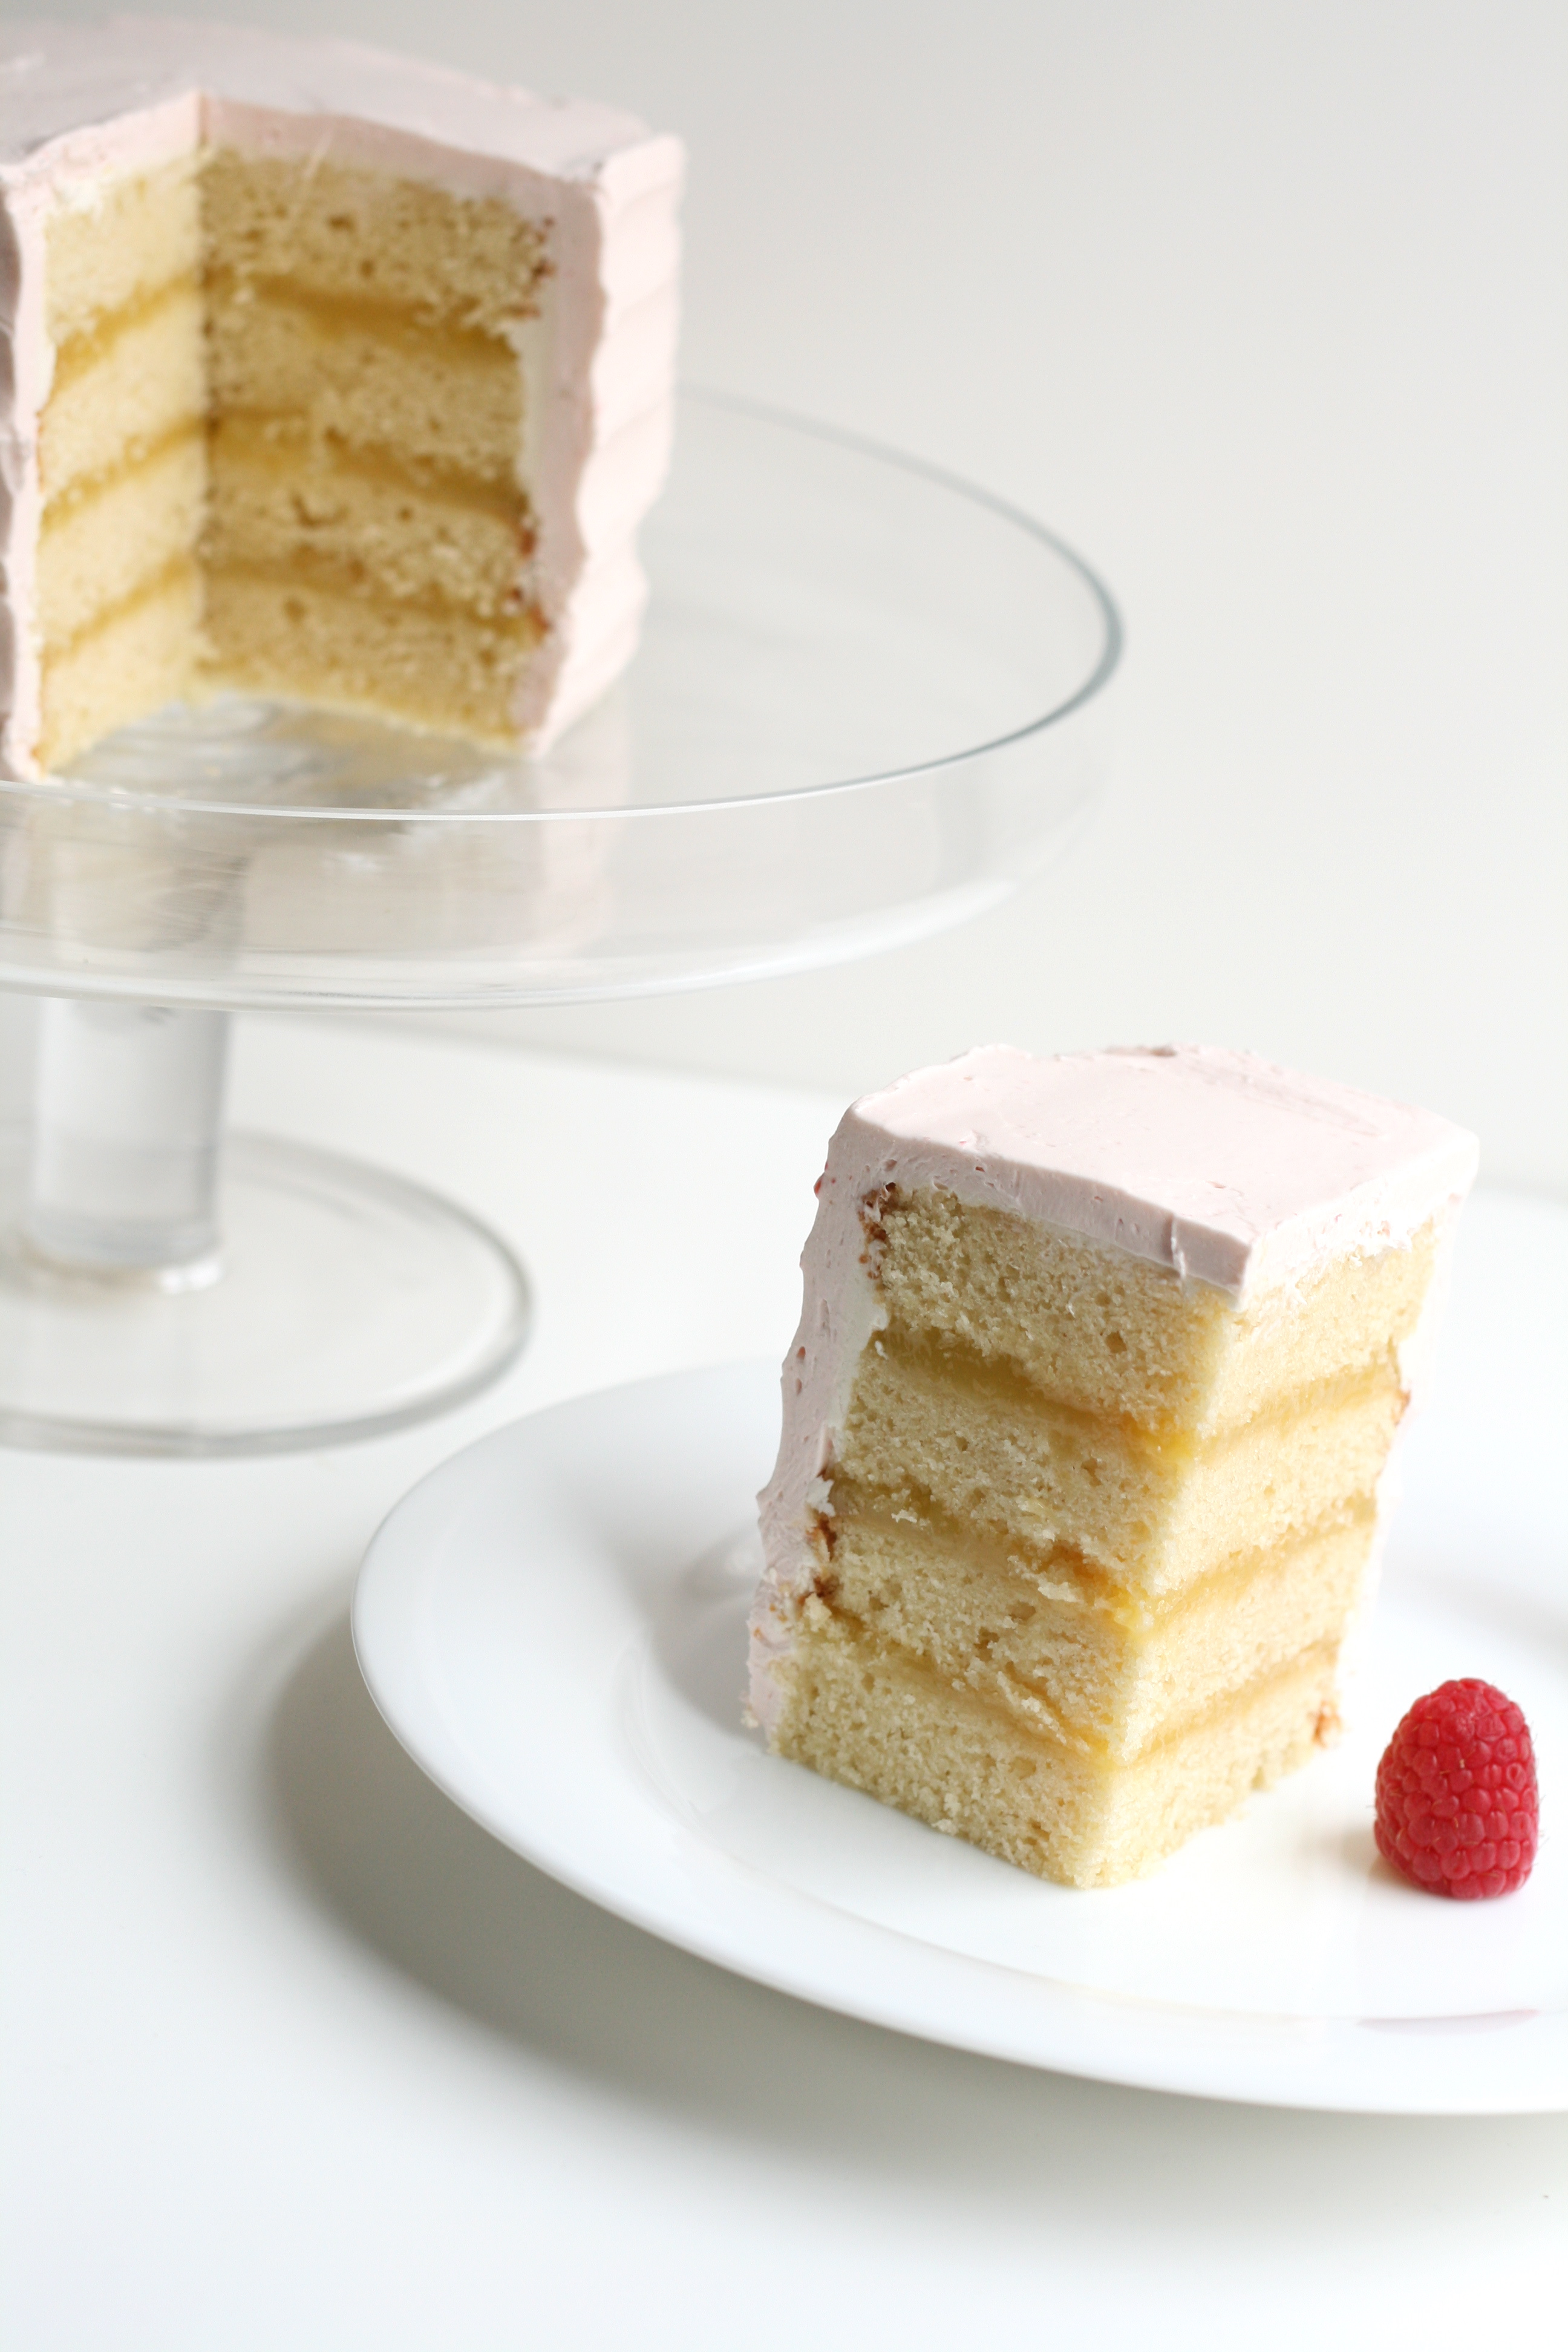
We celebrated my husband’s birthday last weekend. We’re now closer to 30 than 20. Kind of weird. In normal fashion, I asked him what kind of cake he wanted. Without hesitation, he said Lemon Raspberry Cake.
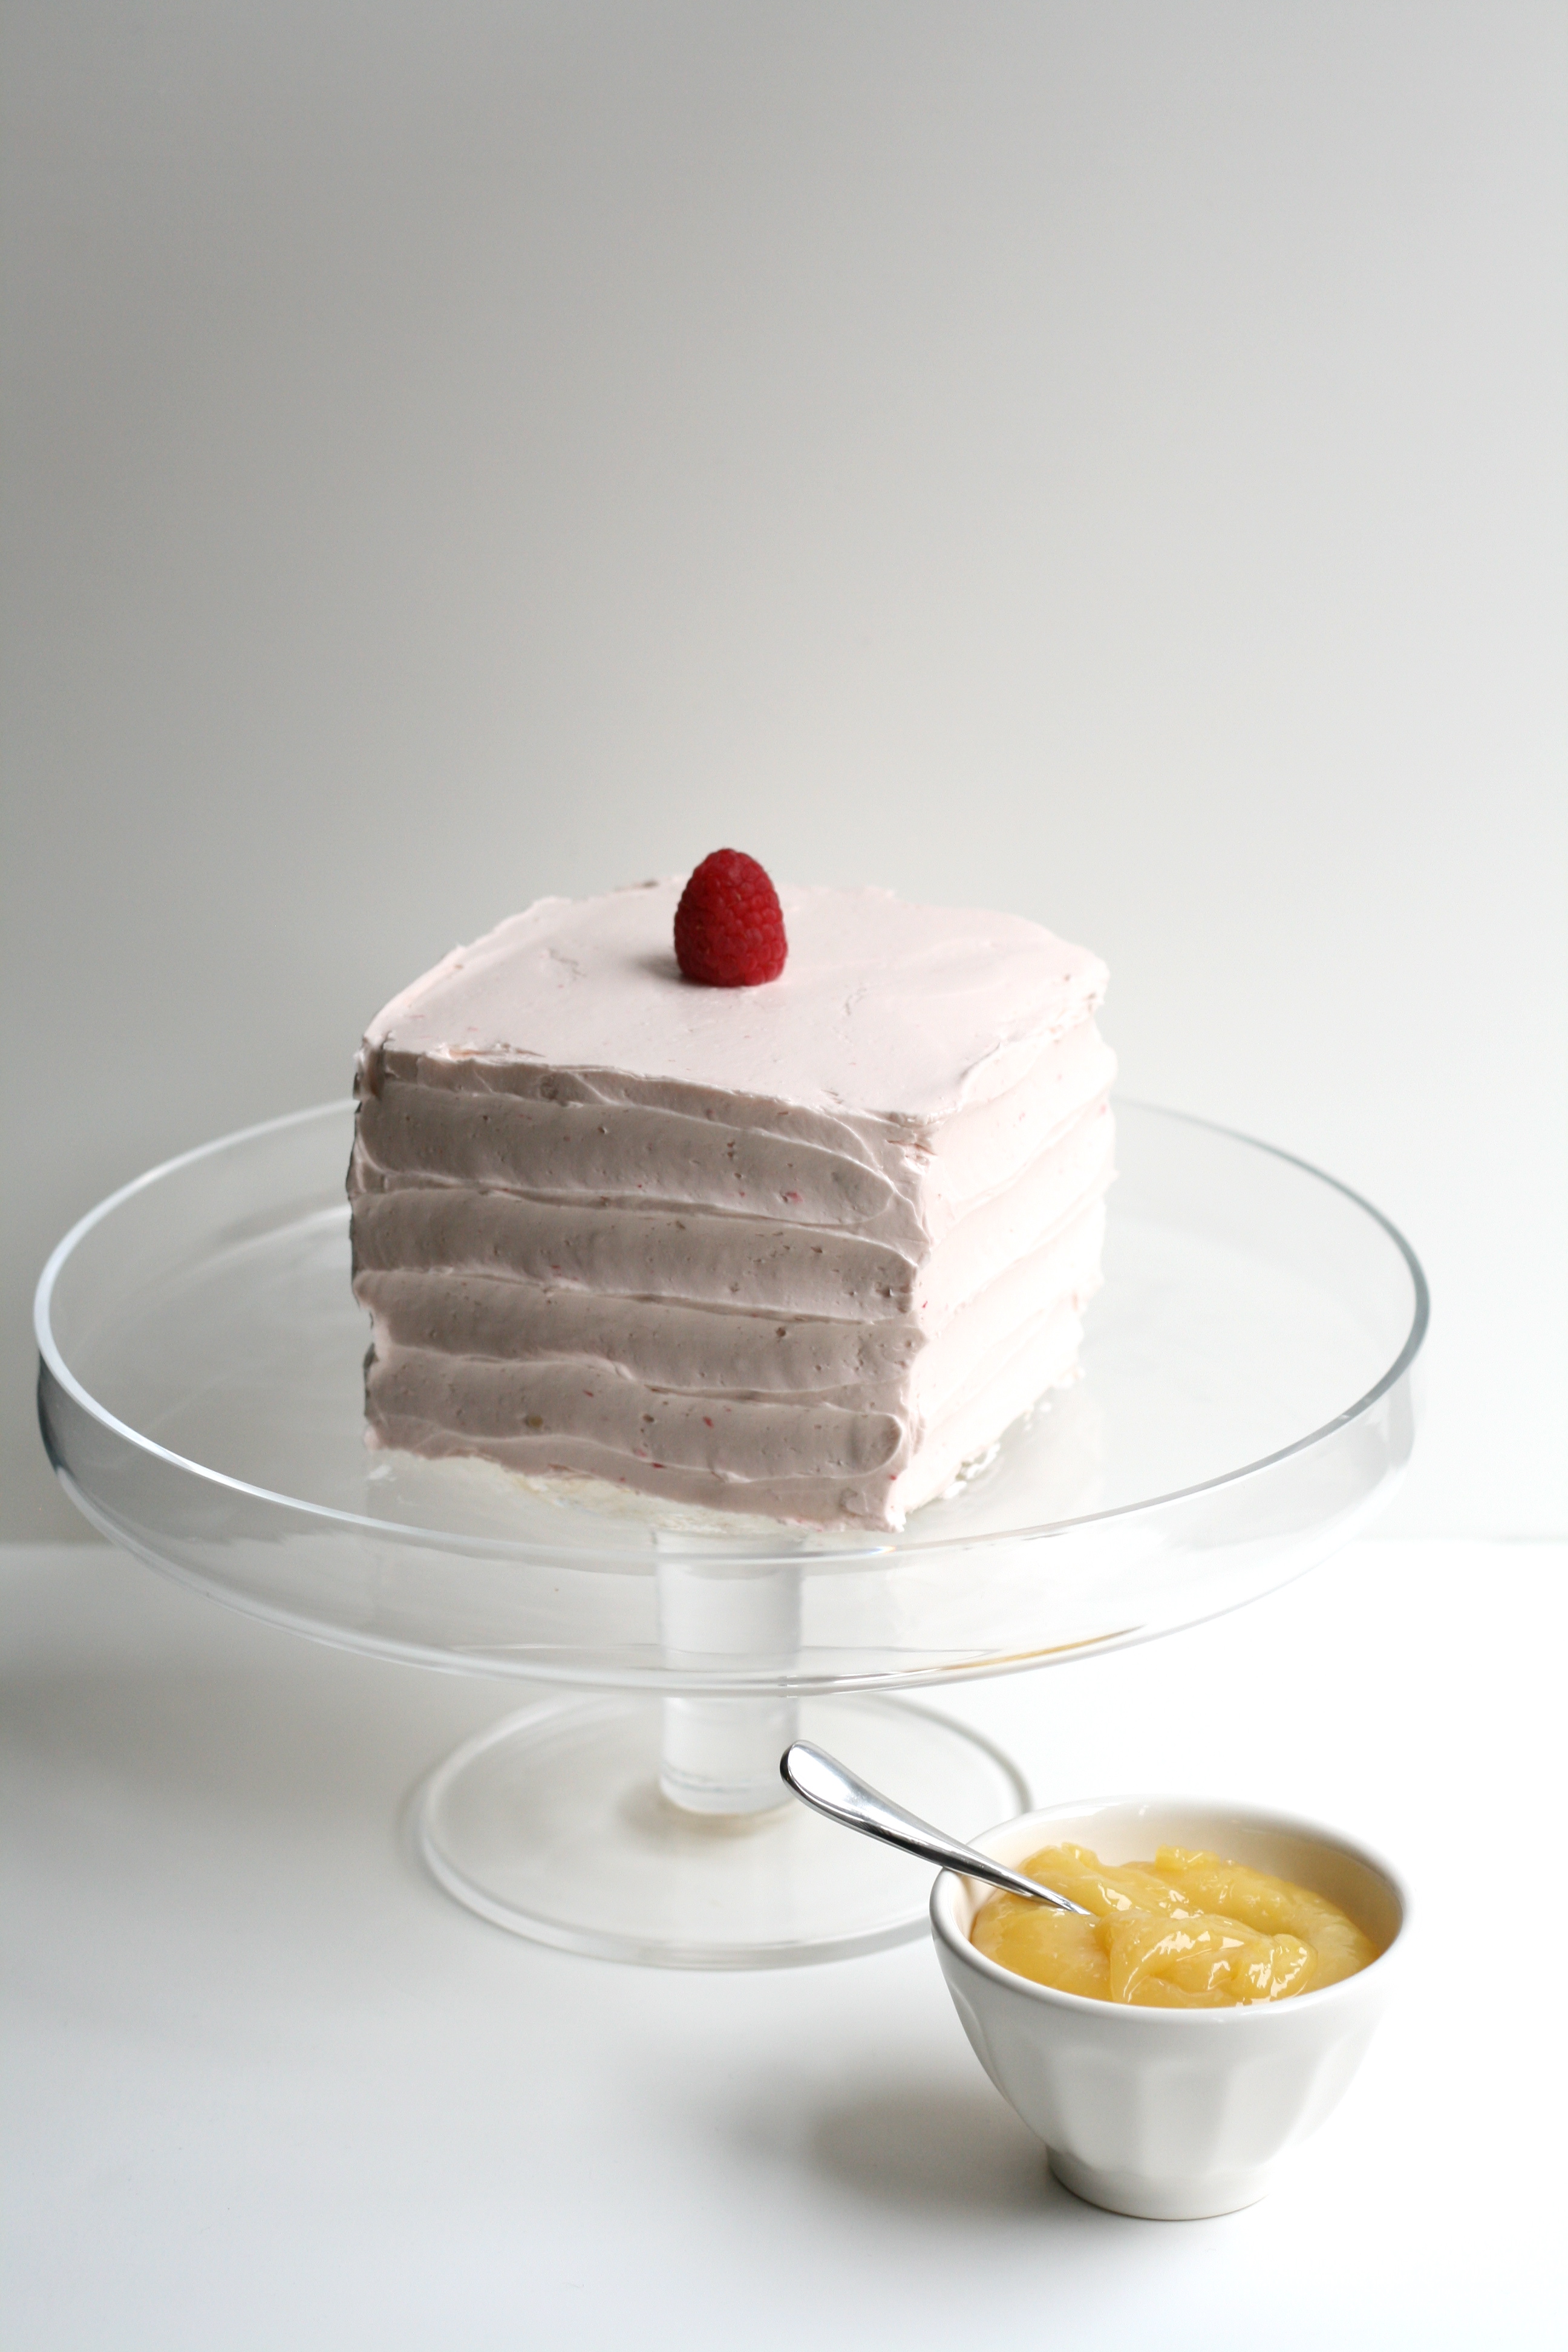
I was so excited he knew what he wanted, I made the cake without hesitation hoping he wouldn’t change his mind. As I was putting the final touches on the cake, I realized something. The cake was pink. Pale pink. I had just made my husband a pale pink birthday cake. I never considered that raspberry icing would produce a pink cake. Happy birthday little girl husband!
Luckily, he ate it in all it’s pale pink glory. I guess I could have done raspberry on the inside and lemon on the outside. The scarecrow said it best—If I only had a brain.
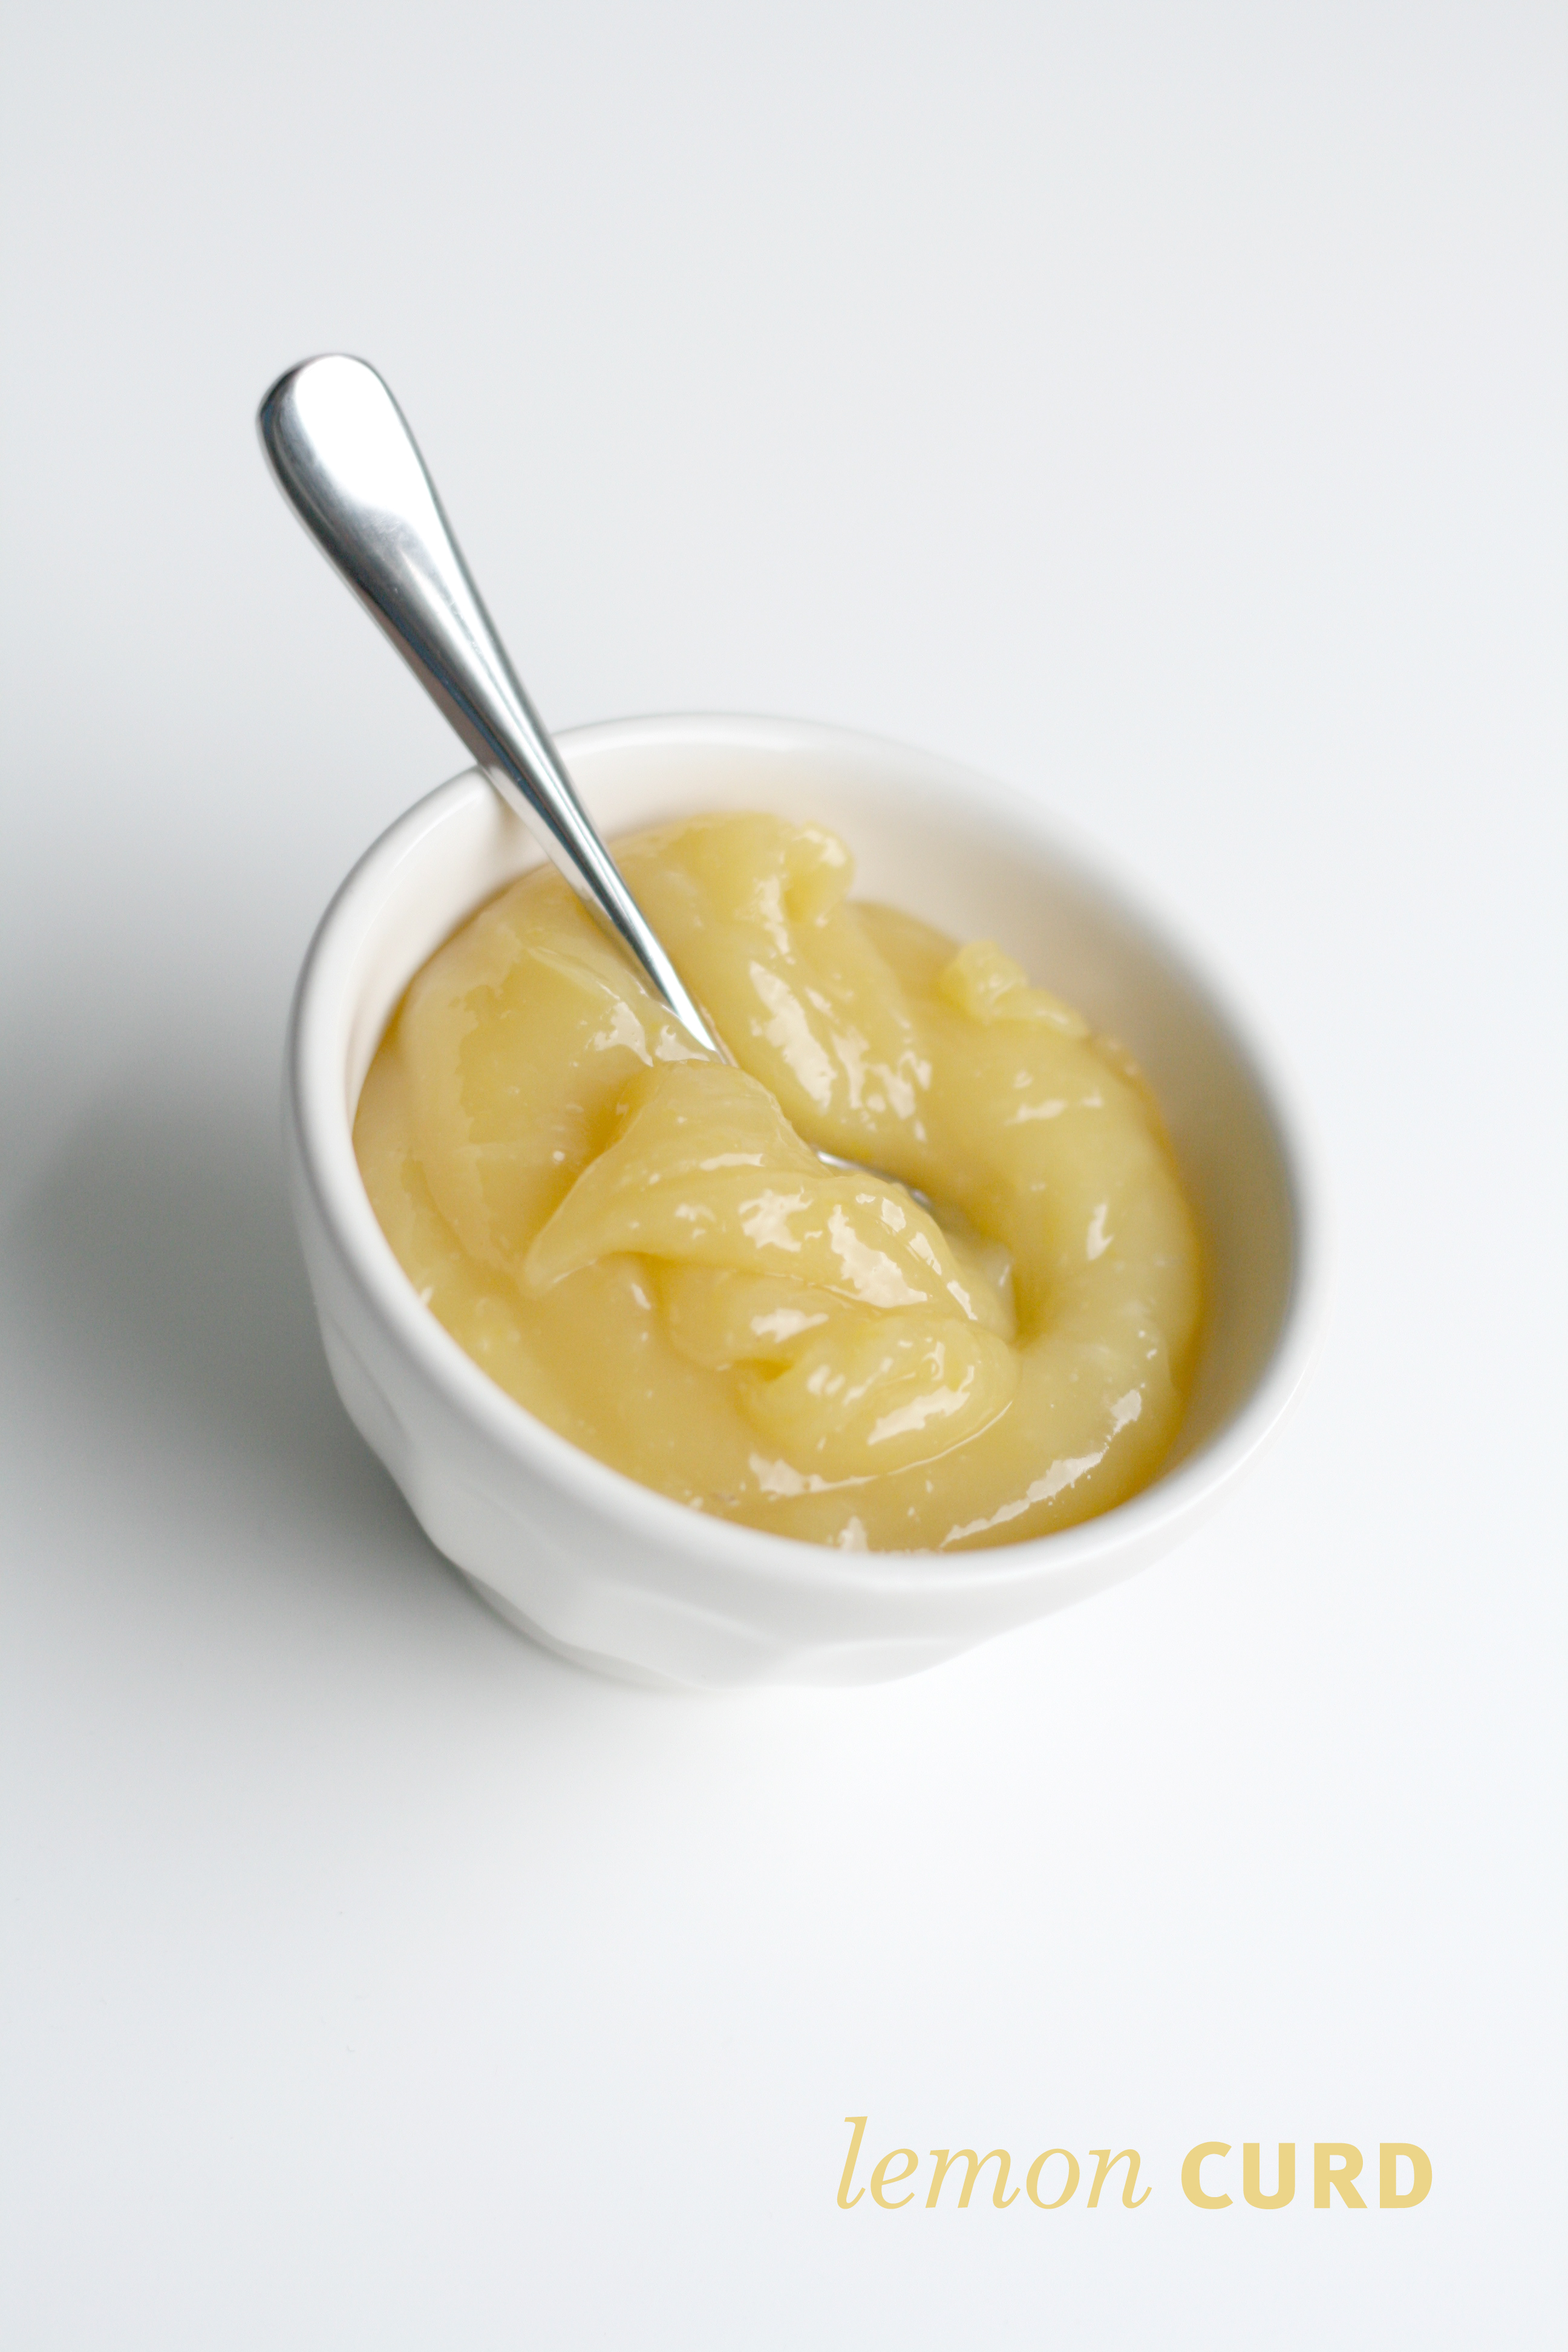
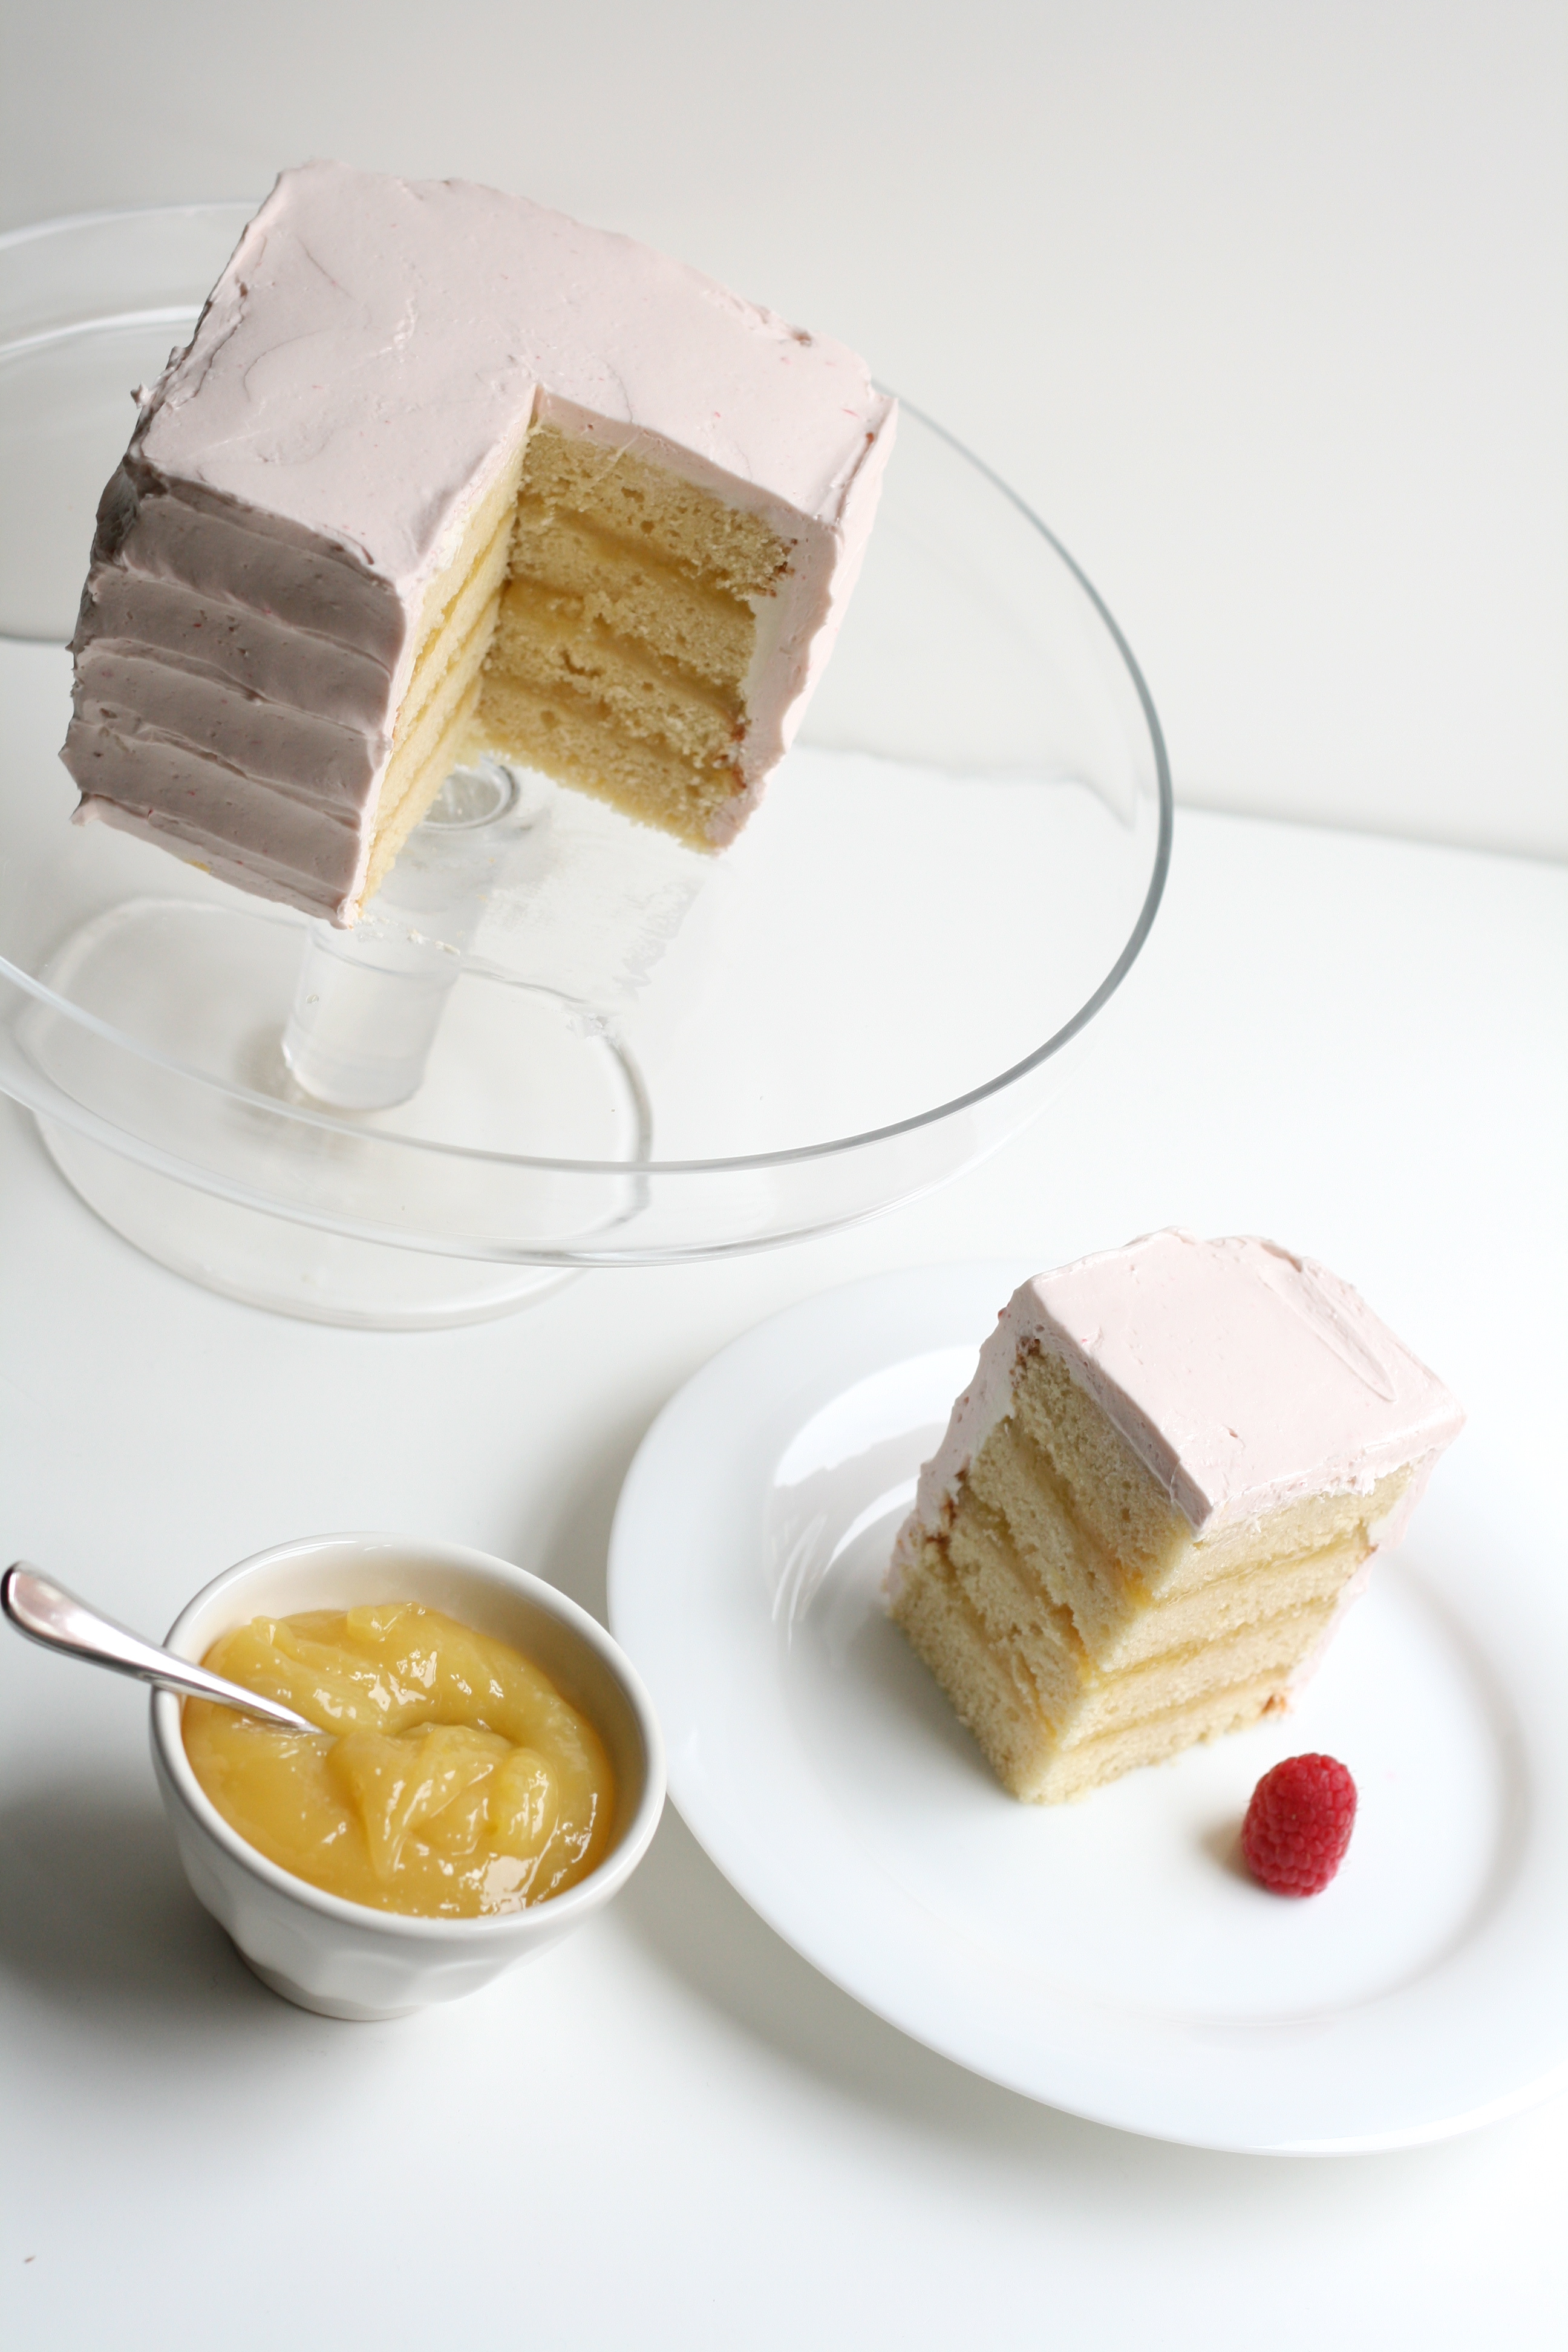
Speaking of lemon, this graced the inside of the cake.
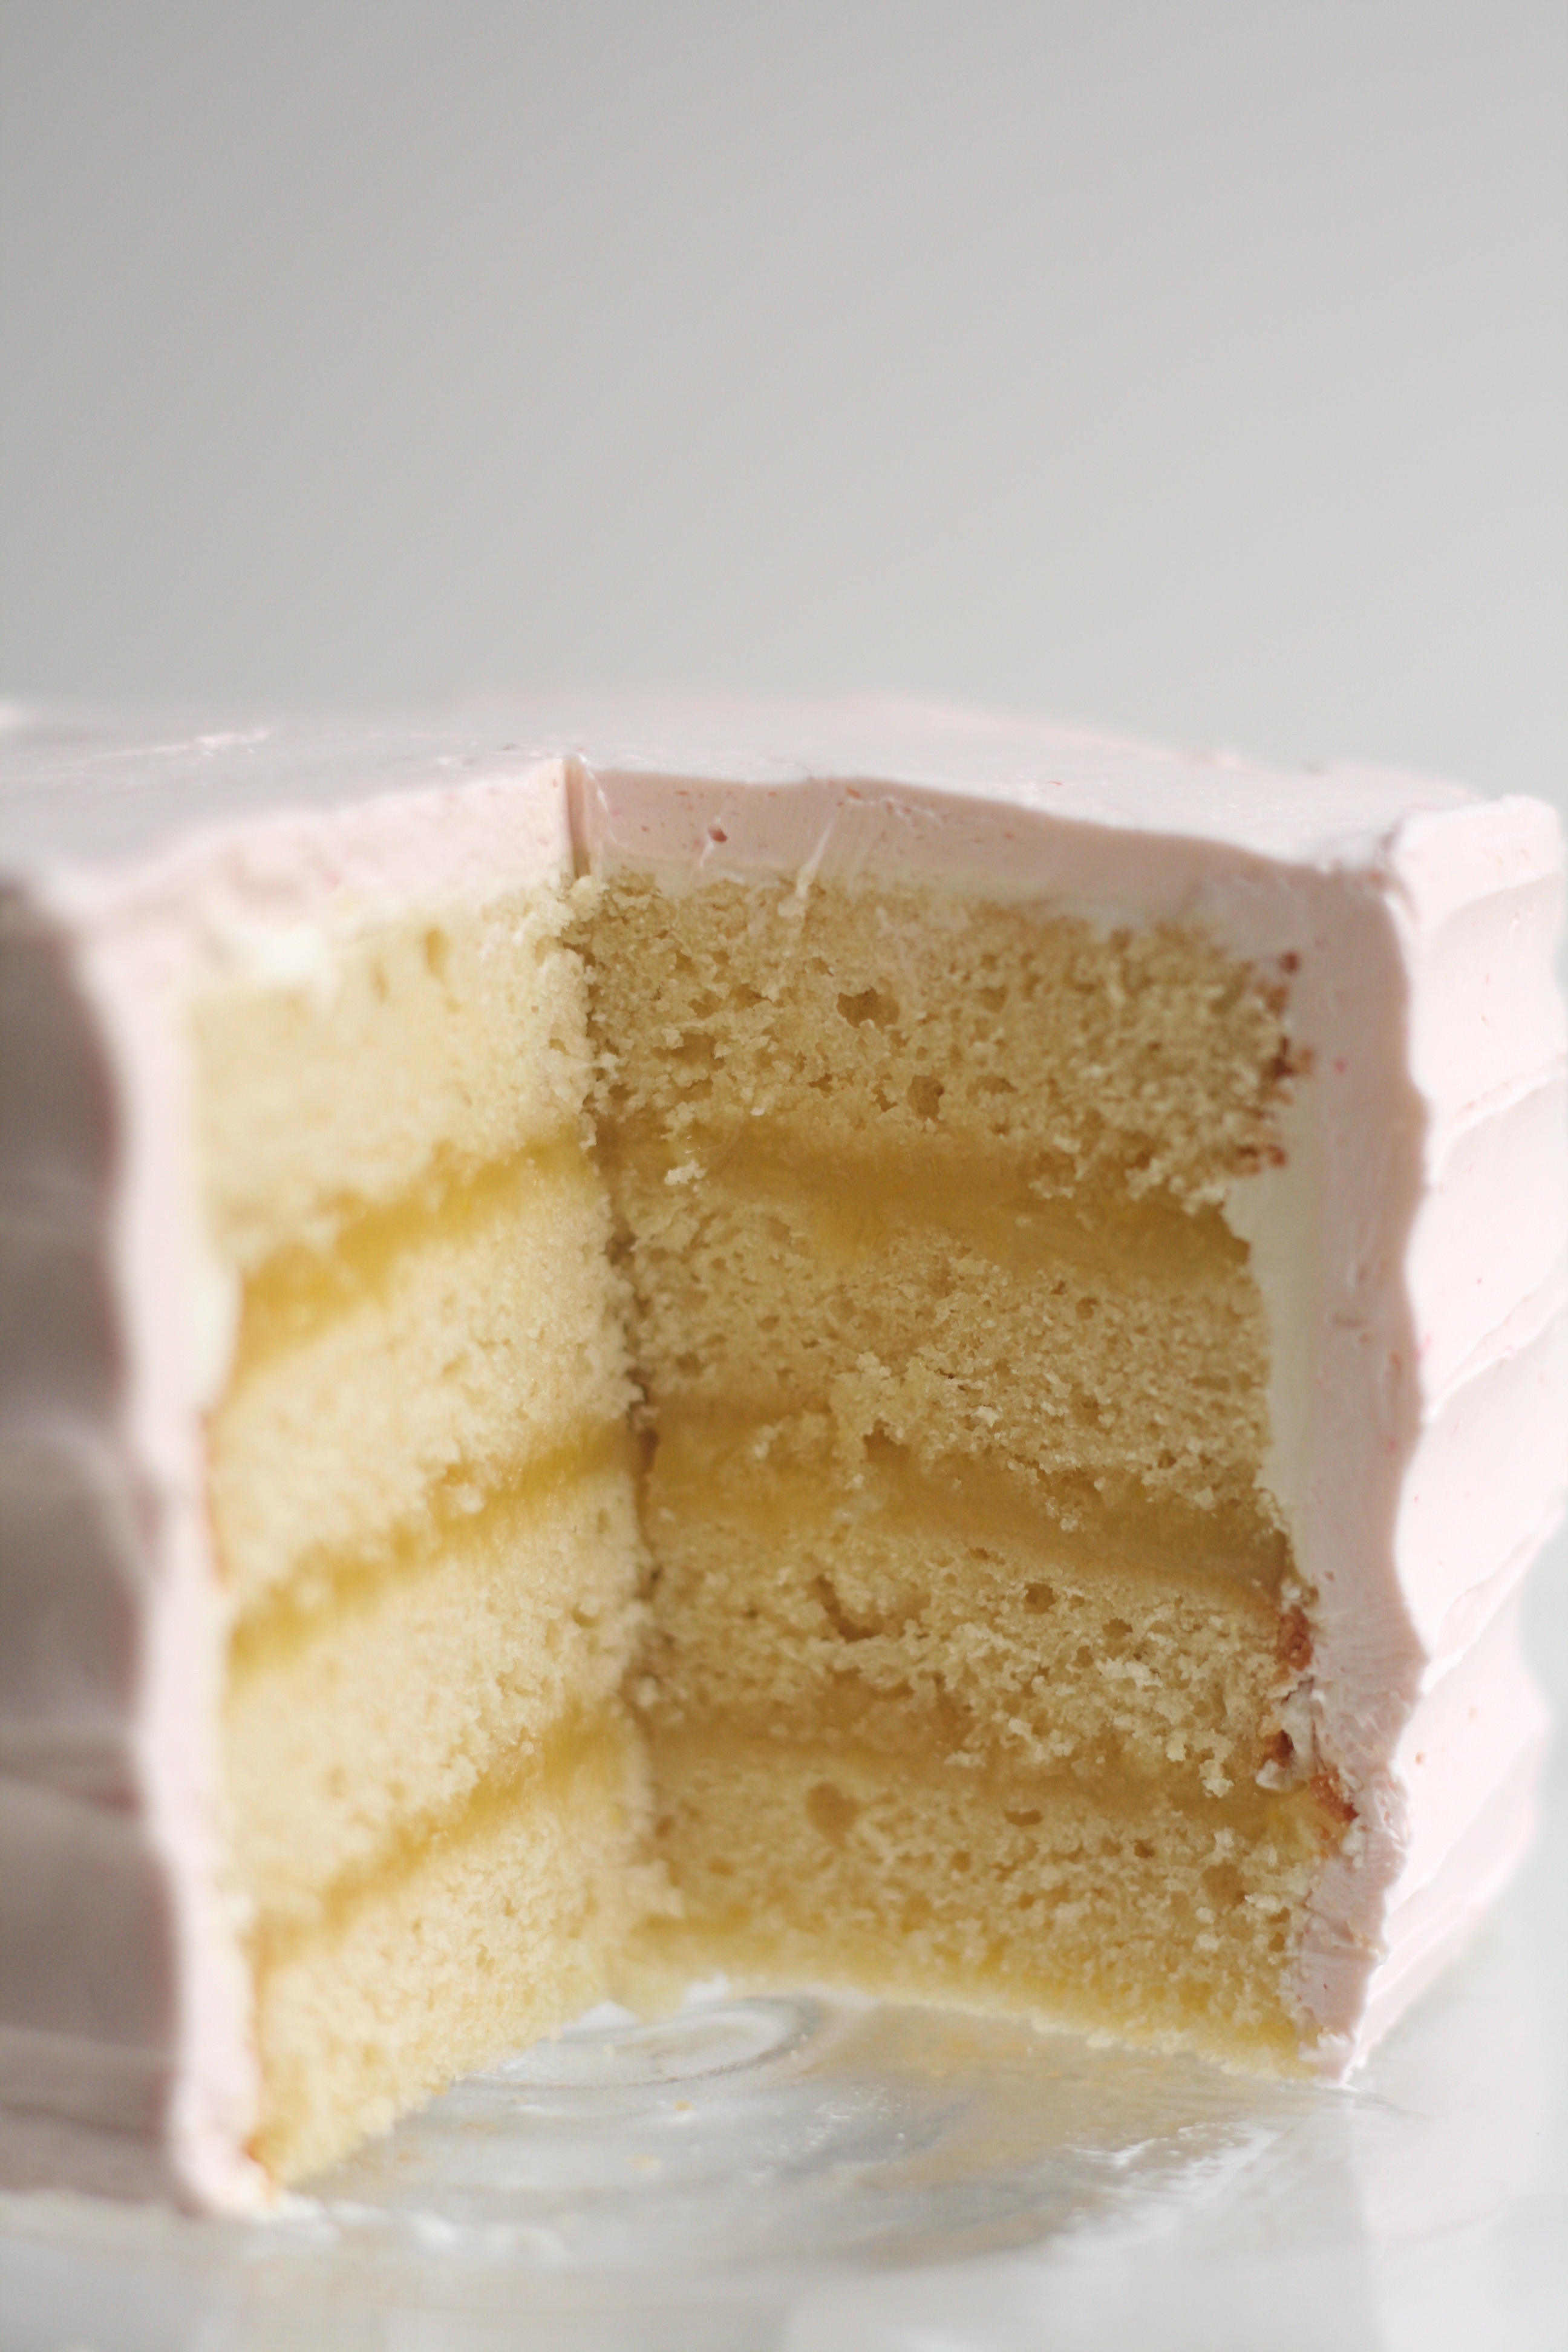
Between all four layers.
Mini Lemon Raspberry Cake Yellow Butter Cake + Lemon Curd + Raspberry Italian Meringue Buttercream
Yellow Butter Cake I halved the Yellow Butter Cake recipe from a couple posts back. Bake in a square pan. Follow recipe as directed. Check cake at 20 minutes. Allow to cool. Cut cake into fourths to achieve mini square cake as pictured.
Lemon Curd recipe from Cake Love by Warren Brown; yields 2 cups
1 c. fresh squeezed lemon juice 2 1/4 c. sugar 2 tsp. cornstarch 4 large eggs 4 egg yolks 1 1/2 sticks unsalted butter, chilled
1. Squeeze lemon juice making sure to strain out seeds. Measure sugar and cornstarch into a heavy bottomed saucepan. (I use my Le Creuset for this.) Crack eggs and yolks into a separate bowl and set aside. 2. Whisk lemon juice into sugar mixture, followed by the eggs and yolks. 3. Whisk in cold butter one tablespoon at a time. 4. Set saucepan over medium heat and bring to simmer, whisking continuously. 5. When you begin to see lava bubbles—large, slowly forming bubbles that burp steam—reduce the heat to the lowest setting and whisk briskly for 1 minute to pasteurize the lemon curd. (Lava bubbles usually appear 10 minutes in.) 6. Pour directly into bowl, and cover with plastic wrap pressed to surface to keep a skin from forming. 7. Immediately refrigerate for at least 3 hours before using. Note: I halved the recipe for the mini cake.
Raspberry Italian Meringue Buttercream I halved the Italian Meringue Buttercream recipe from a couple posts back and added raspberries. Make recipe as directed. If you are making a full recipe, you’ll need 1/2 c. raspberries. If you are making a half recipe, you’ll need 1/4 c. raspberries. Puree raspberries in food processor. Using a fine mesh sieve, strain the puree into a bowl to remove seeds. Add puree to buttercream and whip until combined.
Ice the Cake For a quick tutorial, click here. Serve cake at room temperature.
Can I let you in on a little secret? I wanted to show you a slice of the cake, but I wasn’t serving the cake until later that evening. So, I cut the cake. Took some pics. And put the cake back together. The Italian Meringue Buttercream is very forgiving like that.