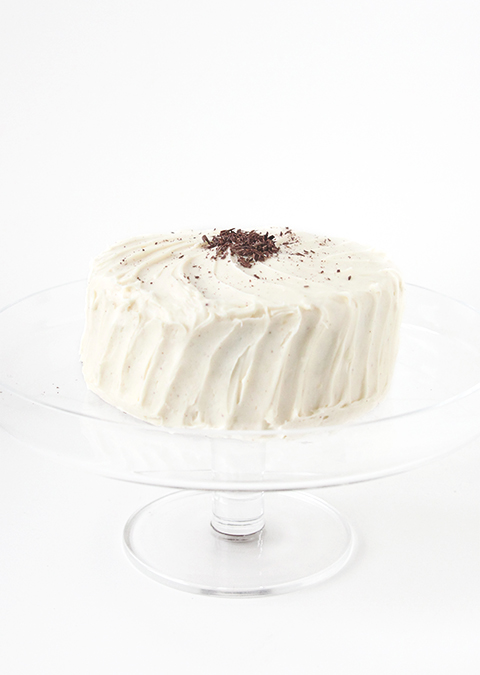
This is the first cake, cake, with layers and frosting, I’ve made since we’ve moved to Connecticut. I’ve been in a funk. Read more
![]()

This is the first cake, cake, with layers and frosting, I’ve made since we’ve moved to Connecticut. I’ve been in a funk. Read more
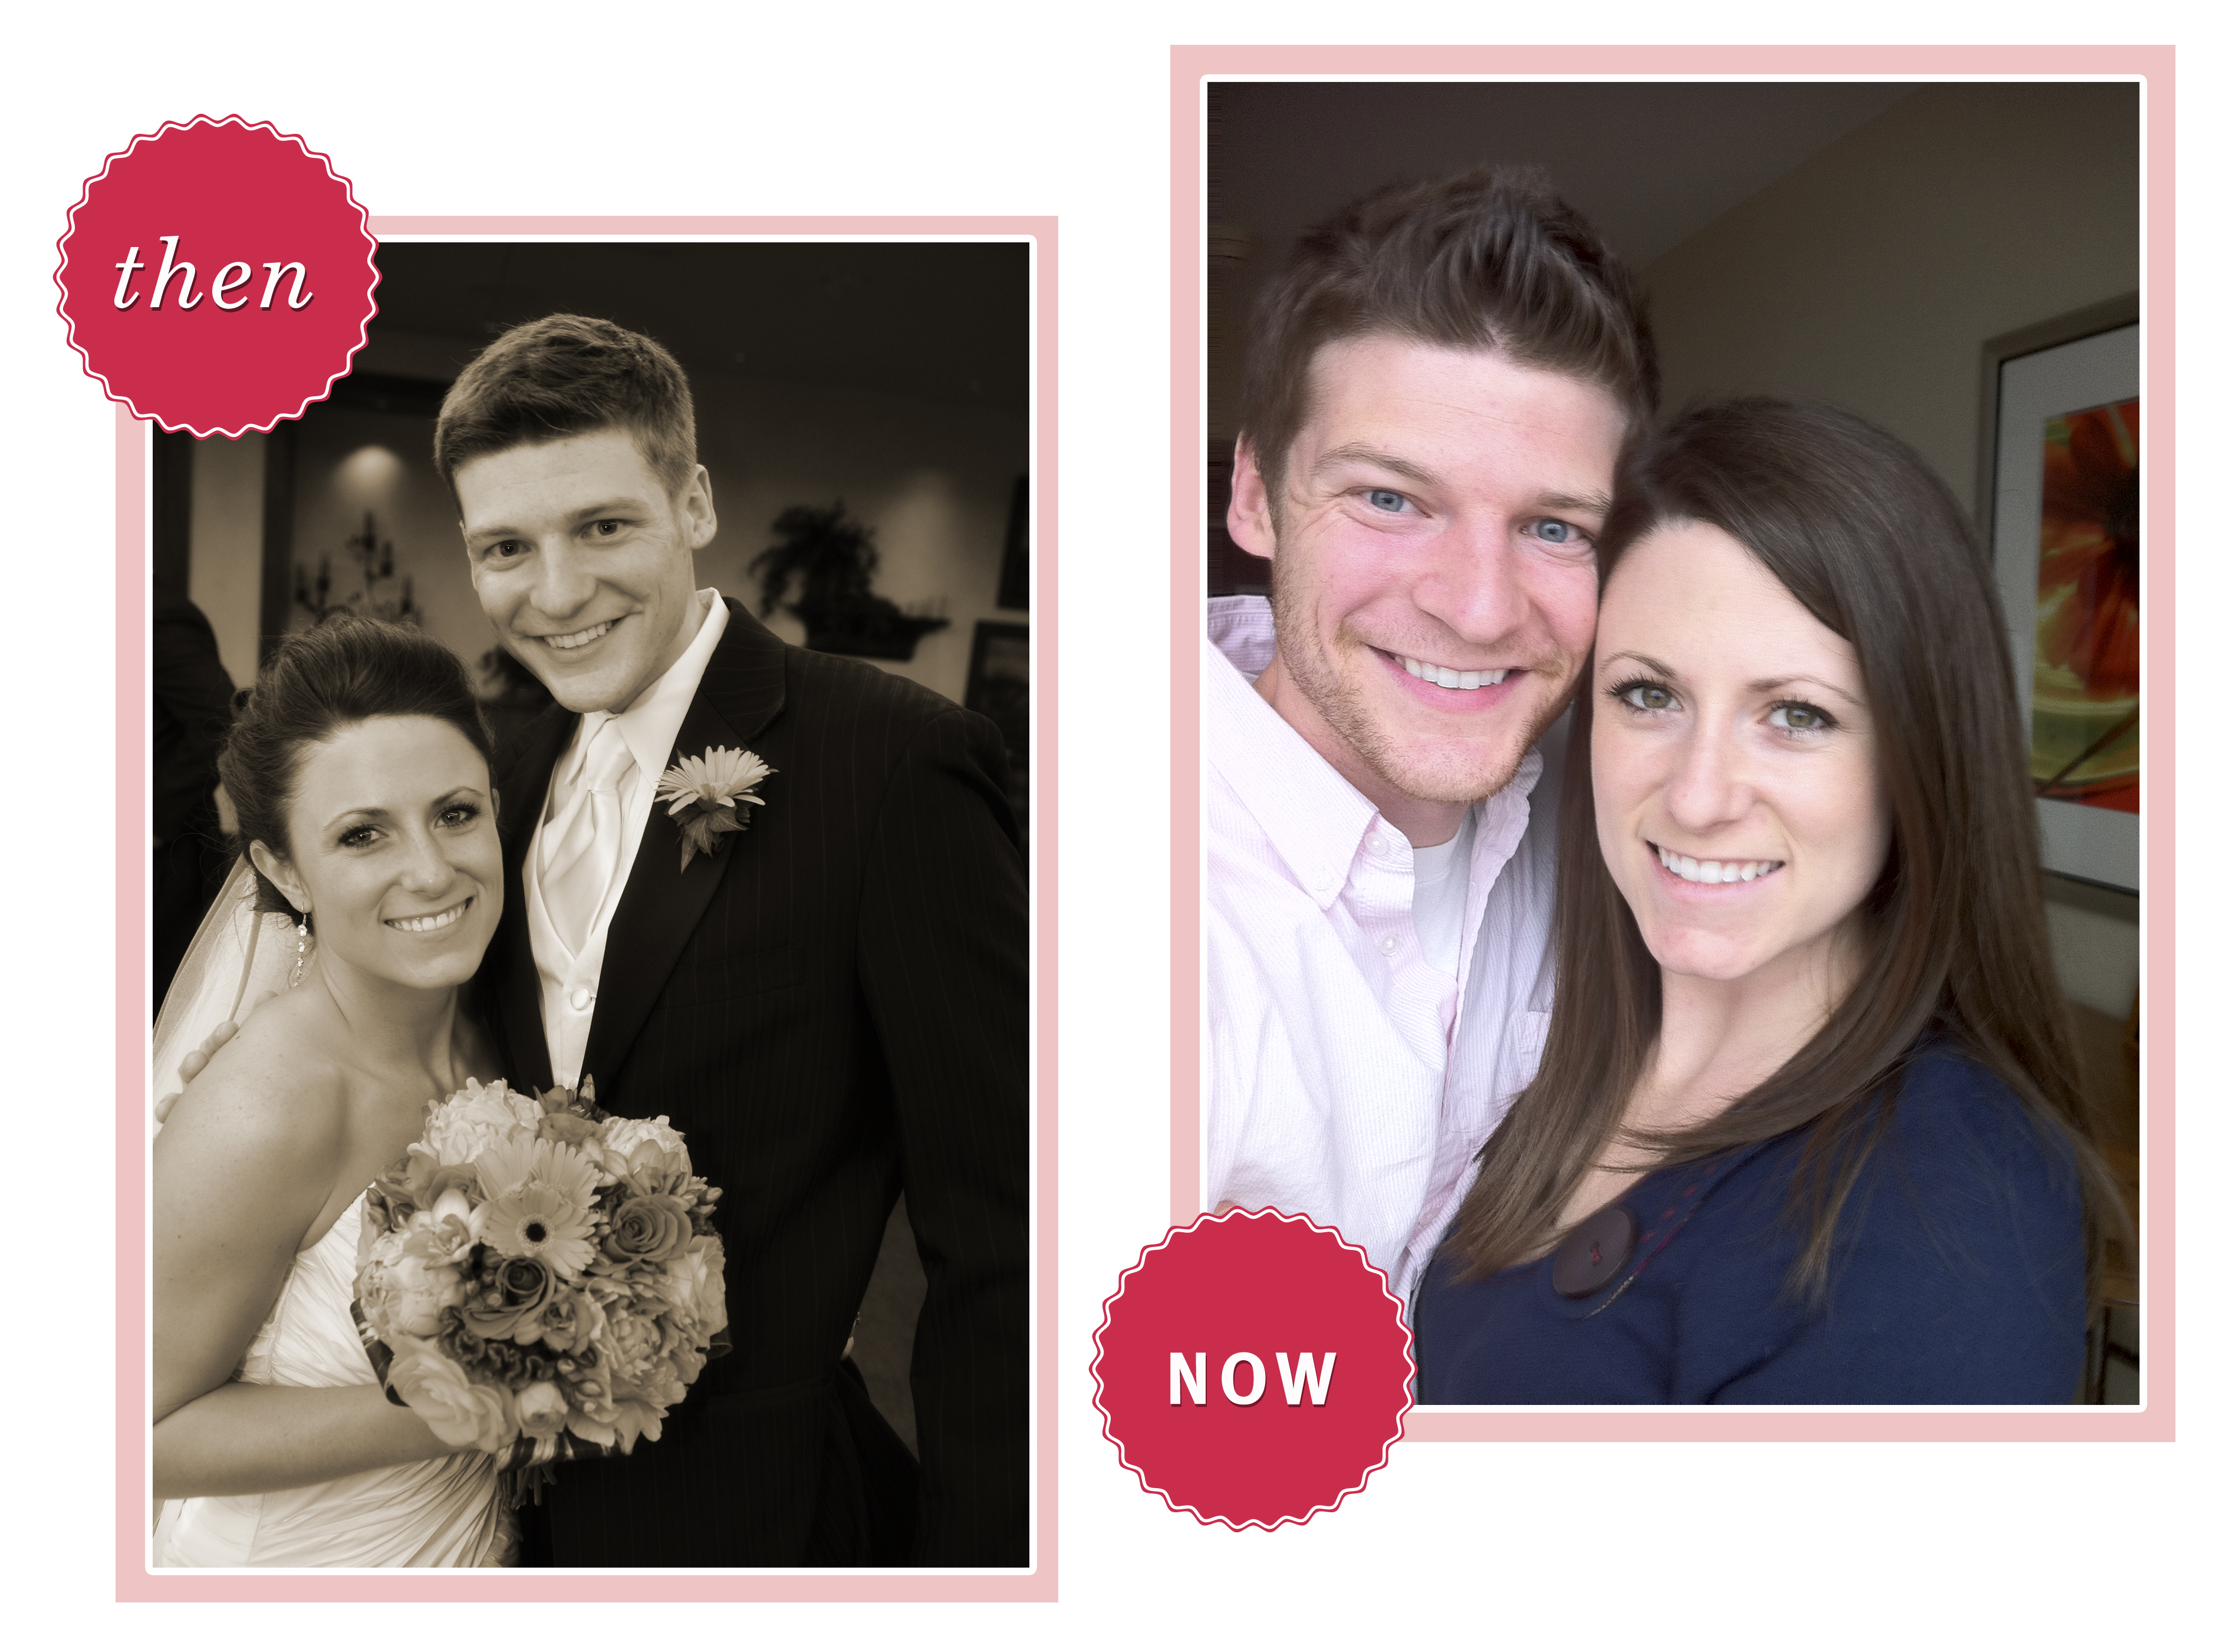
Three years ago today, we said I do. Three years! I guess we’re not newlyweds anymore. And I’m not so sad about that. I love that I know my husband 3 years better than I did when we got married. I love that I love my husband 3 years more than I did when we got married. The path hasn’t always been straight or easy, but it has been rewarding. So thankful to share this journey with Kevin, my sweet graduate school husband. To many decades more!
Speaking of sweet, I made a cake. A mini anniversary cake. I think I’ve started a new tradition in our marriage.
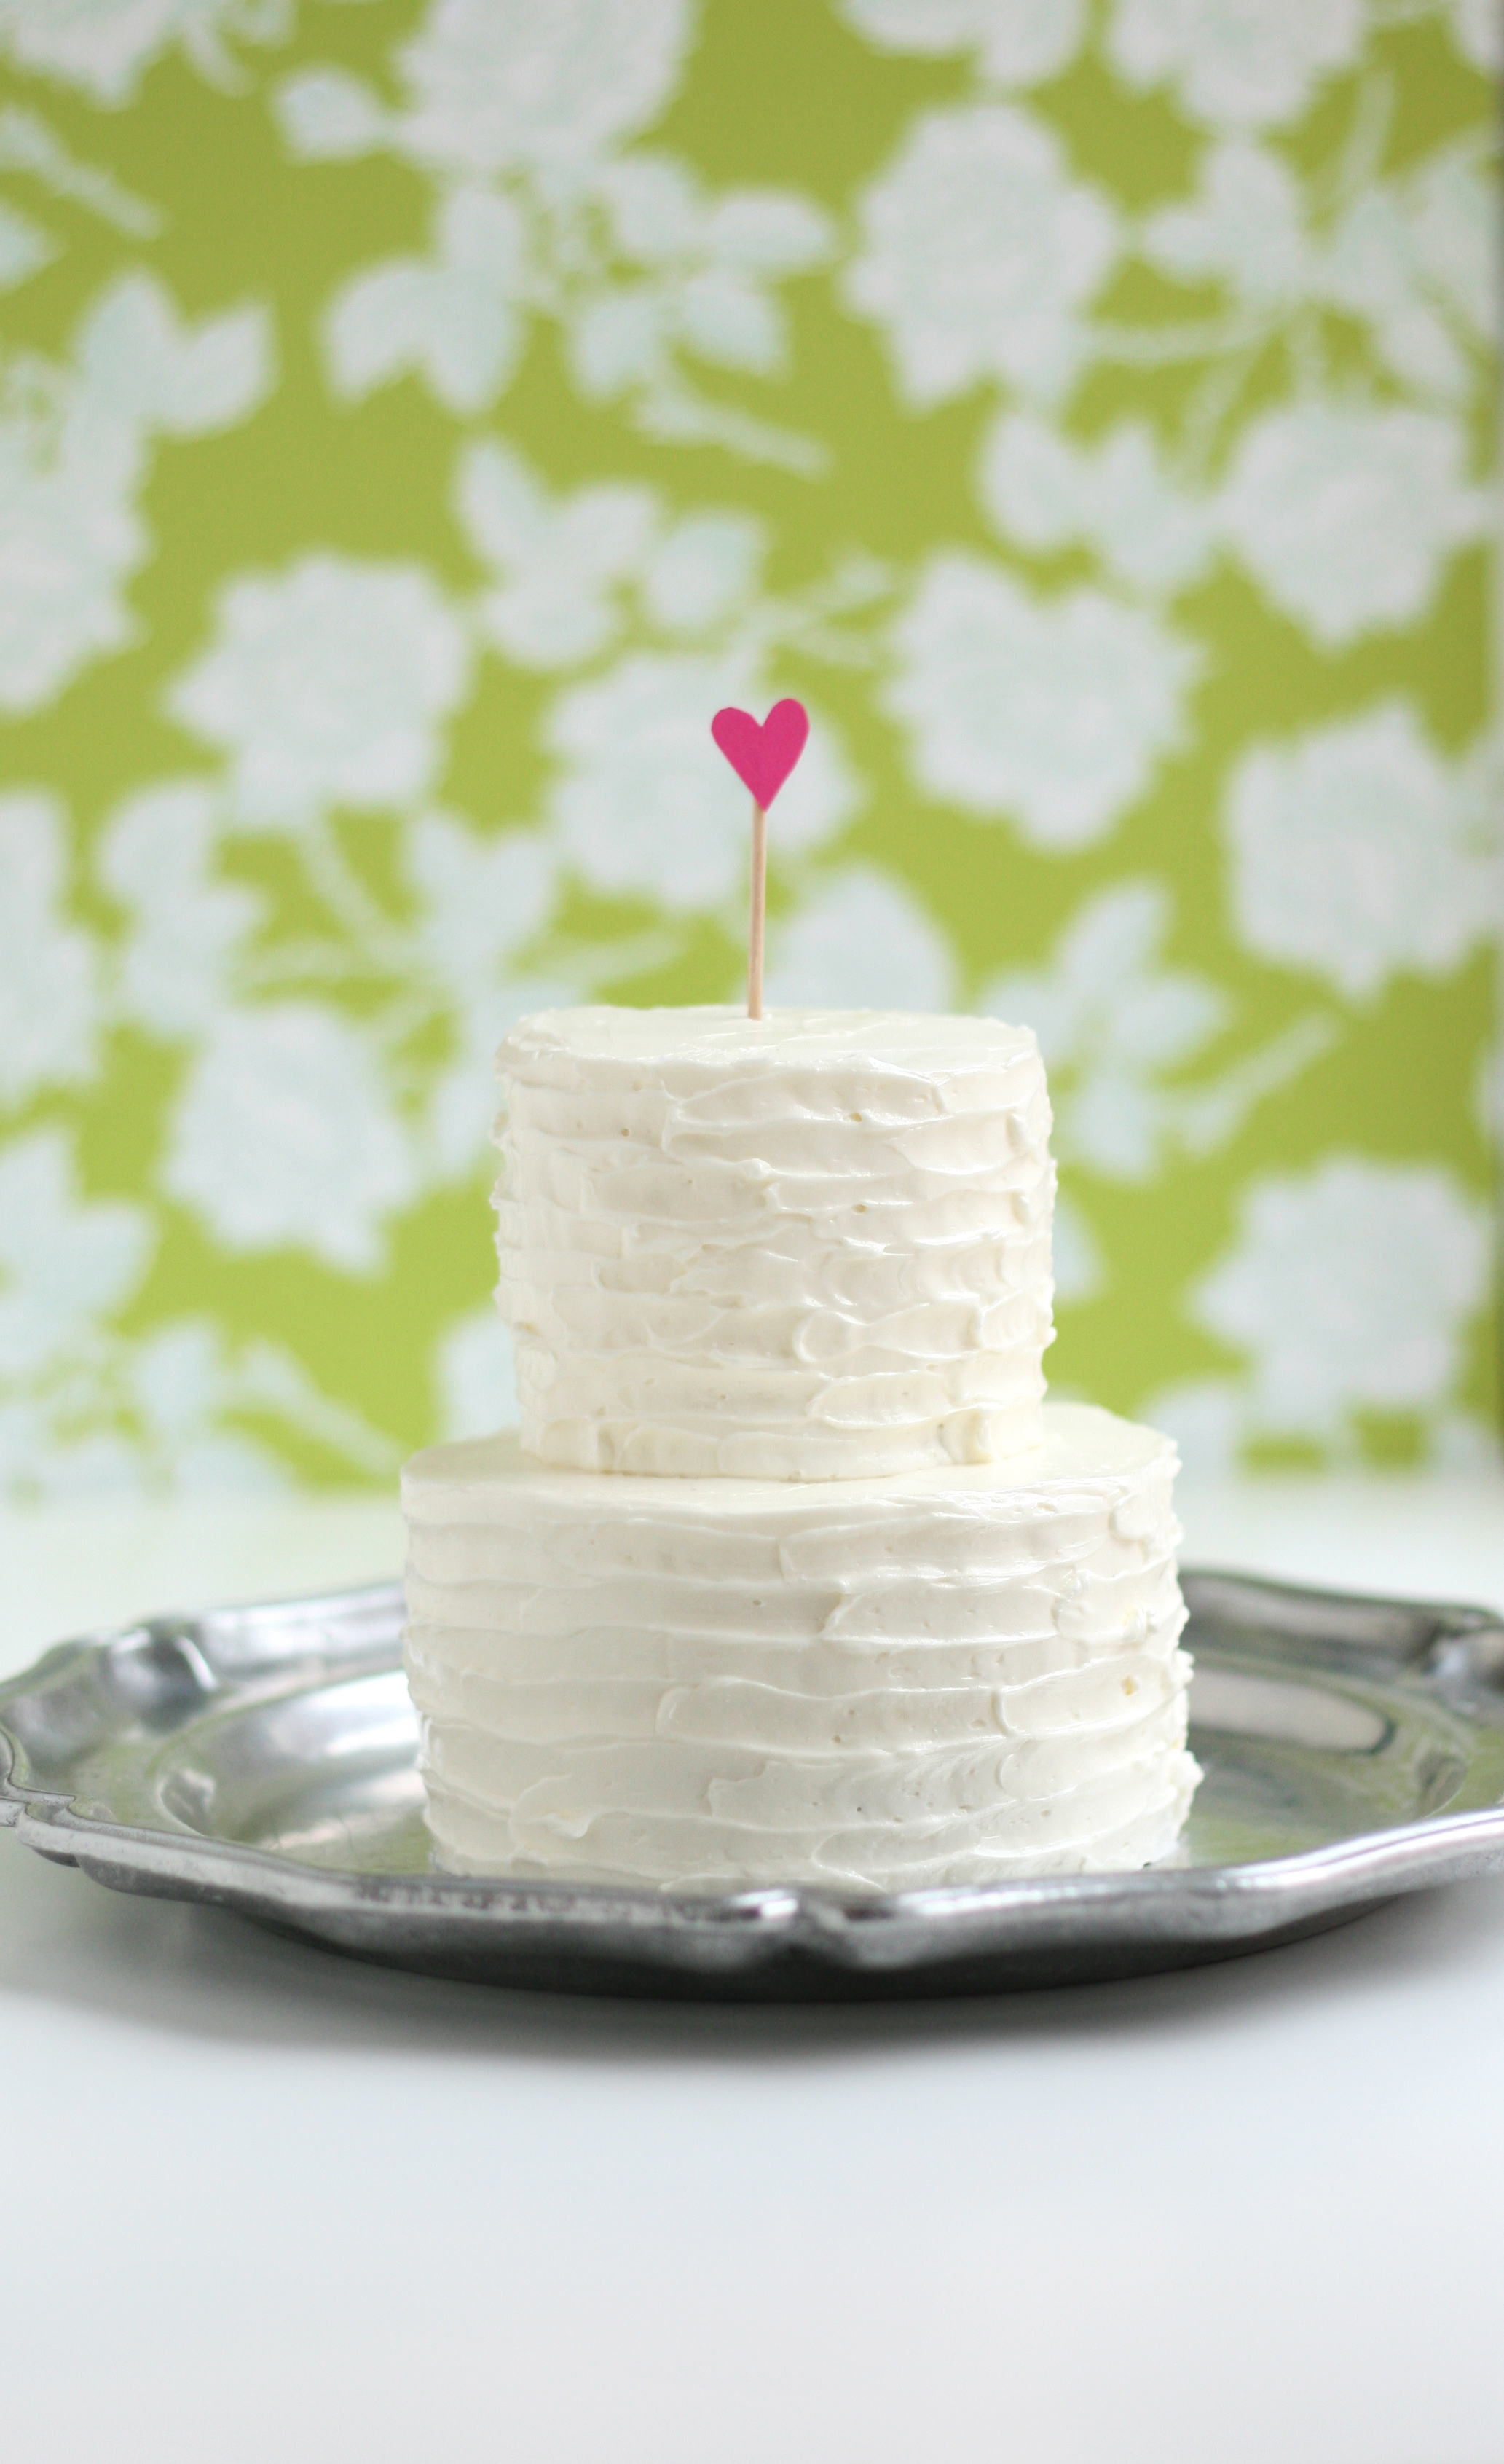
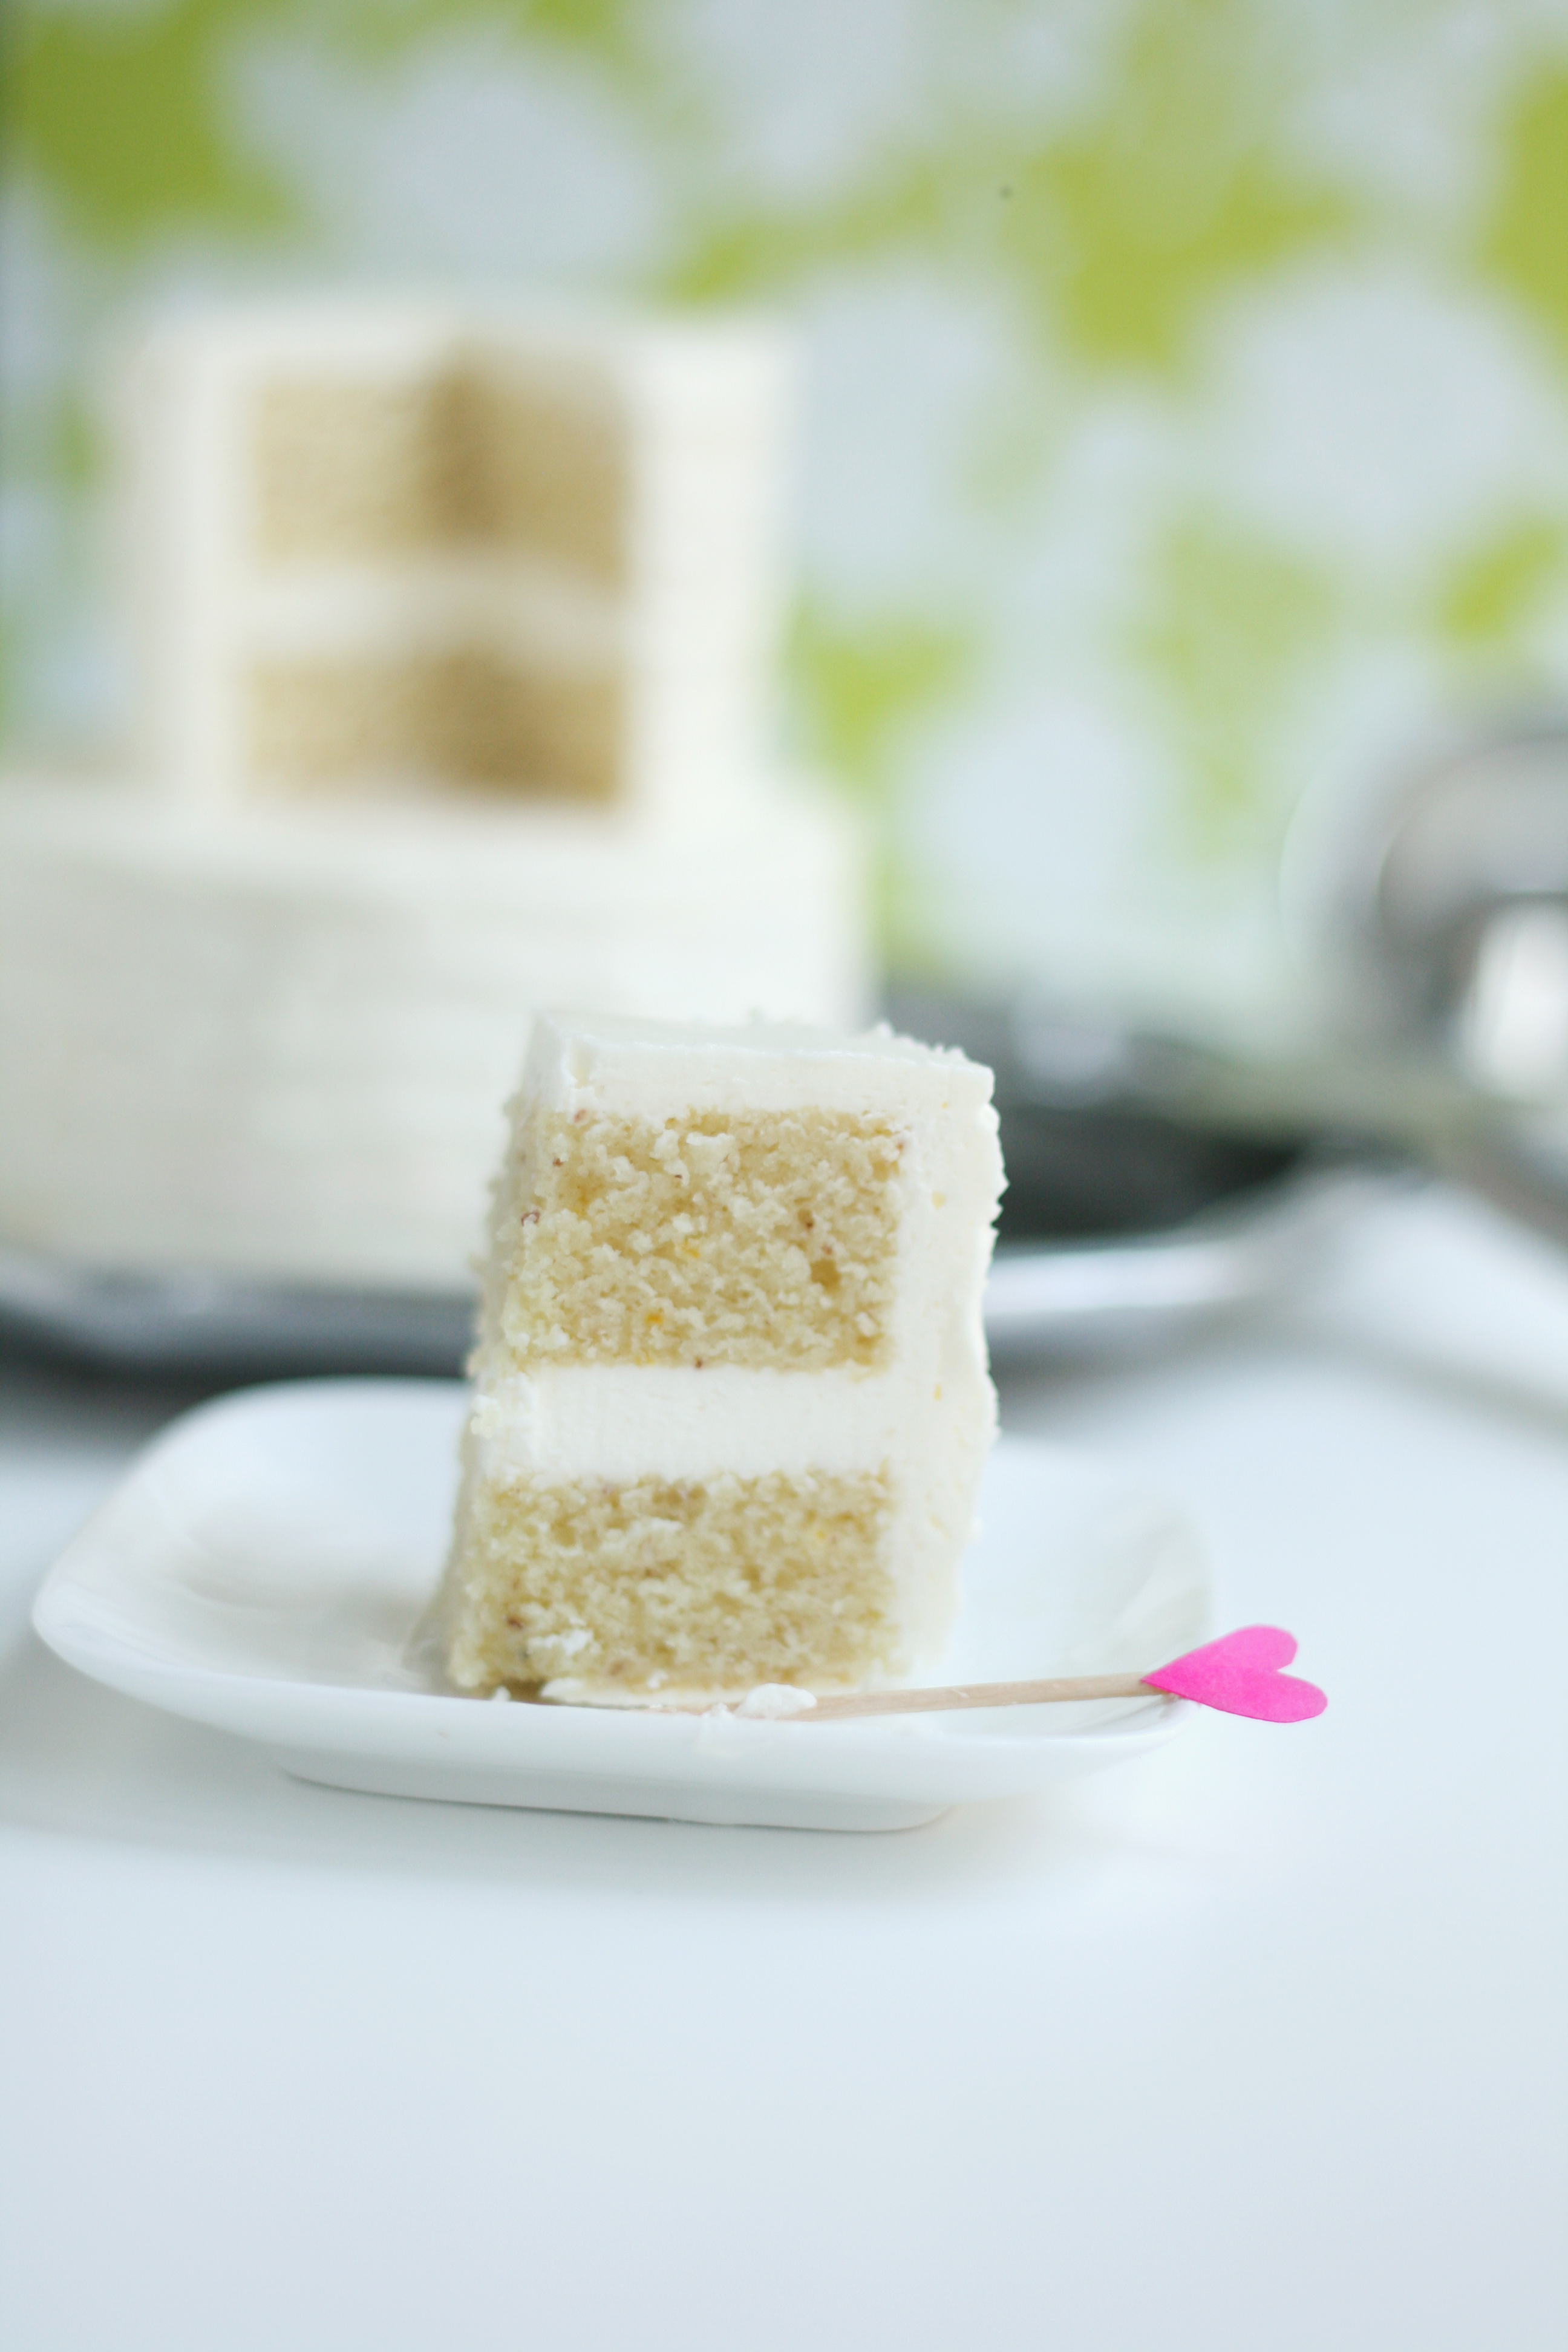
Isn’t it cute? Anything tiny is somehow cute. At it’s widest, it’s 3.5 inches—perfect for 2 people. It tastes like a wedding cake too. You know the wedding cake taste—fruity, decadent, and rich. So I took a risk and crafted a new recipe with hints of orange and almond (based off this one). Luckily the risk paid off—it’s my new favorite cake. Happy Anniversary to us!
Anniversary Cake
Almond + orange cake, inspired by Cake Love
makes one 9-inch pan
DRY
1/2 c.+ 2 tbsp. unbleached AP flour
2 tbsp. potato starch (I use Bob’s Red Mill)
3 tbsp. finely ground almonds
3/4 tsp. baking powder
1/2 tsp. salt
LIQUID
1/2 c. half and half
1/2 tsp. almond extract
1/2 tsp. orange zest
1 tbsp. orange juice, freshly squeezed
CREAMING
6 tbsp. unsalted butter, room temp
3/4 c. + 2 tbsp. extra-fine granulated sugar (I food process my regular sugar)
2 large eggs
1. Preheat oven to 350º. Set rack in the middle of the oven.
2. Set out ingredients and equipment. Sift flour. Finely pulse almonds to a flour like consistency. Measure dry ingredients into separate mixing bowl. Add flour and almonds and whisk together. Measure liquid ingredients into a separate bowl and set aside. Place butter and sugar in bowl of standing mixer. Crack eggs into a separate bowl and set aside.
3. In the bowl of a standing mixer fitted with paddle attachment, cream together the butter and sugar on the lowest speed for 3-5 minutes. (This will feel odd, but keep it on low.)
4. With the mixer still on the lowest speed, add the eggs one at a time, fully incorporating after each addition. Stop the mixer and scrape down the sides of the bowl.
5. Add the dry ingredient mixture alternately with the liquid mixture in 3 to 5 additions each, beginning and ending with the dry mixture. Move swiftly through the step to avoid overworking the batter. Don’t wait for the dry or liquid mixtures to be fully incorporated before adding the next. This step should take a total of about 60 seconds.
6. Stop the mixer and scrape the sides of the bowl all the way down. Don’t miss the clumps of ingredients hiding on the bottom. Mix on medium speed for 15 to 20 seconds to develop the batter’s structure.
7. Prepare the 9-inch round cake pan. Line the bottom with parchment paper. Do not spray the sides of the pan. (This helps to keep your cake from doming in the middle as it bakes. The cake is able to crawl up the side as it bakes and maintain an even shape.)
8. Place batter in pan. Bake for 28 minutes.
9. Once the top of the cake doesn’t jiggle in the center, test for doneness by inserting a toothpick into the middle of the cake. The center should be an even blonde color and the edges should be just beginning to pull away from the pan. When the skewer shows a touch of crumbs or comes out clean, the cake is done.
10. Cool cake for 20 minutes before removing from the pan. Use a small off-set spatula to loosen the cake from the rim of the pan. Carefully invert and remove parchment paper. Allow to cool completely before assembling.
Italian Meringue Buttercream with a hint of orange
recipe from Cake Love by Warren Brown; makes 2-2 1/2 cups
* a candy thermometer is necessary for this recipe
2 1/2 egg whites
1/2 c. + 2 tbsp. extra-fine sugar
2 tbsp. cold water
2 sticks butter
1/2 tsp. orange oil
1. Set out ingredients and equipment. Separate the egg whites into the bowl of a standing mixer fitted with the whisk attachment (for the 1/2 egg white, crack into separate bowl and only add half of the white). Measure 1/2 cup sugar and the water into a 1-quart, heavy-bottomed saucepan. Gently stir to combine. Measure the remaining 2 tablespoons of sugar into a separate bowl. Cut the butter into tablespoon sized pieces and set aside.
2. To make the sugar syrup, place the candy thermomometer in the sauce pan and heat the mixture over medium-high heat. Partially cover with lid to capture the evaporating water—this helps to moisten the sides of the saucepan to prevent sugar crystals from forming.
3. With the mixer on high speed, begin whipping the egg whites to stiff peaks. When the peaks are stiff, you have a meringue.
4. Keep the mixture running and pour the 2 tablespoons of sugar into the meringue.
5. Raise the heat under the sugar syrup to bring the syrup to 245° if it’s not there already. When it has reached 245°, remove the thermometer and slowly pour the syrup into the meringue, with the mixer running. (It helps to hold the pan just above the height of the mixer. Pour confidently trying to hit the meringue and not the side of the bowl.)
6. After 1 to 2 minutes, reduce the speed of the mixture to medium for 3-4 minutes or until meringue is cooled. Add the butter 1 tablespoon at a time. Increase the mixer speed to high for 1 to 2 minutes or until the butter is fully incorporated. Add orange oil. Mix one final time.
Assemble the Cake
1. Using biscuit cutters, cut two 3.5″ circles and two 2.5″ circles.
2. Assemble the tiers separately. Fill bottom layer of each tier with buttercream. Apply a crumb coat to each tier. Refrigerate for 30 minutes.
3. Ice bottom tier and top tier separately. To achieve the rustic look, pull a butter knife around the circumference of the cake. Start from bottom and work up.
4. Using a flexible spatula, carefully place the top tier of cake on to bottom tier. Clean up any knicks in the move. The italian meringue buttercream repairs easily.
5. Store cake in refrigerator, covered. Serve at room temperature.
*For in-depth cake assembly instructions, click here.
I had planned on doing an easter post today. But my idea flopped. Many tireless hours went into, and it flopped. Yes, I do want some cheese with this wine. I wasn’t going to tell you what I was making incase I decided to give it another try. But, I’m not. I’m no good at these things. And by “things” I mean cake balls. I’ve tried a couple times, and they’re just not my forte. I have these conflicting thoughts of “Don’t give up!” and “Just stick with what you’re good at.” Well, I’ve decided to stick with what I’m good at, leaving the cake balls to Bakerella. Don’t get me wrong, I’m up for a good challenge. And, I don’t mind if I fail from time to time. But I’ve learned I’m much better at baking than I am at decorating (case in point—cake ball fail). I’m much better at perfecting the classics (scones, cakes, cookies, macarons) than coming up with something new. I’m much better at sticking to my purist ways, than bending the rules and using the not so pure stuff. My take-away from all of this is—stick with what you’re good at, and get really good at it.
Shawoof (wiping sweat off brow). That was cathartic.
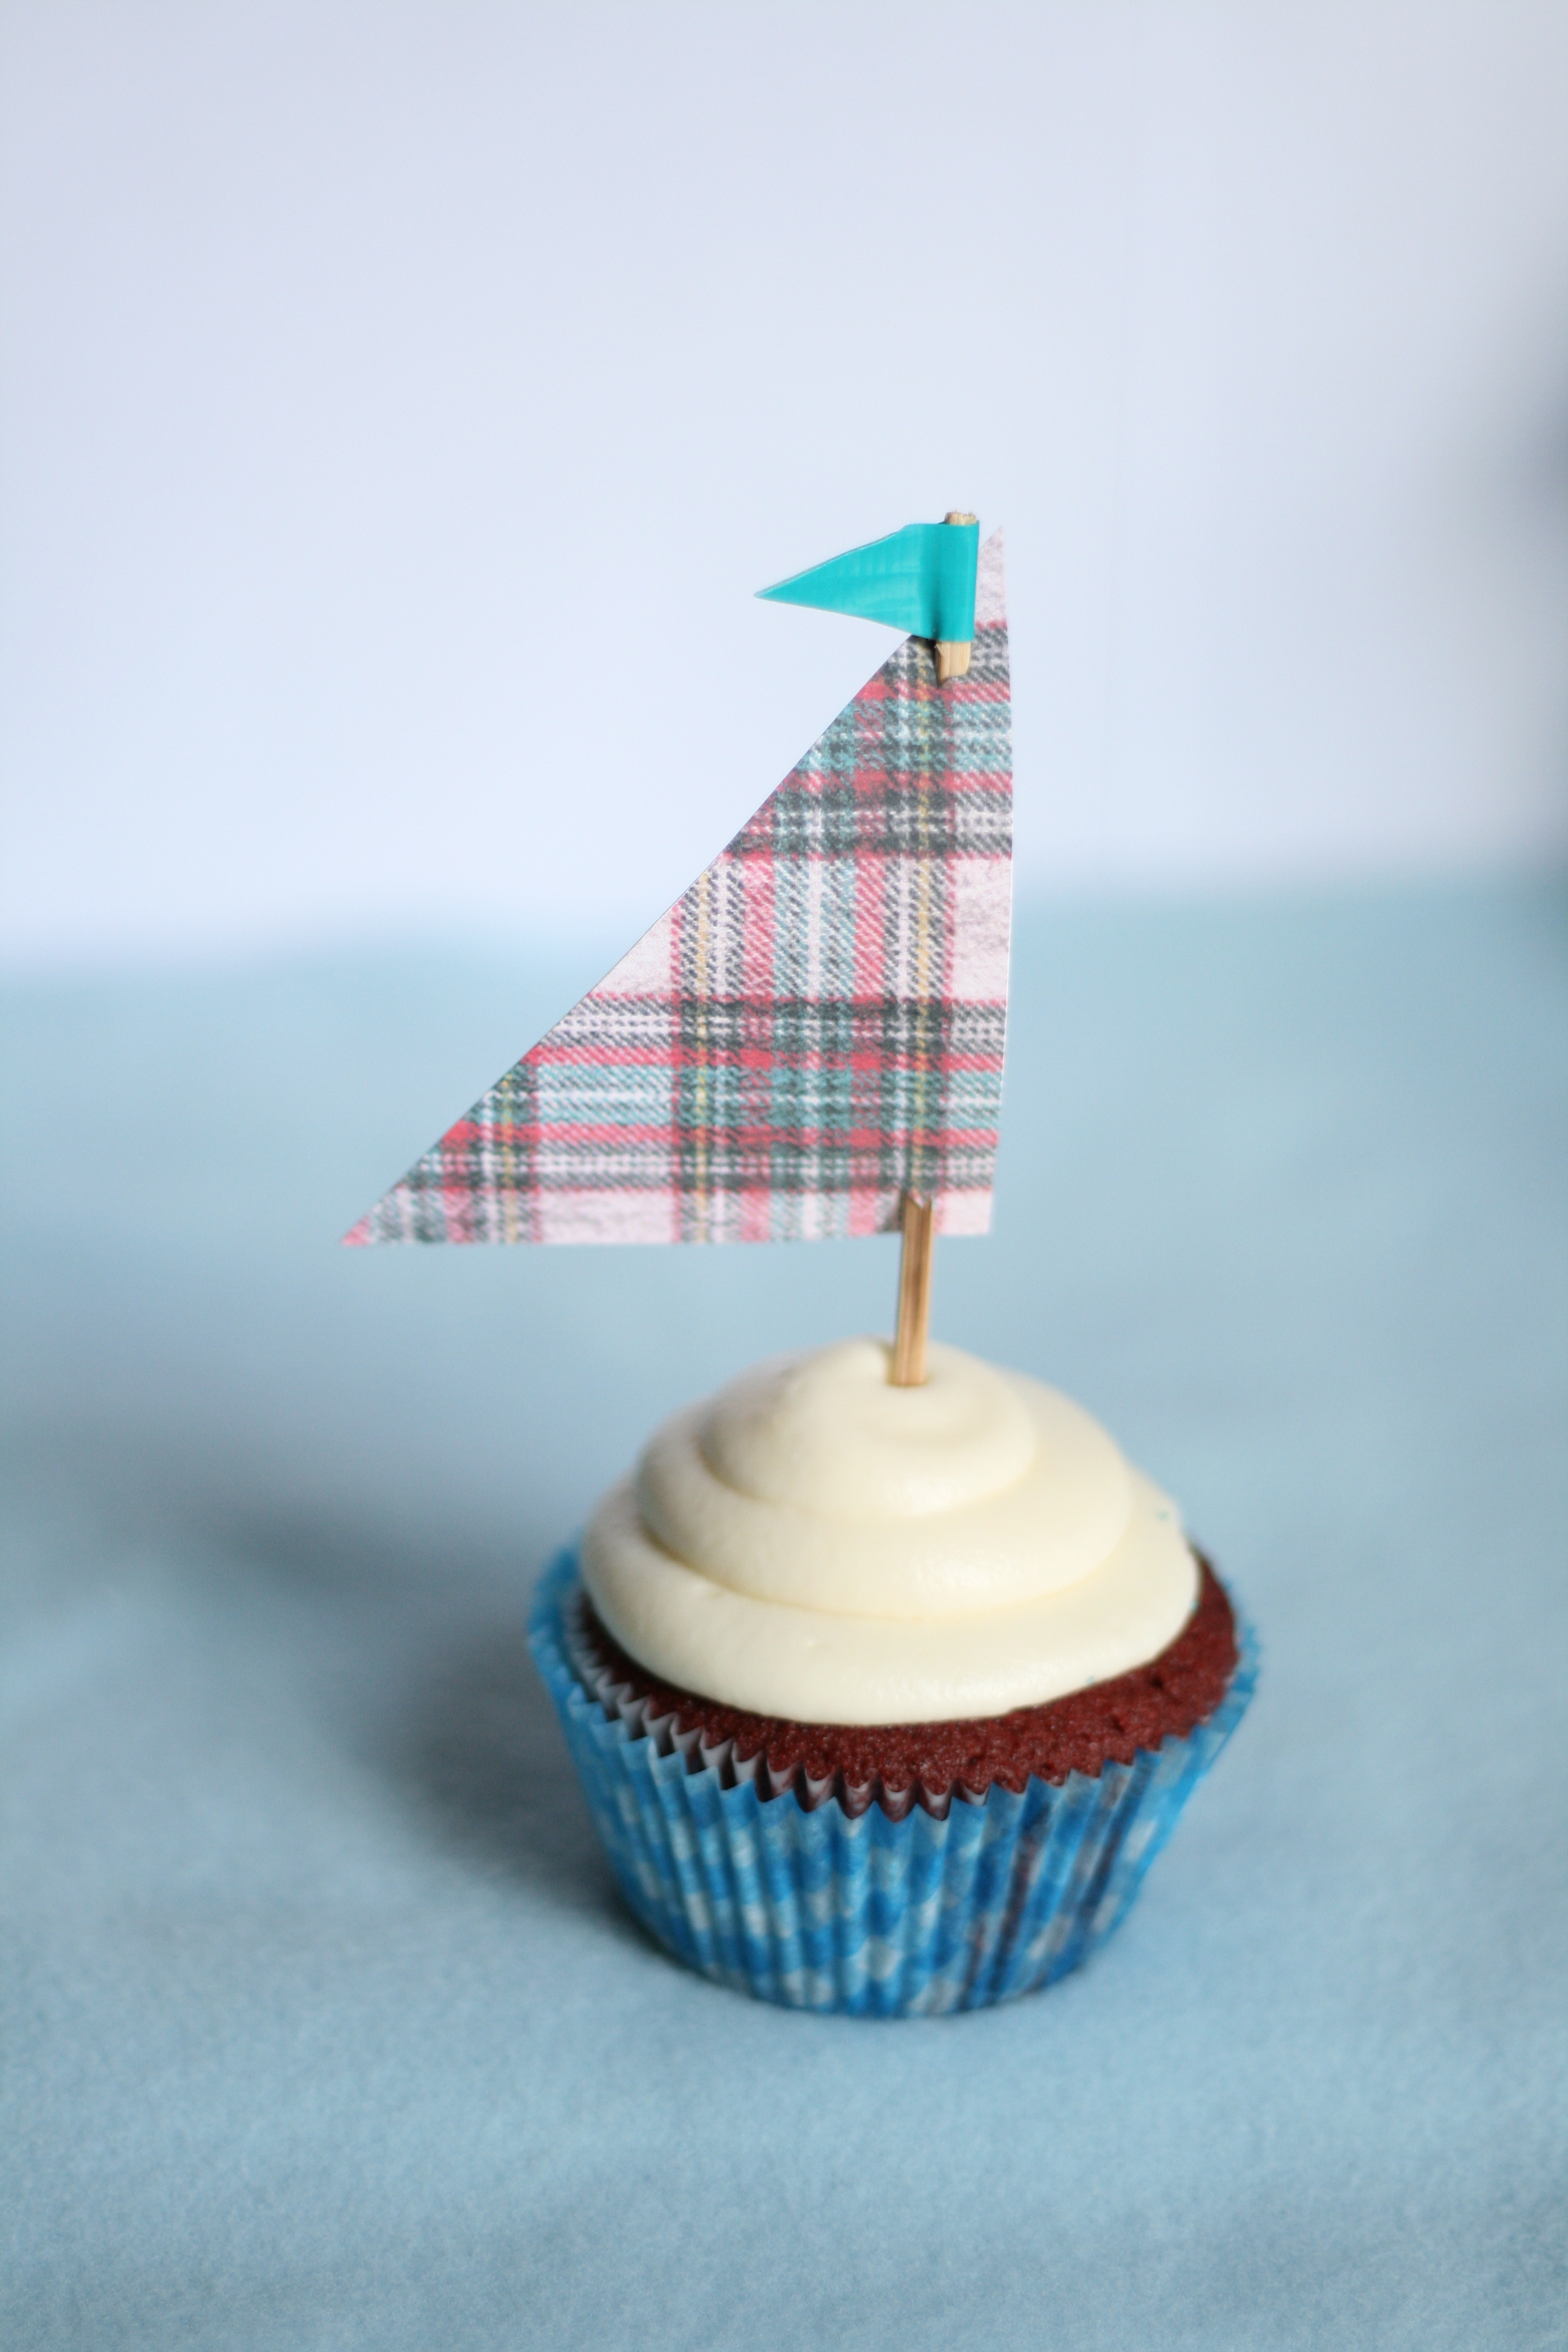
Now on to the good stuff. Red Velvet Cake! Remember the Sailboat Cupcakes from the last post? I told you I’d be back with the recipe. As promised, here it is. But first, I have to do another plug for my favorite baker—Warren Brown from Cake Love. His recipes make the best cakes ever (no lie). He is a purist as well. He believes in baking cakes from scratch. None of that artificial stuff. However, he does make a Red Velvet Cake because of it’overwhelming request at his bakery. It’s the only thing he uses food coloring in. You can leave the food coloring out and call it Brown Velvet. Or you can use the India Tree products (this is what I use), which are made from vegetables pigments.
Red Velvet Cake
recipe from Warren Brown, United Cakes of America
makes 24 cupcakes
DRY INGREDIENTS
2 1/4 c. Cake Flour (I used unbleached AP Flour)
2 tbsp. Cocoa Powder
1 tsp. Salt
1 tsp. Baking soda
WET INGREDIENTS
1 c. Buttermilk
1 tsp. Vanilla Extract
1 tsp. Apple Cider Vinegar
CREAMING INGREDIENTS
2 sticks of Unsalted Butter (room temp)
1 1/2 c. Superfine Sugar (You can pop regular sugar in a food processor to achieve this)
2 large eggs
1 oz. Red Food Dye (Opt out and make it Brown Velvet)
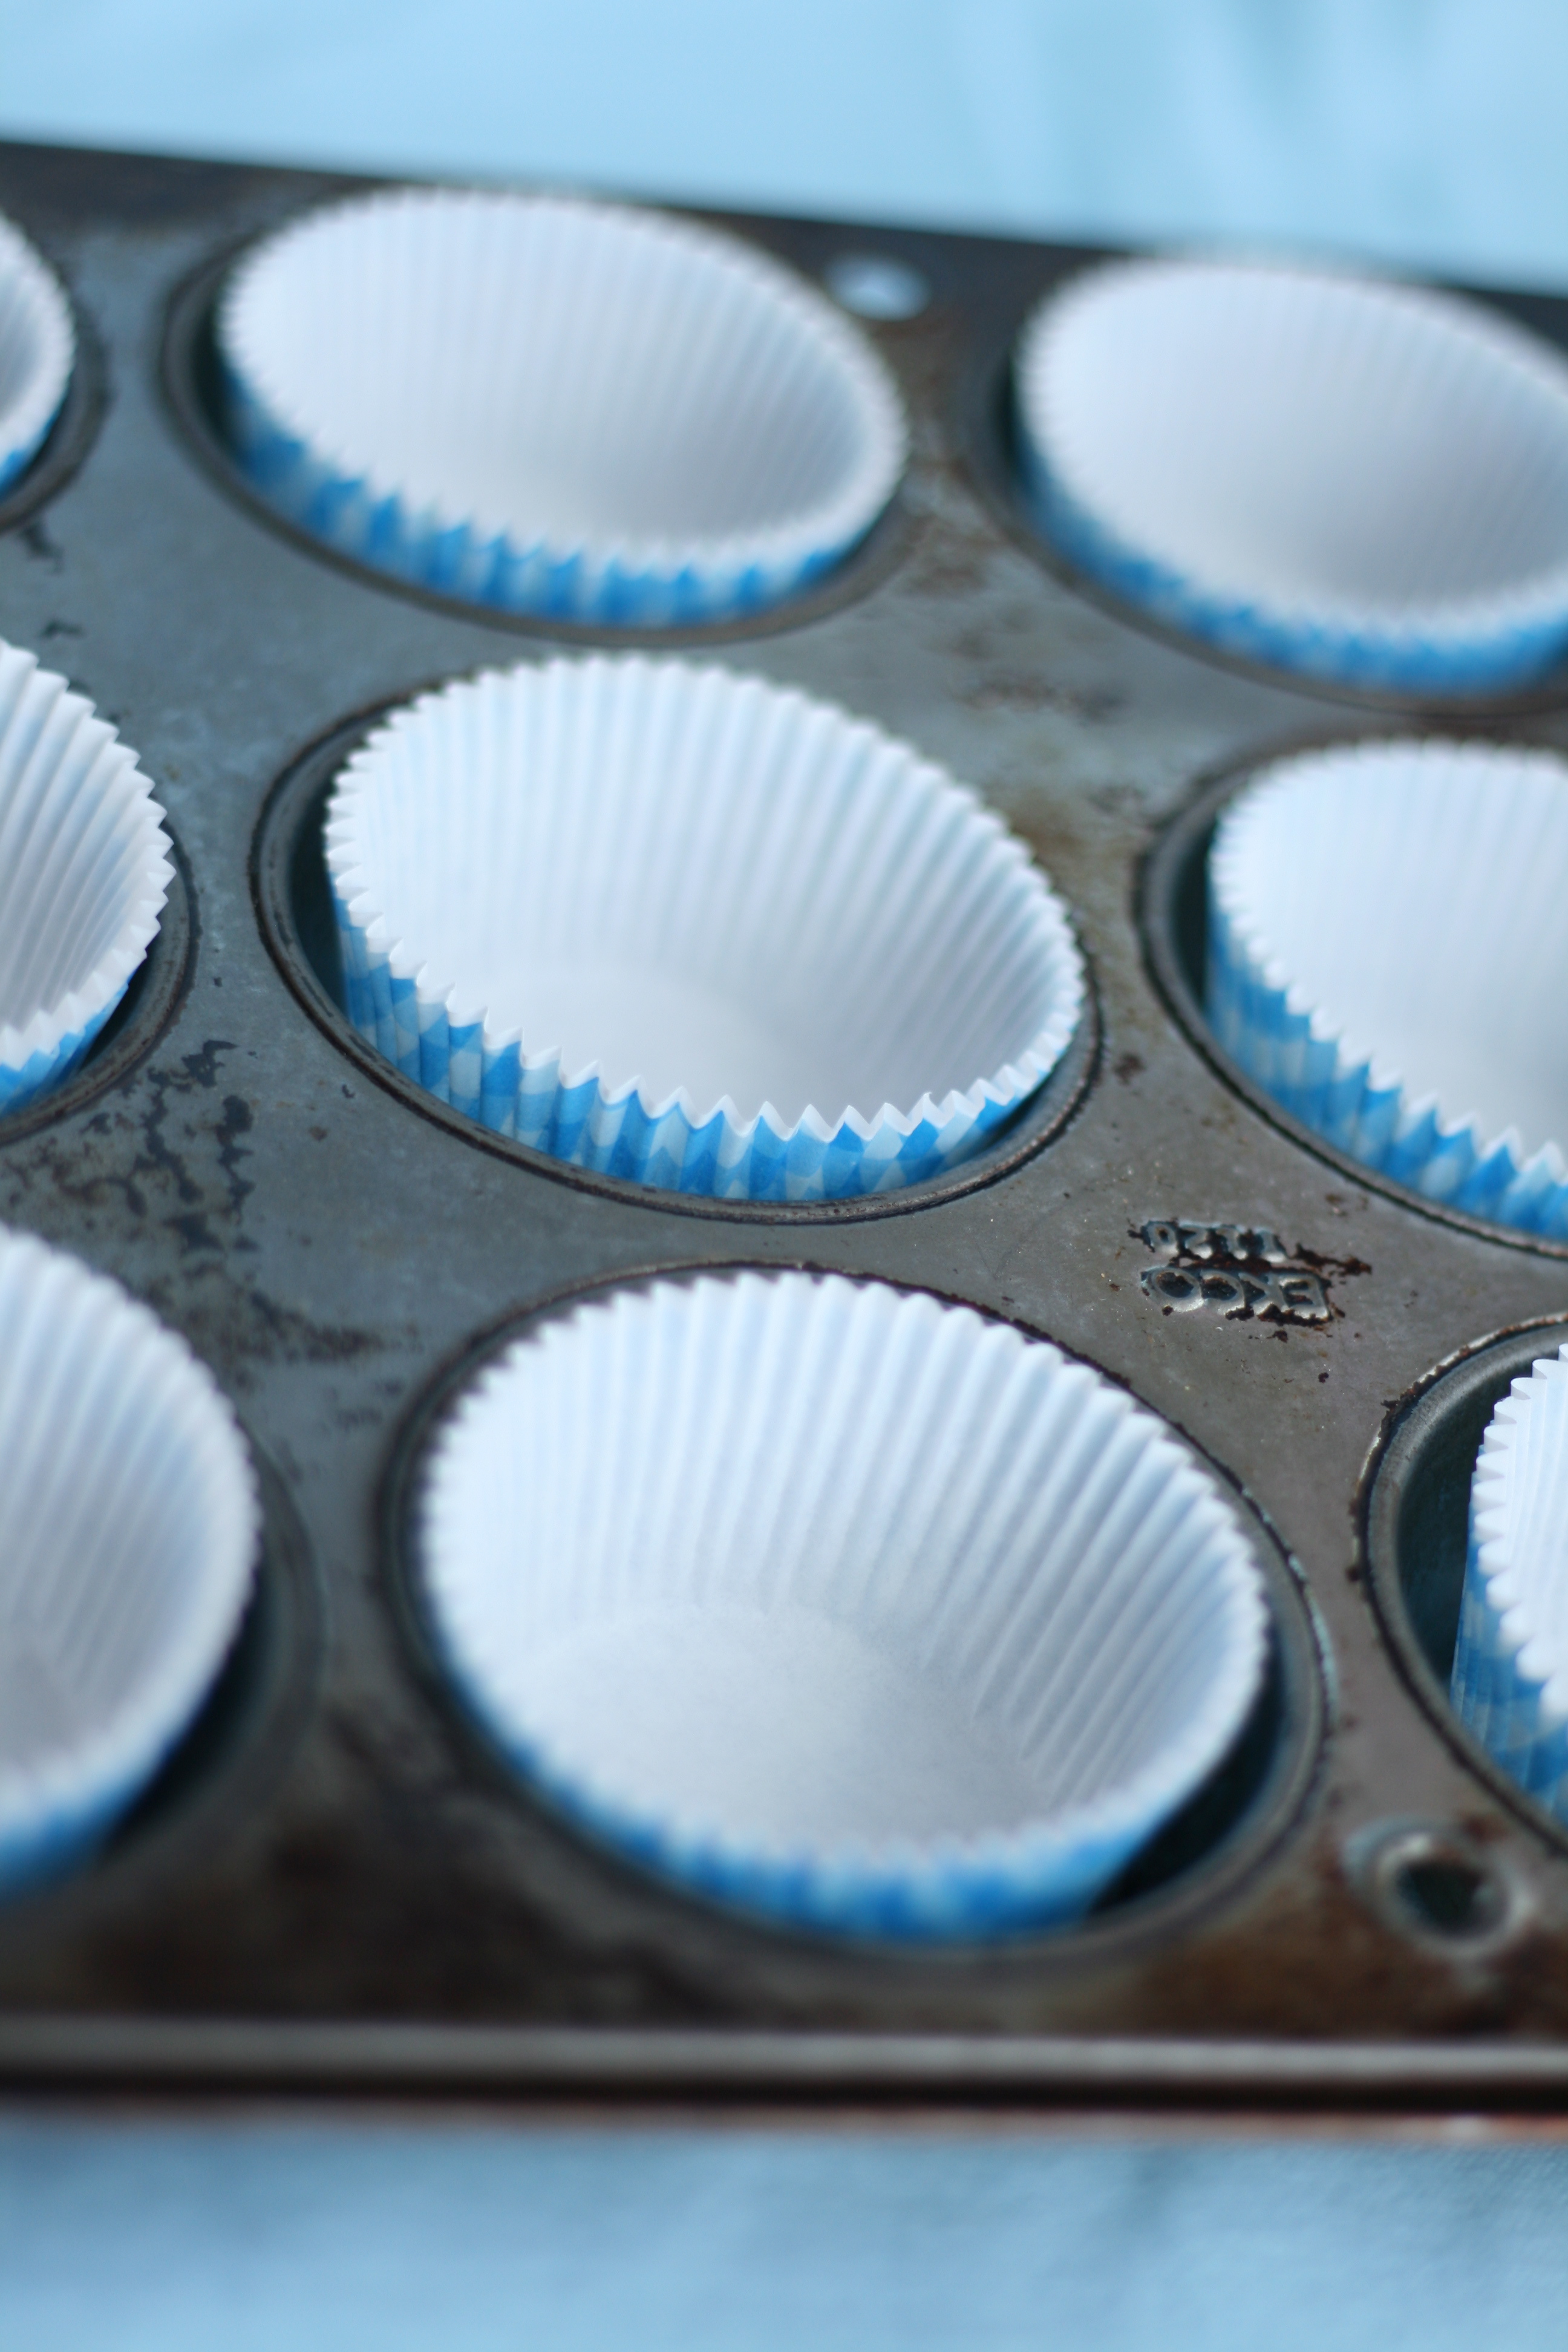
1. Preheat oven to 335° and place the rack in the middle position. Line 2 cupcake pans. (Read the last post for a cupcake liner tip.)
2. Measure the dry ingredients and wet ingredients into 2 separate bowls. Whisk each to combine.
3. Measure the the butter and sugar into the bowl of a standing mixer fitted with the paddle attachment. Cream together on low speed for about 5 minutes.
4. Add eggs one at a time into the well creamed butter. Beat in the dye.
5. Alternately add the dry and wet ingredients about a quarter at a time. (This should only take a minute.) Scrape sides. Beat on medium-high speed for 1 minute.
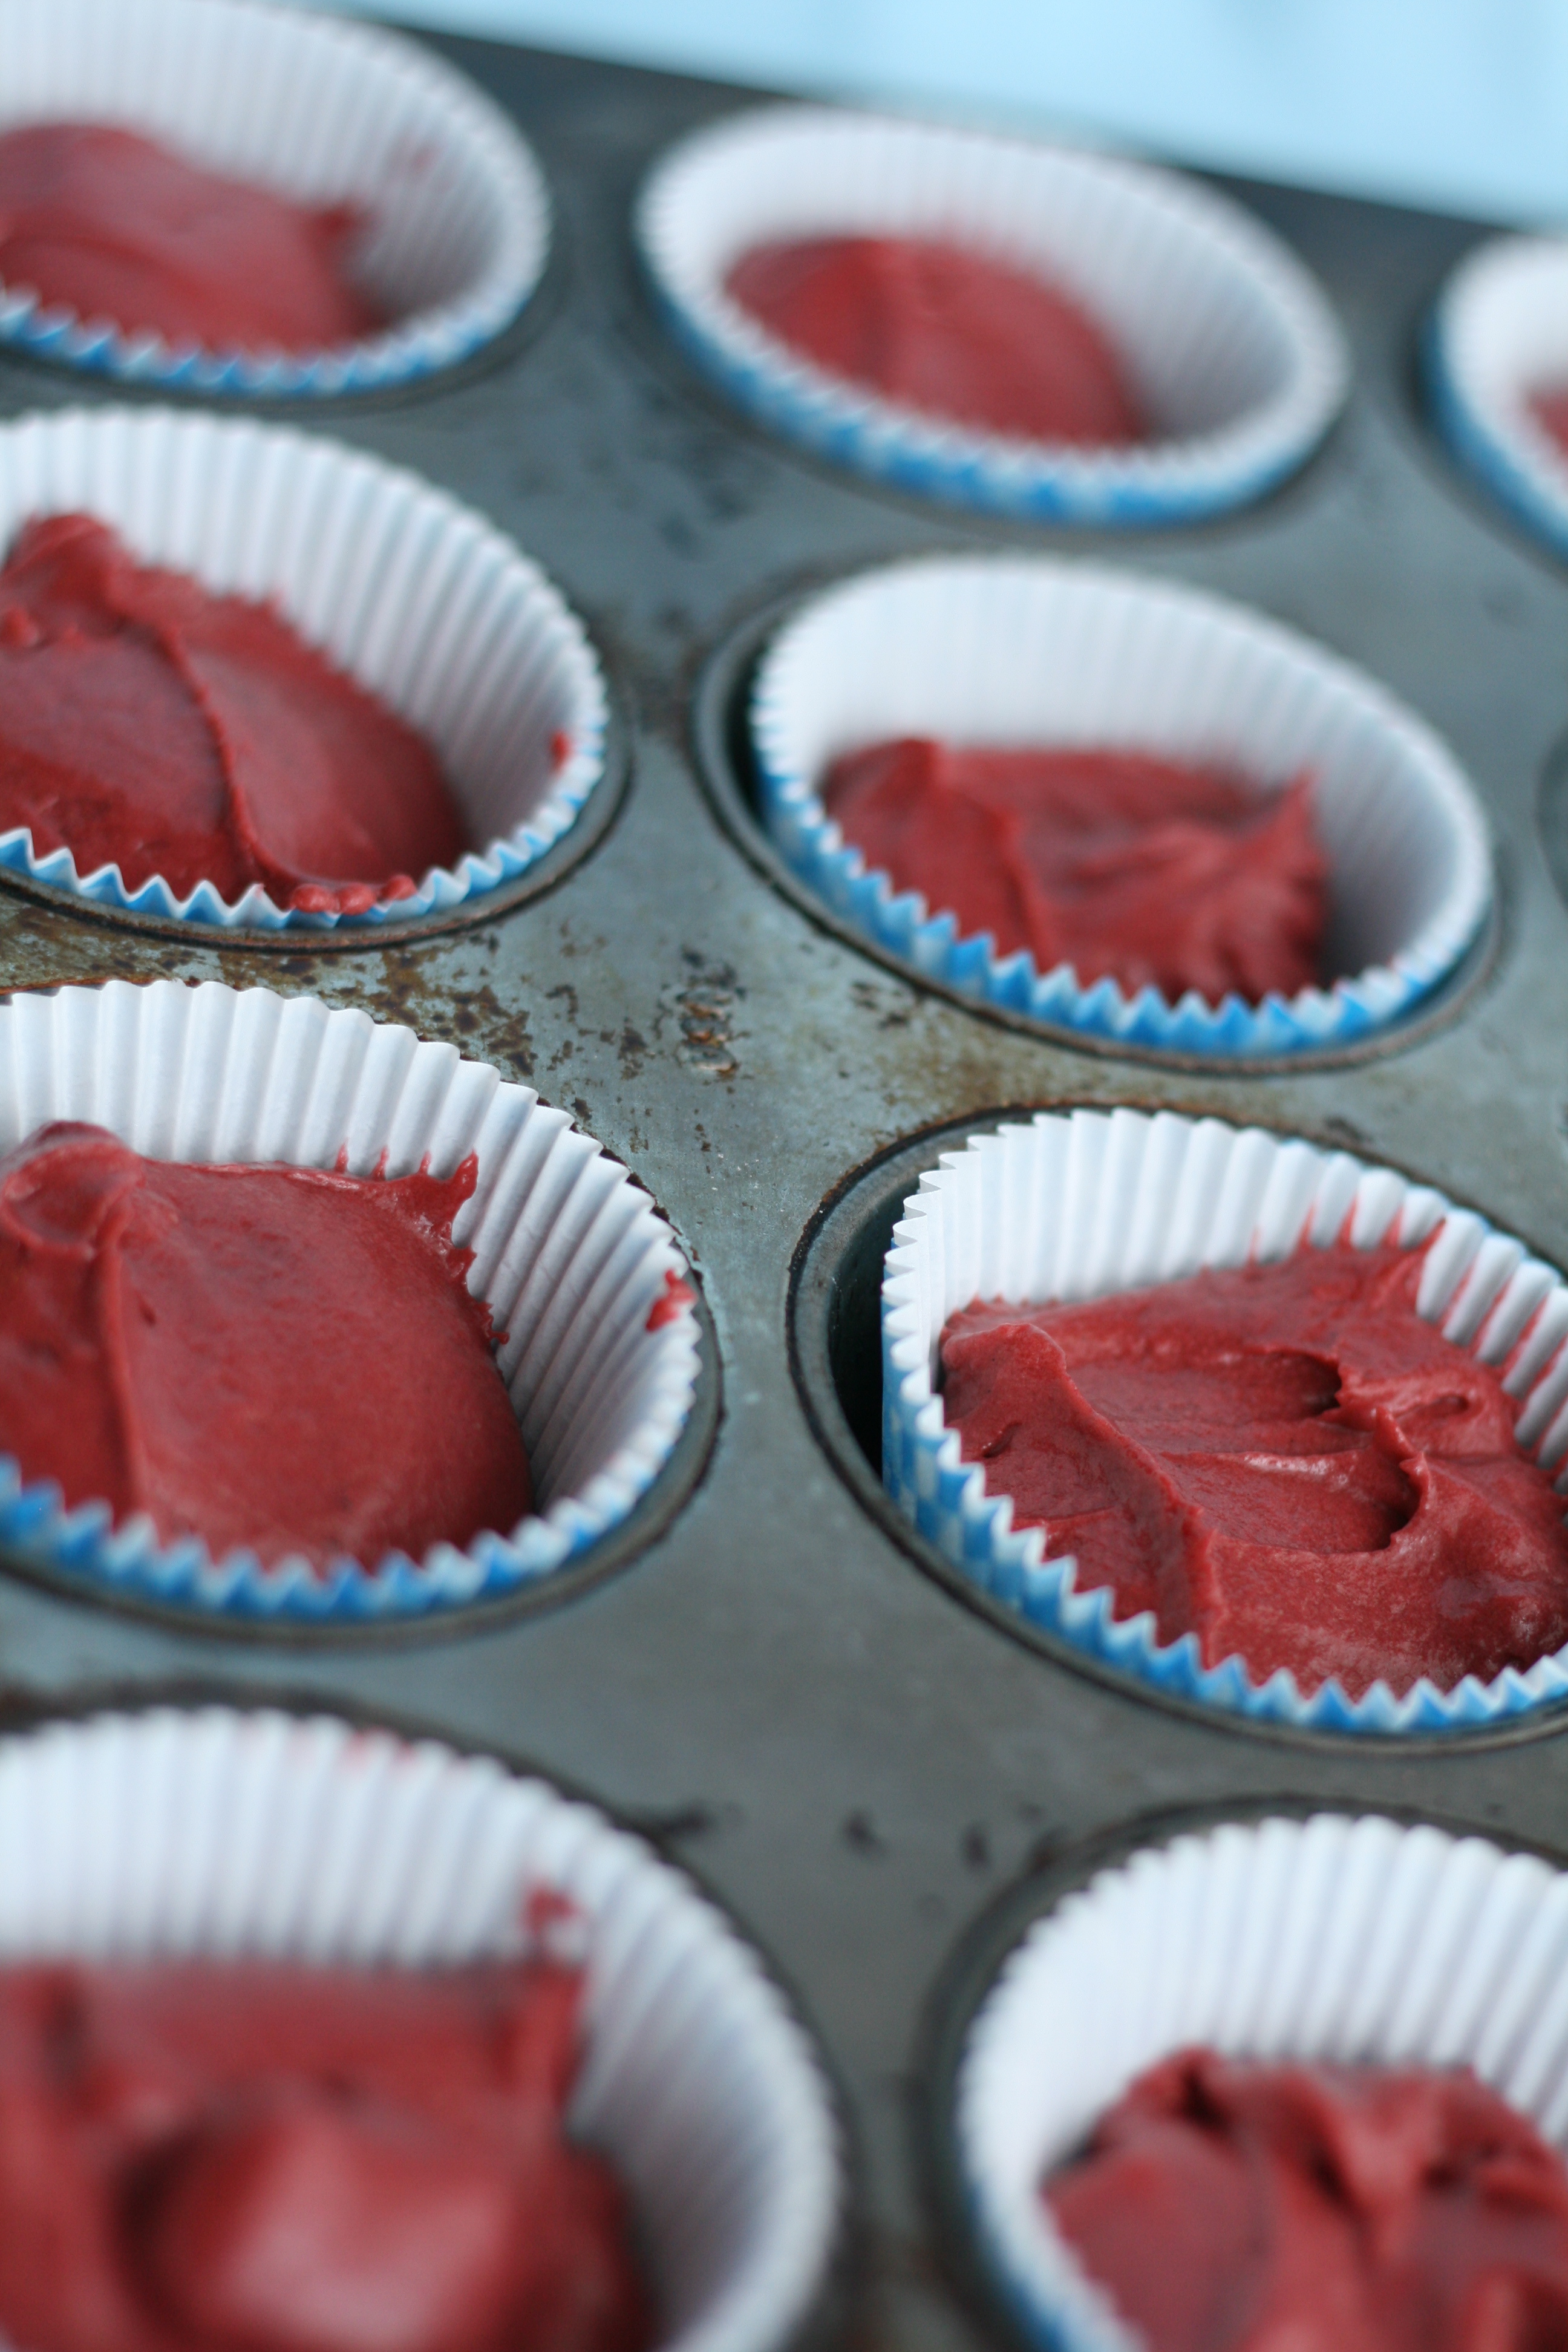
6. Pour the batter into the liners and bake the cupcakes for 20 to 24 minutes, or until a wooden skewer comes out clean.
7. Cool the cupcakes for 5 minutes before inverting them on to a flat surface. Allow them to come to room temperature before frosting.
Cream Cheese Frosting
recipe by yours truly
2 sticks of Unsalted Butter (room temp)
16 oz. Cream Cheese (room temp)
1 tsp. Vanilla Extract
Dash of Sea Salt
3-4 c. Powdered Sugar
1. Cream together butter and cream cheese.
2. Add vanilla extract and salt. Mix.
3. Add powdered sugar one cup at a time. Mix well between each addition. After 3 cups, taste to see if additional powdered sugar is necessary.
4. Ice your cupcakes. Looking for tips? Check out the last post.
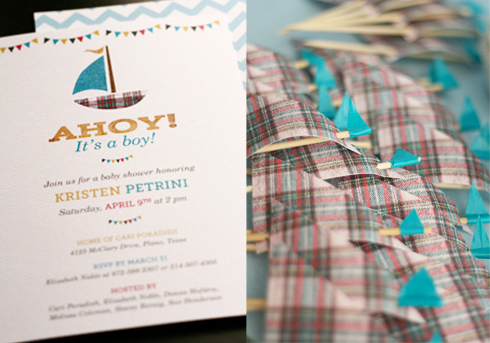
If you missed it, click here for the sailboat decorations. For matching invitations, click here.
P.S.—These lovely little sailboats made their debut on the very talented Shauna Younge’s blog! Thanks Shauna!


