On a recent podcast (airing soon), she asked: What was the last thing you googled? My answer: How to make snow ice cream. February has been the snowiest month on record in Minneapolis with more on the way today. And if you’ve been around here long enough, you know that I love snow. I live for it, except when school is canceled. A lot. We’re up to six snow days so far, two of those days attributed to really, really cold temperatures.
On the 6th day of no preschool (sung to the tune of The 12 Days of Christmas), proceeded by two scheduled days off, we hit our low. A steady roaring grumble was leaking out of our house by way of the dryer vent. And, because it was cold, our puffs of protest froze in the air on their way out. You could see it. Hal was stuck at home with me. She needed to play. I needed to work. By noon, I surrendered and made a list, a list of all the things we could do to turn this unplanned snow day around. On that list, make snow ice cream.
I figured we might as well make good use of this fluffy resource falling liberally from the sky. So I started with Julie Blanner’s recipe and made a couple of tweaks to match a snow ice cream memory from 1991, during a rare Alabama snowfall, made in a passed down heathered green melamine mixing bowl from my mom’s mom.
This snow ice cream is creamy and icy and spontaneous and fun. And best of all, it has the ability to thaw an ice-cold mood. So when life gives you snowbanks, make snow ice cream. Or, at a minimum, make a list of things to do on an unplanned snow day. I’m working on my list for next year, though I might need it as early as next week.
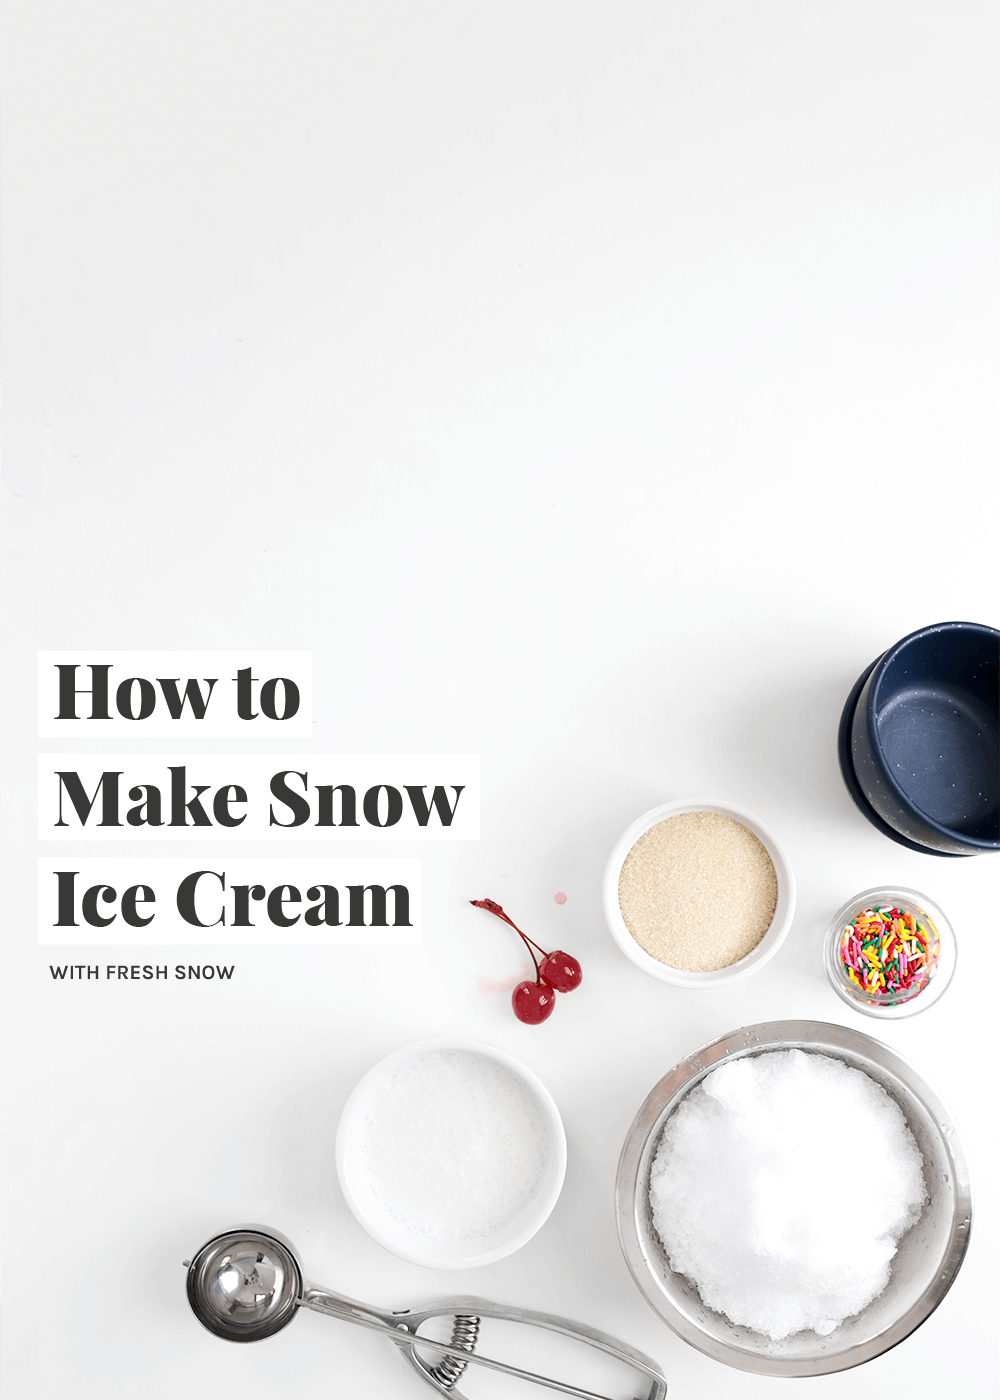
How to Make Snow Ice Cream
1. Gather fresh snow. If you have the forethought to plan ahead, leave a bowl out if you expect a lot of snow. If you expect a little, leave a couple of baking sheets out to maximize surface area. Of course, you can always harvest fresh snow.
2. Keep the snow cold. Leave outside or create a spot in the freezer until ready to make.
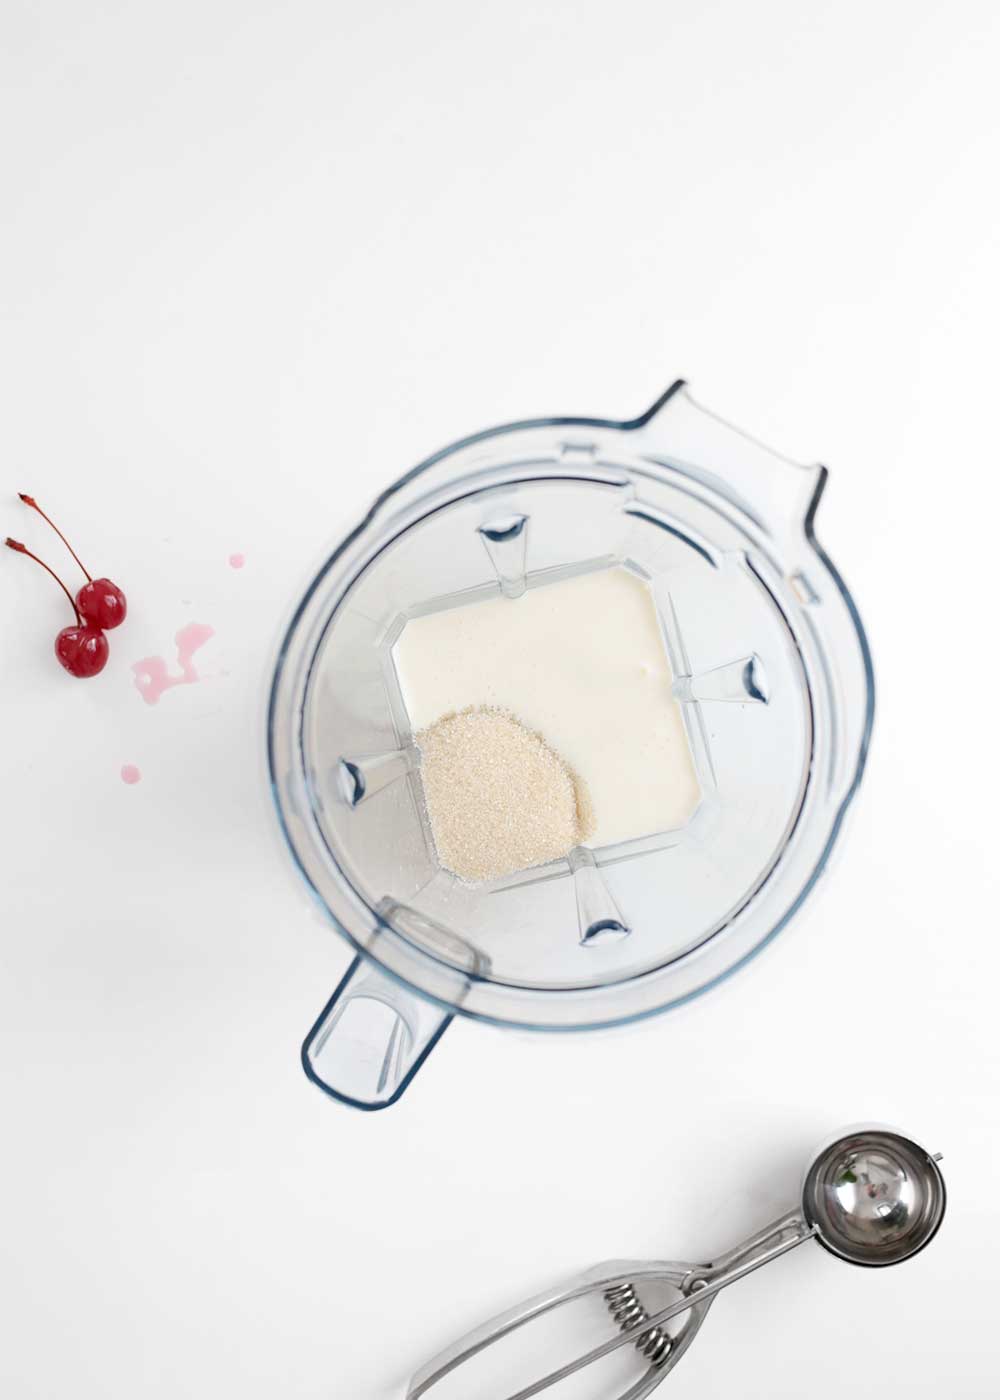
3. Meanwhile, make a loose whipped cream base. Blend heavy cream, sugar, vanilla extract, and a pinch of kosher salt in a blender until thickened to a loose whipped cream, not a stiff whipped cream. This will help to incorporate the sugar without heating it and create a thicker texture.
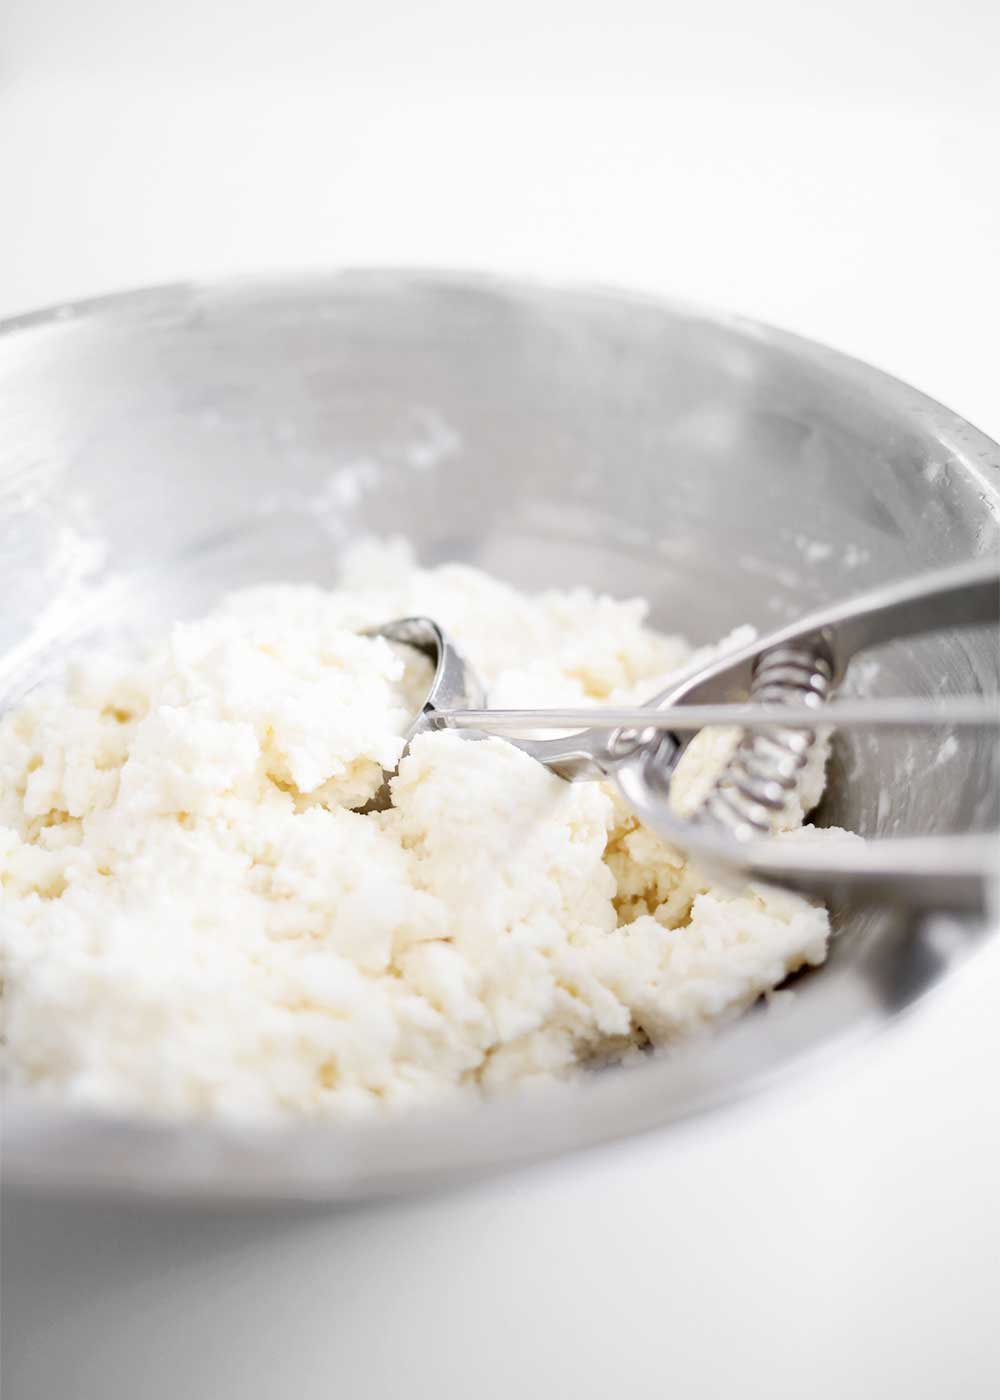
4. Fold in the snow. Then add a little more until fairly thick. Note: This is not an exact science, and speed is critical here (read why below).
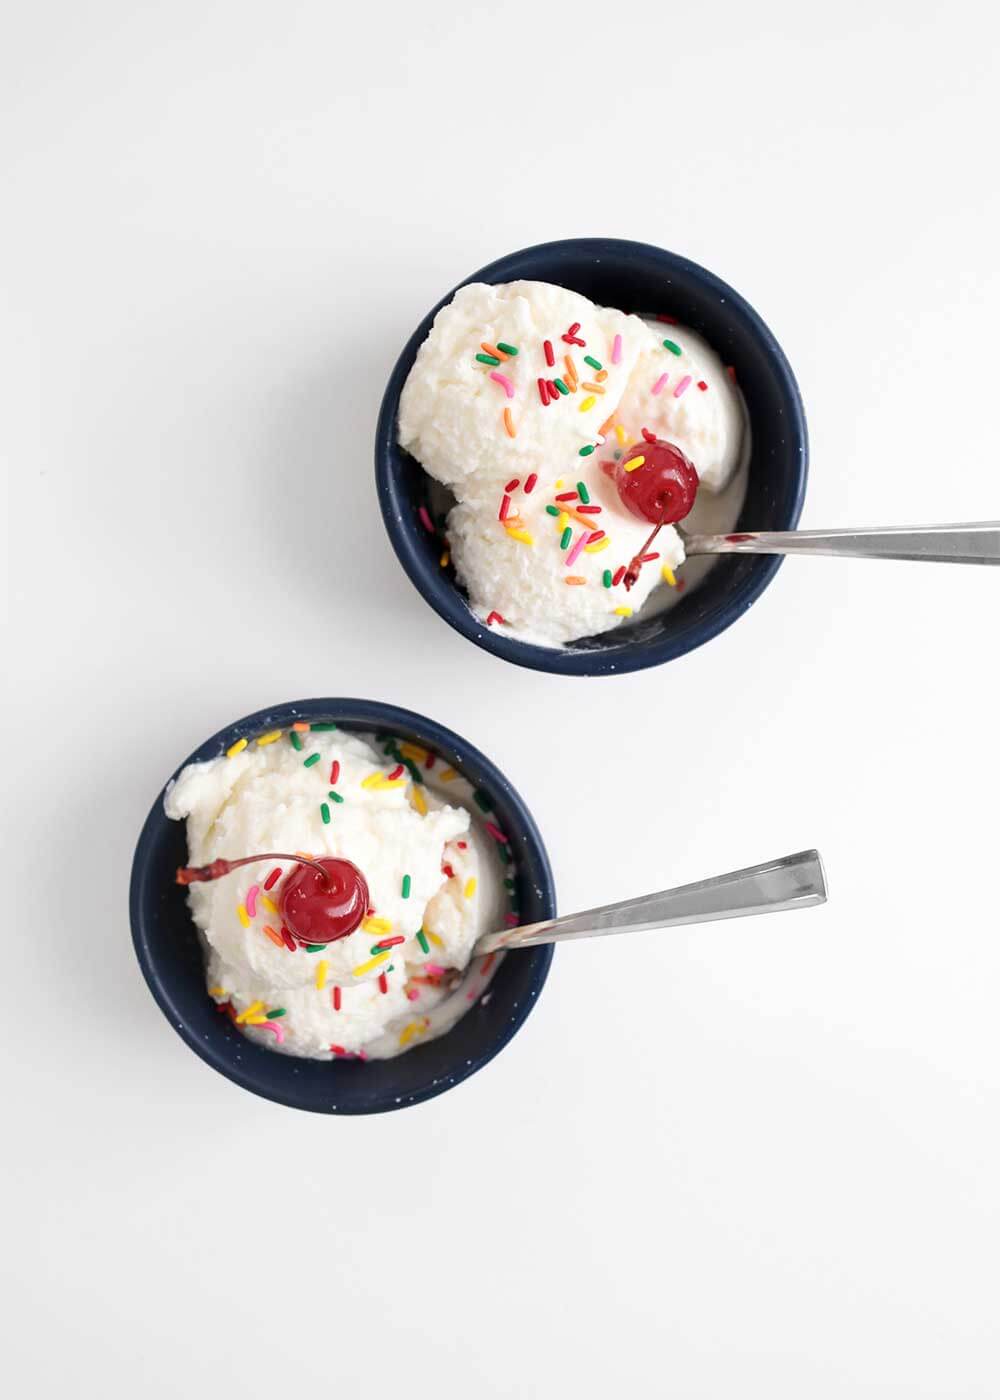
5. Enjoy your snow ice cream right away. You may not get another snow this season, or you might get 20. Either way, Hal says to add sprinkles and a cherry on top.
May your snow be sweet and creamy, with sprinkles on top. Amen.
A simple fun recipe for Snow Ice Cream made by folding together a loose whipped cream base and plenty of fresh snow. Just add sprinkles! Note: I did not skimp on the sugar here.
Ingredients
Scale
Snow Ice Cream:
8–10 c. fresh snow, lightly packed
1 c. heavy cream
1/2 c. pure cane sugar
2 tsp. pure vanilla extract
generous pinch of kosher salt
Optional Garnish:
Maraschino Cherries (dye free)
sprinkles
Instructions
Gather snow first. Store outside or in the freezer to keep frozen until use.
Next, make a loose whipped cream. Add the cream, sugar, vanilla, and salt to a high-powered blender, like a Vitamix. Blend on medium-low at first to incorporate and break down the sugar, then mix on high just until the mixture thickens to the texture of a loose whipped cream, not stiff peaks. Alternatively, you can do this with a stand mixer or hand mixer, using the whisk attachment.
Add the cream mixture into a large mixing bowl. Pull out the snow, and fold in about 4 cups at a time. Continue adding snow until the snow ice cream has thickened and looks slightly curdled. (This is normal. The whipped cream is meeting the temperature of the snow and freezing, meanwhile the snow is meeting the temperature of the slightly warmer whipped cream and melting. Work fast.)
Serve immediately or place in the freezer until ready to serve. Tightly pack the ice cream scoop to nudge it into a ball. Garnish with cherries and sprinkles. Enjoy!
You might be wondering if it’s safe to eat snow. Some say yes, some say no. I’ll let you make your own decision here. Either way, make snow ice cream with the freshest snow possible. And always stay away from yellow snow. Ha! If you want to dive deeper into the ecosystem of snow (and precipitation in general), you can check out this post. Knowing all of this, I still made the ice cream. It was fun, and that too is valuable.
Can I make snow ice cream without sweetened condensed milk?
Yes! Lots of recipes call for sweetened condensed milk, but I never keep it stocked. And I typically make snow ice cream when we’re snowed in. So for this recipe, I use heavy cream, something I always keep stocked. And blitz it in the Vitamix blender to incorporate the sugar and thicken the mixture before folding into the snow.
This blog is made possible by your support (thank you), select brand partnerships, advertisements, and affiliate links to items I love and use. READ MORE >


We just made this and it was delicious. Where we live, we get lots of snow, so we will make this often from now on.
Wonderful idea! This was a very fun treat today after yesterday’s gorgeous flurry. Six-year-old approved. Thank you!
We used to have snow ice cream every Christmas growing up at my grandparents house! Thanks for bringing up this memory for me 🙂
Mmmm, mmmm, good!
Thank you for the inspiration and turning our snow day around last week!