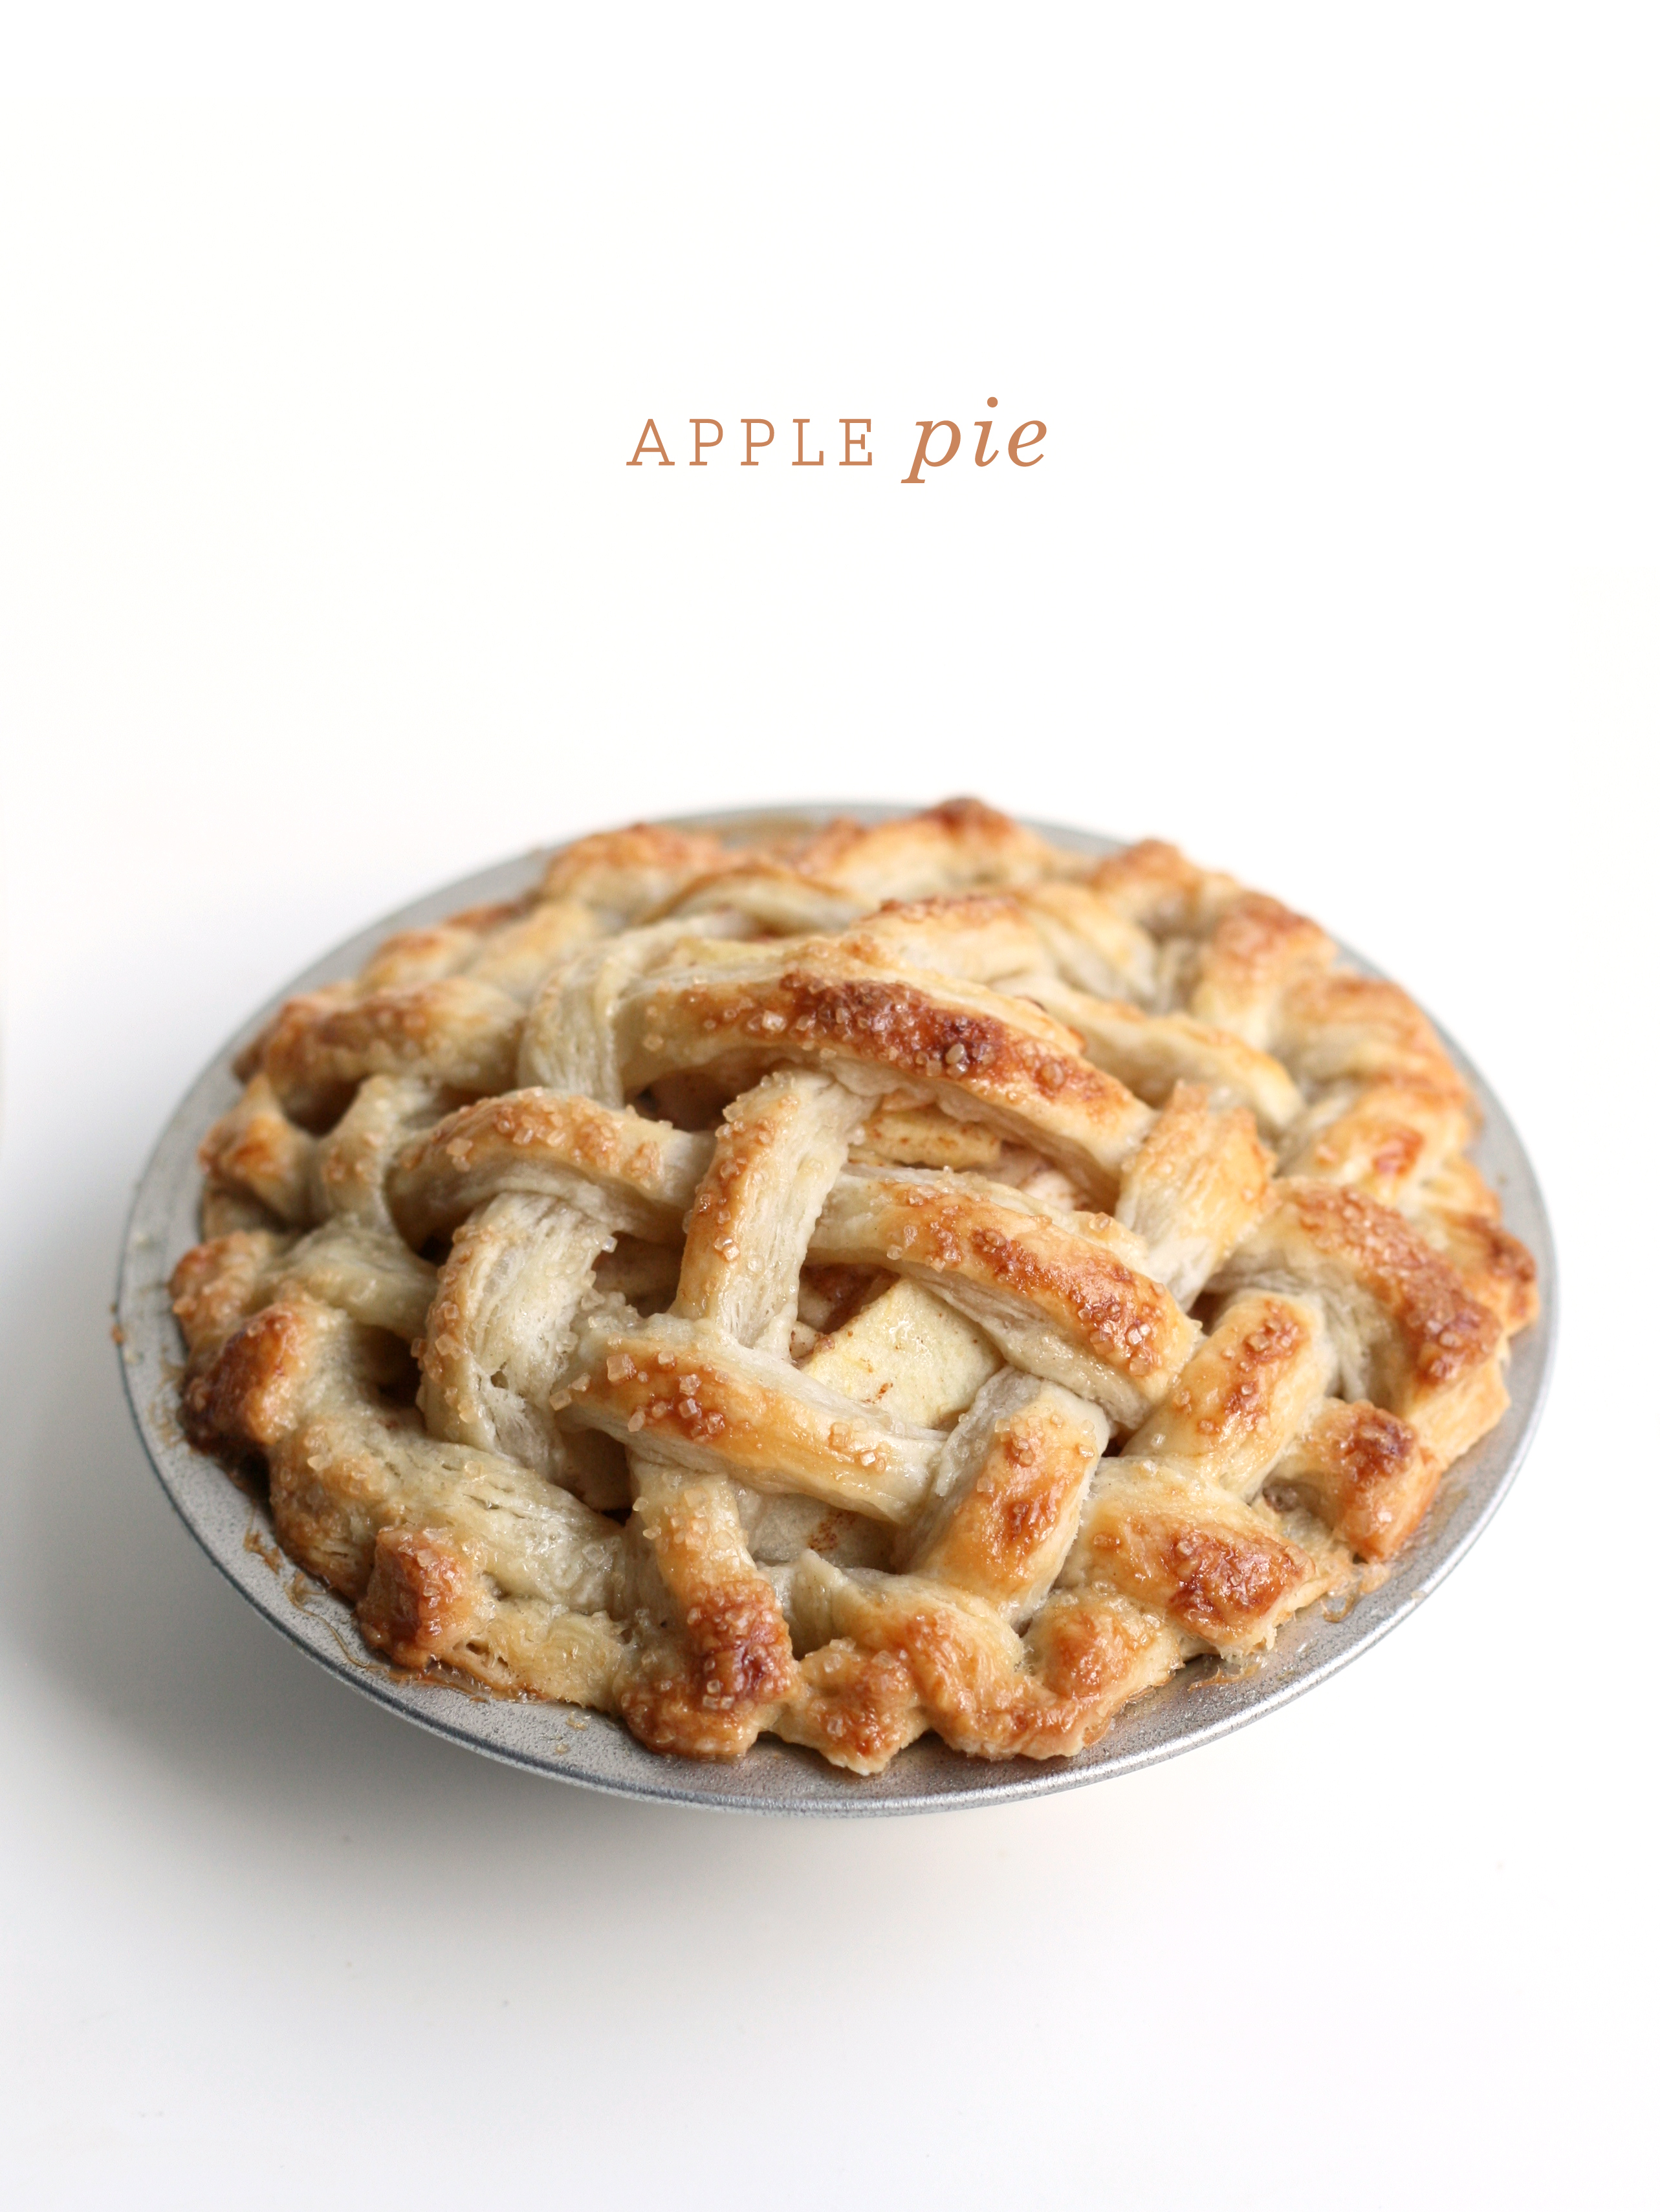
While you’re reading this, I’m in my favorite place in the world with my favorite people. Graduate school husband and I are on vacation with my family in the mountains of Colorado. Also known as heaven. I didn’t want to go AWOL on you though, so I made a pie and stuck it in the cyber space freezer until now. I hope you are well fed even while I’m away.
I think I’m gonna be one of those wives/moms who make their family a weeks worth of dinner when they go out of town. It’s because I care. And I care about you! So without further adieu, I give you Strawberry Rhubarb Pie. Happy 4th everyone!
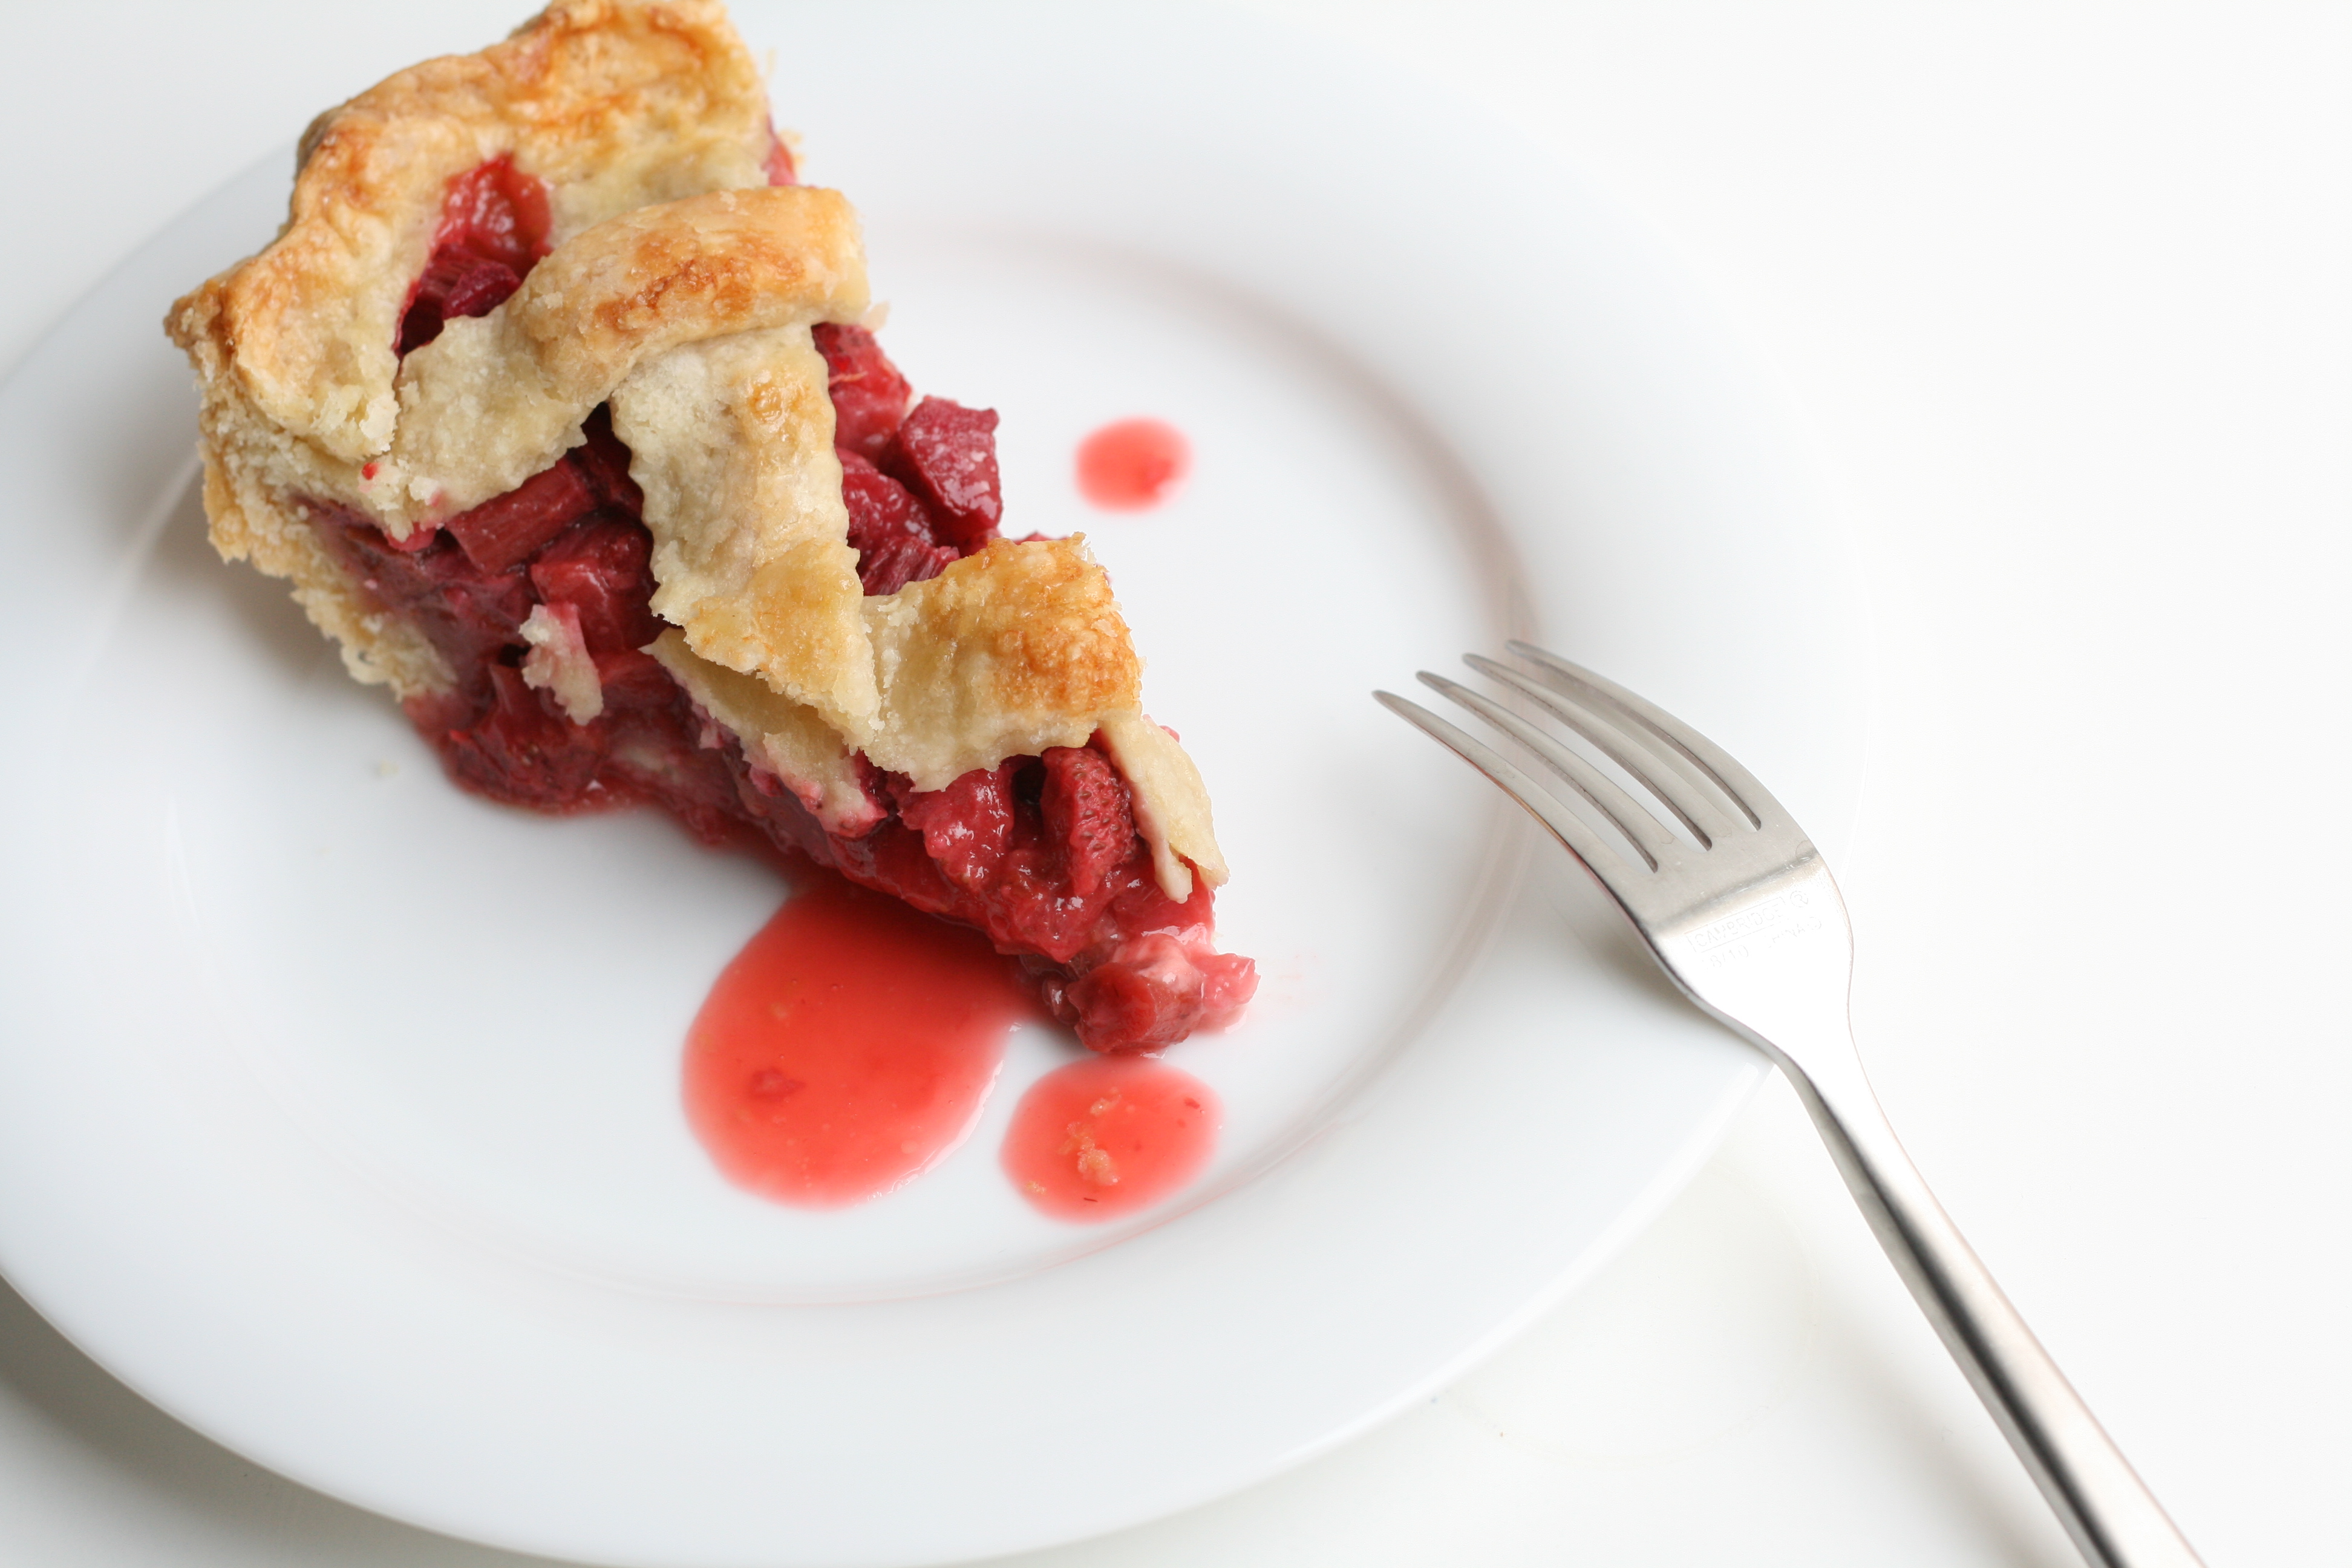
Strawberry Rhubarb Pie
recipe adapted from Smitten Kitchen
PIE CRUST
makes enough for 2 single pies or 1 double crust (This is my go-to recipe)
2 1/2 c. AP unbleached flour
2 tbsp. sugar
1 tsp. sea salt
2 sticks (8 ounces) unsalted butter, very cold
1 c. water with ice
STRAWBERRY RHUBARB MIXTURE
3 1/2 c. sliced rhubarb
1 16 oz. container strawberries, hulled, halved (about 3 1/2 c.)
1/2 c. packed brown sugar
1/2 c. sugar
1/4 c. cornstarch
2 tbsp. fresh squeezed orange juice
1/4 tsp. sea salt
TOPPING
1 egg
1 tsp. cream
turbinado
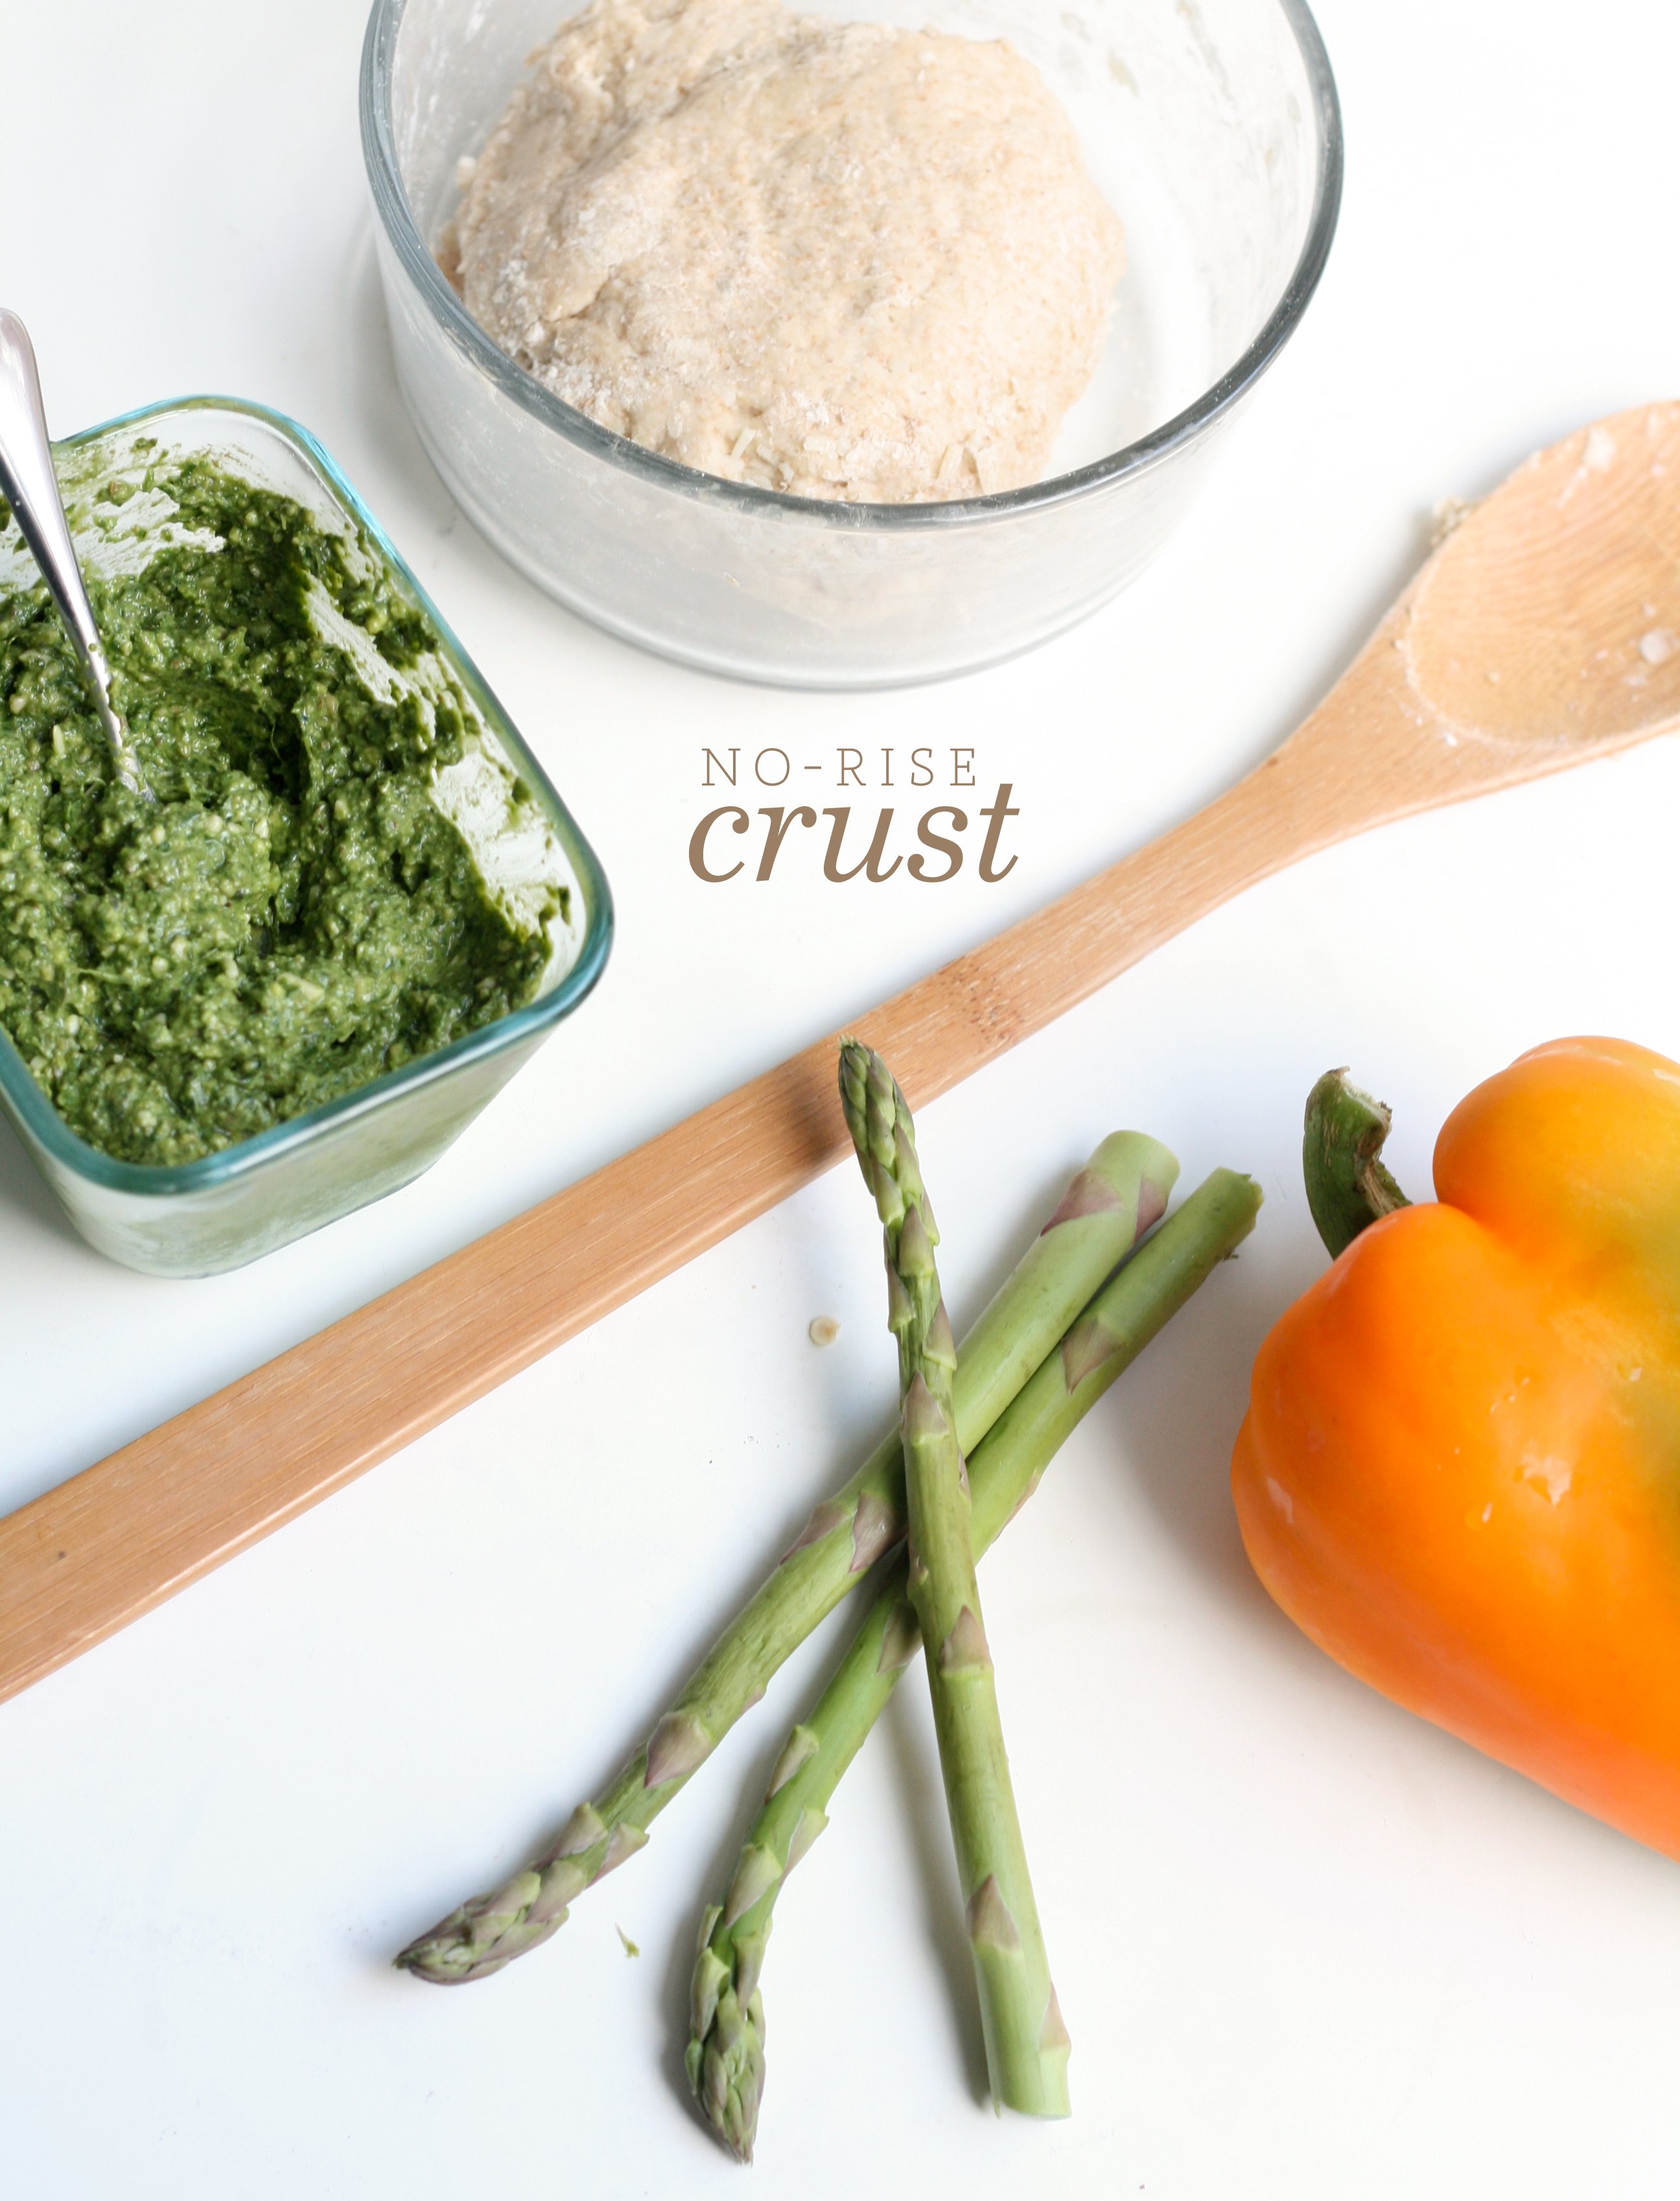
Note: I like to make my dough by hand so that I can control the size of the butter. Flaky crust = chunks of butter.
1. Make crust. Place flour, sugar, and salt in bowl. Whisk together.
2. Dice butter and place into flour mixture. Using a pastry knife, cut butter into flour until it resembles coarse meal.
3. Using a pastry fork (or continue using the pastry knife) add 1/2 c. of the ice cold water into mixture and combine. Continue adding water 1 tablespoon at a time until dough just comes together. You may not need the full cup of water.
4. Cut in half and cover the 2 disks in plastic wrap. Before rolling out, place in fridge for 1 hour, or place in freezer for 15 minutes to chill. This will make the dough easier to work with.
5. Make strawberry rhubarb mixture. Combine all ingredients in bowl, mix, and set aside.
6. Roll the dough out on a well floured surface large enough to overhang in a pie dish. Fold the dough in fourths and transfer to pie dish. Place in freezer for 5 minutes if too warm.
7. Pour strawberry/rhubarb mixture into pie dish.
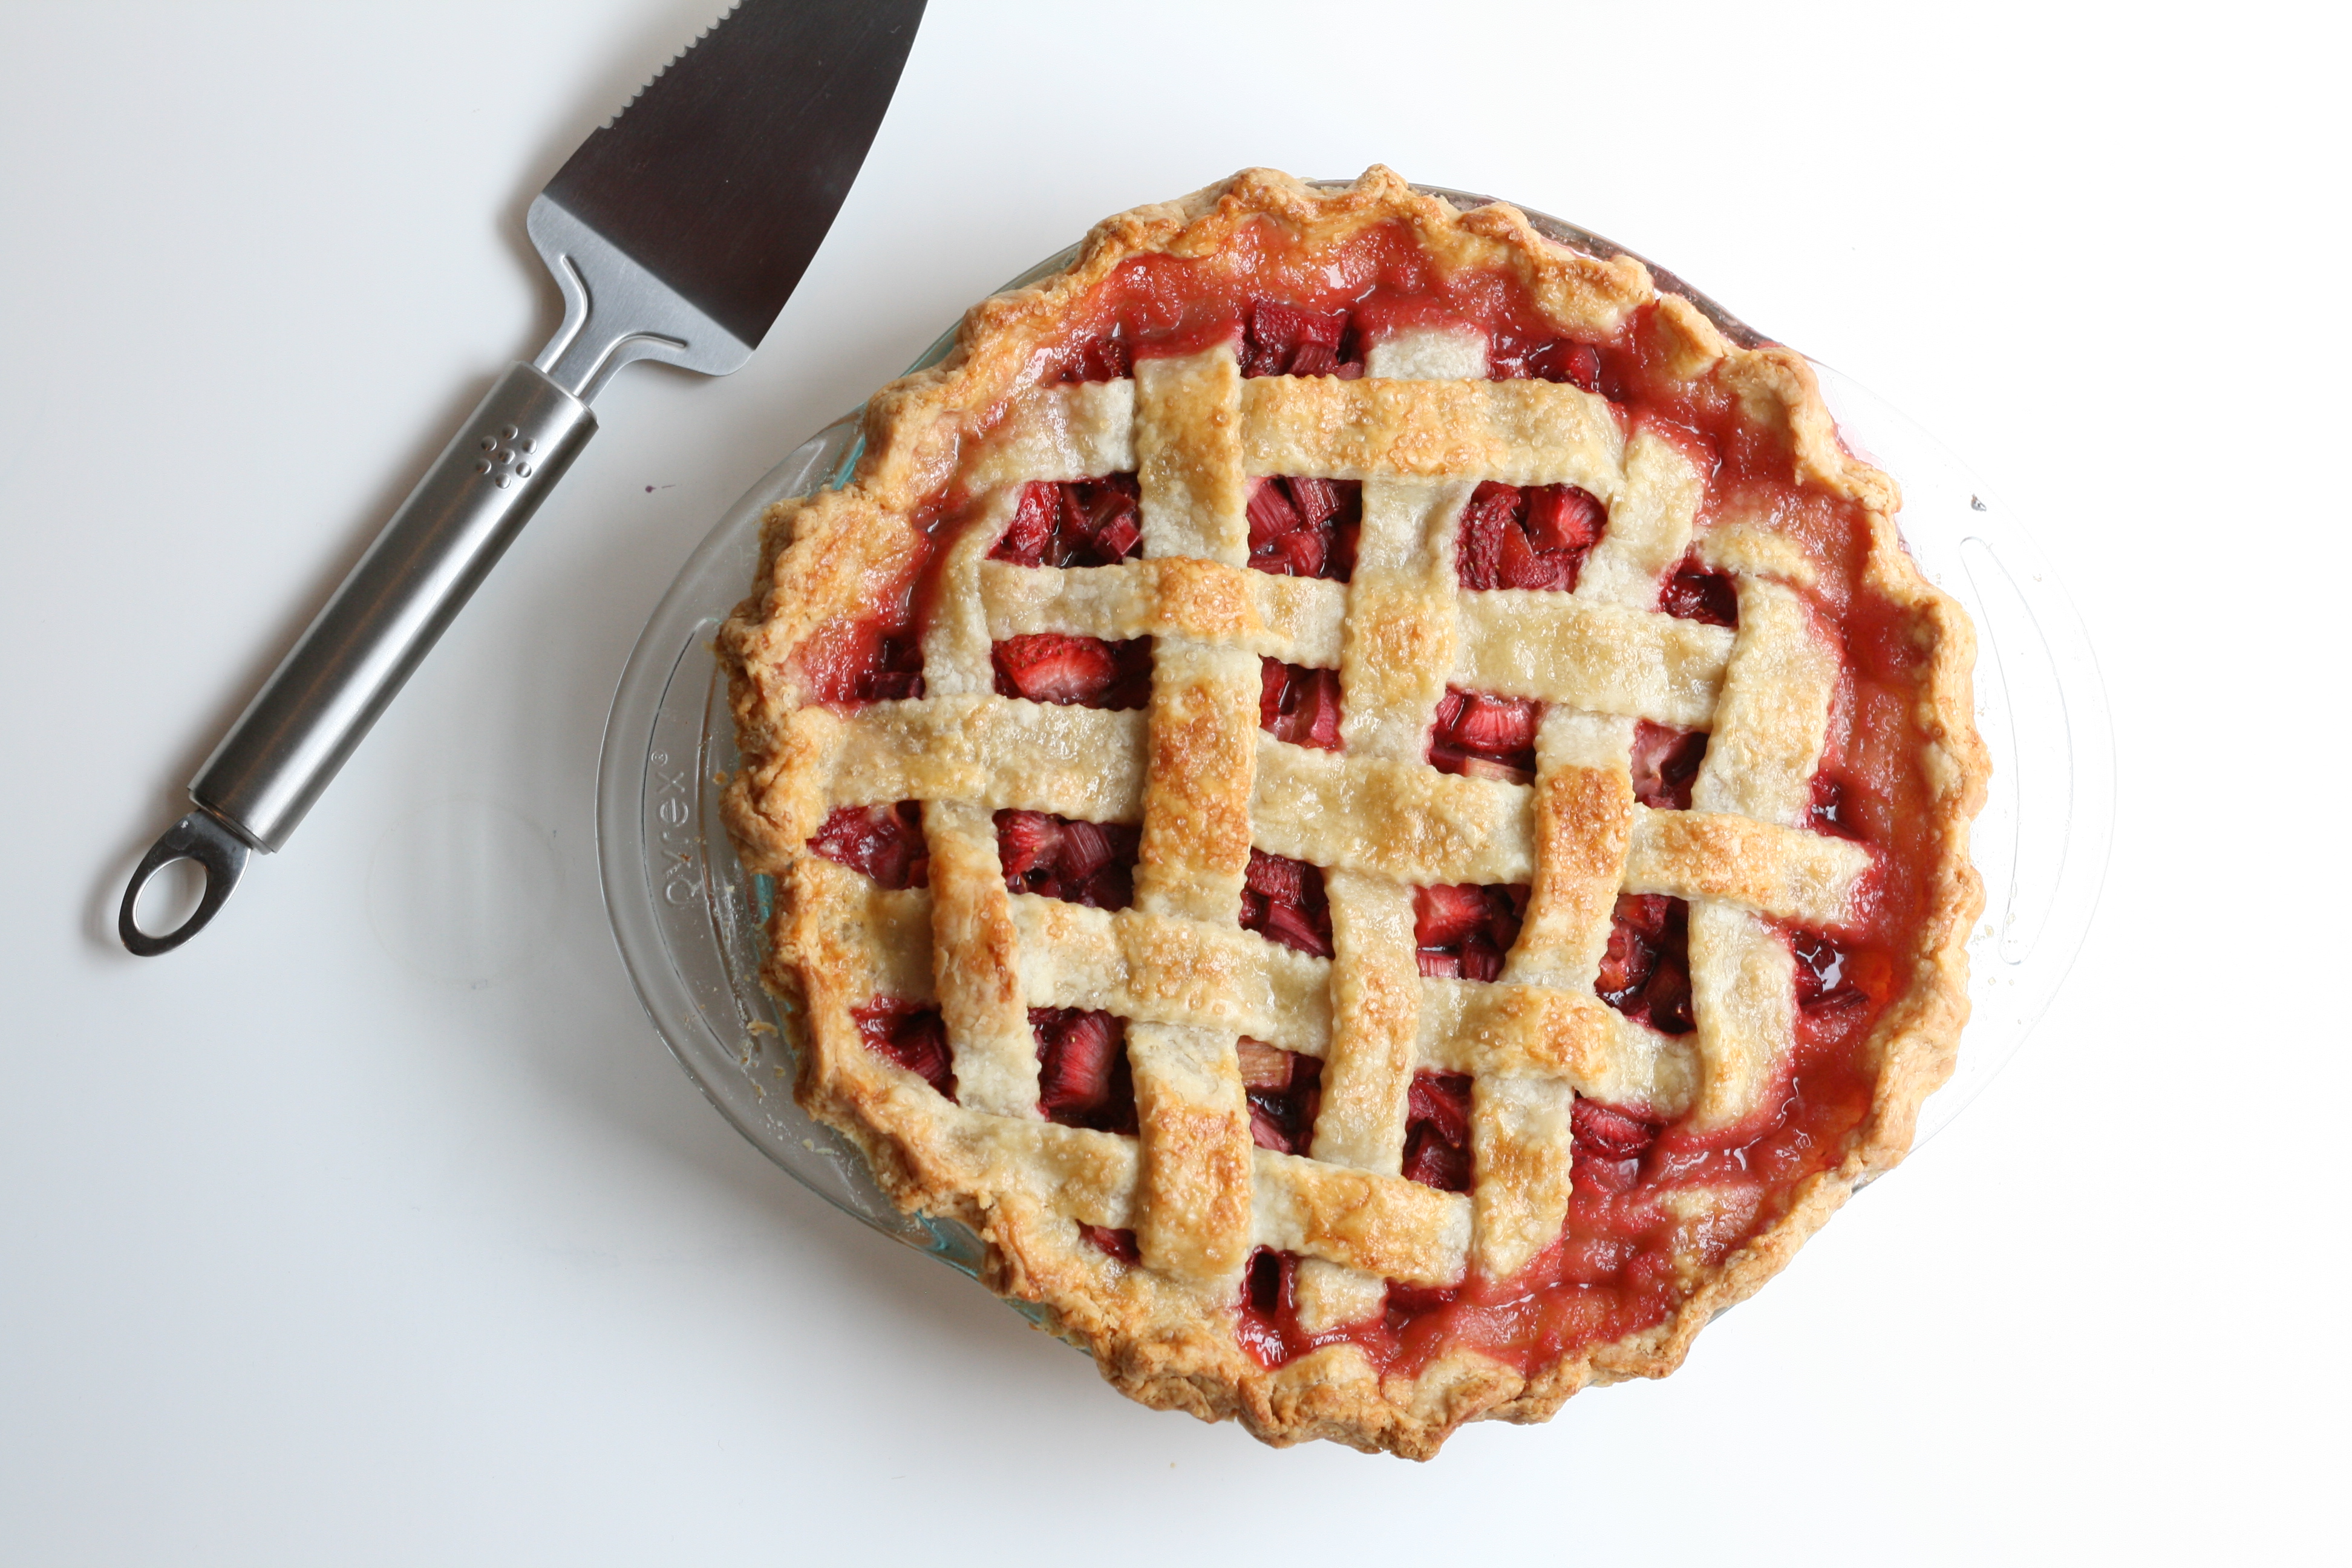
8. On a well floured surface, roll out second disk. Using a pastry wheel, cut dough in the same direction, about 3/4″ wide. Place 5 strips across, using the longer strips in the middle and the shorter strips on the end. Think back to your childhood craft days, and create a lattice with the dough placing 5 more strips in the opposite direction. Over, under, over, under.
9. Seal the edges of the dough by folding over. I use a bit of cold water to help smooth things out. Create a decorative edge with your pointer finger and thumb held together pushing the dough in with your thumb. And repeat. Clear as mud? A forked edge works nicely as well.
10. Whisk together one egg and a teaspoon of cream. Brush over the top and sprinkle with turbinado.
11. Place in freezer for 20 minutes. This helps the dough to hold its shape when it goes in the oven. Preheat oven to 400°. Bake for 2o minutes. Lower the temp to 335° and continue baking for 40 minutes. Once crust begins to brown, cover with foil.
12. Allow pie to set up for at least an hour before serving.
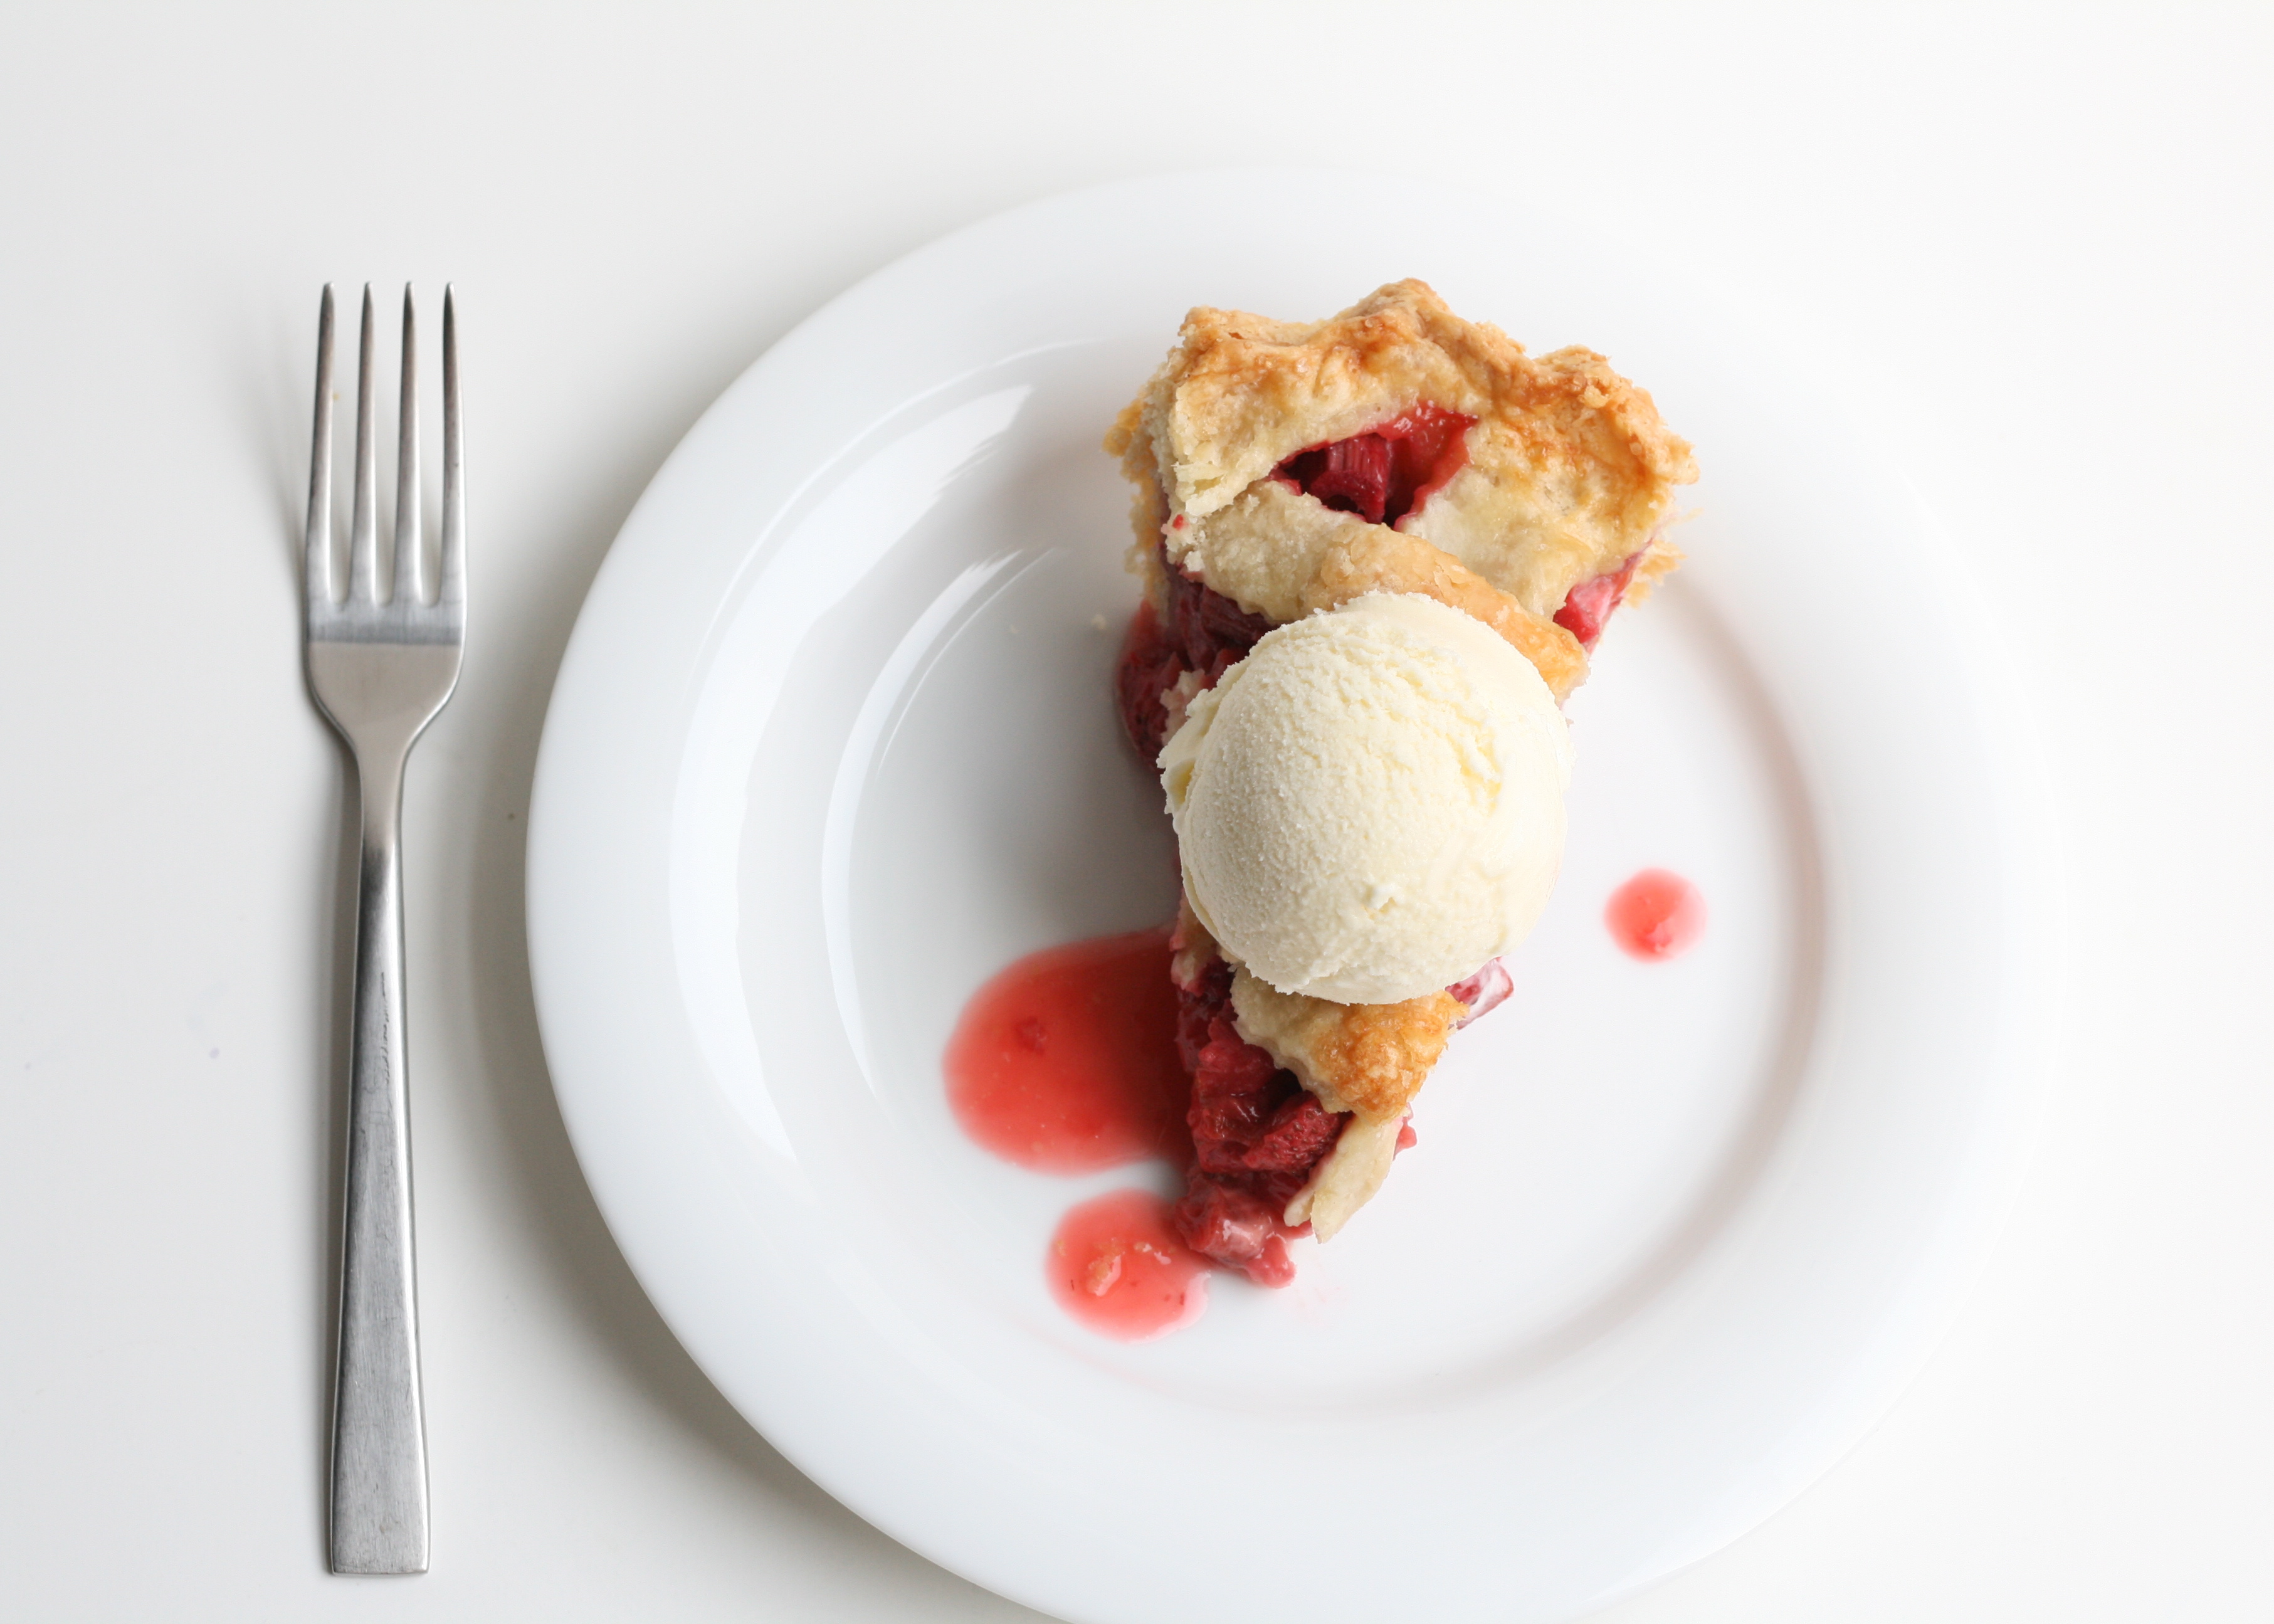
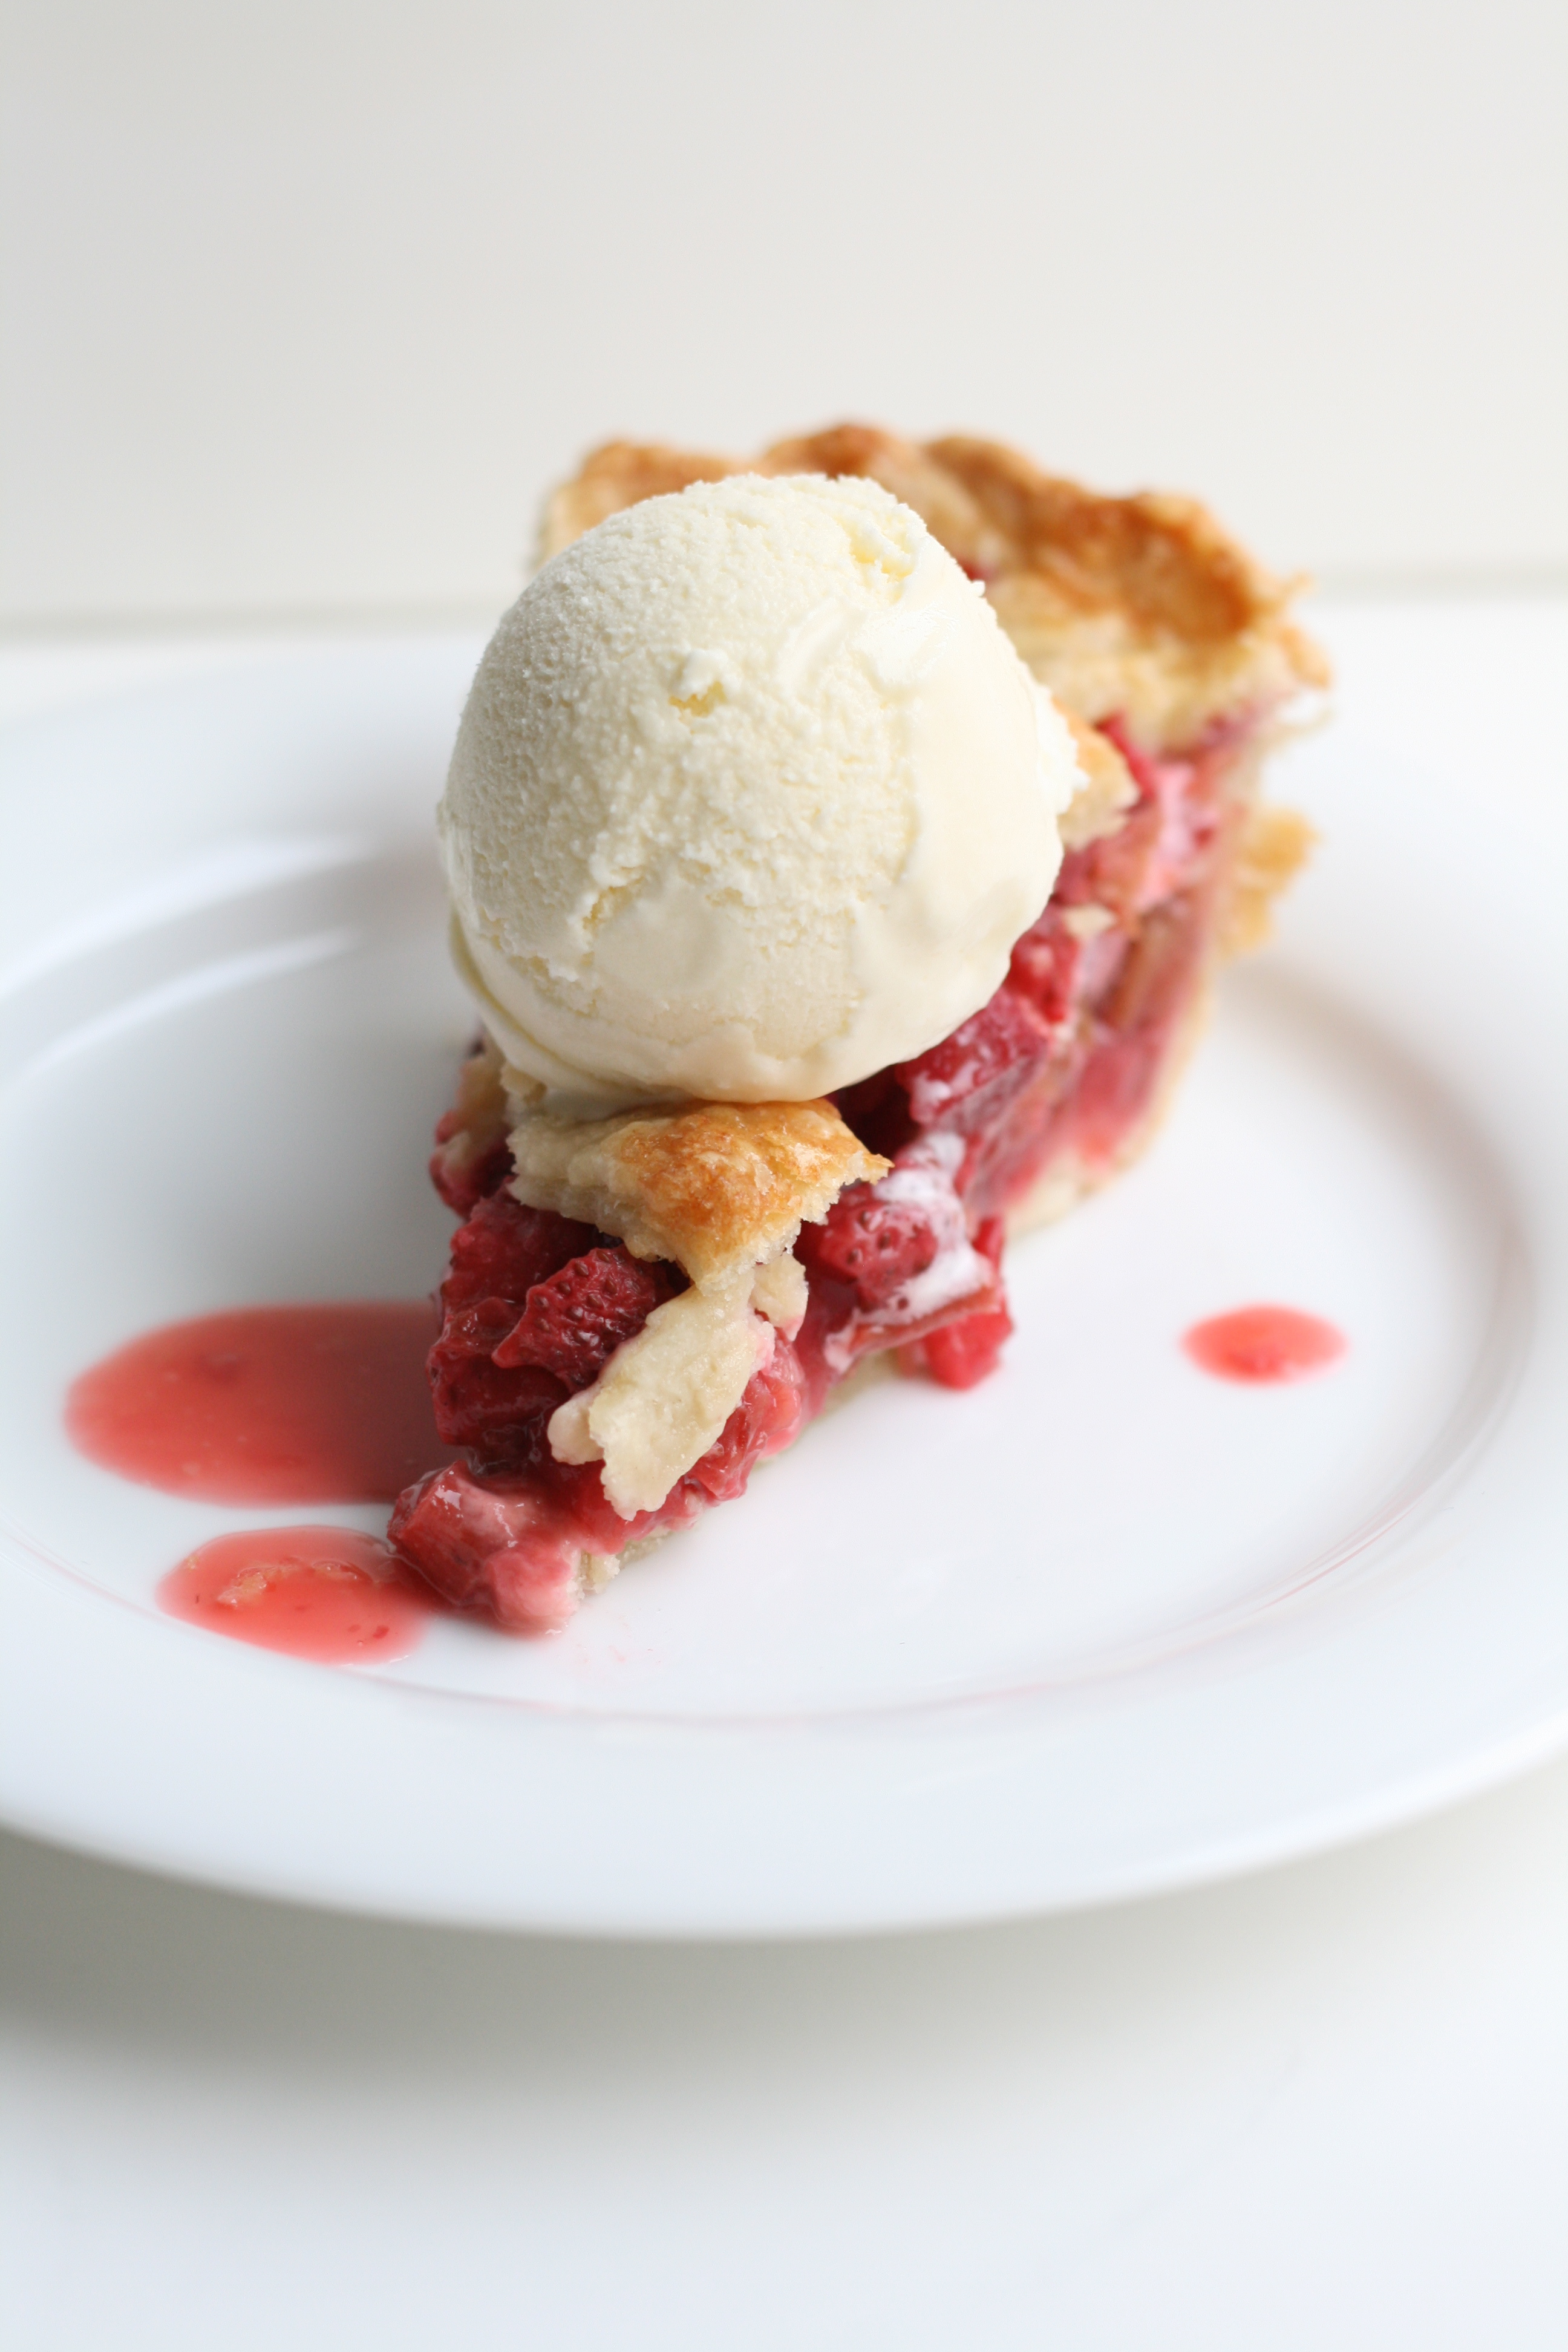
A la mode. It’s the only way I eat pie. Stay tuned for my homemade ice-cream recipe!