
There are more important things that need protecting in this world than my morning coffee routine. But I protect it because there are more important things in this world. Coffee fuels those efforts. Quick and fast are heralded words these days. I like to apply those terms to my weeknight dinners. But with a new day soon to be swept away with 10,000 to-dos, I like to start my mornings slow. With pour over coffee that requires a quiet and steady attention. Hallie now knows our coffee time is sacred time. She pulls out two enamel mugs from the drawer. “Oh, here you go mommy.” We cheers with our pretend coffee while I continue attending to the real coffee. This all started after going to a coffee cupping, much like a wine tasting, during our time in Chicago. I fell in love with the nuances in flavor and the brewing technique. I’ve been making pour over coffee since, 3+ years and counting. Here’s a guide to making really good coffee at home.
![]()
 This post is sponsored by Coffee Bean Direct, an independently owned and operated roasting company. Beans are roasted 24 hours before shipping straight to your doorstep for maximum freshness. This is the first step to making really good coffee at home.
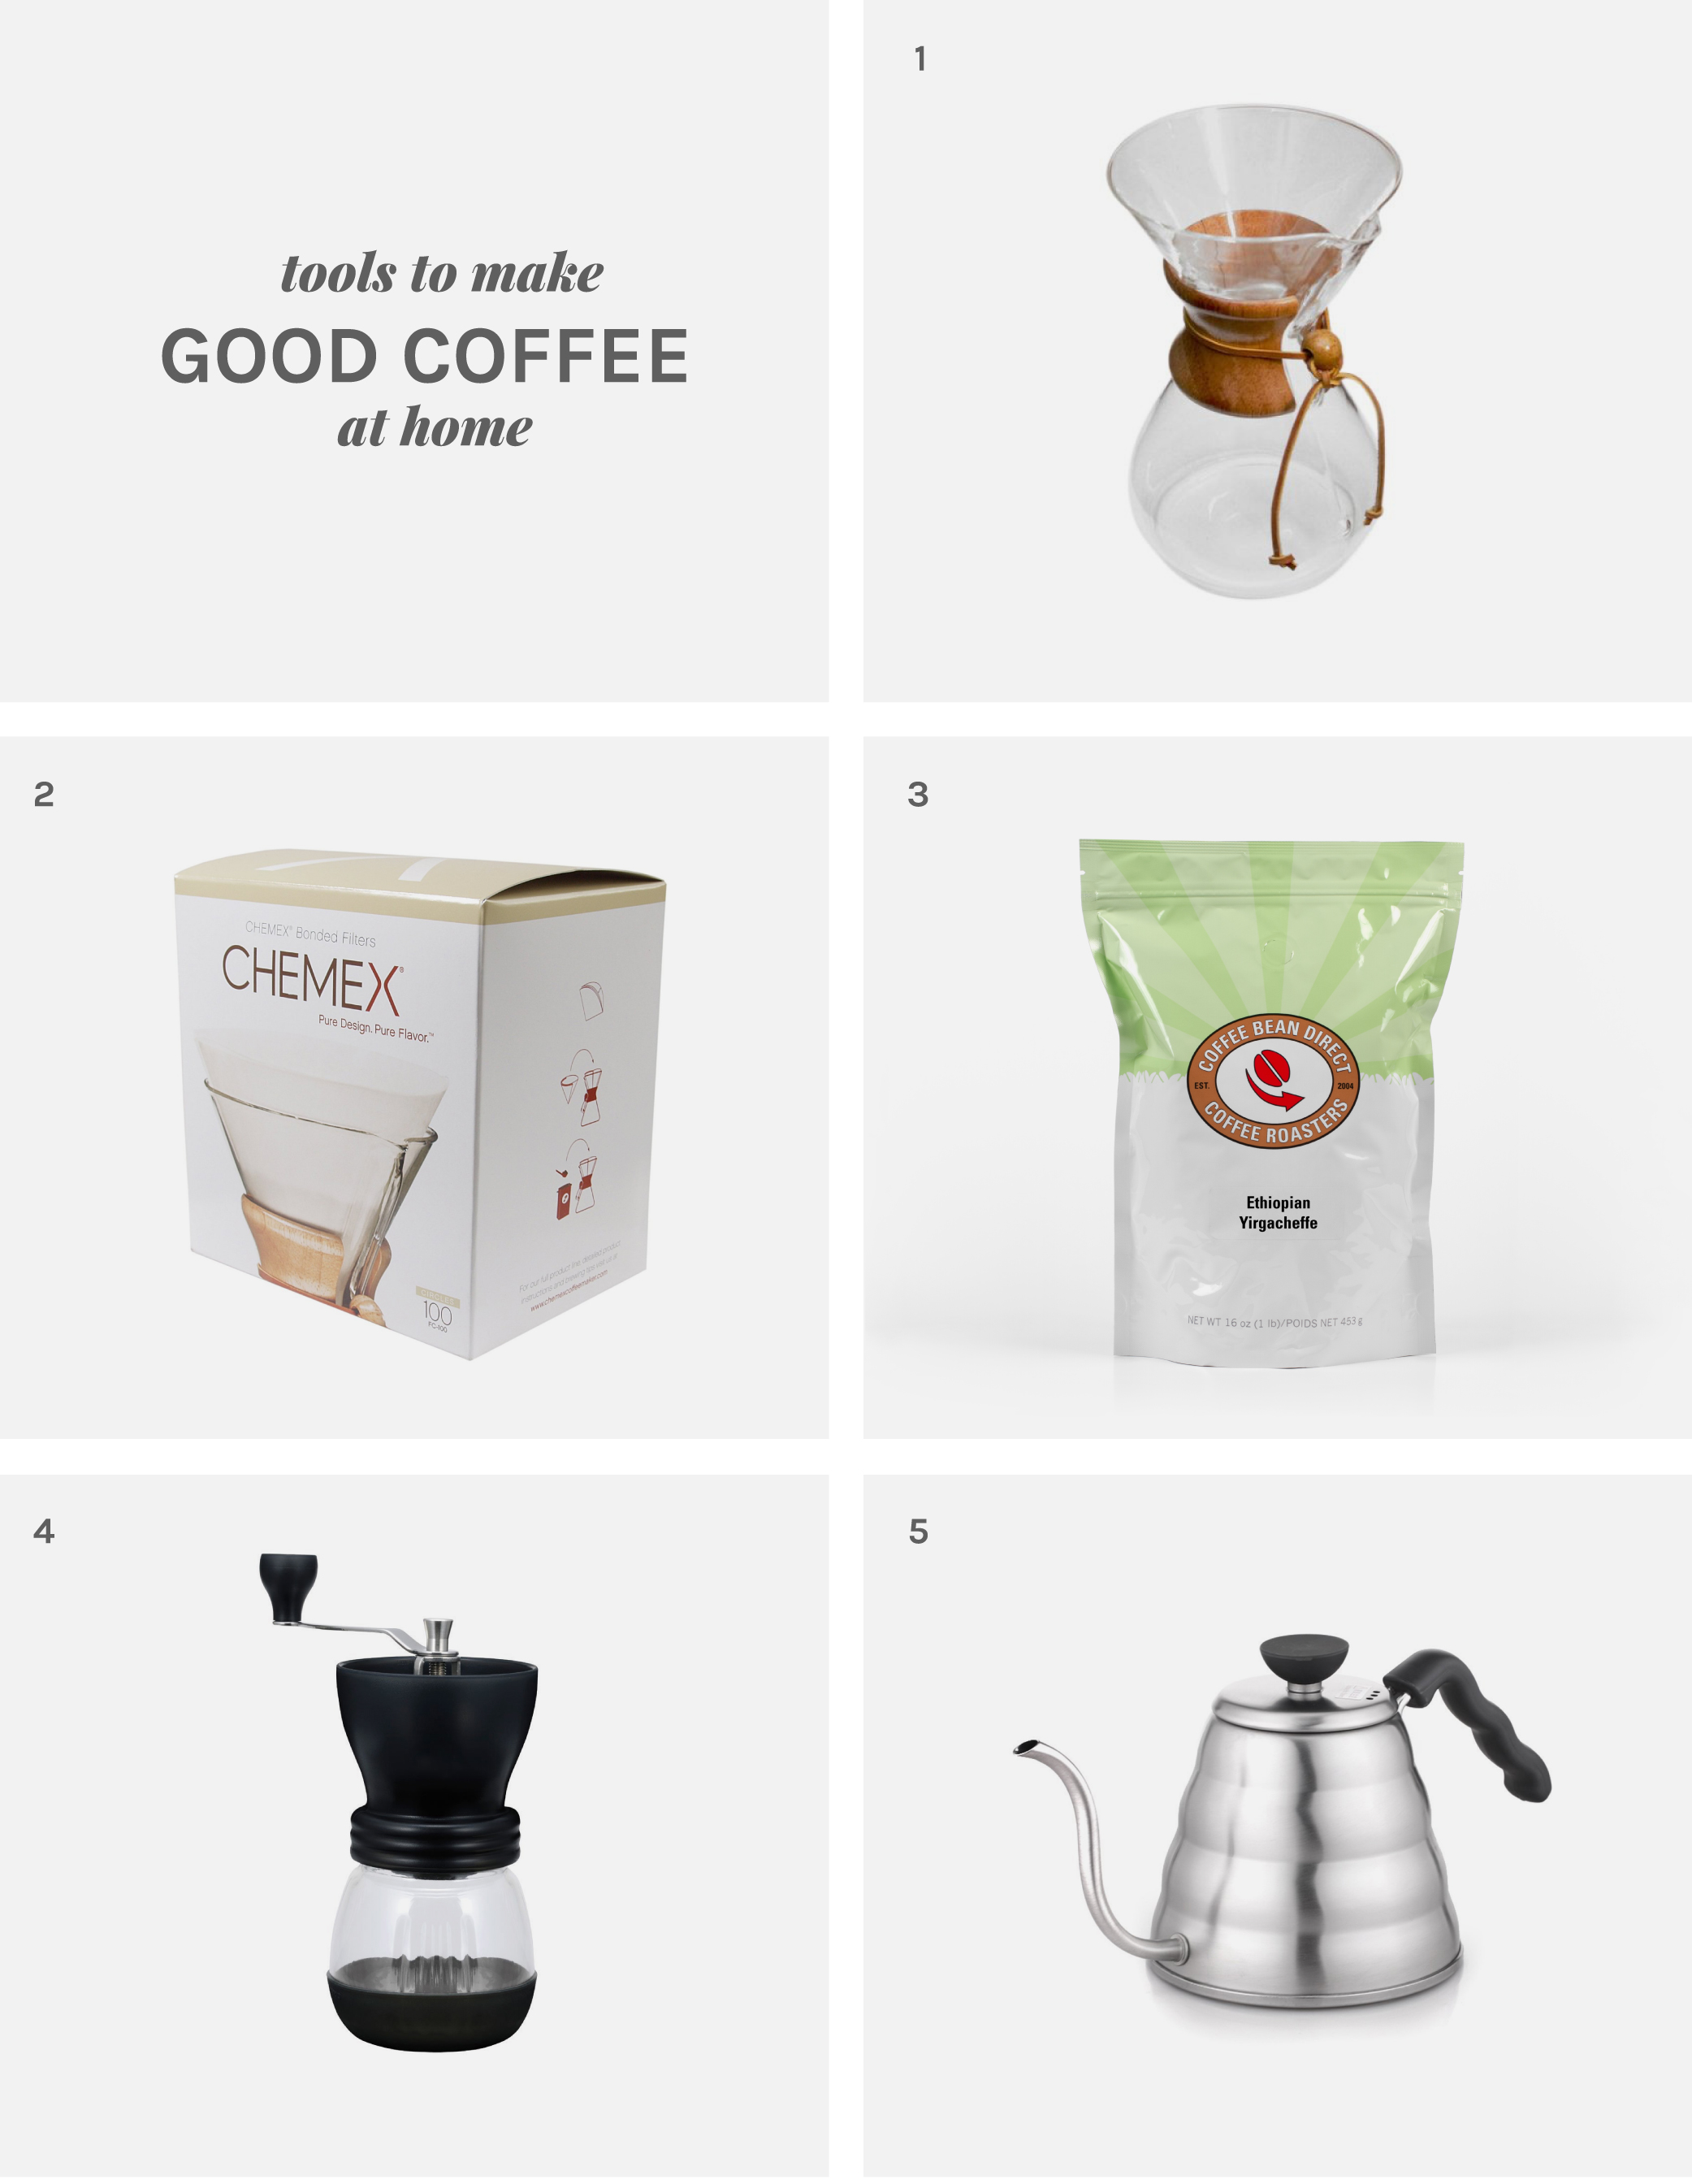
Tools.
Pour over coffee requires a certain set of tools. Below are the tools I’ve found to be essential. Some will tell you that you need a thermometer and a scale for really good coffee. But if you make coffee every morning (and afternoon), you become a pretty good thermometer and scale yourself. You know the sound the water makes through the kettle when it’s ready, and your trusty scoop never lies. Here’s what you need.
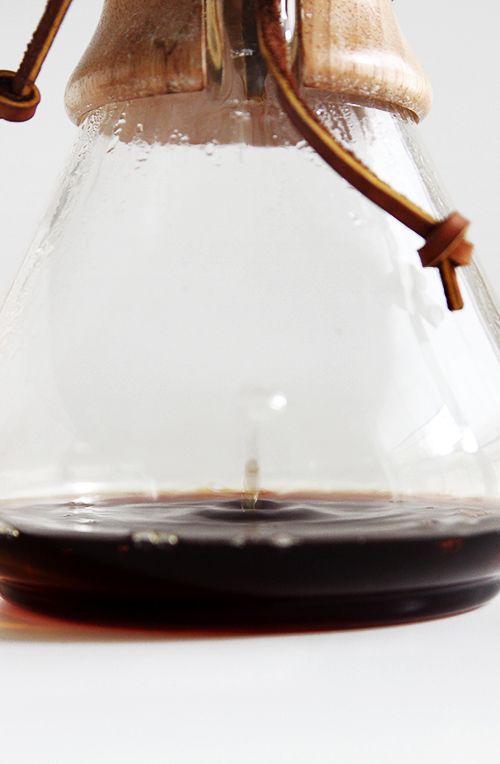
1. Chemex: A beautiful manual hourglass pour over device wrapped with wood for heat protection. With increased popularity, these guys have gone up in price over the last couple of years. Try this inexpensive option to get started.
2. Filters: Special pour over filters are required. It’s a square or circular filter folded in half twice. You can buy them white and unbleached. I use both. They are always available online. Finding them in the stores can be hit or miss. Reusable filters are also an option, but I much prefer the disposable variety for flavor and cleaning purposes. A machine filter wont work. I tried one in a pinch and the weight of the water and coffee grinds broke the filter by the end.
3. Freshly Roasted Coffee Beans: Coffee beans may be the most important thing to making really good coffee at home. Whole beans. Freshly roasted. Always. That’s where the flavor’s at. Store beans in an airtight container at room temperature. Never the freezer.
4. Hand Grinder: Despite many efforts, I’m the only one that drinks coffee at this home. So a hand grinder is perfect for my small batch, 1-cup brews. If making more than one cup at a time, I’d recommend investing in a good electric burr grinder. A consistent medium to medium-coarse grind is needed.
5. Coffee Kettle: I held off on this guy for awhile using my wide-mouth kettle instead, but it was really hard to control. Pour over coffee requires a steady controlled stream, especially upon the initial pour. I don’t like having gadgets for the sake of having gadget. So trust me when I say this too is an essential. This kettle holds enough water for about 3 cups of coffee, no more.
Not pictured: a rounded scoop. I use a 7gr/.25oz scoop which is a little larger than a tablespoon. Coffee scoops vary in size greatly, as do coffee cups. Get a scoop and use it consistently. Base your measurements from there. If that feels too crazy for you, I’m afraid you’re gonna need to buy the scale and thermometer.
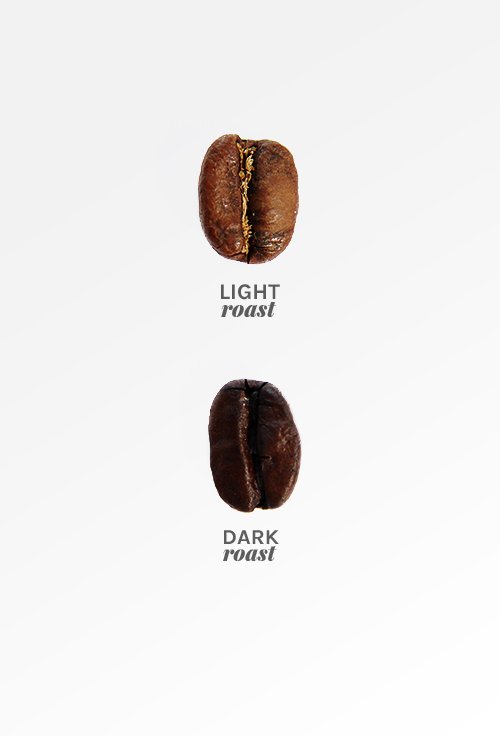
Choosing your roast.
Do you prefer dark or light roast? I didn’t know the answer to this question until recently, or maybe my tastes changed. But a couple years ago, I would have told you I was a dark roast girl—as dark as possible. Now I find myself buying light to medium roasts. I love the subtle nuances. The pour over brewing method greatly affects the taste of the coffee too. It’s far less bitter and much more smooth. There are a ton of different variables that make up the flavor of the bean that I wont go into (nor do I have the knowledge for). But at the end of the day, you’ll want to find a roast that’s good to your palette. I’d recommend ordering a sampler pack from Coffee Bean Direct to get started. Each of their roasts include a flavor profile to help guide your decision.
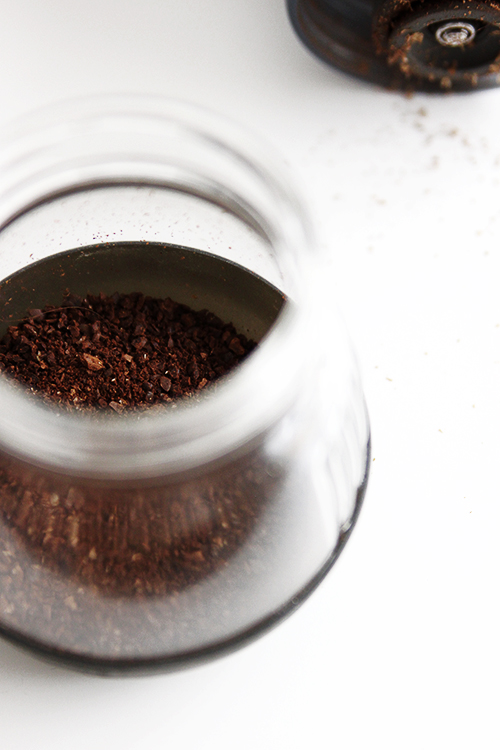
Grinding your beans.
I touched on this a little above. You’ll want a burr grinder, whether manual or electric, for a consistent grind. A medium to medium coarse grind is ideal for pour over. A fine grind, typically used for espresso, will make it difficult for the water to pass through. A coarse grind will allow the water to pass through too quickly, yielding a weak cup. Getting the perfect grind may take a couple bad cups of coffee. You’re the machine, so expect some human error at first. Achieving the perfect grind will allow the water to pass through at an even speed. After each pour, the coffee will swell and contract as even as a deep breath. It’s therapeutic to watch. For some roasts, I’ve found the need to change the grind setting, as it tends to yield a coarser grind. You’ll quickly become attuned to all the subtleties. Only grind what you’re using.
Making coffee.
Yields “a cup” of coffee (more accurately measured at 1 1/4 cups). Use this recipe as a guide, paying attention to roast flavor and strength or weakness per your liking.
1. Fill kettle about half full with the same water you would use for drinking. Turn to medium-high heat. If using gas, the flame shouldn’t extend past the base of the kettle.
2. Measure and add beans to grinder. (Using my 7gr/.25oz scoop that’s a bit larger than a tablespoon, I measure 1.5-2 scoops for “a cup” of coffee. If converting to tablespoons, it measures about 2.5-3 tablespoons. See scoop section under tools for more information.) Grind to a medium-coarse grind. See picture above.
3. With water still heating, add filter to Chemex. Add a splash of water to the filter to help hold it in place. If using more than a splash, empty out extra water. Pour coffee grinds into the filter.
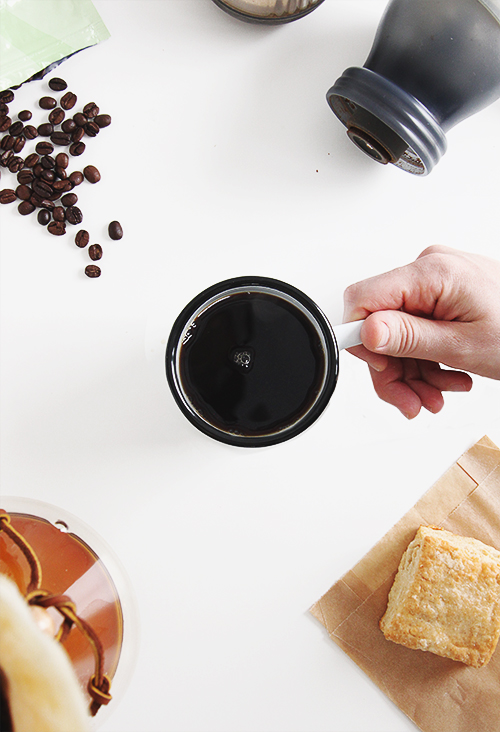
4. Once water barely hits a boil (remember the sound), remove from heat. Carefully and in a circular motion pour enough water just to barely cover the grinds. The grinds will bloom as they release their oxygen. (This is why it’s important to use fresh beans. Stale beans will lose their oxygen and wont bloom.) Wait about 30 seconds for the process to take place. In the same steady circular motion, continue pouring water over grinds just enough to cover them and swell. Once the grinds contract, start the process again until coffee is ready, about 4-5 repetitions. A sign of a good pour over is a creamy pale gold layer that hovers just on top of the grinds after each pour. “A cup” of coffee is half way to the tiny bulge on my Chemex. If making for the first time, fill your coffee cup up with water and pour into the Chemex to get your measurement (remember the height).
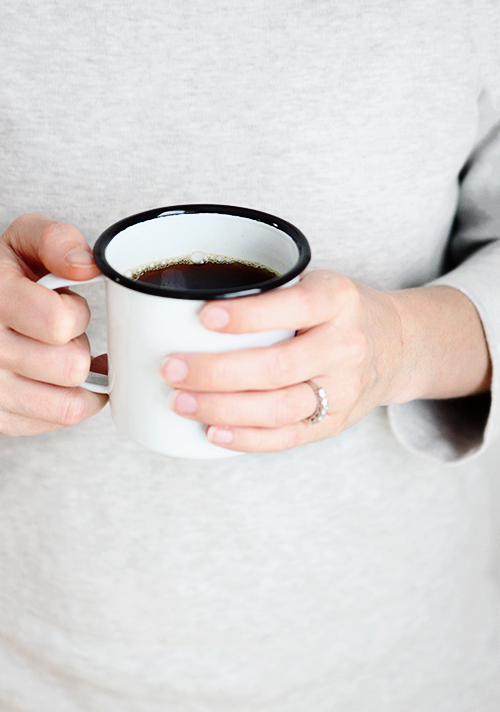
5. Drink immediately. This is sacred time. The real work is about to begin.
Other good pour over resources around the web:
Sprouted Kitchen, Coffee. A Chemex Method.
Turntable Kitchen, How to Make Coffee: Pour Over Coffee Brewing


Oh I miss coffee so much 🙁 beautiful informative post, I can smell the ground beans as I type…
I just learned so much about pour-over! and am pretty convinced I need this ritual in my life. Yes, please to slower mornings.
This is lovely! I’m sniffing my screen hoping I can catch a whiff of the aroma 🙂
I love your video, Melissa! And now I feel like I need a Chemex… I’ve been holding out for a while but maybe now it’s time. 🙂 Coffee cupping sounds so fun too- I need to go to one of those!
I have been wanting to do away with my Keurig for so long now and simplify my kitchen counter, and you just inspired me to get it done 🙂
I adore my Chemex. It’s so therepeutic. I may need to try out the hand grinder, though! I have a super cheap electric grinder and it’s hard to control the grind.
In response to the above comment, some people might find 11-ish grams of coffee to be too much! There’s so many variables involved, with the main one being an individual’s taste preference. I never understand why some people think coffee is a “science”. It’s entirely a matter of opinion as to what “good” coffee is. This is a great overview of some of the fundamental methods and equipment to get someone started.
Just a few notes: 11-ish grams of coffee is not really enough. You need to include a good measure for the amount of water (should people just guess?). And you link to a v60 as an inexpensive substitute for the Chemex, but these methods are not the same and have different instructions and ratios. (In my experience, these two methods can yield different tasting cups of coffee as well.)
Thanks for the feedback. Variations are written into the recipe. This is how I take my coffee but like you said, it’s open to interpretation. I find myself doing more beans for certain roasts and less for others. Sure, the most precise way would be to use a scale but I’m encouraging people to find what works for them, a consistent scoop and a consistent size coffee cup. I’ve also written instructions on how high to fill the kettle. Again, not precise but this is how I make coffee. It’s not the only way but it’s how we do it over here.
I don’t drink coffee, but Aaron makes his with a chemex everyday. We’ve found that there are a lot of coffee shops around us that sell chemex filters, and for cheaper than in supermarkets (because it seems like only upscale grocery stores sell chemex filters).
I have these dreams of me being someone who makes pour over coffee every morning and sips it while staring out the kitchen window … but the truth is that I don’t really like hot coffee (except for lattes, especially salted nutella ones …). There’s also no way I could drink it by the time I head out the door for work, and I have trouble with drinking coffee before eating breakfast. So these special coffee moments are usually reserved for slow Saturday mornings at home, and only if I feel like busting out my espresso machine. The beauty of the chemex, however, really makes me want to try pour over coffee. Great post!