
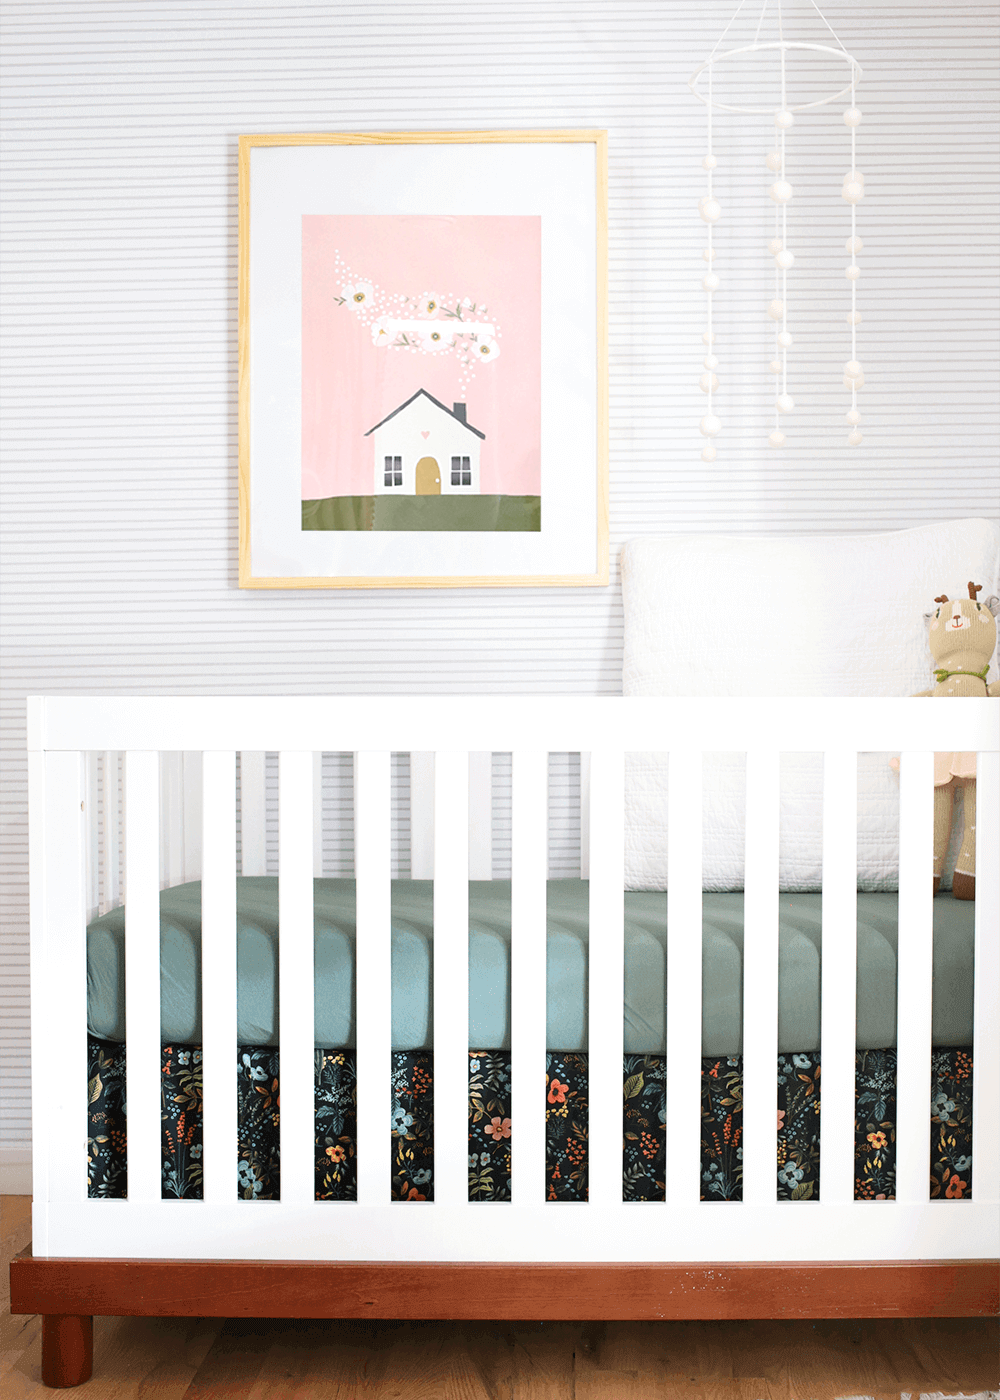
After I assembled Hal’s crib, I was so disappointed to see this empty, unattended to space between the mattress and the base of the crib. The pictures I had seen of the crib were at the lowest setting, you know, where the mattress rests at the base of the crib, and, as a first-time mom, I didn’t consider how the mattress would look way up high for a really tiny baby. So I attended to the unattended to space and figured out how to make a crib skirt without a sewing machine or much skill. Six years later, I did the same for Linnie’s crib. If that space drives you crazy too, or if you’re just looking to add a pop of pattern, here’s a very simple DIY No-Sew Crib Skirt tutorial.
How to Make a DIY No-Sew Crib Skirt
This crib skirt is not a true crib skirt, but rather individual fabric panels that attach to the metal mattress support on your crib by velcro. As you lower the crib, the panels can adjust and/or come off altogether when no longer needed at the lowest setting.
TIME: 2 hours
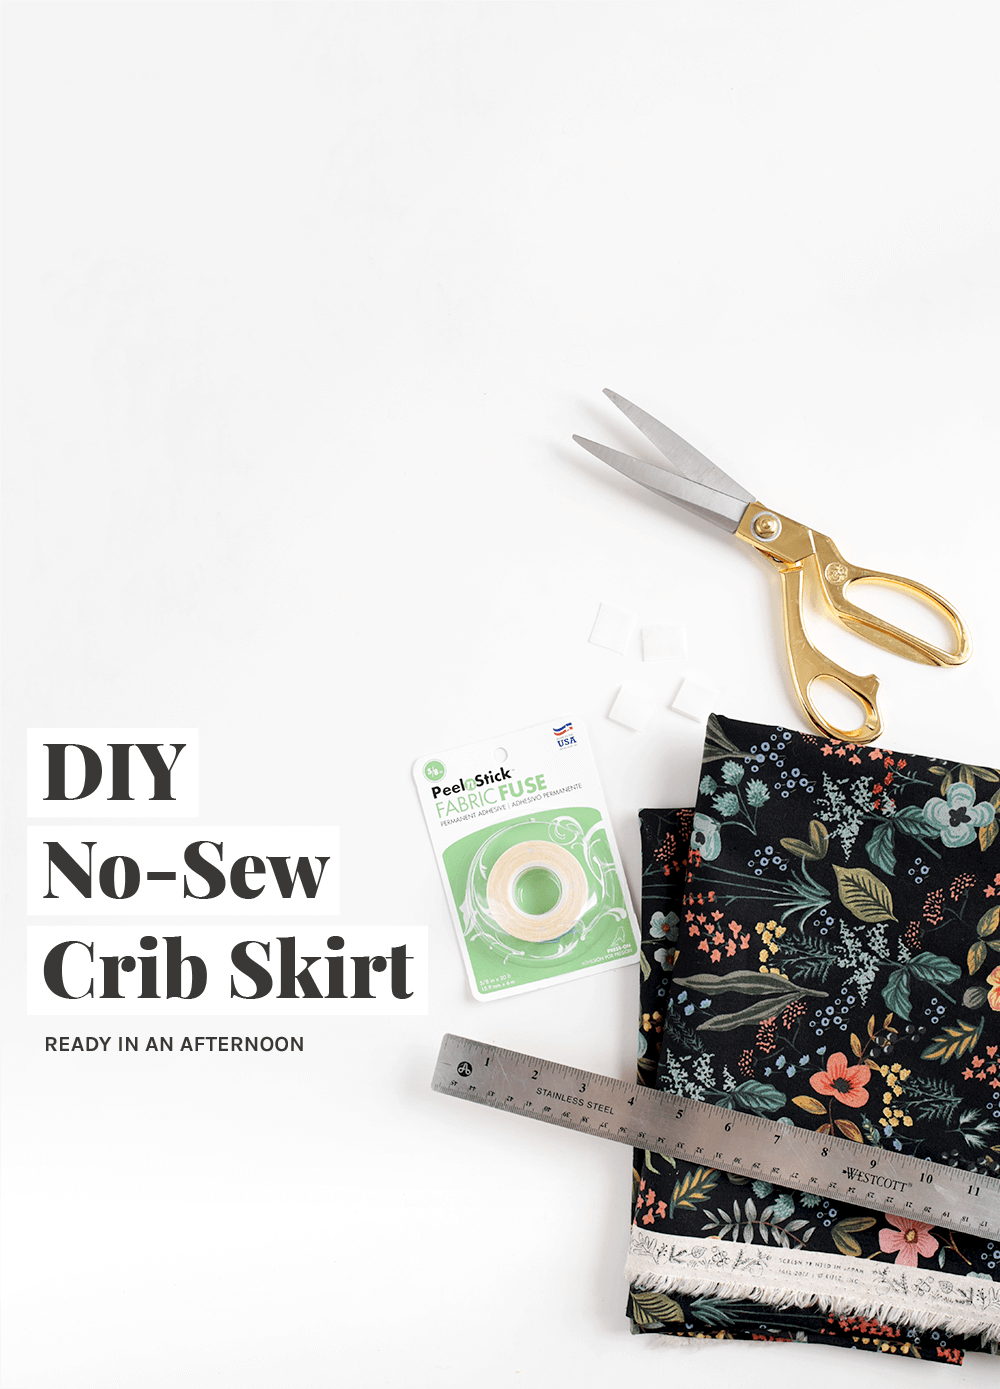
HERE’S WHAT YOU’LL NEED:
- 1.5–2 yards of fabric
- PeelnStick Fabric Tape
- Sharp scissors
- Measuring tape
- 3M Velcro Hanging Strips
Step 1
Before beginning, determine the amount of fabric you’ll need by locating the adjustable metal mattress support on your crib. The crib skirt will attach to this. Start by measuring for the front panel (see fig. 1). To do so, measure the length of the metal mattress support. Then measure the height of the space where the crib skirt will be able to be seen, the space between the metal mattress support and where the bottom of the crib begins. (Note: this height will vary from crib to crib. It will also shrink as the baby grows and the mattress lowers.) Add 4 inches to both the length and width to account for a seam and wiggle room.

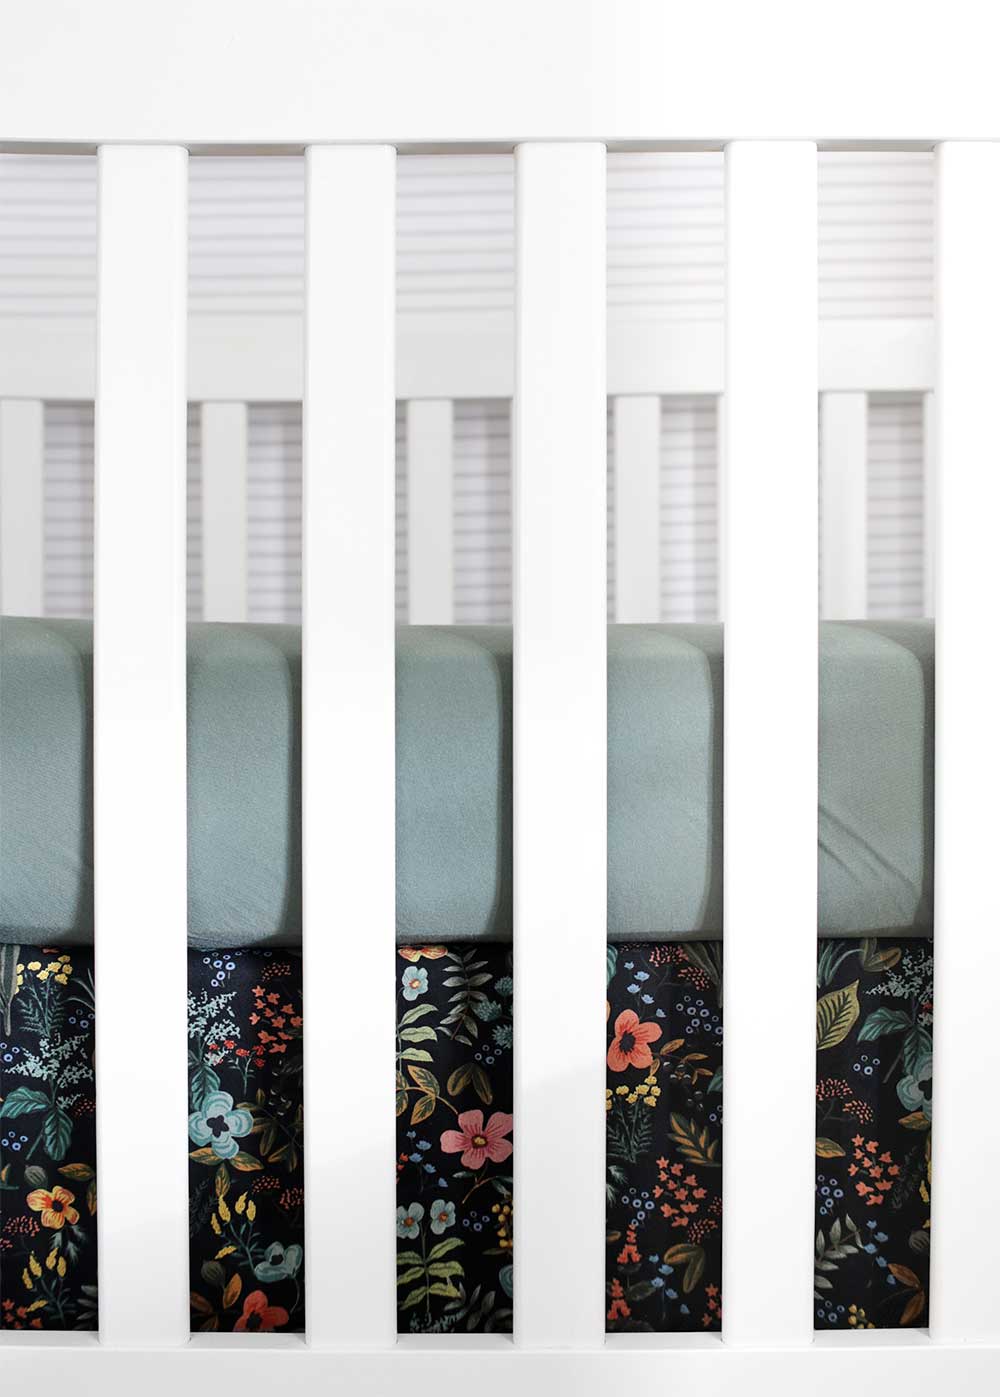
Now, get those same measurements for the side panel(s), adding 4 inches to both the length and width. (Note: You may only need one side panel if the crib is cornered in a room. For Linnie’s room, I did one front and one side panel.) You’re ready to order fabric. Here are a couple of my favorite fabric designers and fabric sites: Rifle Paper Co., Rashida Coleman-Hale, Leah Duncan, Cassidy Demkov, Cotton + Steel, and Cloud 9. We used Herb Garden Midnight in canvas from Rifle Paper Co.
Step 2
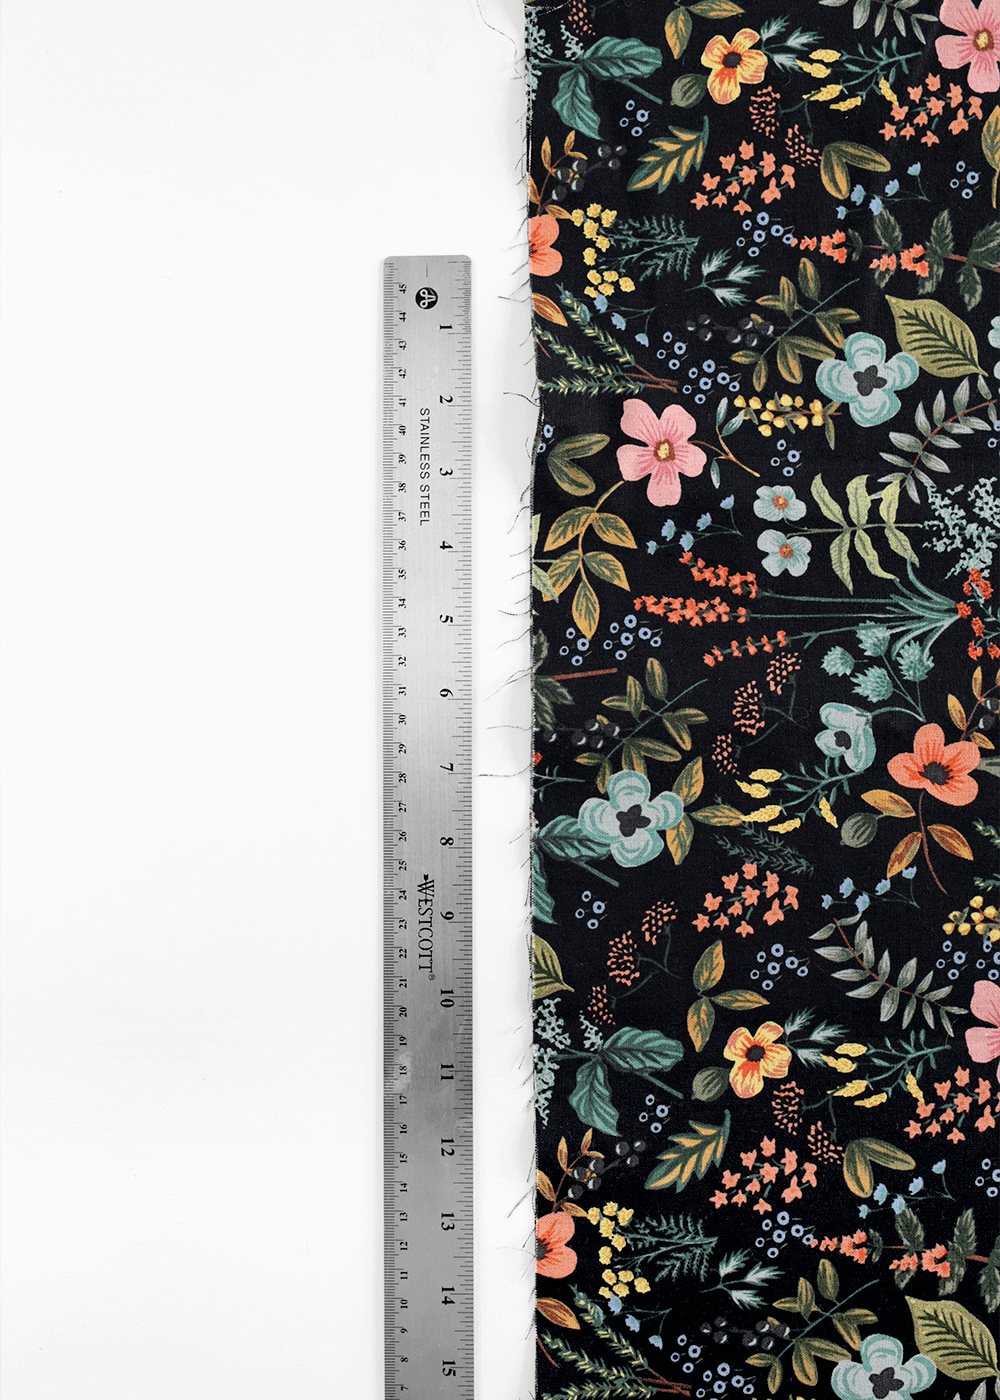
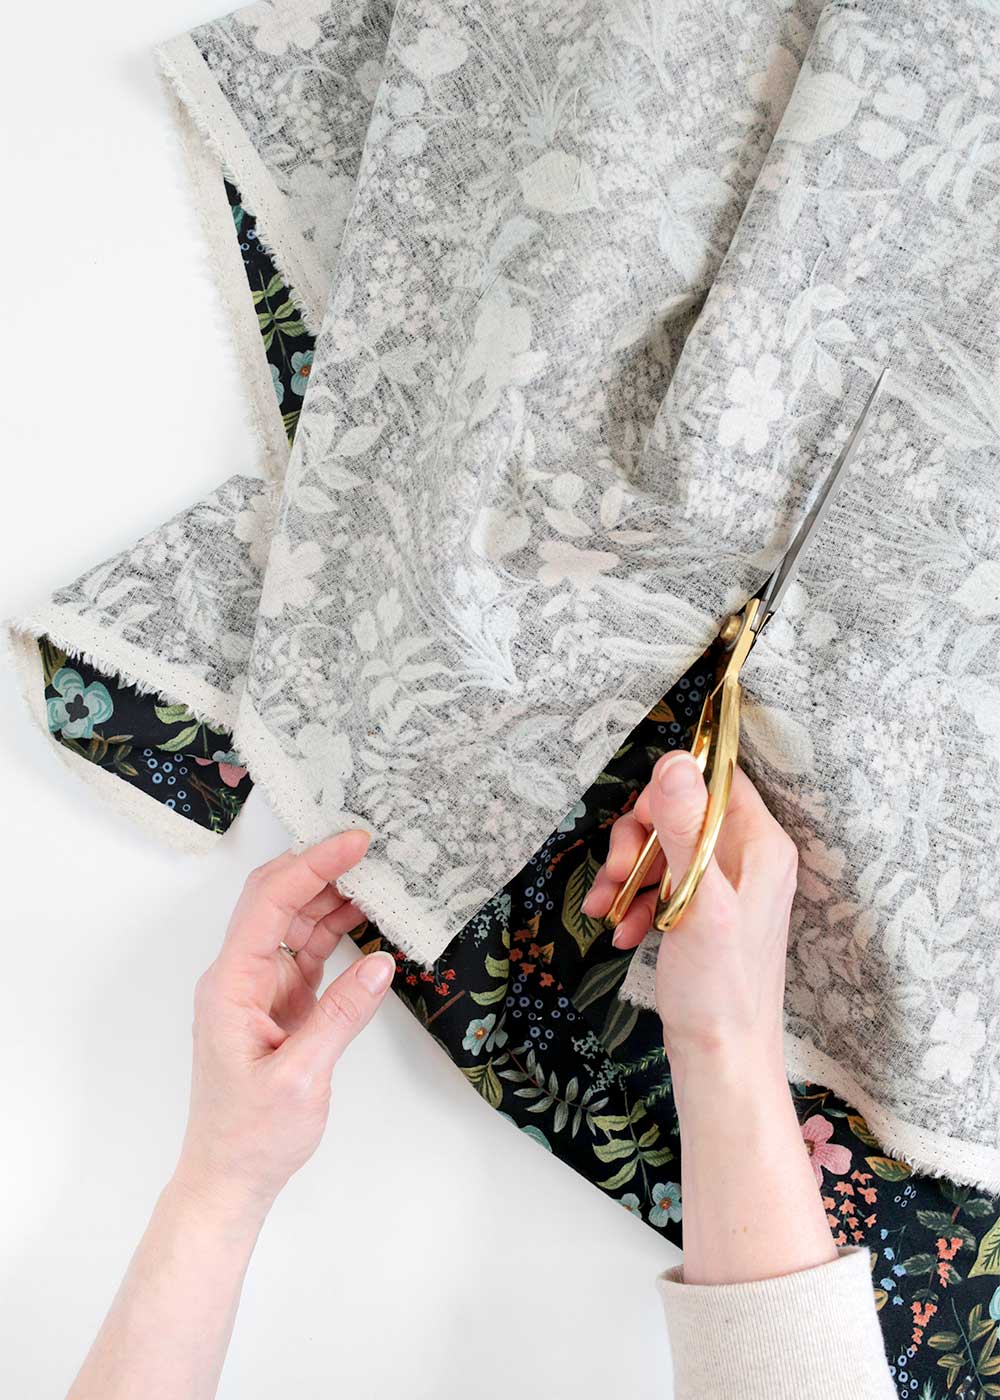
Measure out your panels on the fabric, marking with chalk. If using a patterned fabric, check to see how the fabric will sit behind the slats of the crib before cutting. (For example, I wanted to make sure the pink flowers were visible on our crib skirt and not hidden behind the slats, so I adjusted my cut lines accordingly.) Cut the panels using sharp scissors.
Step 3
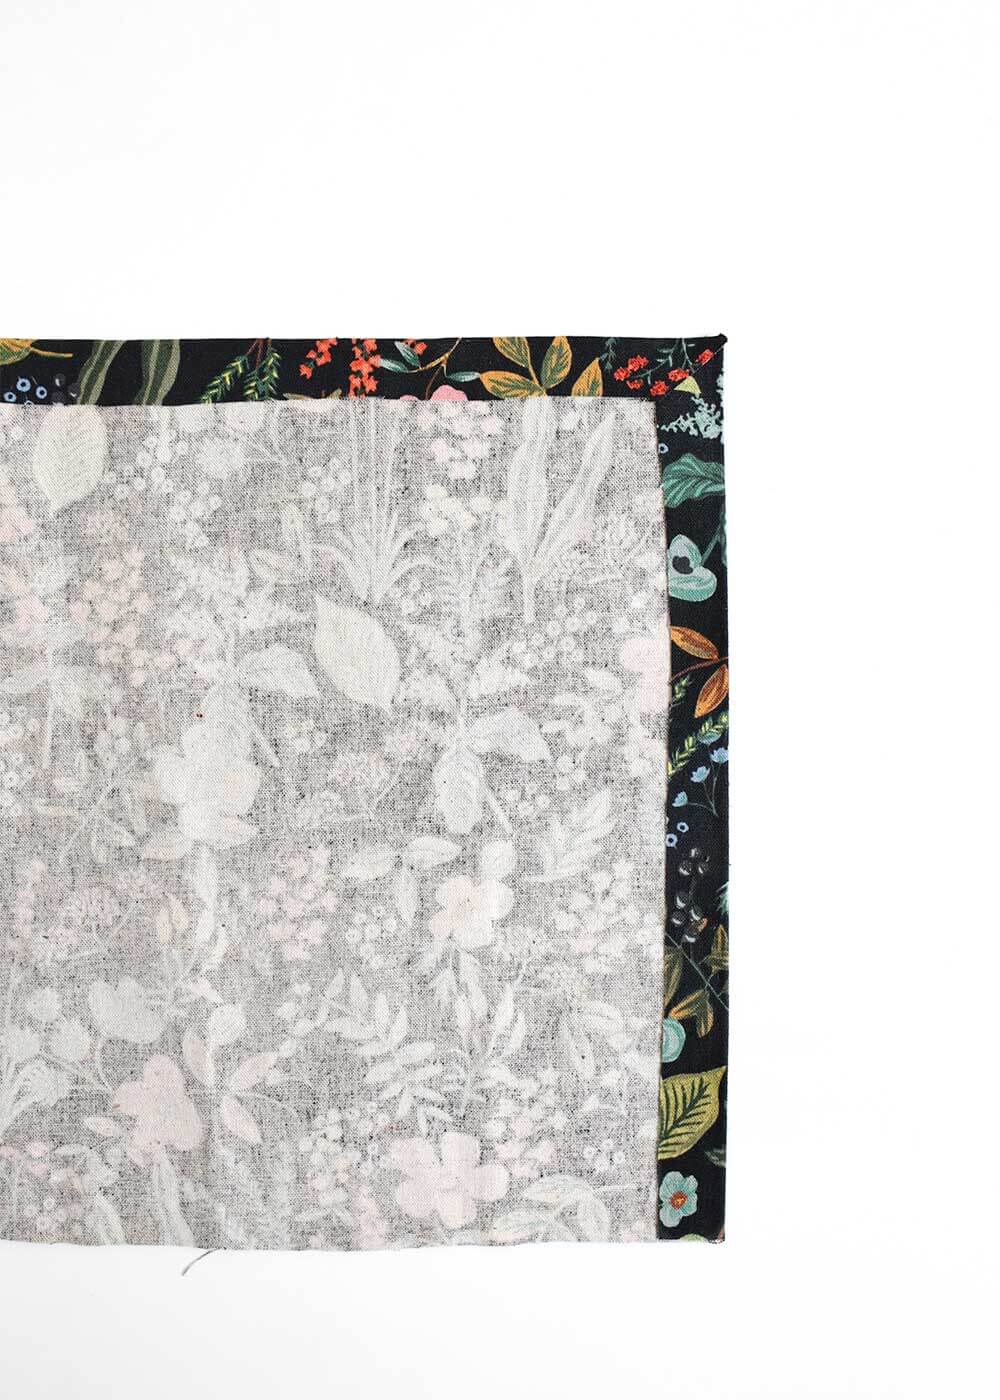
Create a seam to keep the fabric panels from unraveling on 3 of the 4 sides. To do so, flip the fabric over so that the backside is face-up. Add a strip of the PeelnStick Fabric Tape to the top of the longest side of the panel, pressing to adhere. On the top two corners, cut about a 3/4-inch long slit at 45° angle.
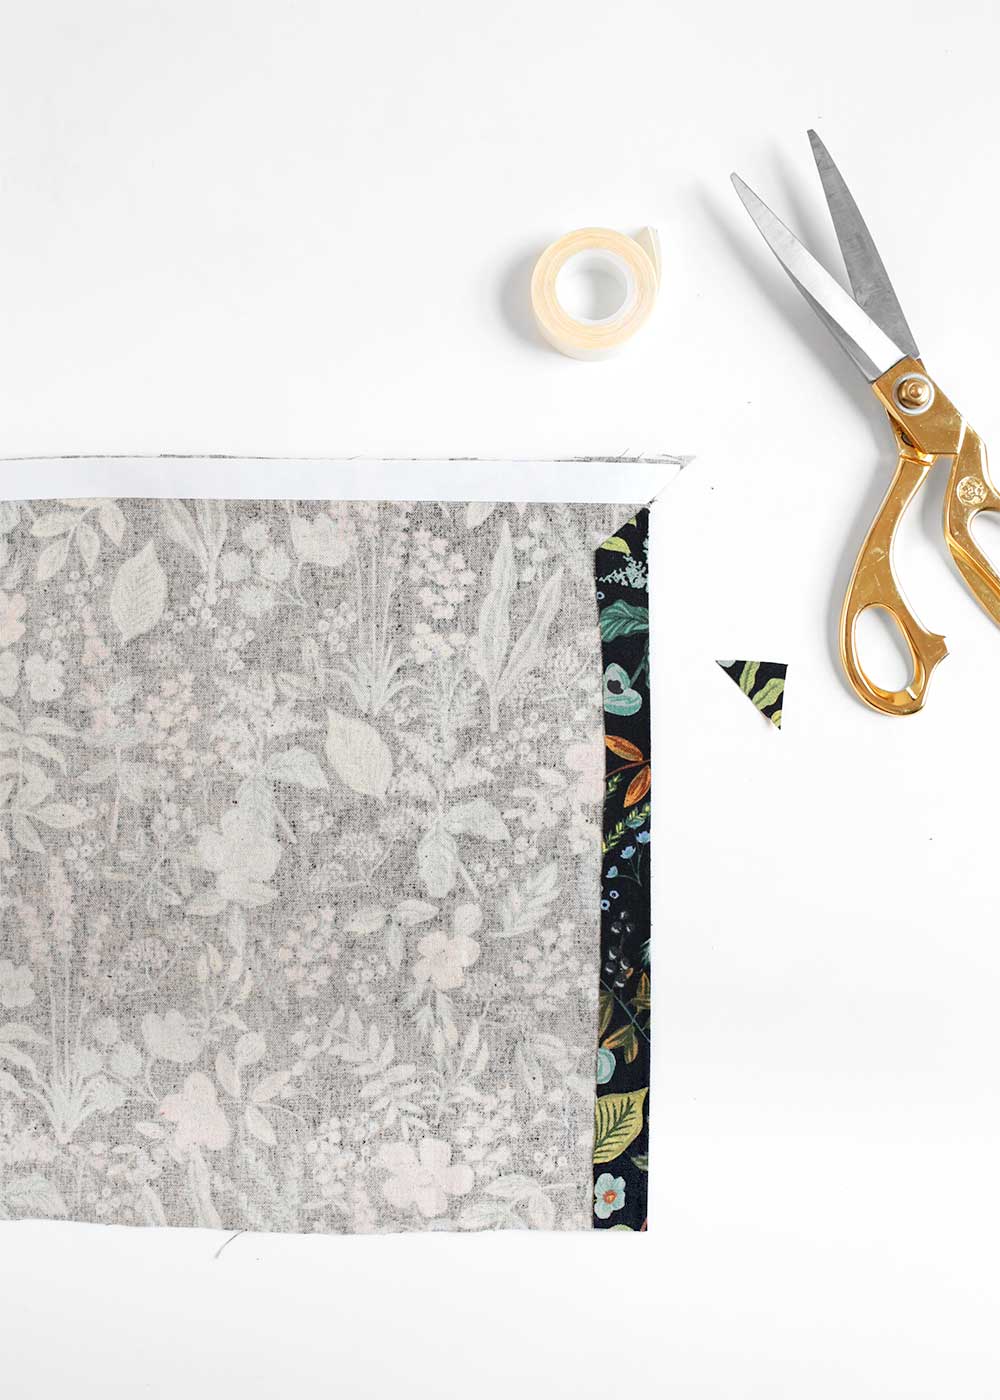
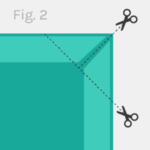 Then snip off two right triangles (see fig. 2) so that when folded over, the two seams fit snuggly without overlapping. Remove backing, fold, and press to adhere. Add the fabric tape to the sides to create a seam, while leaving the long bottom cutline of the fabric open. Repeat step on remaining panels. Now you have a crib skirt!
Step 4
To attach the crib skirt to the crib, add velcro to the top side of the metal mattress support. Remove the mattress for this step. Start by sticking together two 3M Velcro Hanging Strips, then cut the strip in half so that you’re left with two velcro squares. You’ll need 3 squares total for the front panel and 2 for each side panel.
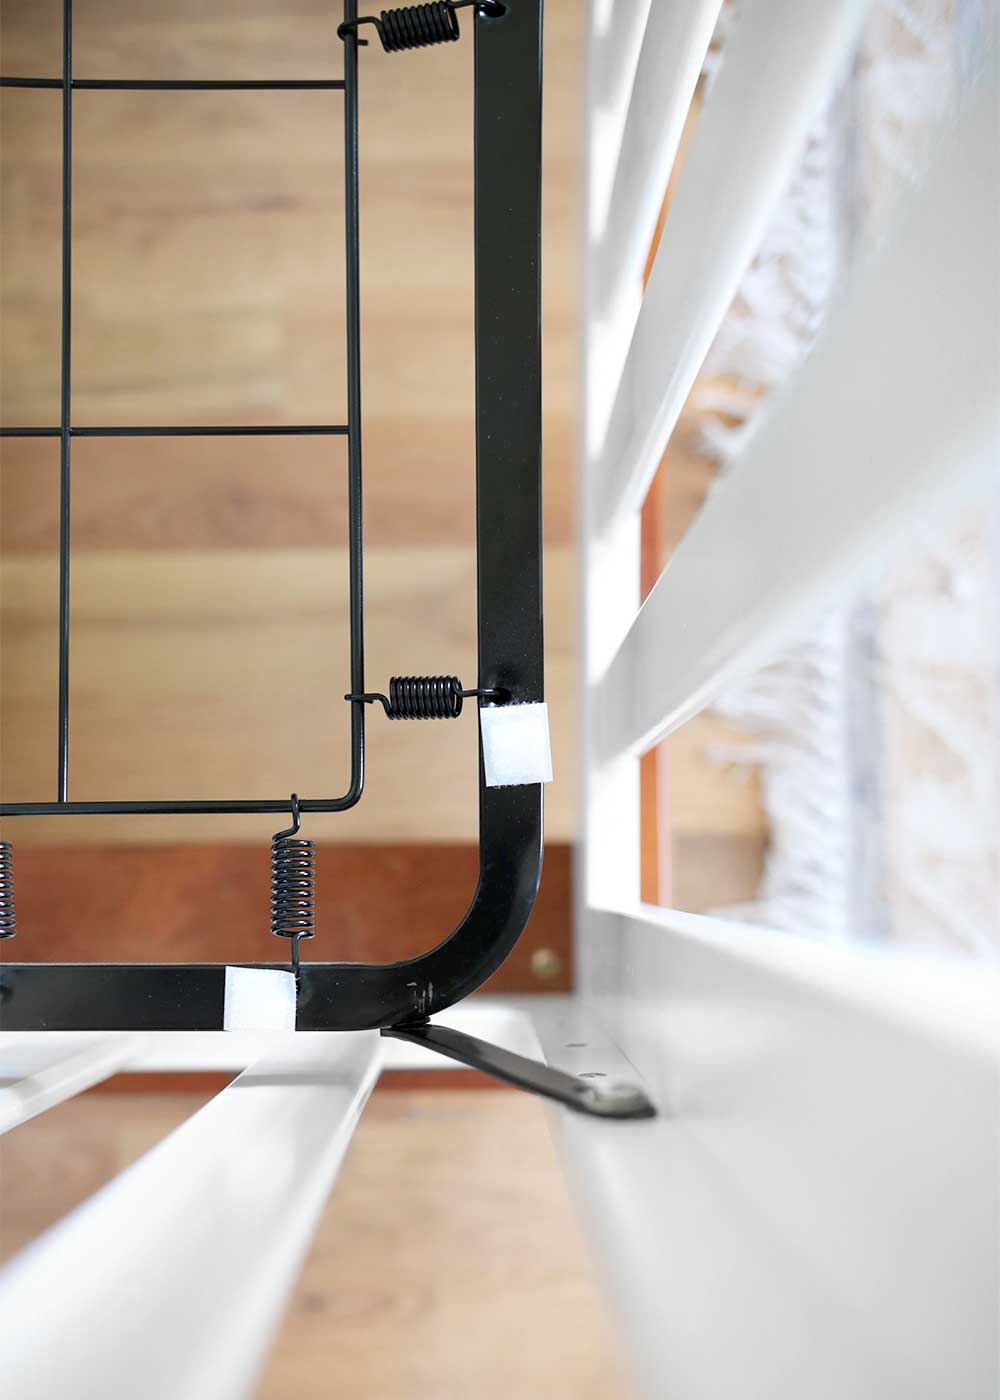
For the front panel, attach one square at either end of the metal mattress support, just before the corner rounds, on the top side, so that the crib skirt will look as though it waterfalls over the metal mattress support. Attach another velcro square in the middle. Remove the backing on the velcro and attach the top seam to each of the squares, starting with the middle square. Make sure the panel is hanging where you like it before adhering to the outer velcro squares. Attach the side panels in the same way, adding a velcro square to either end of the metal mattress support. Additional squares can be added if needed to create a taut look.
As you lower the crib over the months that follow, shorten the crib skirt either by simply trimming off the seamless bottom of each panel or by adding a new velcro square further down on the back of each panel.


Smart! I did a very similar thing, but with magnets. Velcro makes a lot more sense 🙂
Thank you for posting this detailed tutorial! I’m expecting my first baby in November and am saving this to do for her room. It makes such a difference!
Congrats! Let me know if you end up making one. I’d love to see!