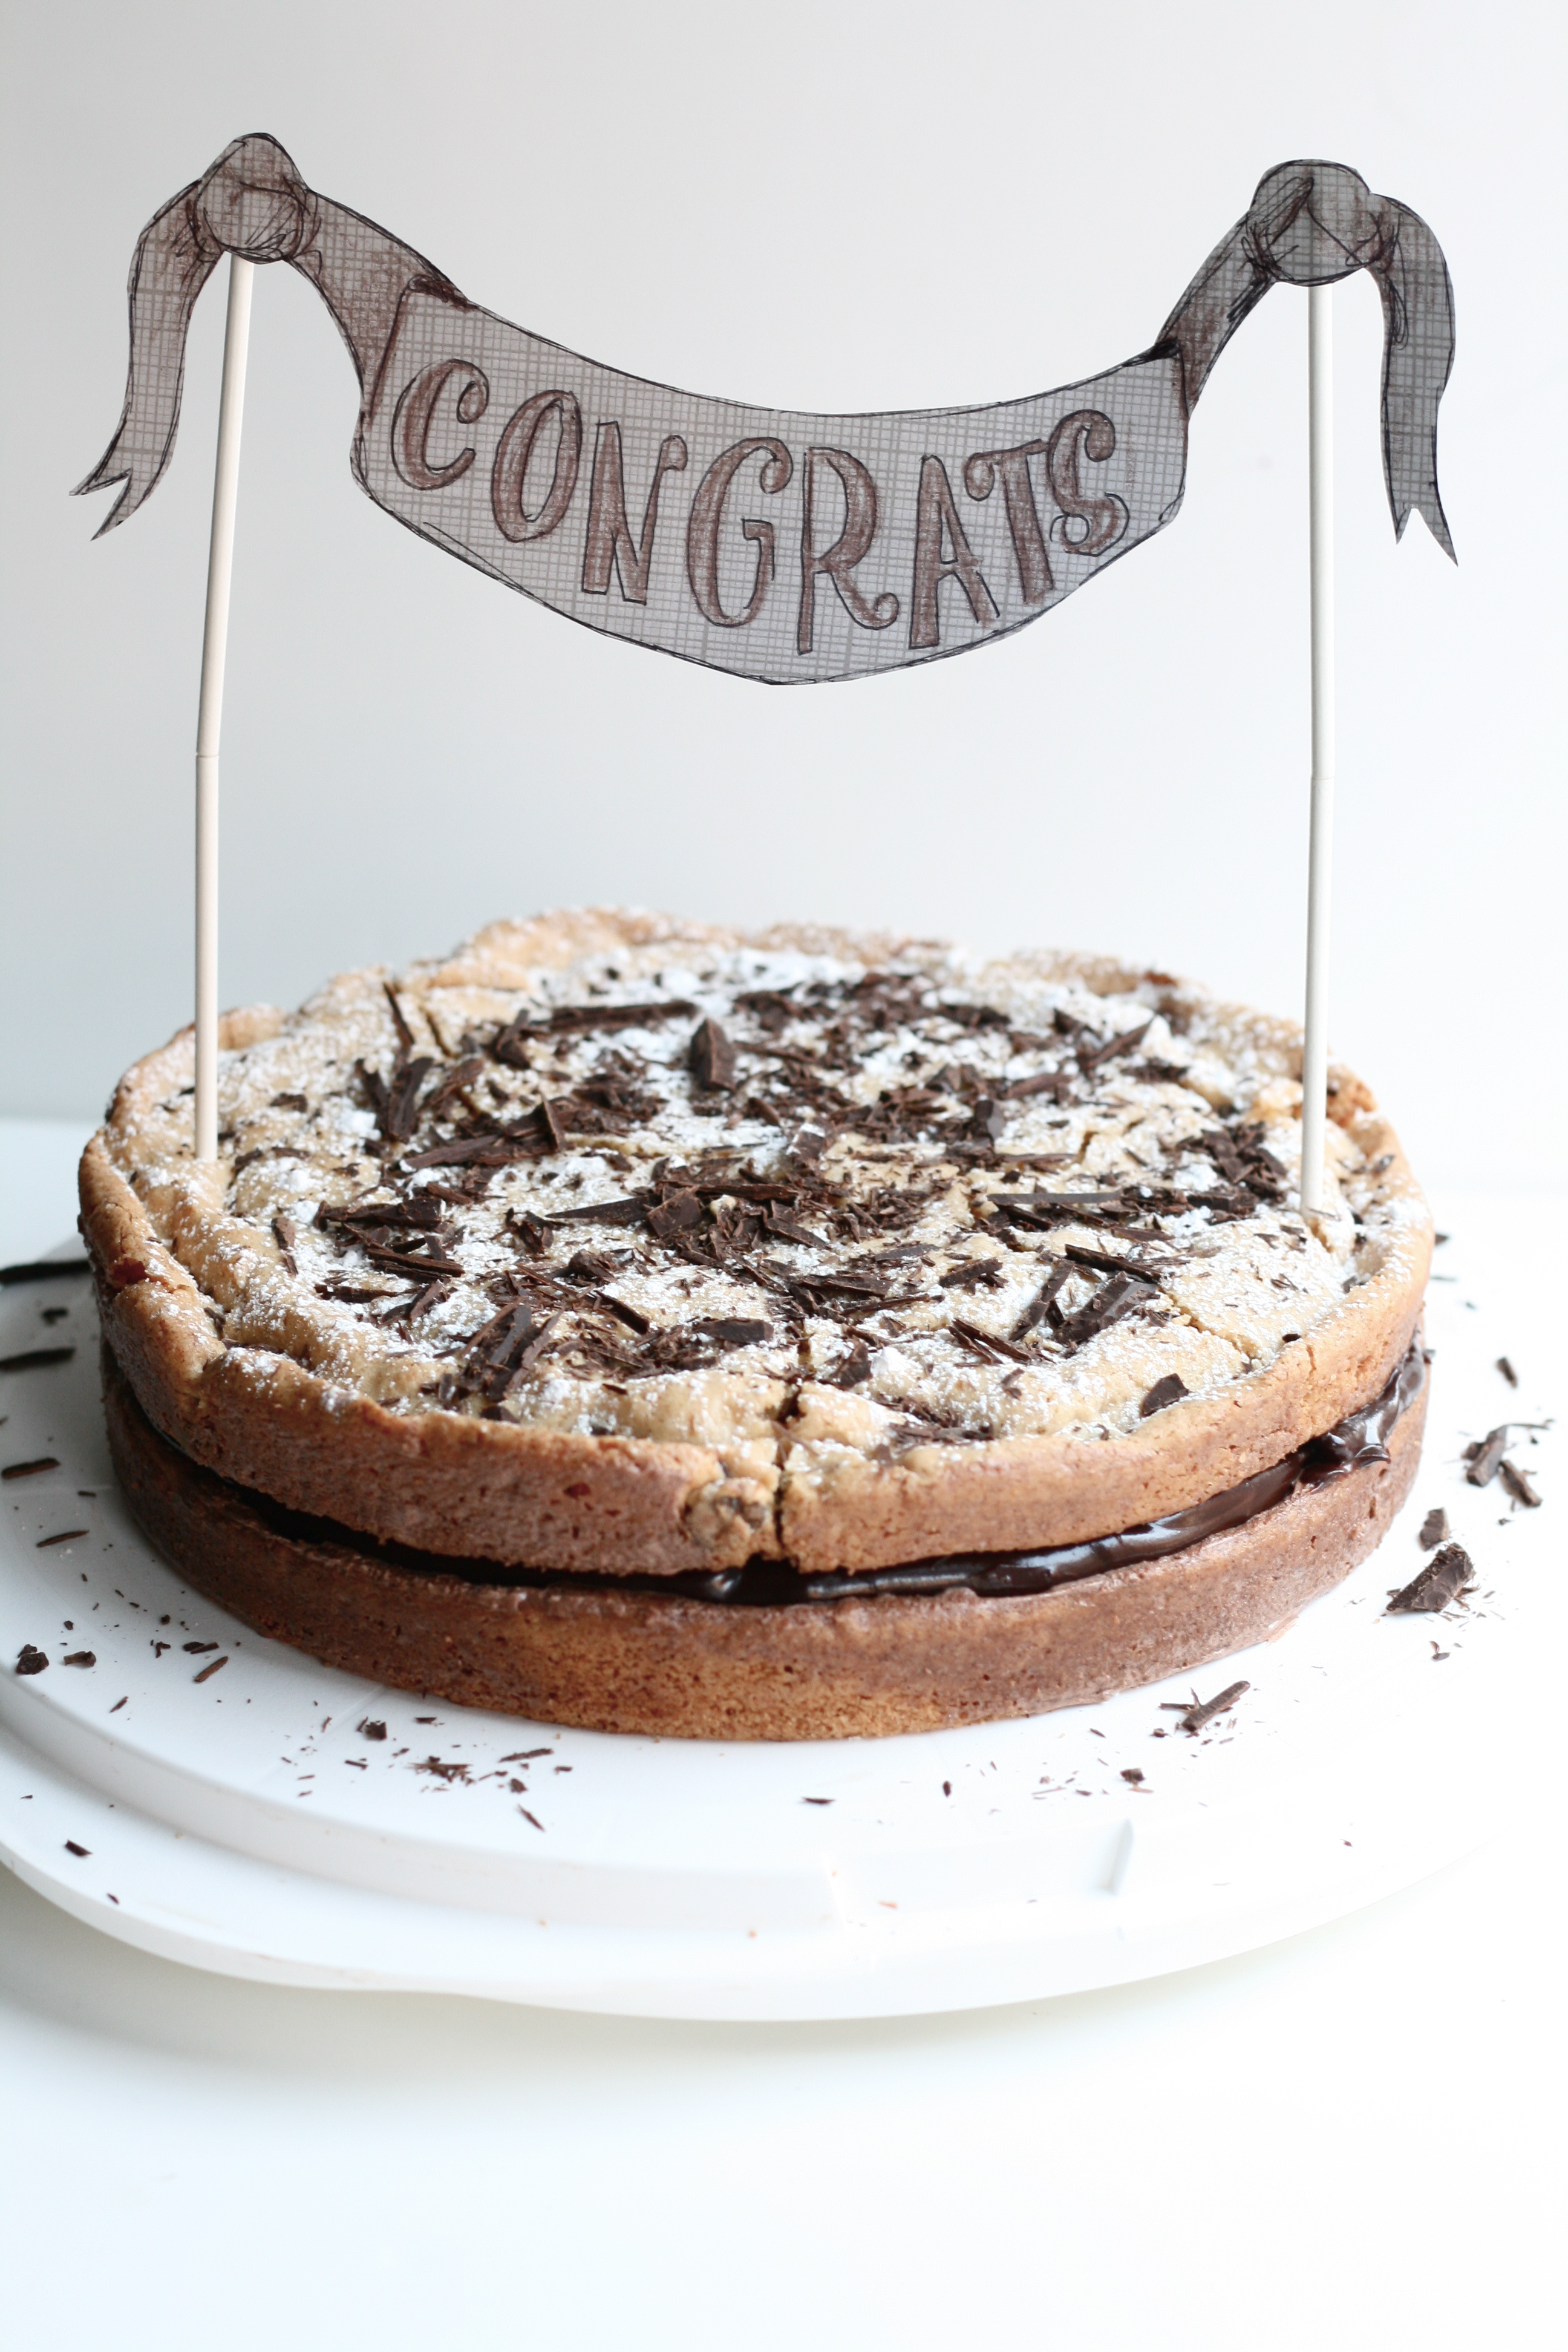
Last month I made this decadent chocolate chip cake. And topped it with a hand drawn sign. I had every intention of making it available to you, but in the flurry of serving and eating the cake, the sign disappeared. Probably selling for big bucks on e-Bay. Ha!
Ask and you shall receive. A reader asked for the sign this week so I decided to go digging around for my original template. Found—under a stack of unread Real Simple magazines. (Don’t worry, I will read these cover to cover.) So, I did a little scanning and editing and viola! A downloable PDF just for you! Read more
I’ve departed from my normal flour, butter, and sugar gig this week. I hope you don’t mind.
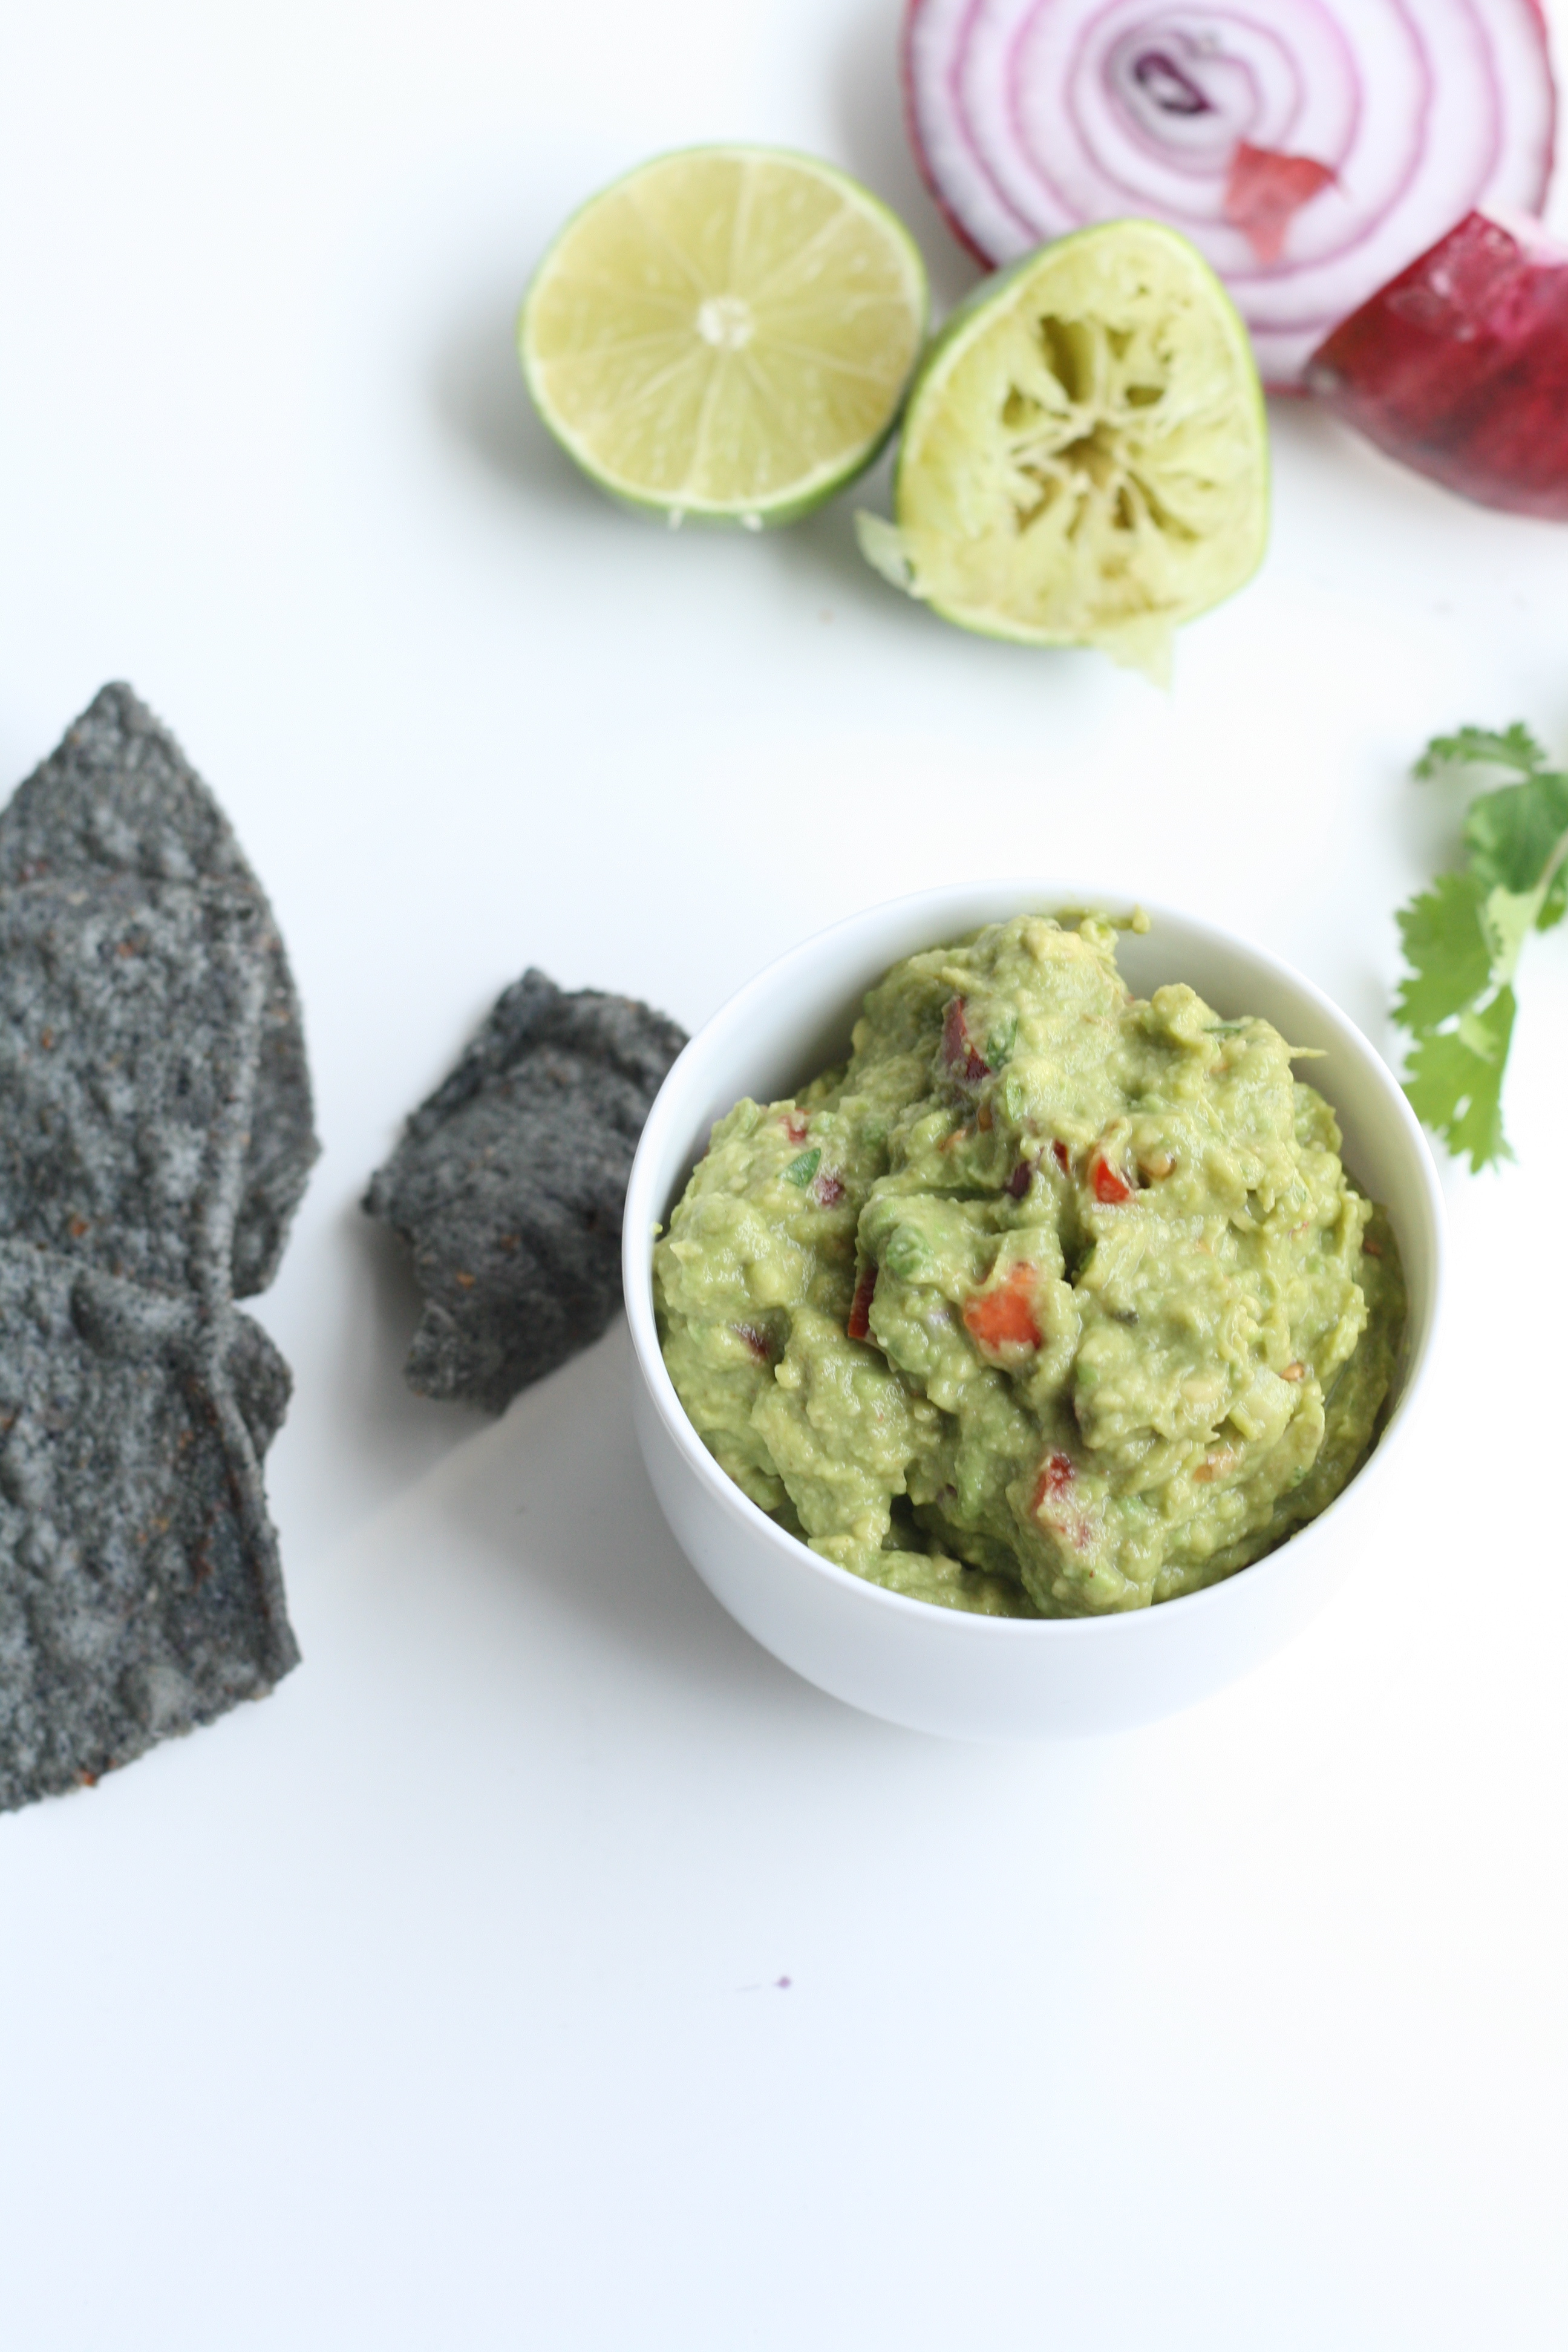
Confession: I’m a mexican food junkie, and I eat way too much guacamole. But I wasn’t always this way. Sadly, my unrefined childhood taste buds didn’t crave guac until I was in college. I lost a good 20 years of consumption. However, I think I’ve made up for it in the last six years. Thank goodness for its health benefits.
Every time I make guac, I think of my mom. She first introduced me to it with a recipe called—Game Day Guacamole. I can still see it peeking out of her overly stuffed light blue checked recipe box. Excuse me while I reminisce. The fact that food has the ability to conjure up vivid memories makes me love it even more.
I wish I could say that I still use the Game Day recipe, but I don’t. Being the hard-headed person that I am, I had to come up with my own recipe. I blame it on the artist in me. I’m like a dog marking its territory. I have to put my stamp on everything. Knowing how I am now, I can only imagine what I was like as a child. My apologies Mom and Dad. But lucky for you, I have perfected my recipe. At least to my liking. So go ahead, and give it a try.
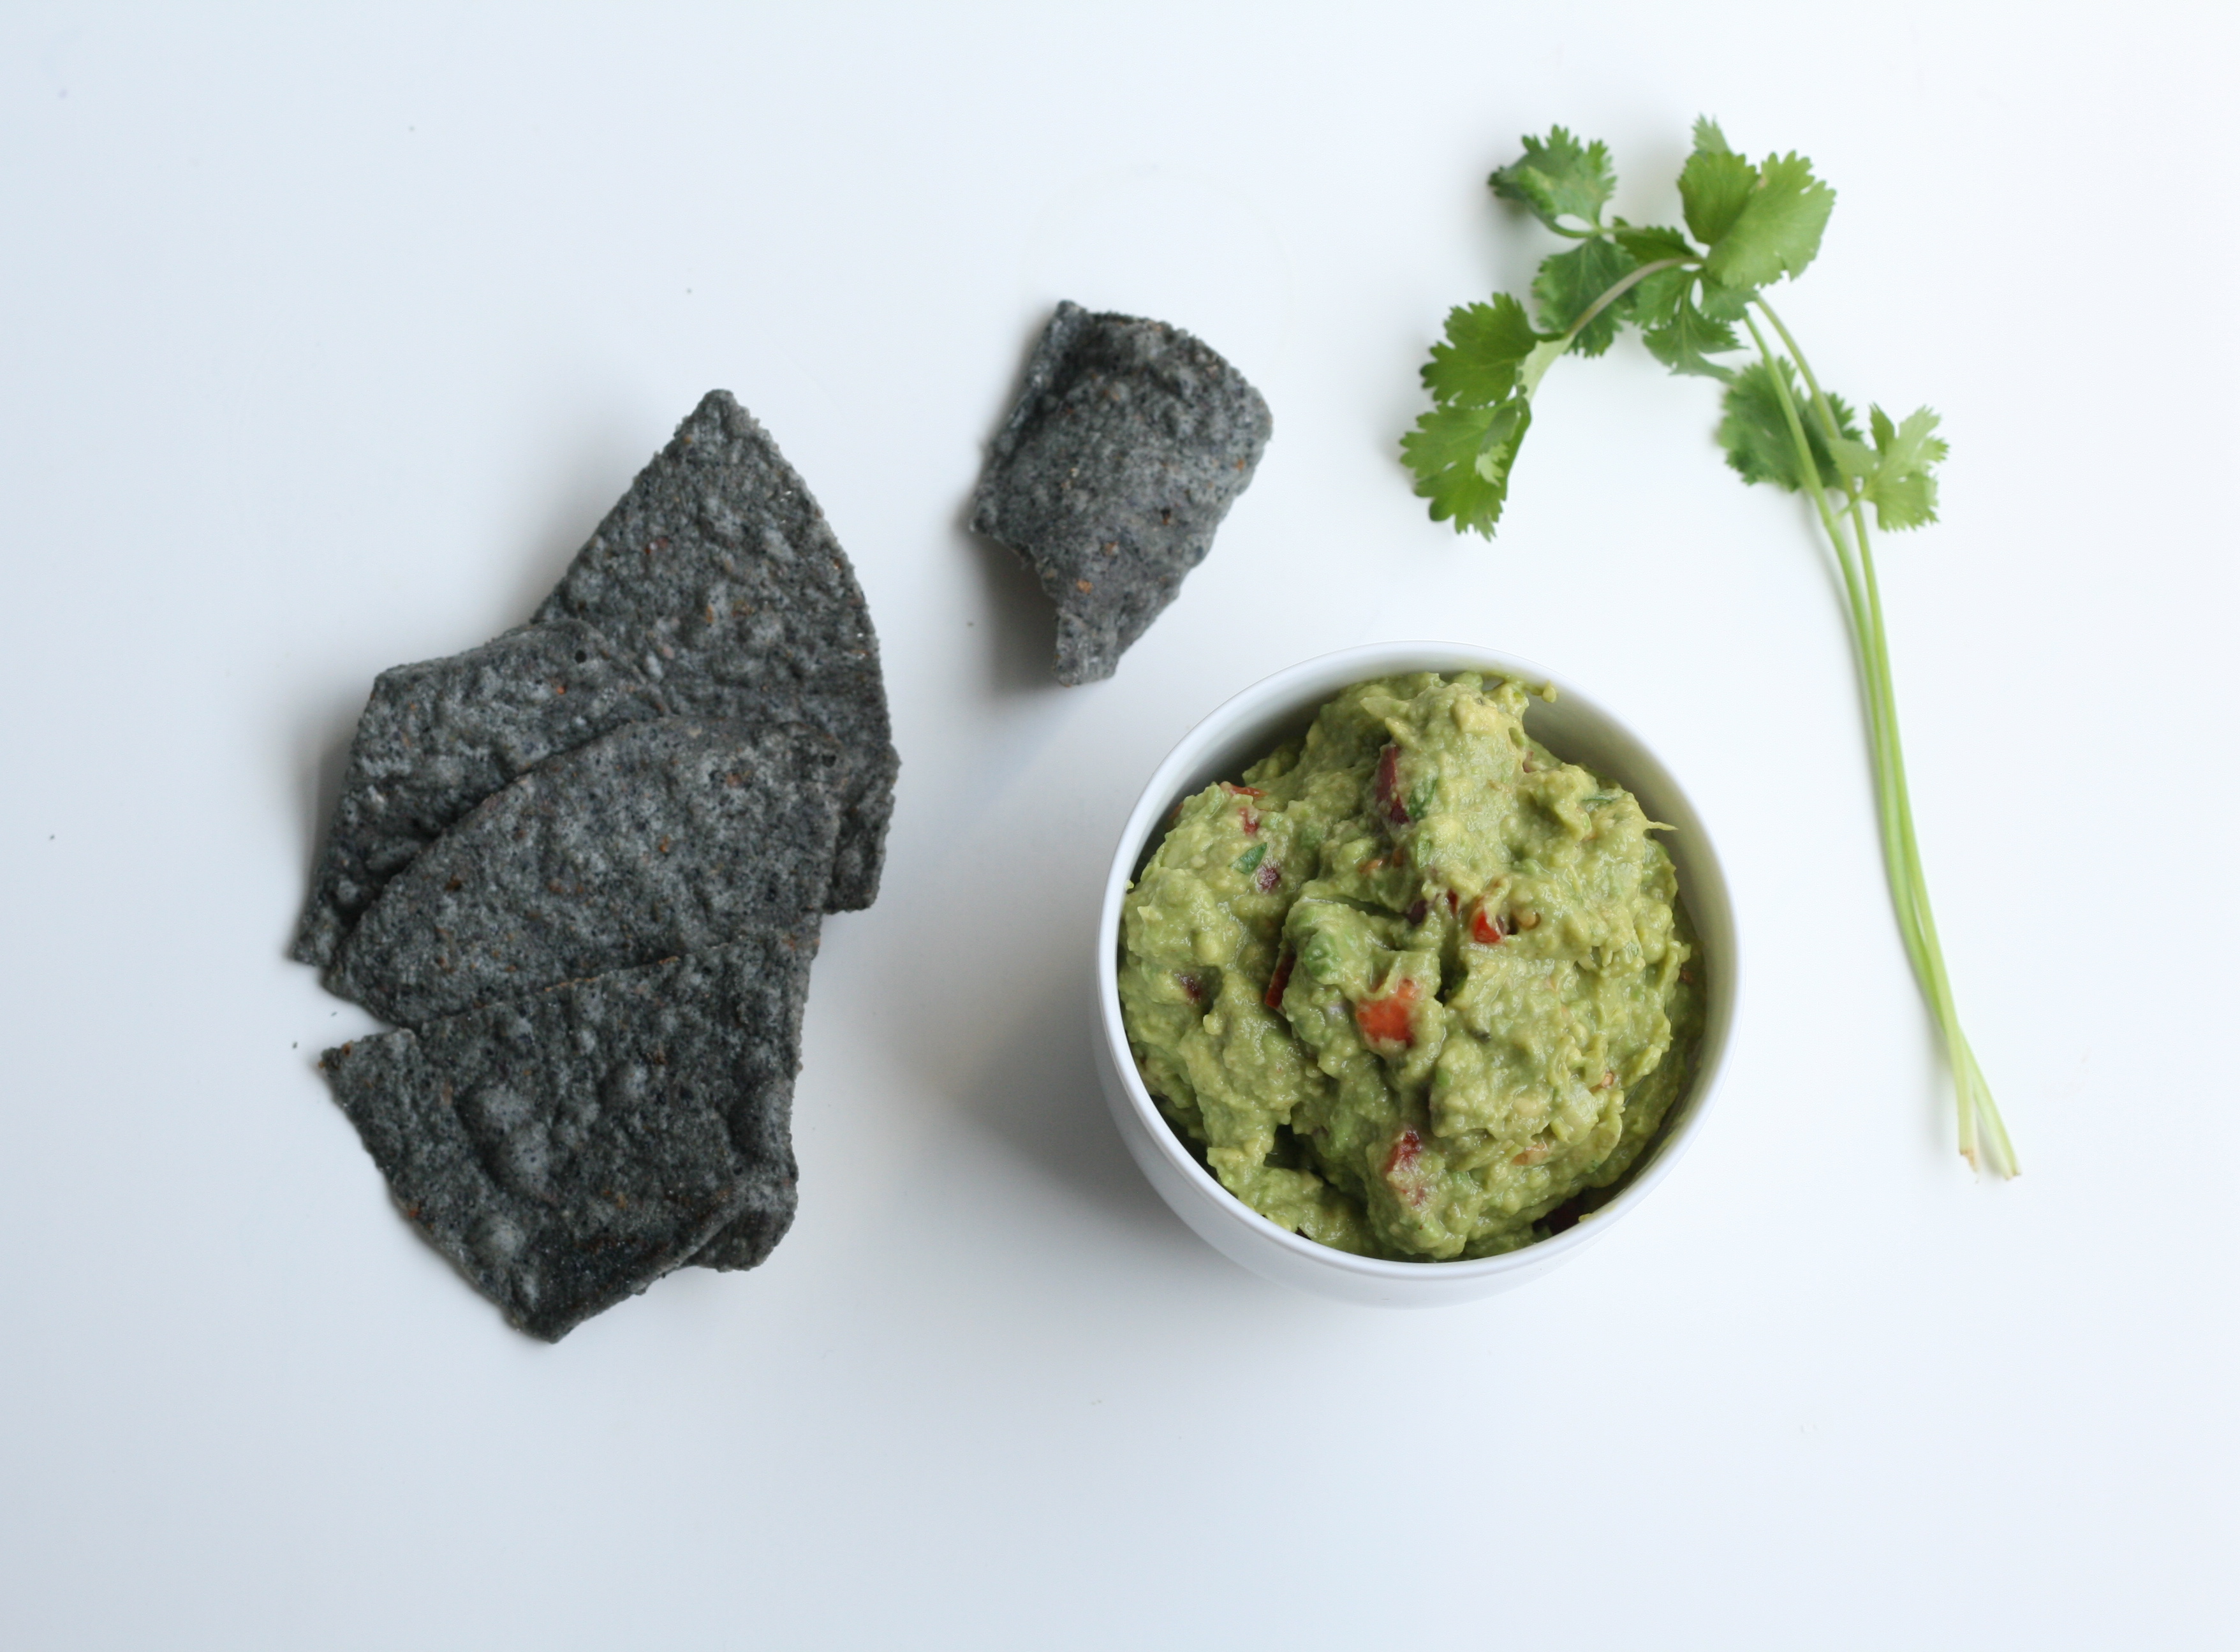
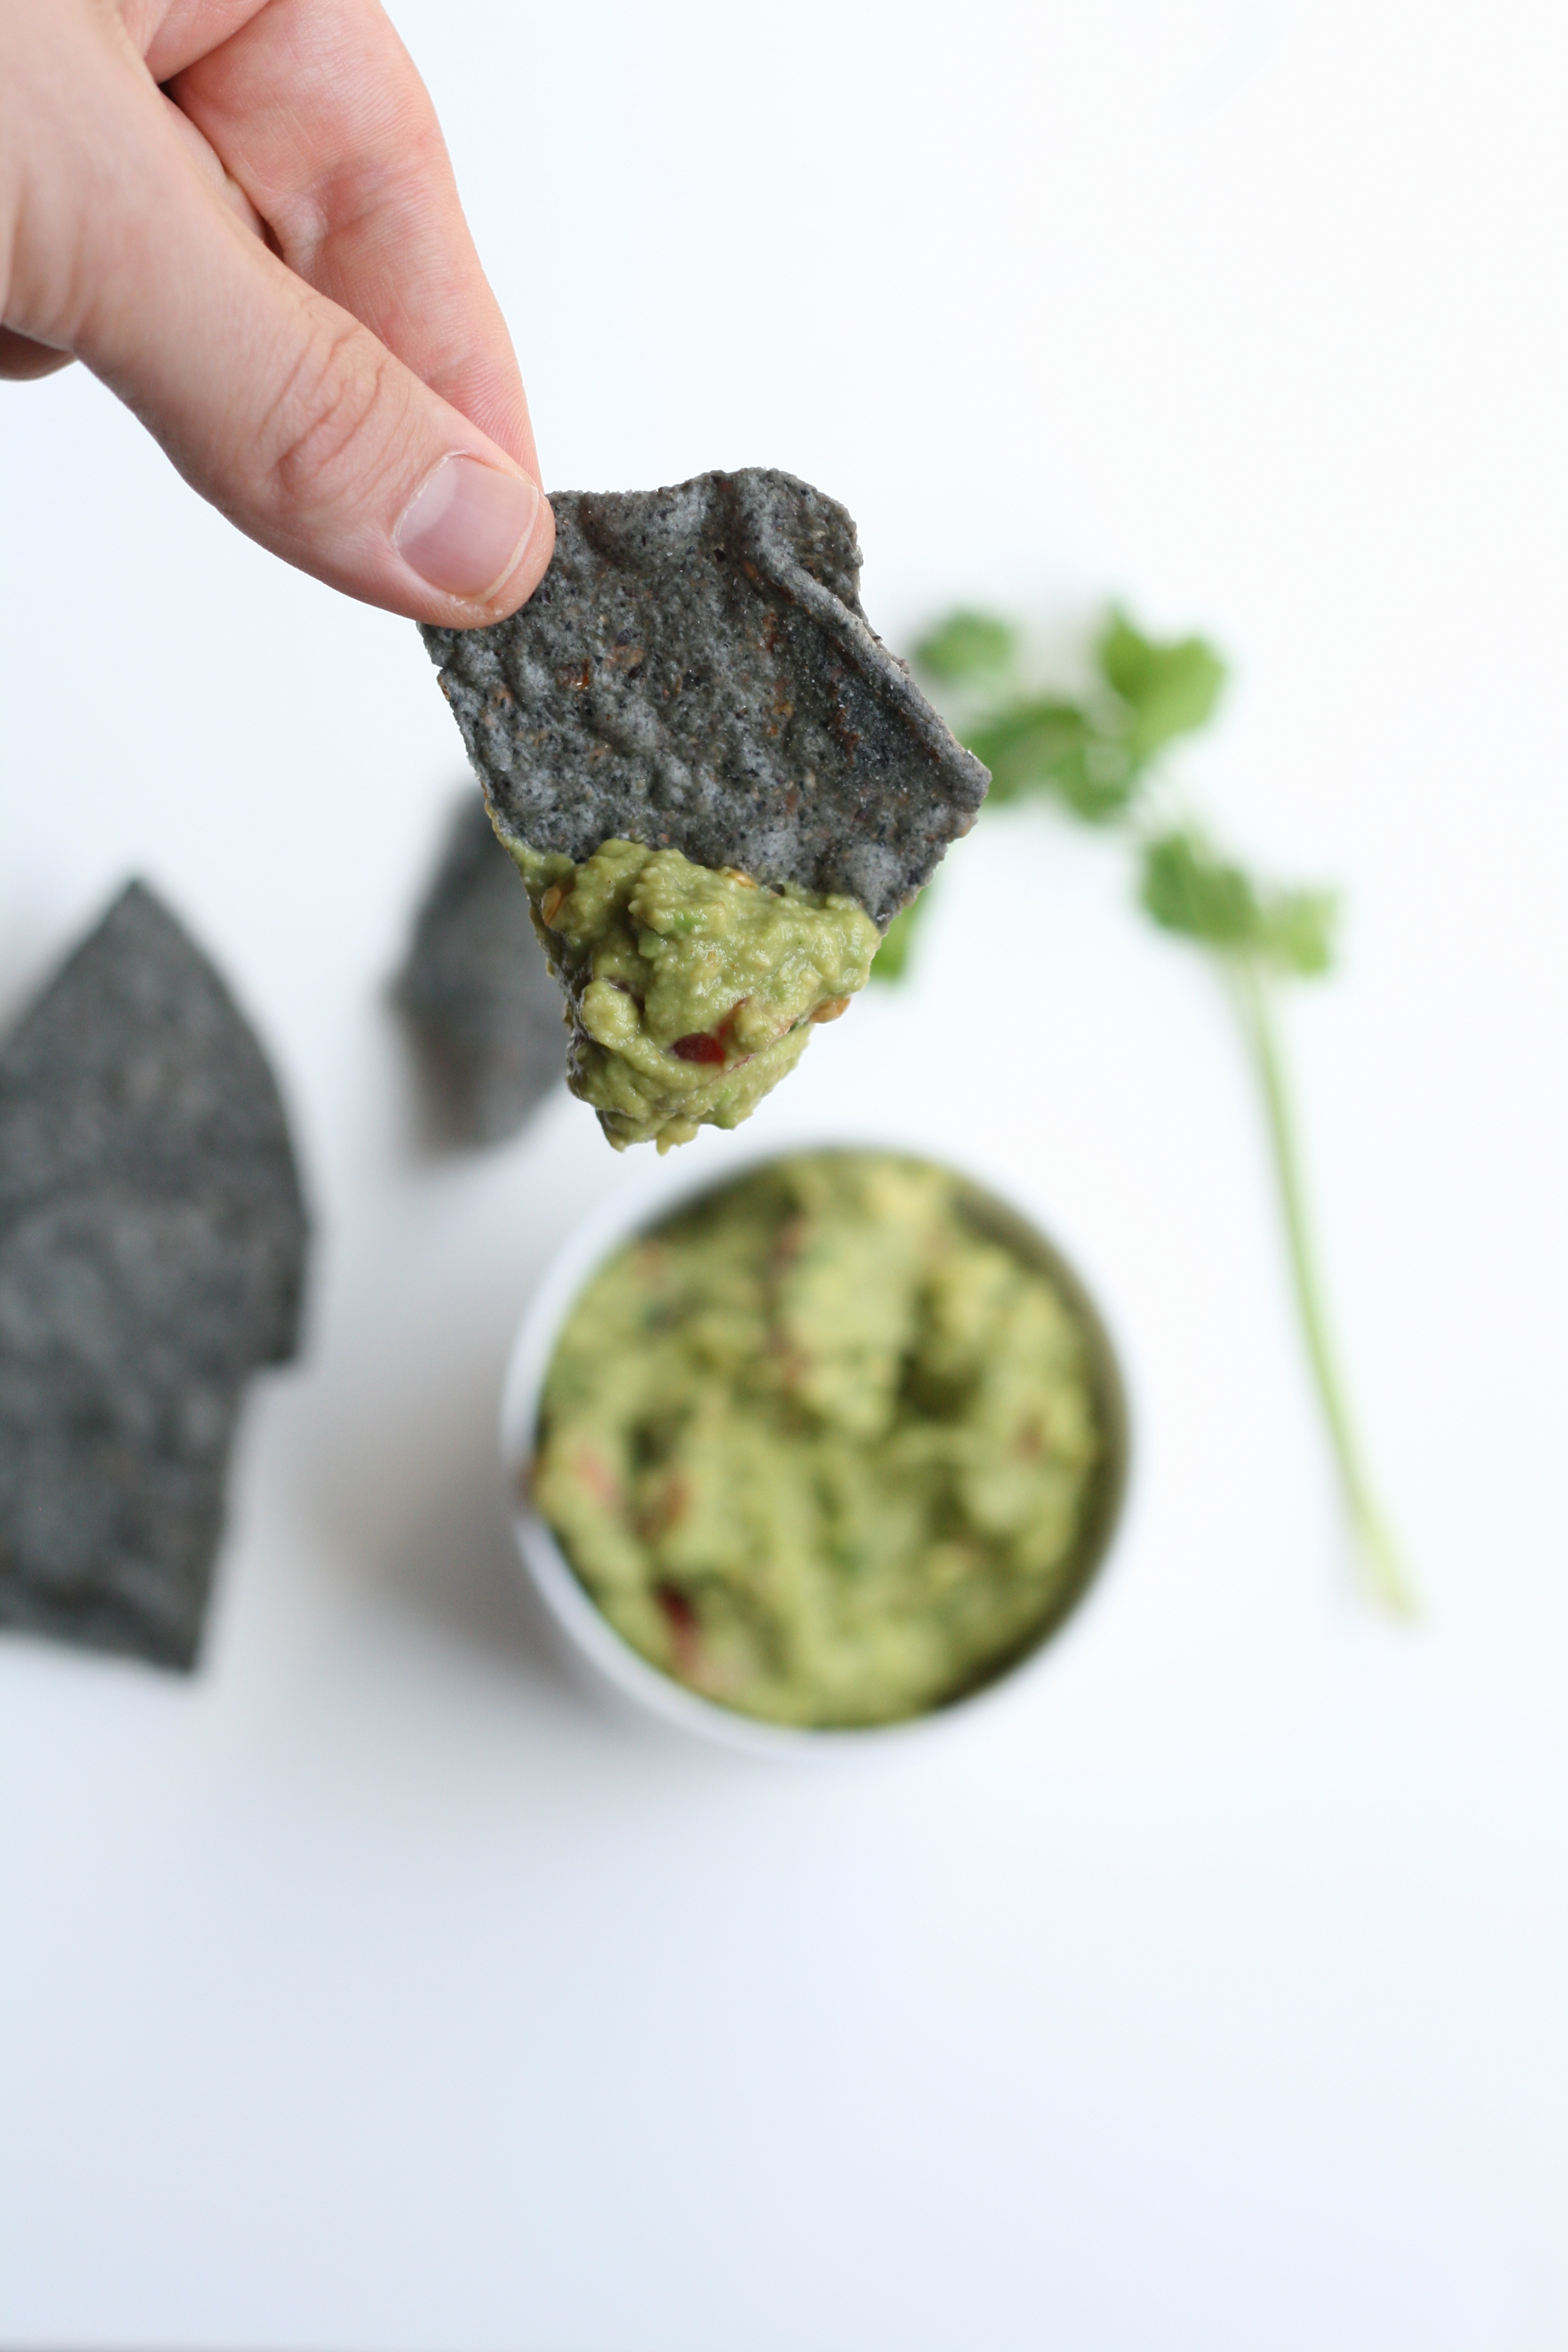
The best thing about this recipe—it’s not a science. Precision isn’t a must. Taste as you go. Follow your gut. And put your own stamp on it, or not.
Guacamole recipe from yours truly
5 ripe avocados, peeled 1/4 c. chopped grape tomatoes 2 tbsp. chopped red onion 2 garlic cloves, minced 1 tbsp. fresh cilantro, chopped 3-6 jarred jalapeños, chopped 1 1/2 tsp. cumin half of a lime, squeezed sea salt
1. Add avocados to a large bowl and mash. Click here for a peeling how-to. 2. Mix in tomatoes, onion, garlic, cilantro, jalapeños, cumin, and lime juice. 3. Add Sriracha and sea salt to taste. 4. Taste. Add more where you see fit. It’s usually salt or cumin for me. 5. Press plastic wrap on surface of guacamole. This will keep oxygen from creeping in and turning things brown before you serve it.
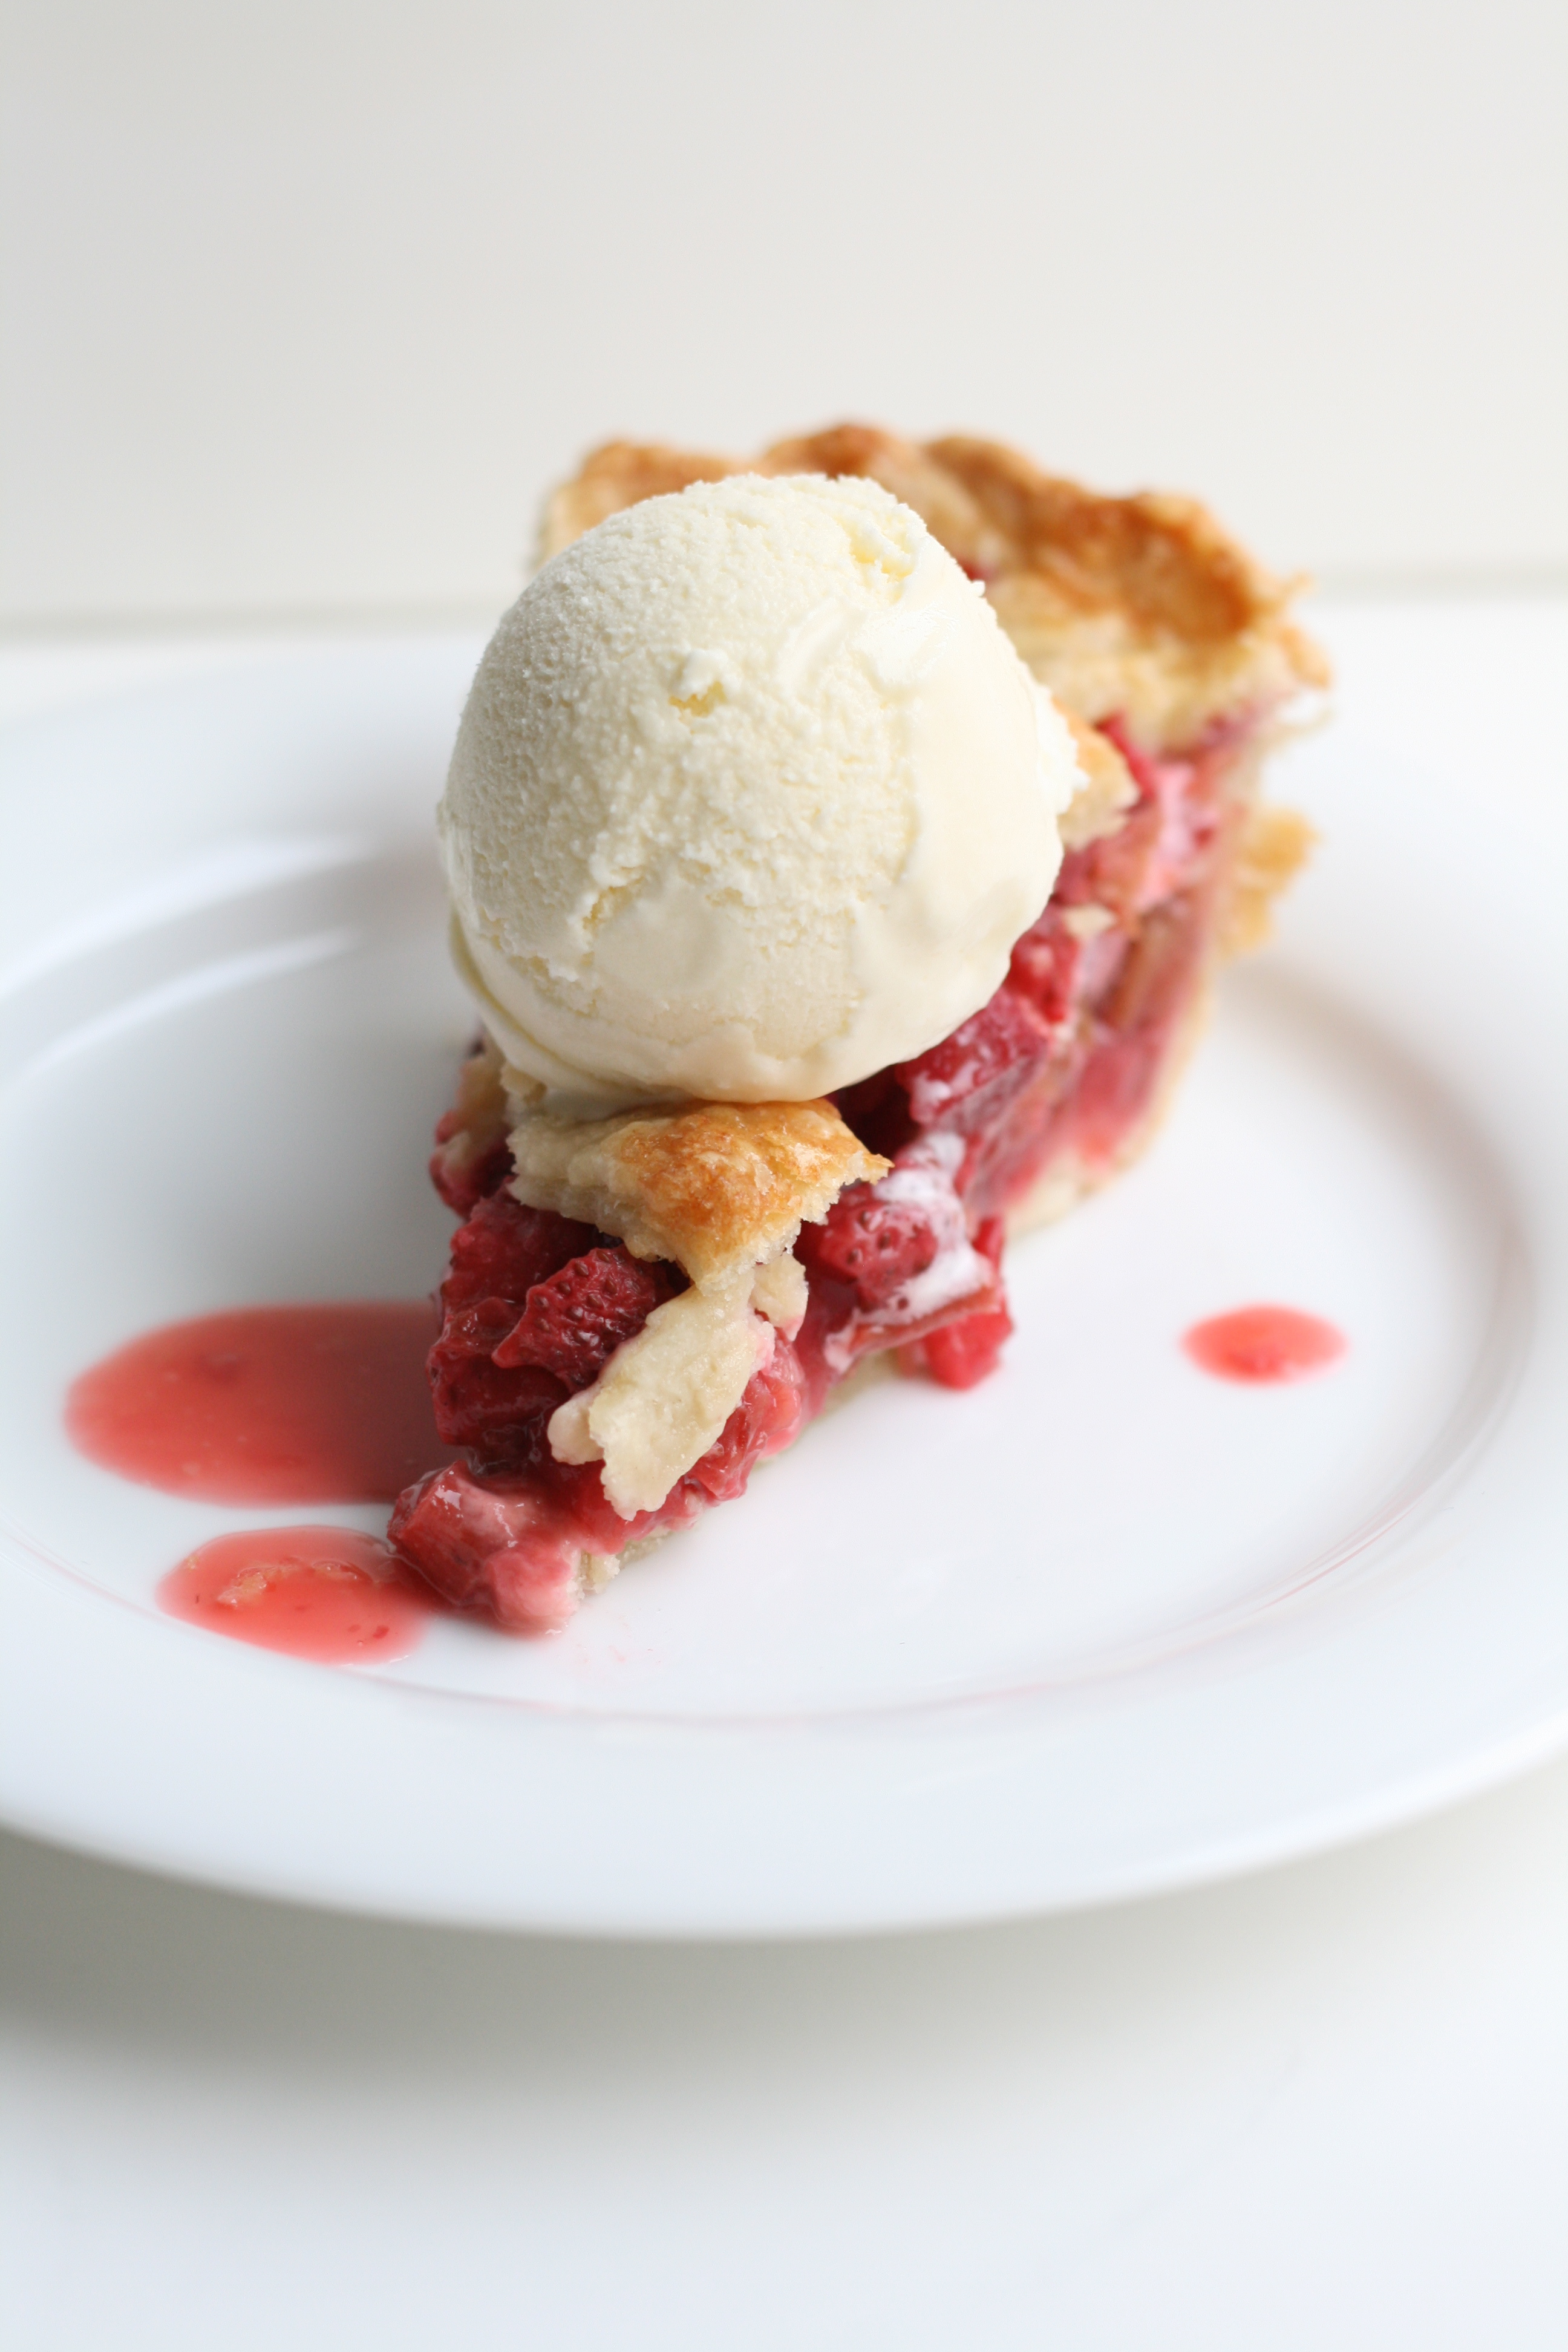
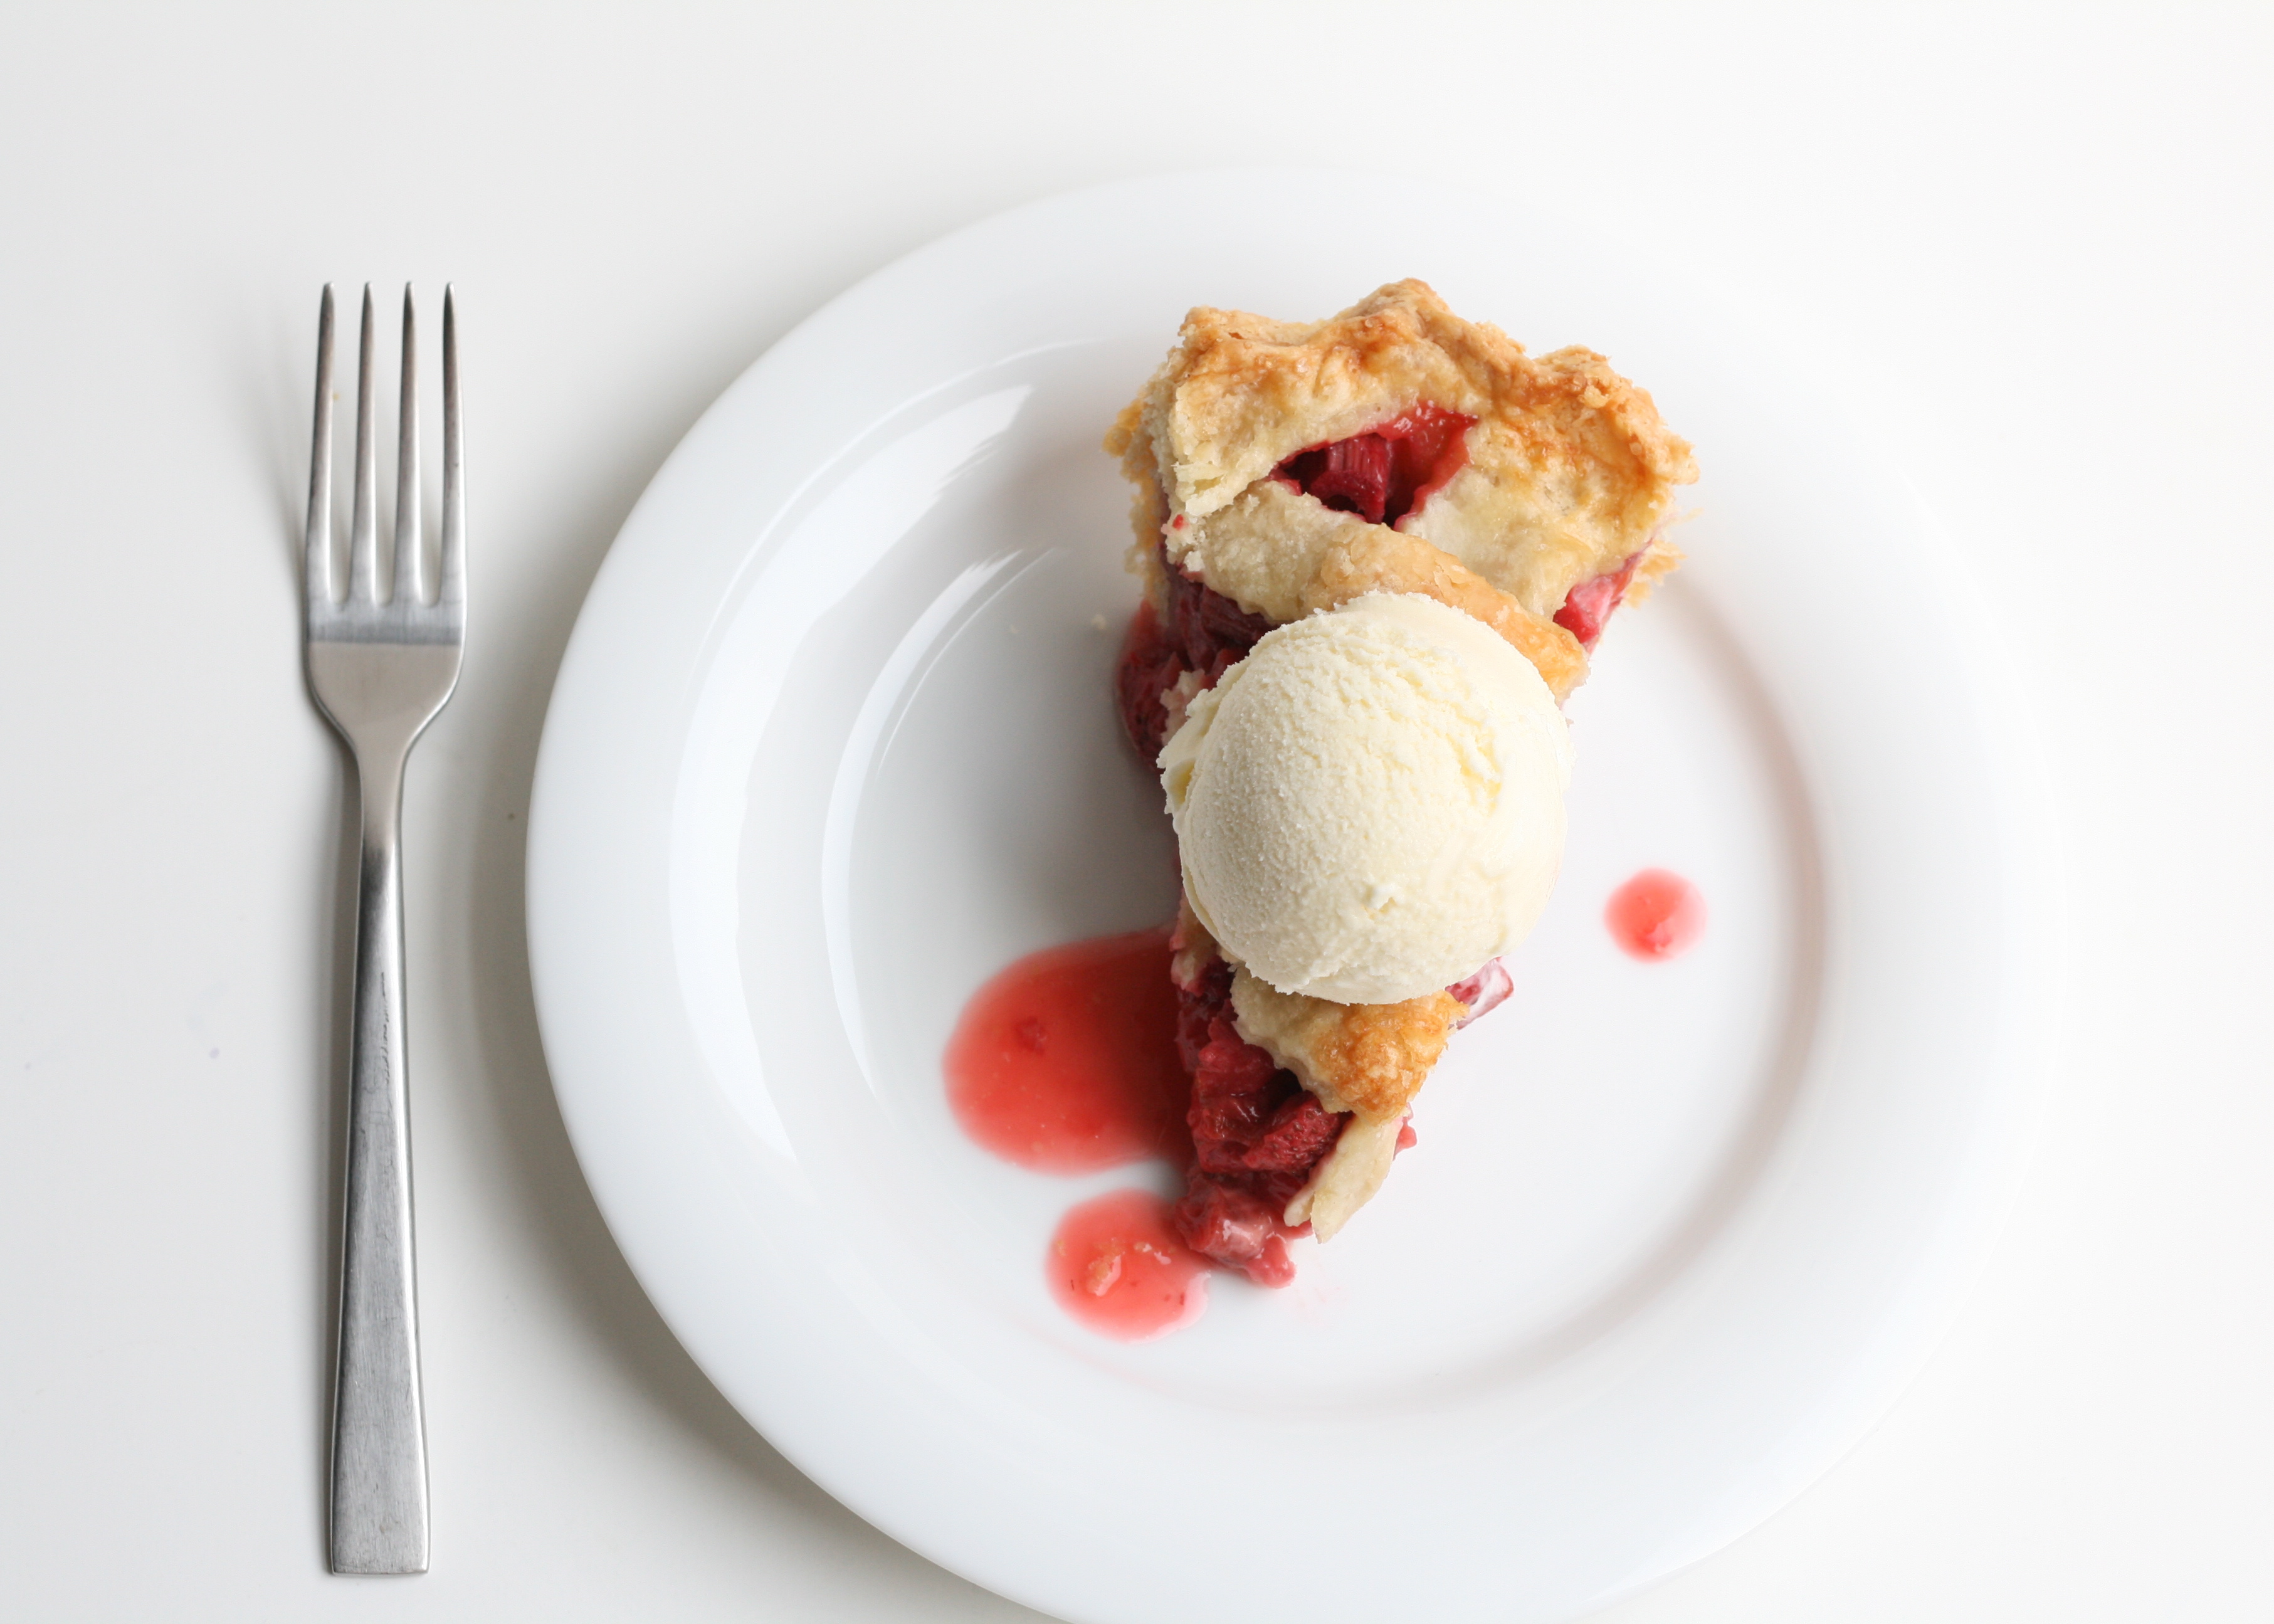
While you’re reading this, I’m in my favorite place in the world with my favorite people. Graduate school husband and I are on vacation with my family in the mountains of Colorado. Also known as heaven. I didn’t want to go AWOL on you though, so I made a pie and stuck it in the cyber space freezer until now. I hope you are well fed even while I’m away.
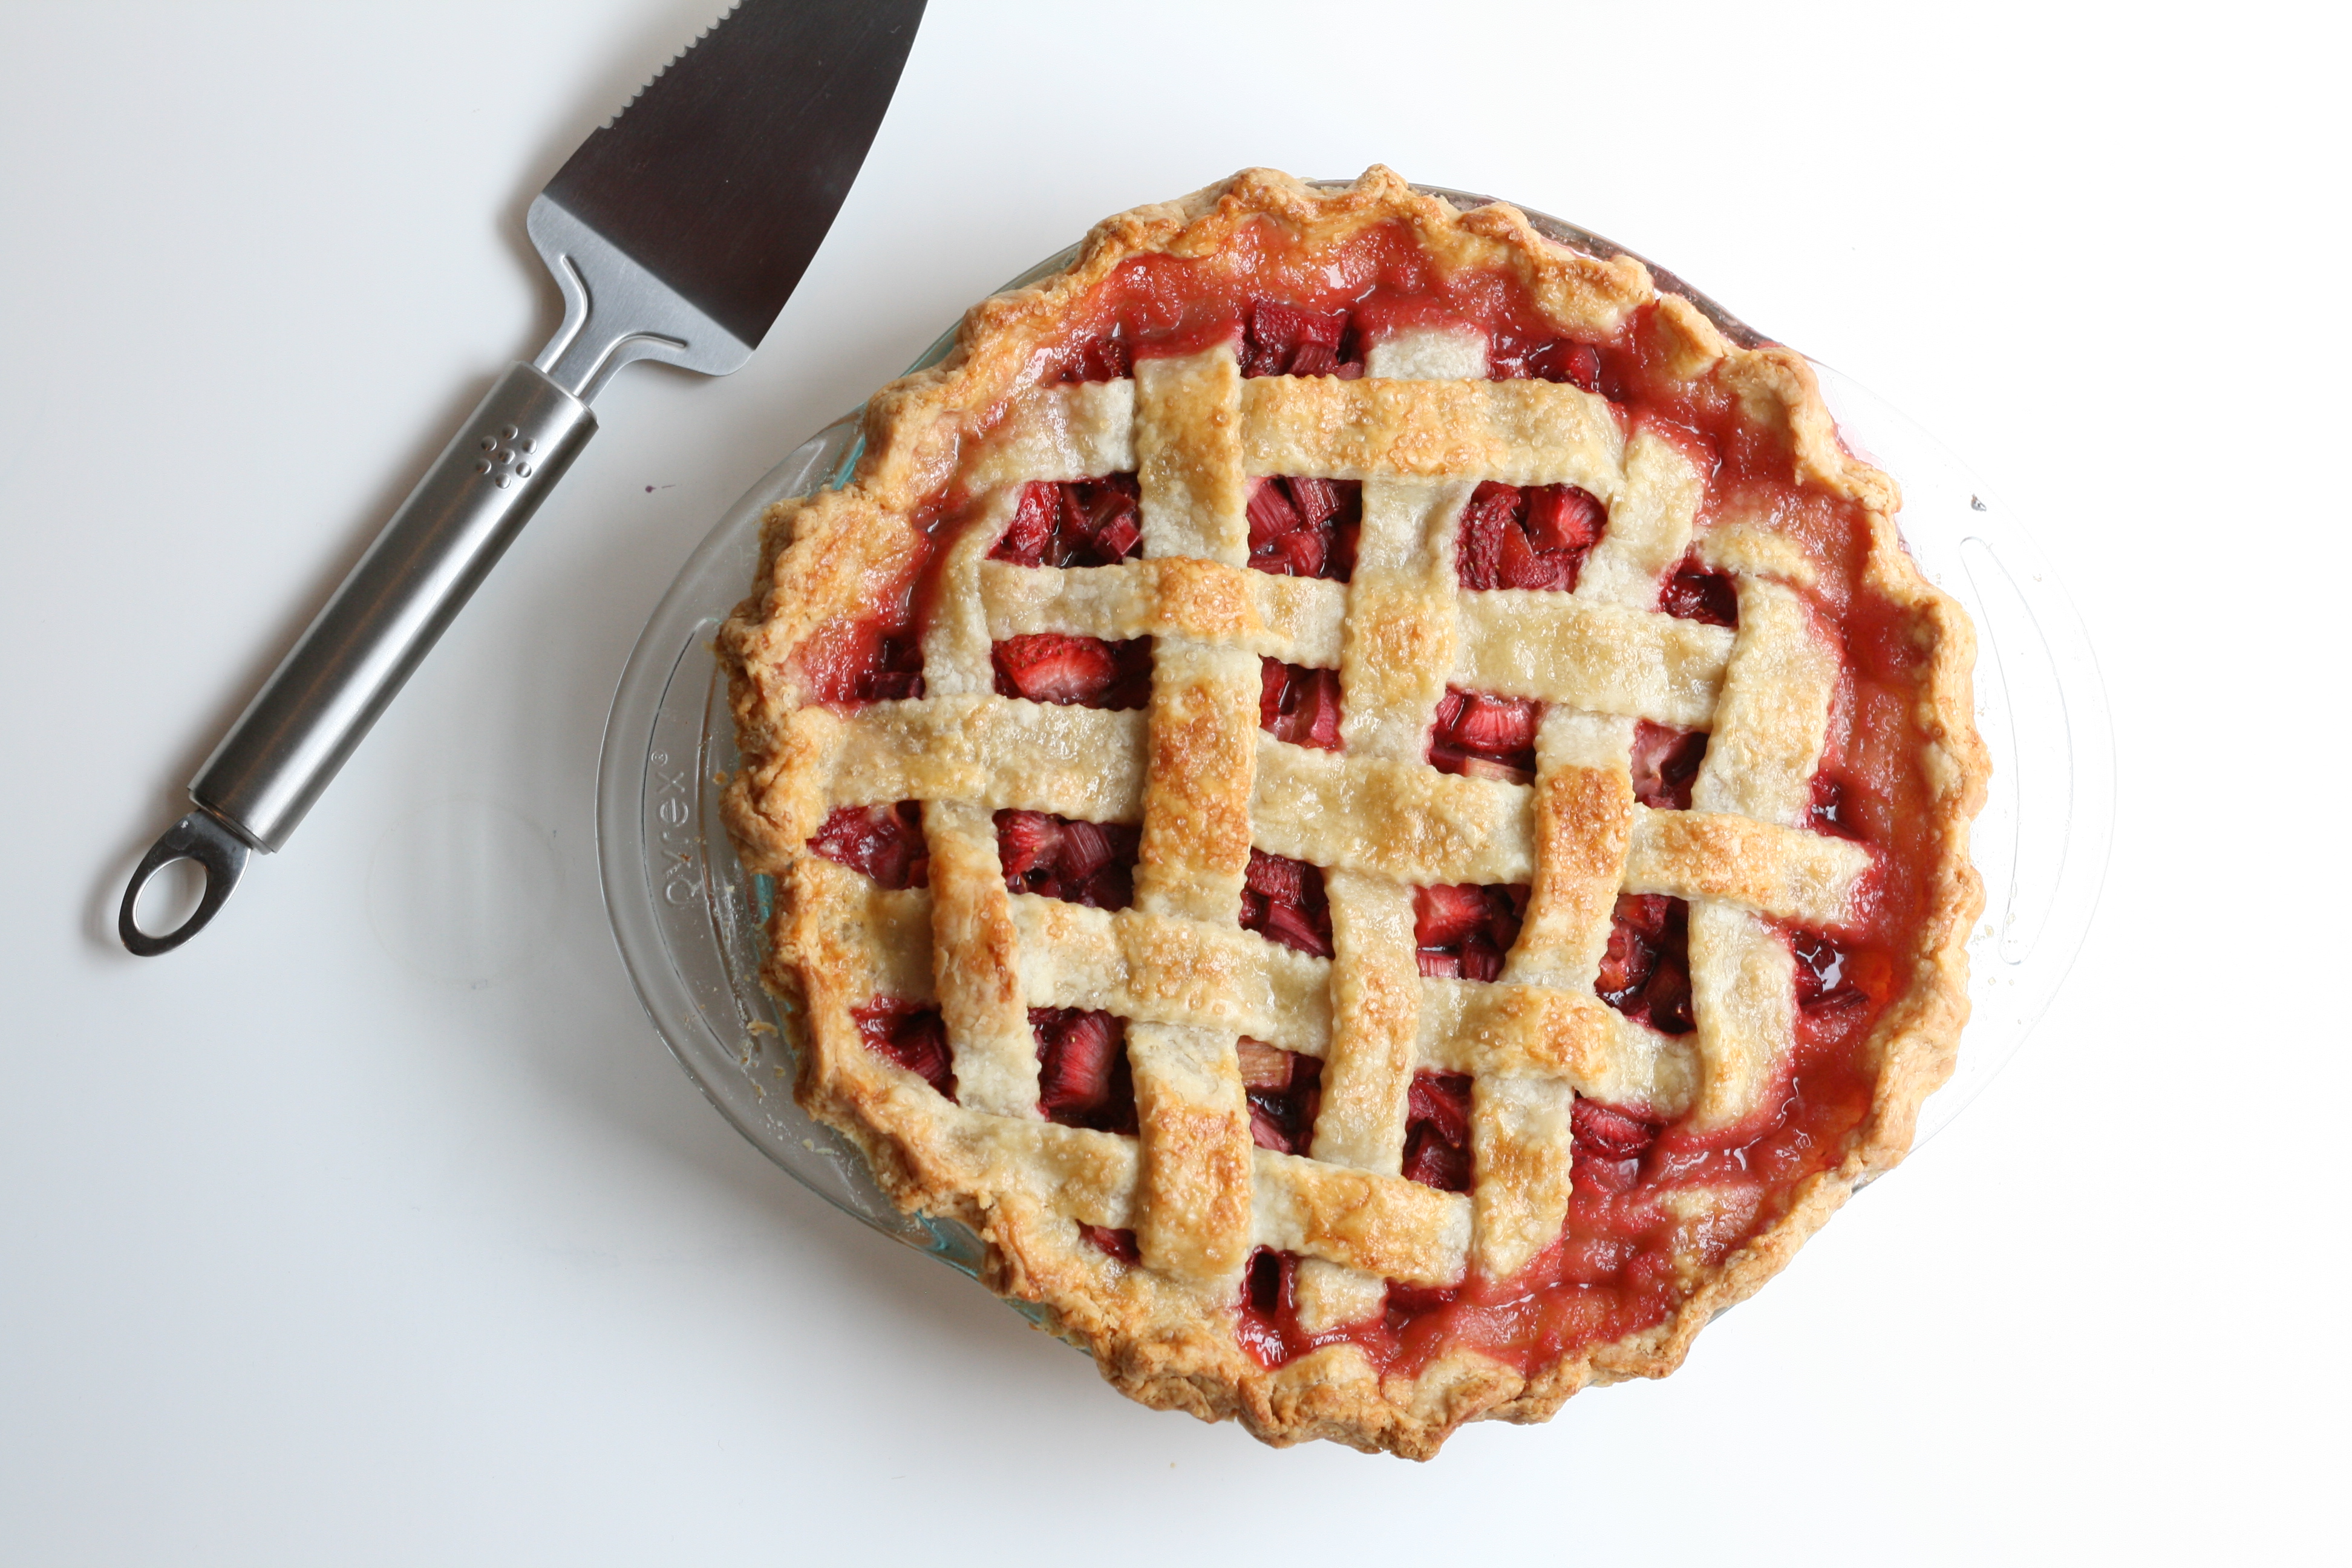
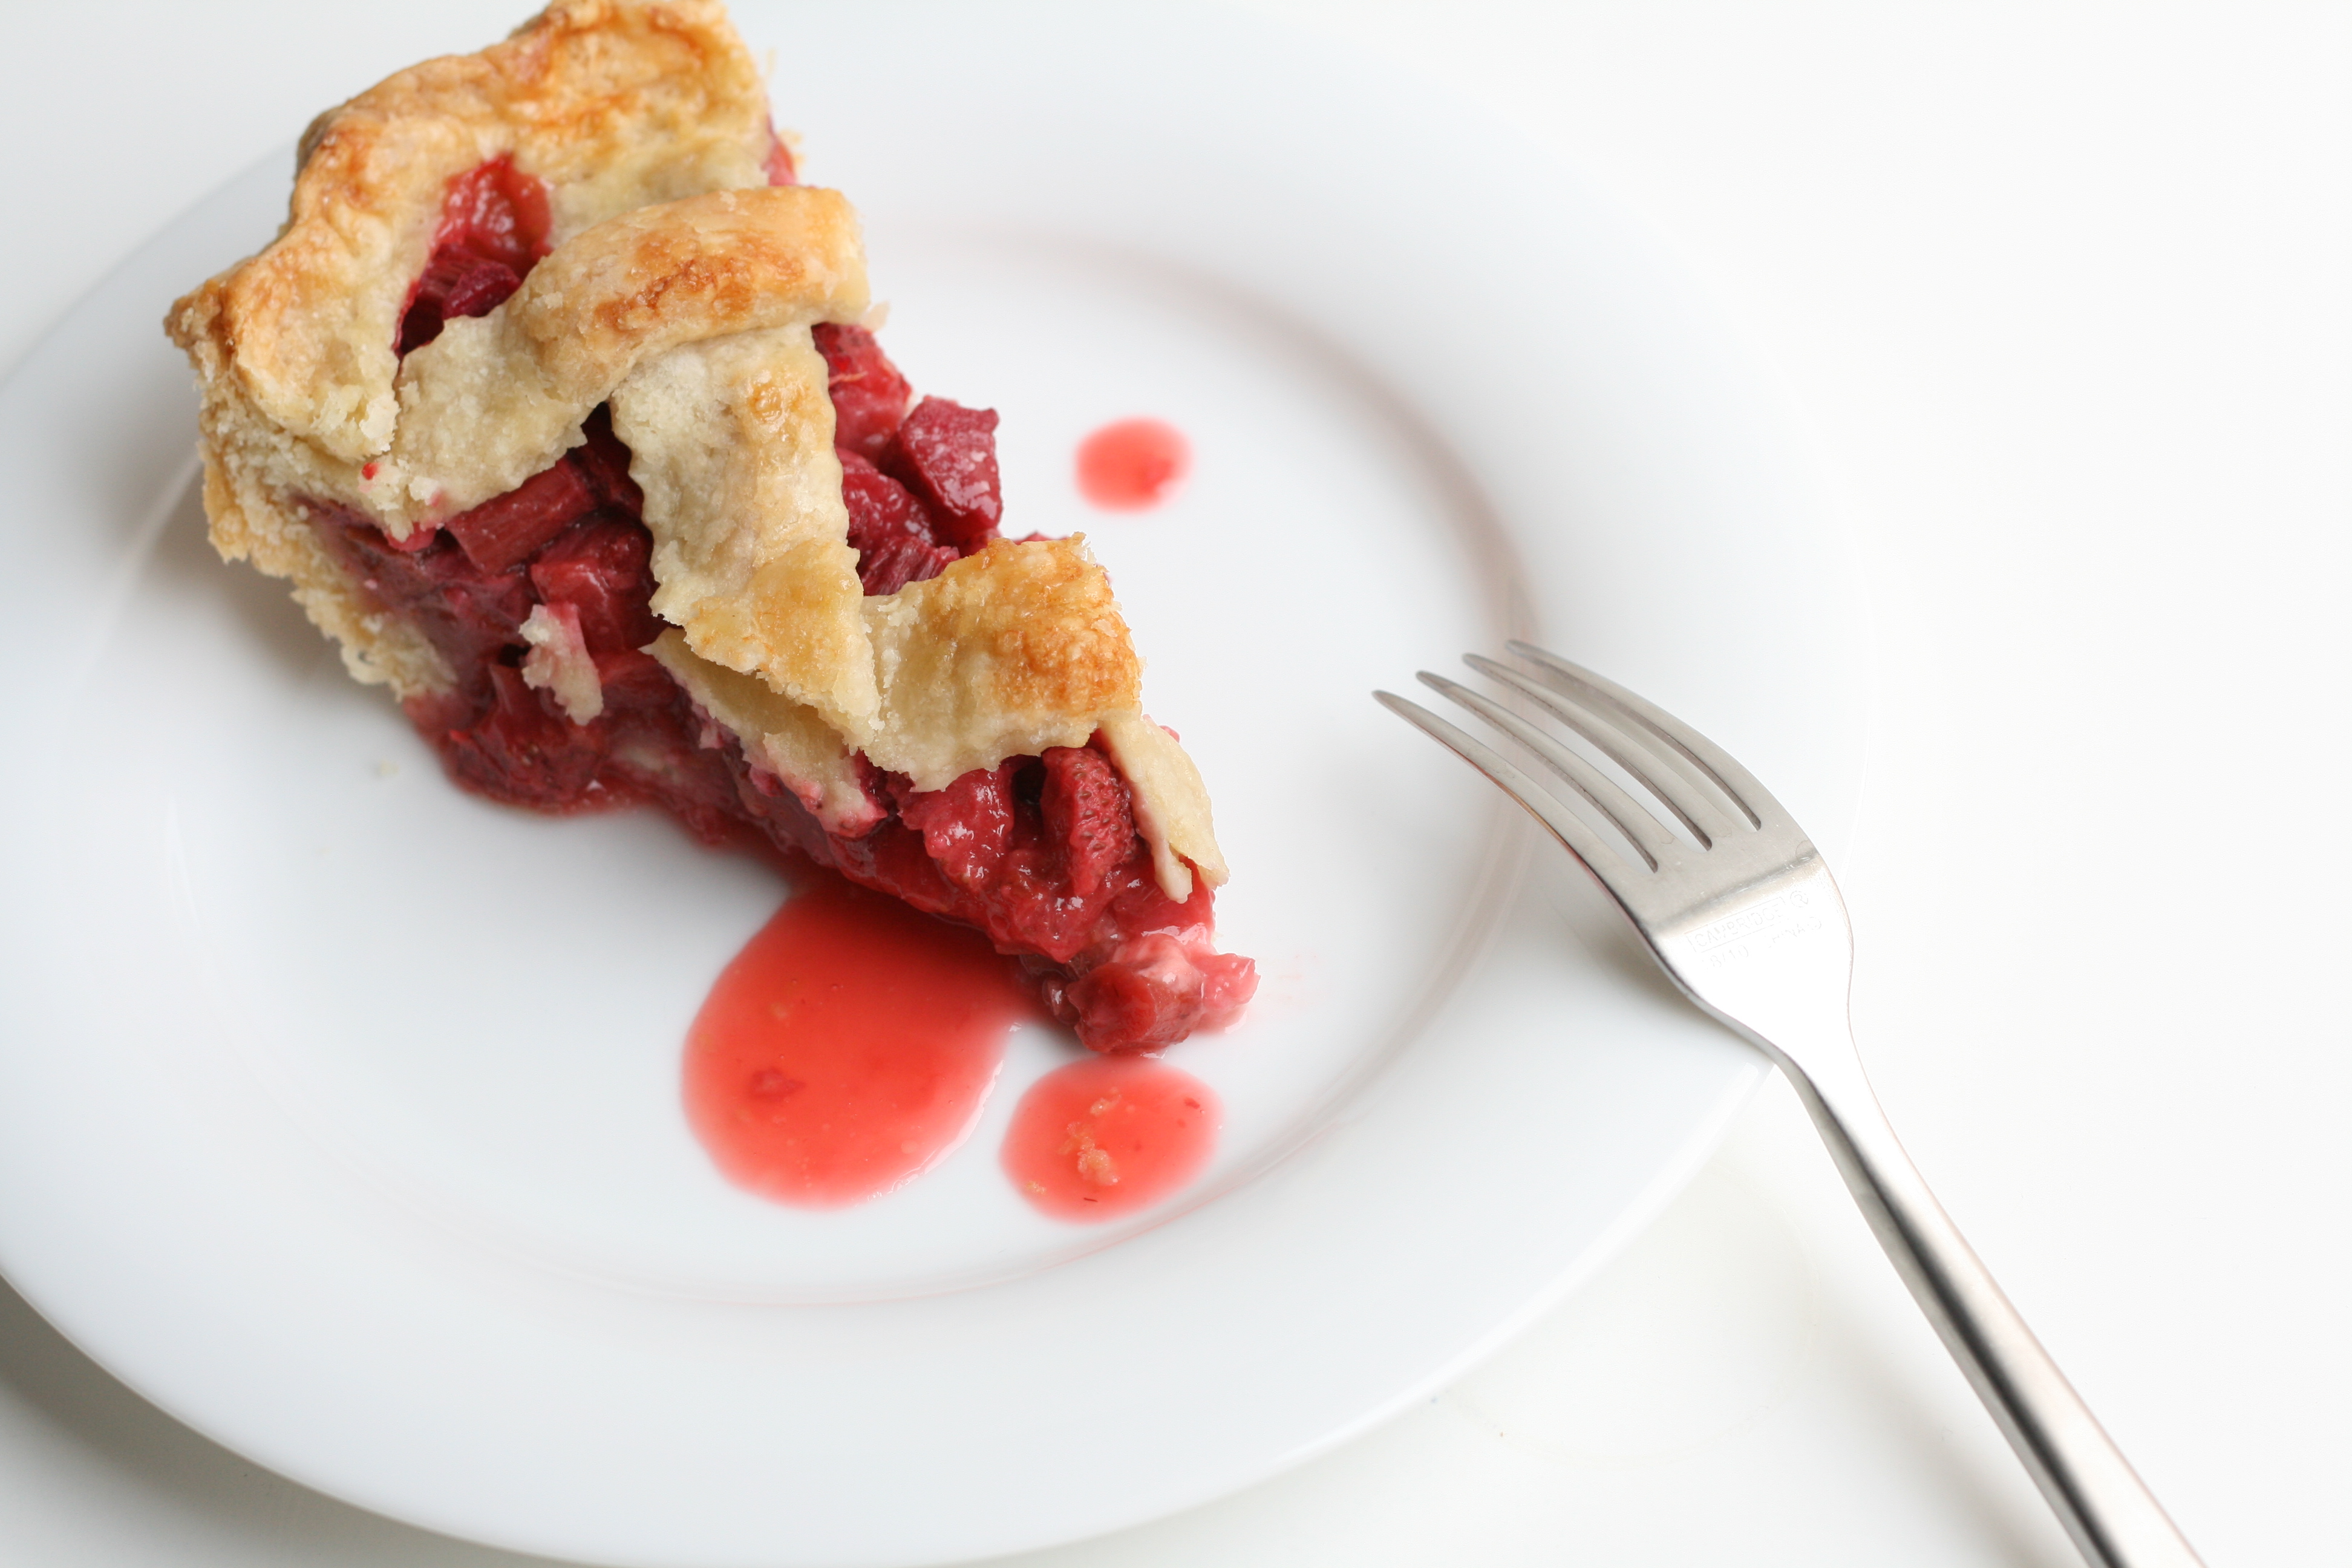
I think I’m gonna be one of those wives/moms who make their family a weeks worth of dinner when they go out of town. It’s because I care. And I care about you! So without further adieu, I give you Strawberry Rhubarb Pie. Happy 4th everyone!
PIE CRUST makes enough for 2 single pies or 1 double crust (This is my go-to recipe) 2 1/2 c. AP unbleached flour 2 tbsp. sugar 1 tsp. sea salt 2 sticks (8 ounces) unsalted butter, very cold 1 c. water with ice
STRAWBERRY RHUBARB MIXTURE 3 1/2 c. sliced rhubarb 1 16 oz. container strawberries, hulled, halved (about 3 1/2 c.) 1/2 c. packed brown sugar 1/2 c. sugar 1/4 c. cornstarch 2 tbsp. fresh squeezed orange juice 1/4 tsp. sea salt
TOPPING 1 egg 1 tsp. cream turbinado
Note: I like to make my dough by hand so that I can control the size of the butter. Flaky crust = chunks of butter.
1. Make crust. Place flour, sugar, and salt in bowl. Whisk together. 2. Dice butter and place into flour mixture. Using a pastry knife, cut butter into flour until it resembles coarse meal. 3. Using a pastry fork (or continue using the pastry knife) add 1/2 c. of the ice cold water into mixture and combine. Continue adding water 1 tablespoon at a time until dough just comes together. You may not need the full cup of water. 4. Cut in half and cover the 2 disks in plastic wrap. Before rolling out, place in fridge for 1 hour, or place in freezer for 15 minutes to chill. This will make the dough easier to work with. 5. Make strawberry rhubarb mixture. Combine all ingredients in bowl, mix, and set aside. 6. Roll the dough out on a well floured surface large enough to overhang in a pie dish. Fold the dough in fourths and transfer to pie dish. Place in freezer for 5 minutes if too warm. 7. Pour strawberry/rhubarb mixture into pie dish. 8. On a well floured surface, roll out second disk. Using a pastry wheel, cut dough in the same direction, about 3/4″ wide. Place 5 strips across, using the longer strips in the middle and the shorter strips on the end. Think back to your childhood craft days, and create a lattice with the dough placing 5 more strips in the opposite direction. Over, under, over, under. 9. Seal the edges of the dough by folding over. I use a bit of cold water to help smooth things out. Create a decorative edge with your pointer finger and thumb held together pushing the dough in with your thumb. And repeat. Clear as mud? A forked edge works nicely as well. 10. Whisk together one egg and a teaspoon of cream. Brush over the top and sprinkle with turbinado. 11. Place in freezer for 20 minutes. This helps the dough to hold its shape when it goes in the oven. Preheat oven to 400°. Bake for 2o minutes. Lower the temp to 335° and continue baking for 40 minutes. Once crust begins to brown, cover with foil. 12. Allow pie to set up for at least an hour before serving.
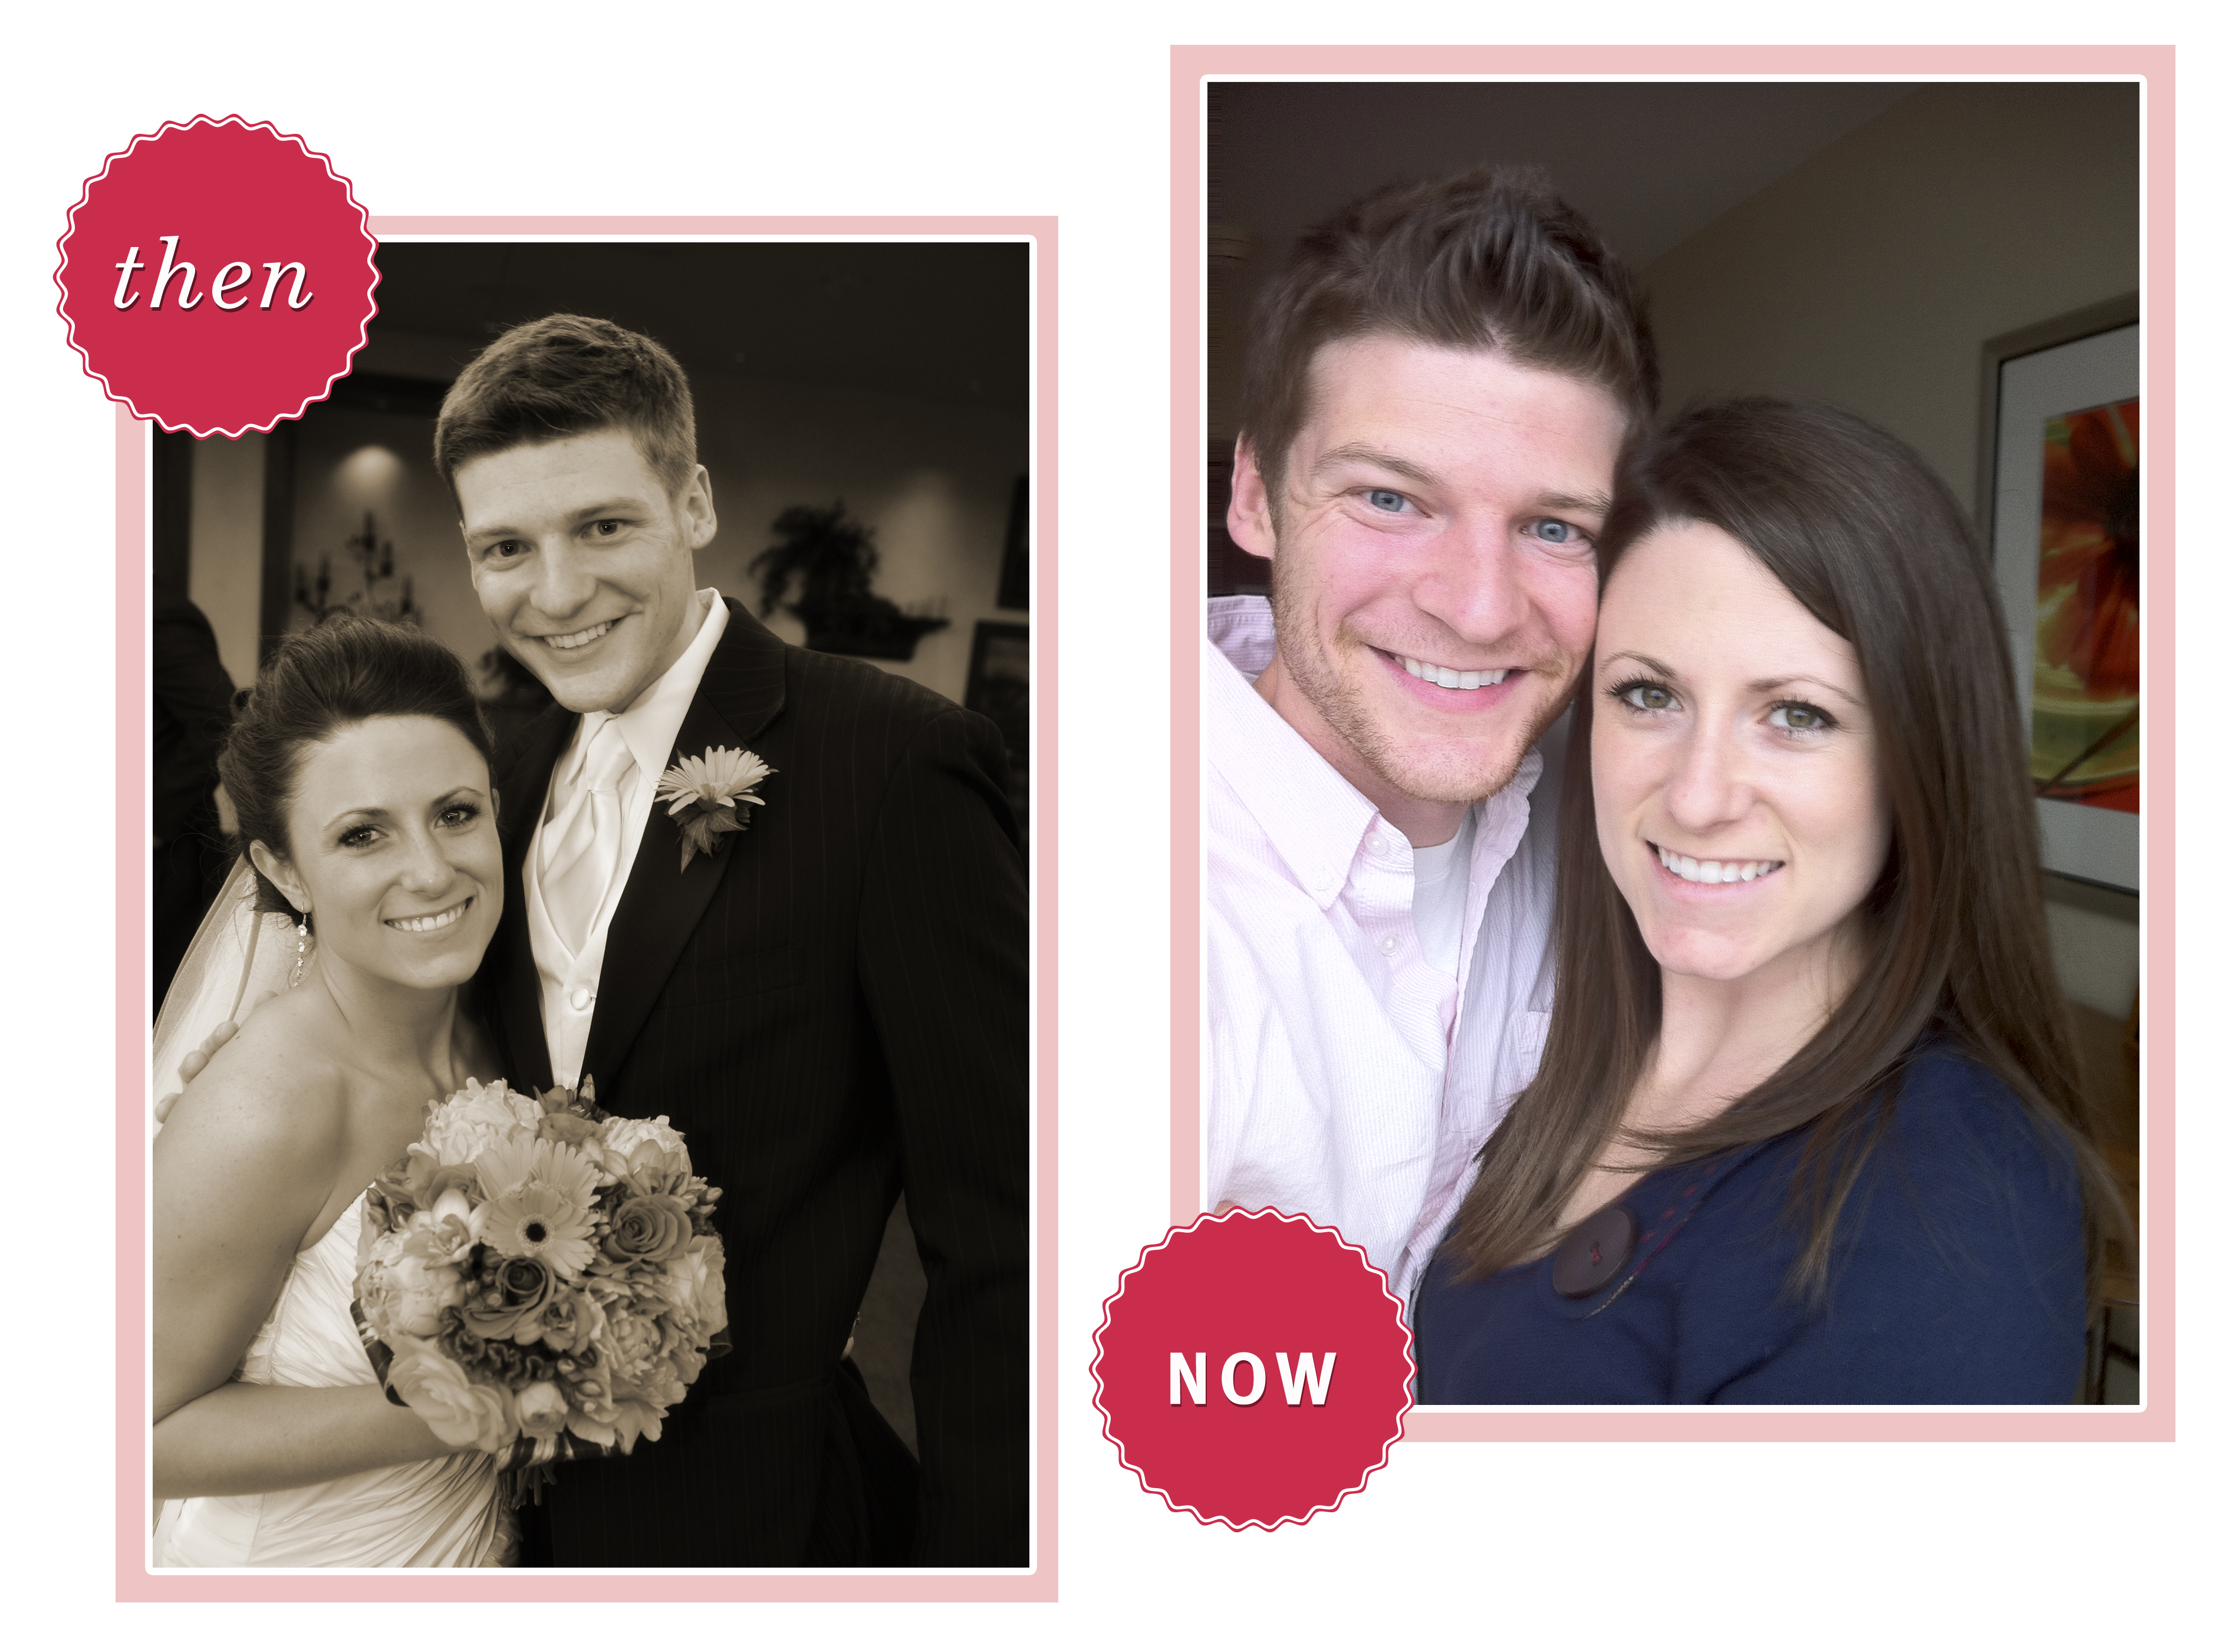
Three years ago today, we said I do. Three years! I guess we’re not newlyweds anymore. And I’m not so sad about that. I love that I know my husband 3 years better than I did when we got married. I love that I love my husband 3 years more than I did when we got married. The path hasn’t always been straight or easy, but it has been rewarding. So thankful to share this journey with Kevin, my sweet graduate school husband. To many decades more!
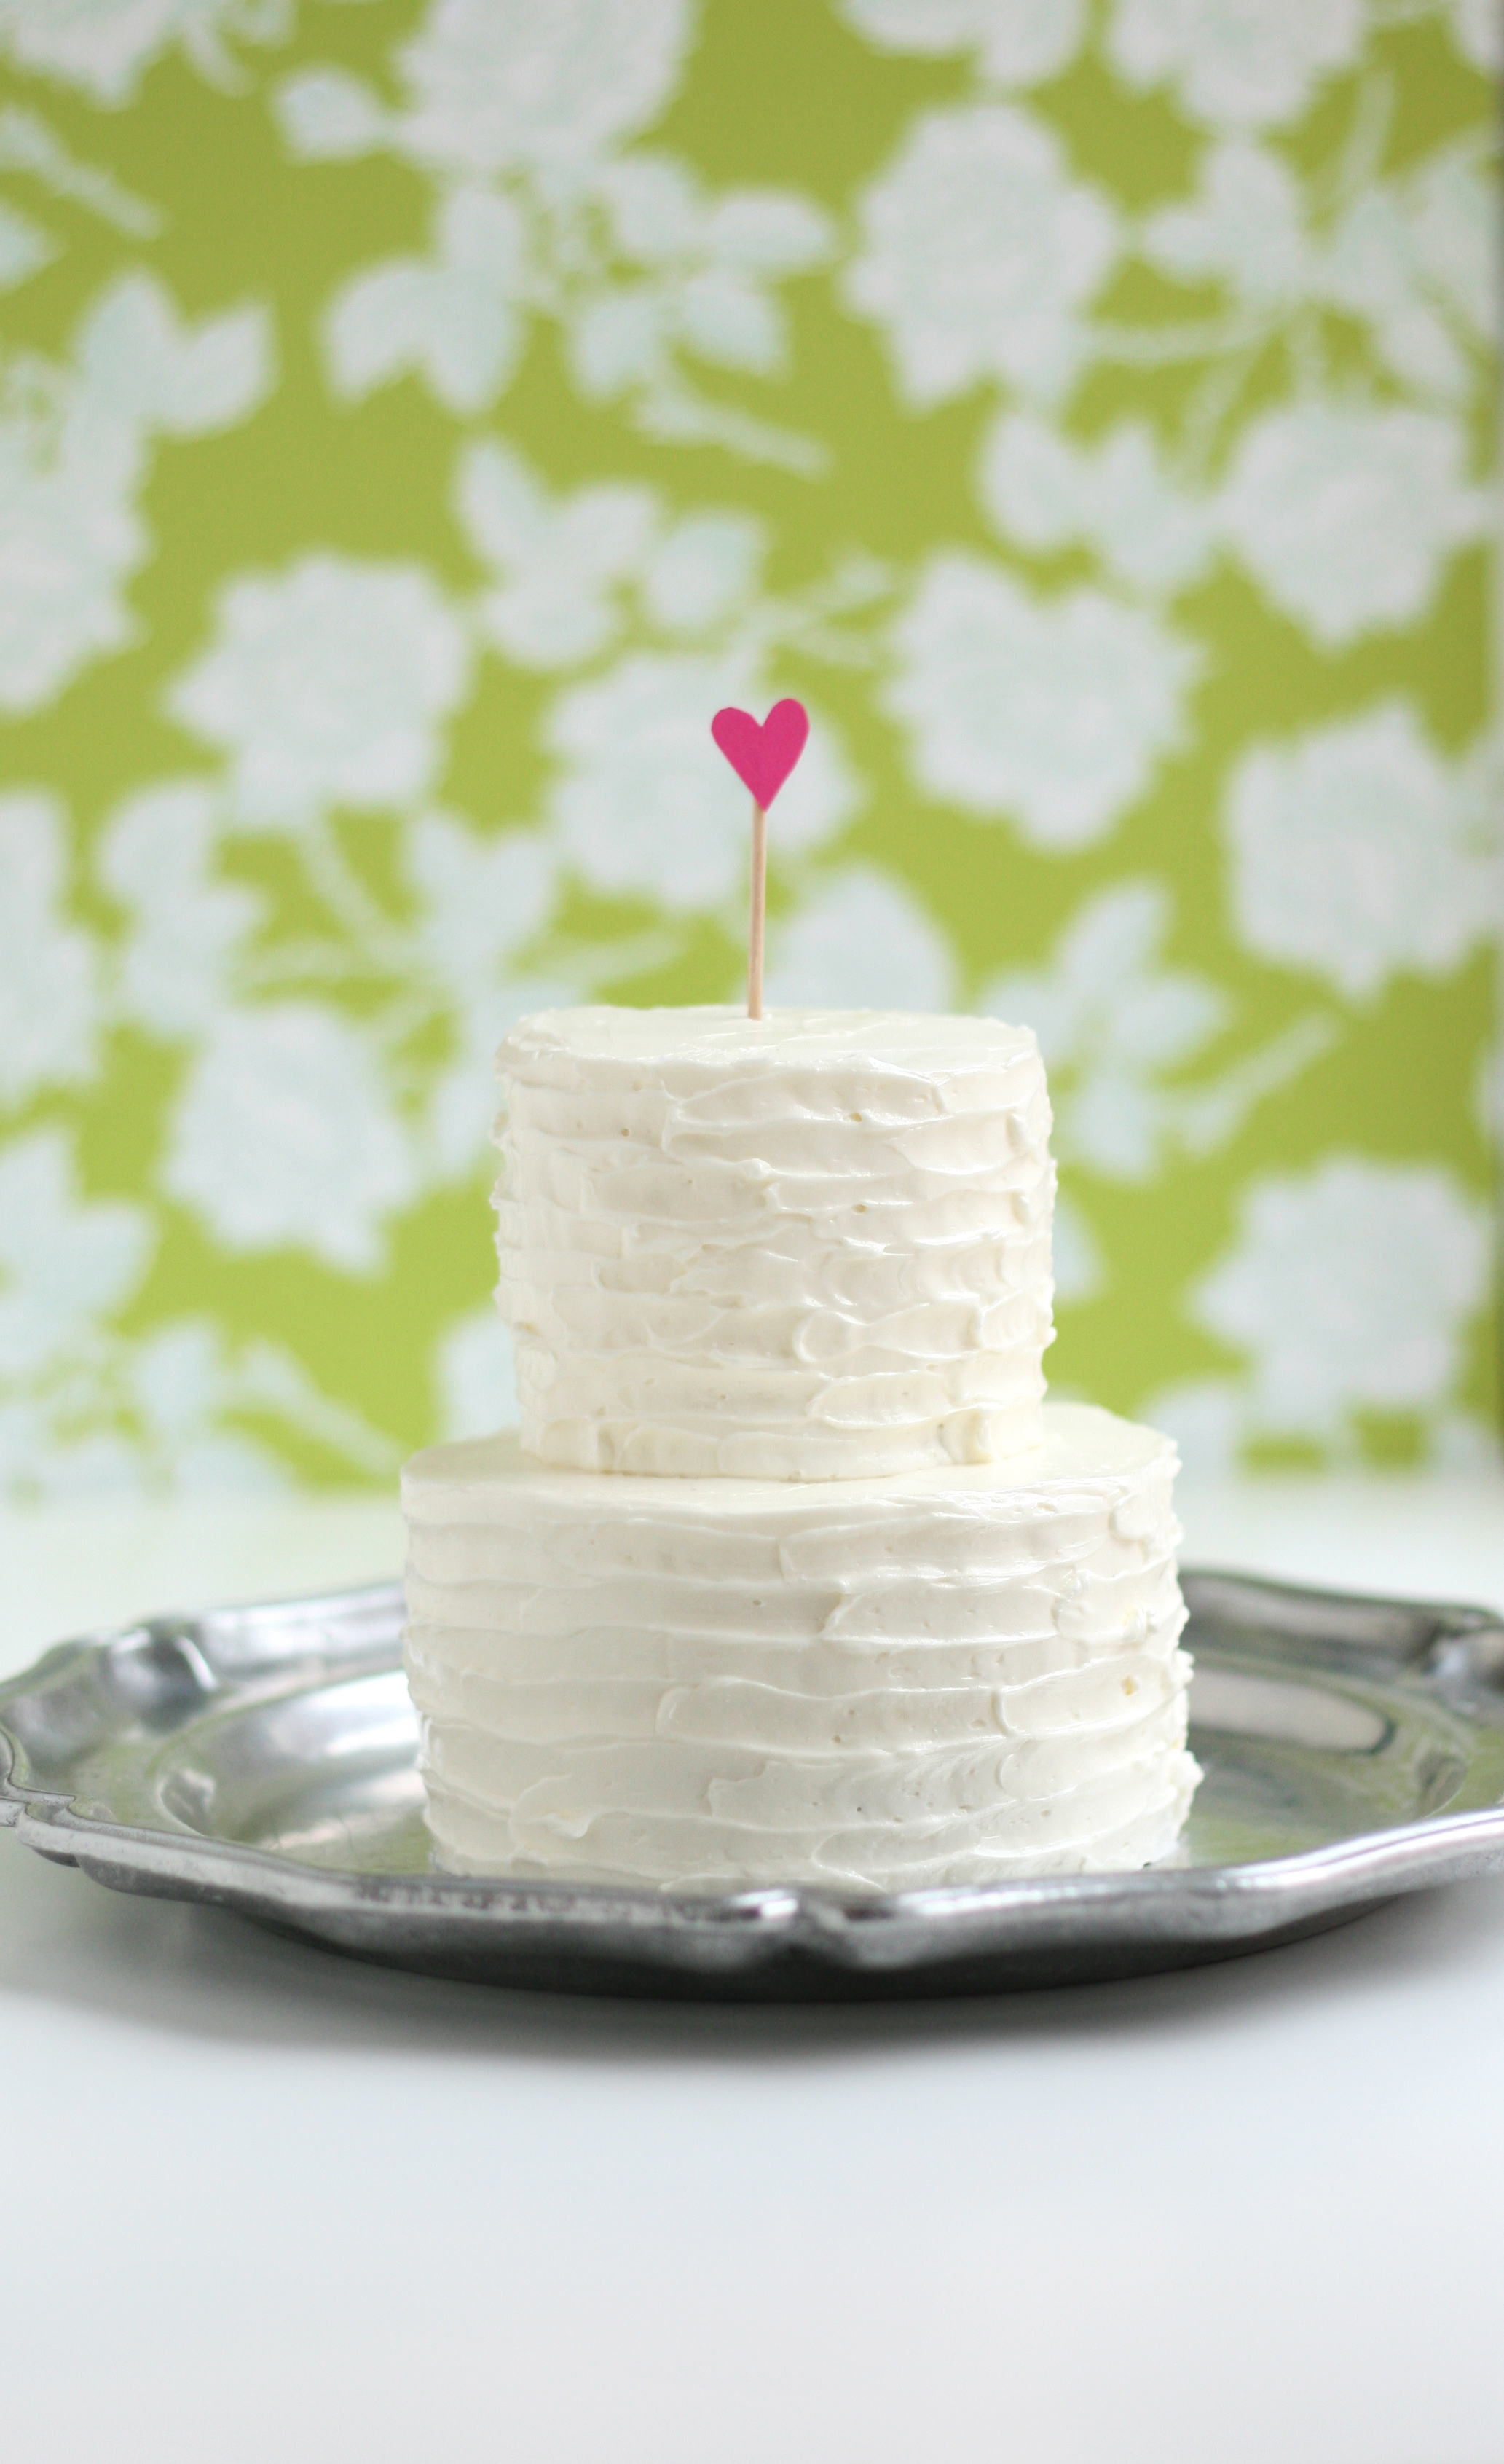
Speaking of sweet, I made a cake. A mini anniversary cake. I think I’ve started a new tradition in our marriage.
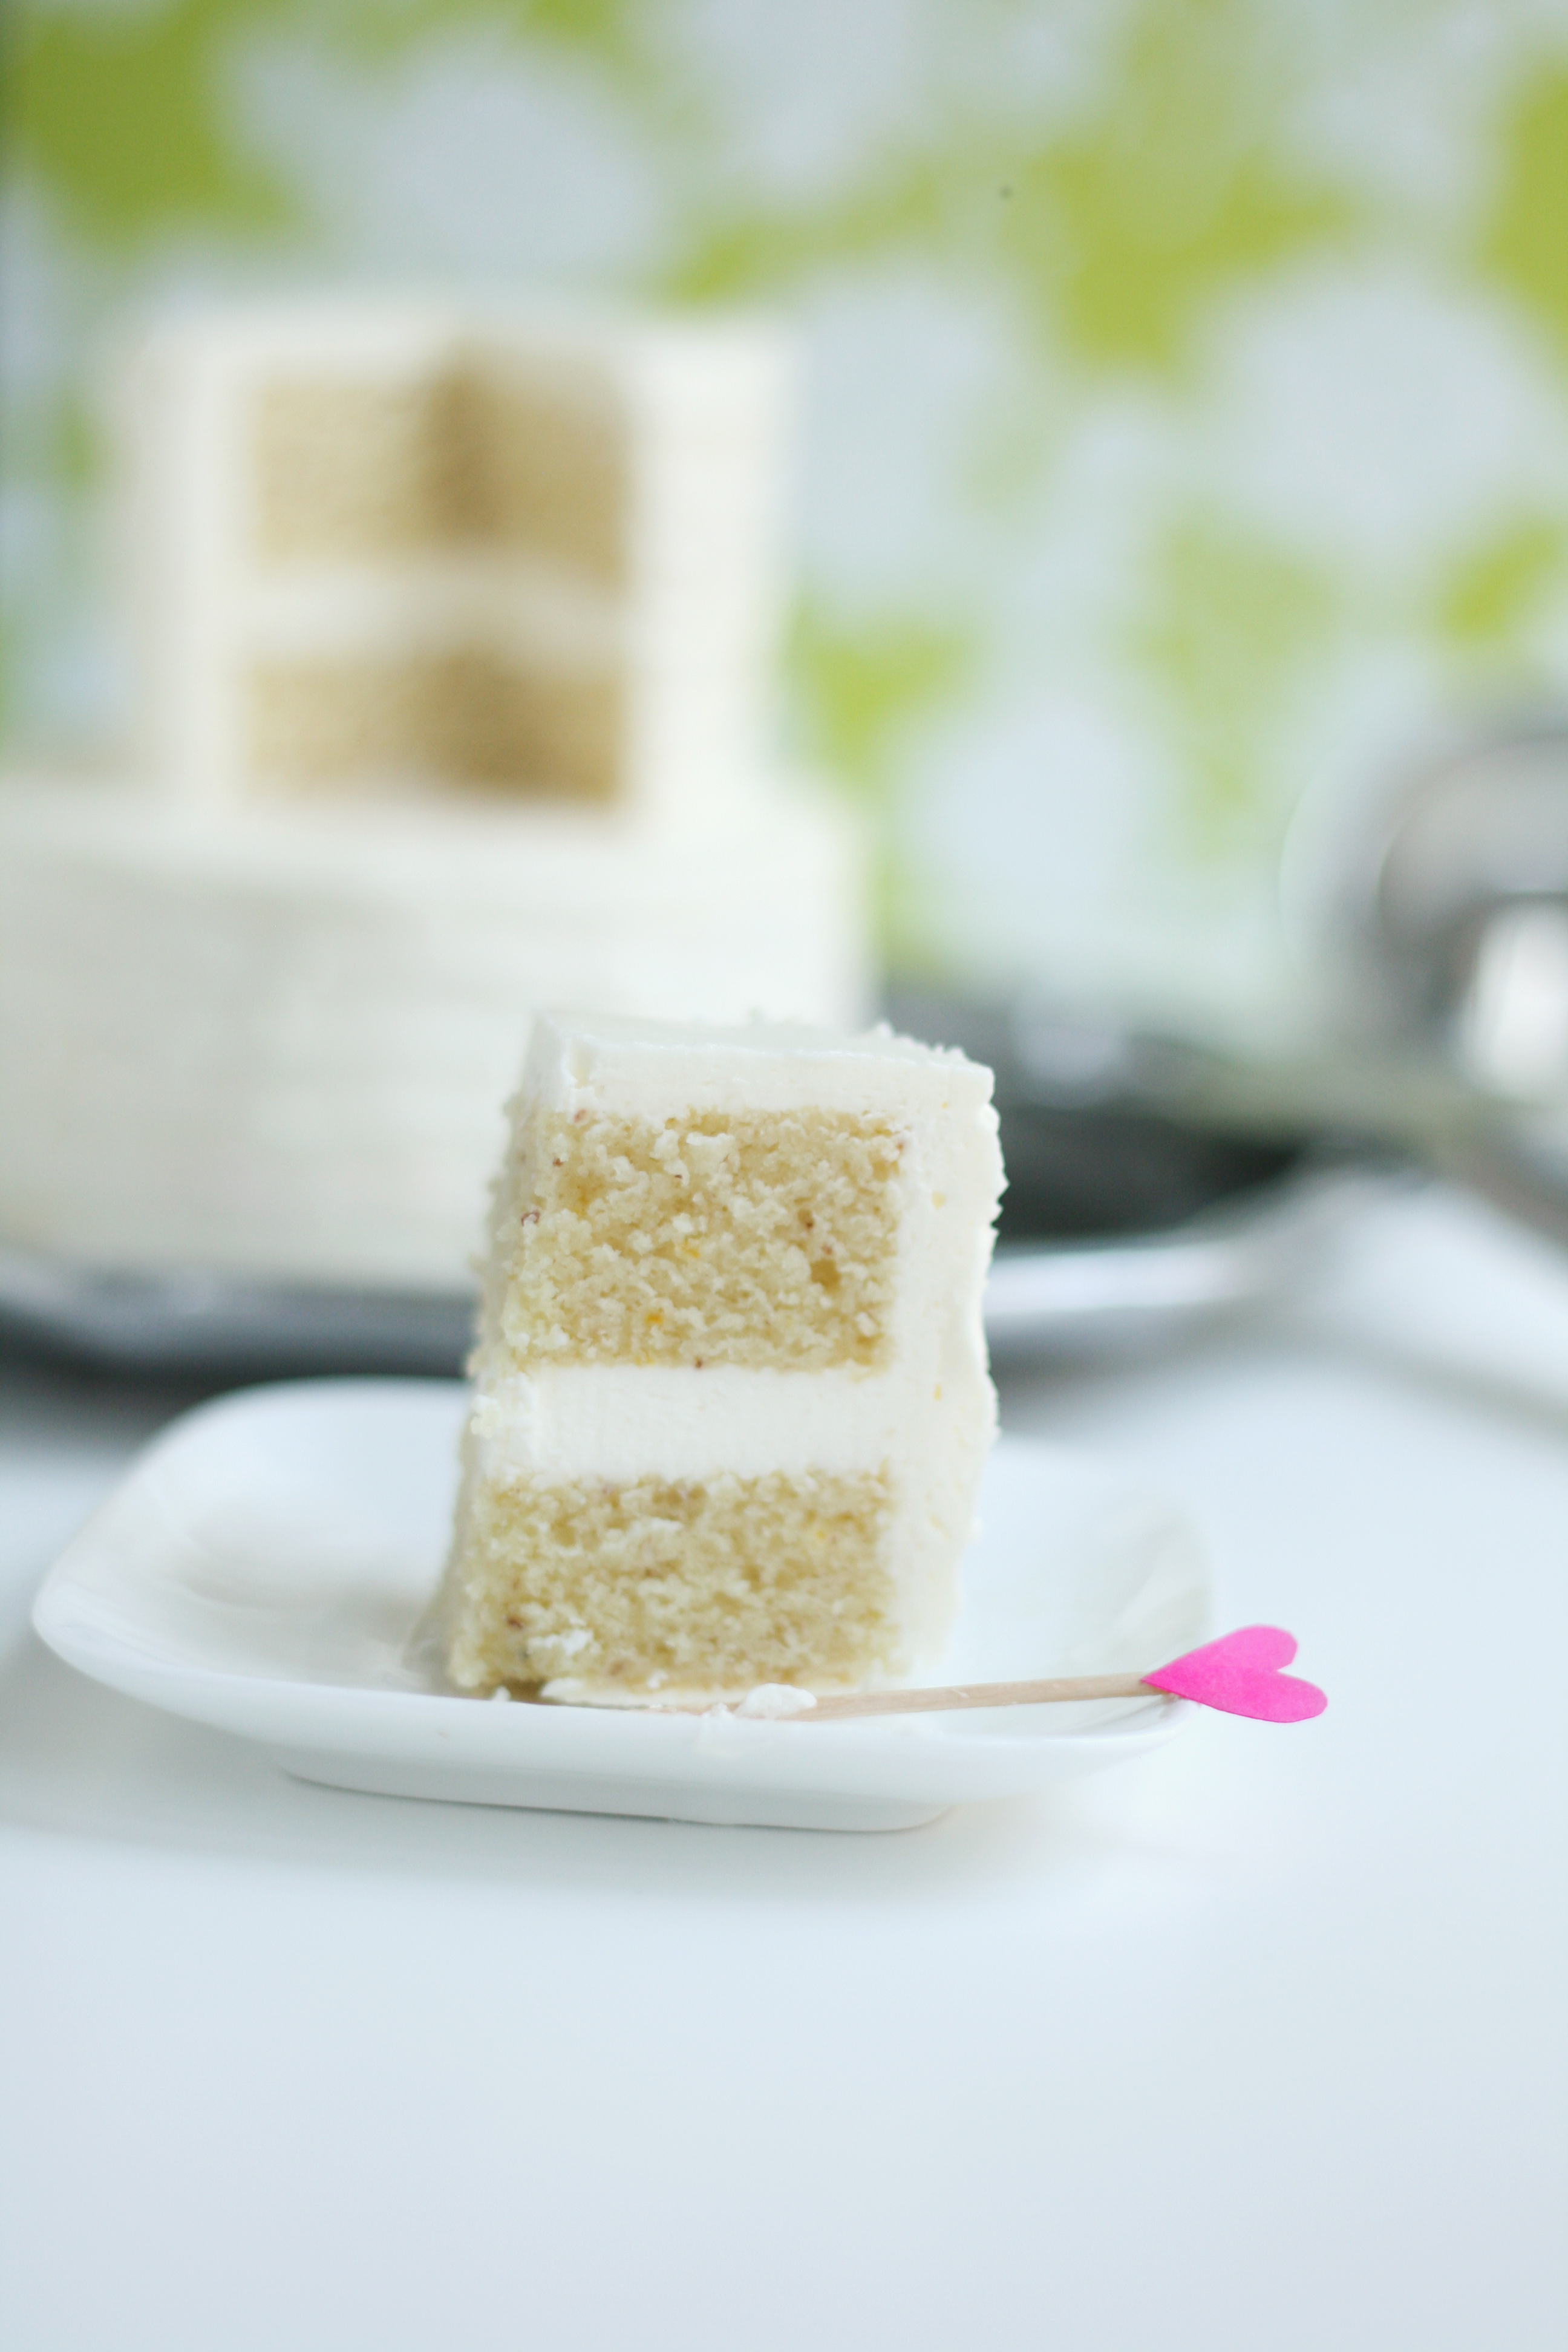
Isn’t it cute? Anything tiny is somehow cute. At it’s widest, it’s 3.5 inches—perfect for 2 people. It tastes like a wedding cake too. You know the wedding cake taste—fruity, decadent, and rich. So I took a risk and crafted a new recipe with hints of orange and almond (based off this one). Luckily the risk paid off—it’s my new favorite cake. Happy Anniversary to us!
Anniversary Cake Almond + orange cake, inspired by Cake Love makes one 9-inch pan
DRY 1/2 c.+ 2 tbsp. unbleached AP flour 2 tbsp. potato starch (I use Bob’s Red Mill) 3 tbsp. finely ground almonds 3/4 tsp. baking powder 1/2 tsp. salt
LIQUID 1/2 c. half and half 1/2 tsp. almond extract 1/2 tsp. orange zest 1 tbsp. orange juice, freshly squeezed
CREAMING 6 tbsp. unsalted butter, room temp 3/4 c. + 2 tbsp. extra-fine granulated sugar (I food process my regular sugar) 2 large eggs
1. Preheat oven to 350º. Set rack in the middle of the oven. 2. Set out ingredients and equipment. Sift flour. Finely pulse almonds to a flour like consistency. Measure dry ingredients into separate mixing bowl. Add flour and almonds and whisk together. Measure liquid ingredients into a separate bowl and set aside. Place butter and sugar in bowl of standing mixer. Crack eggs into a separate bowl and set aside. 3. In the bowl of a standing mixer fitted with paddle attachment, cream together the butter and sugar on the lowest speed for 3-5 minutes. (This will feel odd, but keep it on low.) 4. With the mixer still on the lowest speed, add the eggs one at a time, fully incorporating after each addition. Stop the mixer and scrape down the sides of the bowl. 5. Add the dry ingredient mixture alternately with the liquid mixture in 3 to 5 additions each, beginning and ending with the dry mixture. Move swiftly through the step to avoid overworking the batter. Don’t wait for the dry or liquid mixtures to be fully incorporated before adding the next. This step should take a total of about 60 seconds. 6. Stop the mixer and scrape the sides of the bowl all the way down. Don’t miss the clumps of ingredients hiding on the bottom. Mix on medium speed for 15 to 20 seconds to develop the batter’s structure. 7. Prepare the 9-inch round cake pan. Line the bottom with parchment paper. Do not spray the sides of the pan. (This helps to keep your cake from doming in the middle as it bakes. The cake is able to crawl up the side as it bakes and maintain an even shape.) 8. Place batter in pan. Bake for 28 minutes. 9. Once the top of the cake doesn’t jiggle in the center, test for doneness by inserting a toothpick into the middle of the cake. The center should be an even blonde color and the edges should be just beginning to pull away from the pan. When the skewer shows a touch of crumbs or comes out clean, the cake is done. 10. Cool cake for 20 minutes before removing from the pan. Use a small off-set spatula to loosen the cake from the rim of the pan. Carefully invert and remove parchment paper. Allow to cool completely before assembling.
Italian Meringue Buttercream with a hint of orange recipe from Cake Love by Warren Brown; makes 2-2 1/2 cups * a candy thermometer is necessary for this recipe
1. Set out ingredients and equipment. Separate the egg whites into the bowl of a standing mixer fitted with the whisk attachment (for the 1/2 egg white, crack into separate bowl and only add half of the white). Measure 1/2 cup sugar and the water into a 1-quart, heavy-bottomed saucepan. Gently stir to combine. Measure the remaining 2 tablespoons of sugar into a separate bowl. Cut the butter into tablespoon sized pieces and set aside. 2. To make the sugar syrup, place the candy thermomometer in the sauce pan and heat the mixture over medium-high heat. Partially cover with lid to capture the evaporating water—this helps to moisten the sides of the saucepan to prevent sugar crystals from forming. 3. With the mixer on high speed, begin whipping the egg whites to stiff peaks. When the peaks are stiff, you have a meringue. 4. Keep the mixture running and pour the 2 tablespoons of sugar into the meringue. 5. Raise the heat under the sugar syrup to bring the syrup to 245° if it’s not there already. When it has reached 245°, remove the thermometer and slowly pour the syrup into the meringue, with the mixer running. (It helps to hold the pan just above the height of the mixer. Pour confidently trying to hit the meringue and not the side of the bowl.) 6. After 1 to 2 minutes, reduce the speed of the mixture to medium for 3-4 minutes or until meringue is cooled. Add the butter 1 tablespoon at a time. Increase the mixer speed to high for 1 to 2 minutes or until the butter is fully incorporated. Add orange oil. Mix one final time.
Assemble the Cake 1. Using biscuit cutters, cut two 3.5″ circles and two 2.5″ circles. 2. Assemble the tiers separately. Fill bottom layer of each tier with buttercream. Apply a crumb coat to each tier. Refrigerate for 30 minutes. 3. Ice bottom tier and top tier separately. To achieve the rustic look, pull a butter knife around the circumference of the cake. Start from bottom and work up. 4. Using a flexible spatula, carefully place the top tier of cake on to bottom tier. Clean up any knicks in the move. The italian meringue buttercream repairs easily. 5. Store cake in refrigerator, covered. Serve at room temperature. *For in-depth cake assembly instructions, click here.
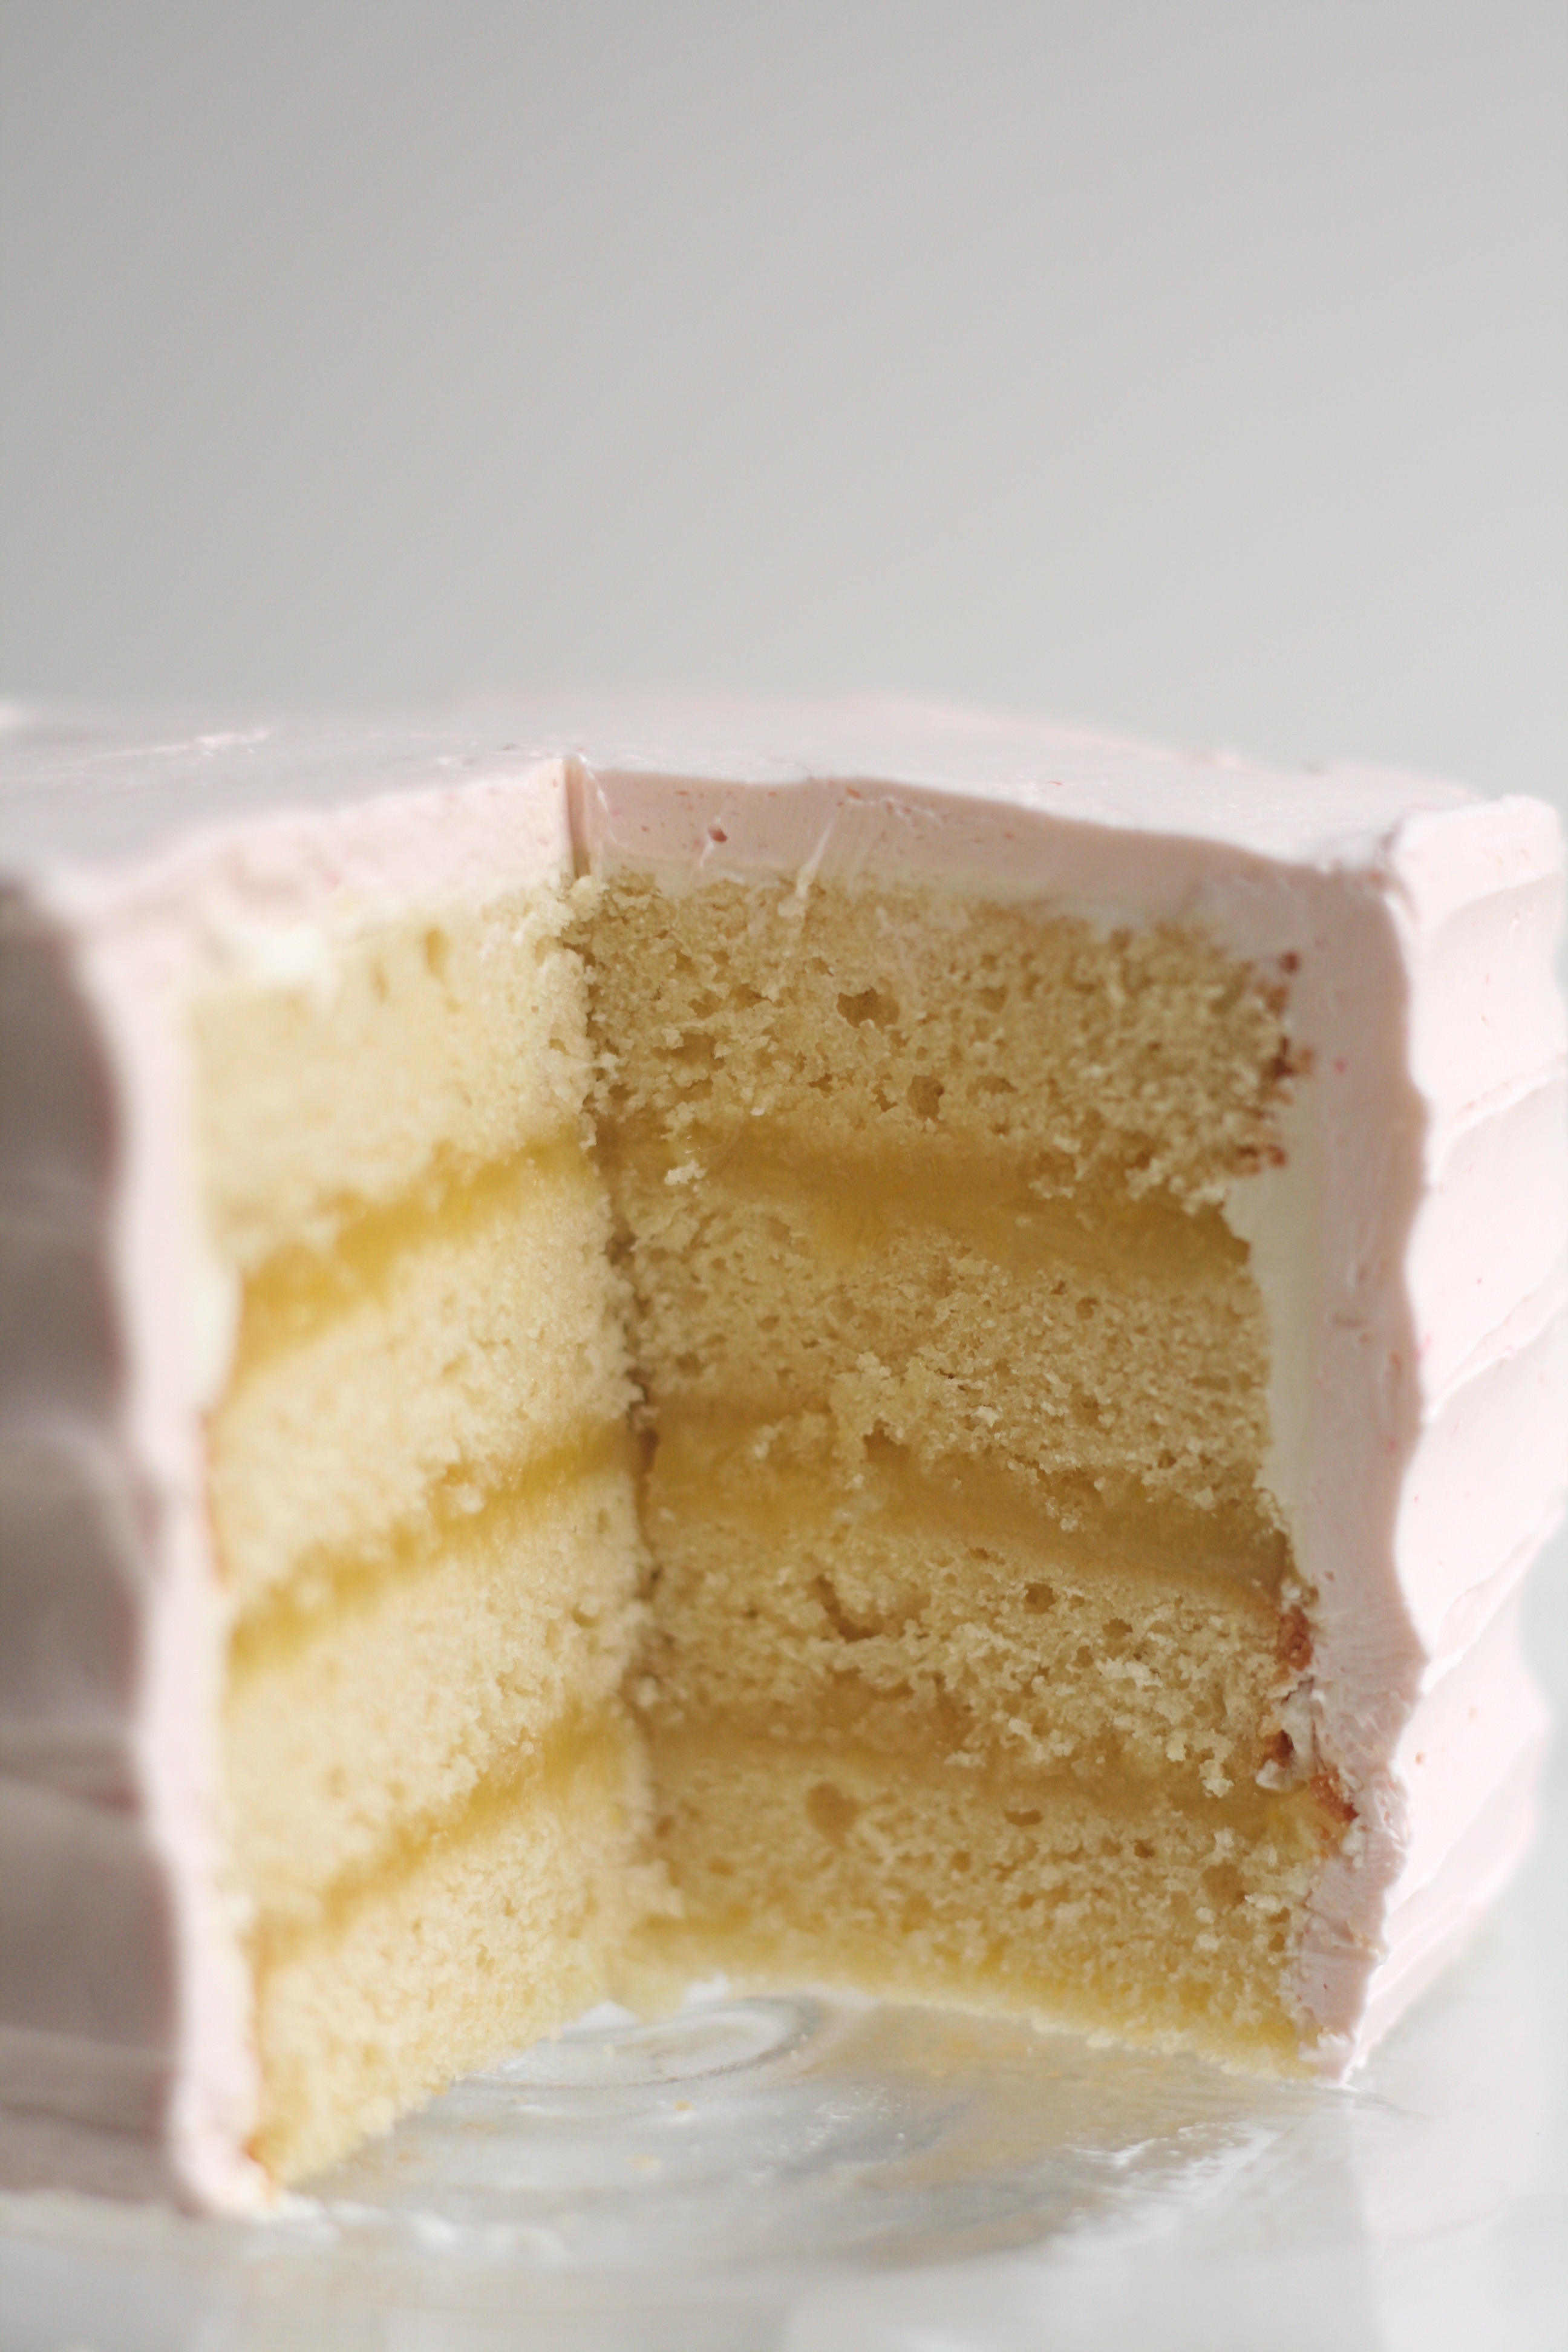
We celebrated my husband’s birthday last weekend. We’re now closer to 30 than 20. Kind of weird. In normal fashion, I asked him what kind of cake he wanted. Without hesitation, he said Lemon Raspberry Cake.
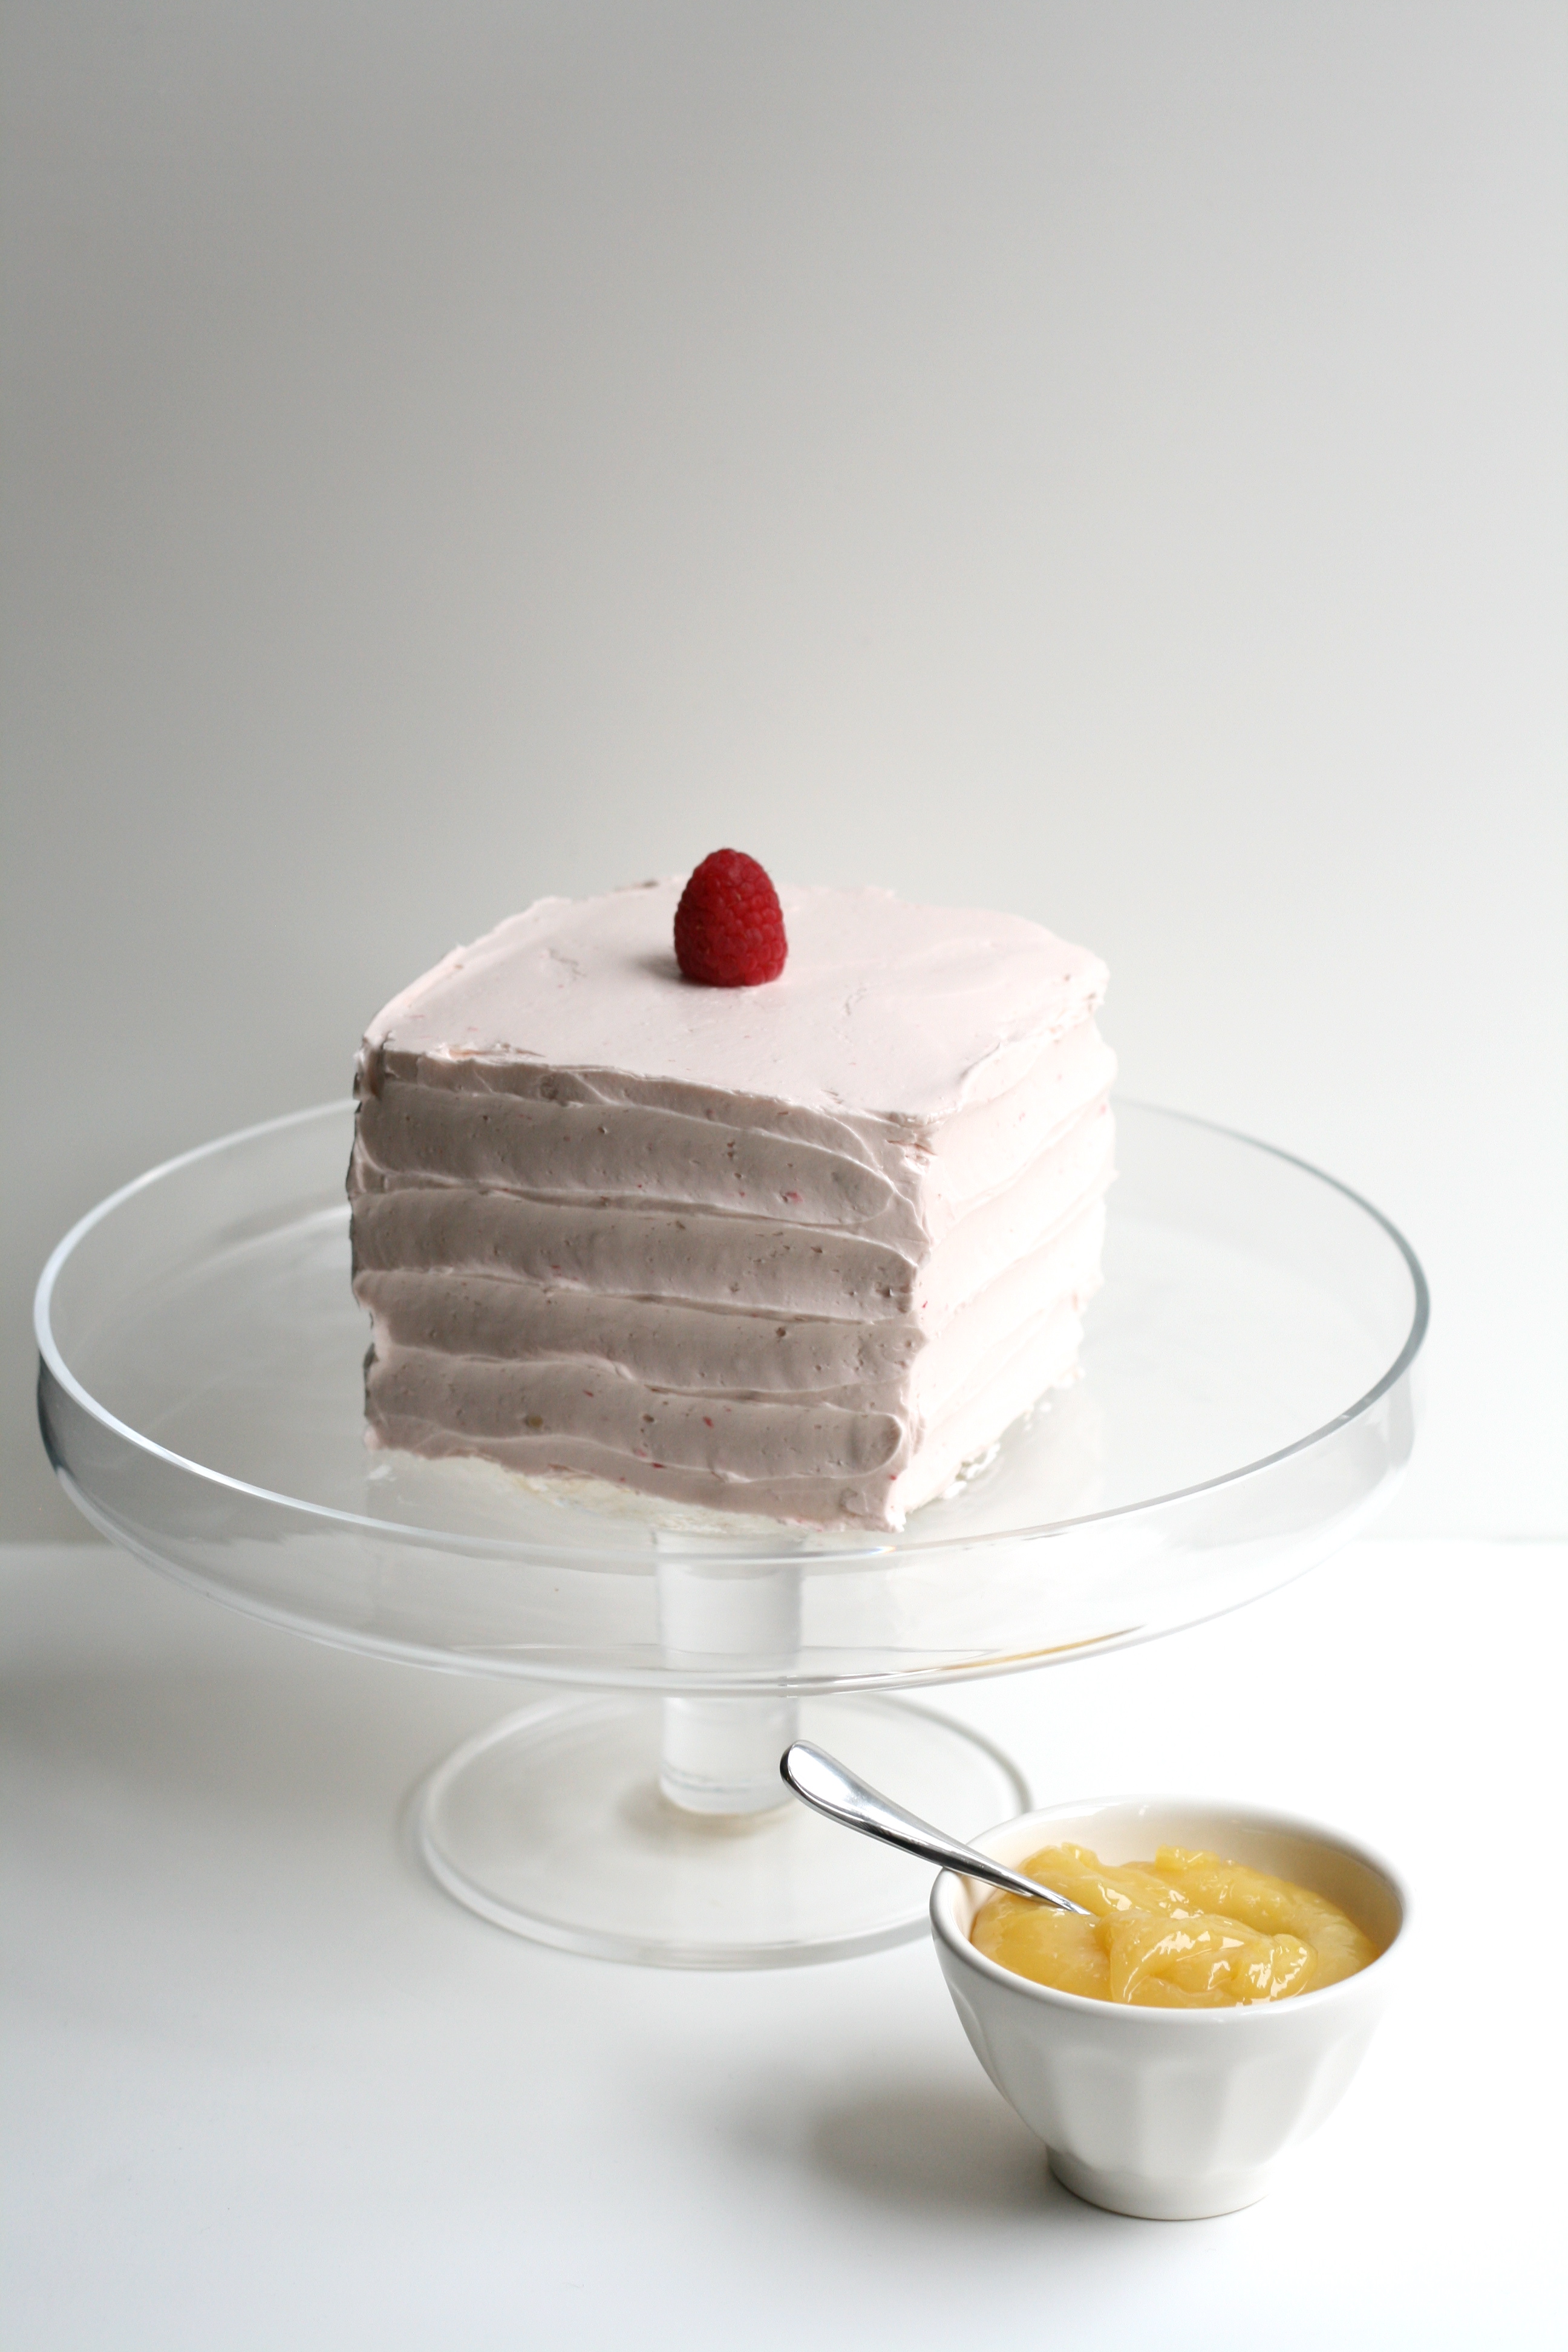
I was so excited he knew what he wanted, I made the cake without hesitation hoping he wouldn’t change his mind. As I was putting the final touches on the cake, I realized something. The cake was pink. Pale pink. I had just made my husband a pale pink birthday cake. I never considered that raspberry icing would produce a pink cake. Happy birthday little girl husband!
Luckily, he ate it in all it’s pale pink glory. I guess I could have done raspberry on the inside and lemon on the outside. The scarecrow said it best—If I only had a brain.
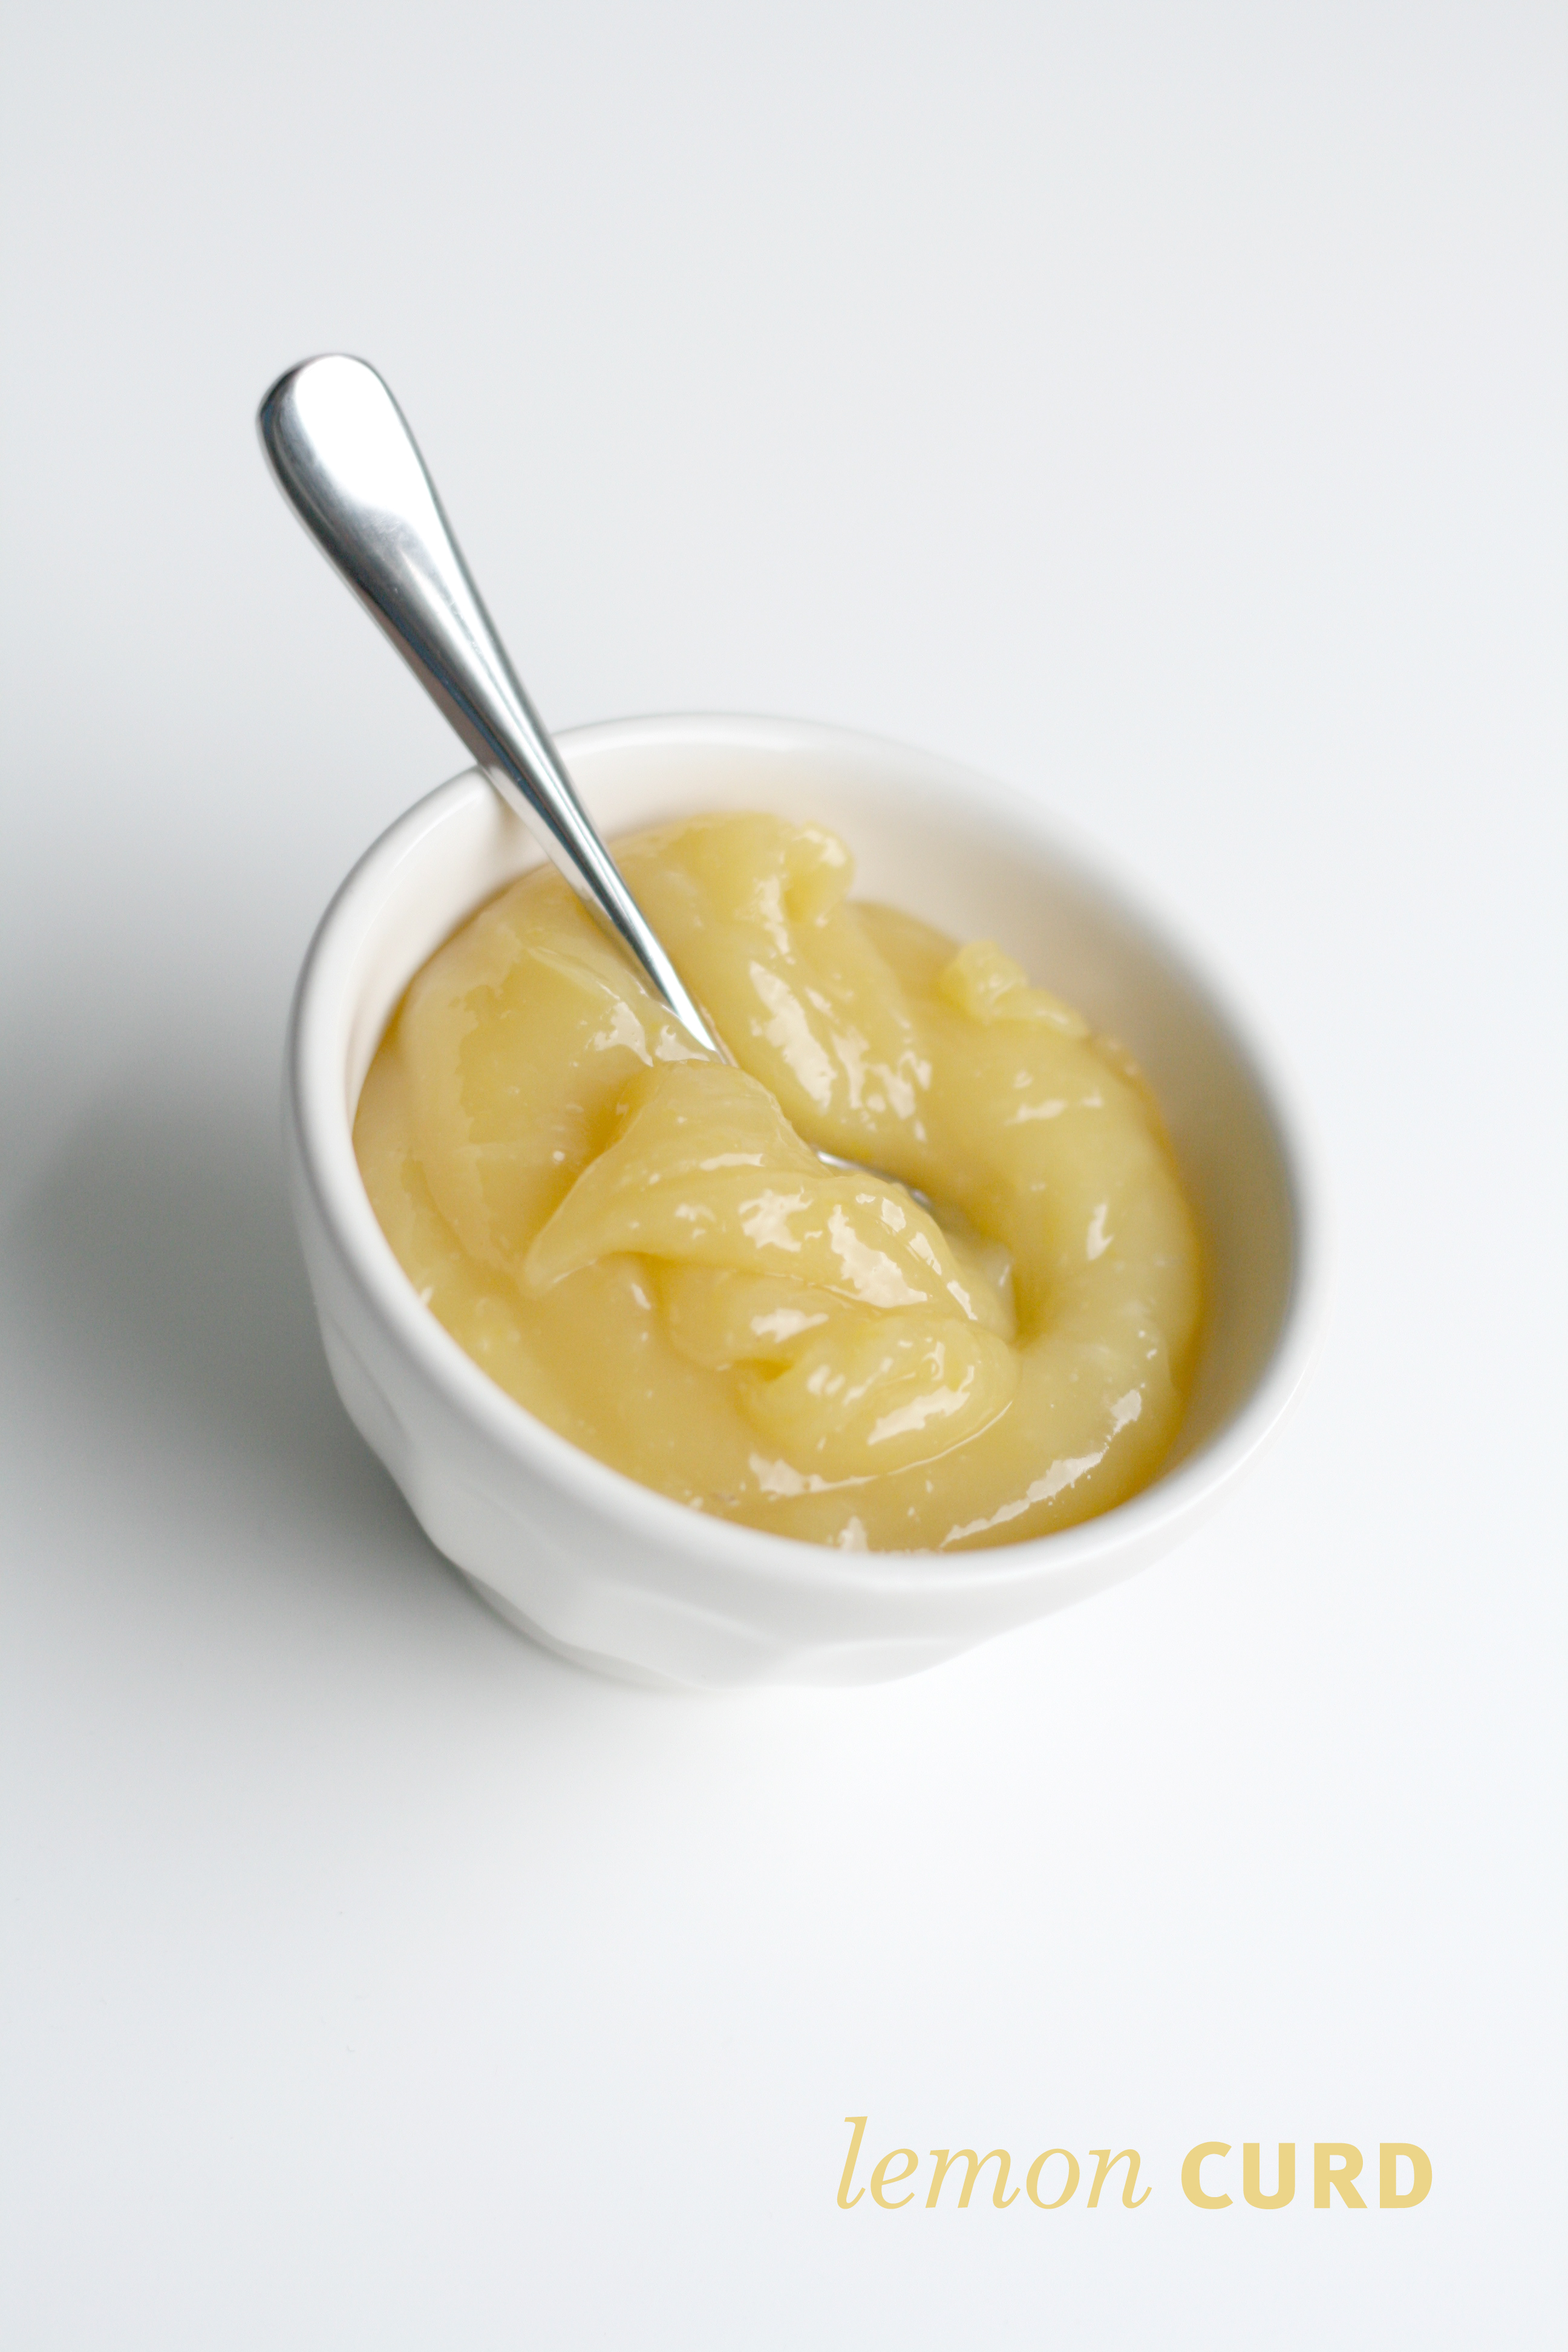
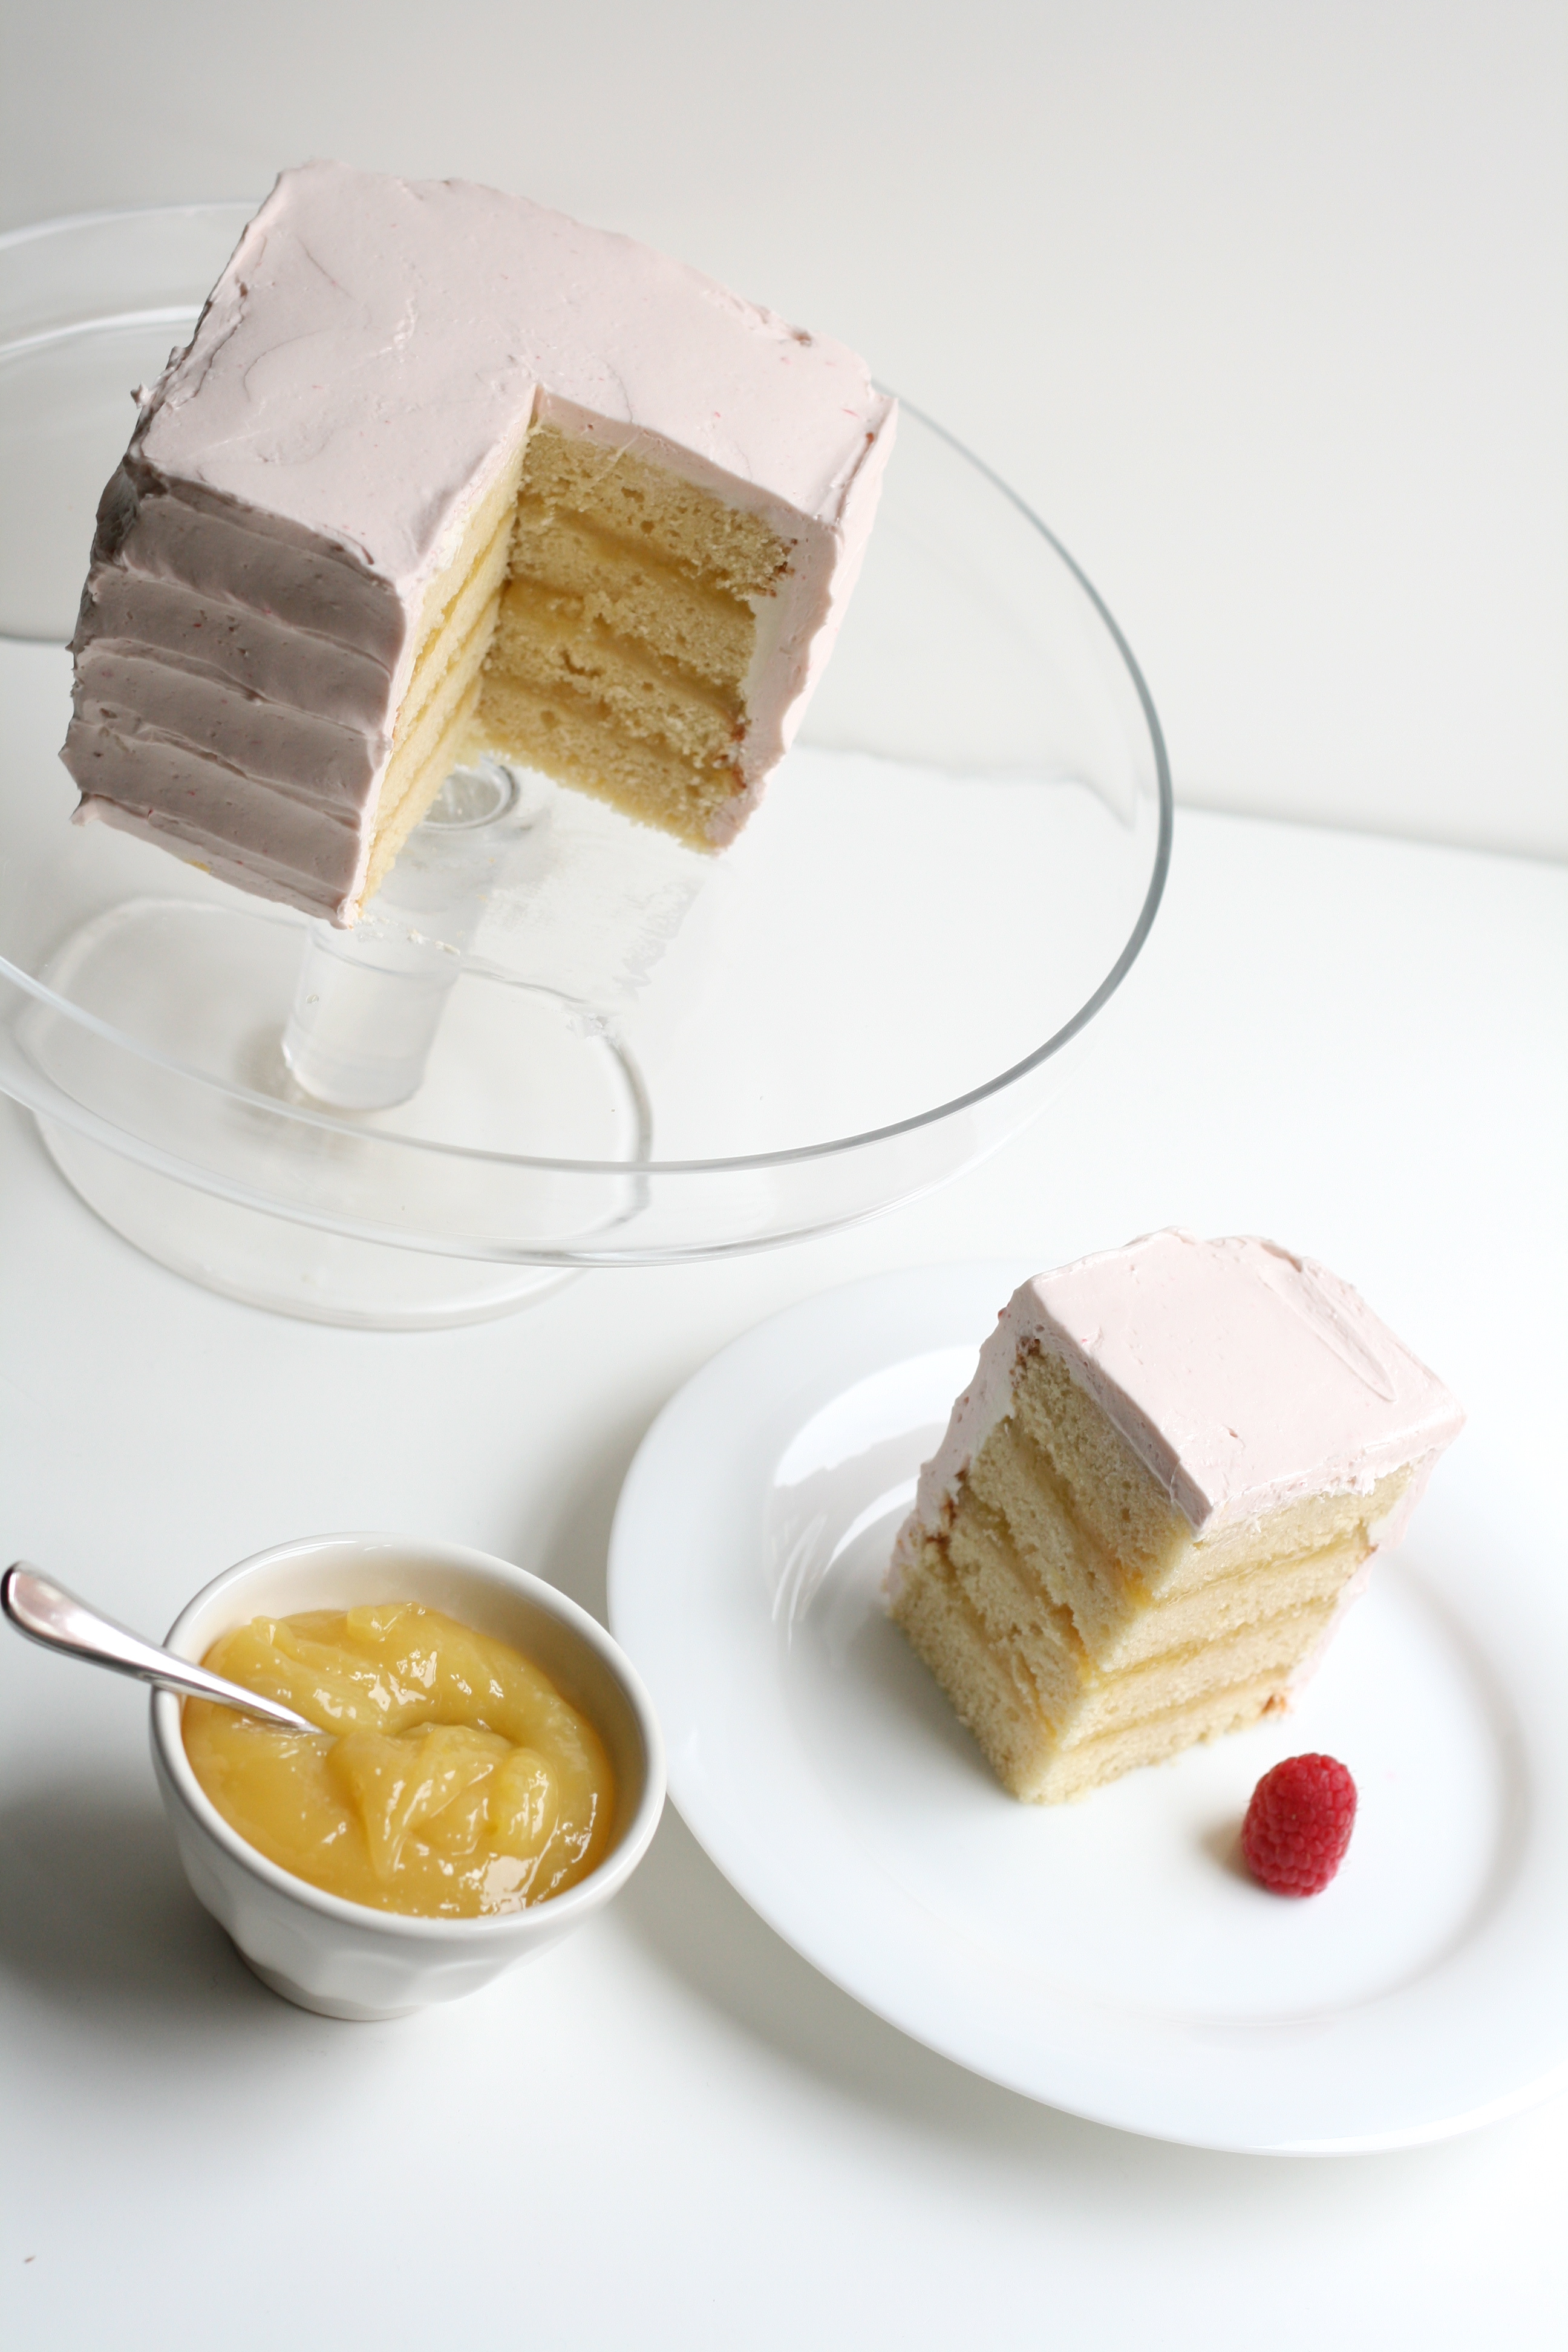
Speaking of lemon, this graced the inside of the cake.
Between all four layers.
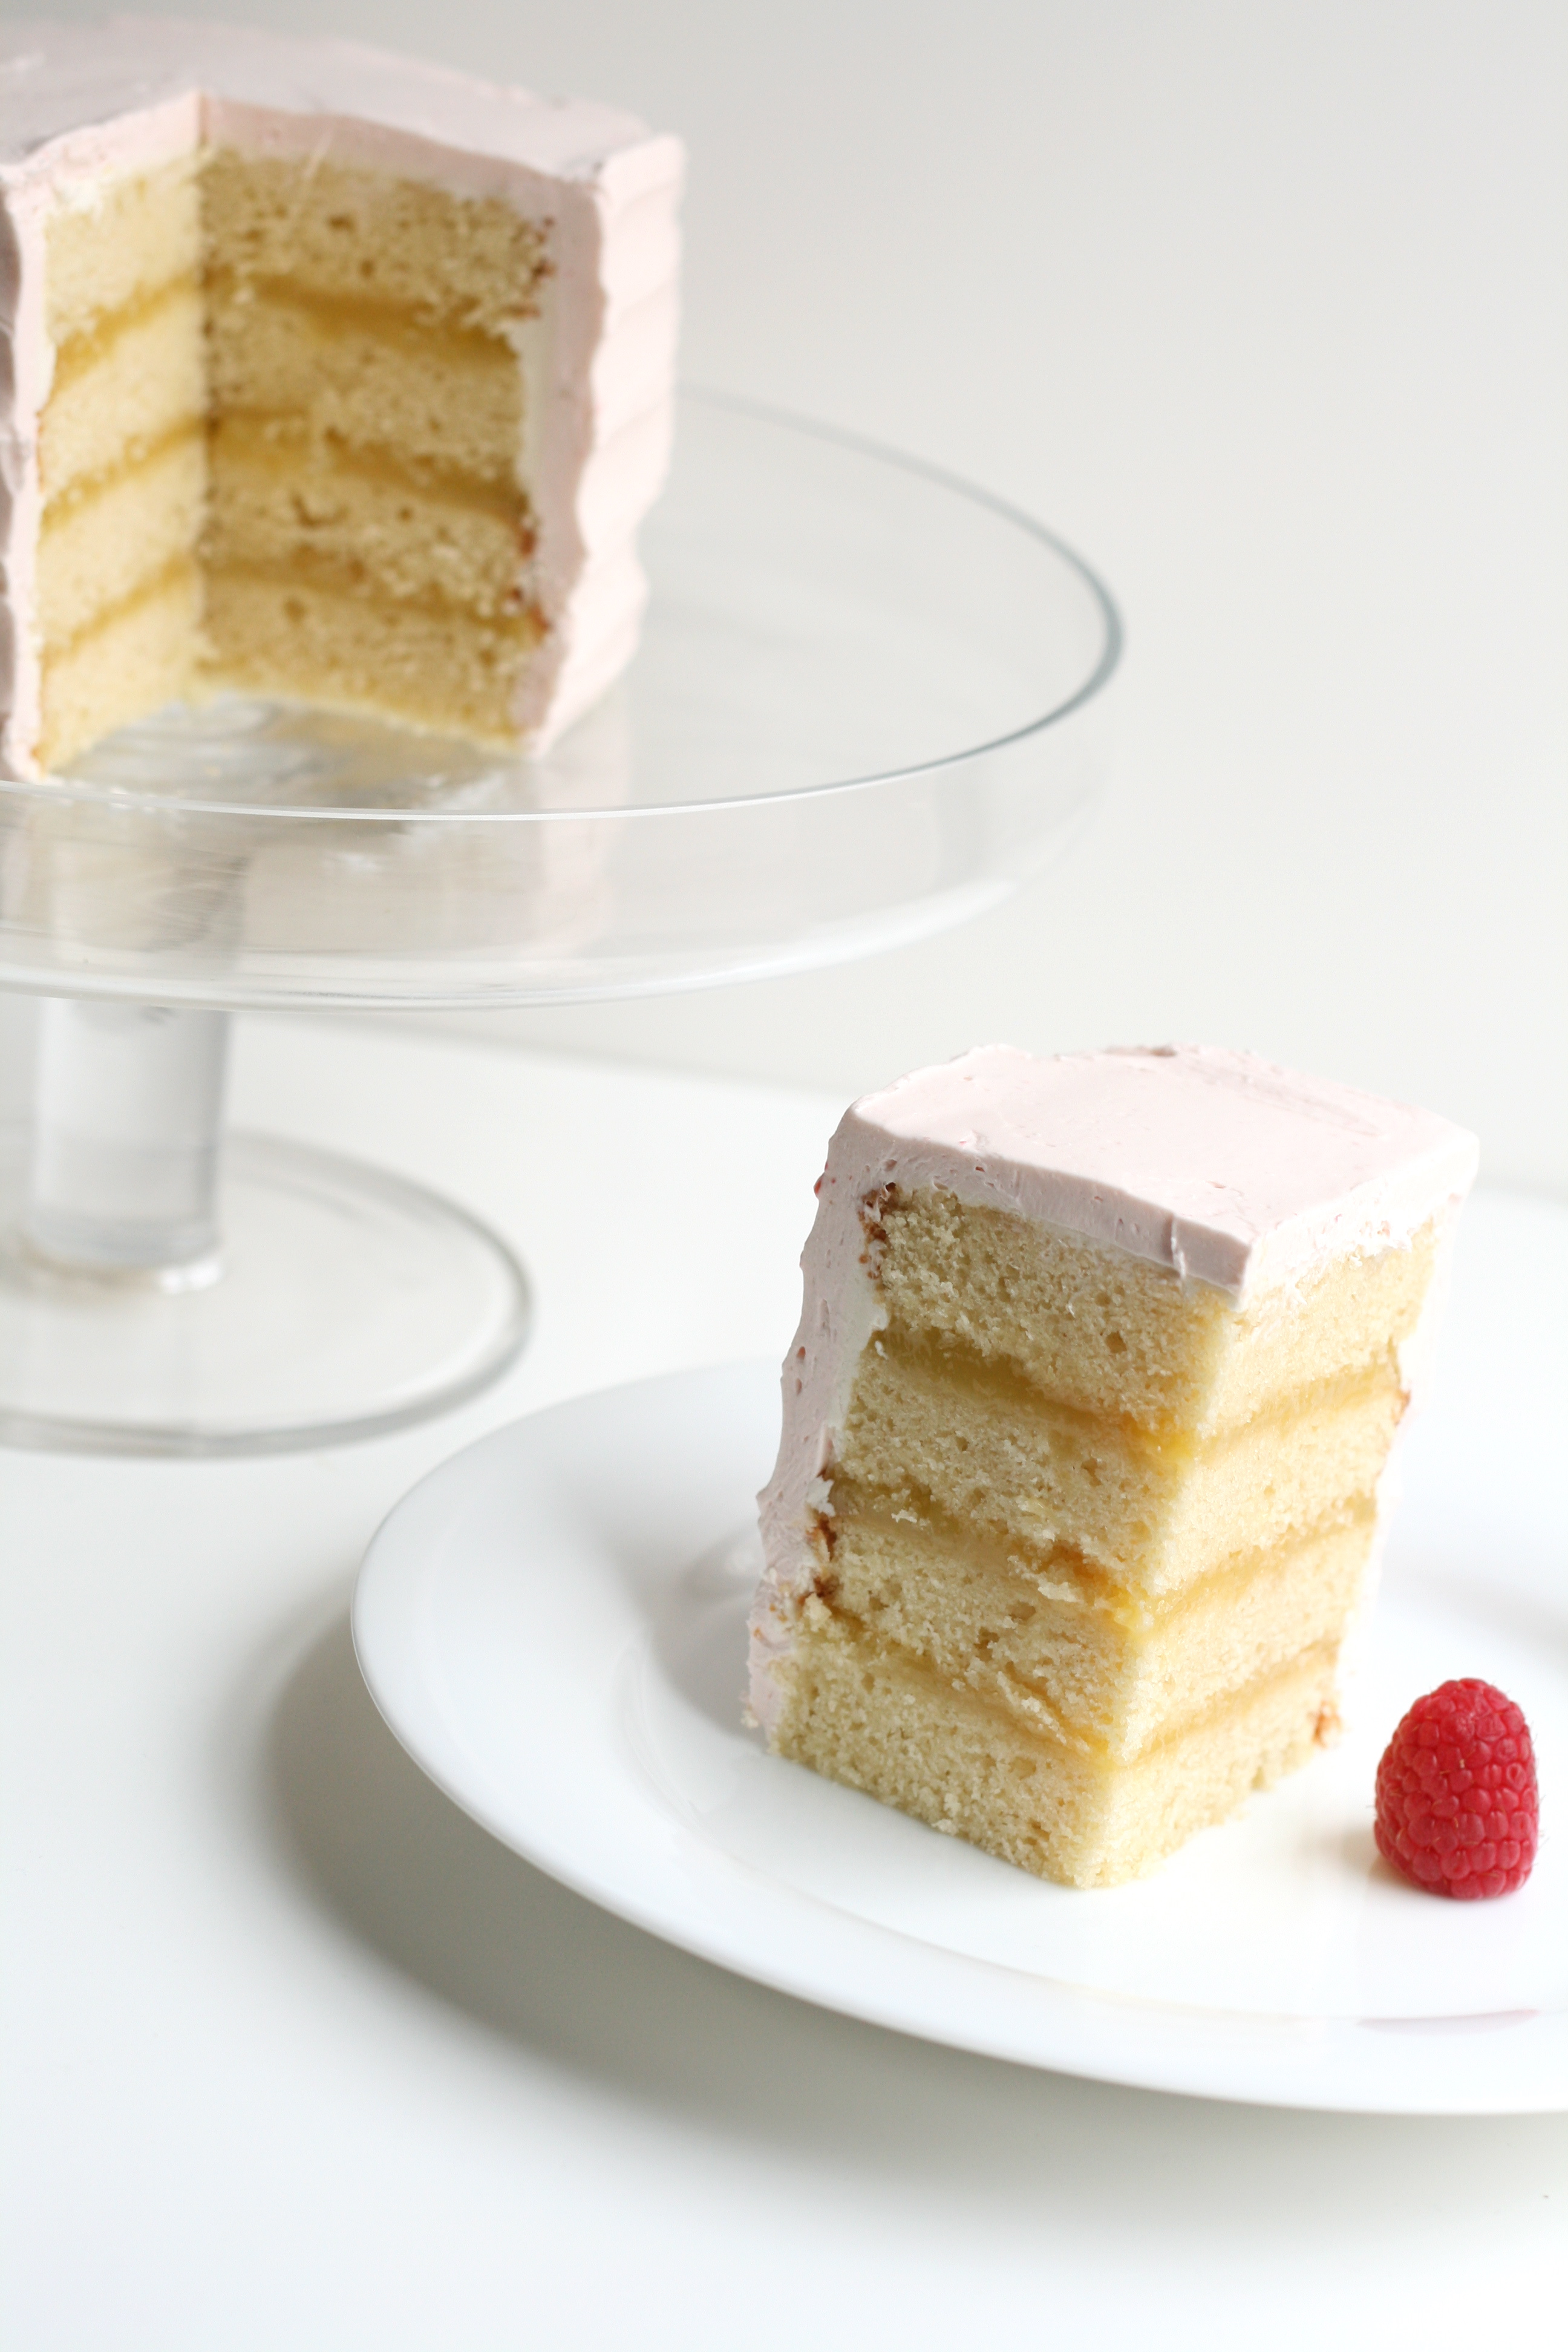
Mini Lemon Raspberry Cake Yellow Butter Cake + Lemon Curd + Raspberry Italian Meringue Buttercream
Yellow Butter Cake I halved the Yellow Butter Cake recipe from a couple posts back. Bake in a square pan. Follow recipe as directed. Check cake at 20 minutes. Allow to cool. Cut cake into fourths to achieve mini square cake as pictured.
Lemon Curd recipe from Cake Love by Warren Brown; yields 2 cups
1 c. fresh squeezed lemon juice 2 1/4 c. sugar 2 tsp. cornstarch 4 large eggs 4 egg yolks 1 1/2 sticks unsalted butter, chilled
1. Squeeze lemon juice making sure to strain out seeds. Measure sugar and cornstarch into a heavy bottomed saucepan. (I use my Le Creuset for this.) Crack eggs and yolks into a separate bowl and set aside. 2. Whisk lemon juice into sugar mixture, followed by the eggs and yolks. 3. Whisk in cold butter one tablespoon at a time. 4. Set saucepan over medium heat and bring to simmer, whisking continuously. 5. When you begin to see lava bubbles—large, slowly forming bubbles that burp steam—reduce the heat to the lowest setting and whisk briskly for 1 minute to pasteurize the lemon curd. (Lava bubbles usually appear 10 minutes in.) 6. Pour directly into bowl, and cover with plastic wrap pressed to surface to keep a skin from forming. 7. Immediately refrigerate for at least 3 hours before using. Note: I halved the recipe for the mini cake.
Raspberry Italian Meringue Buttercream I halved the Italian Meringue Buttercream recipe from a couple posts back and added raspberries. Make recipe as directed. If you are making a full recipe, you’ll need 1/2 c. raspberries. If you are making a half recipe, you’ll need 1/4 c. raspberries. Puree raspberries in food processor. Using a fine mesh sieve, strain the puree into a bowl to remove seeds. Add puree to buttercream and whip until combined.
Ice the Cake For a quick tutorial, click here. Serve cake at room temperature.
Can I let you in on a little secret? I wanted to show you a slice of the cake, but I wasn’t serving the cake until later that evening. So, I cut the cake. Took some pics. And put the cake back together. The Italian Meringue Buttercream is very forgiving like that.
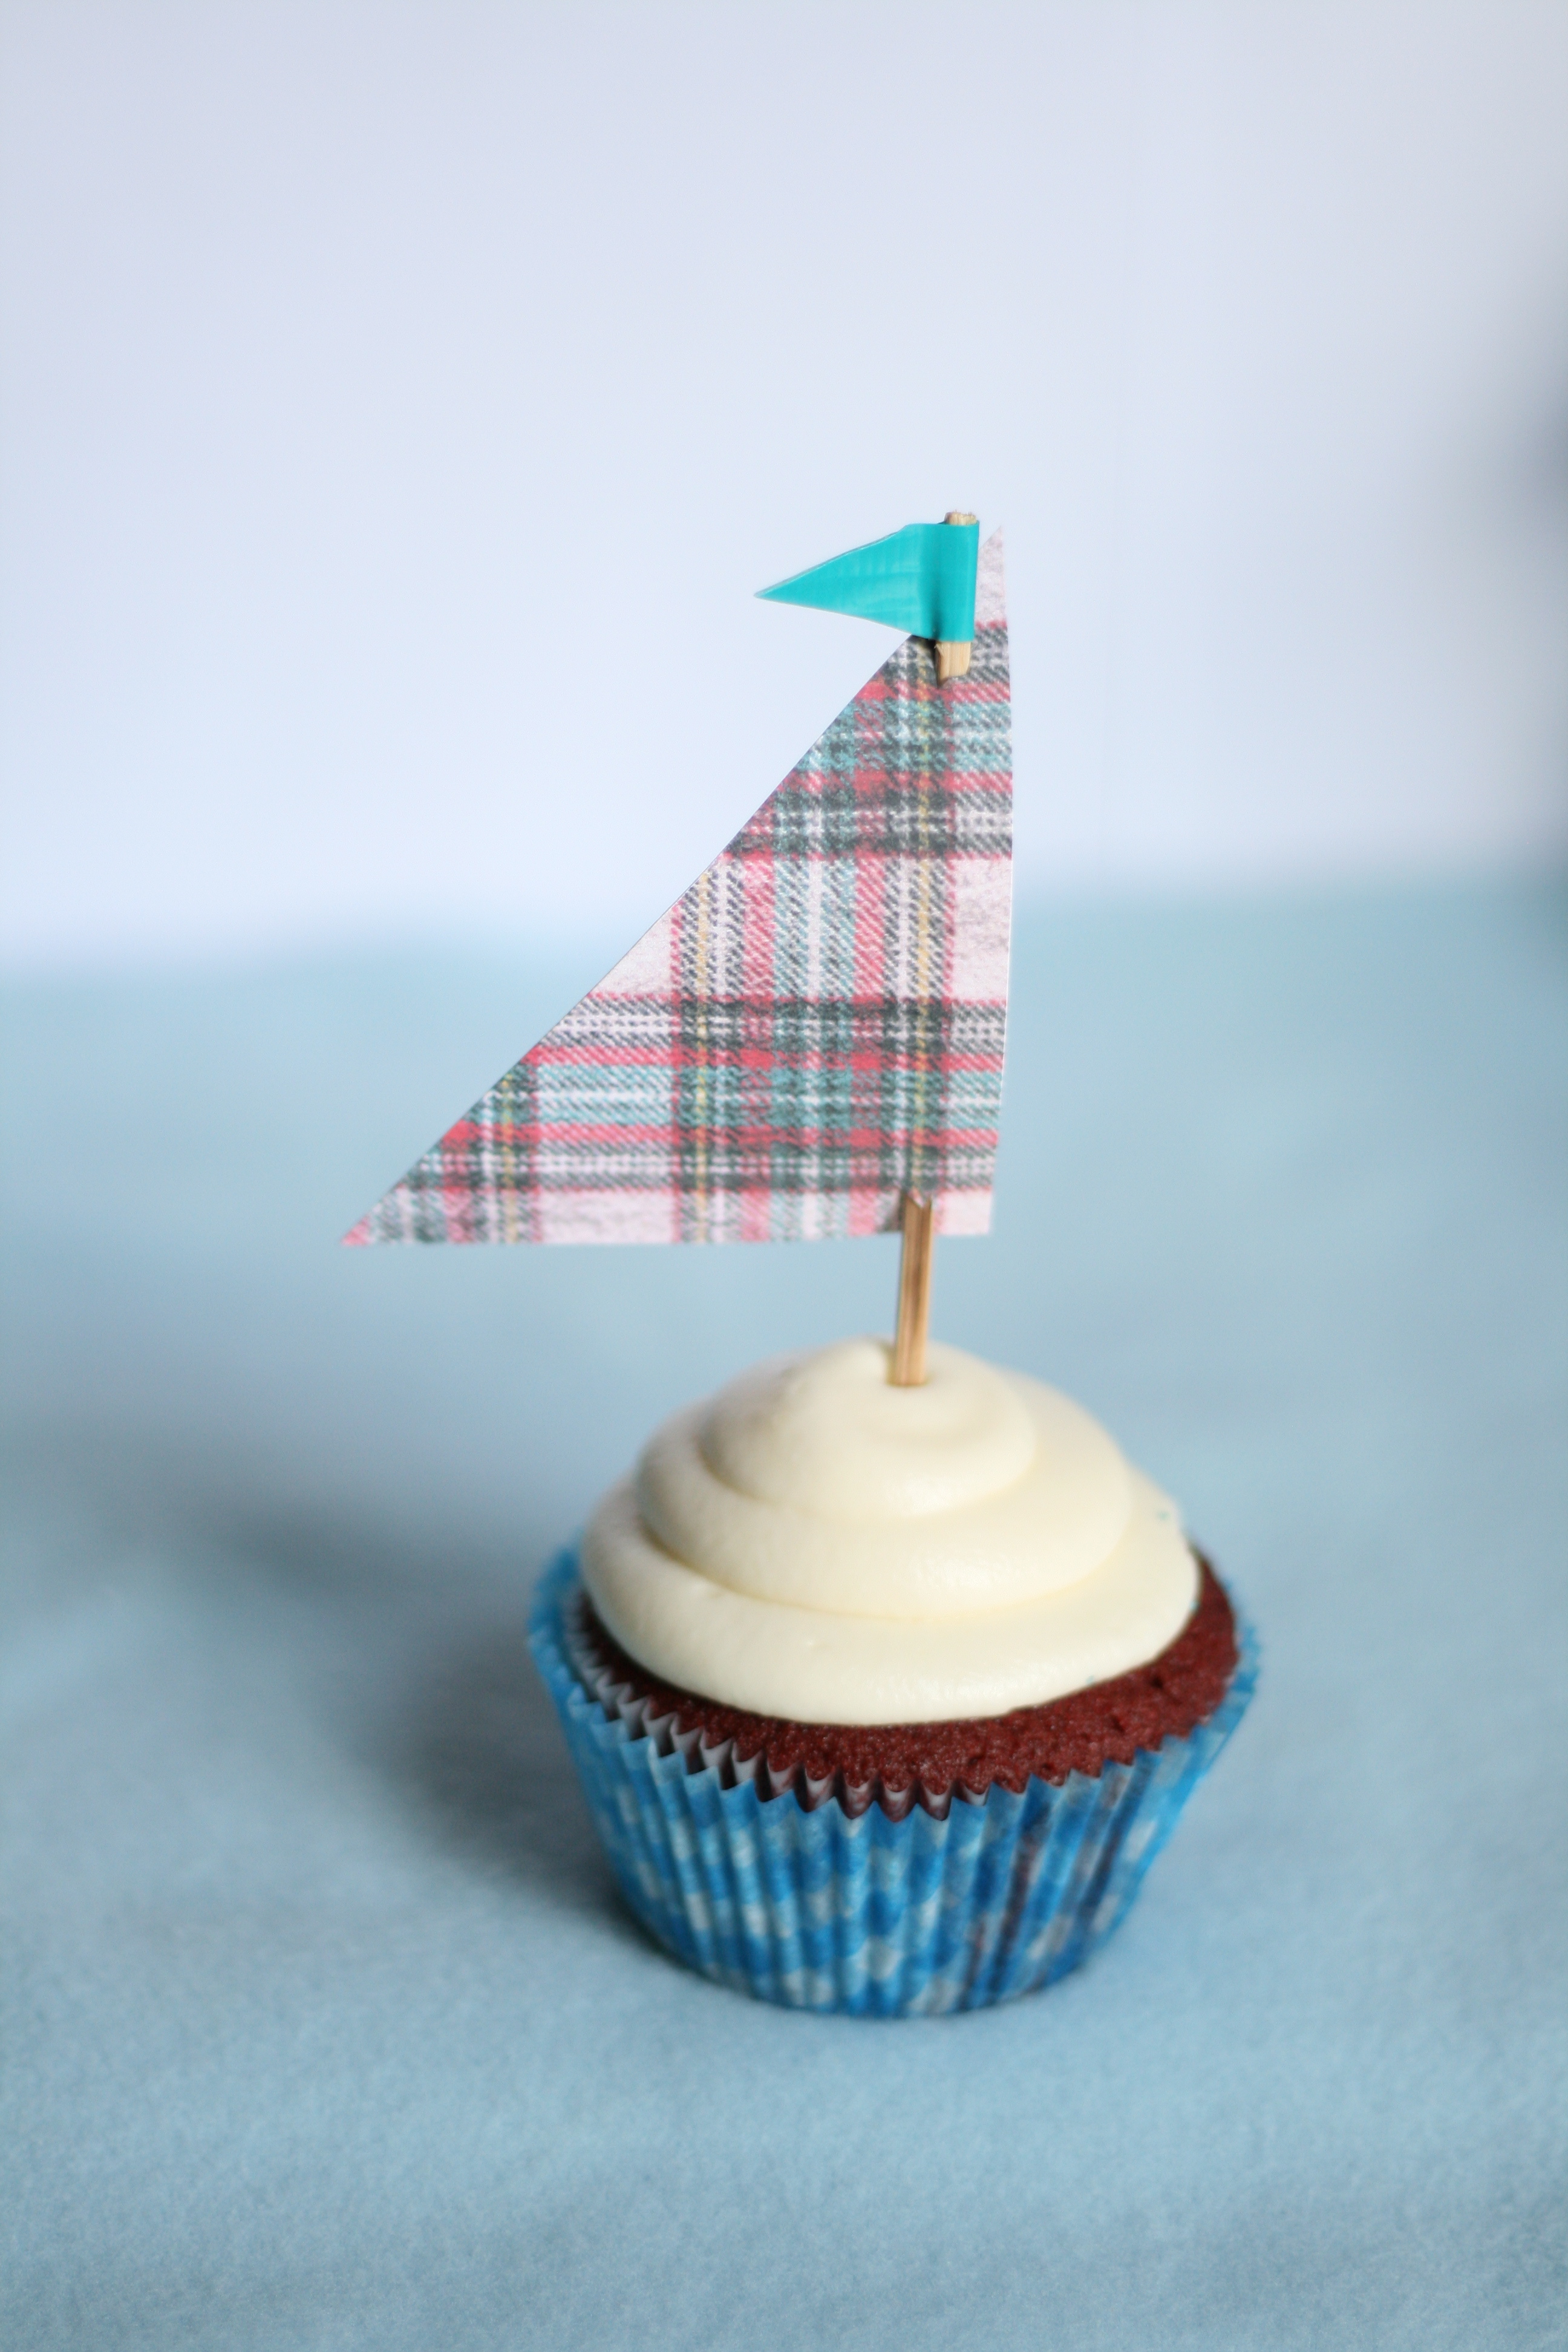
Remember the Ahoy! It’s a boy! invites I shared with you a couple weeks ago? I told you I may or may not be making cupcakes with a cute DIY topper. Well, I wasn’t lying. It’s time for more sharing and free downloads!
This post includes DIY instructions for the sailboat cupcake toppers. Another post on the recipe for red velvet cupcakes and cream cheese frosting is to come. So sit down, get out a pen an paper (or just bookmark this page), and let’s get decorating!
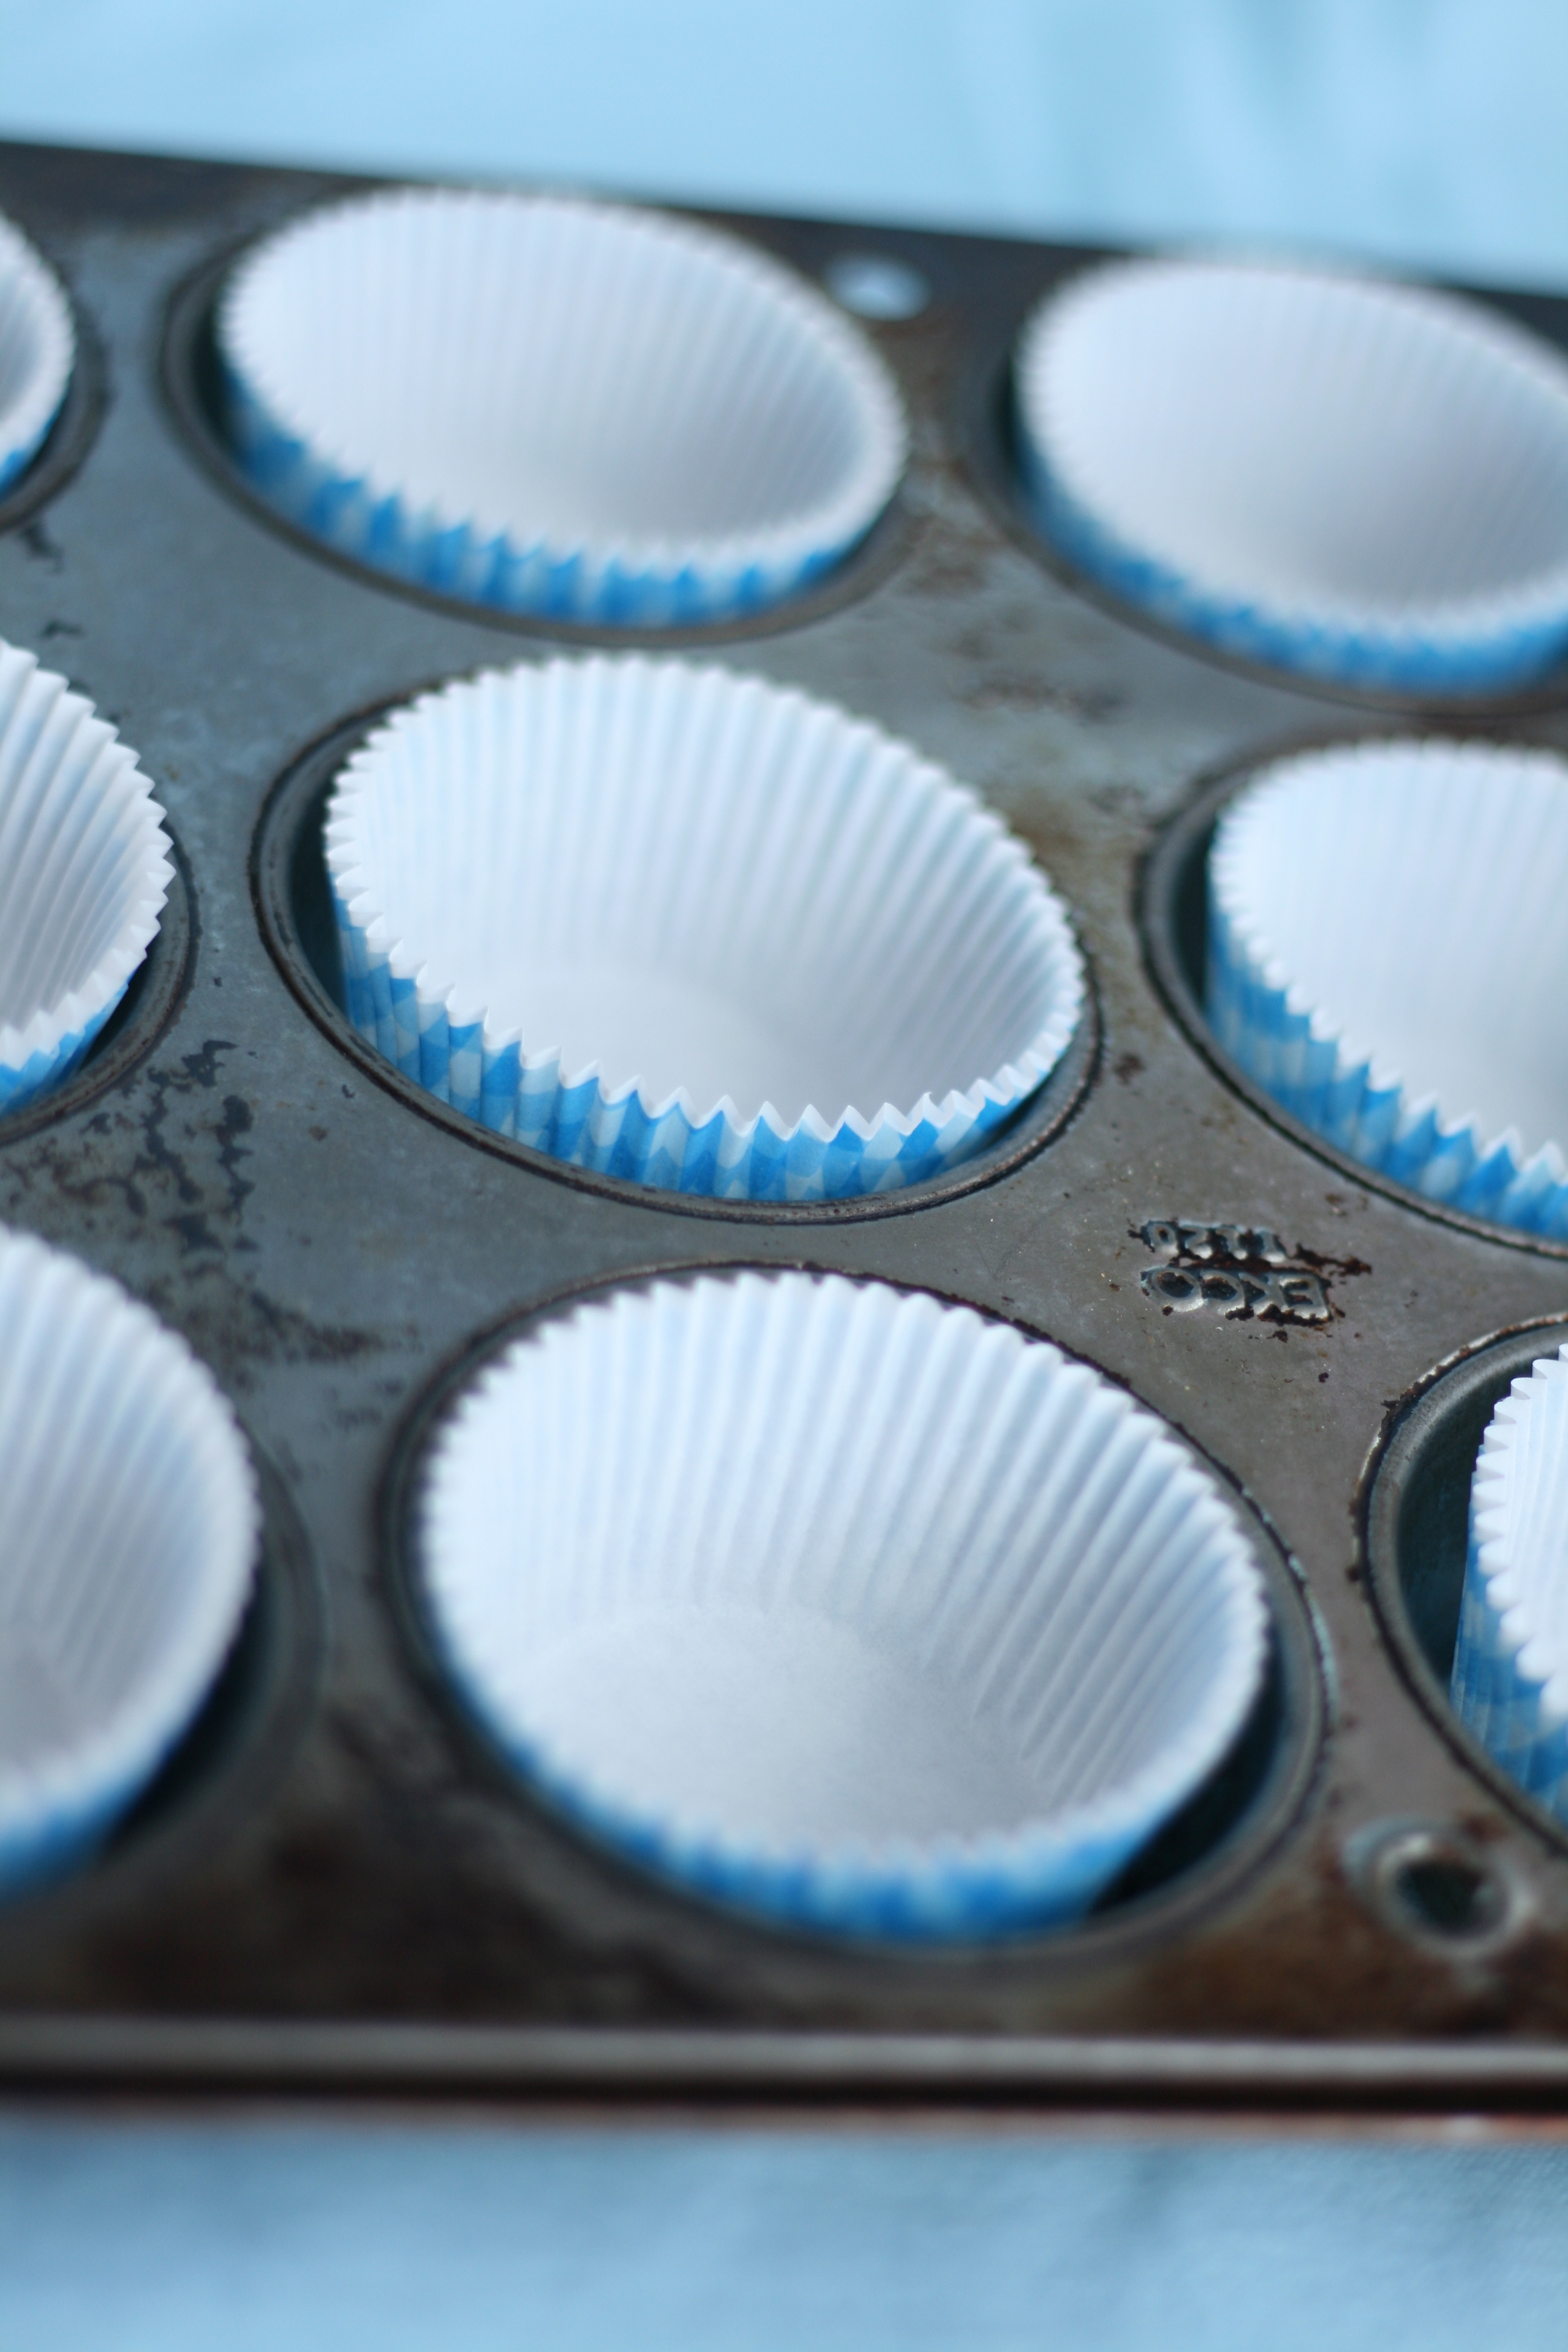
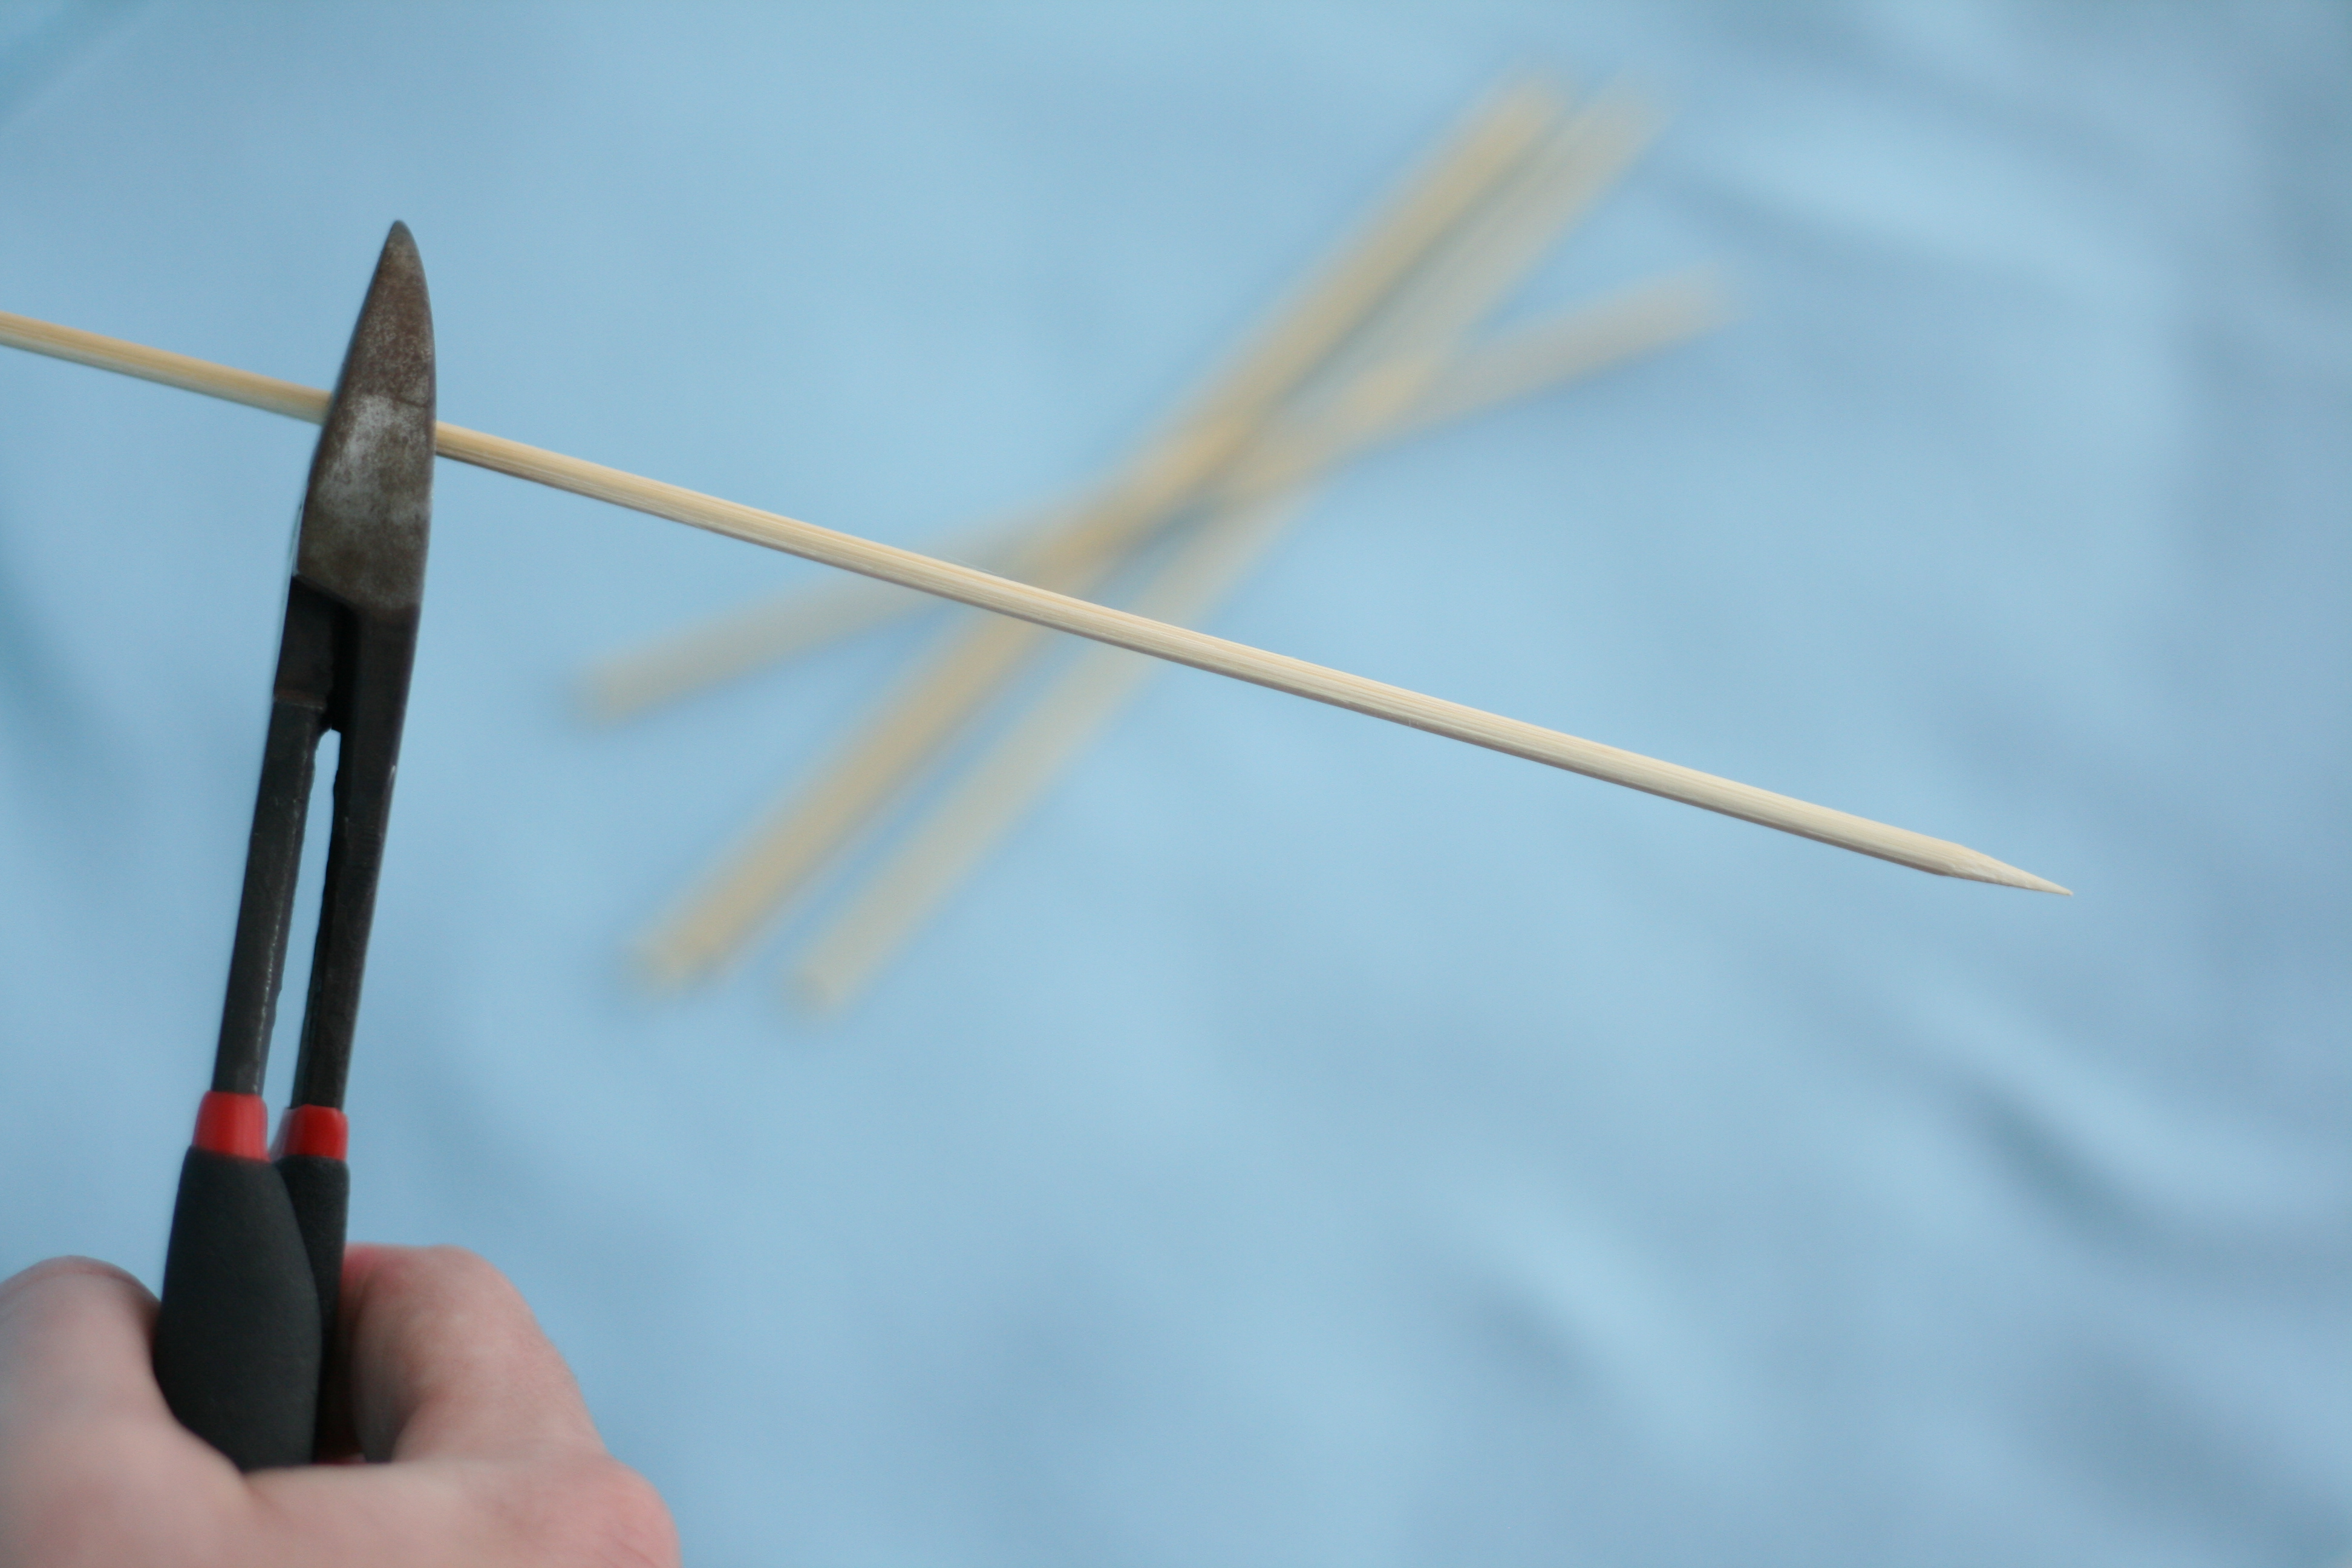
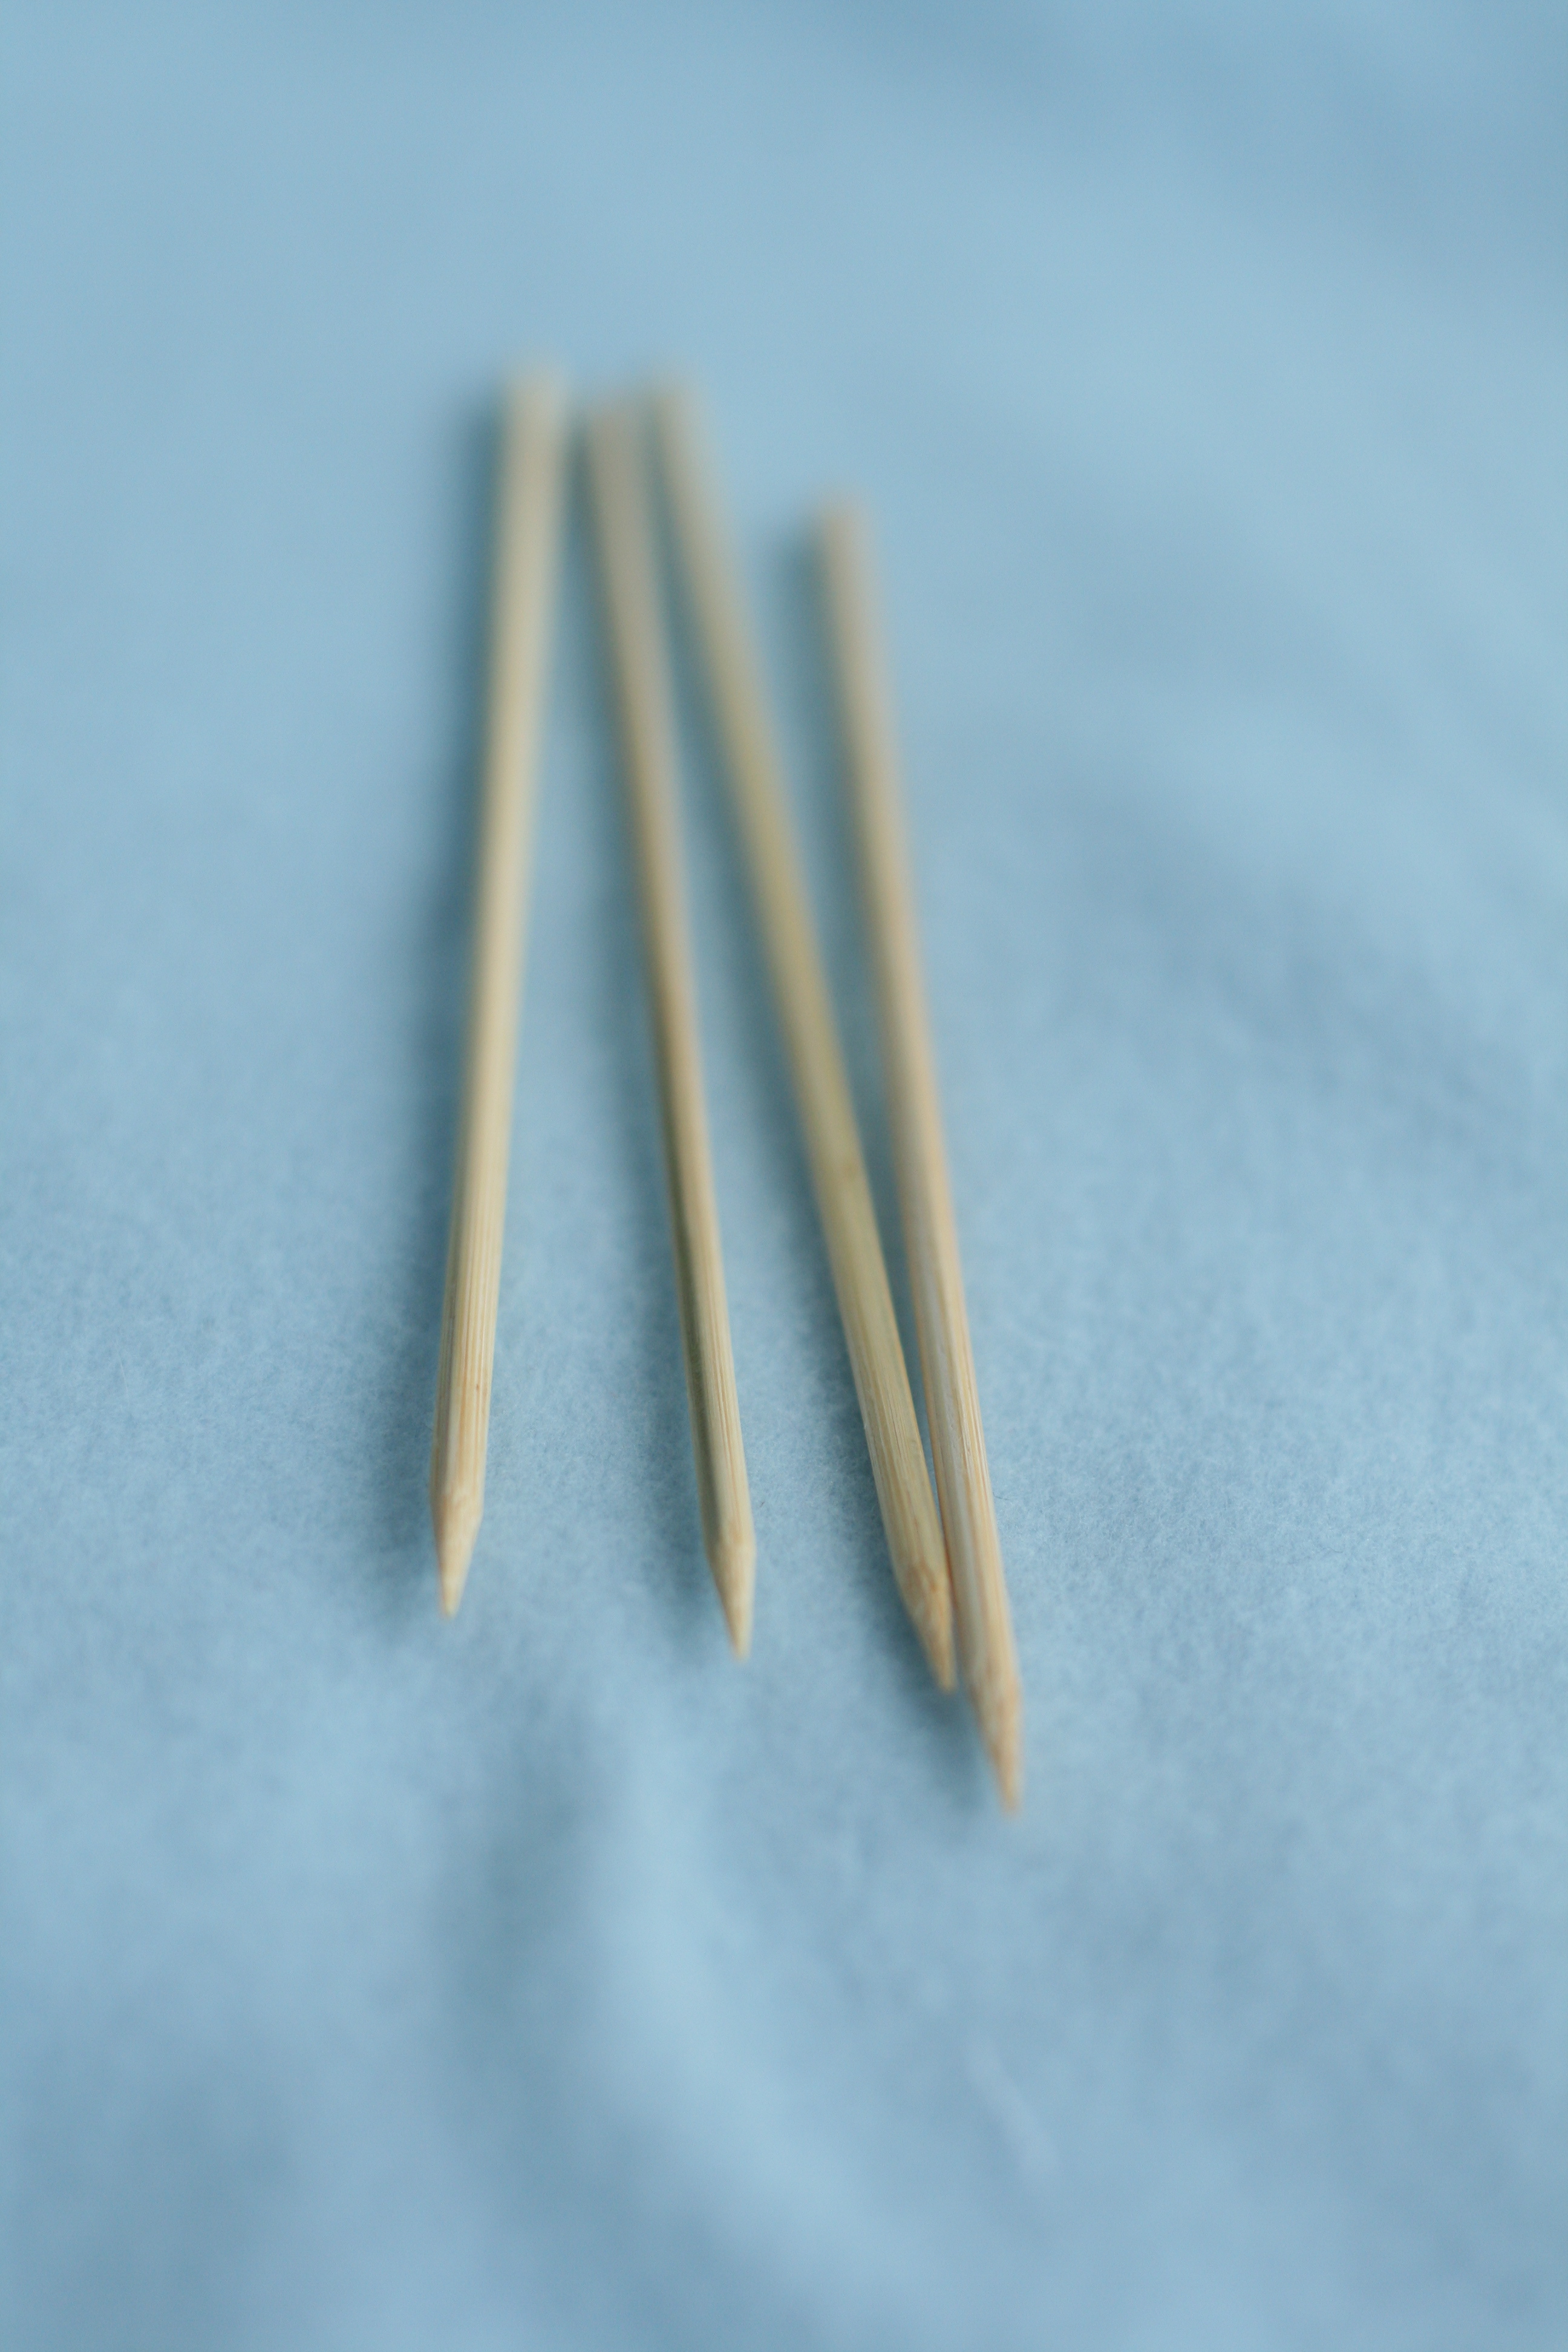
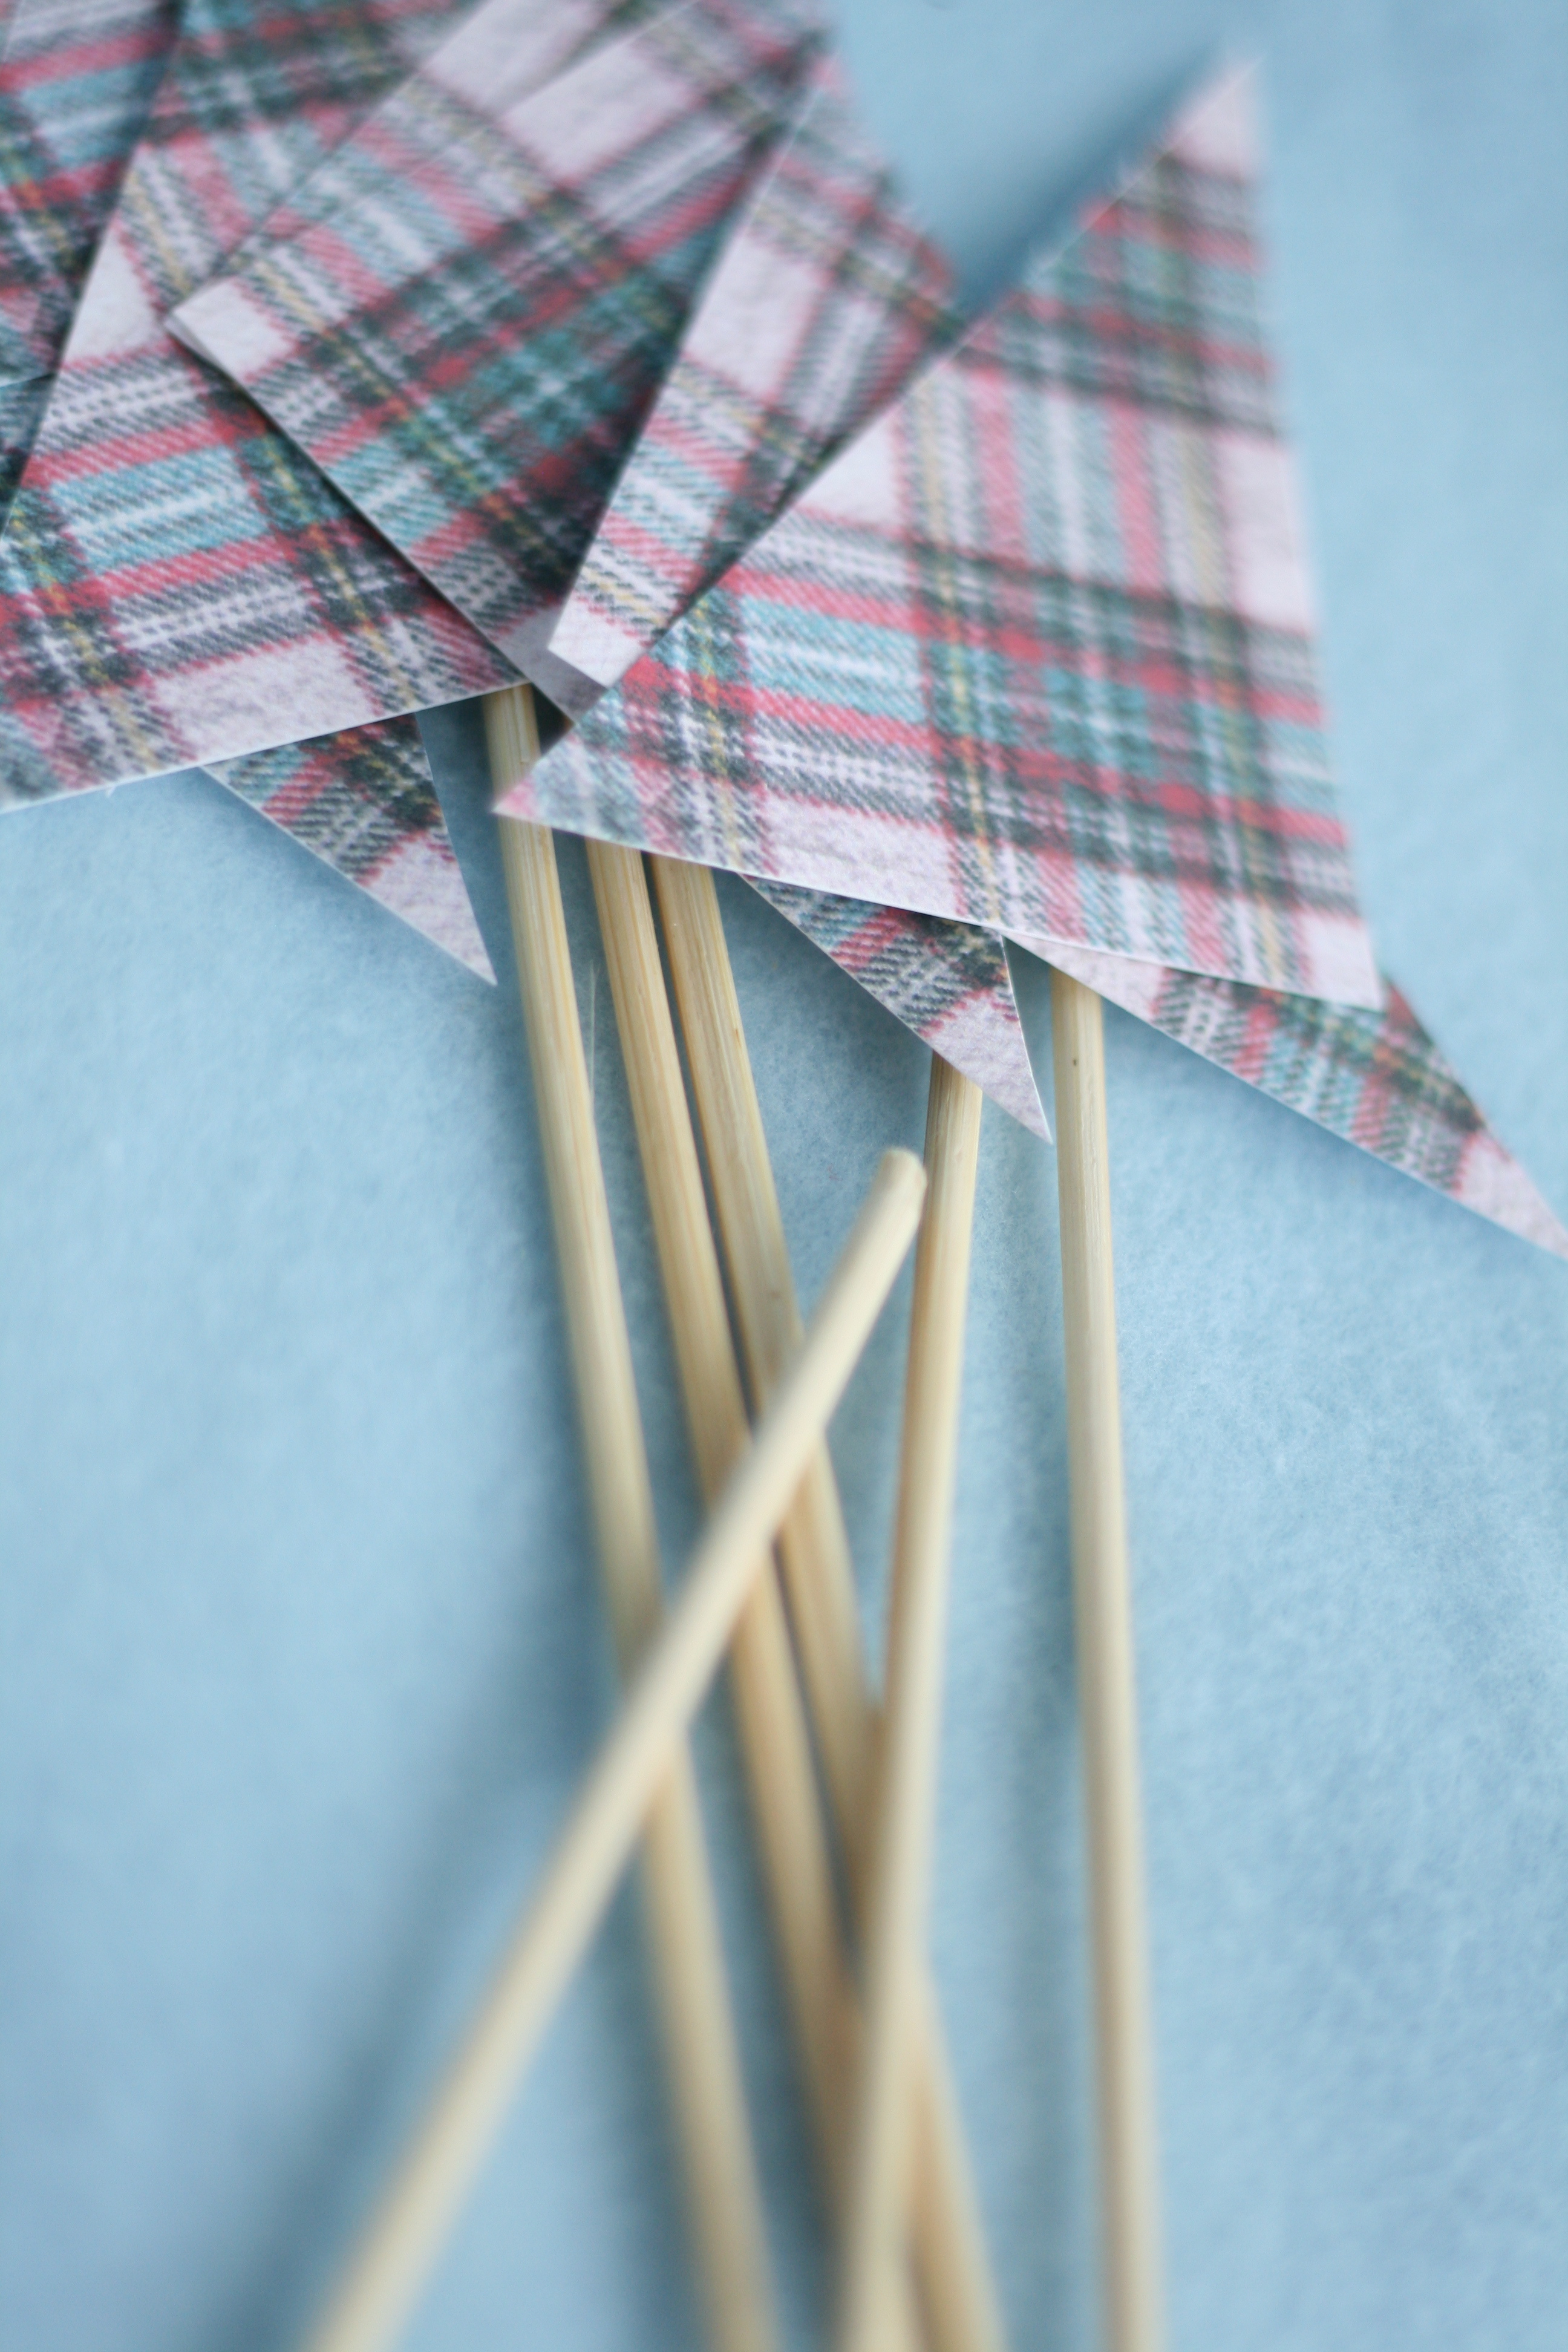
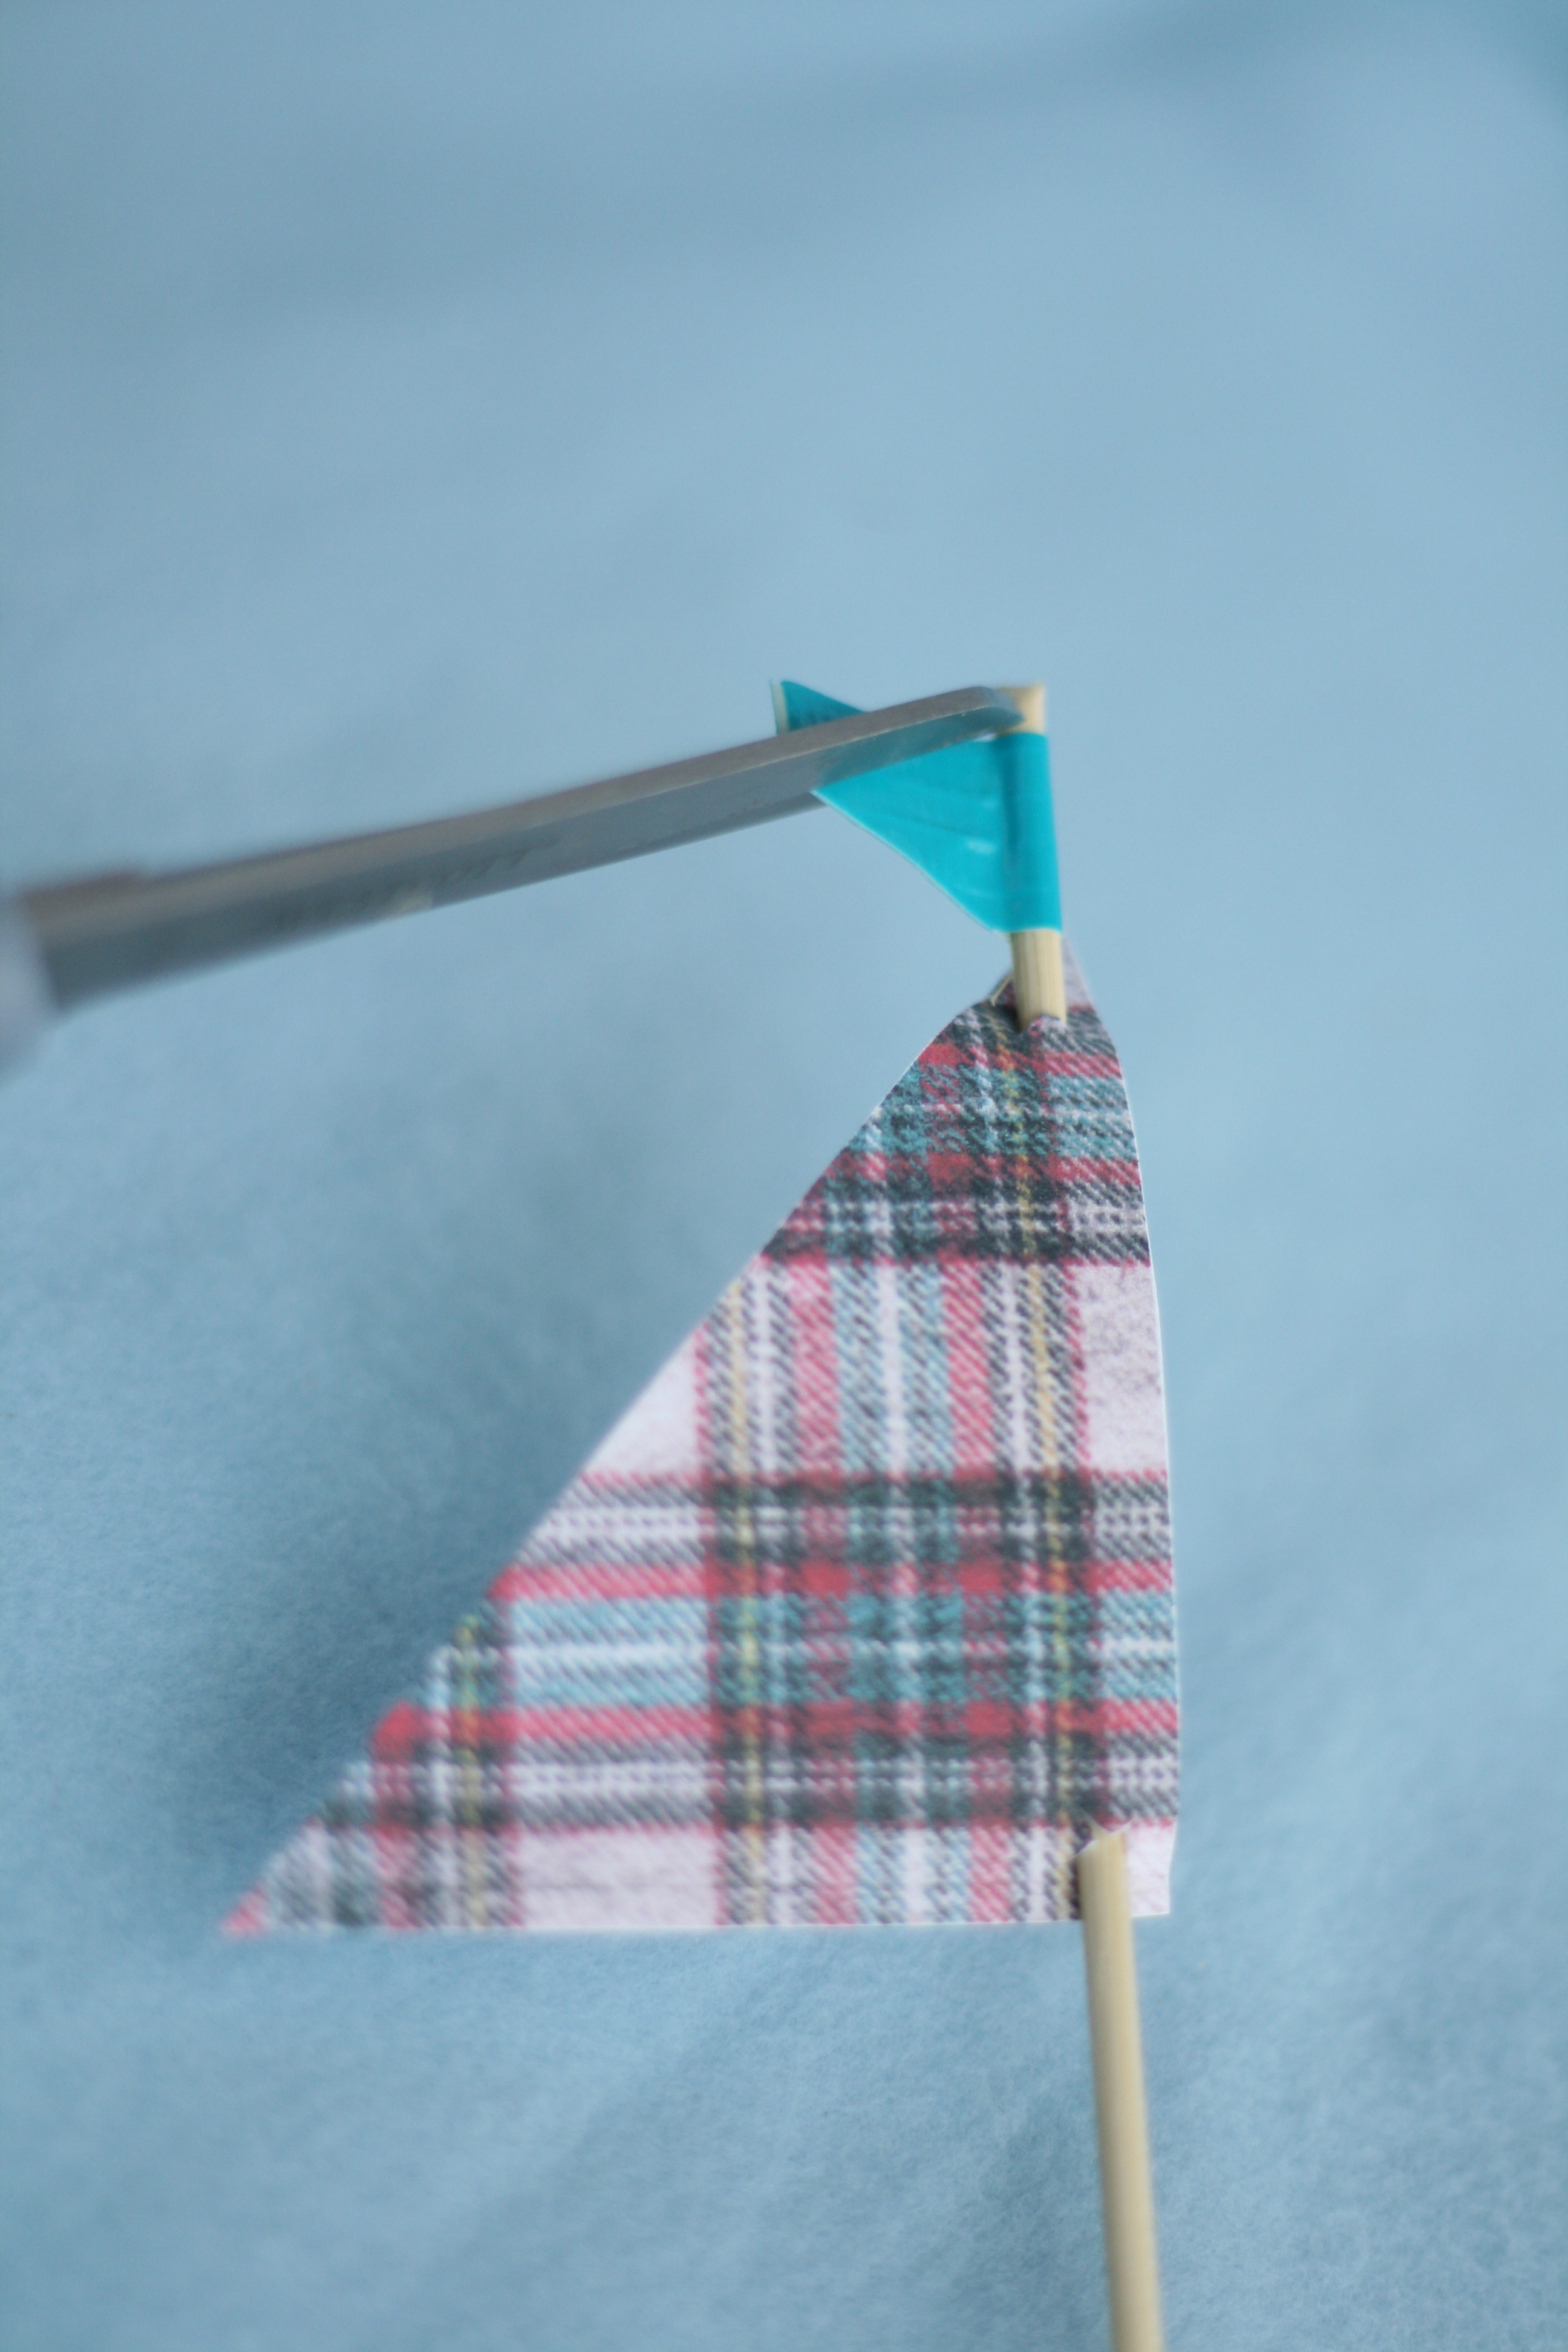
Here’s what you’ll need: • Plaid Cupcake Liners (I ordered mine from Bake it Pretty. Sweet LuLu is another great resource for cute baking supplies.) • White Cupcake Liners (Always double up your liners so you can actually see the pretty liner. If you use one liner, when the cupcake bakes, the color of the cupcake will bleed into the liner thus losing its pretty pattern. Sad.) • Wooden Skewers (Think kabobs.) • Wire Cutters • FauxMartha Cupcake Sail Pattern • Printer • Textured, cardstock weight paper • Scissors • Exacto Knife • Cutting Board • Colored Duck Tape (or colored masking tape)
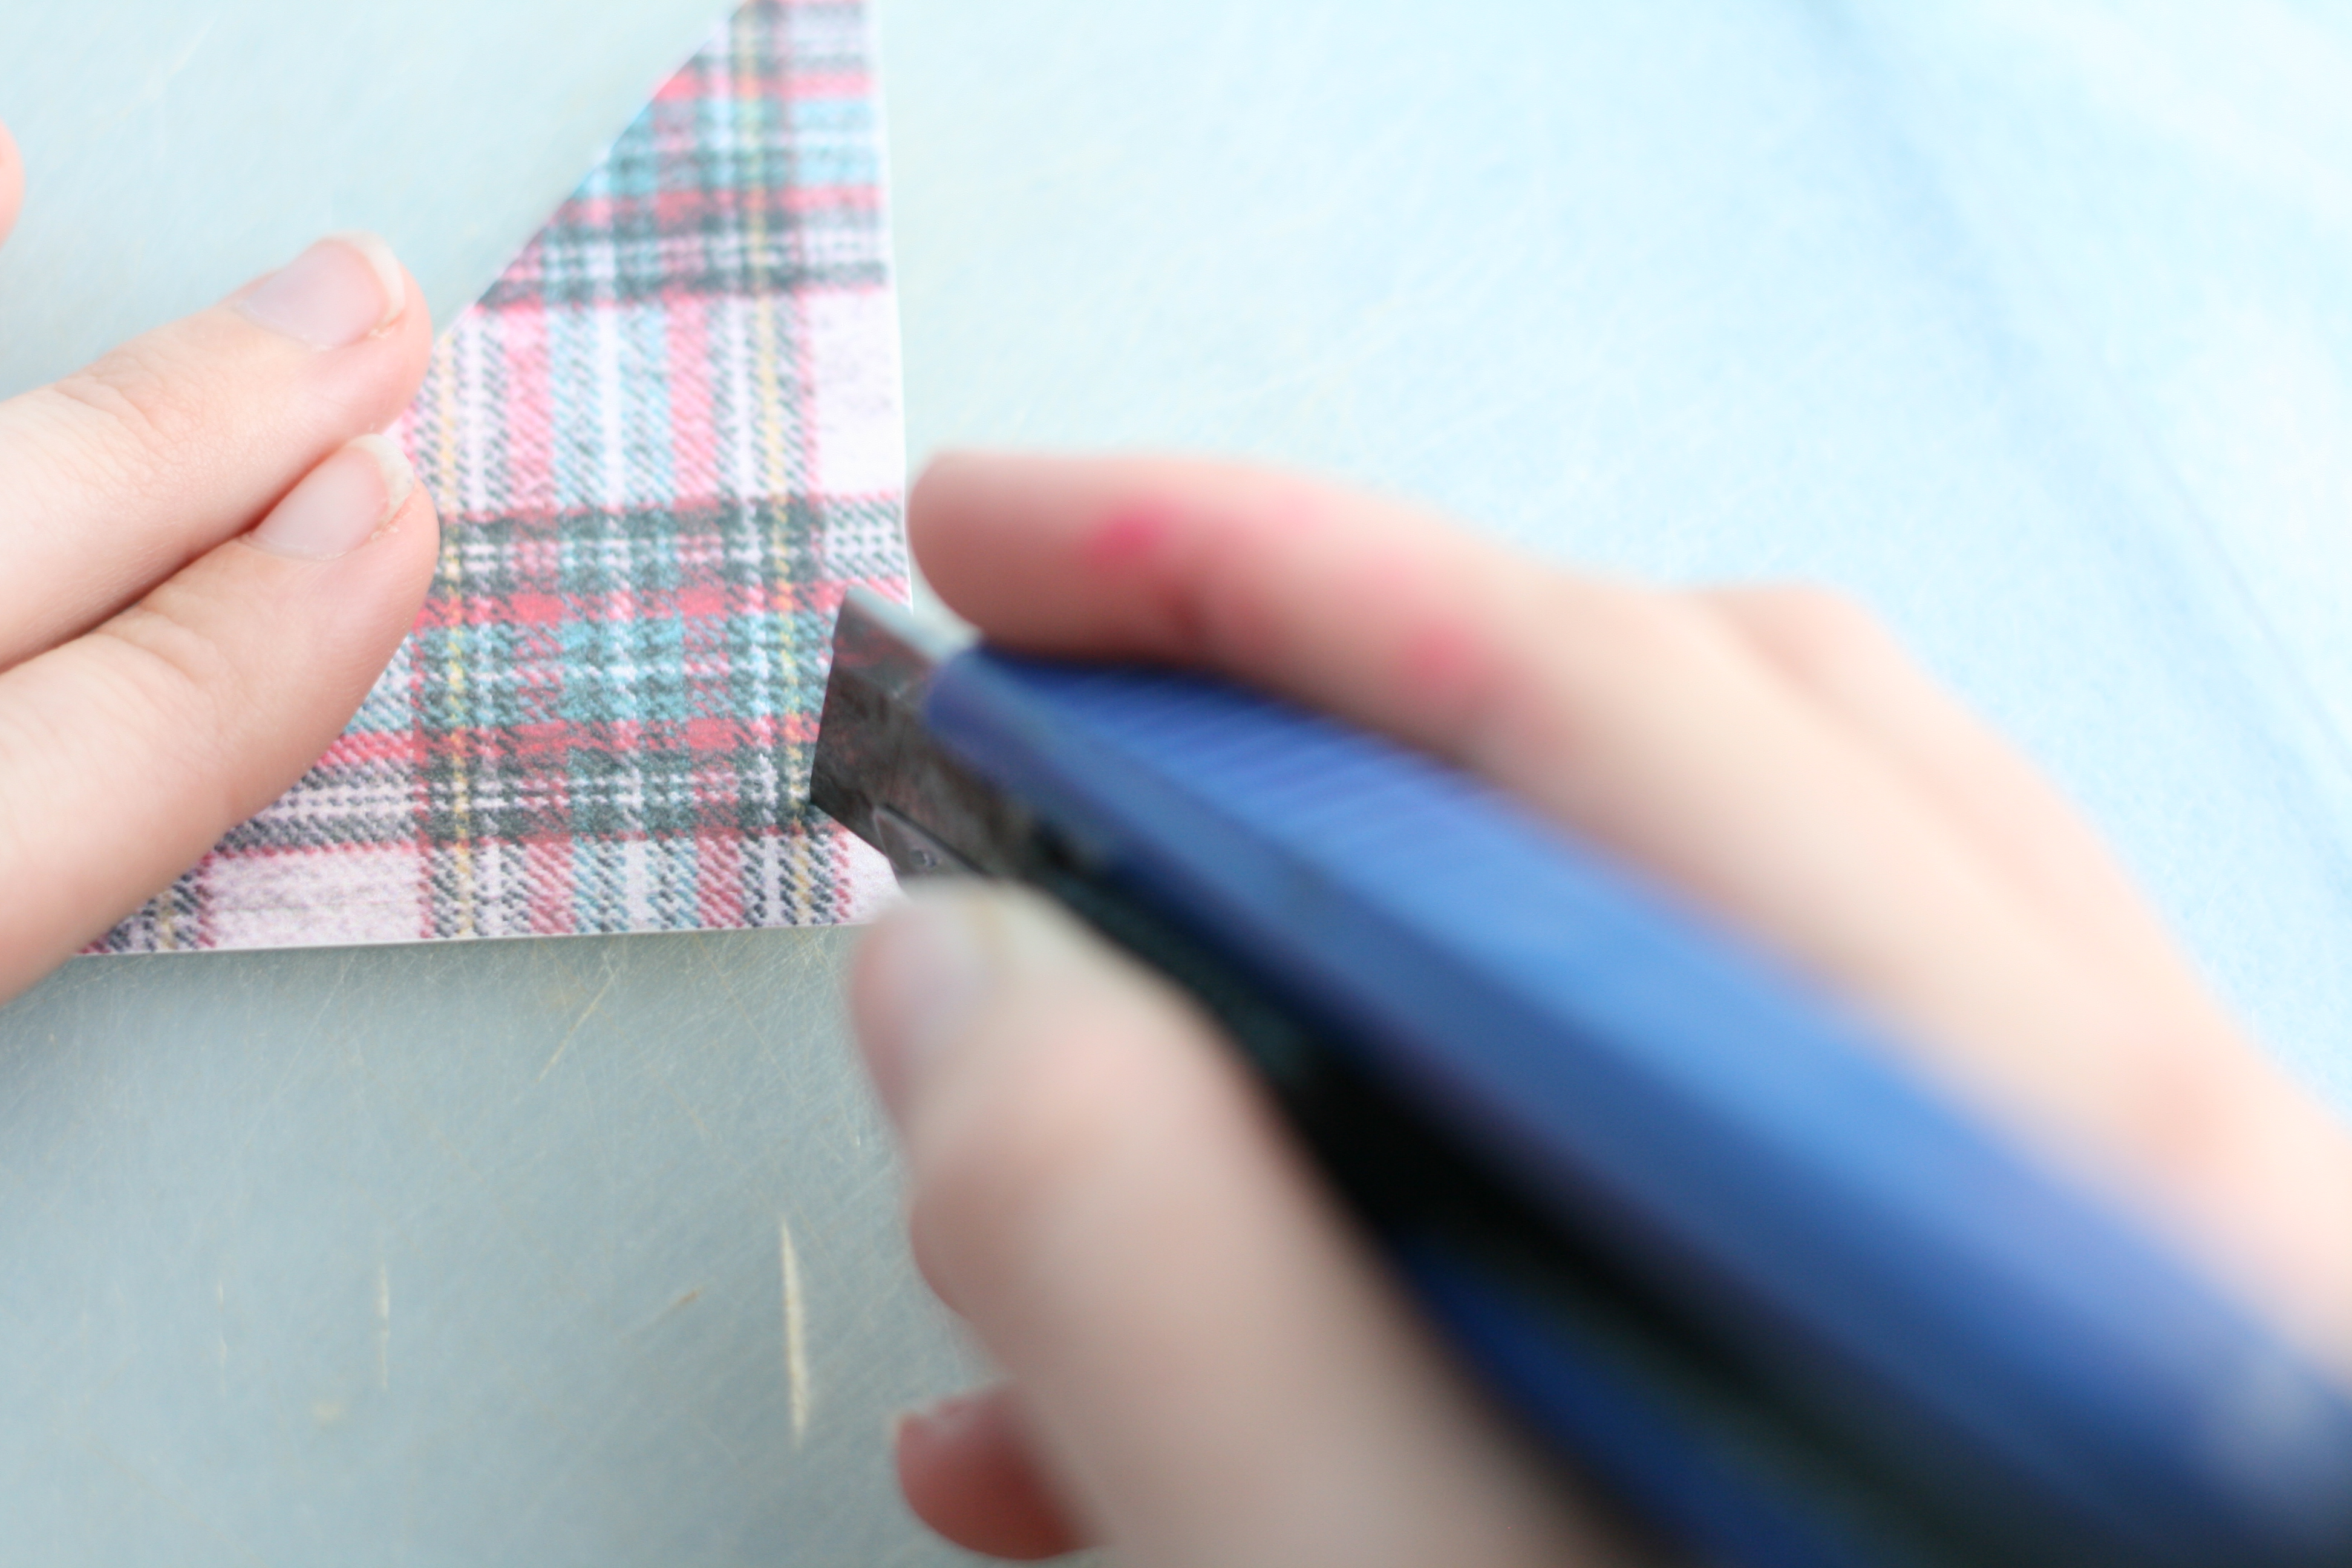
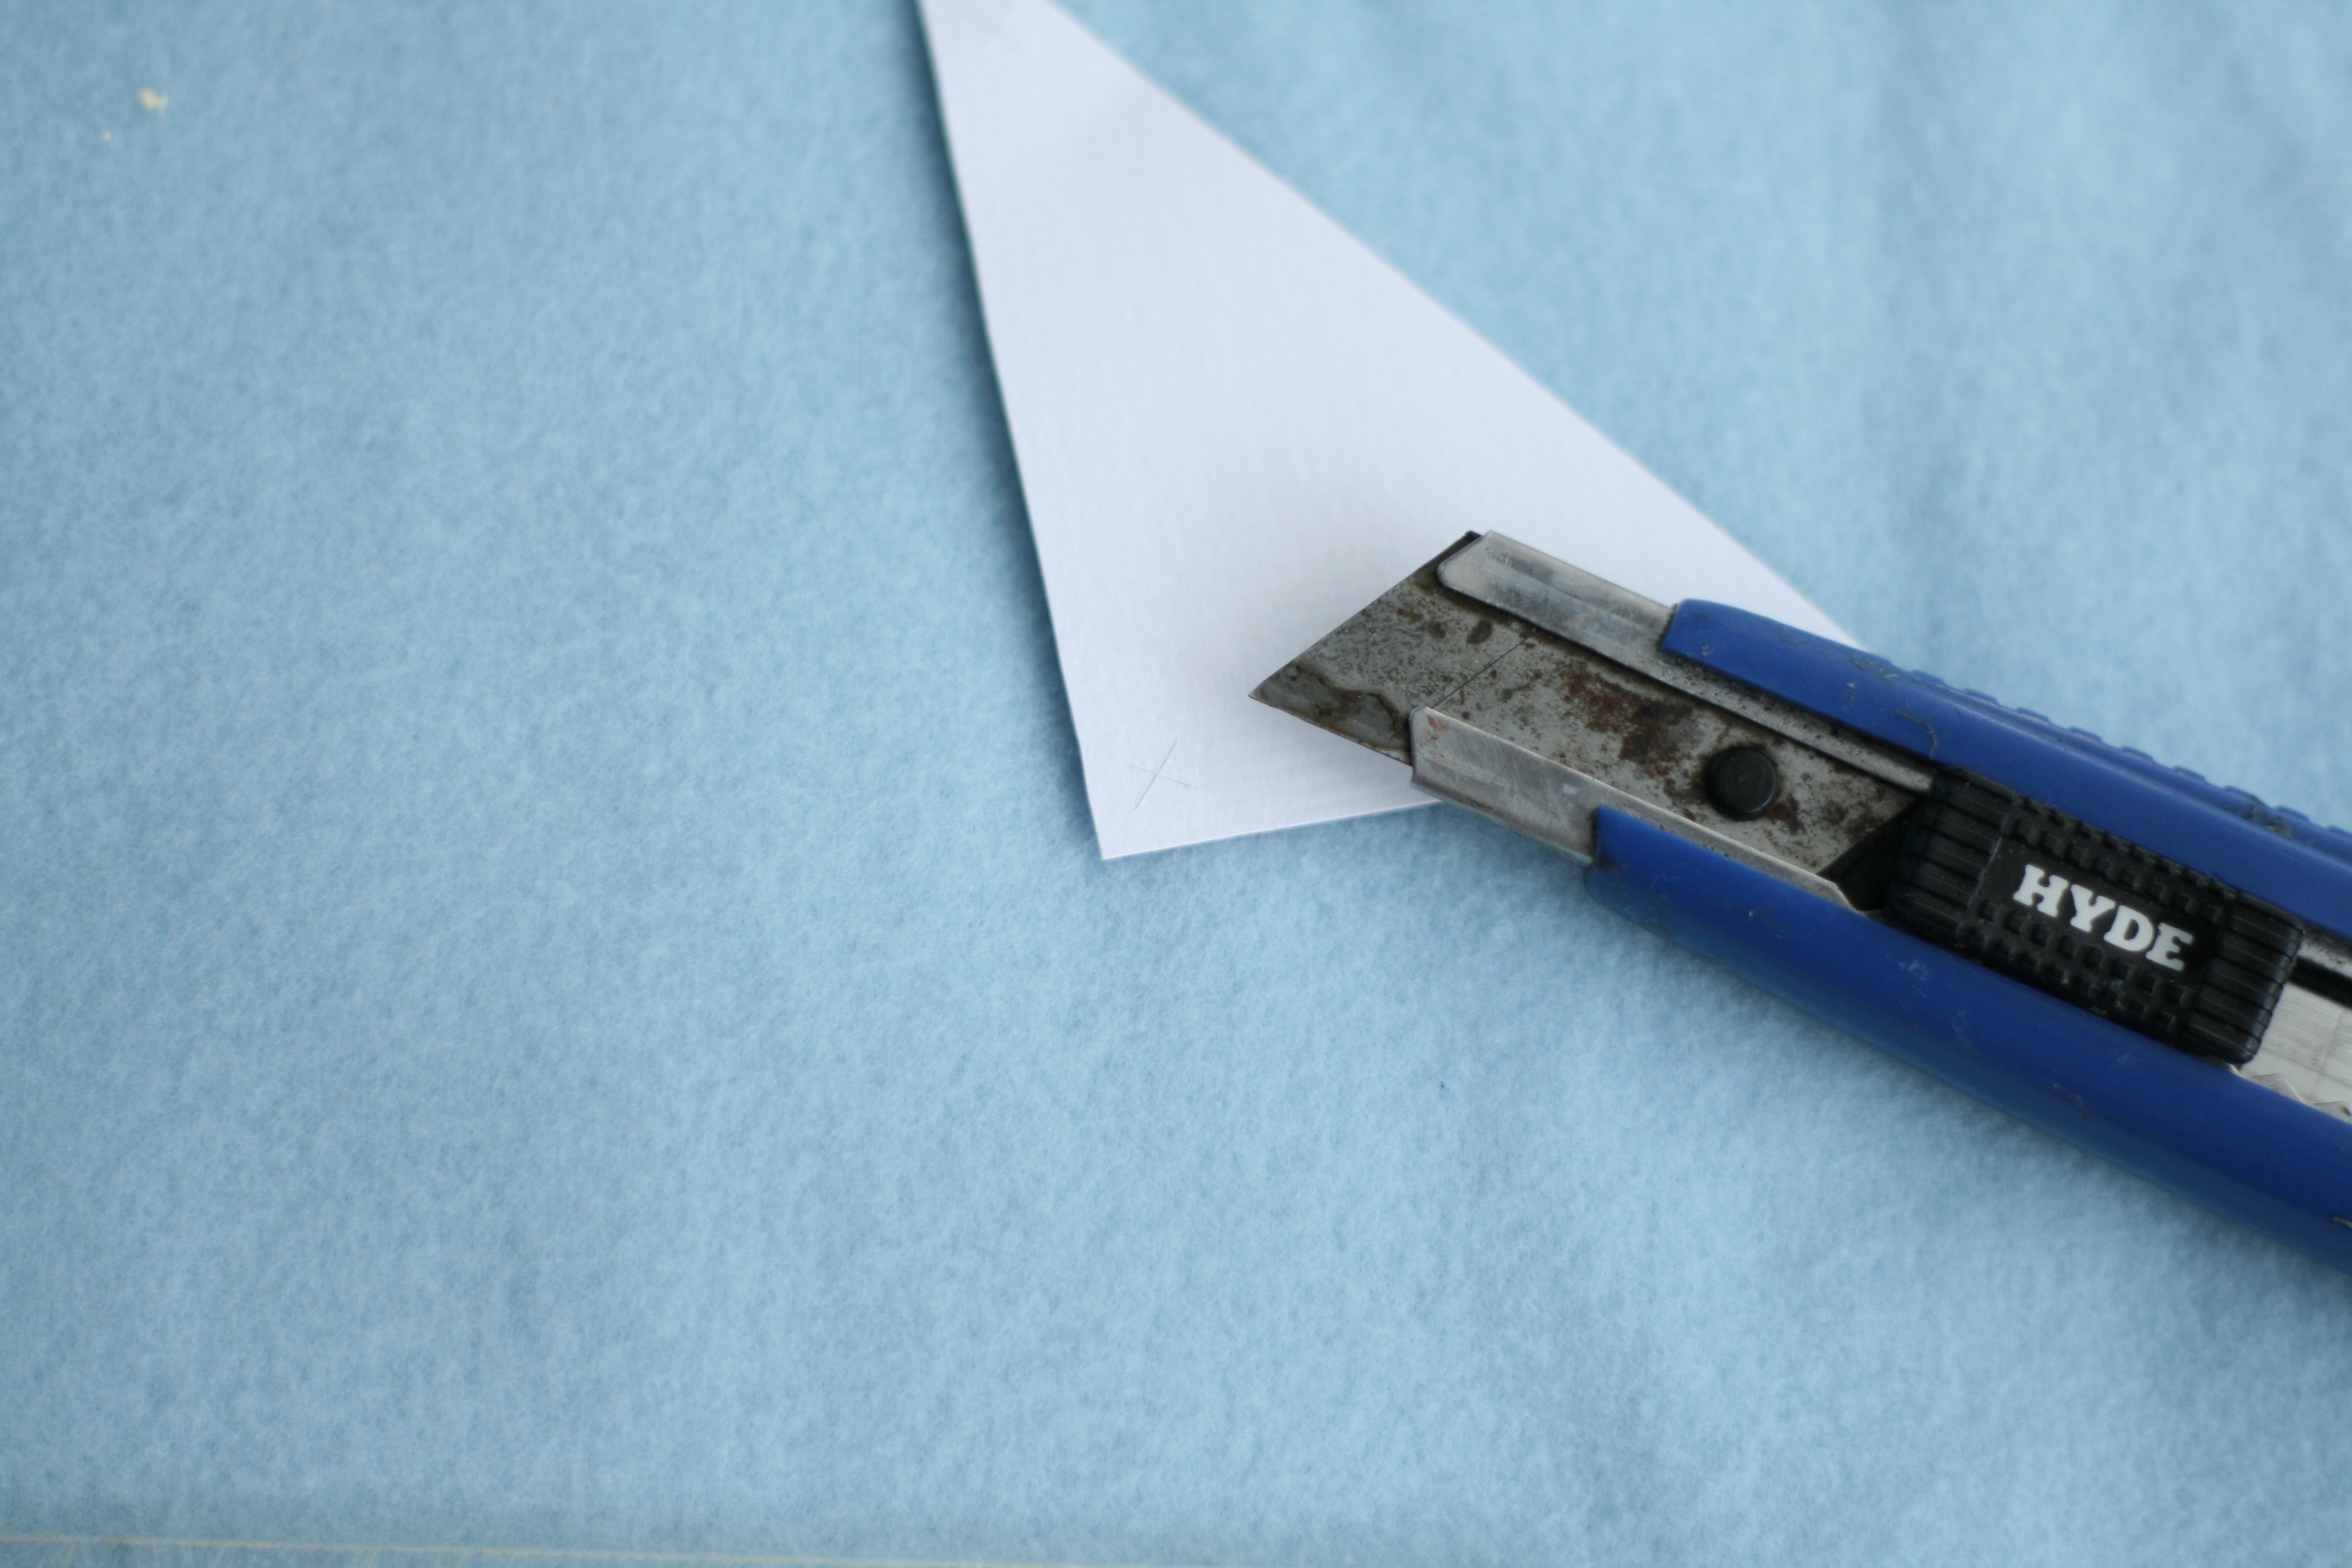
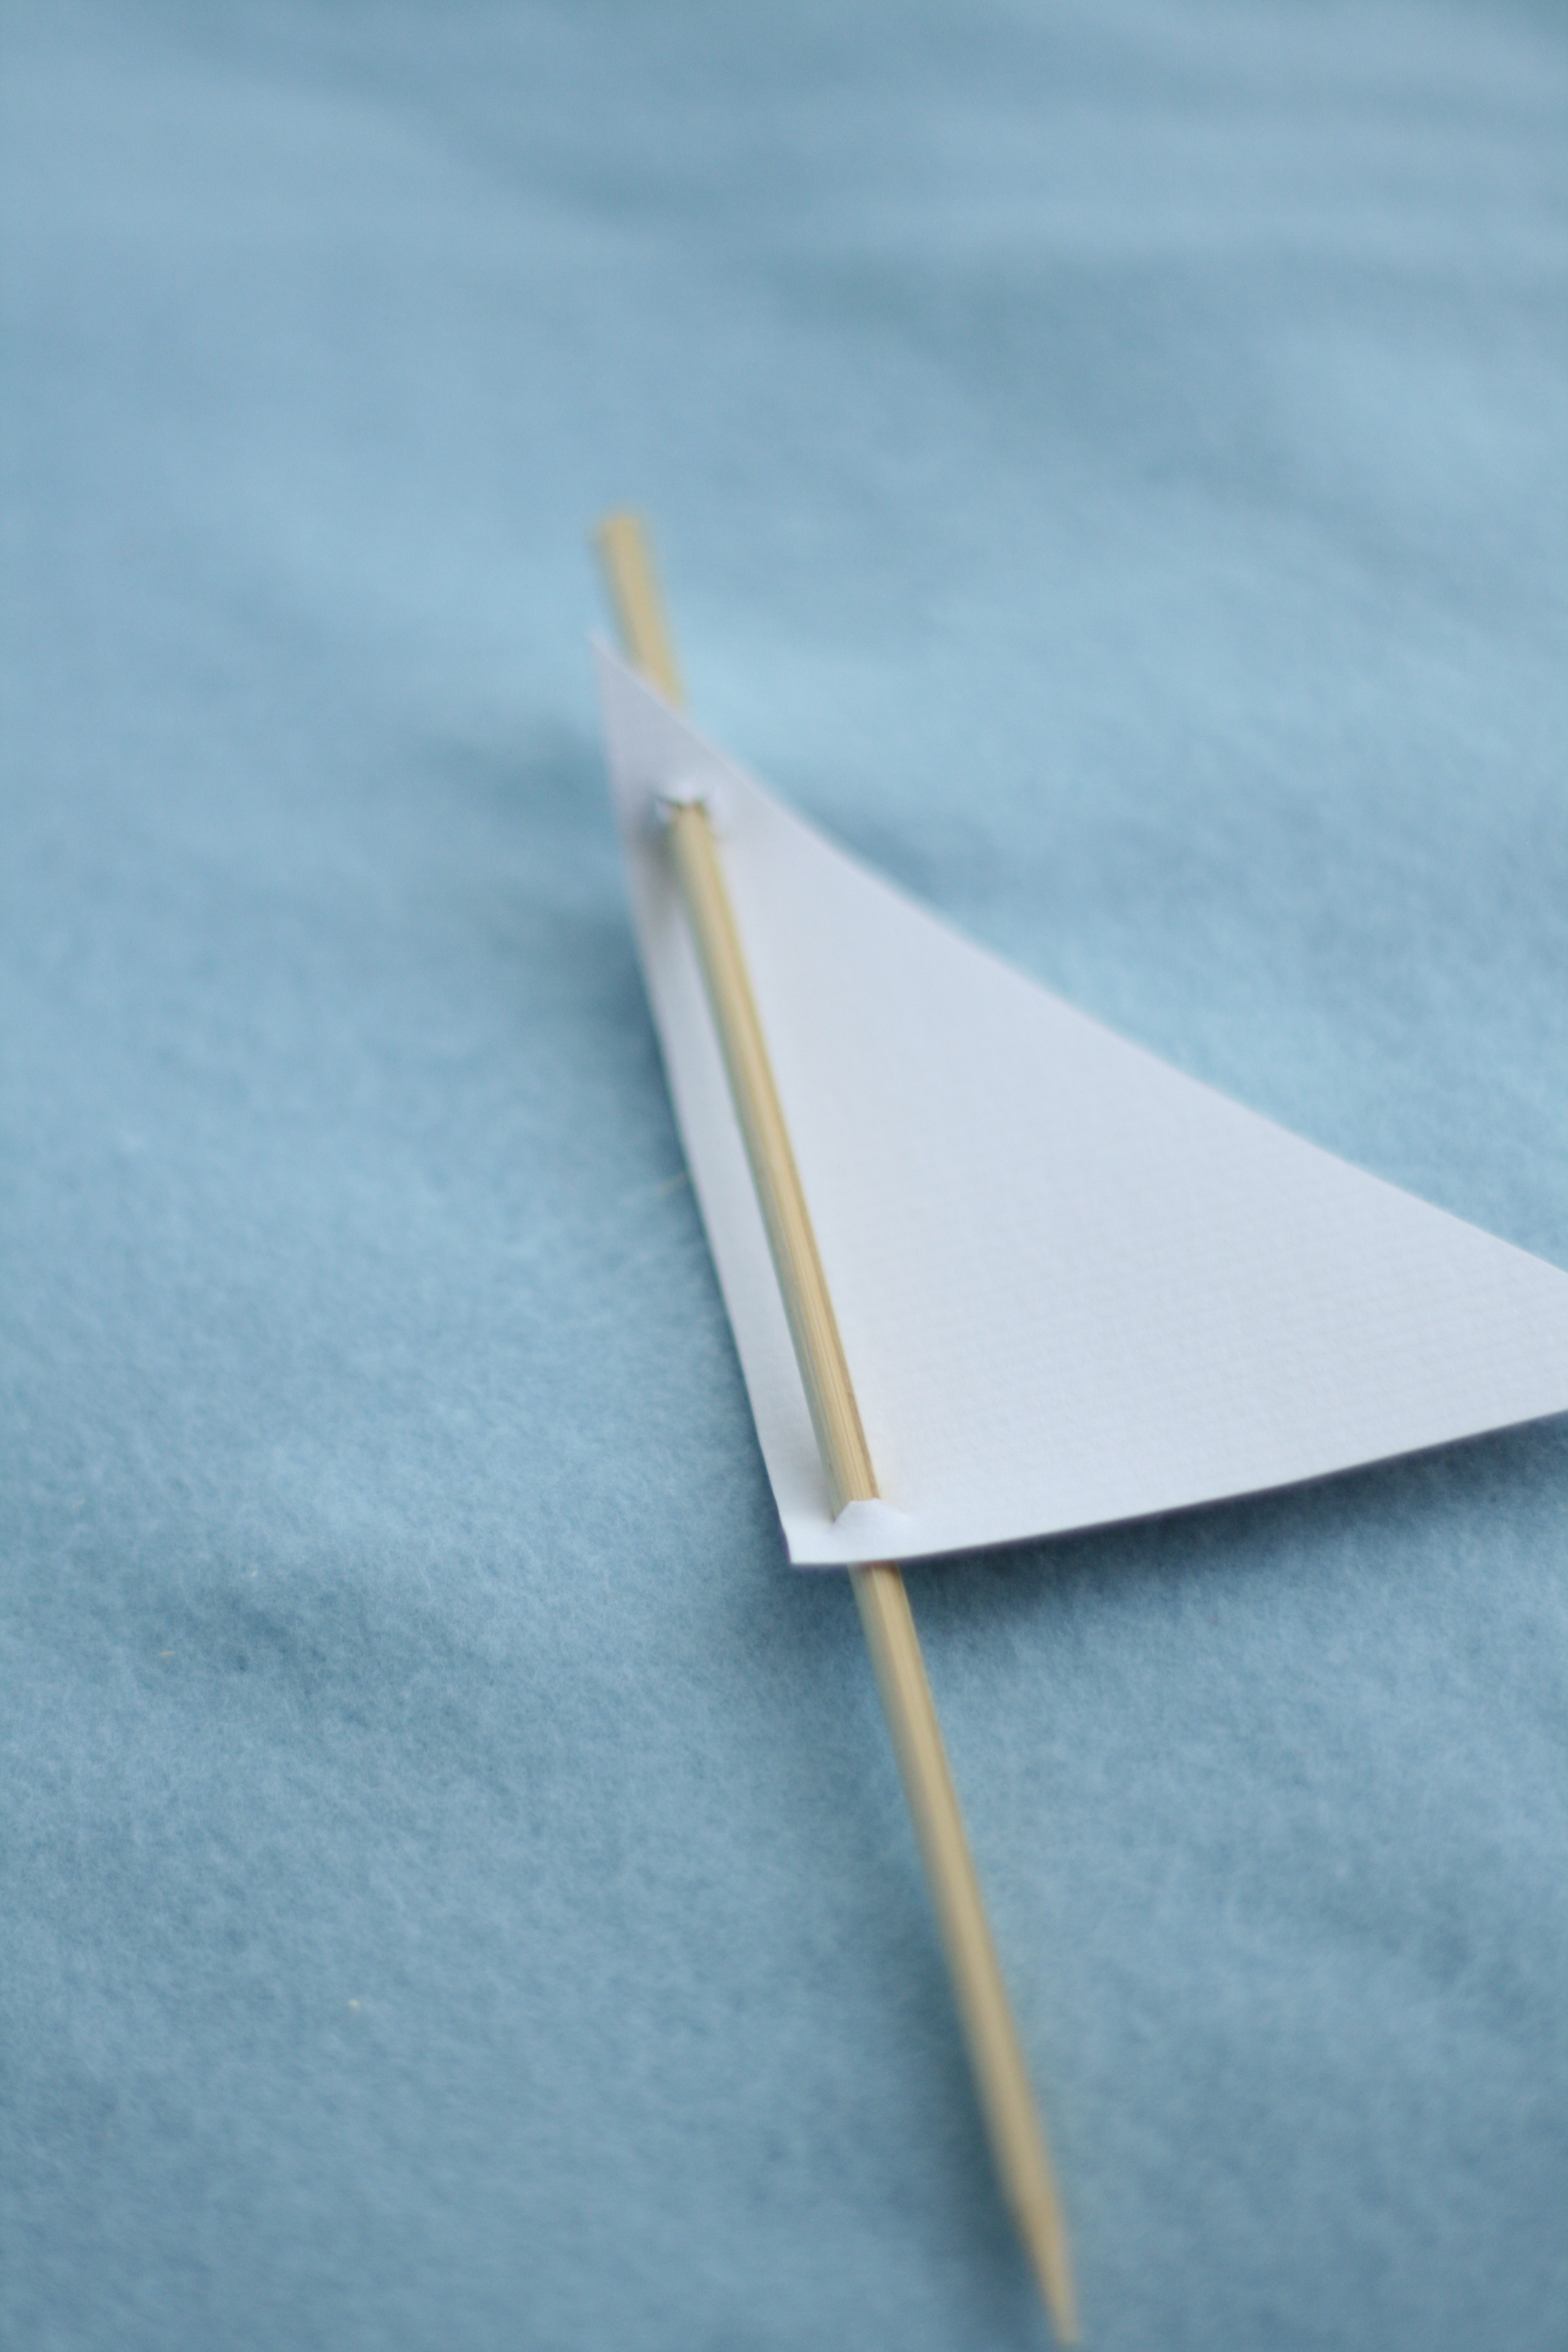
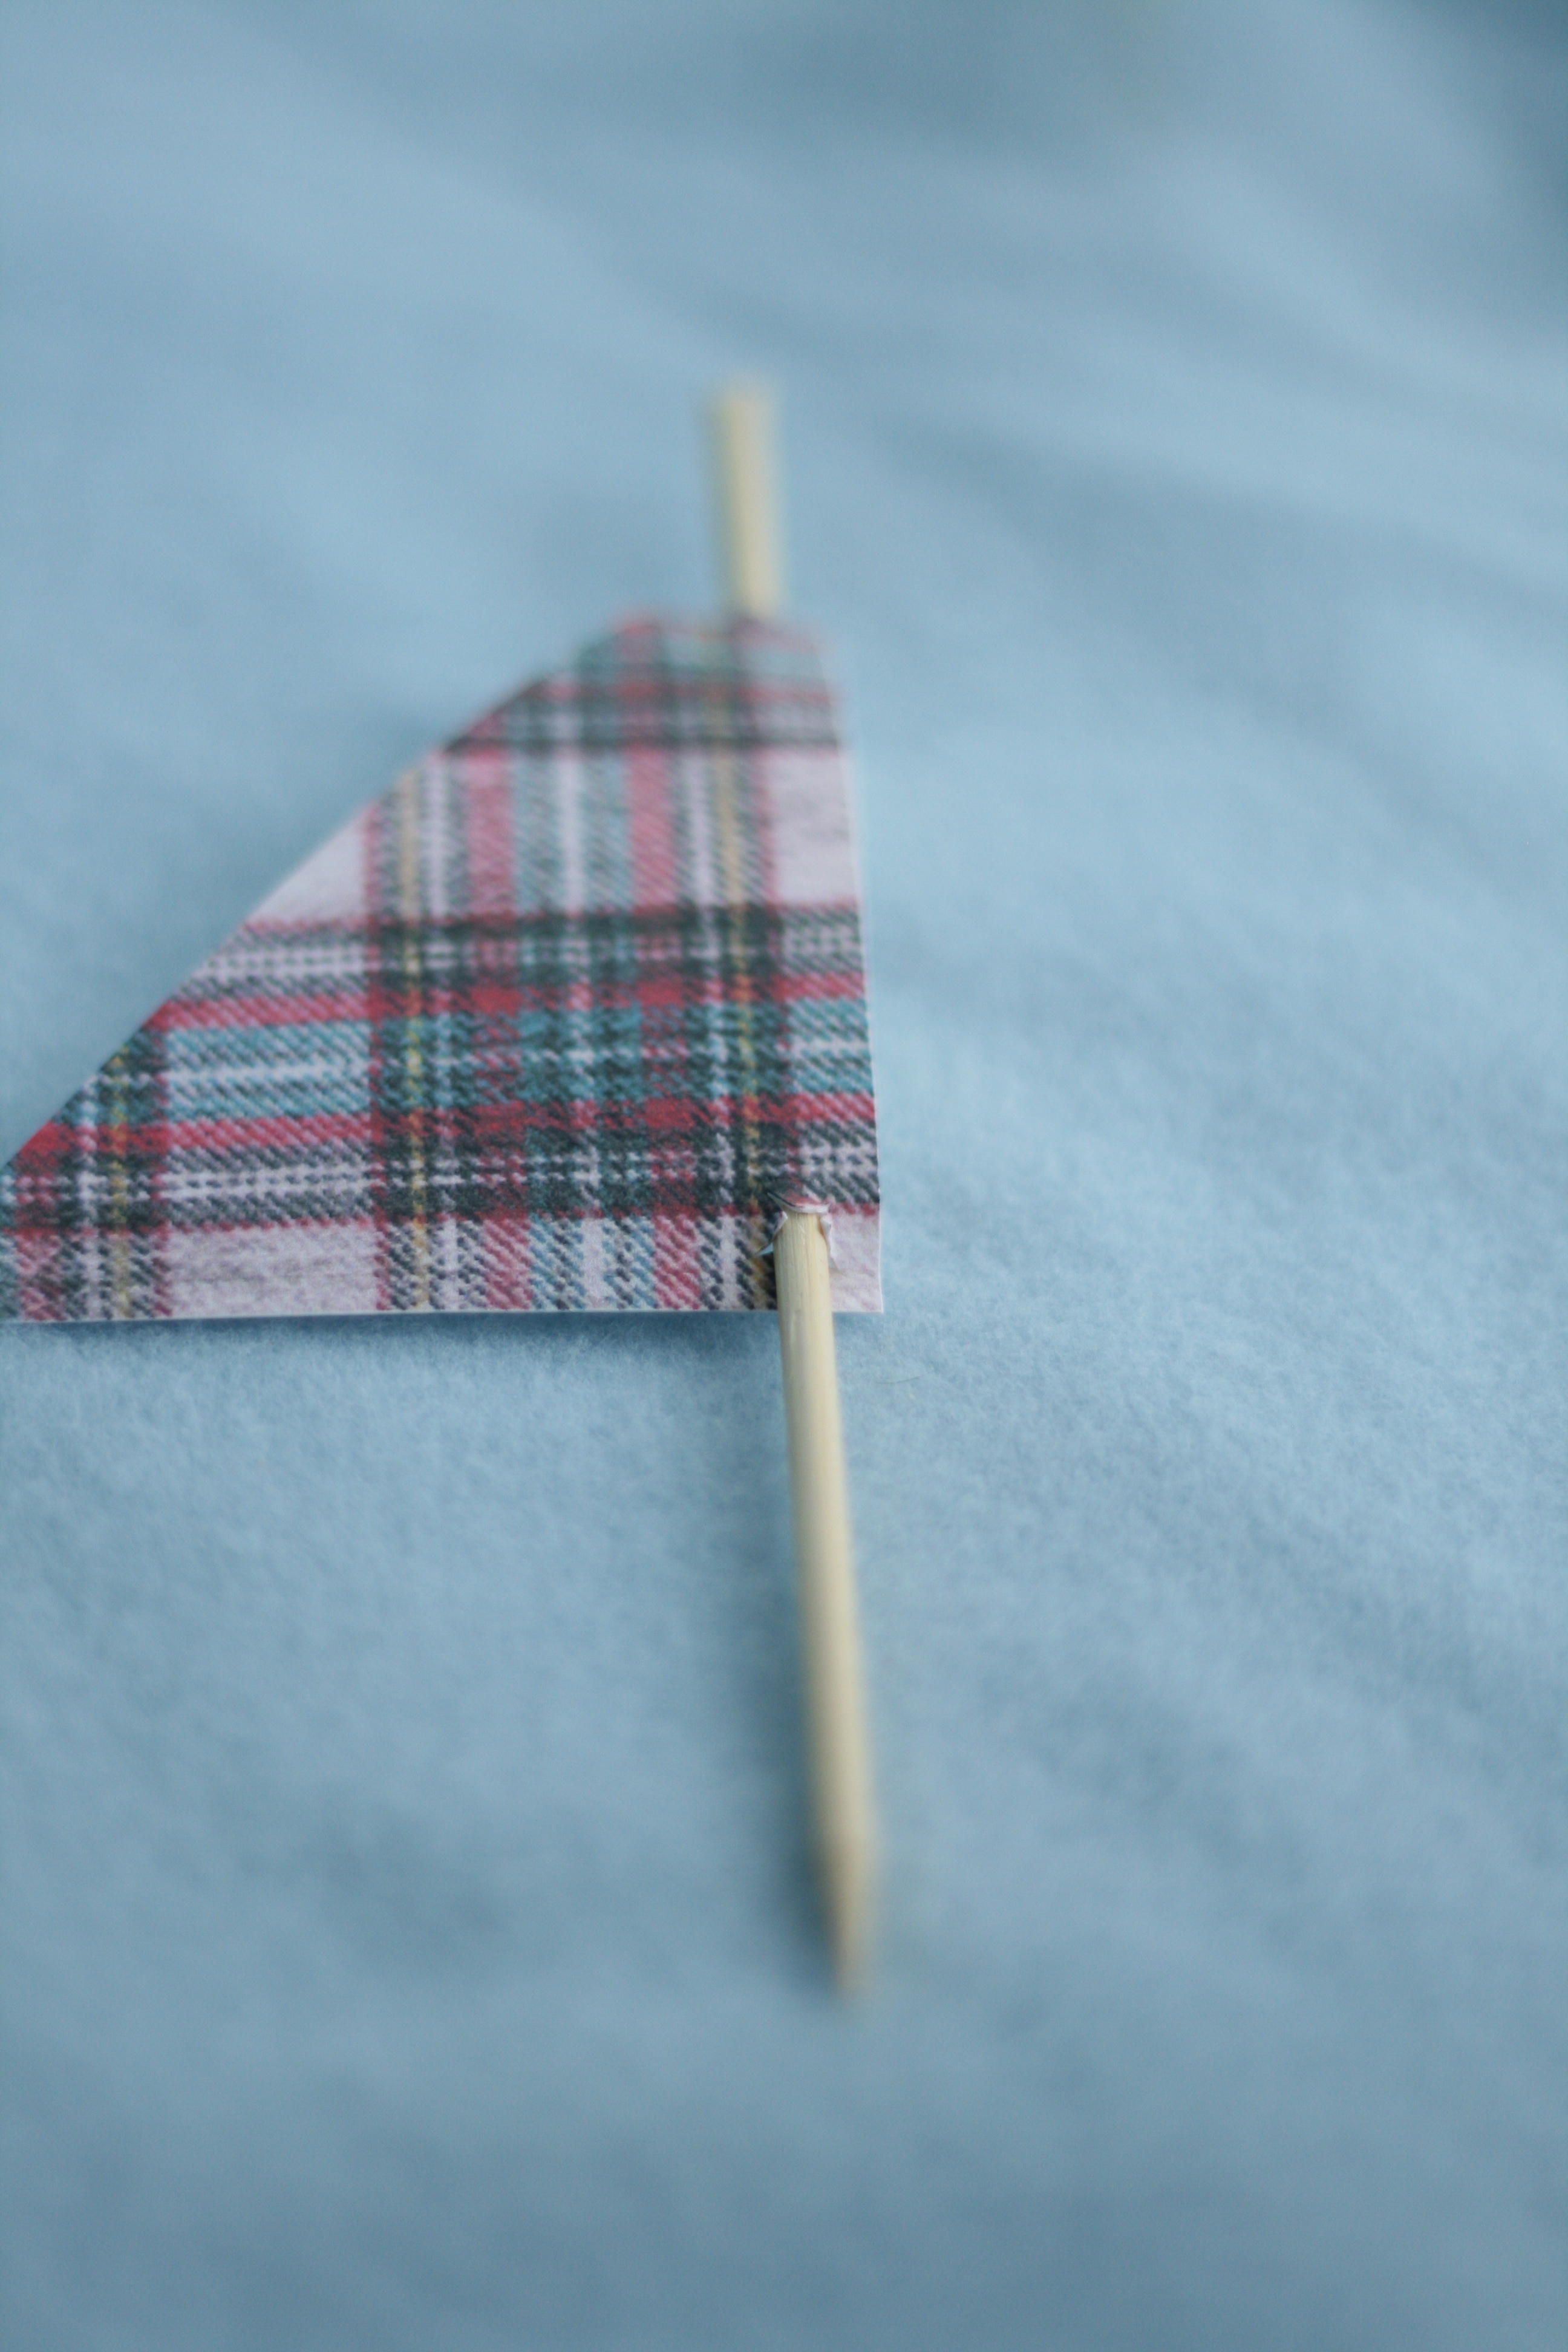
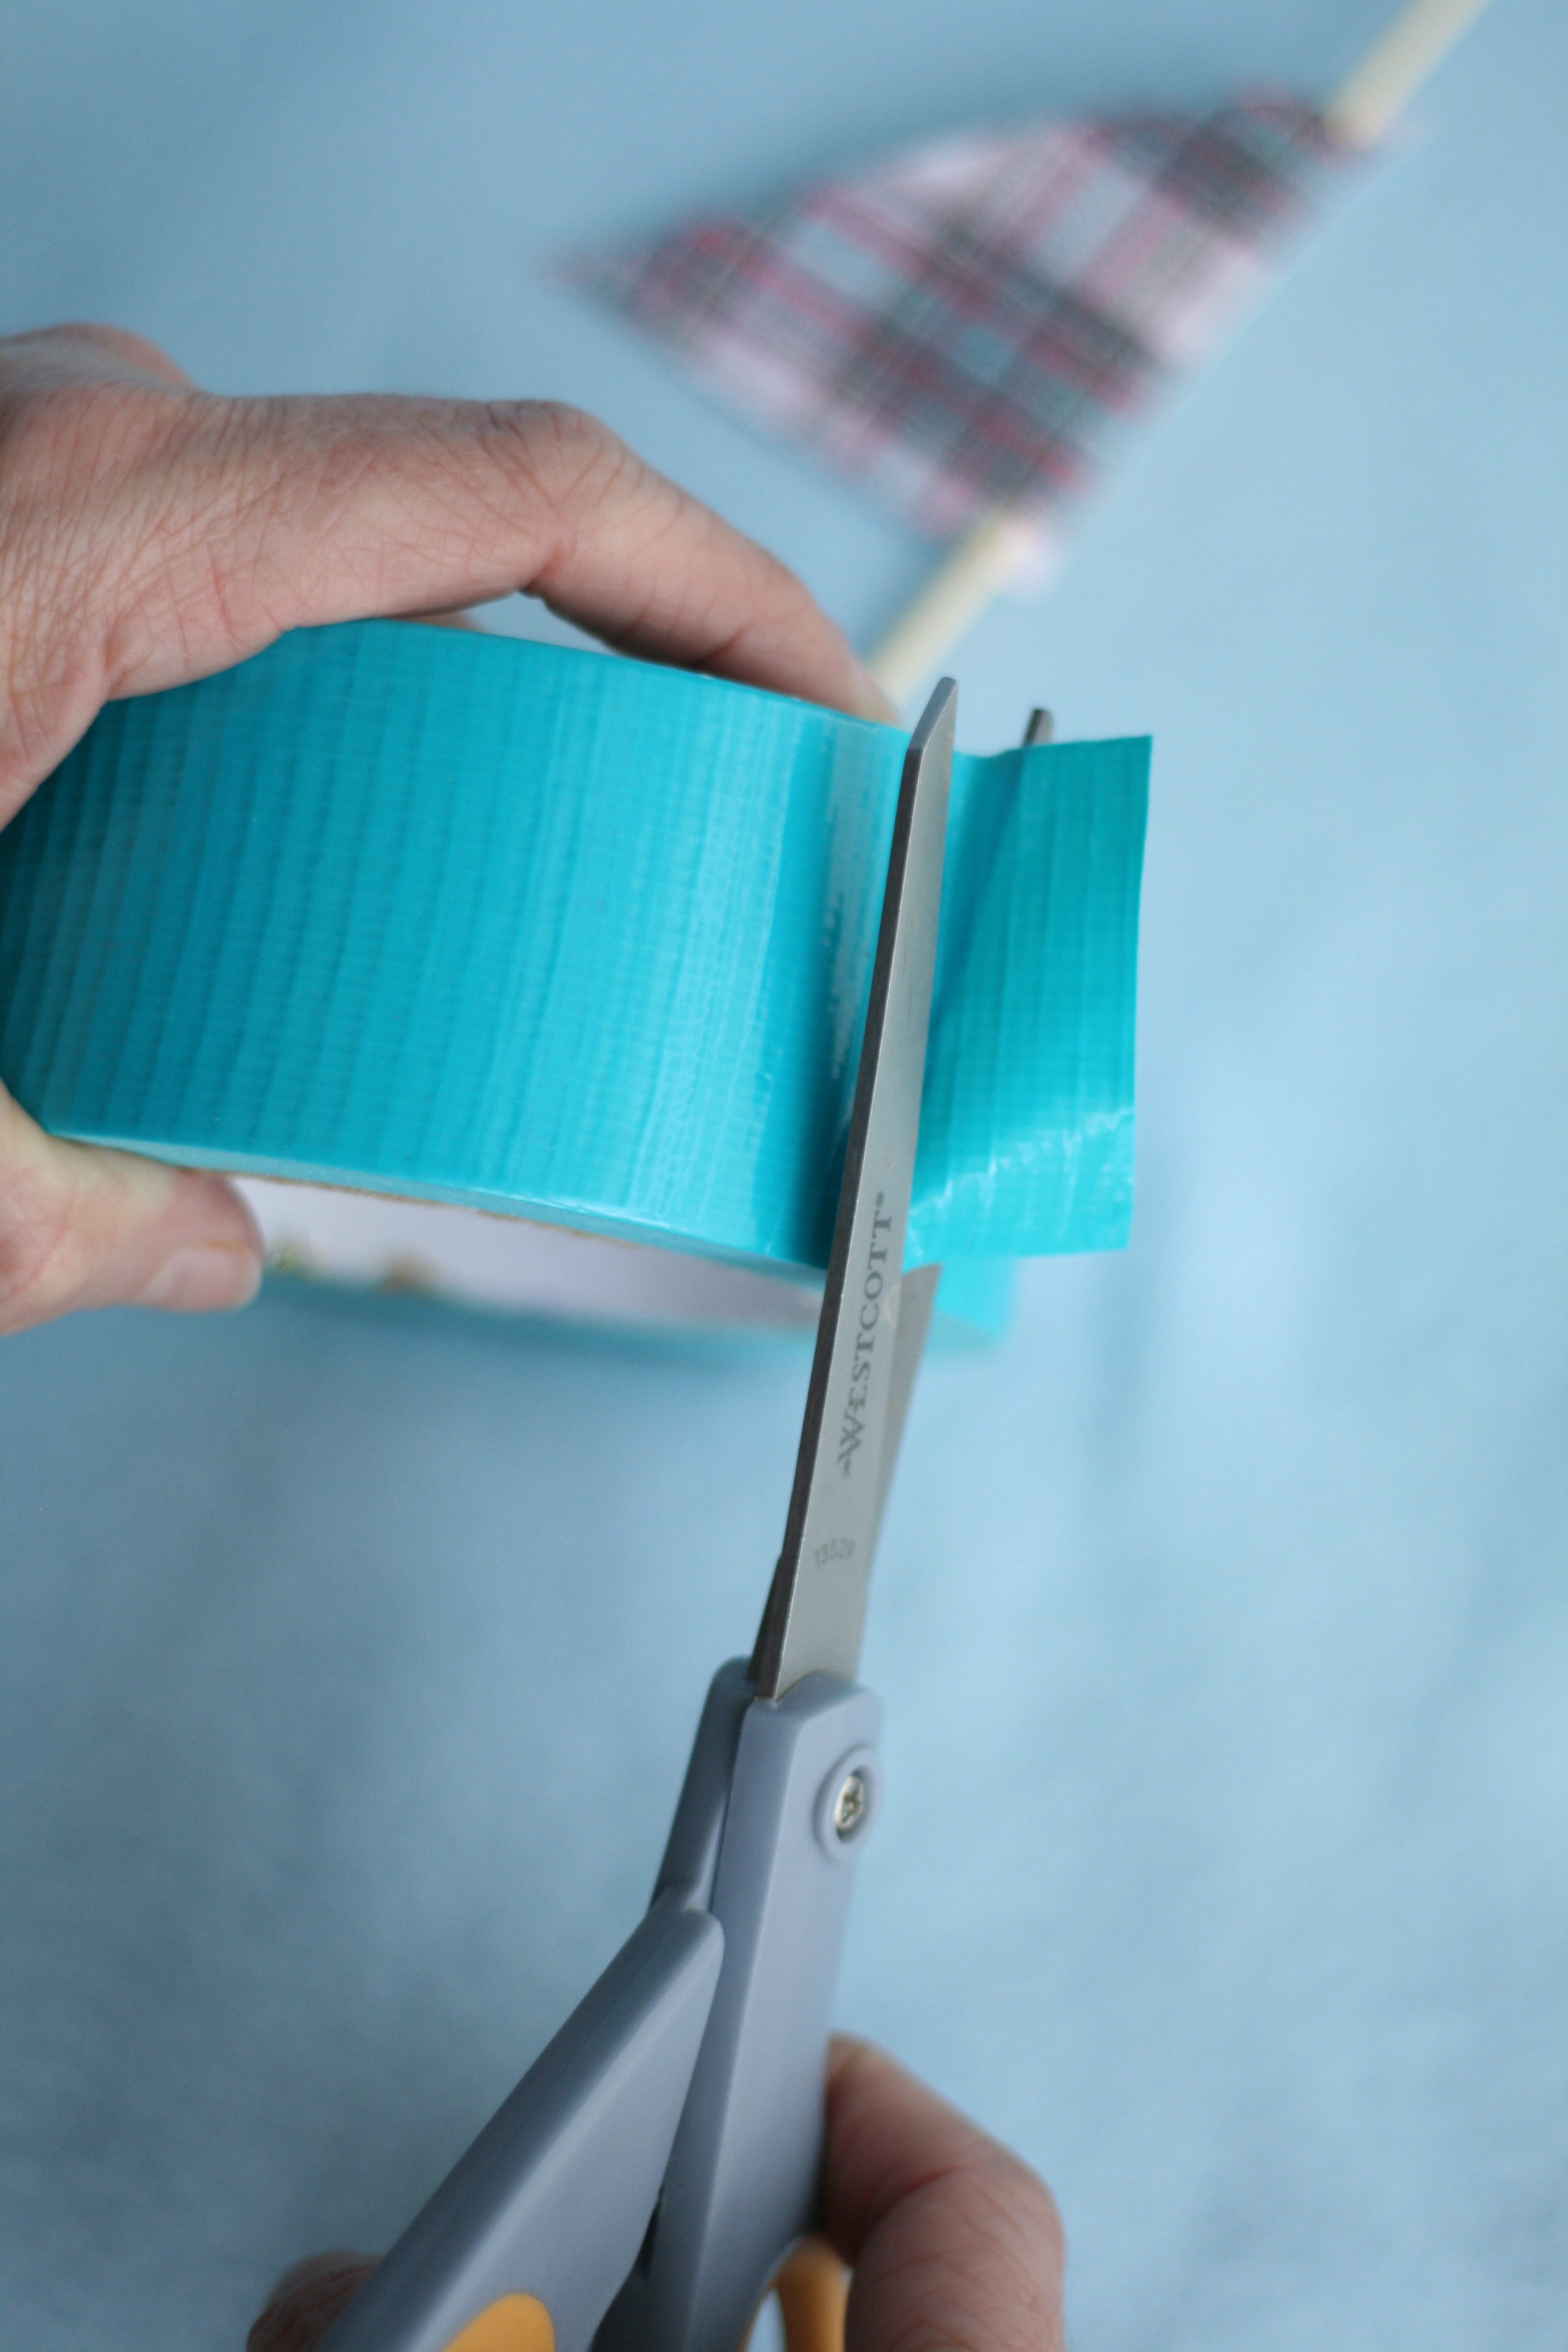
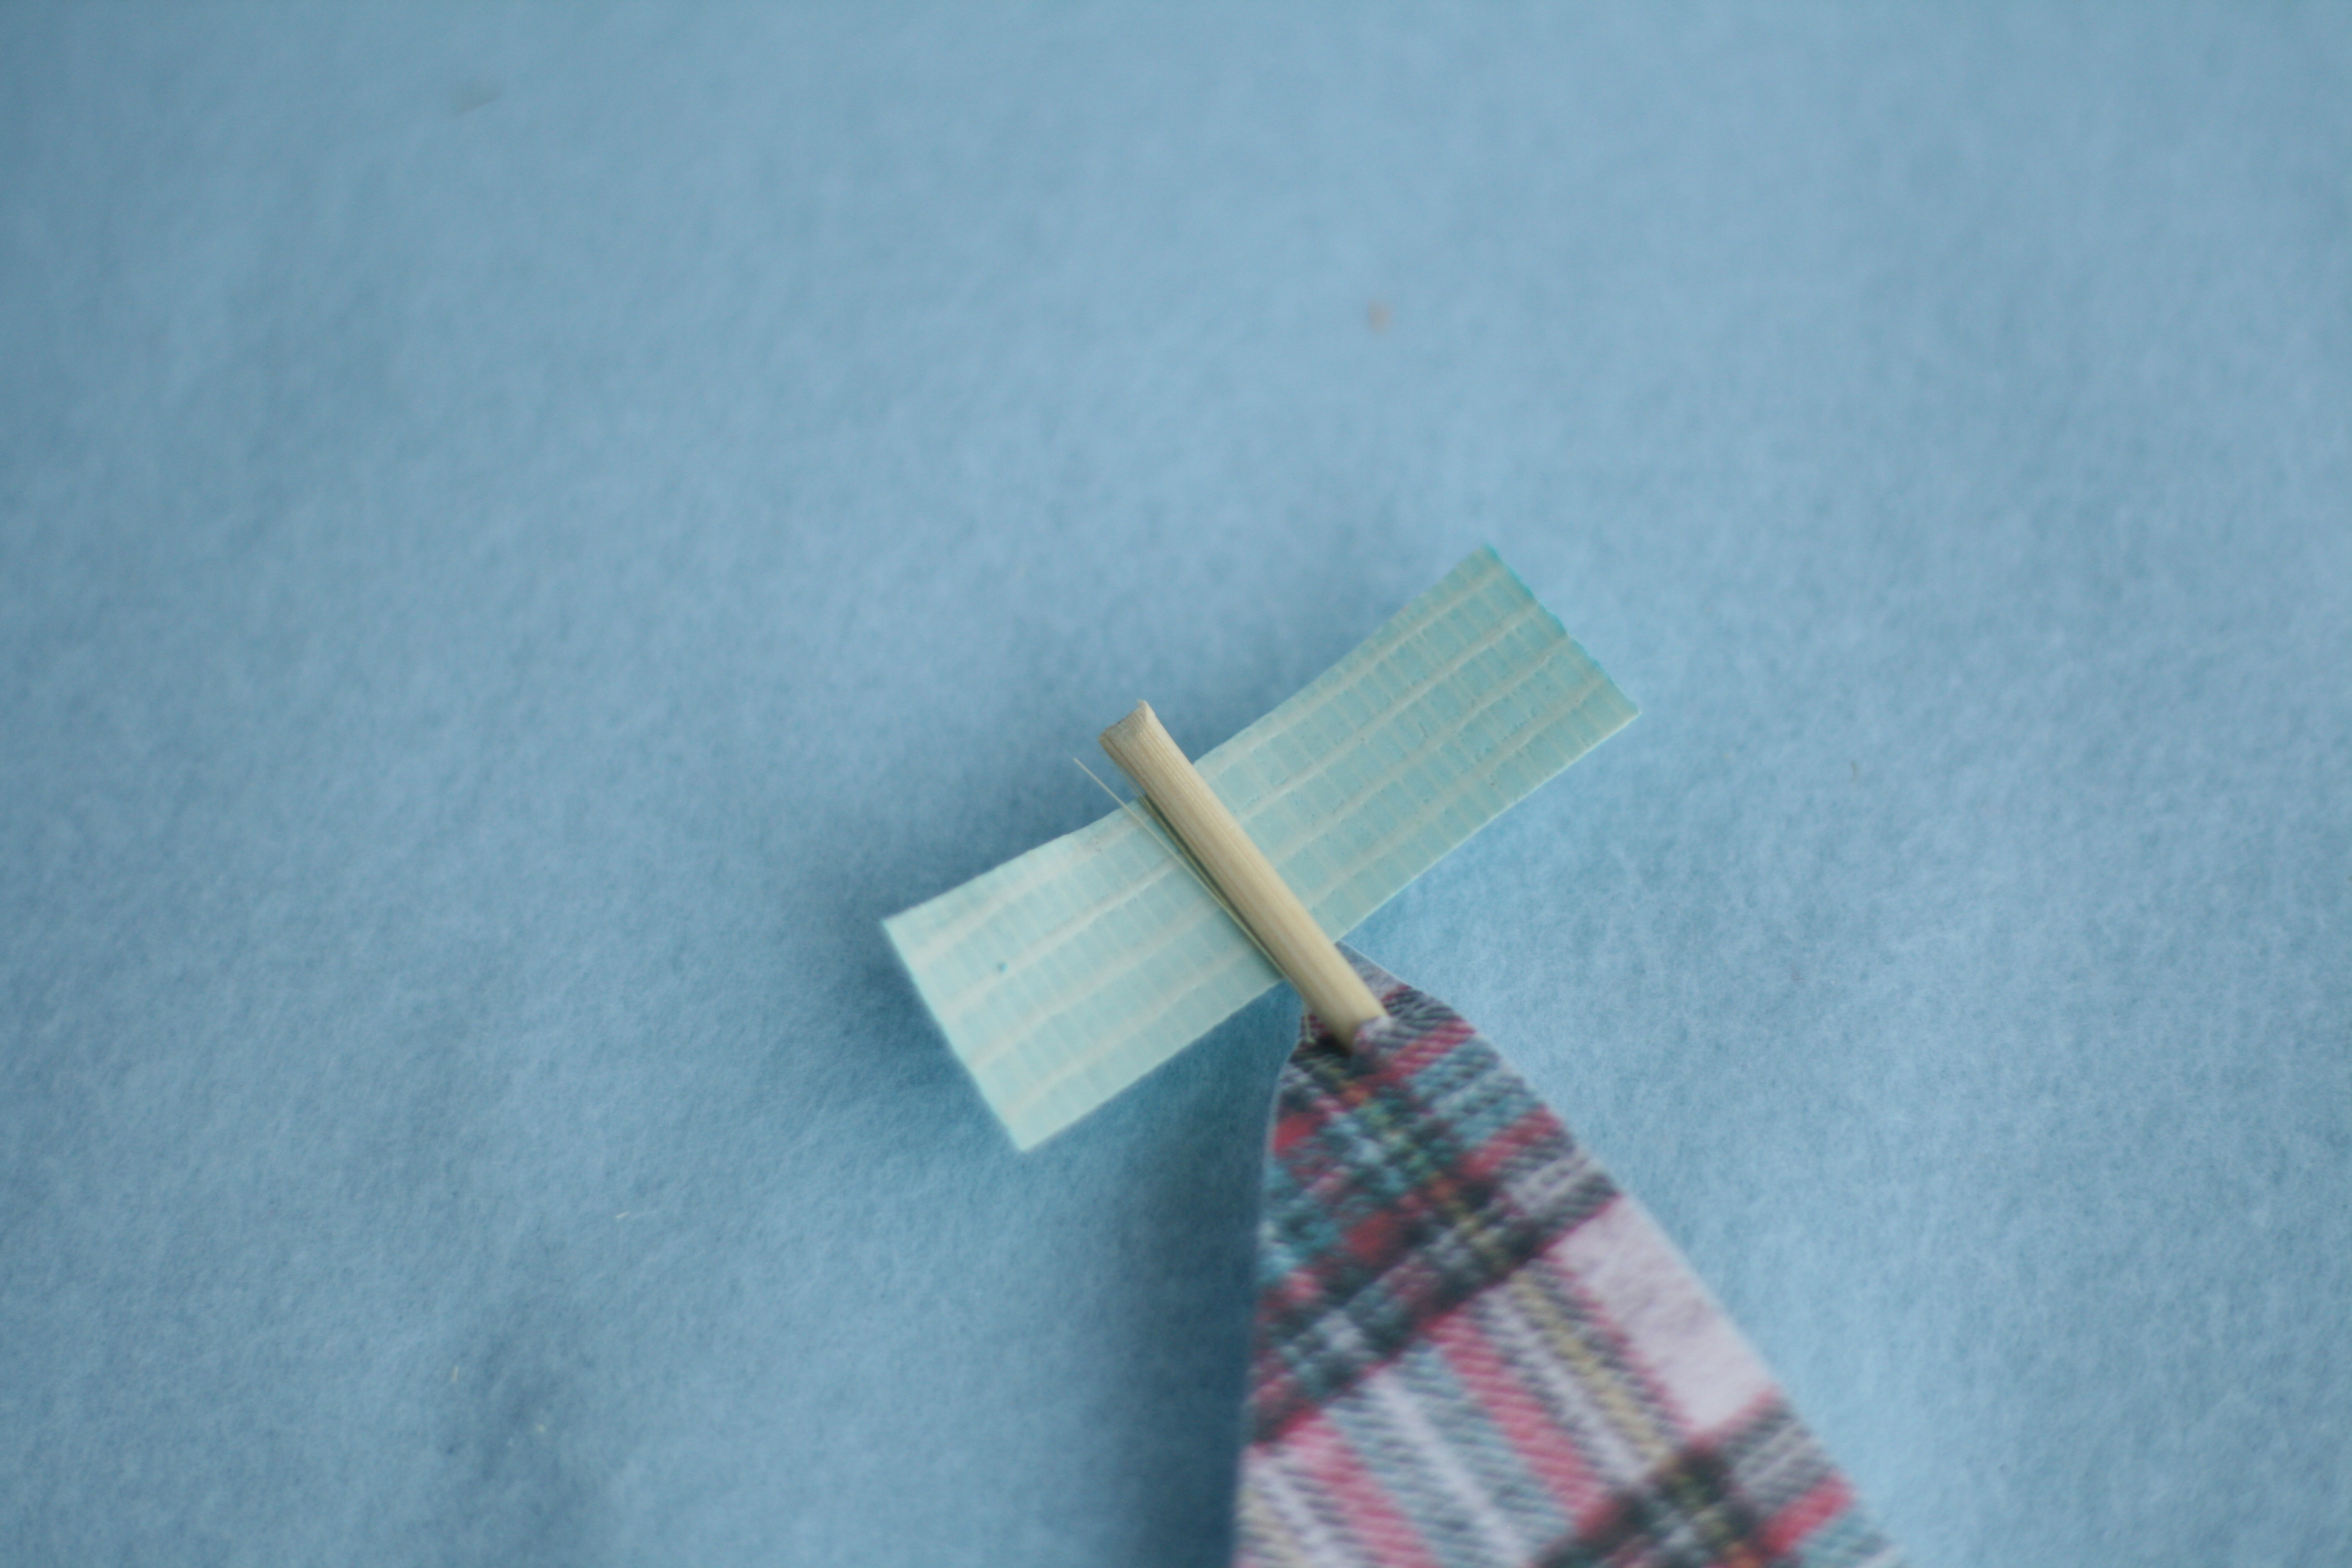
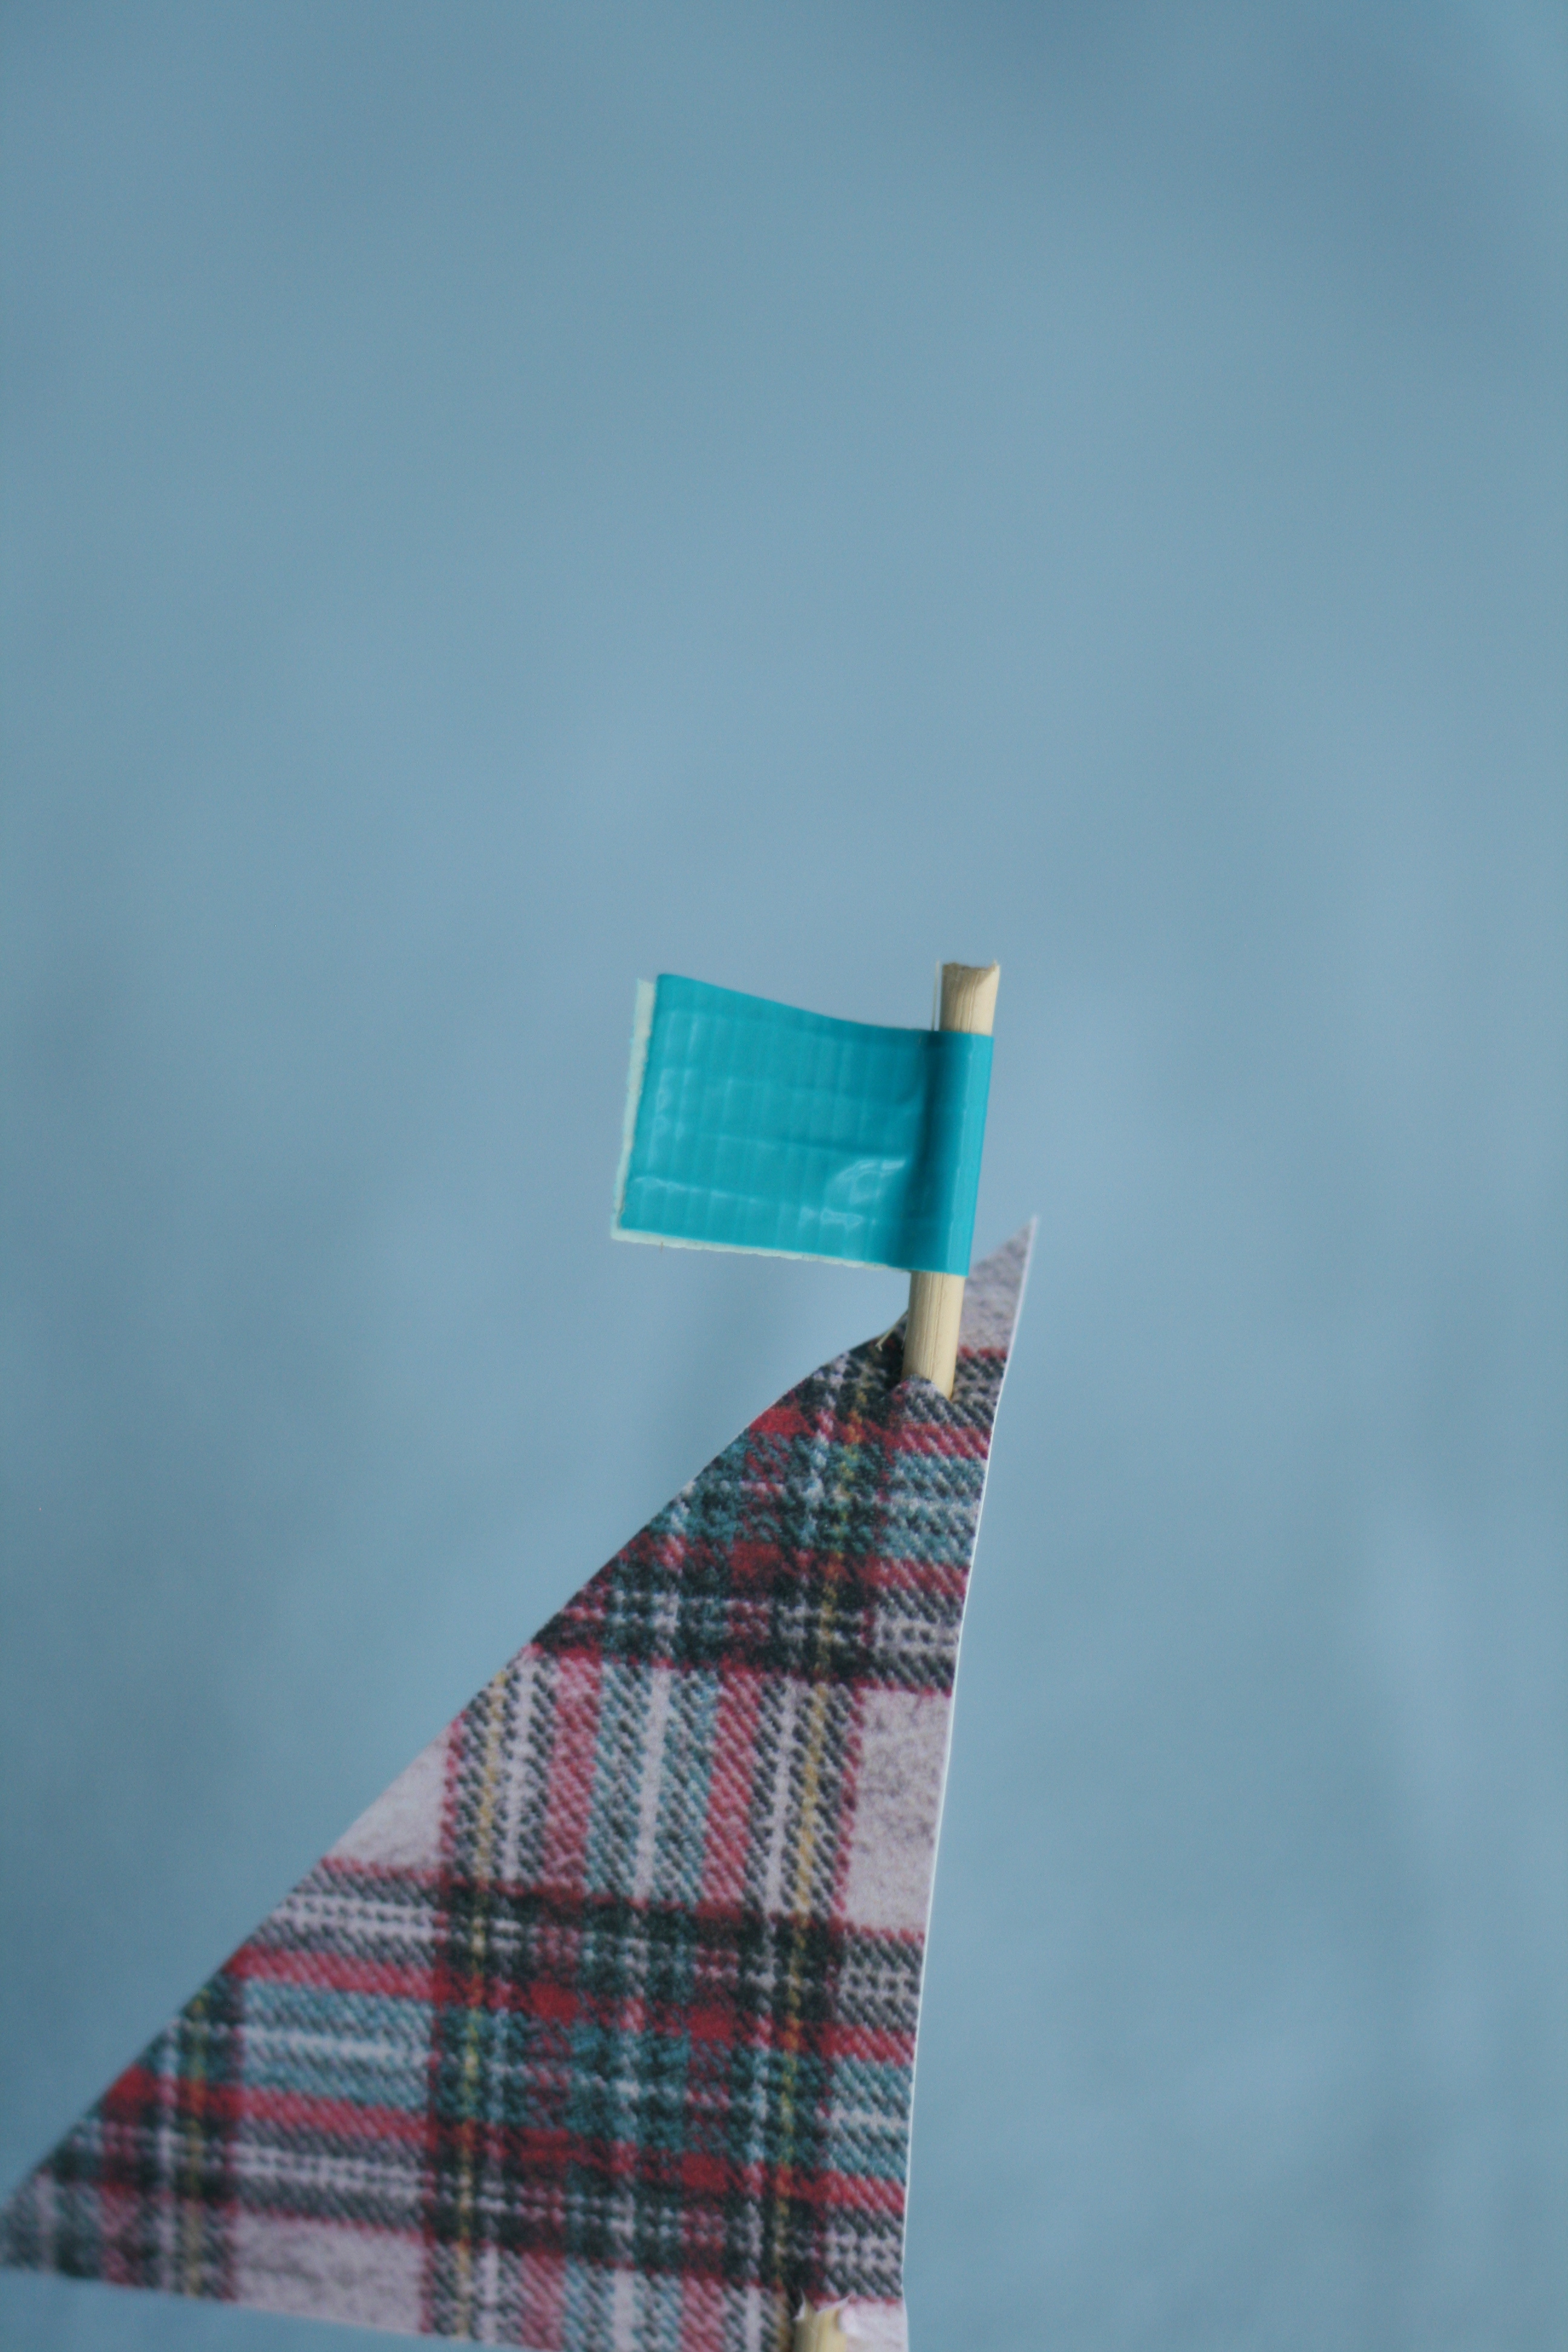
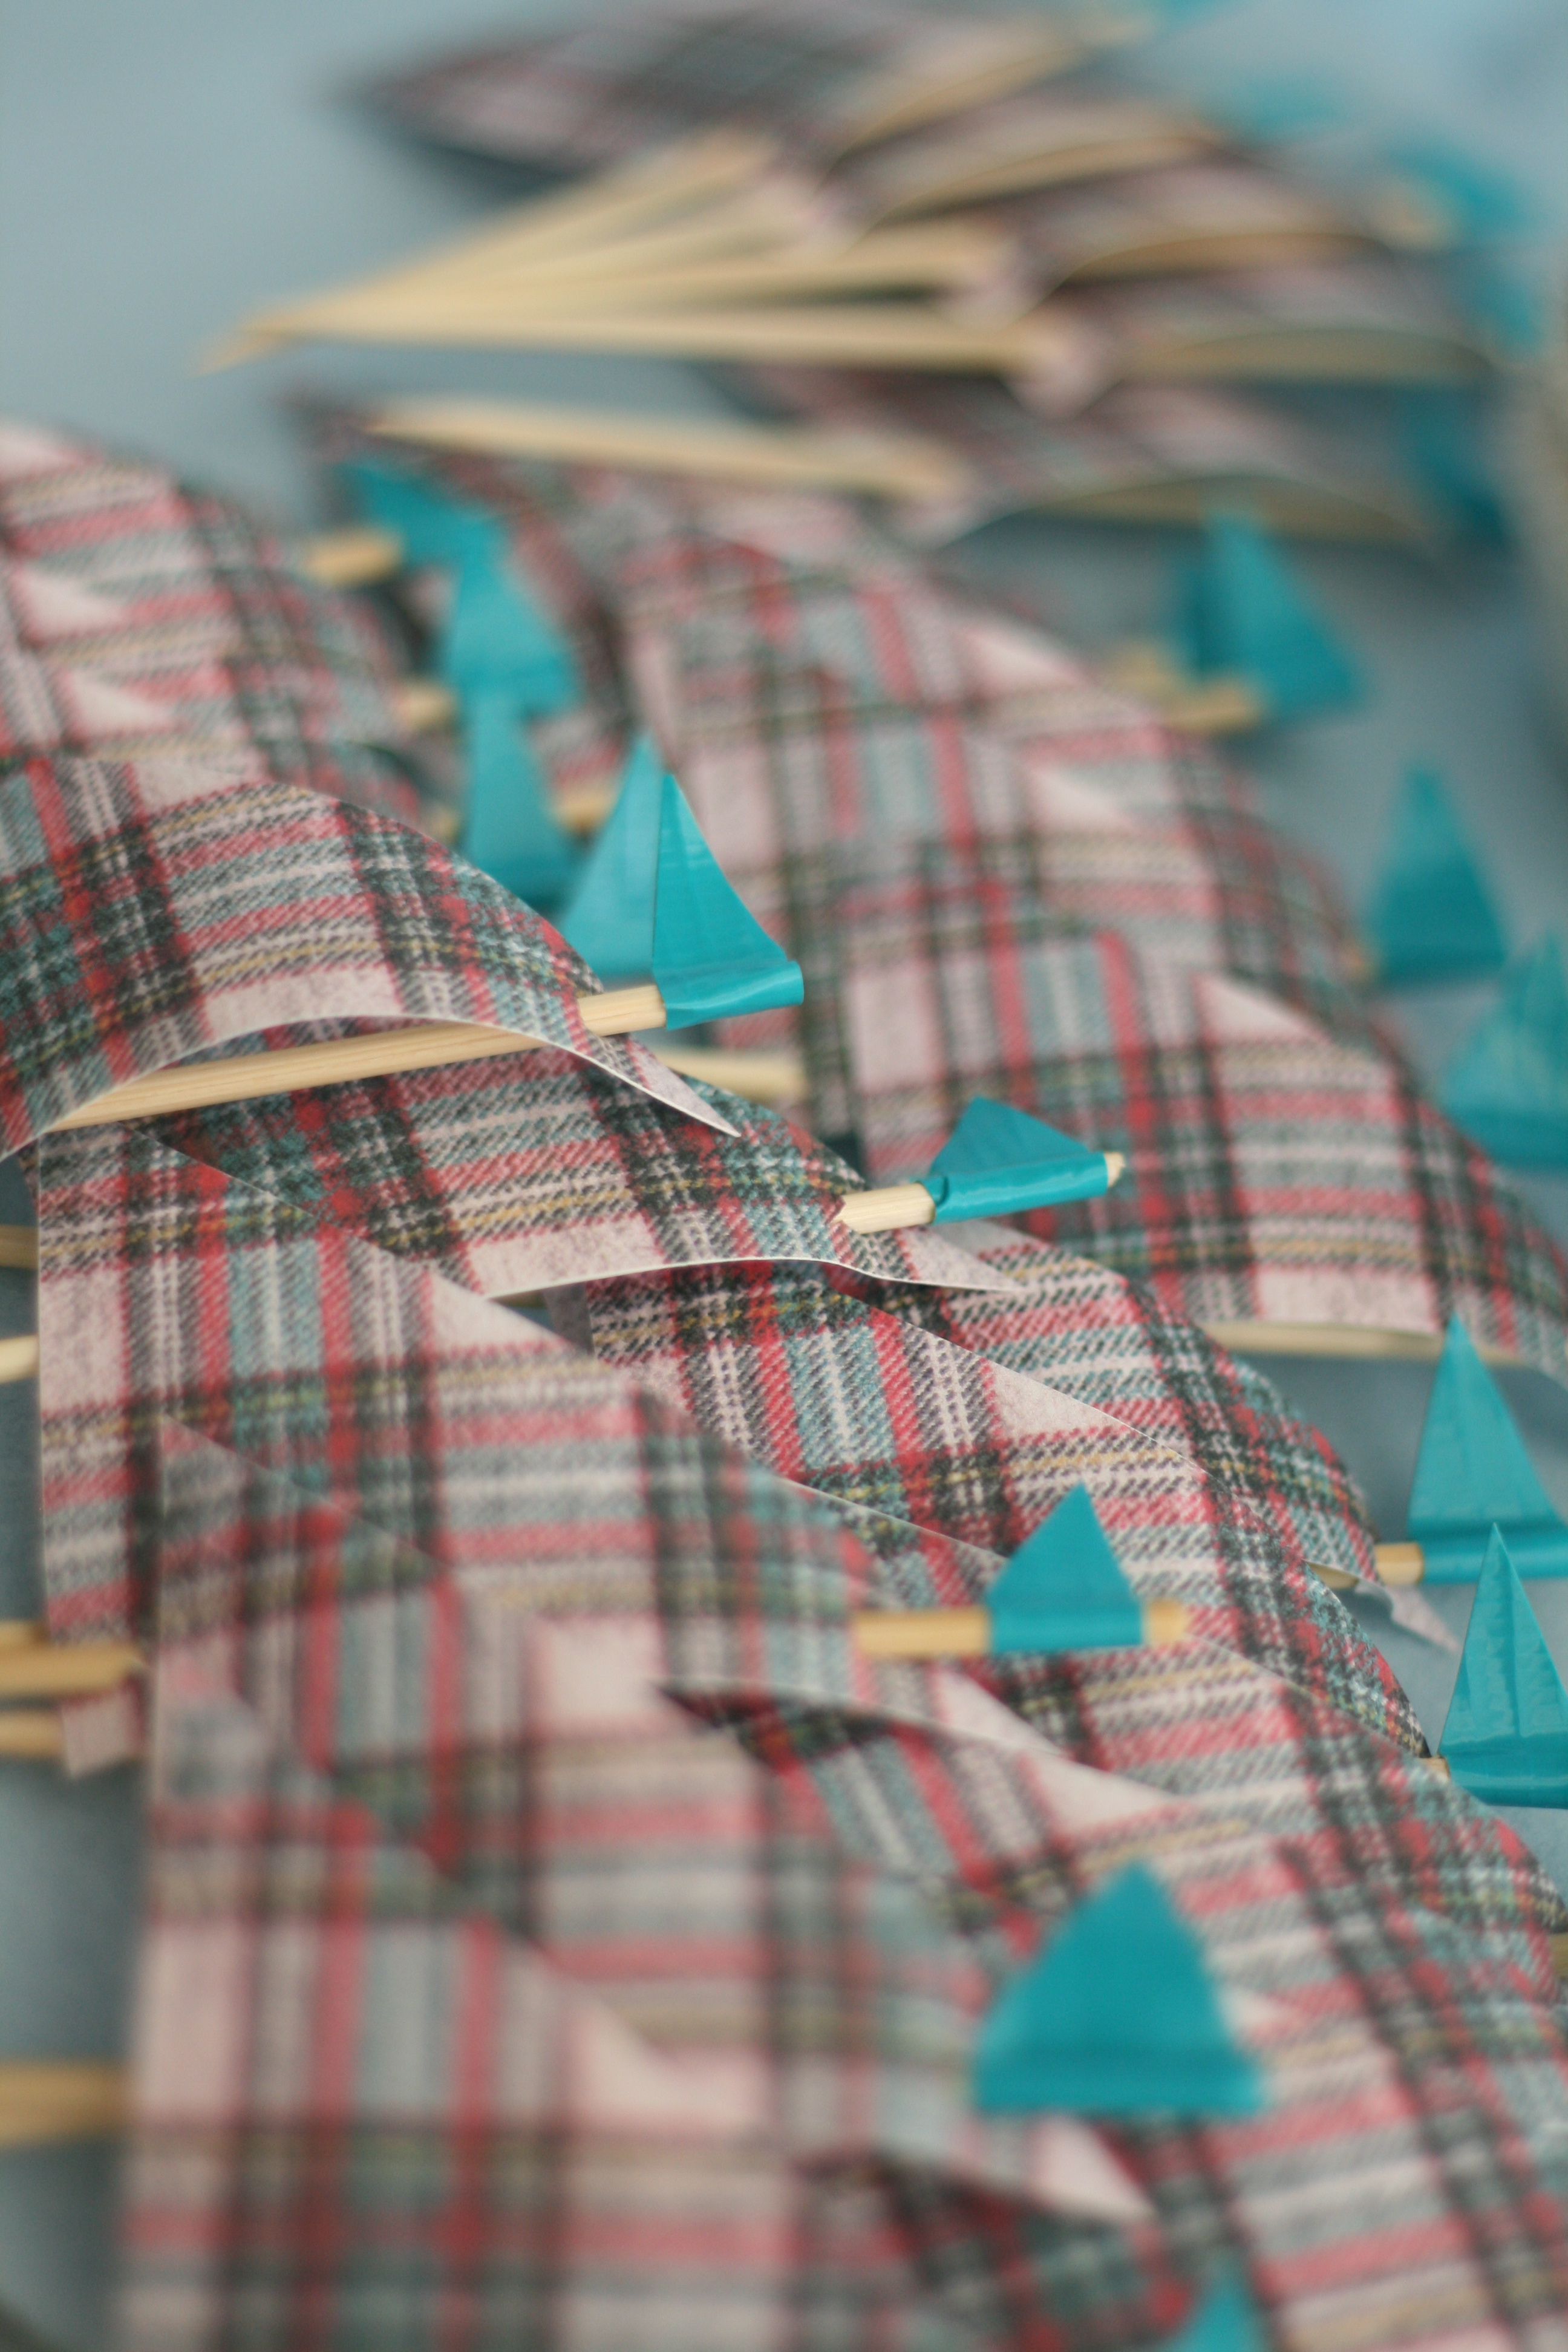
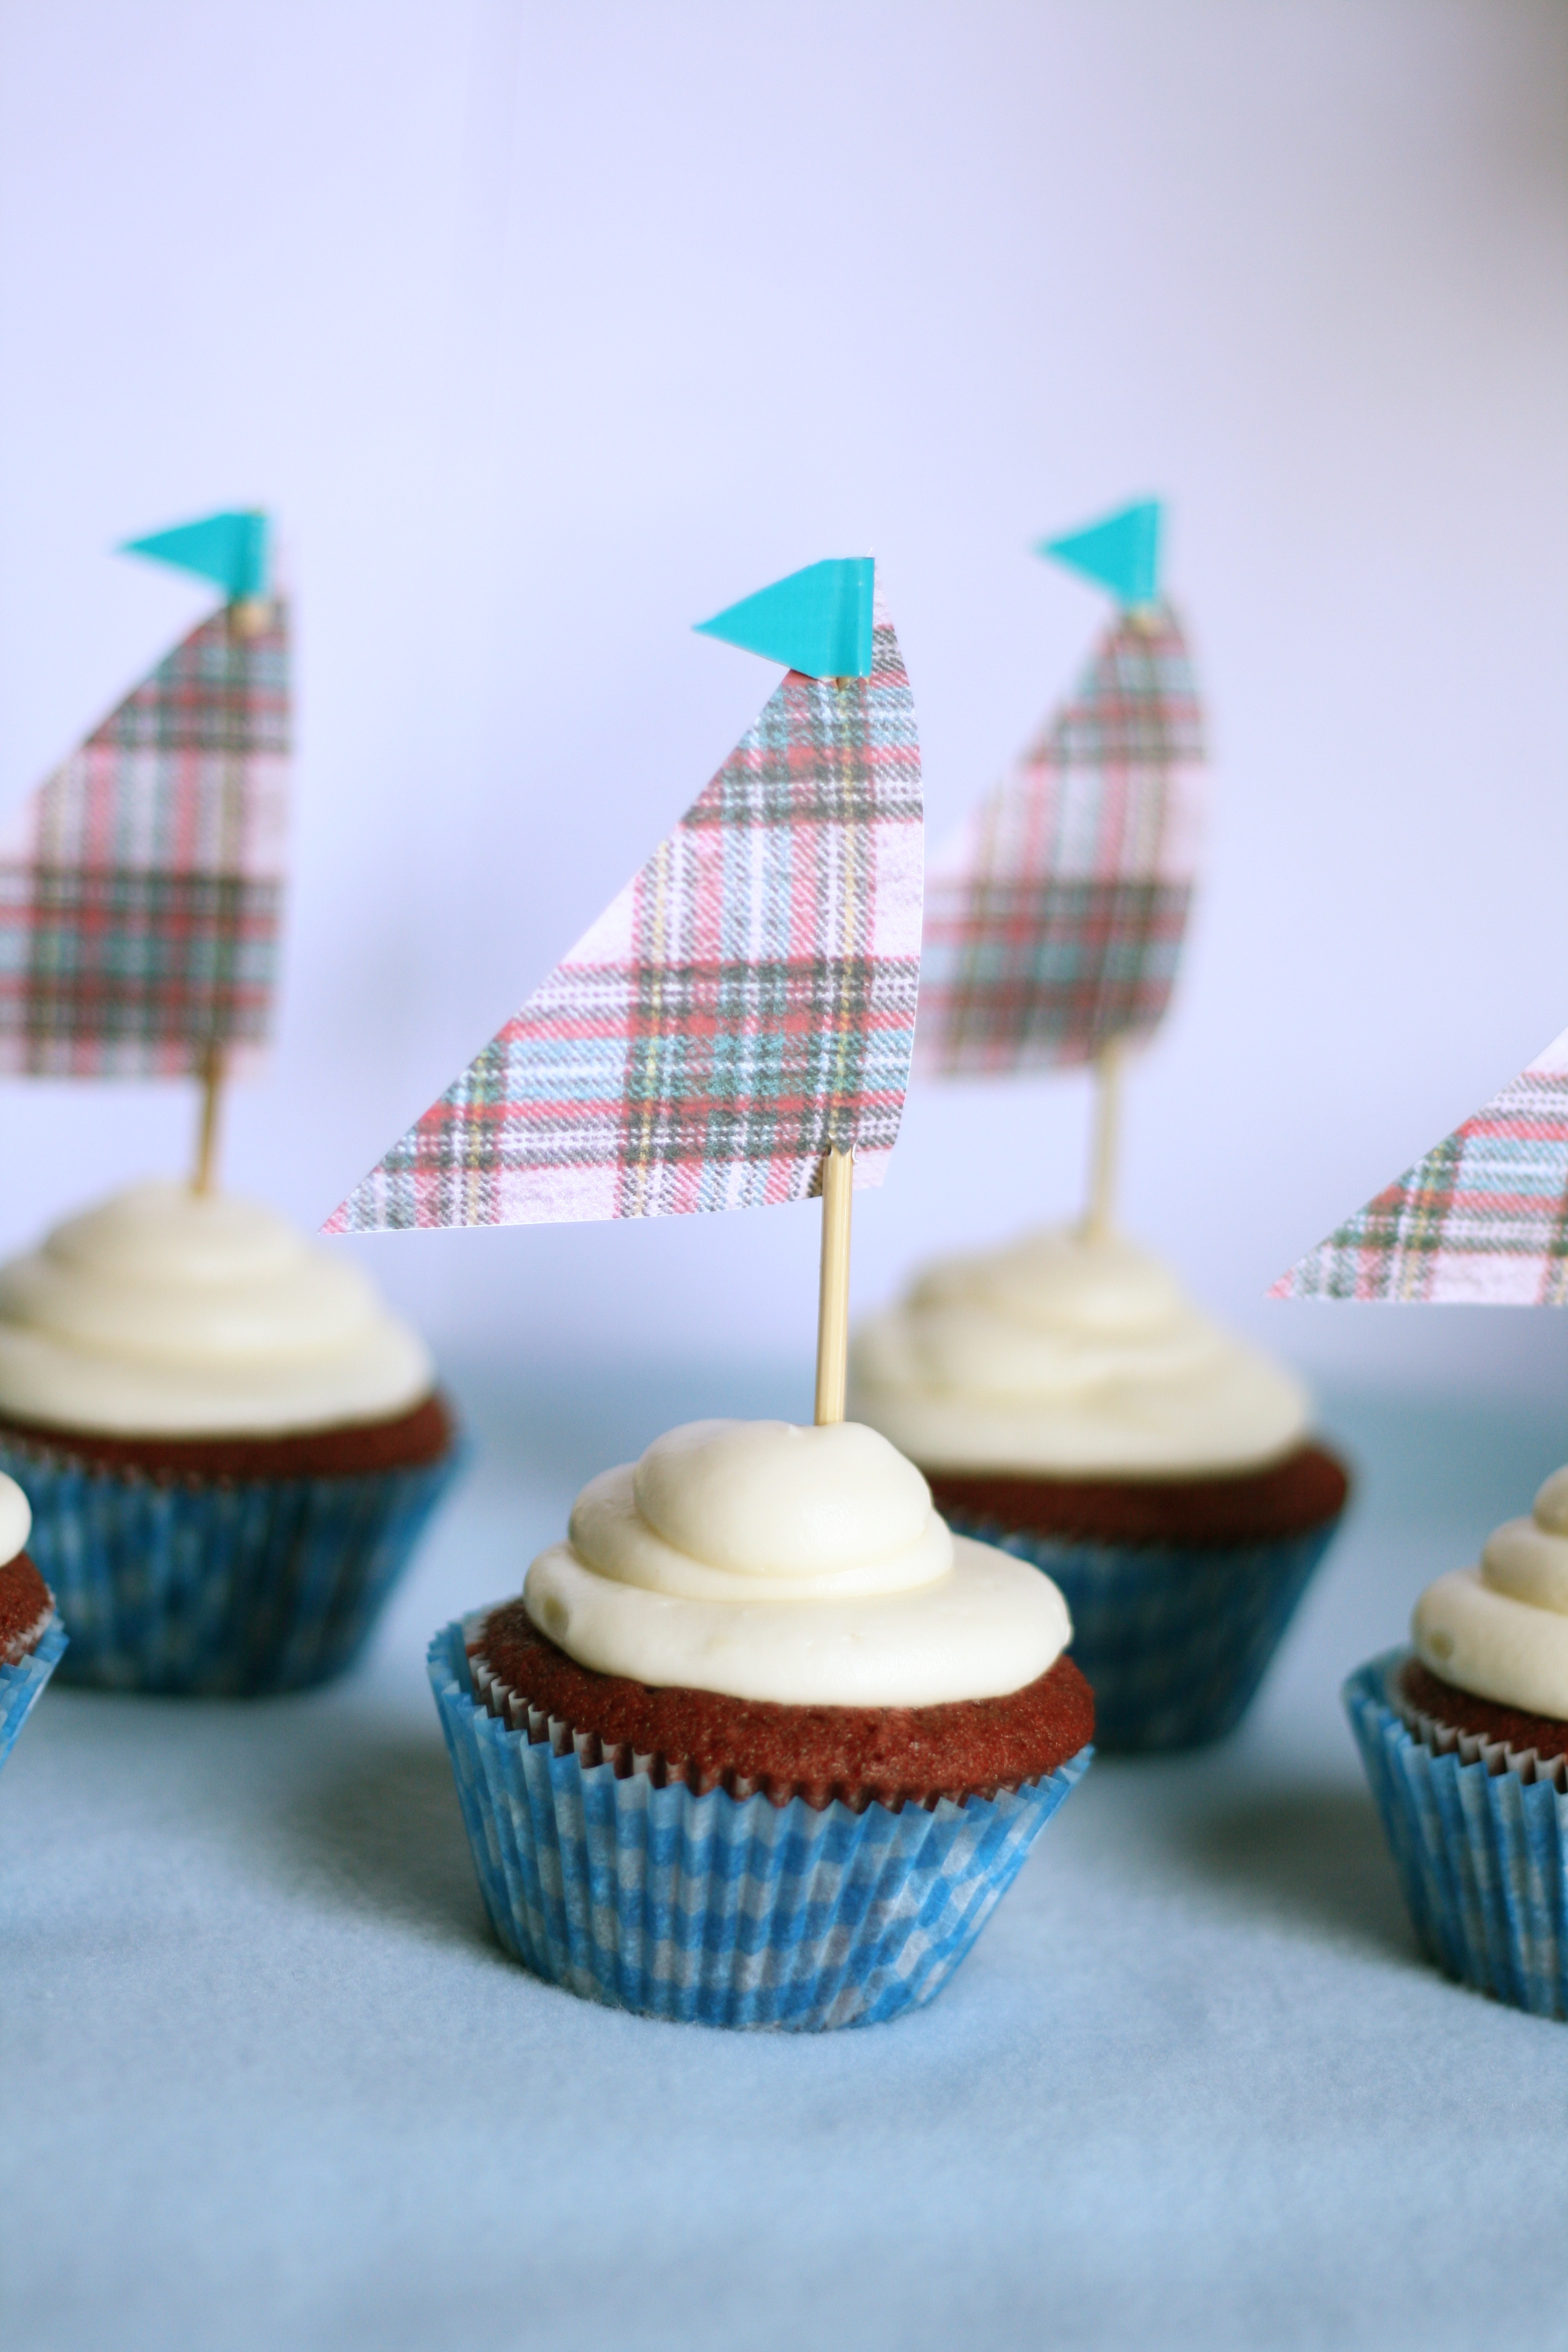
Here’s how to achieve the look (pictures below): 1. Make and bake your cupcakes, using a recipe of your choice. Remember to use 2 liners. Place the white liner inside the plaid liner. Allow cupcakes to fully cool before icing and decorating. 2. Meanwhile, cut wooden skewers about 5″ long using wire cutters or some other cutting utensil. Keep the side with the pointed end. Don’t worry if the wood begins to fray where you made the cut. We will cover that up shortly. 3. Print out the FauxMartha Cupcake Sail Pattern on textured cardstock. Cut out each sail. Using the longest side of the triangle (not the angle), cut an “x” at the top and bottom on a cutting board. Insert pointed end of wooden skewer into the top “x” on the printed side. Continue to insert the skewer through the second “x”. 4. Cut thin 1/2″ strips of duck tape. Place tape on the top of skewer where you made your original cut. Evenly fold over. Make 2 diagonal cuts to achieve a flag. Push sail up to give it that curved wind blown look. 5. Ice your cupcakes with the frosting of your choice. I use the Wilton Dessert Decorator Pro to ice my cupcakes. In order to get the thick swirls, I don’t use a tip. Place pointed end of the sail into cupcake and you’ve got yourself a cute sailboat cupcake!
If your visual, like me, these should help:
If you missed them, click here for the matching baby shower invites. Now that you have everything you need to get started, happy baby shower planning!
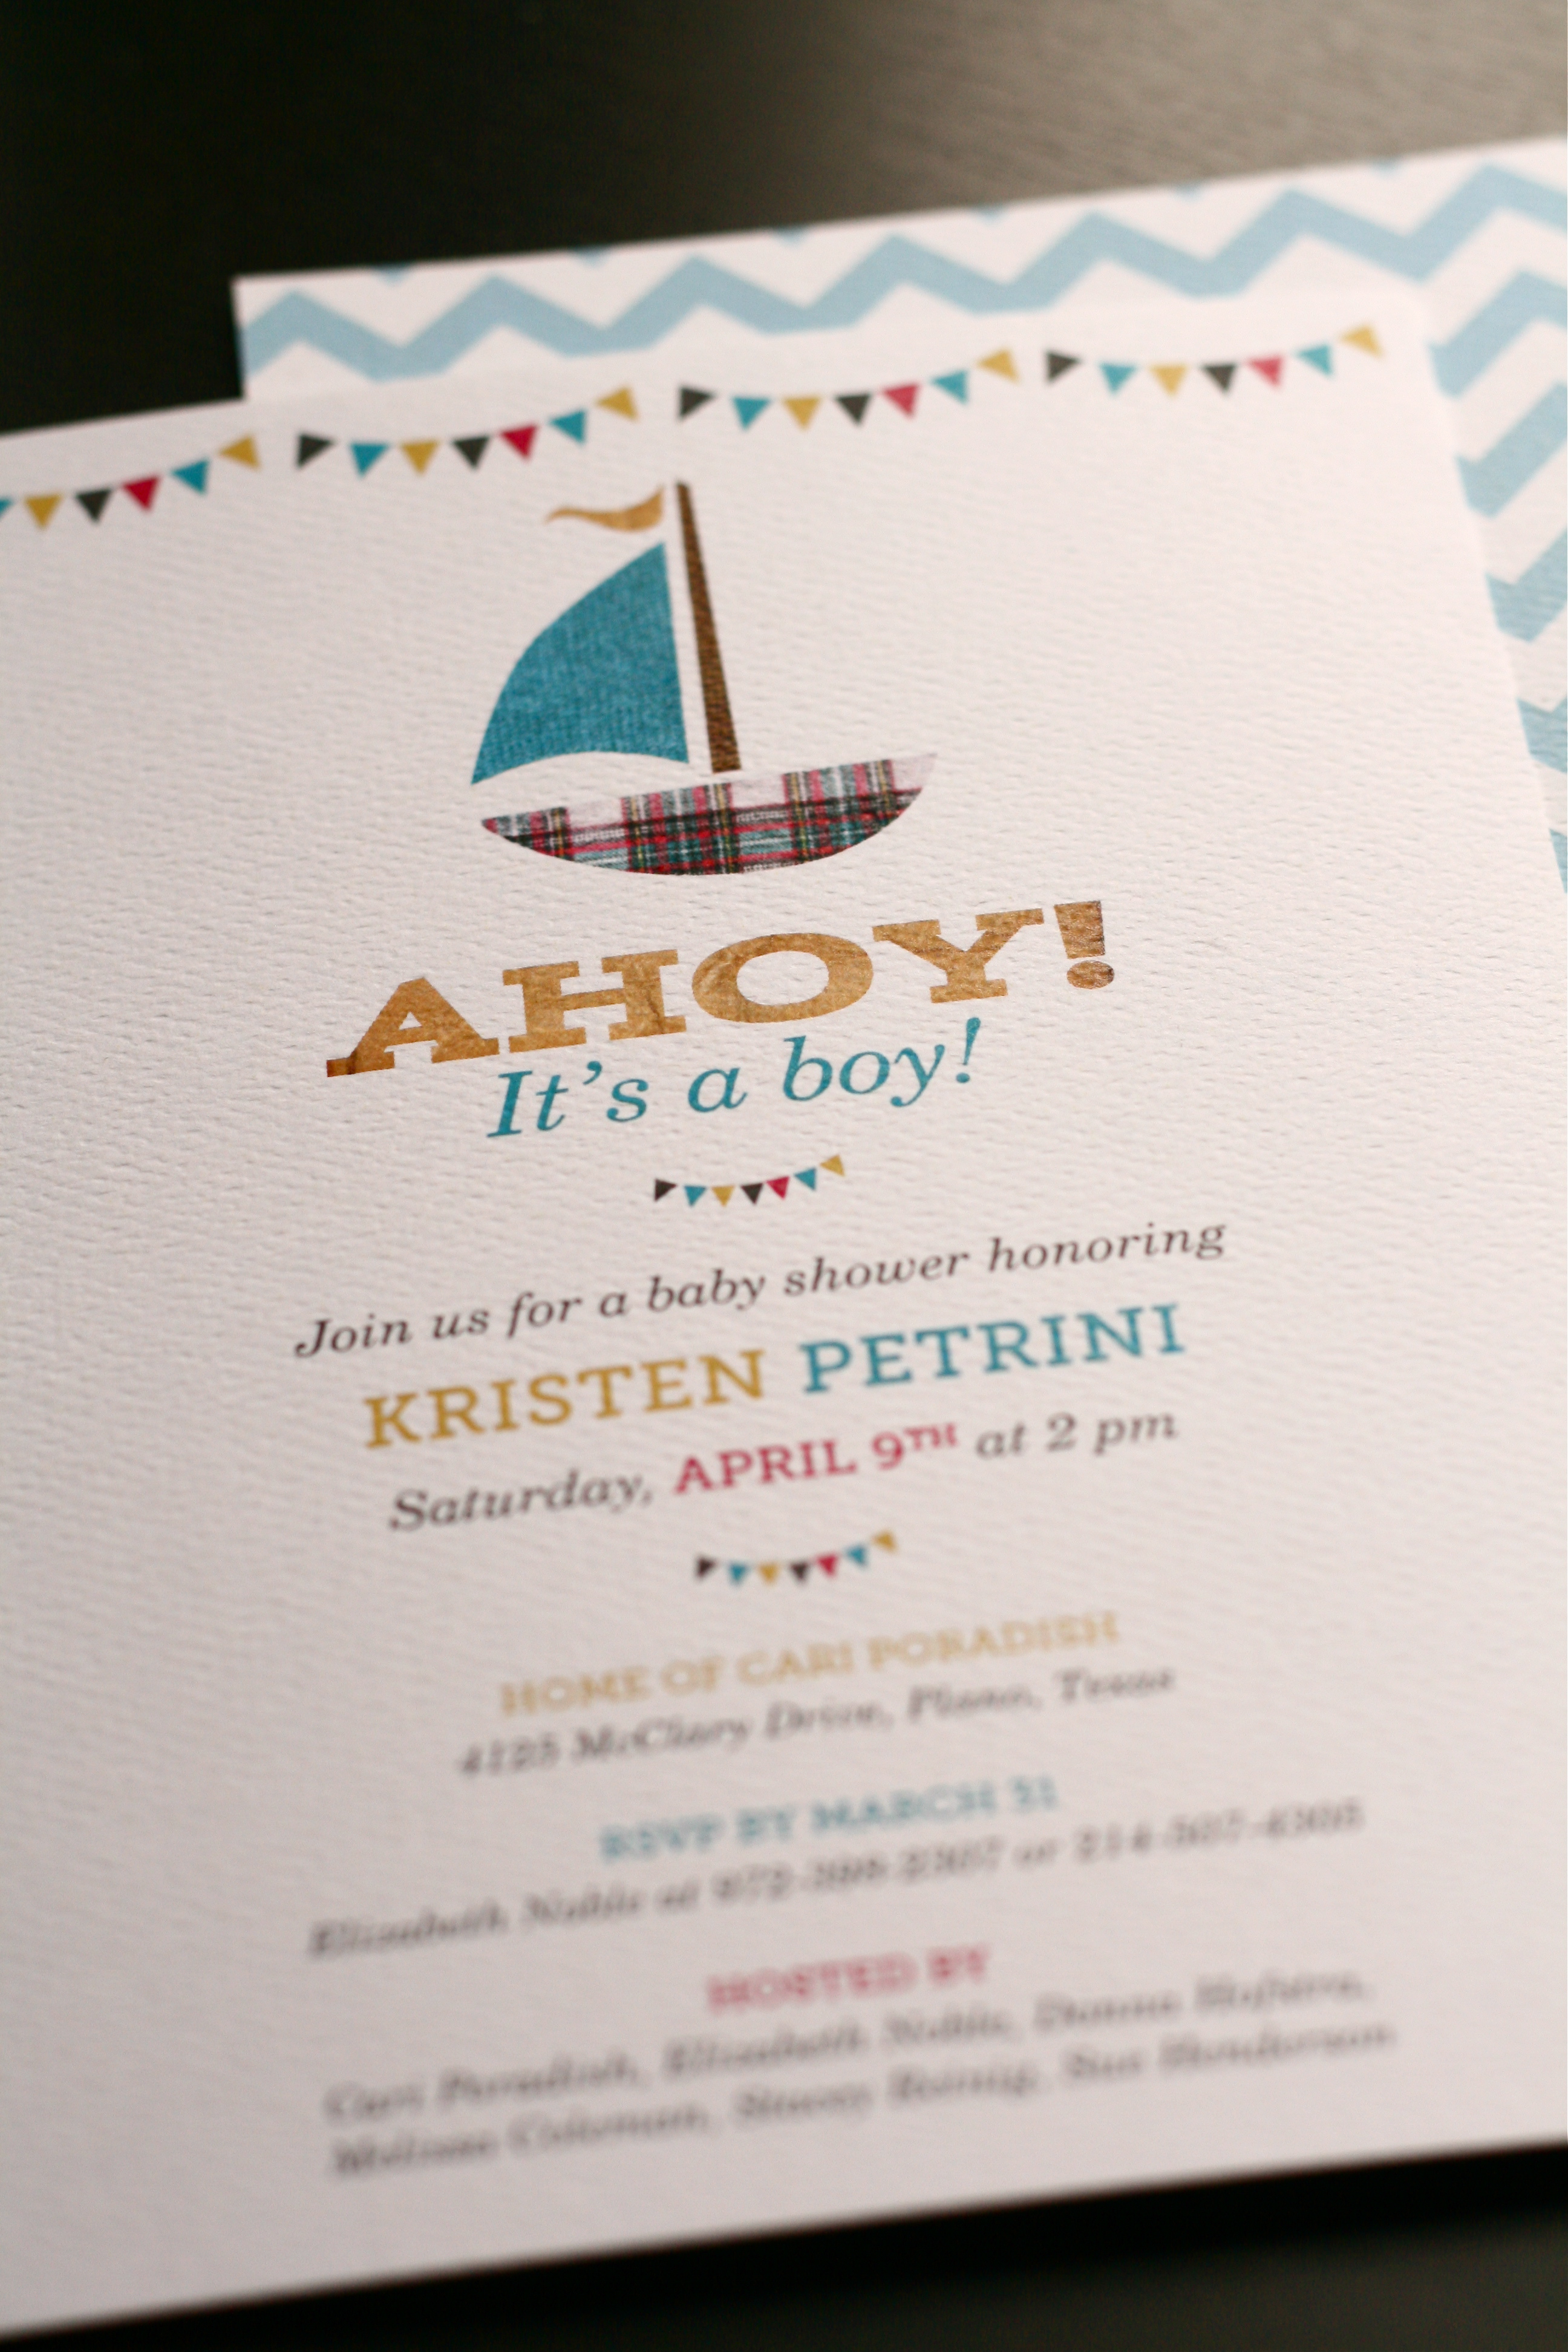
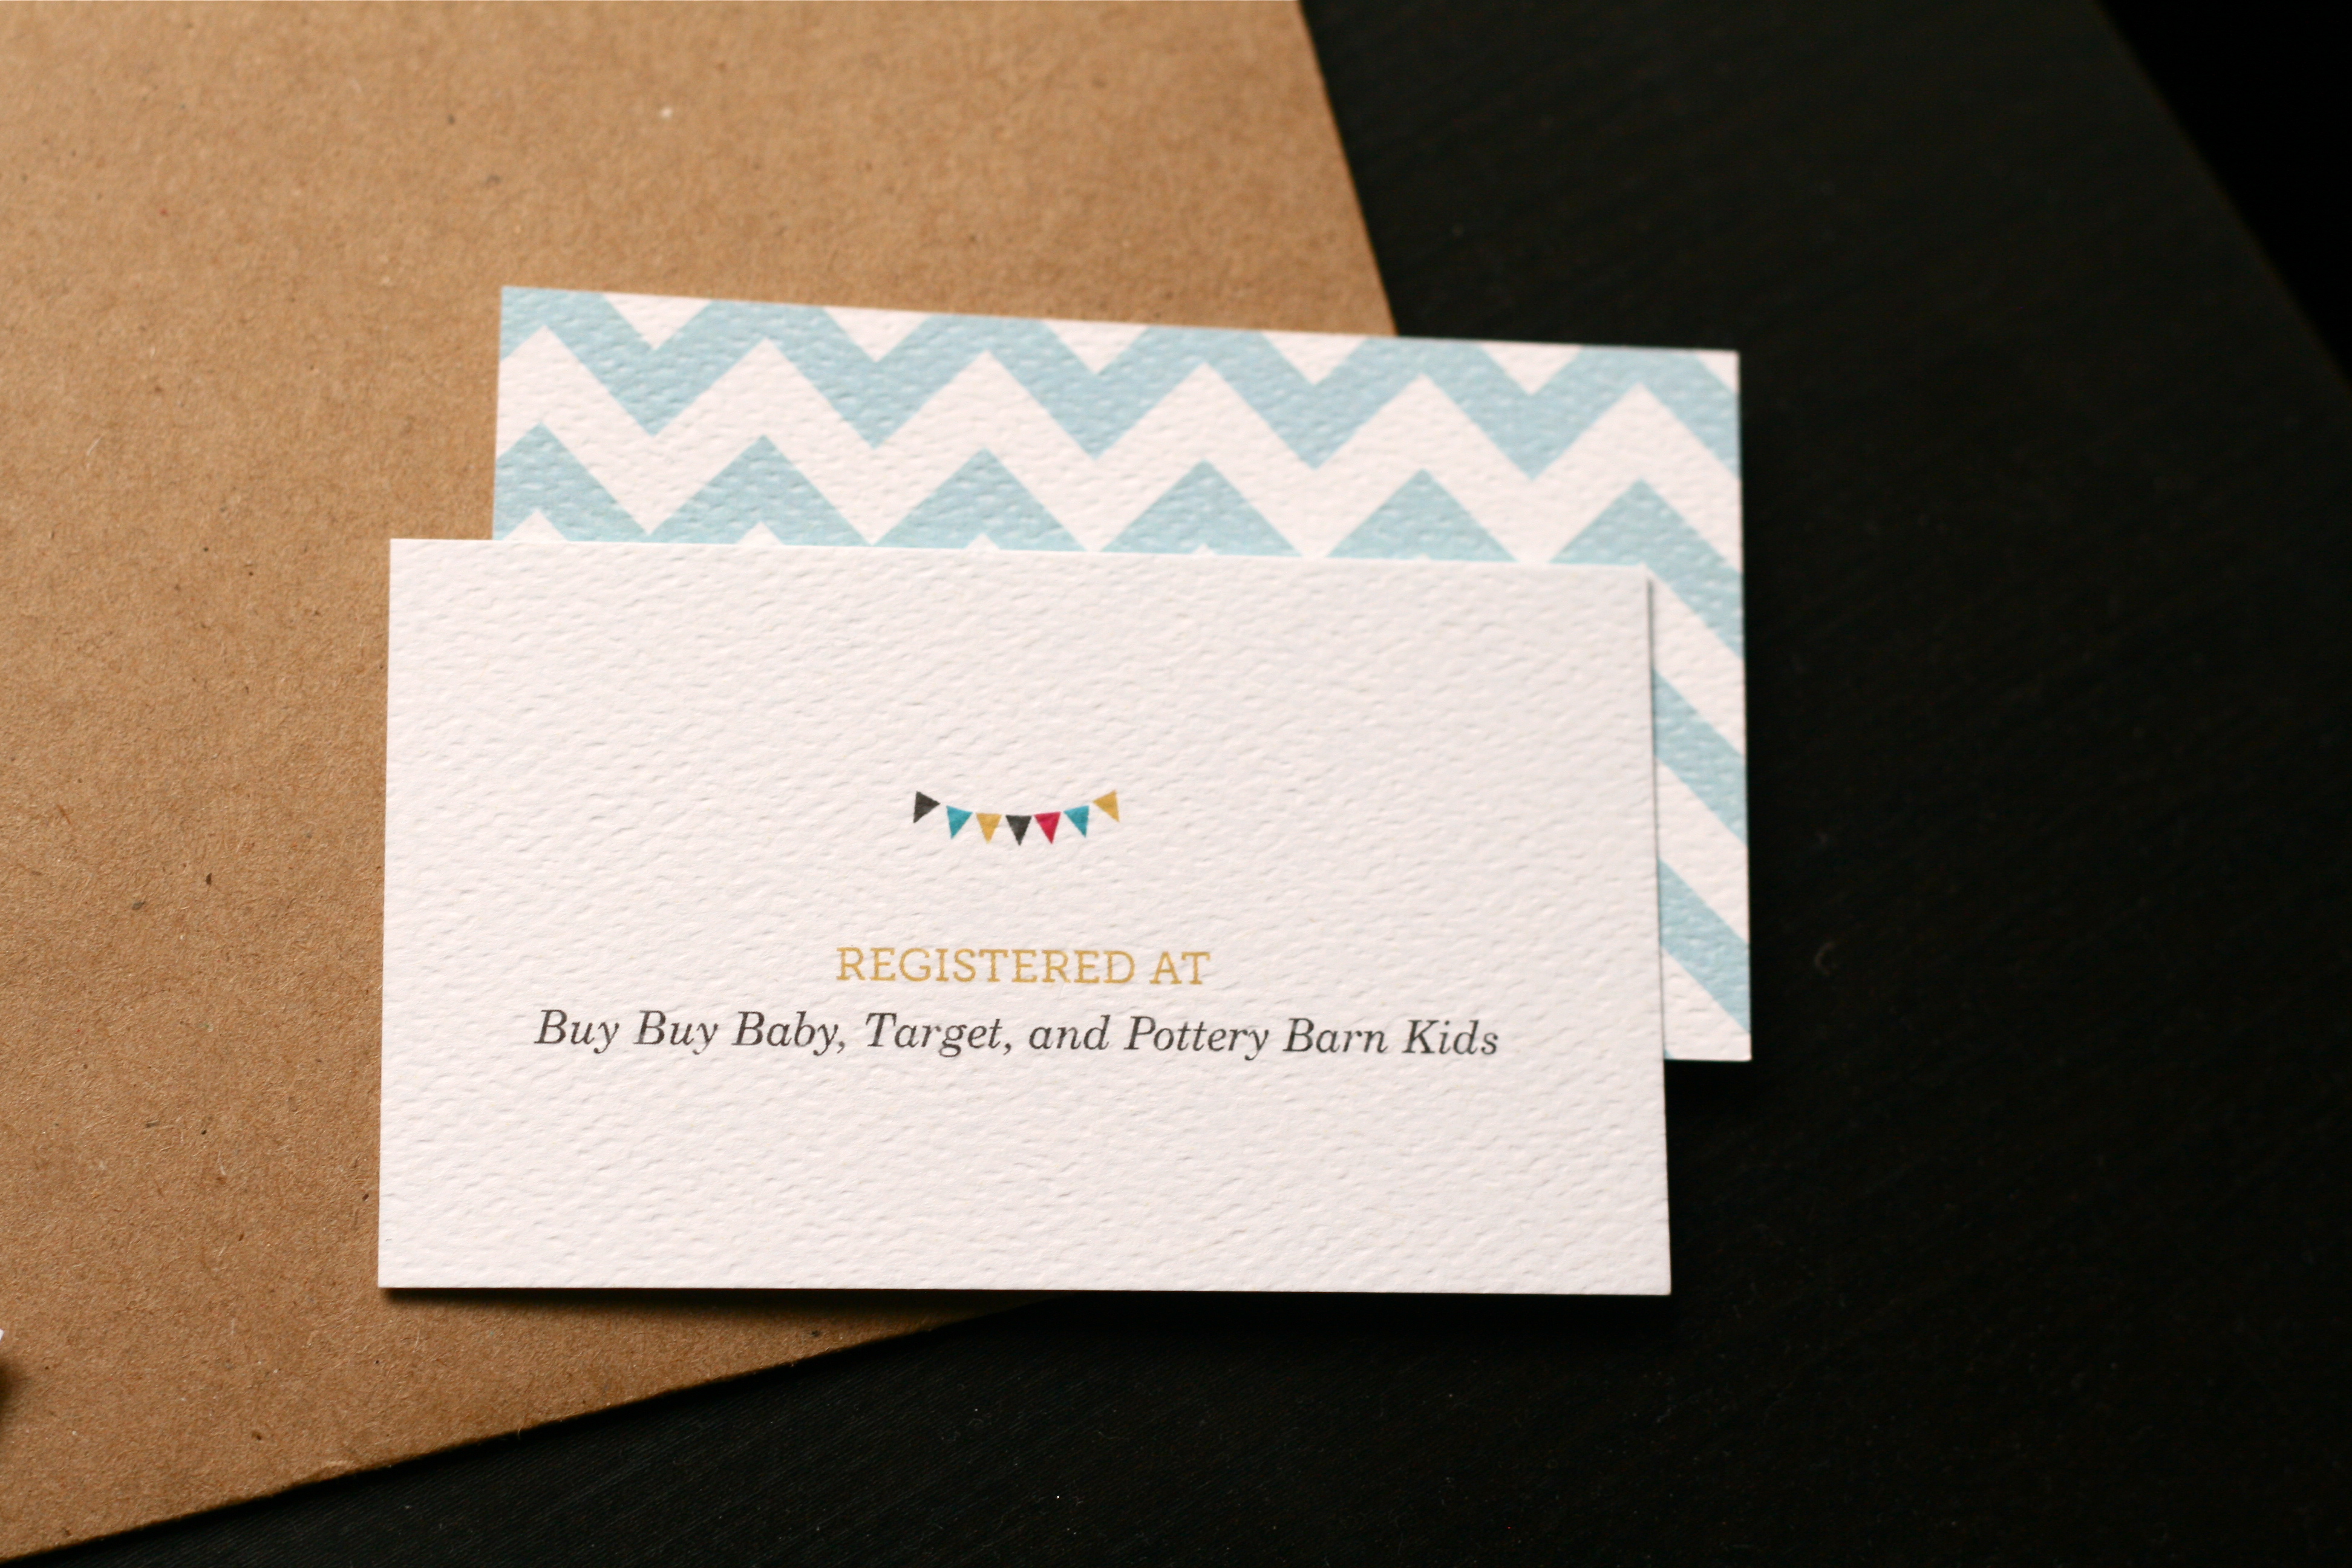
I’m headed out of town to help throw a baby shower for a good friend from home. But before I leave, I want to share these “Ahoy! It’s a boy!” invites with you. And by share, I mean free download. Keep reading…
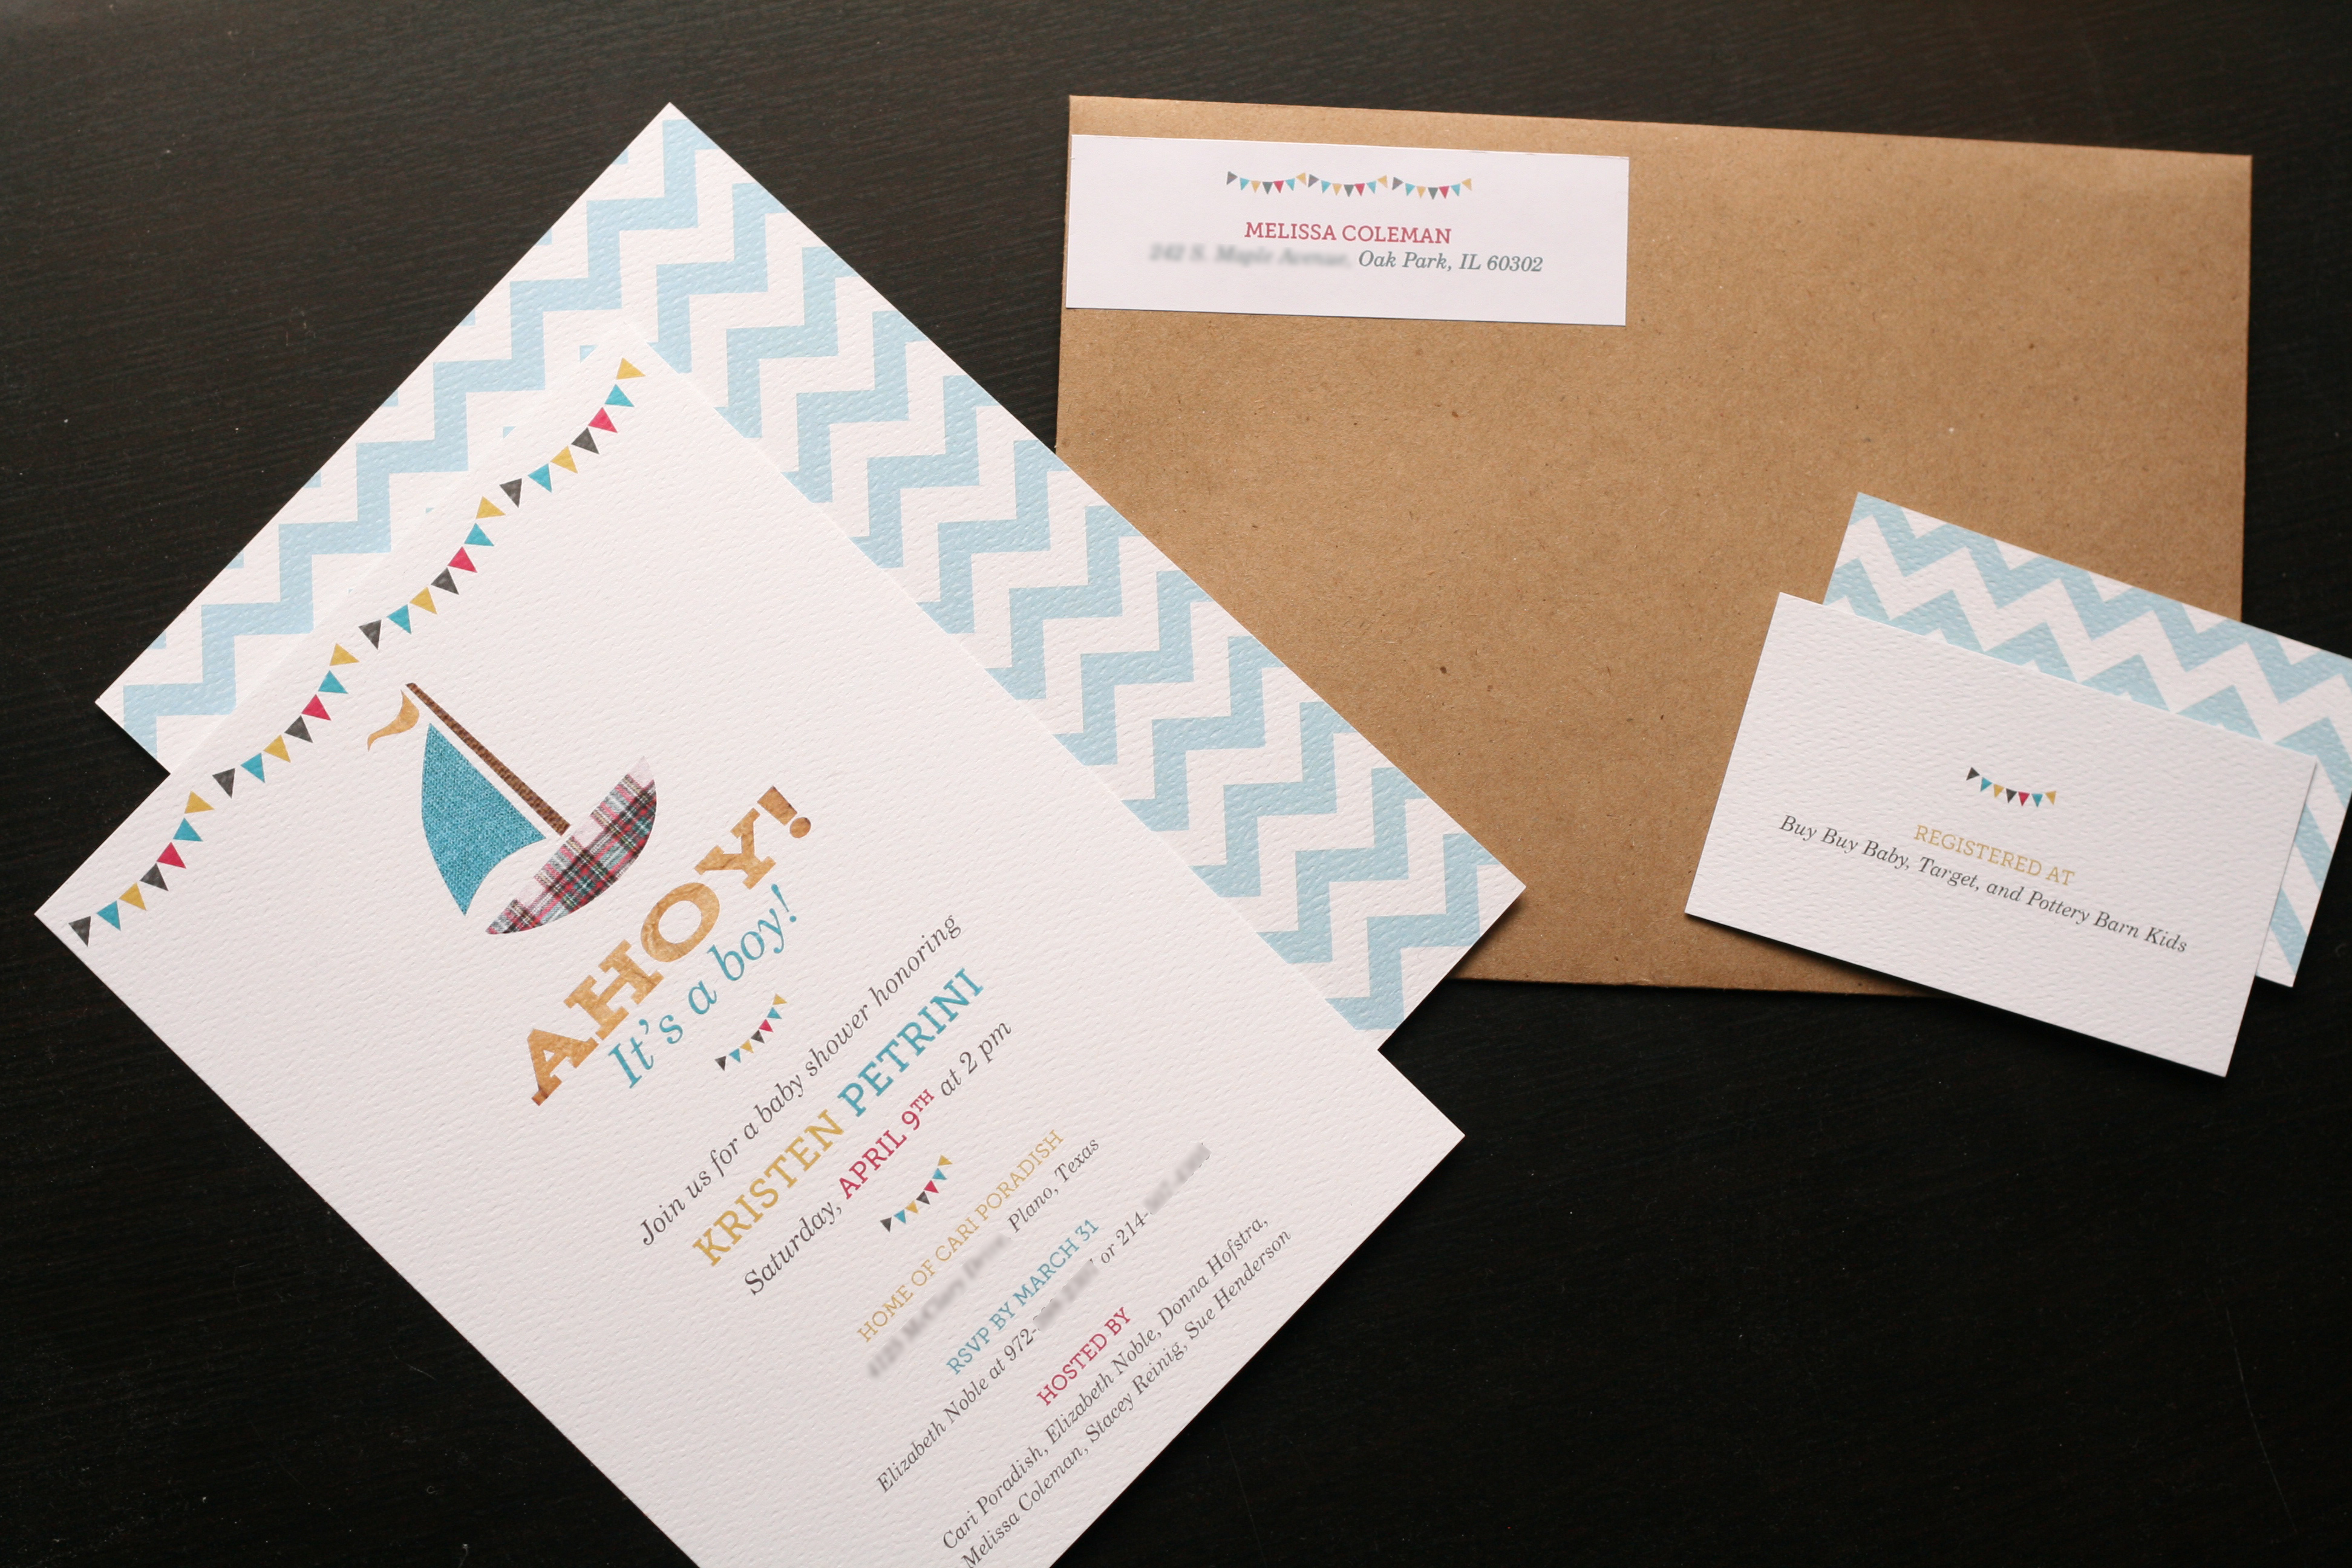
Chevron, plaid, craft paper. Oh my!
Tiny, cute flags. Yes please!
Whoever said a slight shade of pink is not welcome at a baby boy’s shower?
Free fonts are a budget’s dream.
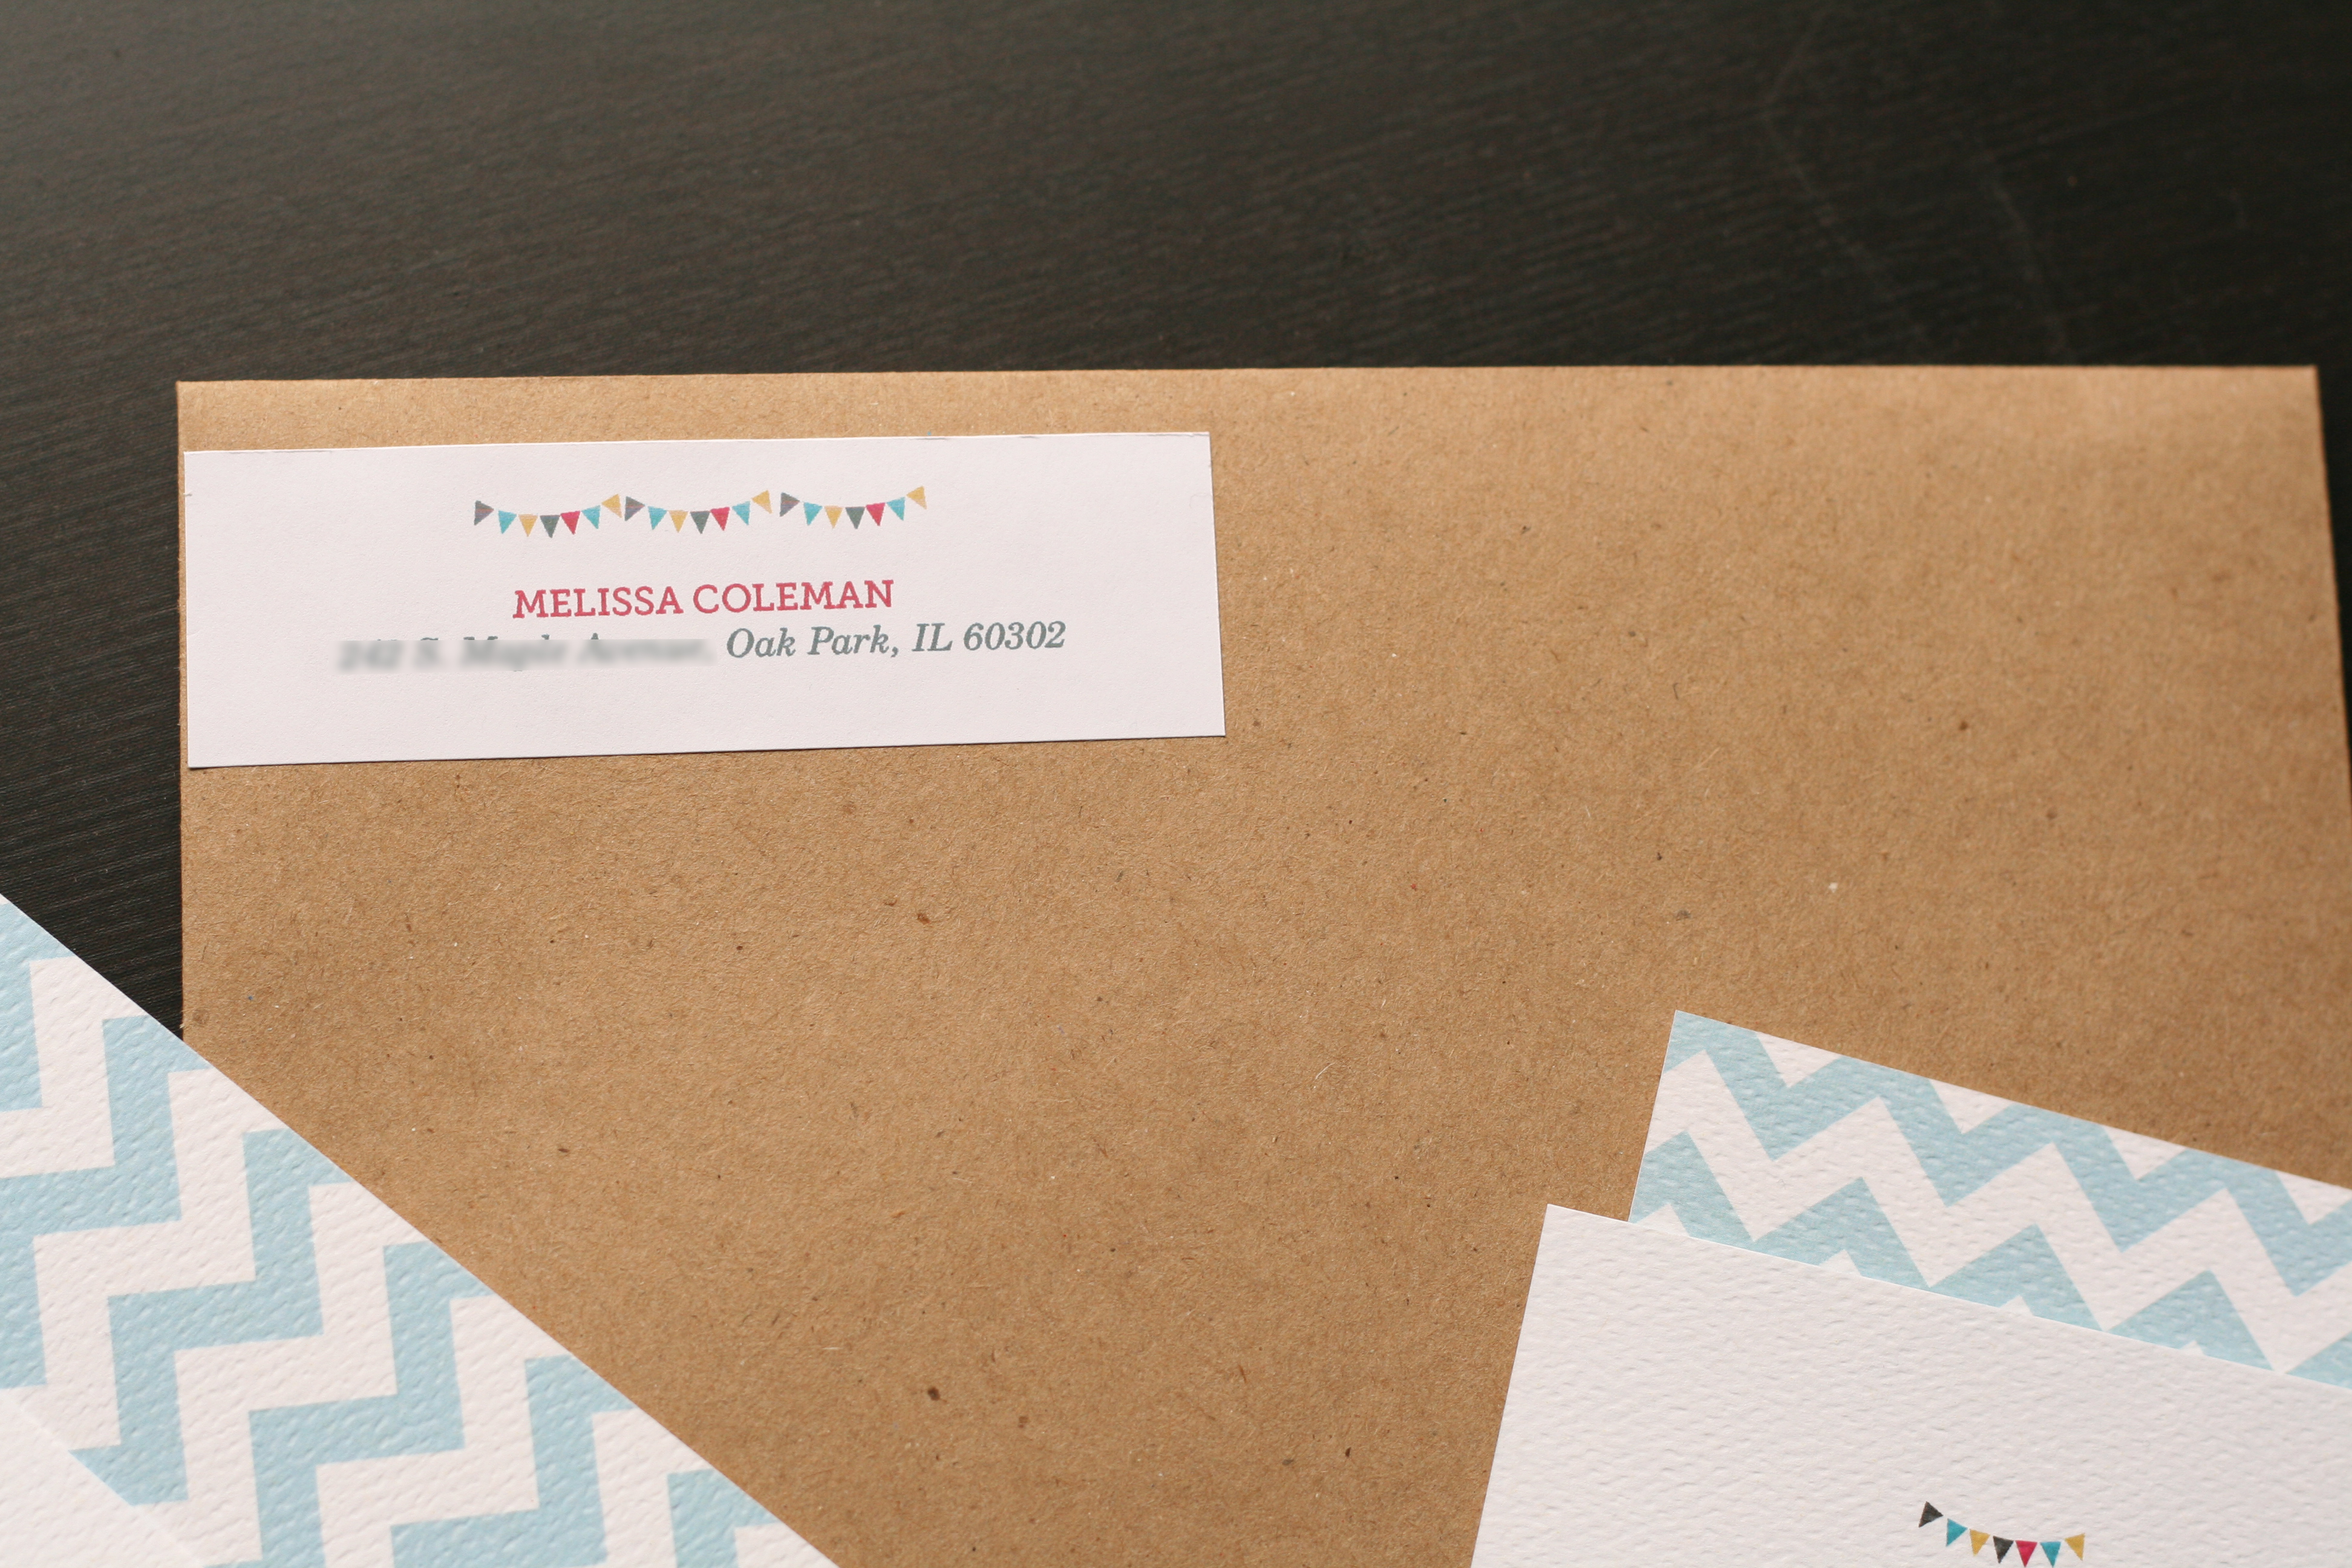
Since you kept reading, it’s time for the good stuff! Here’s how to create this same look yourself: 1. Order A-7 Craft Paper envelopes from Envelope.com. 2. Download the 5×7 invite! (The PDF is designed with 2-invites up on a page; front/back.) 3. Download the free font, Museo Slab, to help complete the look. You’ll also need a nice italic font to accompany it that can be found on your computer. (I used Century Schoolbook Italic). 4. Use an editing program to fill in your specific information. 5. Print the invites on a thick, textured white paper. (I used a Neenah paper—Sundance Felt.) 6. Finally, mail those cute suckers out, and plan the party!
Stay tuned for a post on the food portion of the shower. I may or may not be making cupcakes with a cute DIY topper.
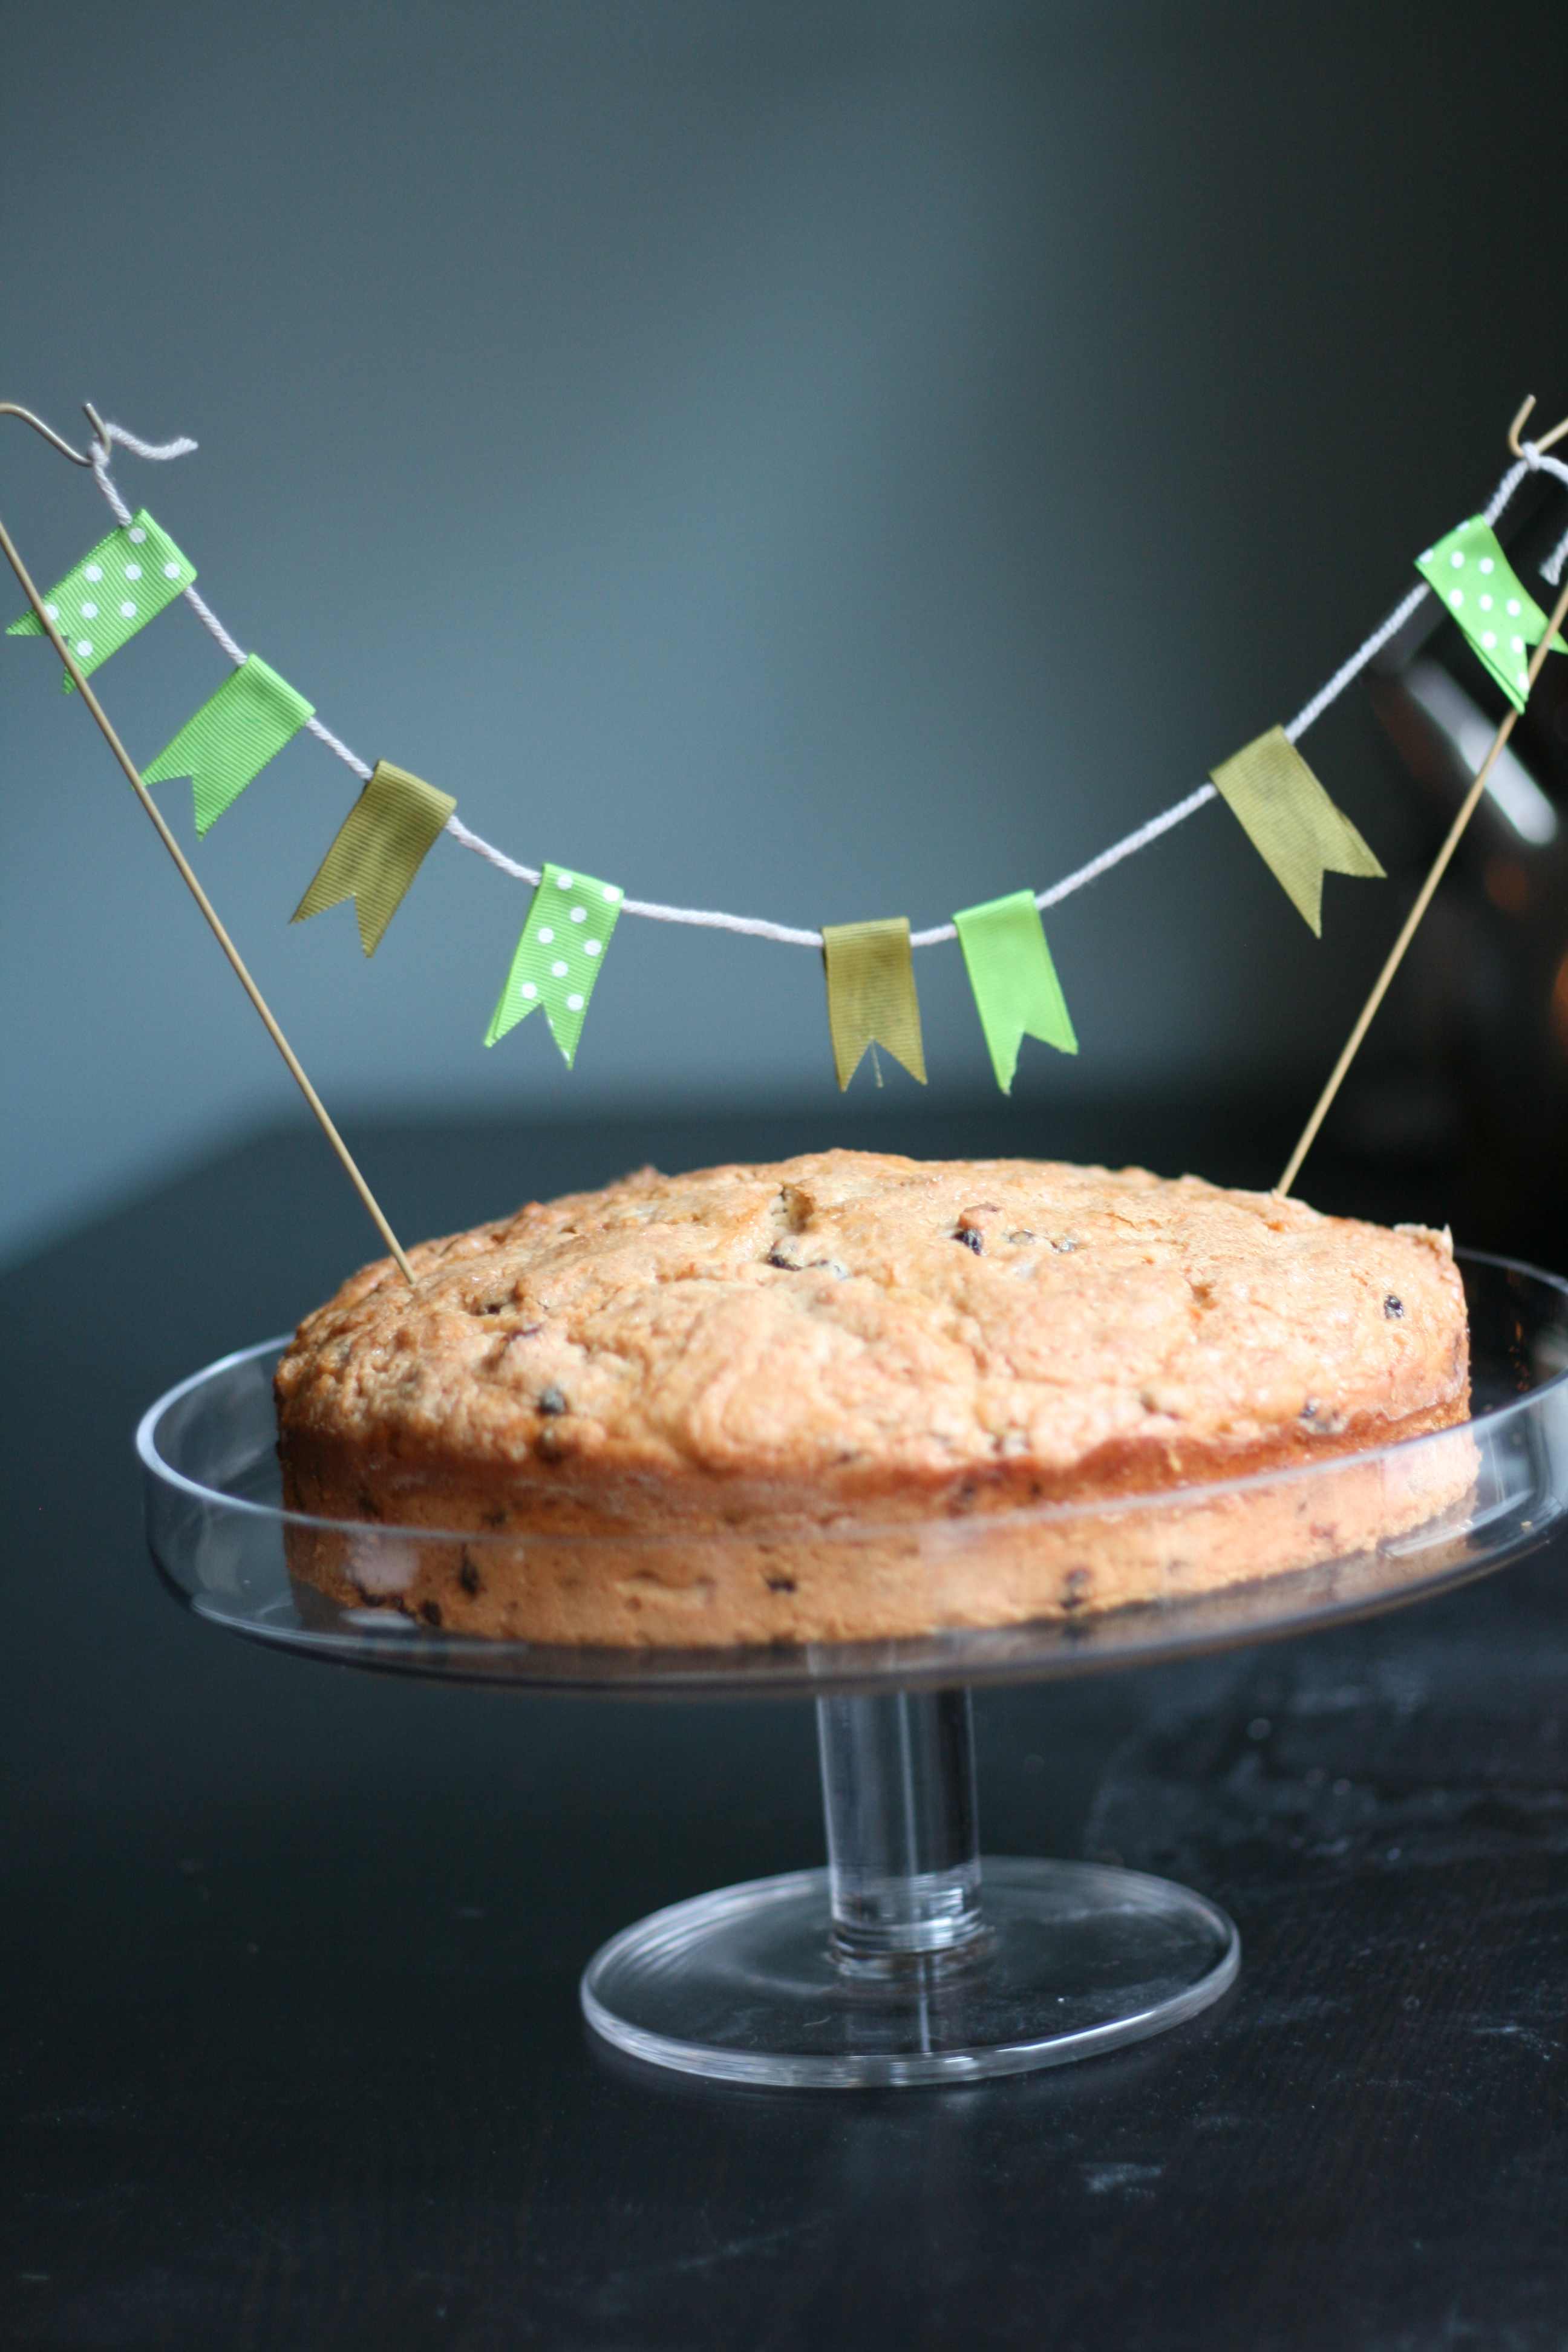
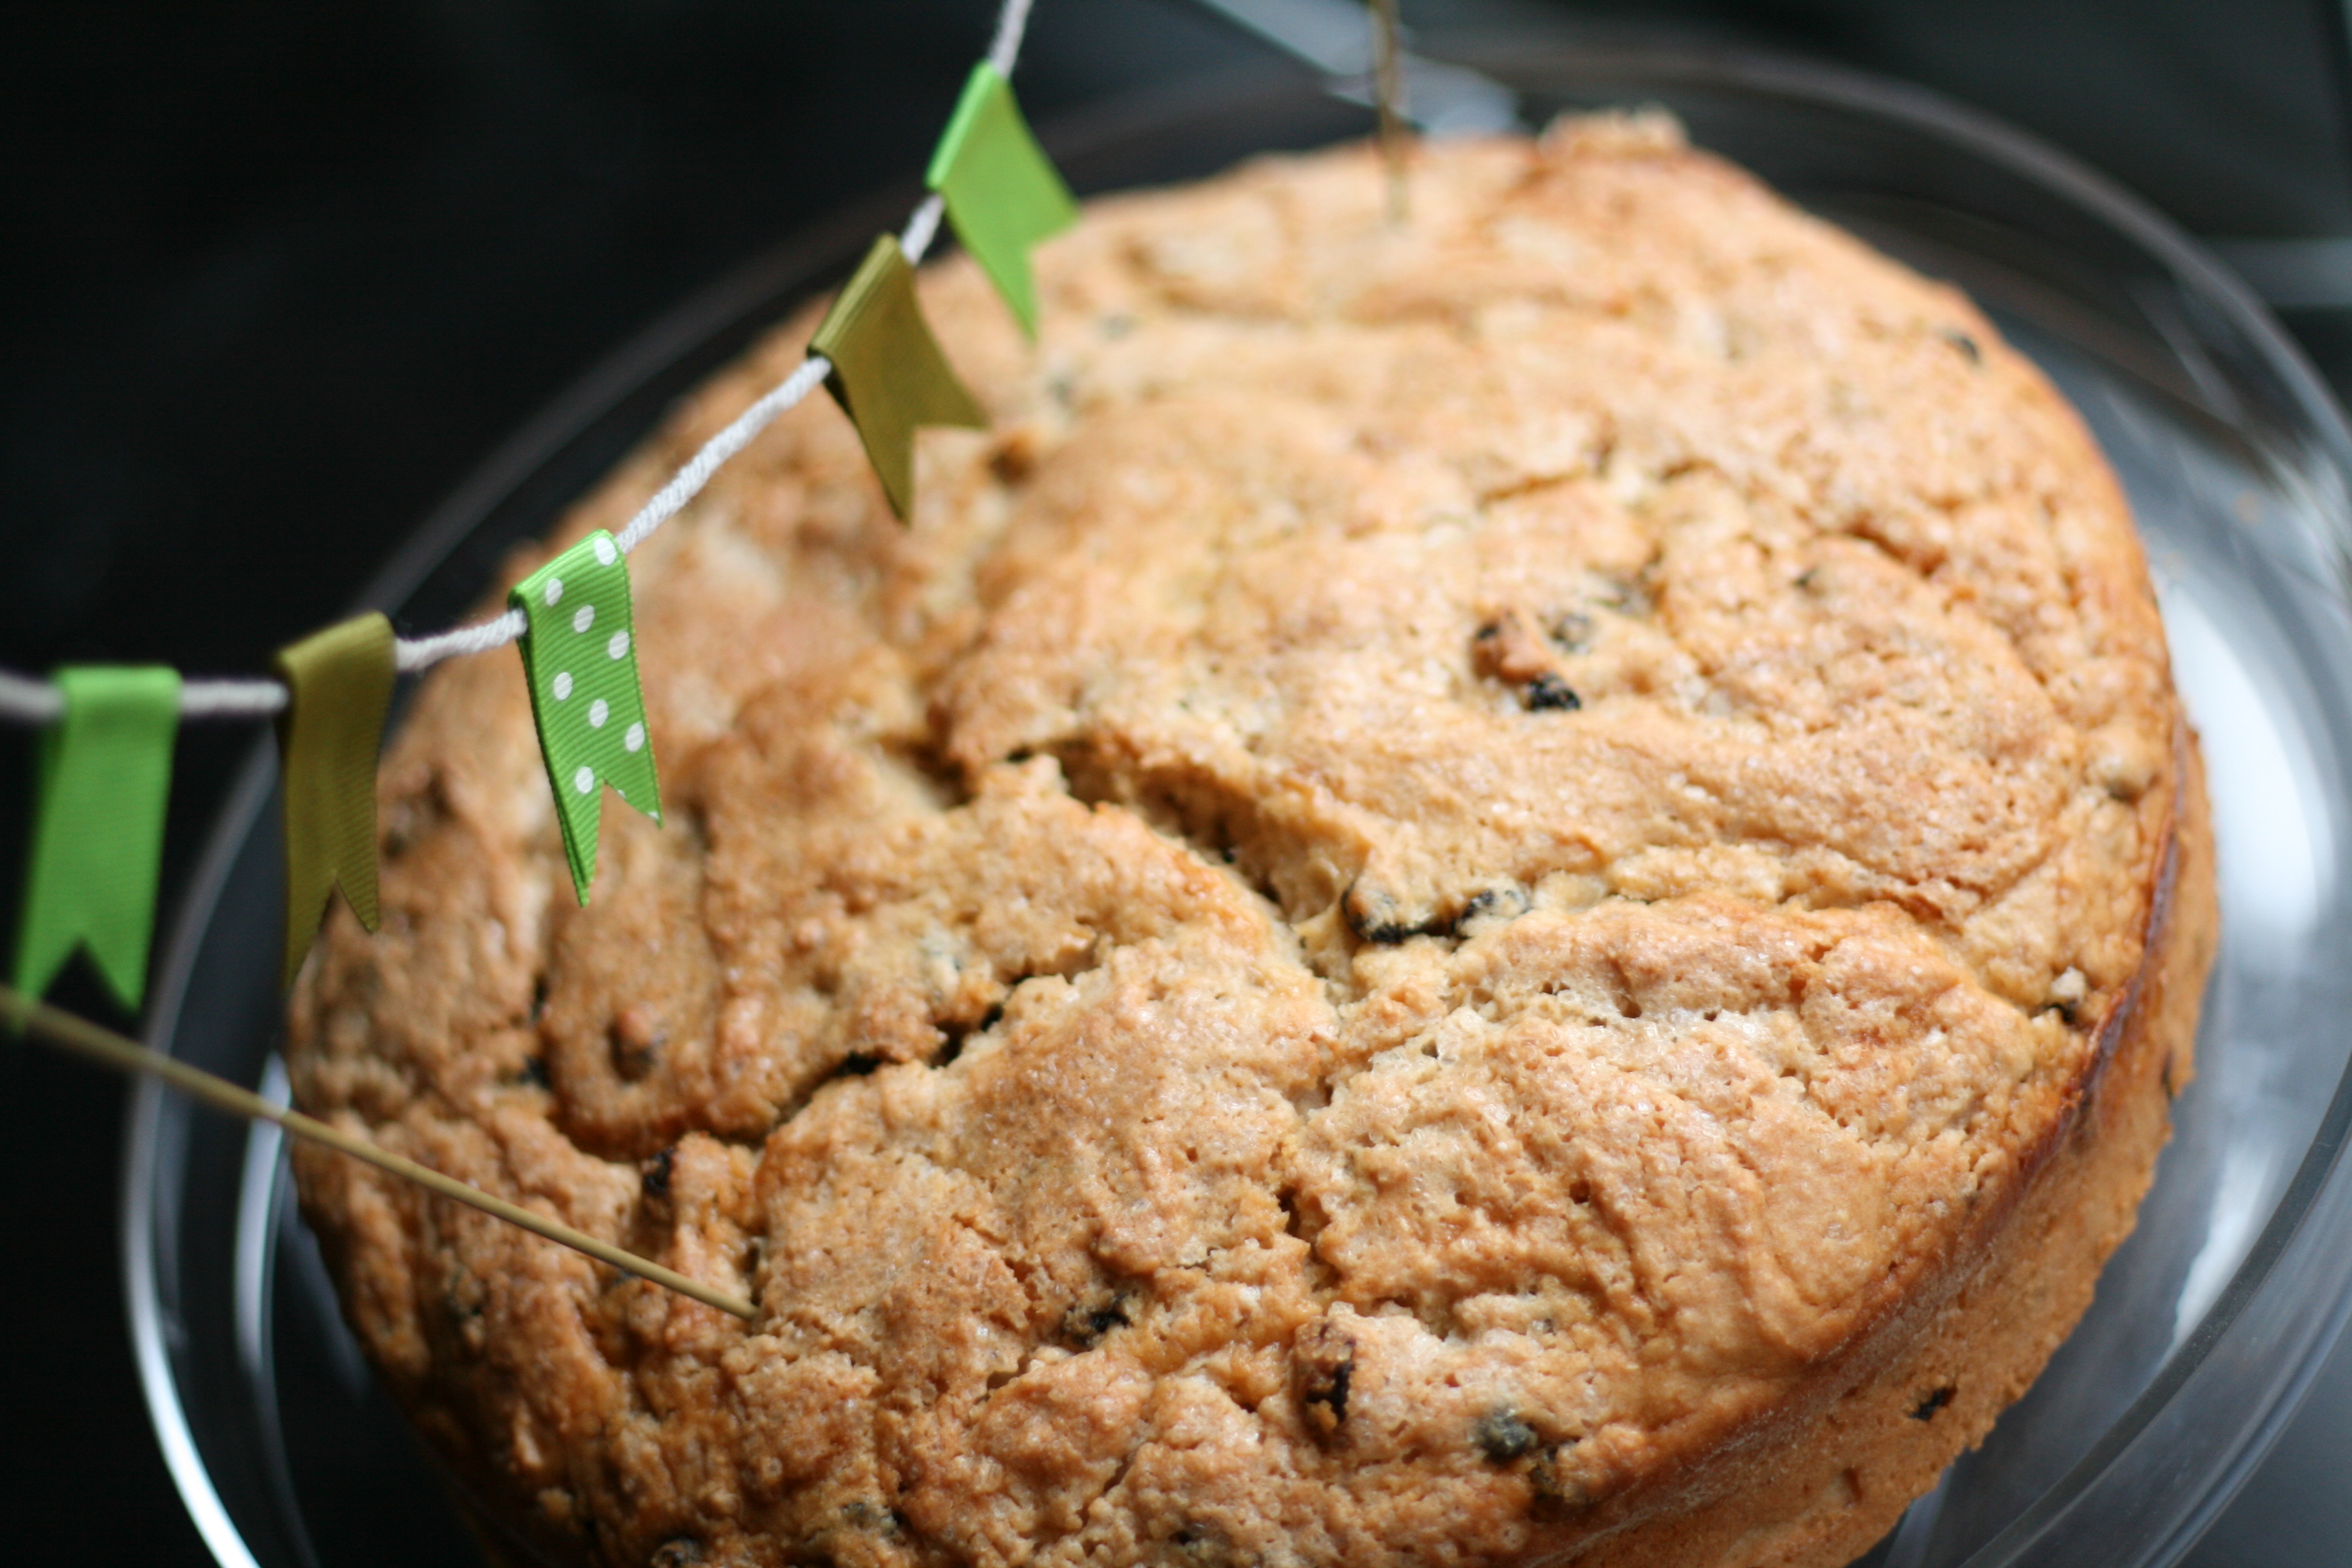
We don’t really do the corned beef and cabbage thing. It’s not our cup of tea. But you better believe we do the Irish Soda Bread thing though. With green decorations. Made out of ribbon, yarn, coat hangers, and craft glue. Yep, that’s how we celebrate.
Want to celebrate like us? Here’s how— 1. Make Irish Soda Bread. 2. While it’s baking, make decorations for the soda bread, duh! 3. Get out some yarn, ribbon, craft glue, scissors, and a coat hanger. 4. Cut the coat hanger into 2 pieces. Wash thoroughly. Dry. 5. Cut 8 2″ (or so) pieces of green ribbon. Add glue to half of the 2″ piece of ribbon and fold over, making sure the yarn is in the center of the fold. Repeat 7 times. Allow glue to dry for about 30 minutes. 6. Cut triangles into each ribbon. Attached the yarn to coat hangers. 7. Once bread is done cooking, decorate. 8. Take pictures and eat!
In a large bowl, beat together the butter and sugar until smooth. Add the eggs, and beat on high speed until the mixture is thick and light-colored, about 2 minutes. Stir in the baking powder, baking soda, and salt, then 1 cup of the wheat flour. Gently beat in half the buttermilk, then another cup of the wheat flour. Add the remainder of the buttermilk, and the final cup of all-purpose flour, mixing until smooth. Stir in the currants.
Spoon the mixture into a lightly greased 8″ round pan, and line the bottom with parchment paper. Drizzle the milk atop the batter, and sprinkle with the sugar.
Bake the bread in a preheated 325° oven for 1 hour 15 minutes, or until a cake tester inserted into the center comes out clean. Tent a sheet of aluminum foil over the top for the final 15 minutes, if it appears to be browning too quickly. Remove the bread from the oven, wait about 5 minutes, then carefully turn it out onto a rack to cool. Allow the bread to cool for at least 1 hour before slicing.