I’ve departed from my normal flour, butter, and sugar gig this week. I hope you don’t mind.

Confession: I’m a mexican food junkie, and I eat way too much guacamole. But I wasn’t always this way. Sadly, my unrefined childhood taste buds didn’t crave guac until I was in college. I lost a good 20 years of consumption. However, I think I’ve made up for it in the last six years. Thank goodness for its health benefits.

Every time I make guac, I think of my mom. She first introduced me to it with a recipe called—Game Day Guacamole. I can still see it peeking out of her overly stuffed light blue checked recipe box. Excuse me while I reminisce. The fact that food has the ability to conjure up vivid memories makes me love it even more.

I wish I could say that I still use the Game Day recipe, but I don’t. Being the hard-headed person that I am, I had to come up with my own recipe. I blame it on the artist in me. I’m like a dog marking its territory. I have to put my stamp on everything. Knowing how I am now, I can only imagine what I was like as a child. My apologies Mom and Dad. But lucky for you, I have perfected my recipe. At least to my liking. So go ahead, and give it a try.

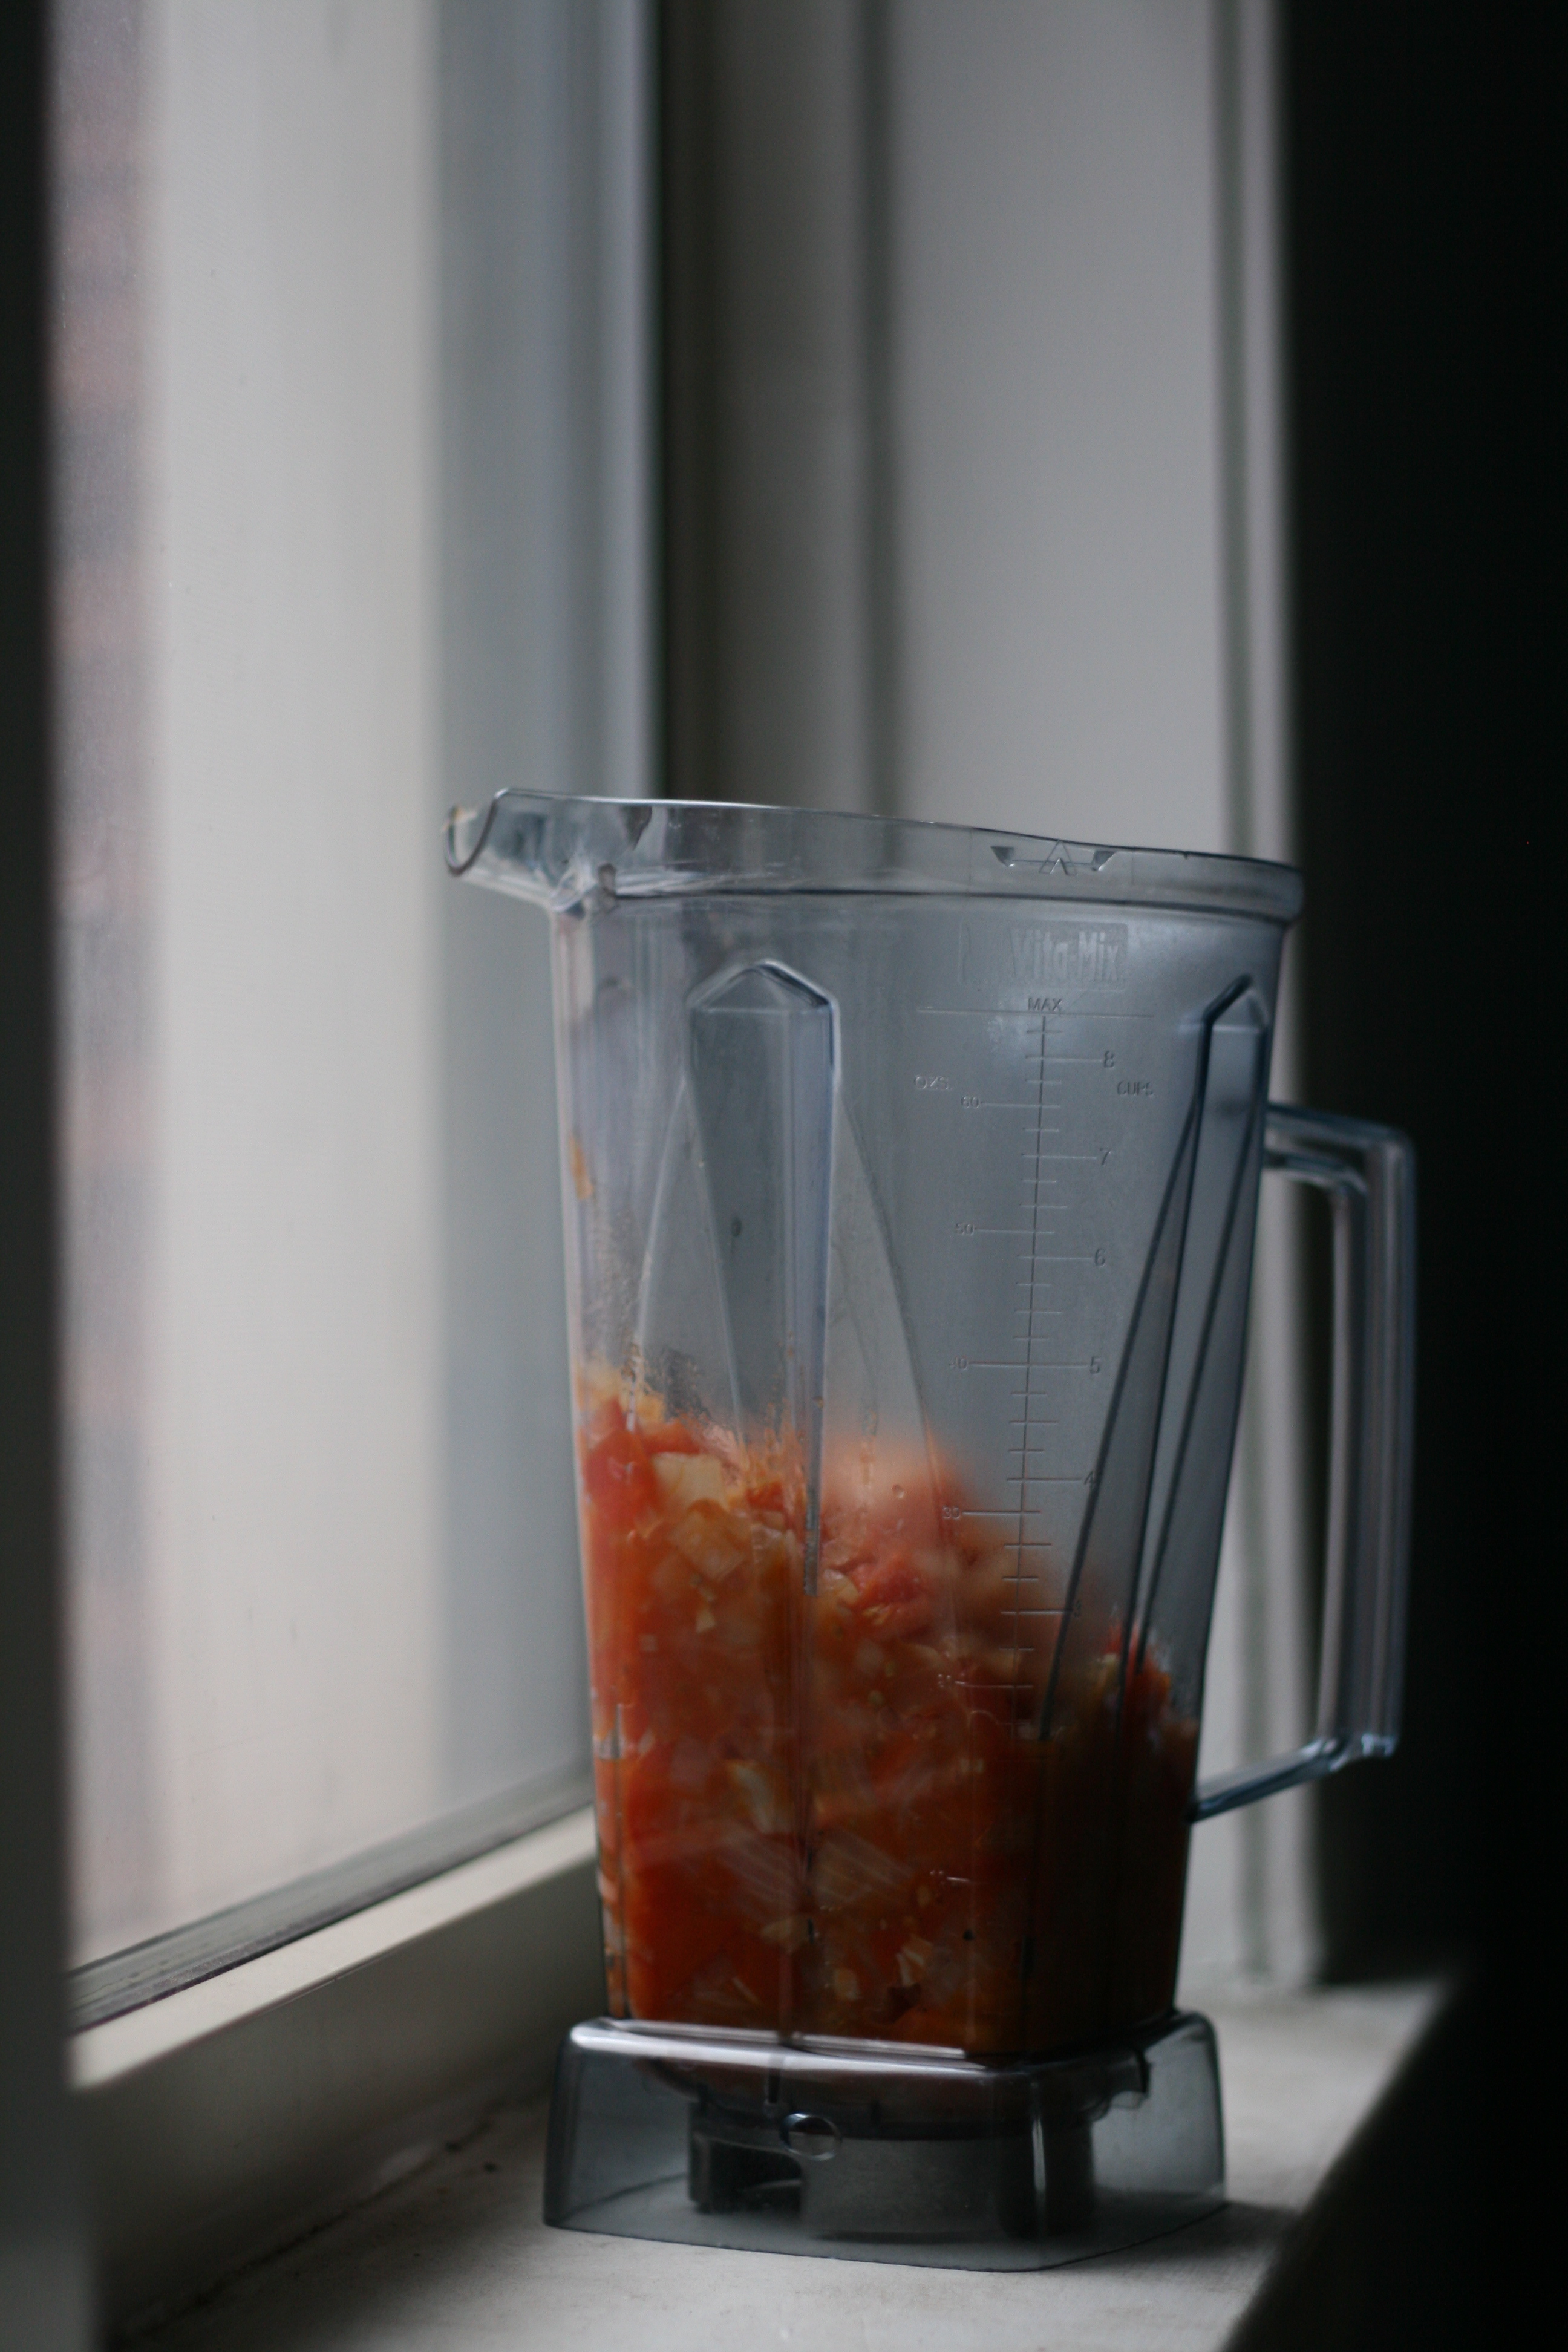
The best thing about this recipe—it’s not a science. Precision isn’t a must. Taste as you go. Follow your gut. And put your own stamp on it, or not.
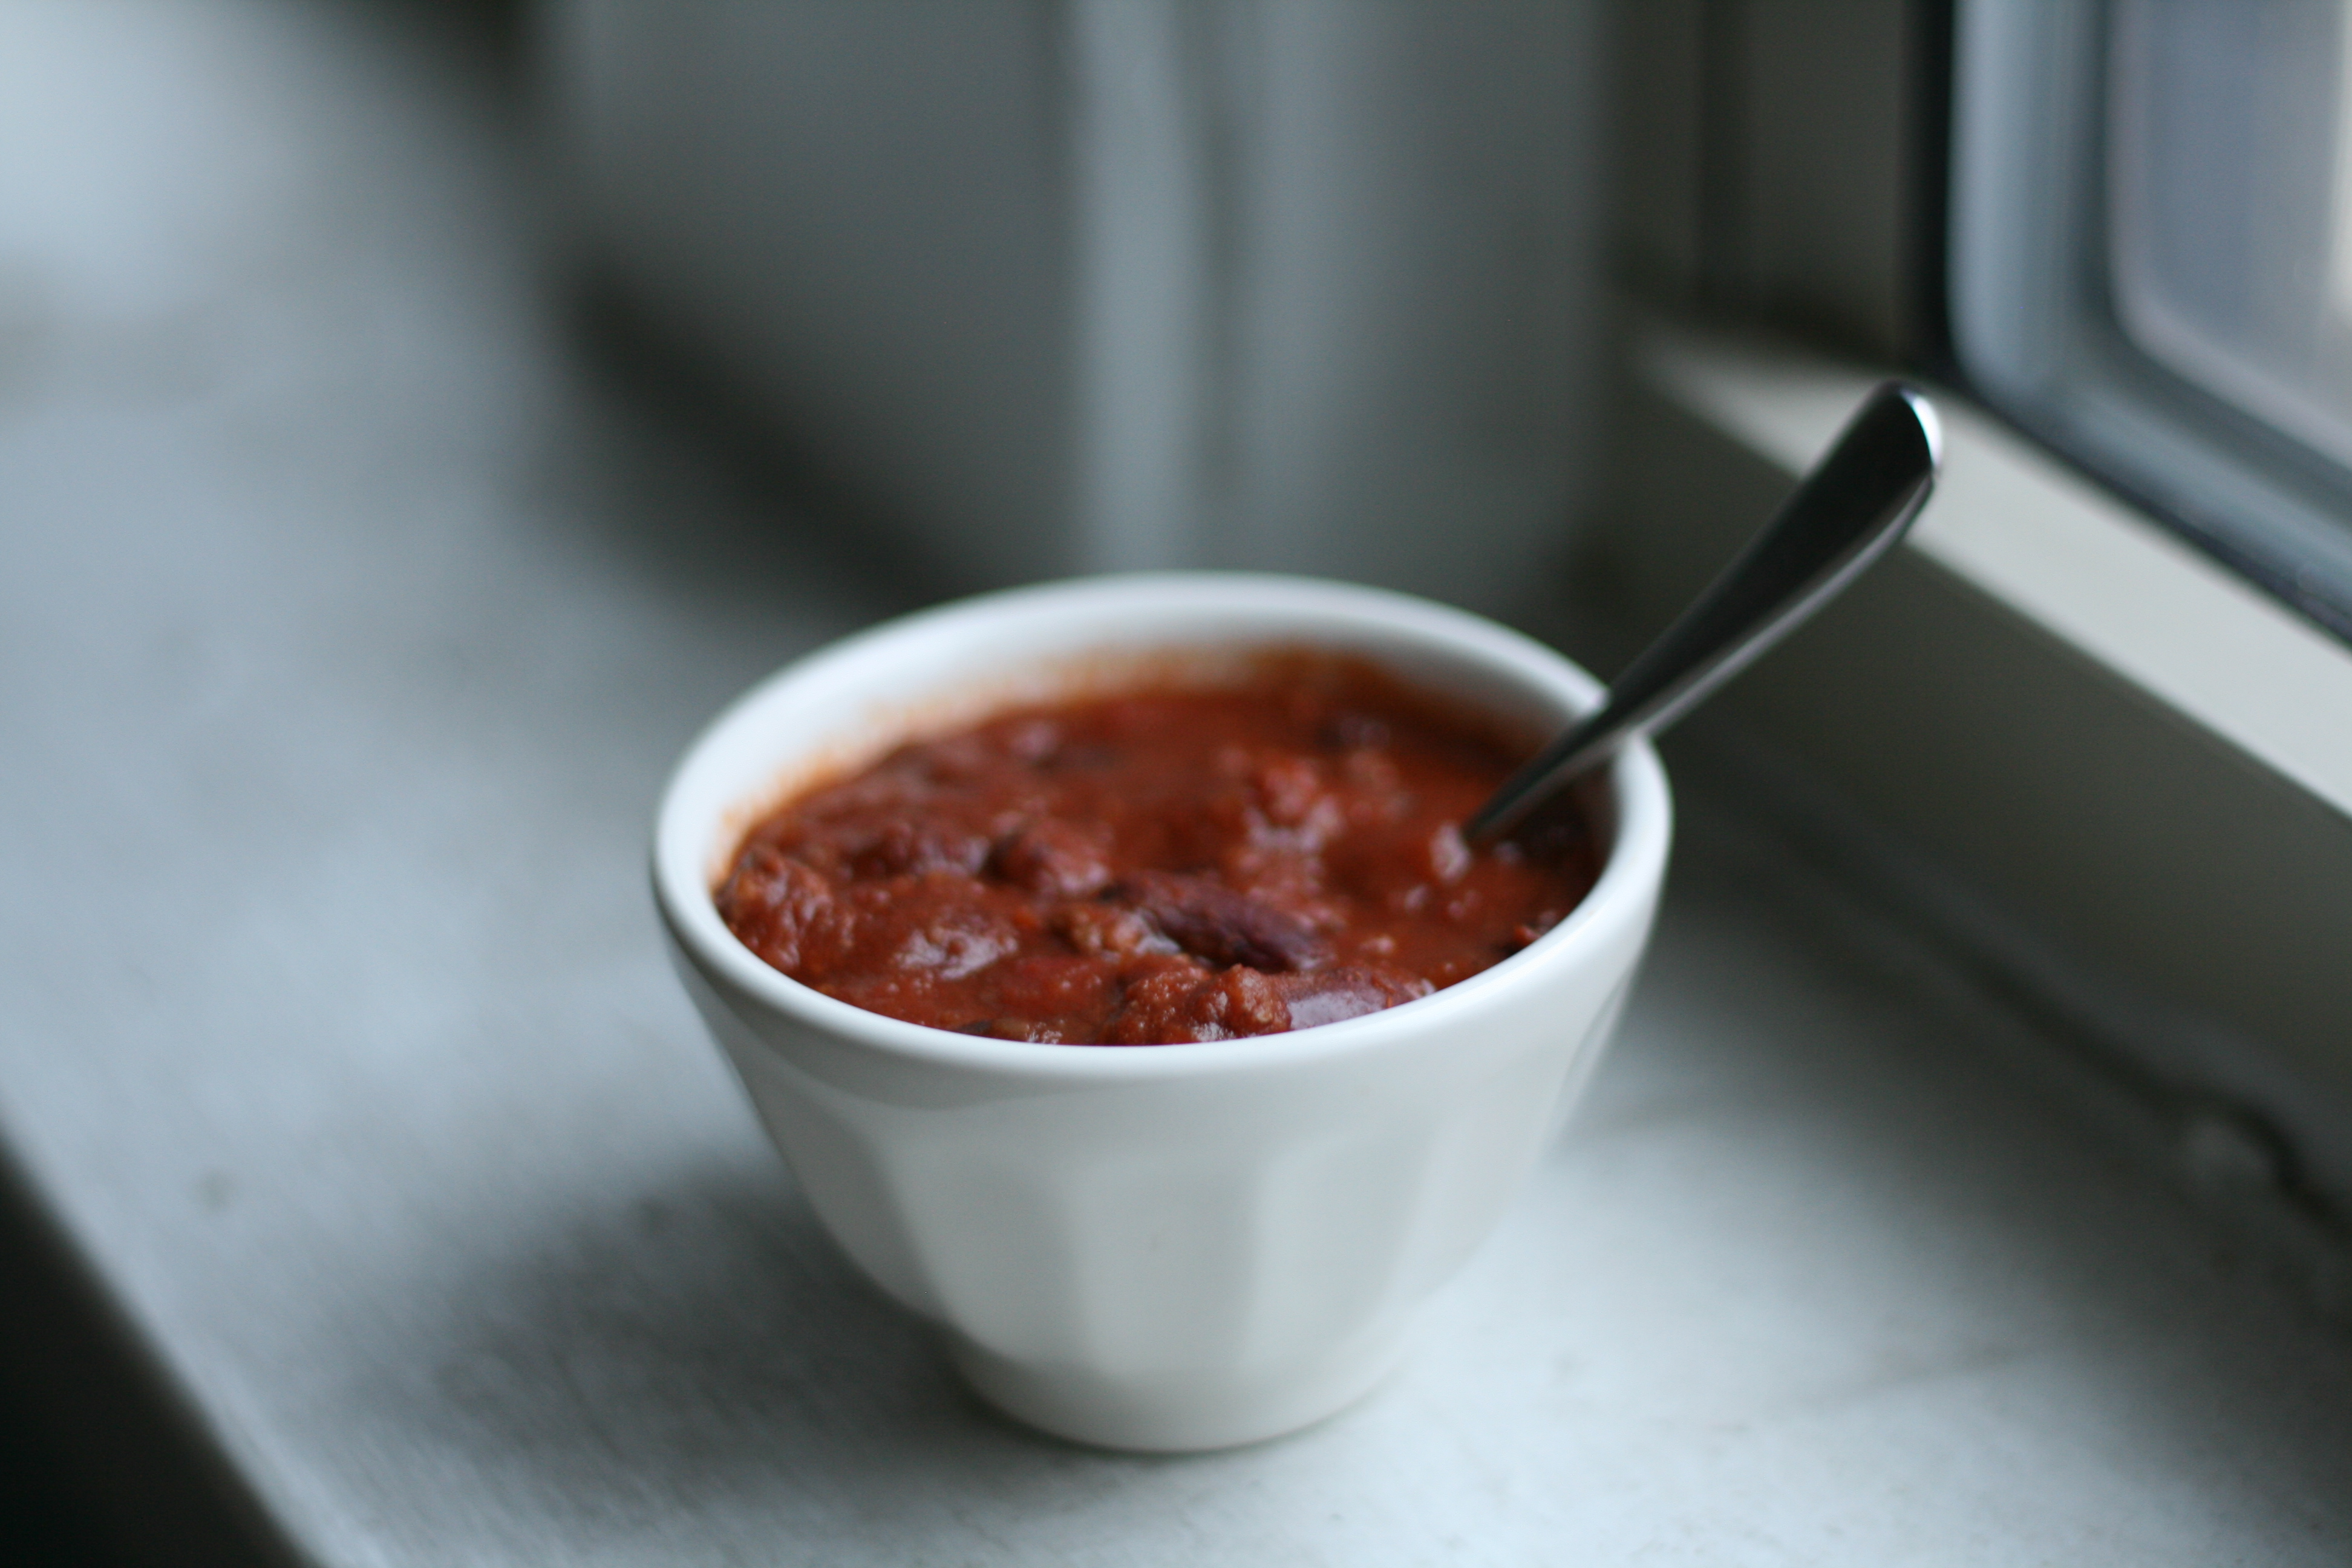
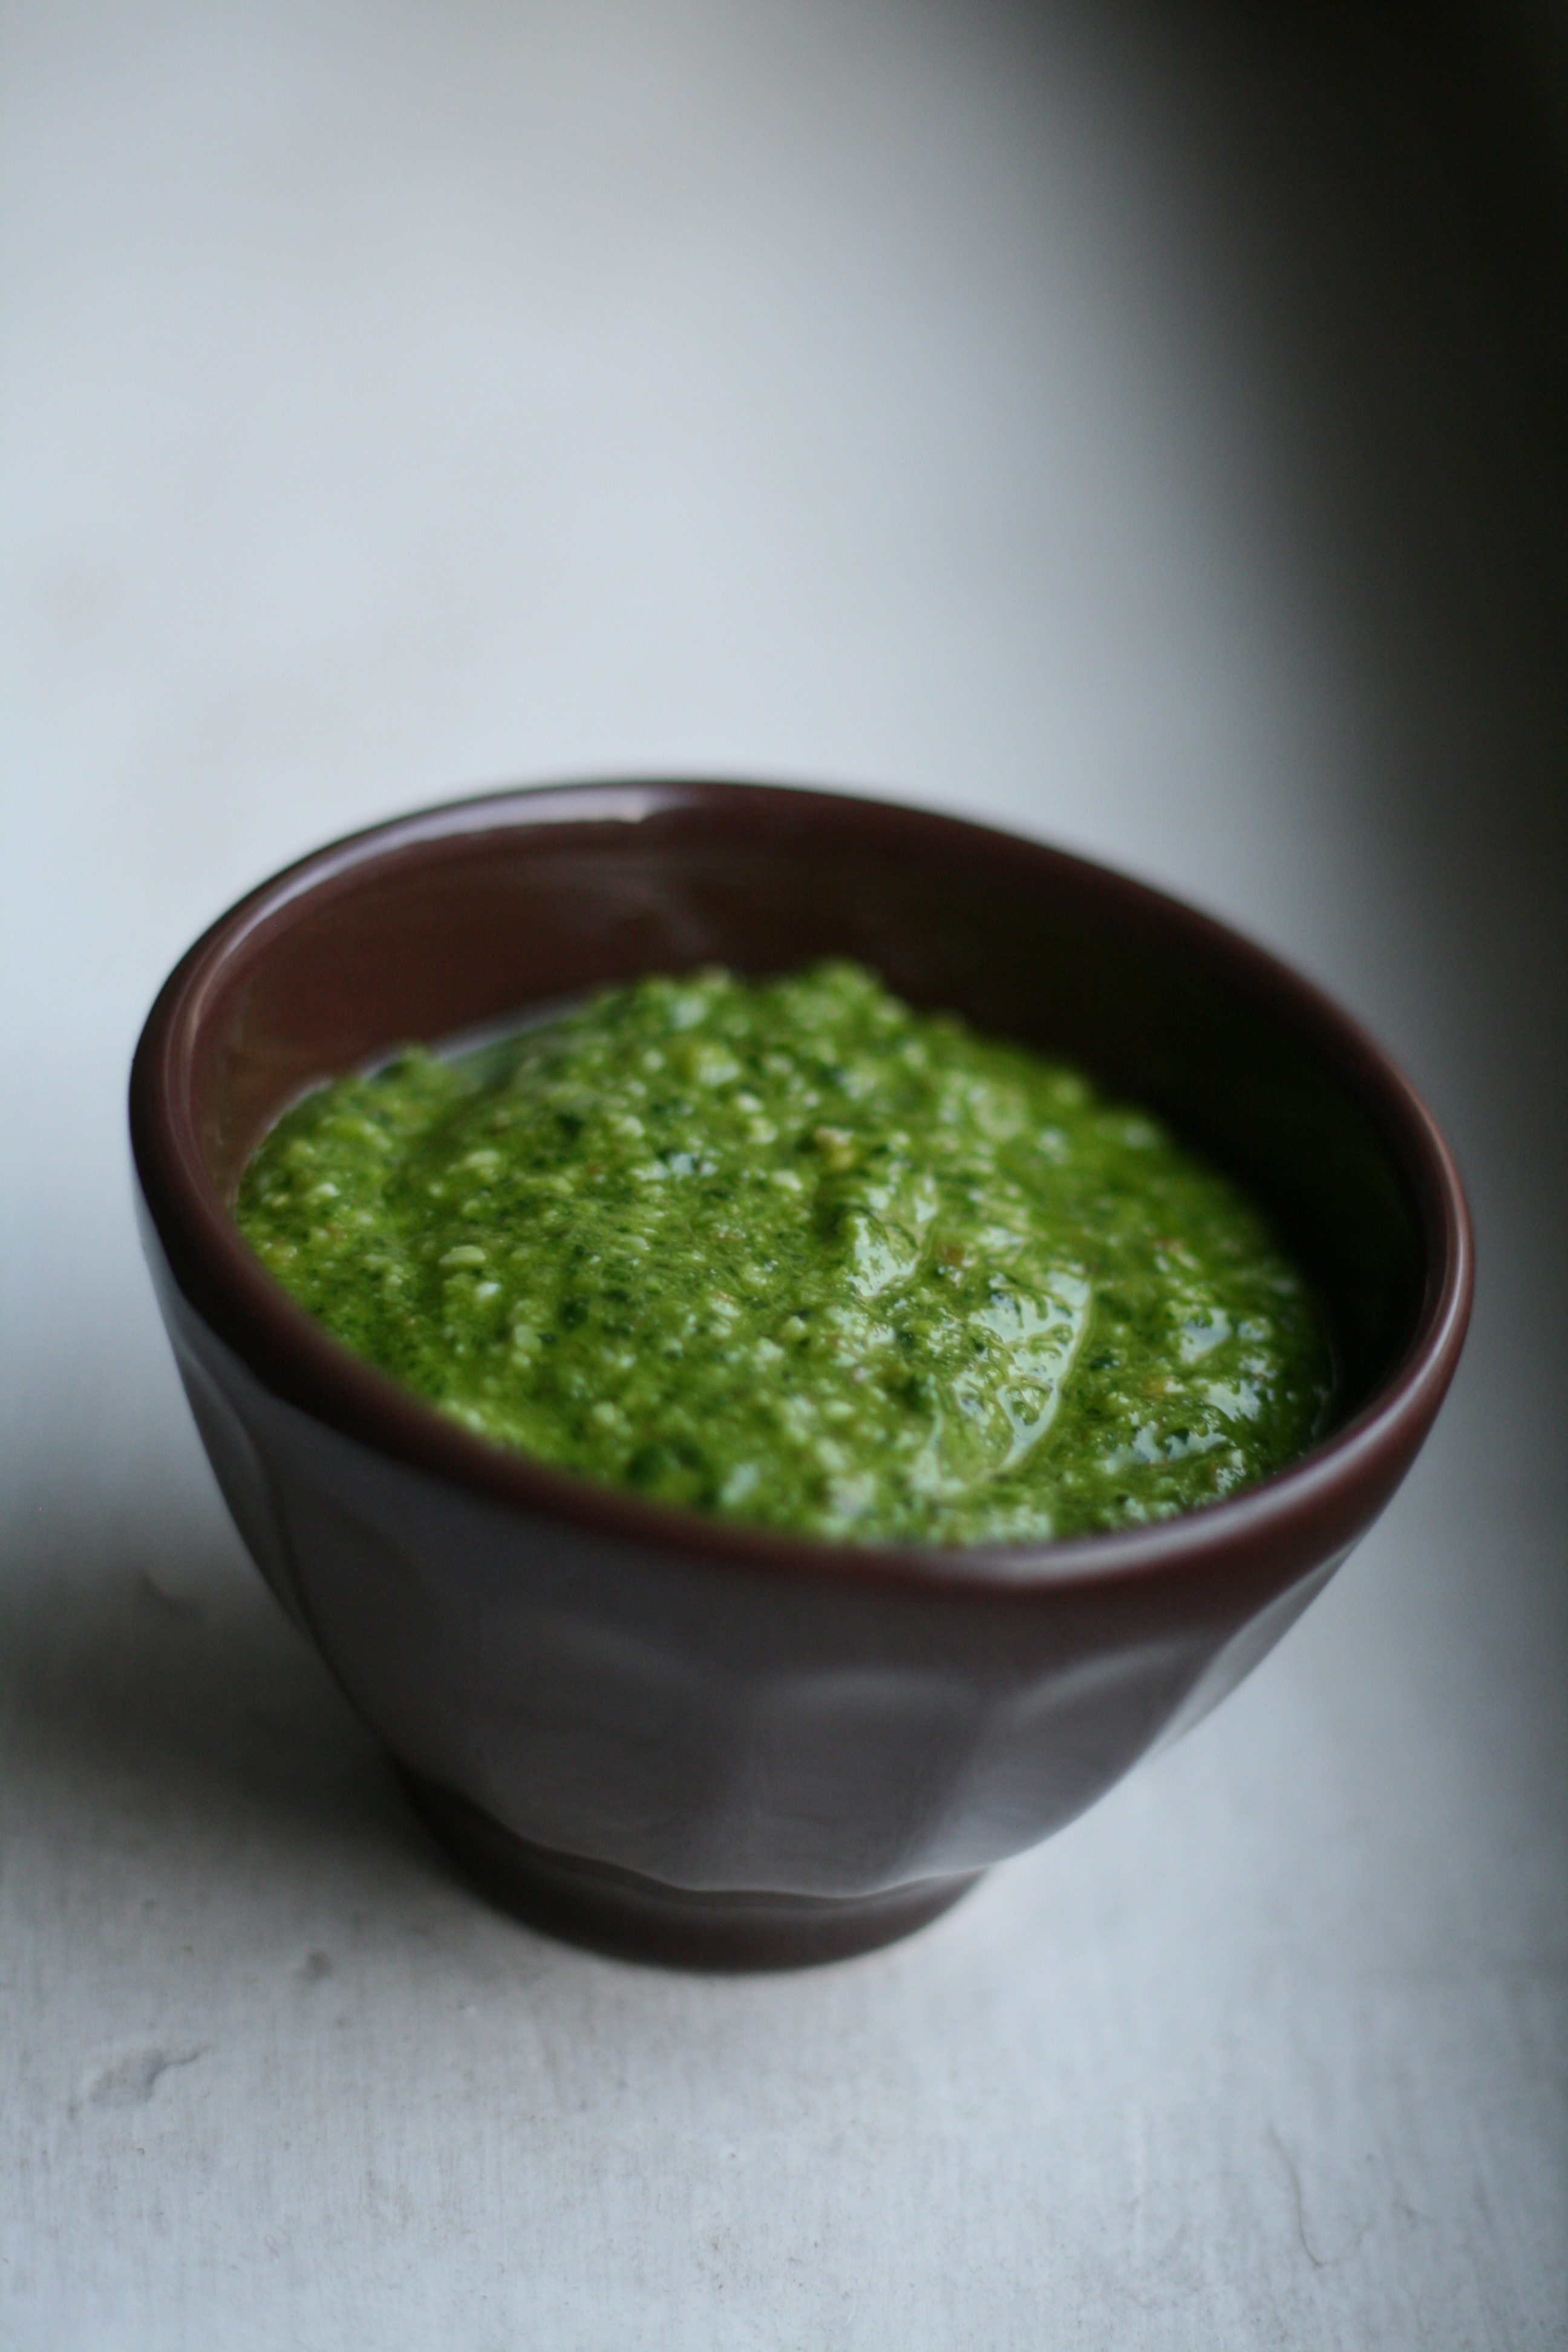
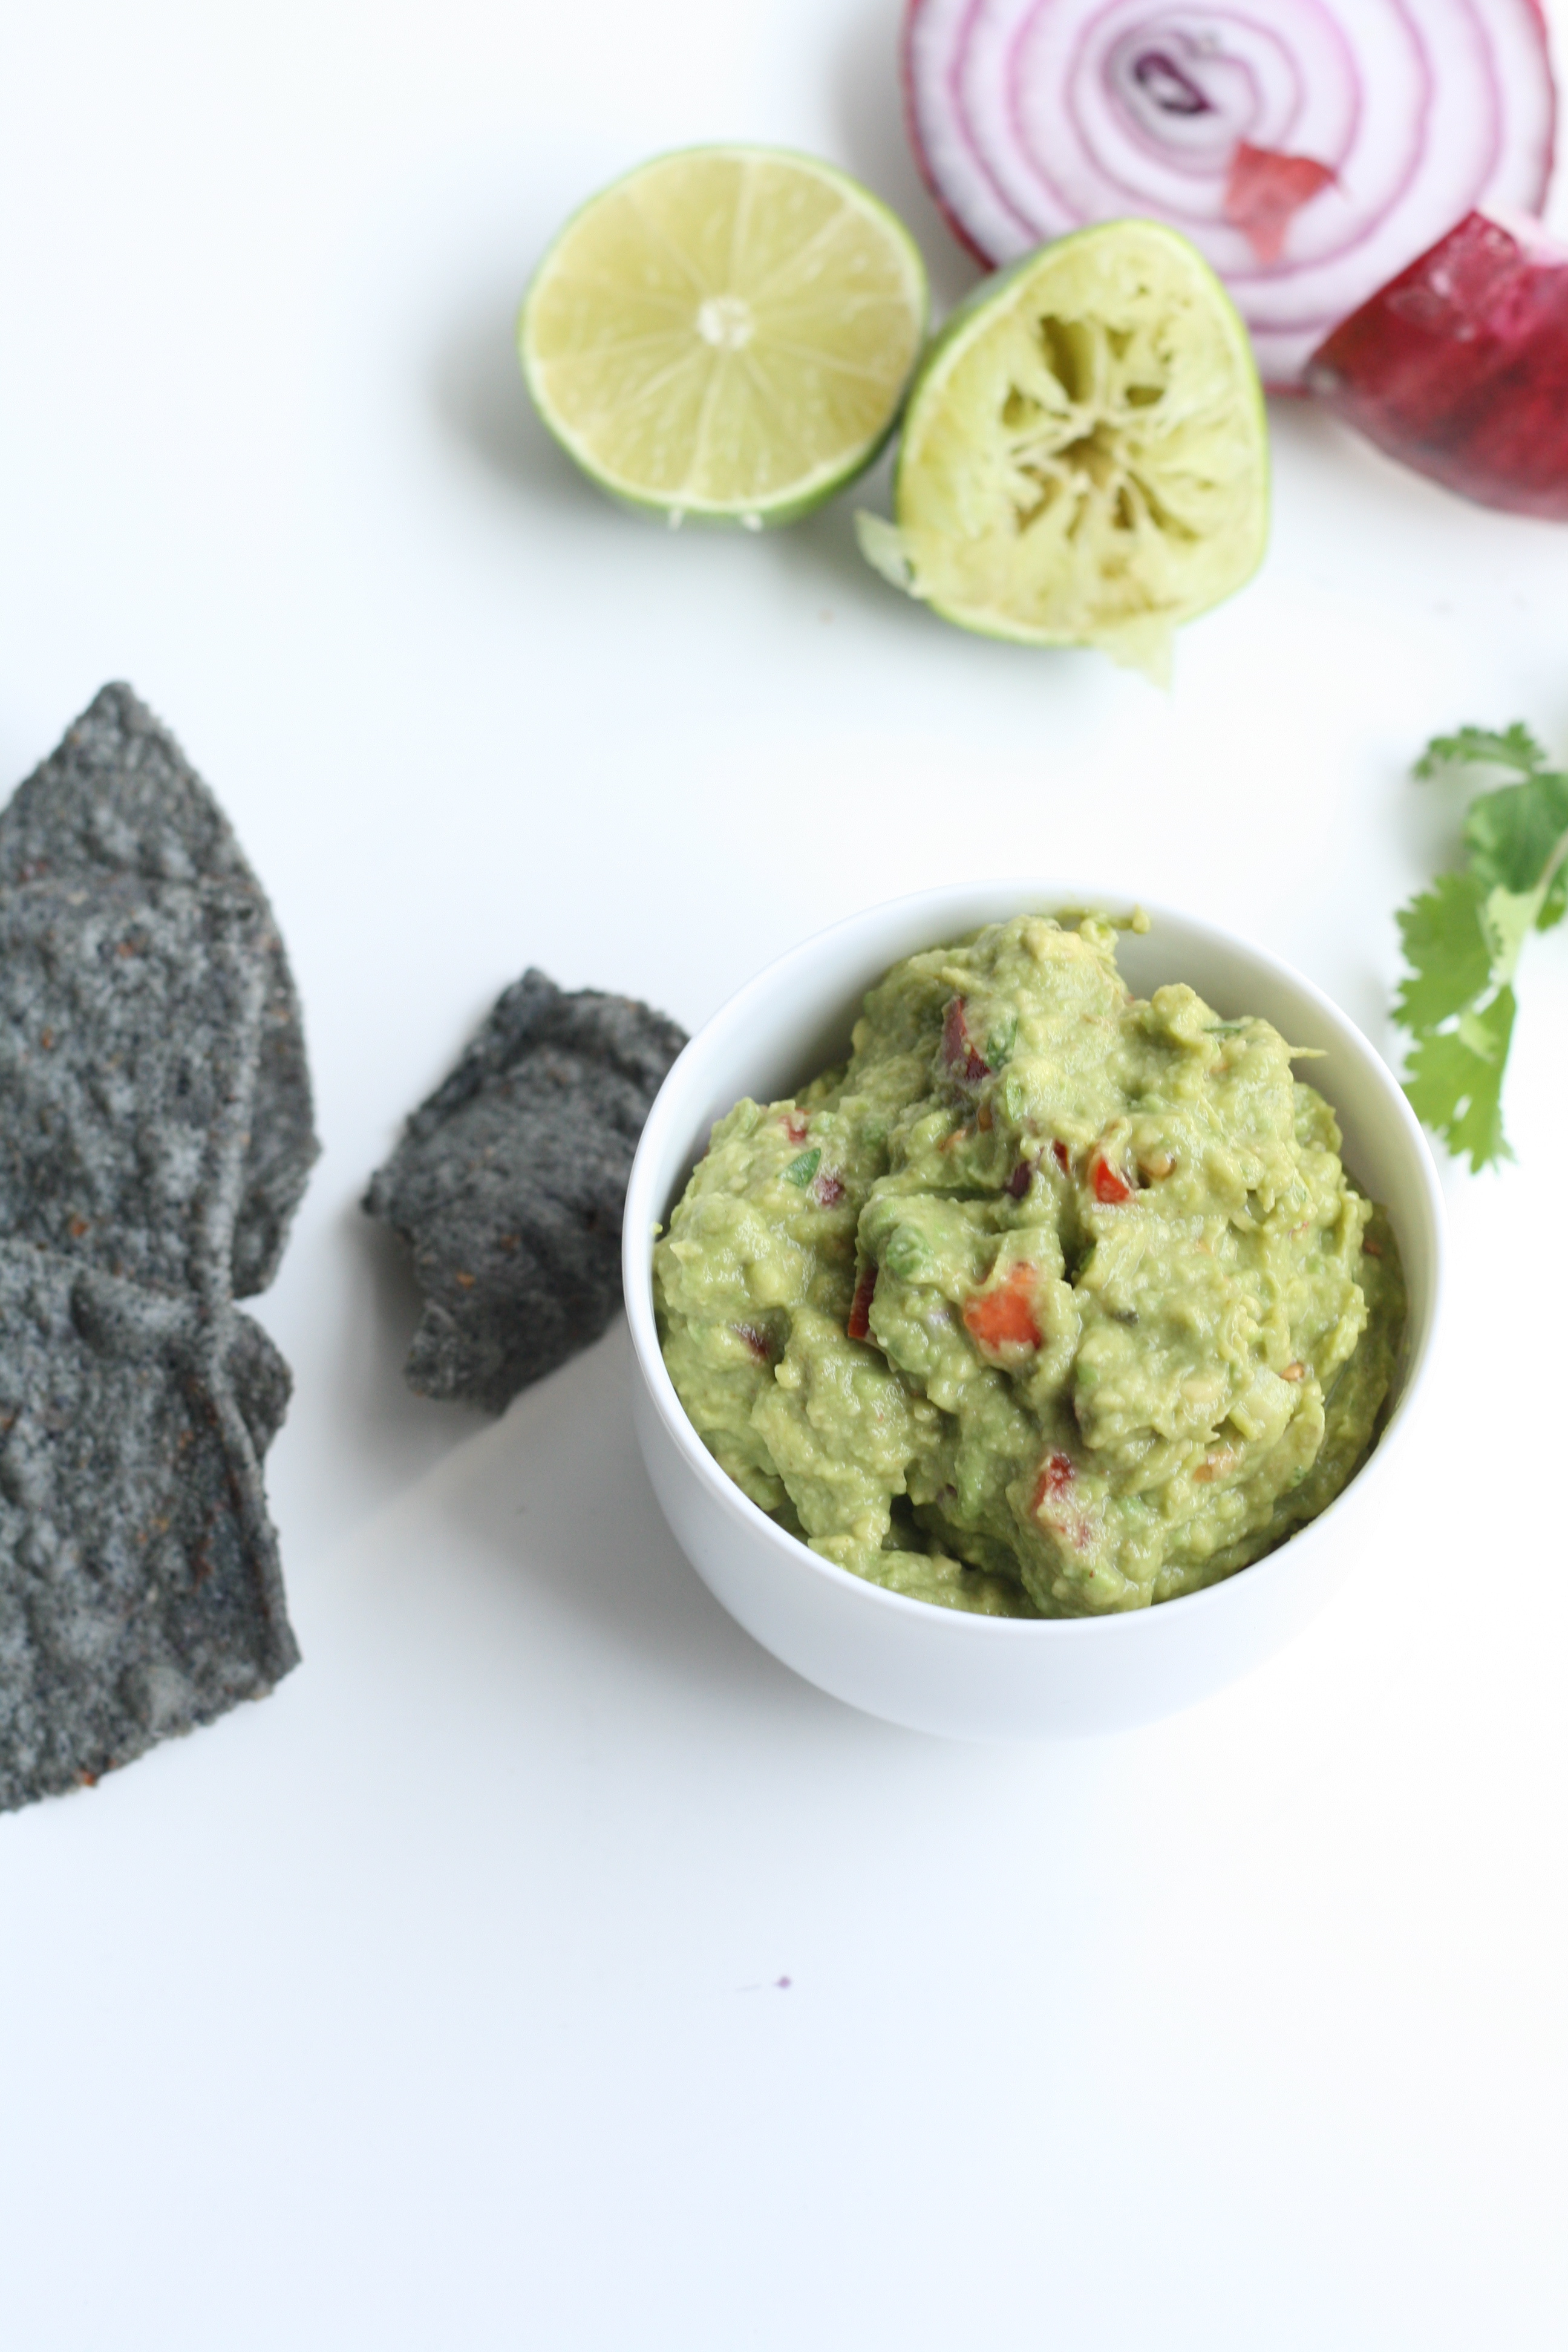
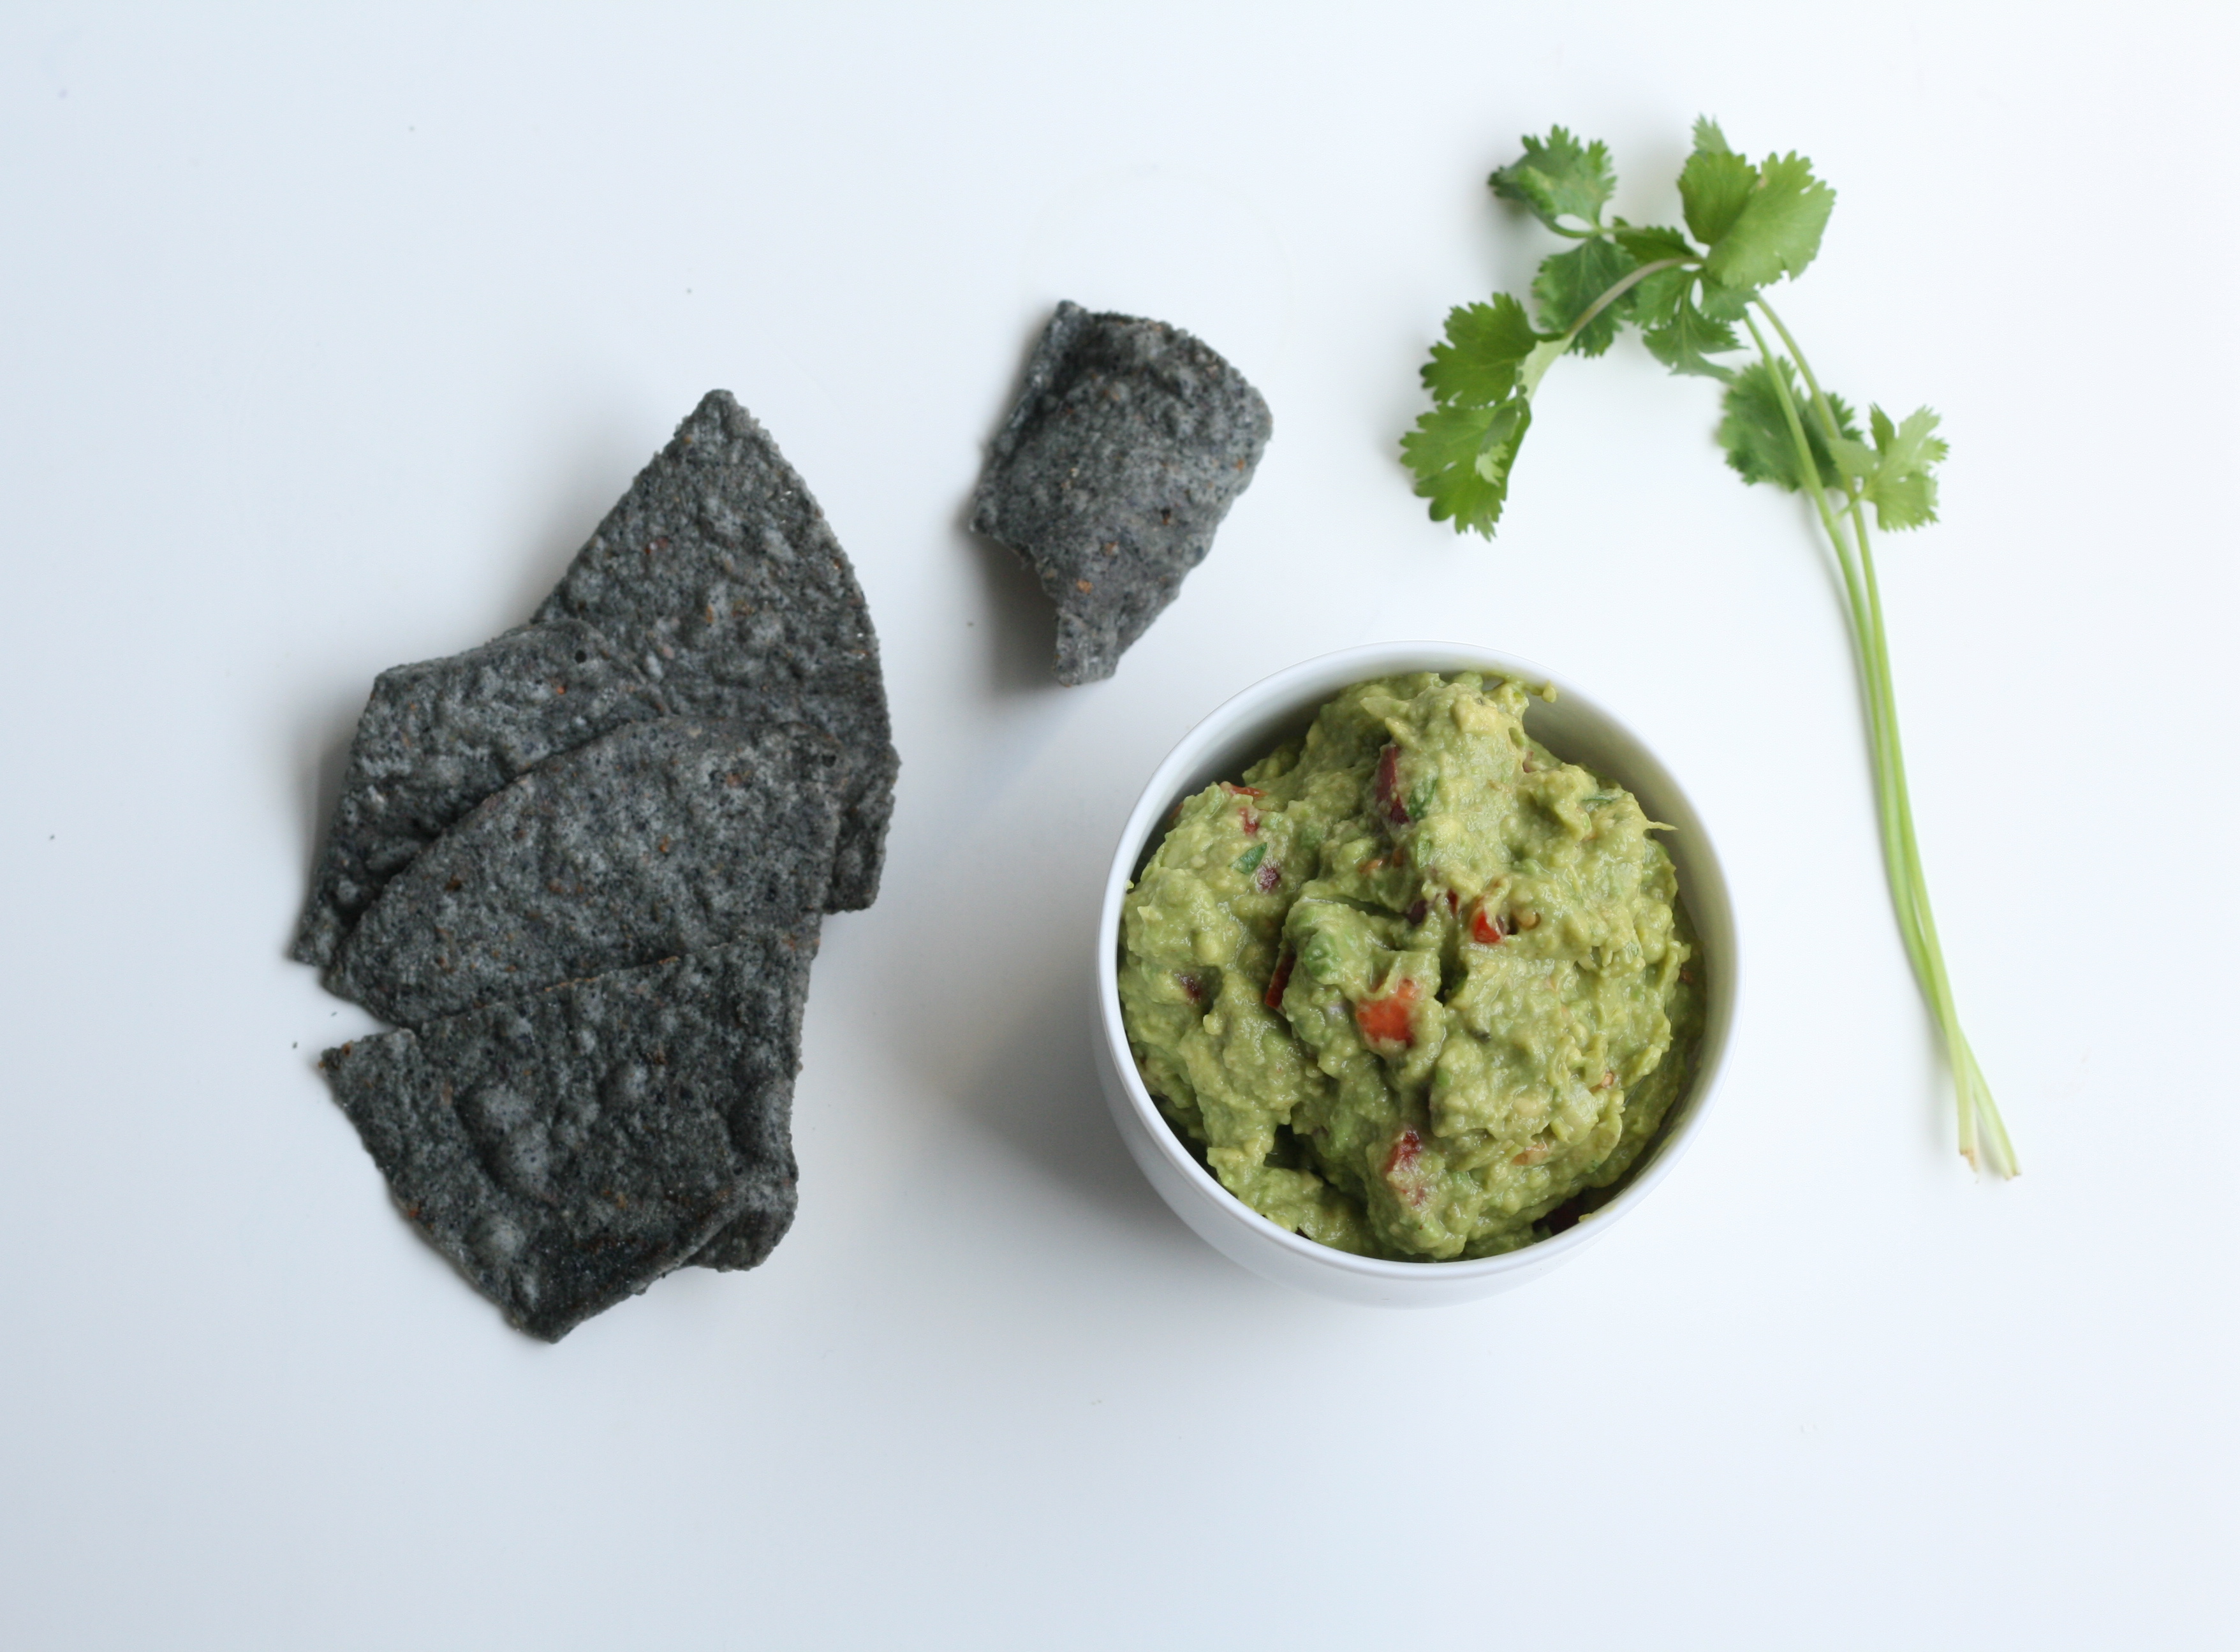
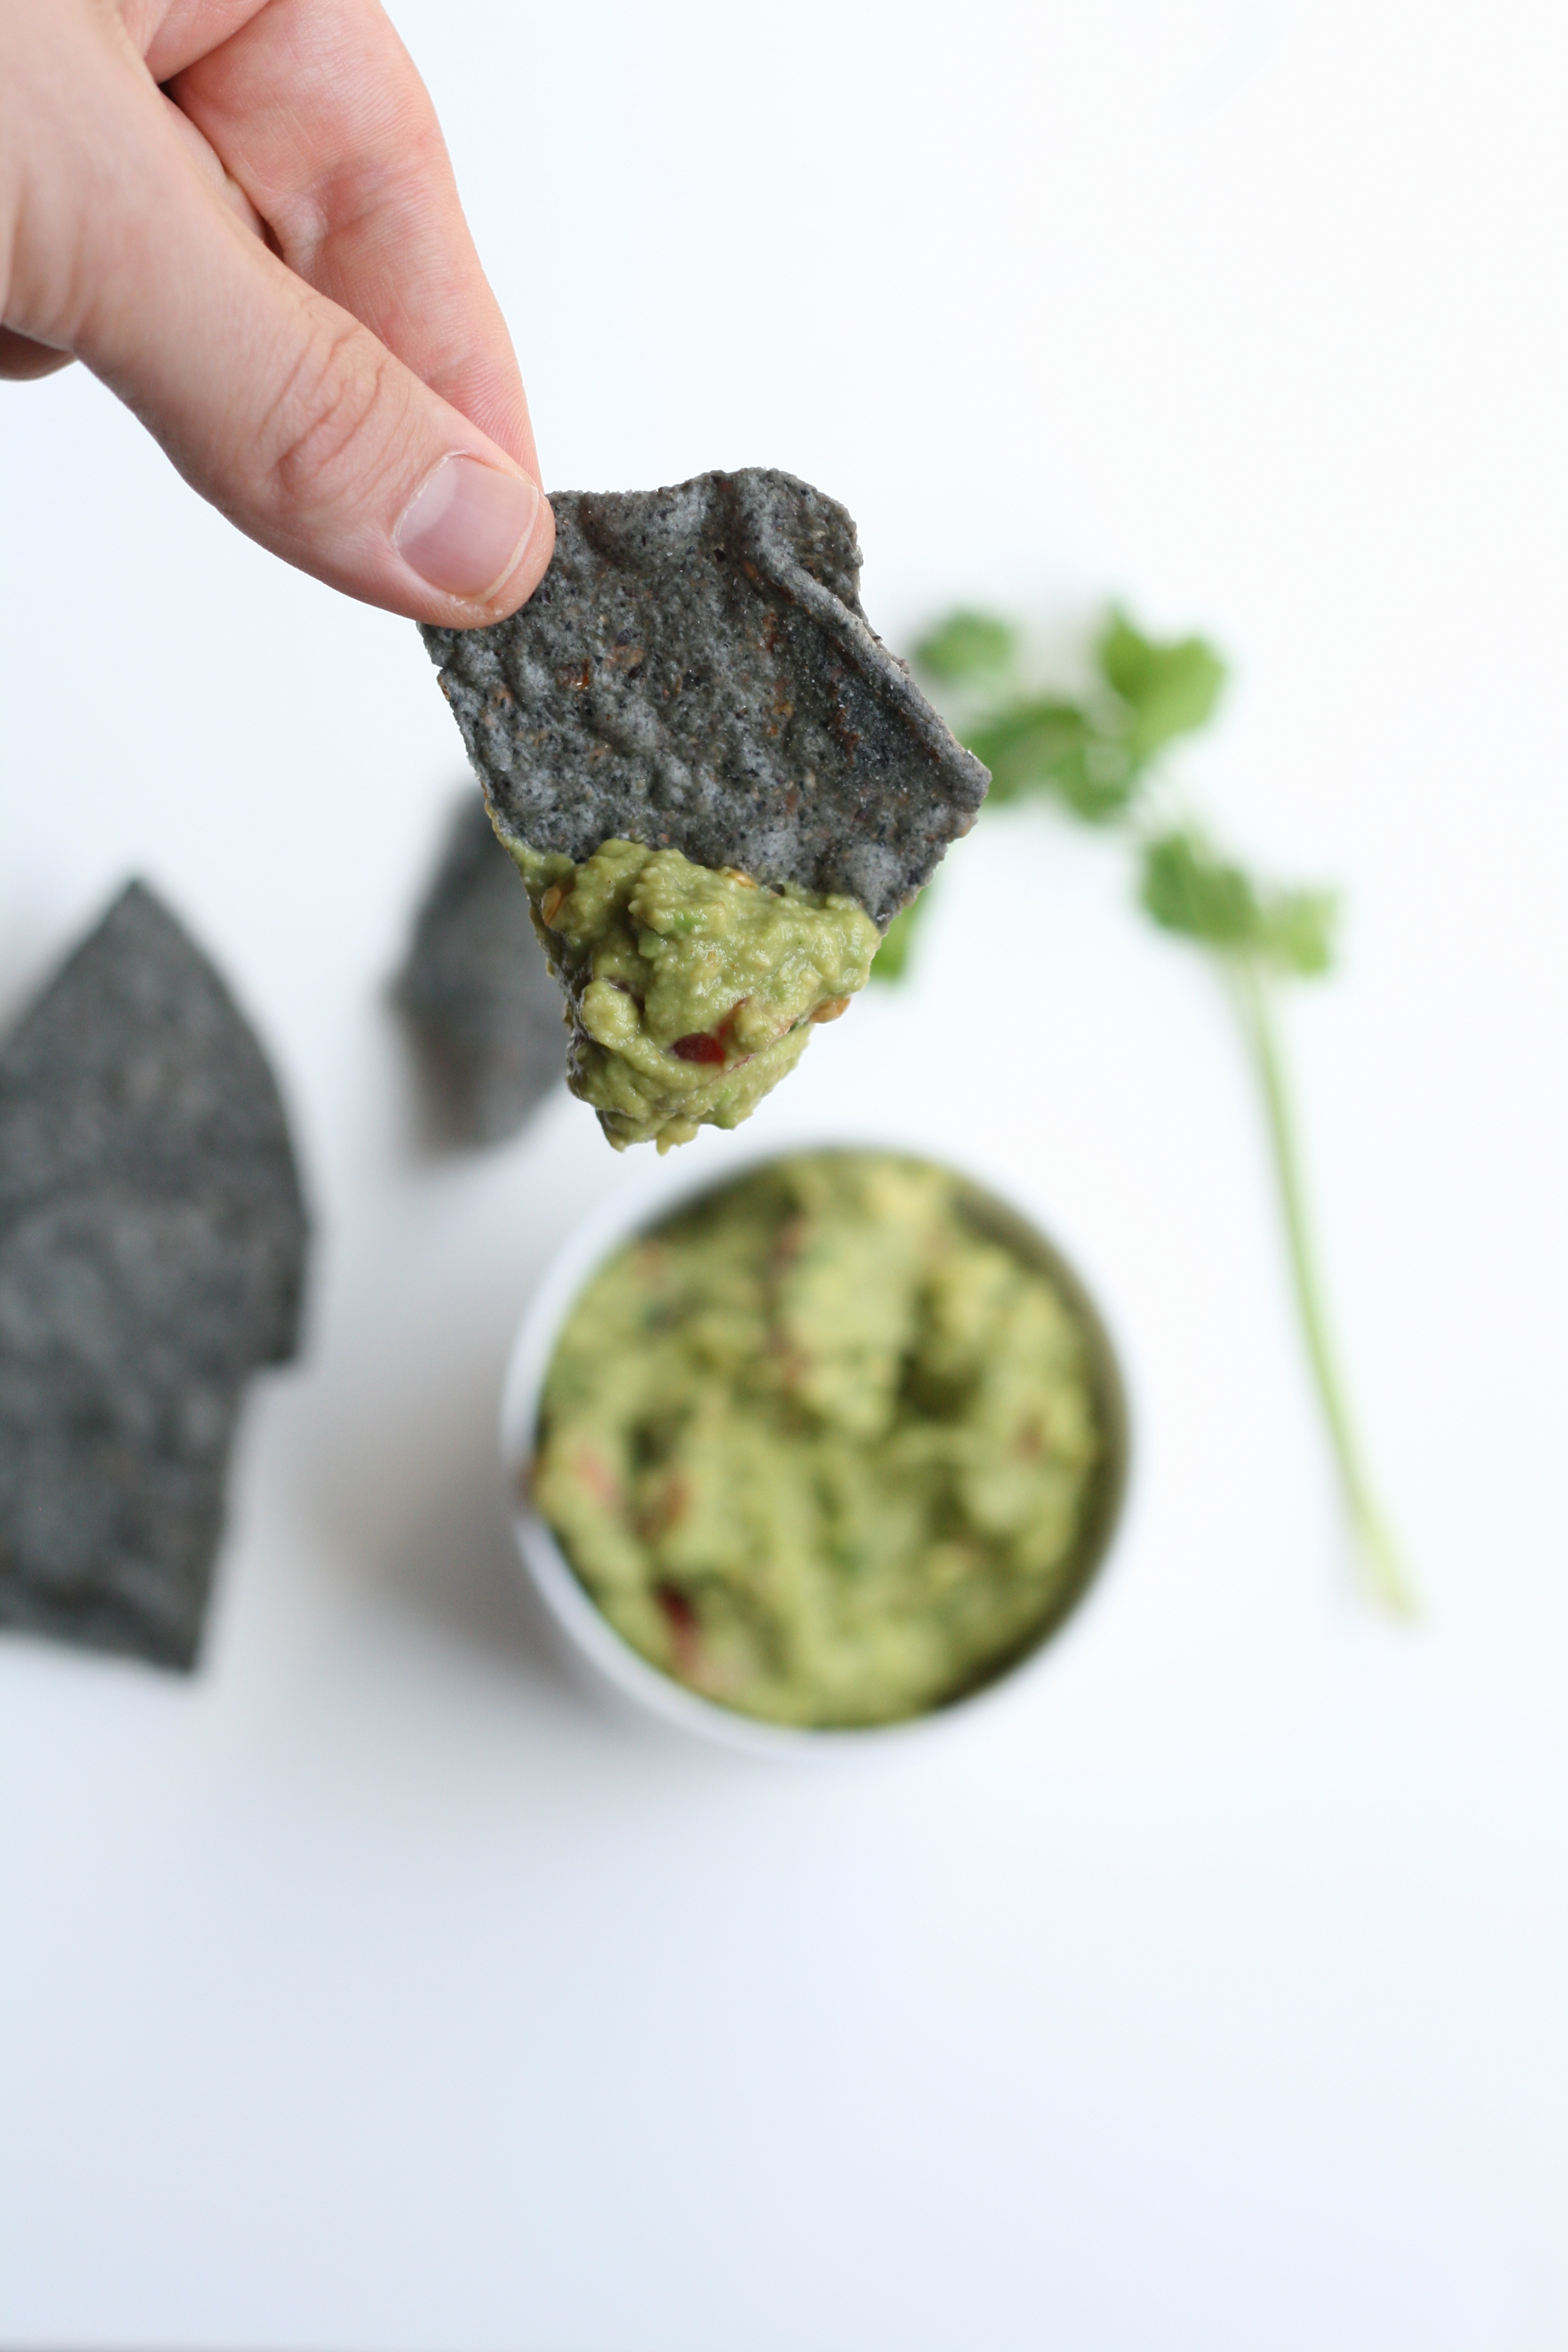
Guacamole
recipe from yours truly  

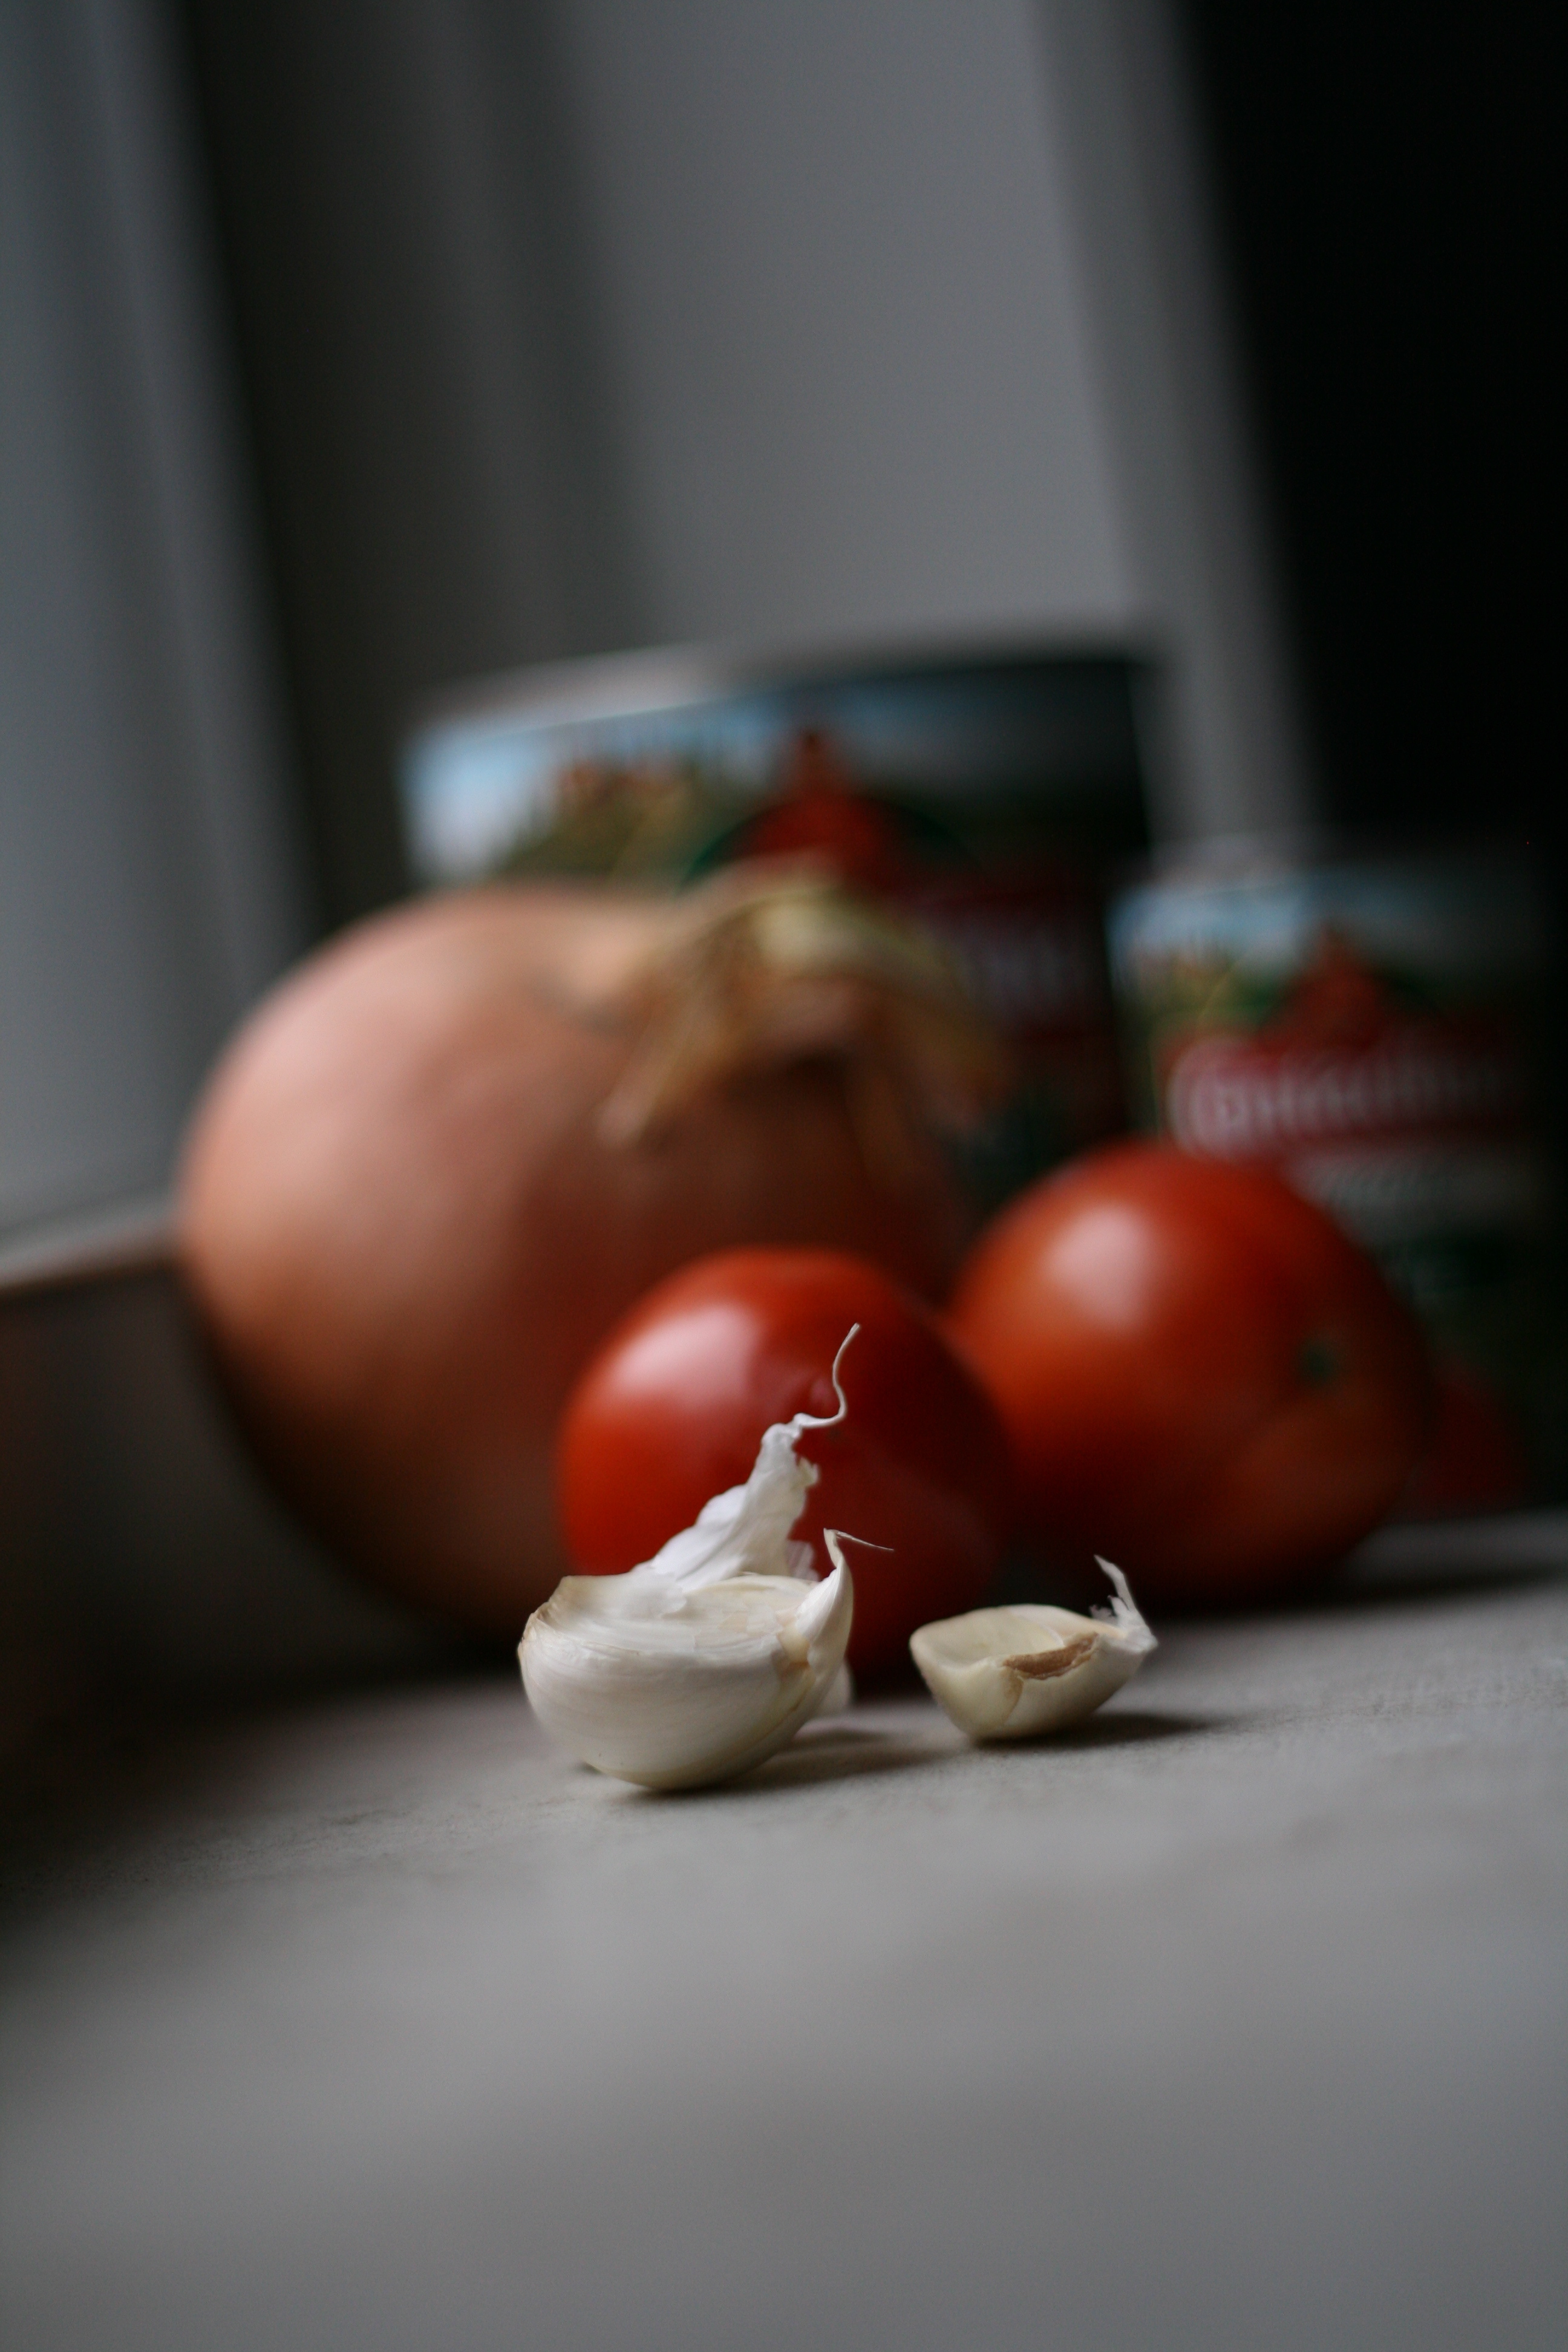
5 ripe avocados, peeled
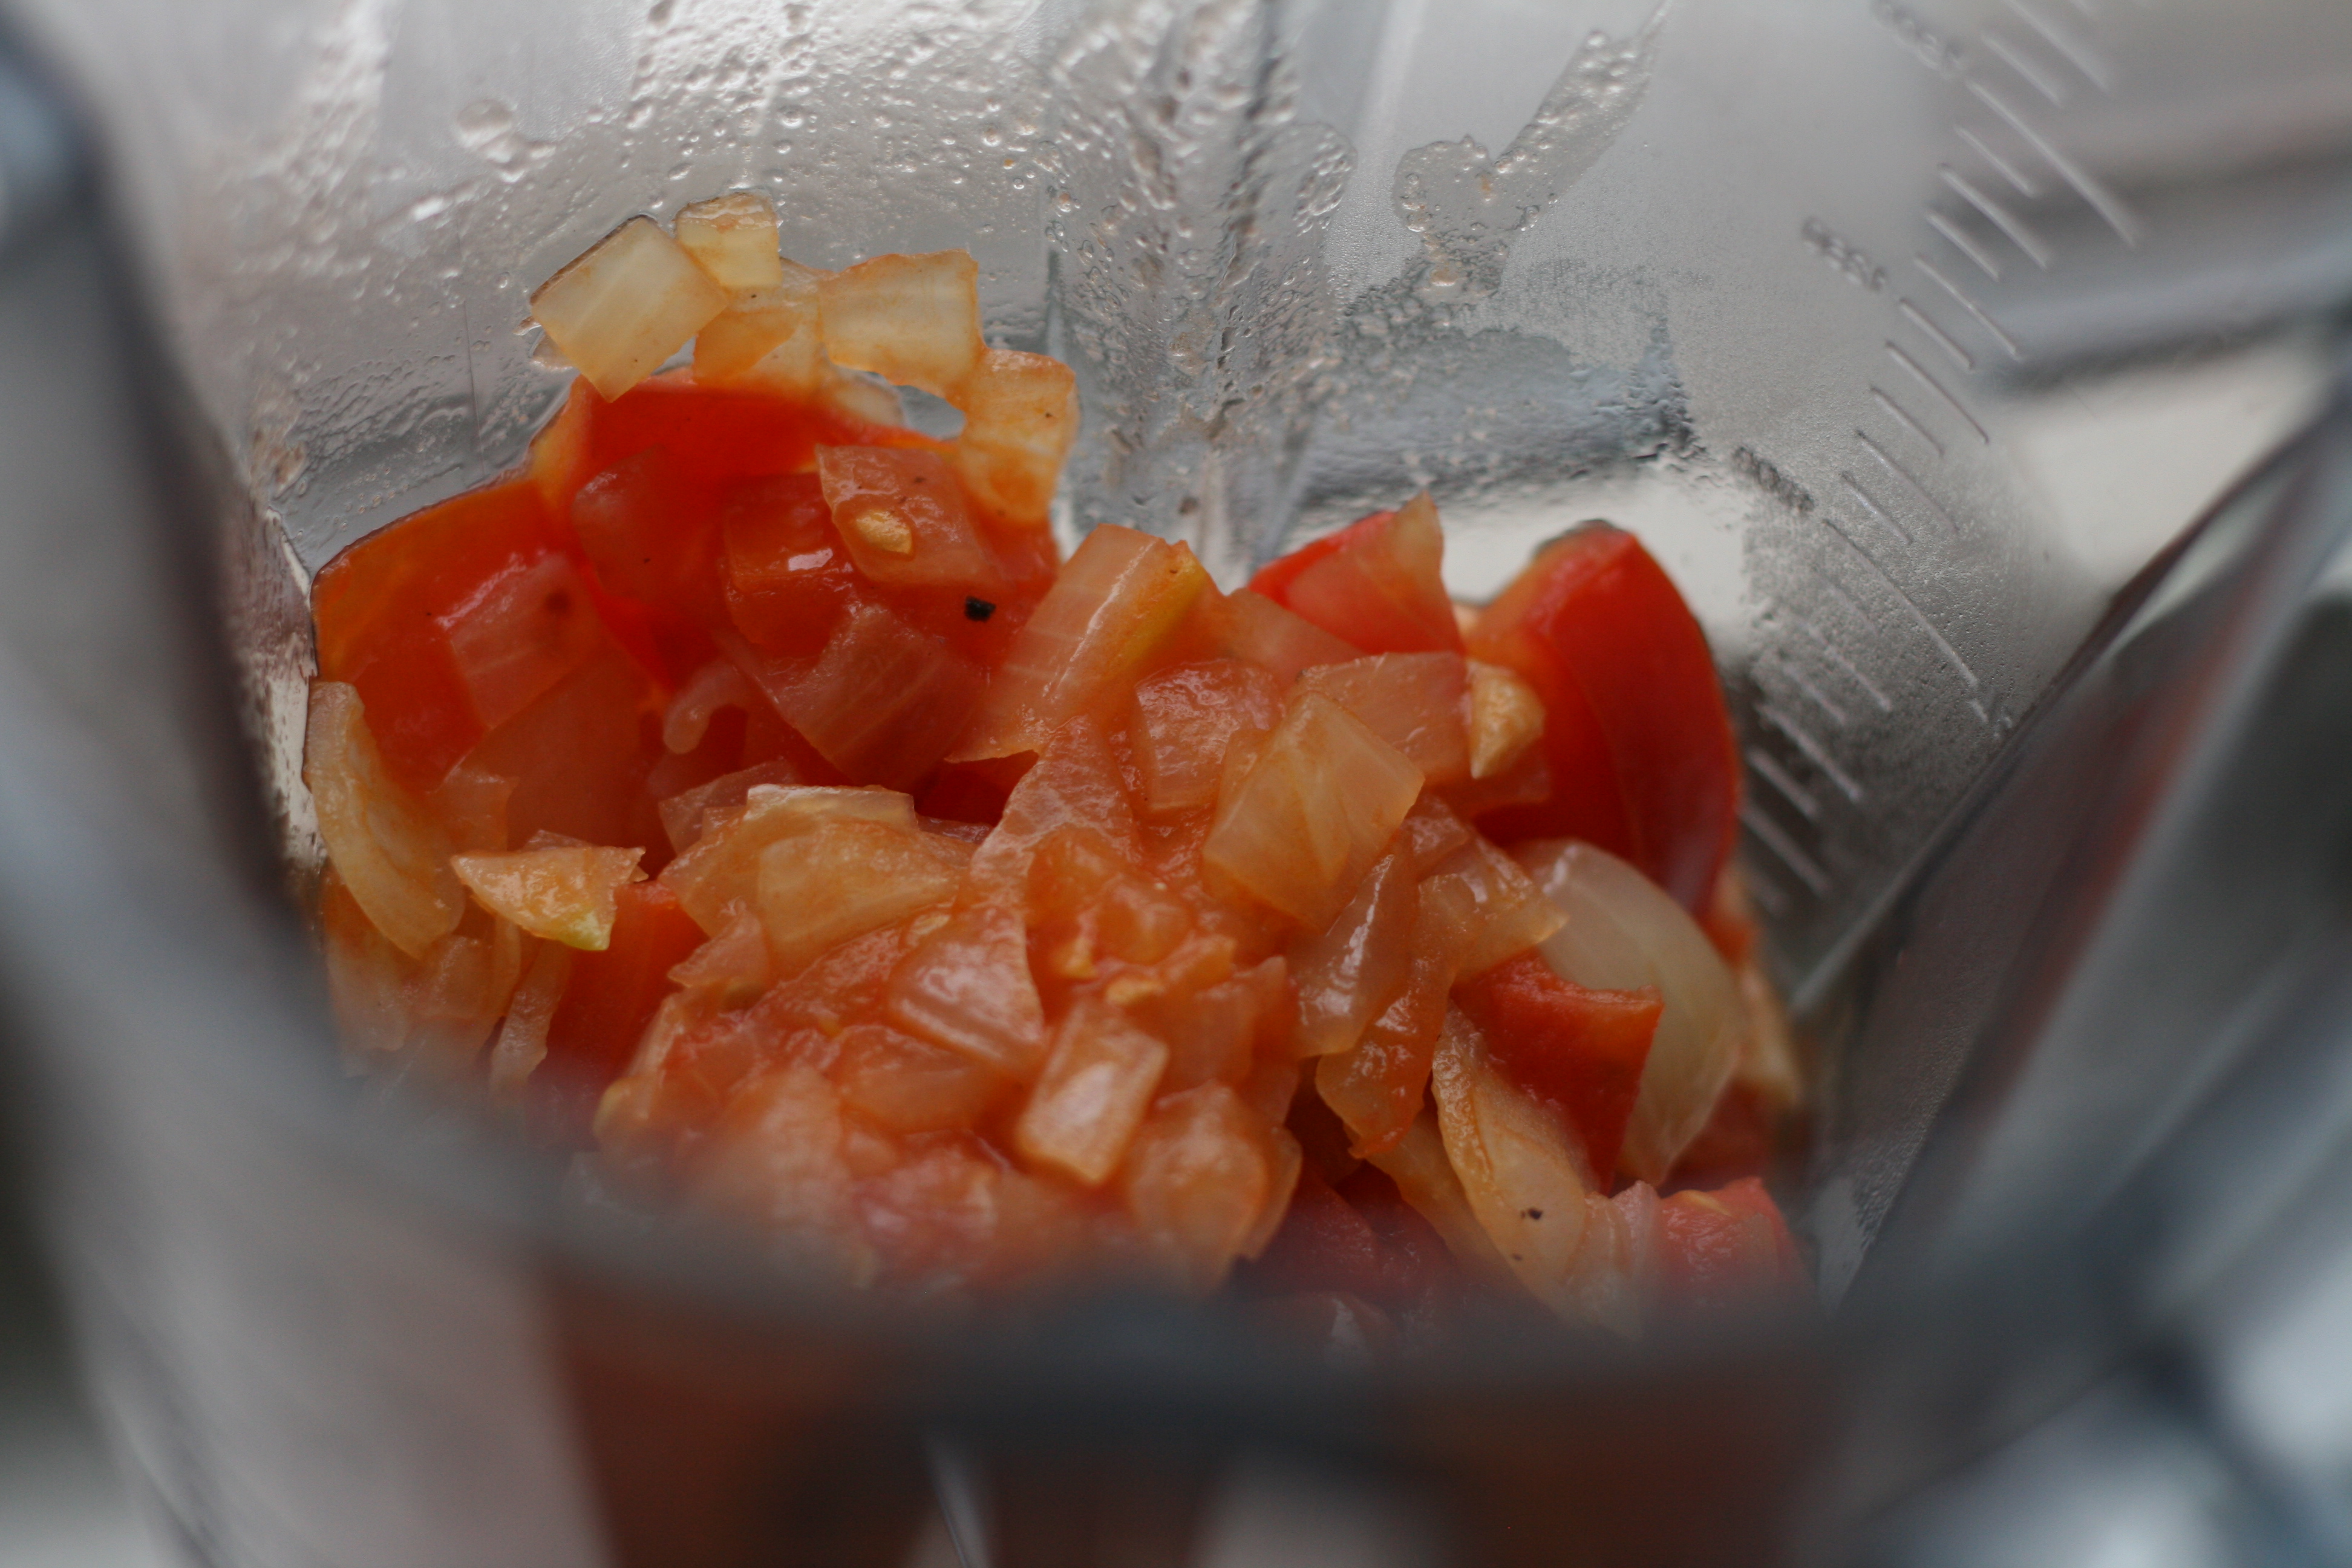
1/4 c. chopped grape tomatoes
2 tbsp. chopped red onion
2 garlic cloves, minced
1 tbsp. fresh cilantro, chopped
3-6 jarred jalapeños, chopped
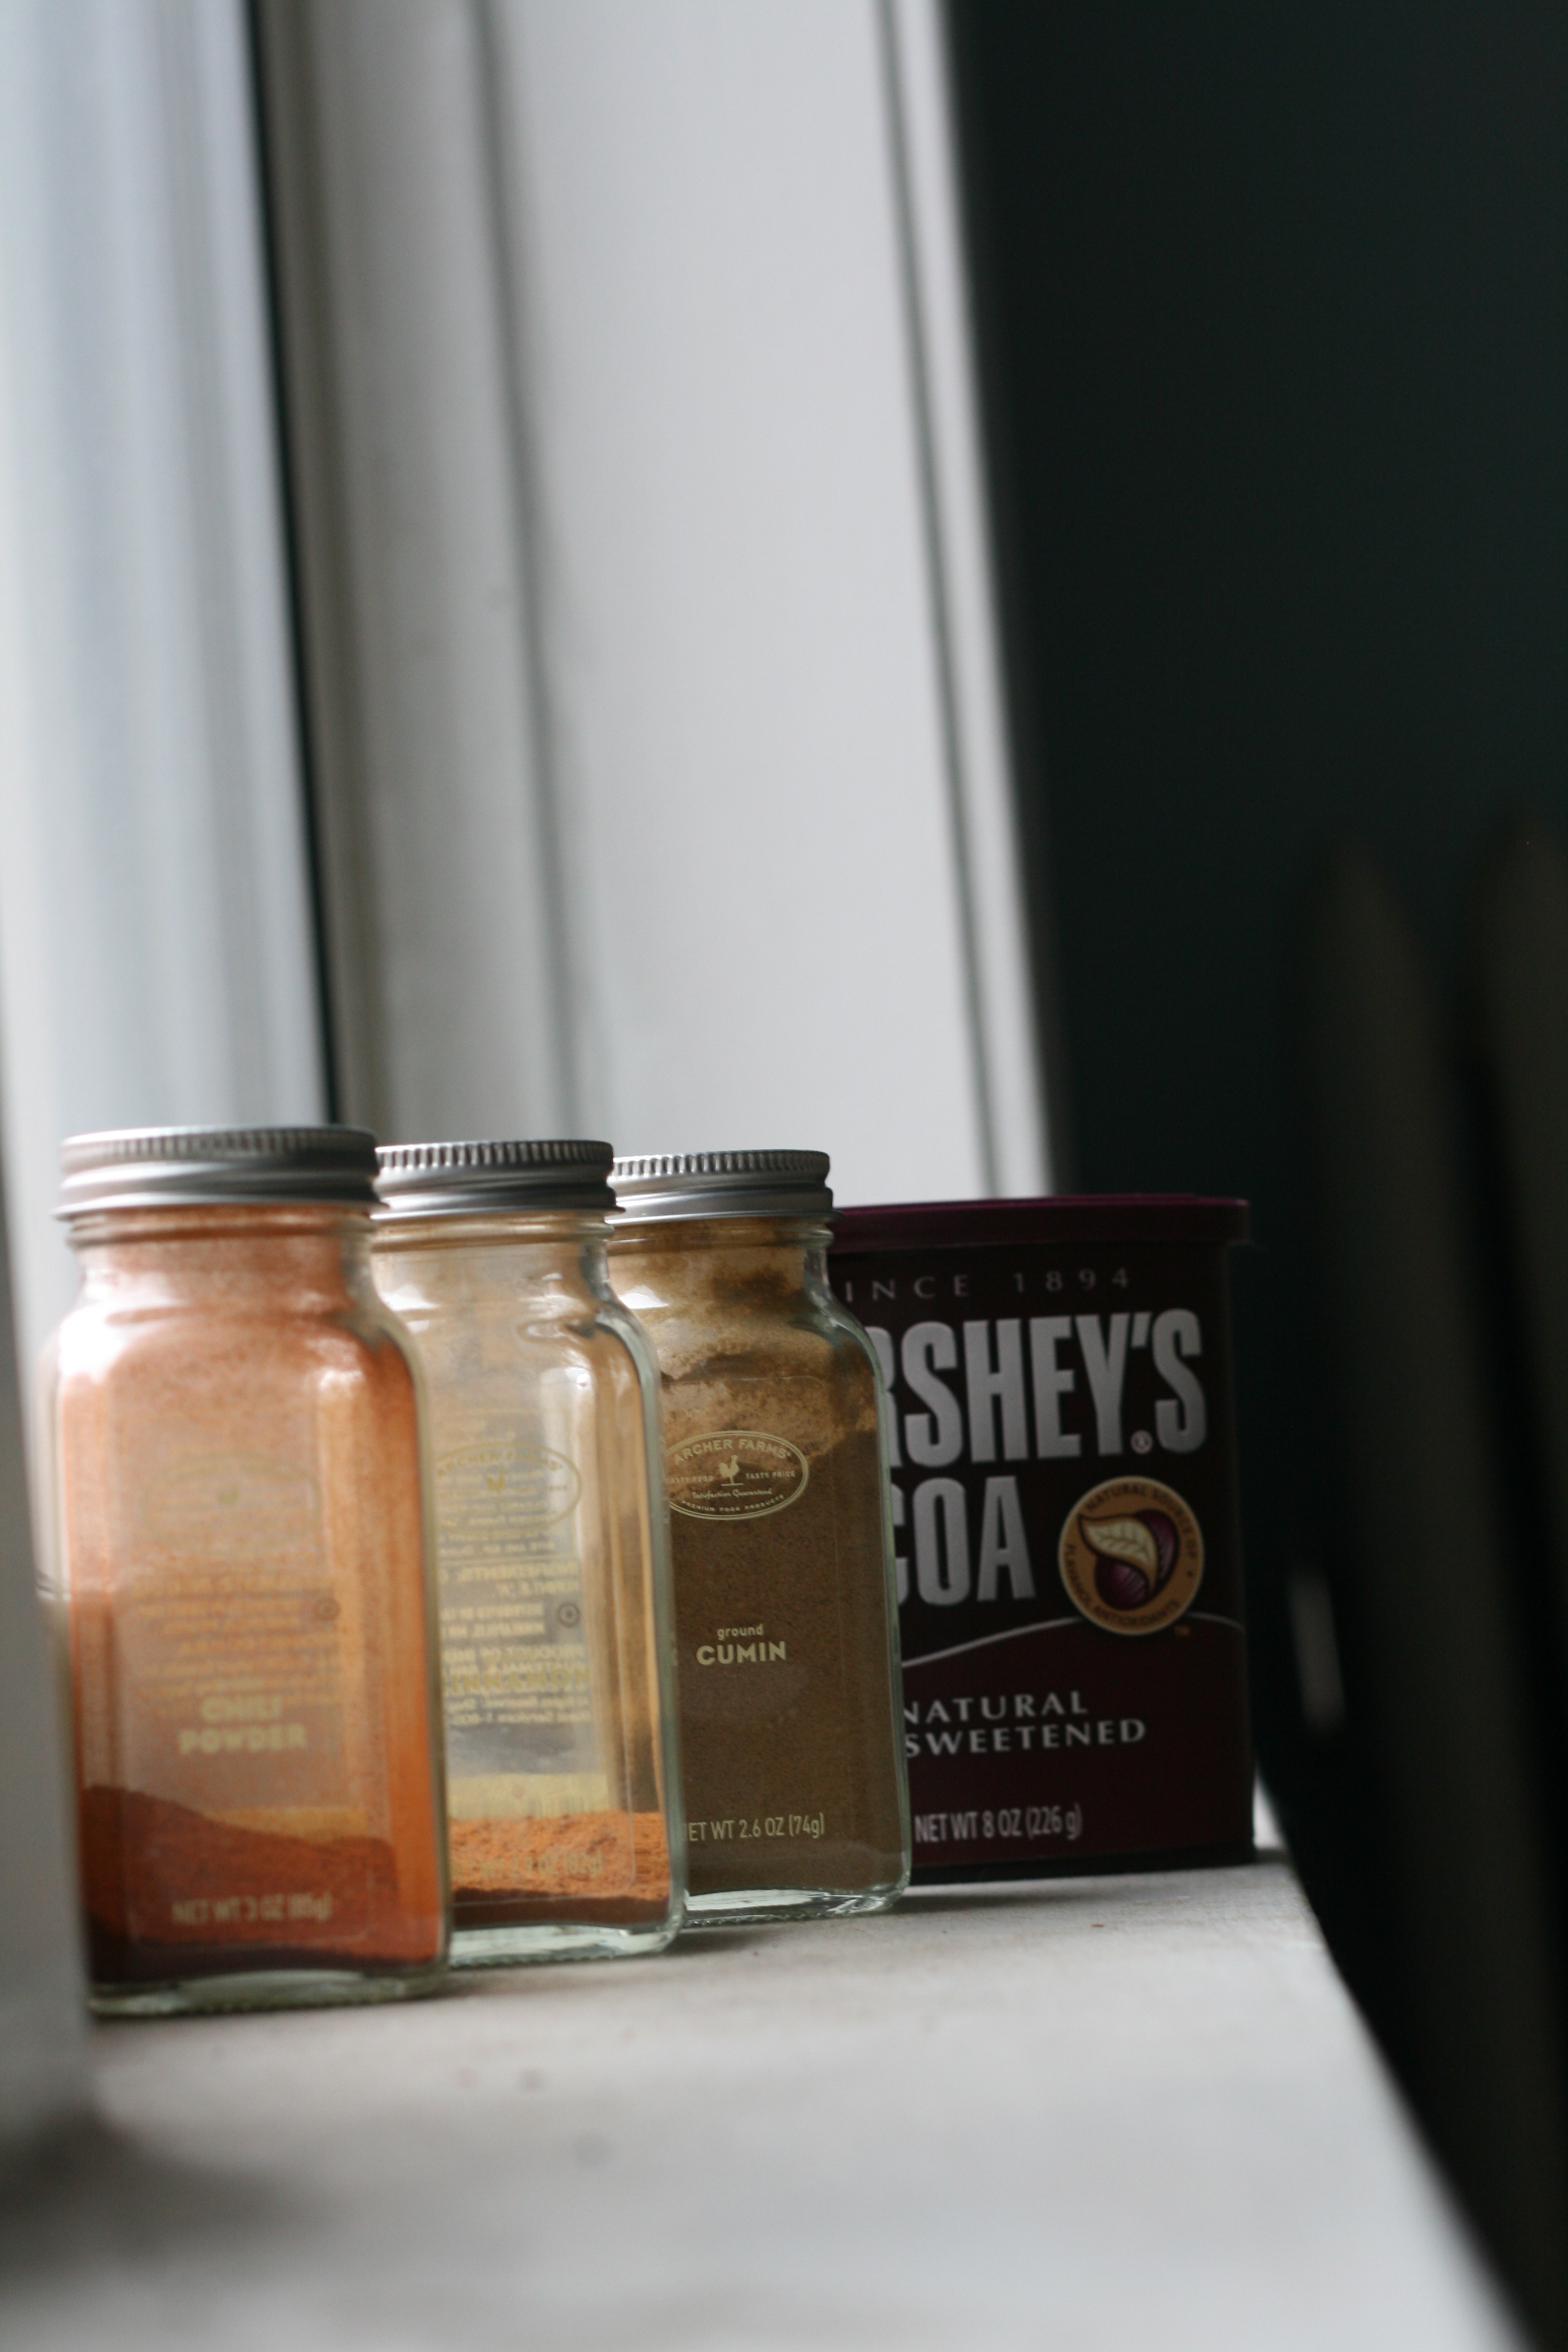
1 1/2 tsp. cumin
half of a lime, squeezed
sea salt

1. Add avocados to a large bowl and mash. Click here for a peeling how-to.
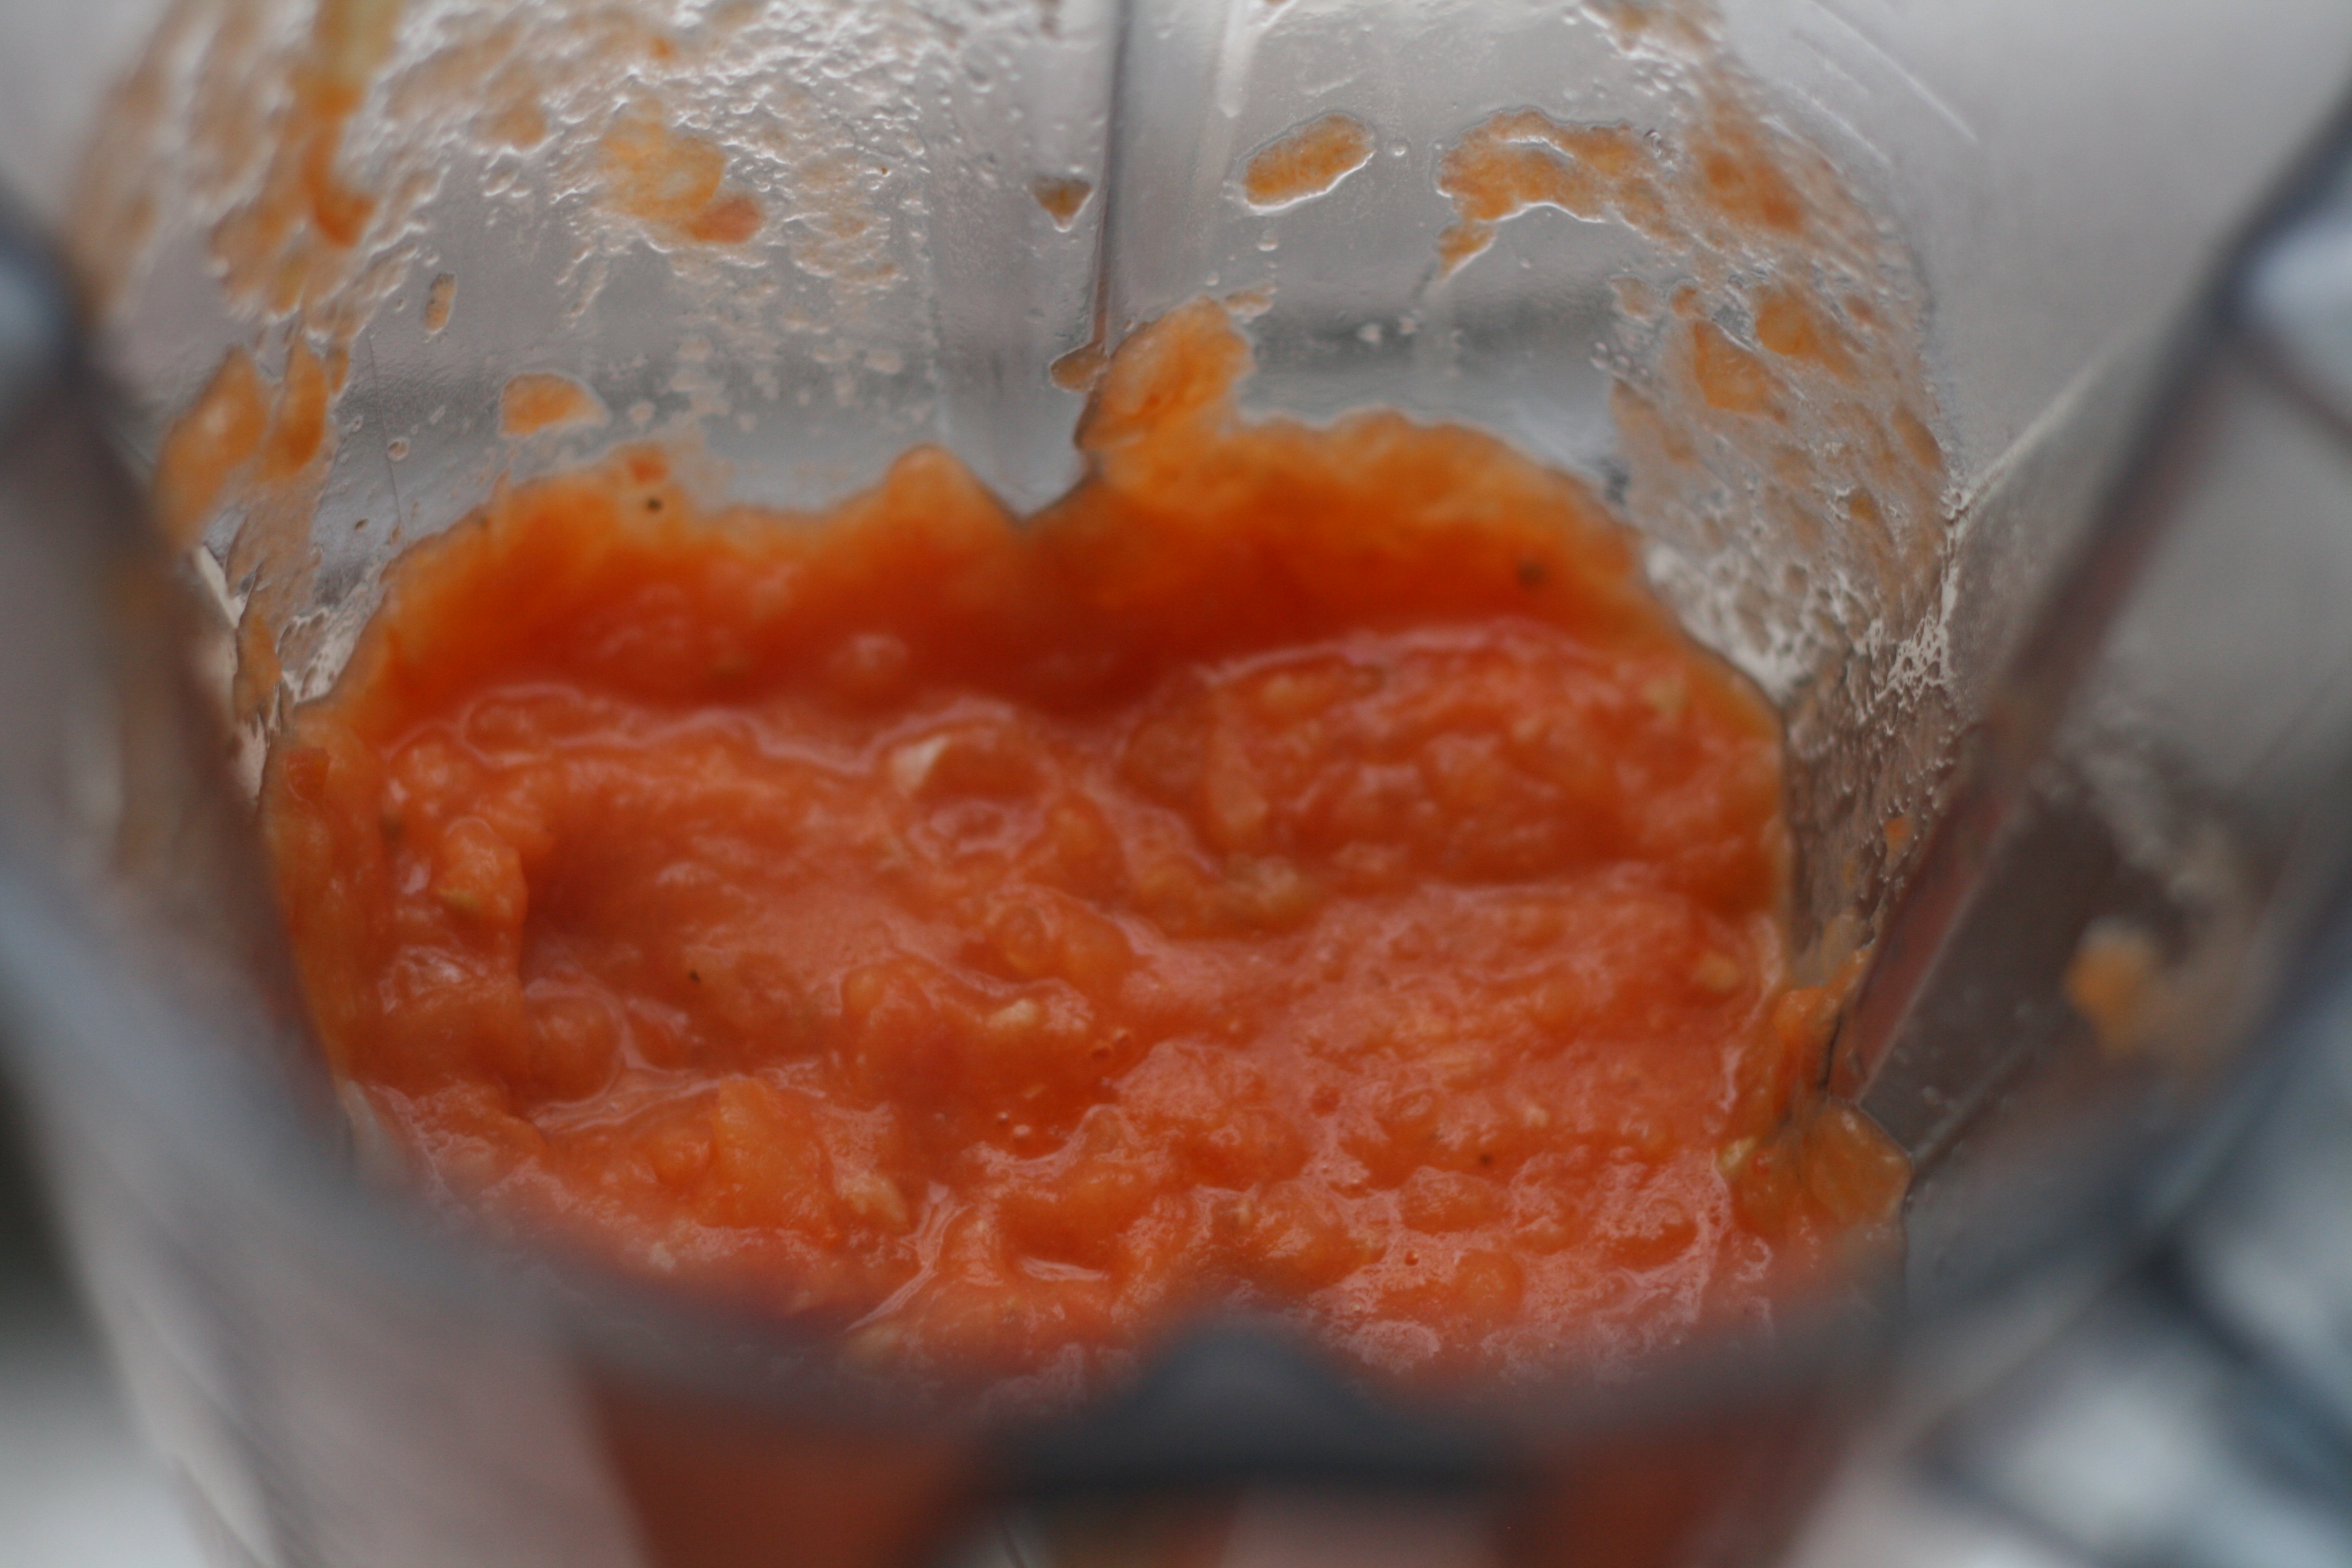
2. Mix in tomatoes, onion, garlic, cilantro, jalapeños, cumin, and lime juice.
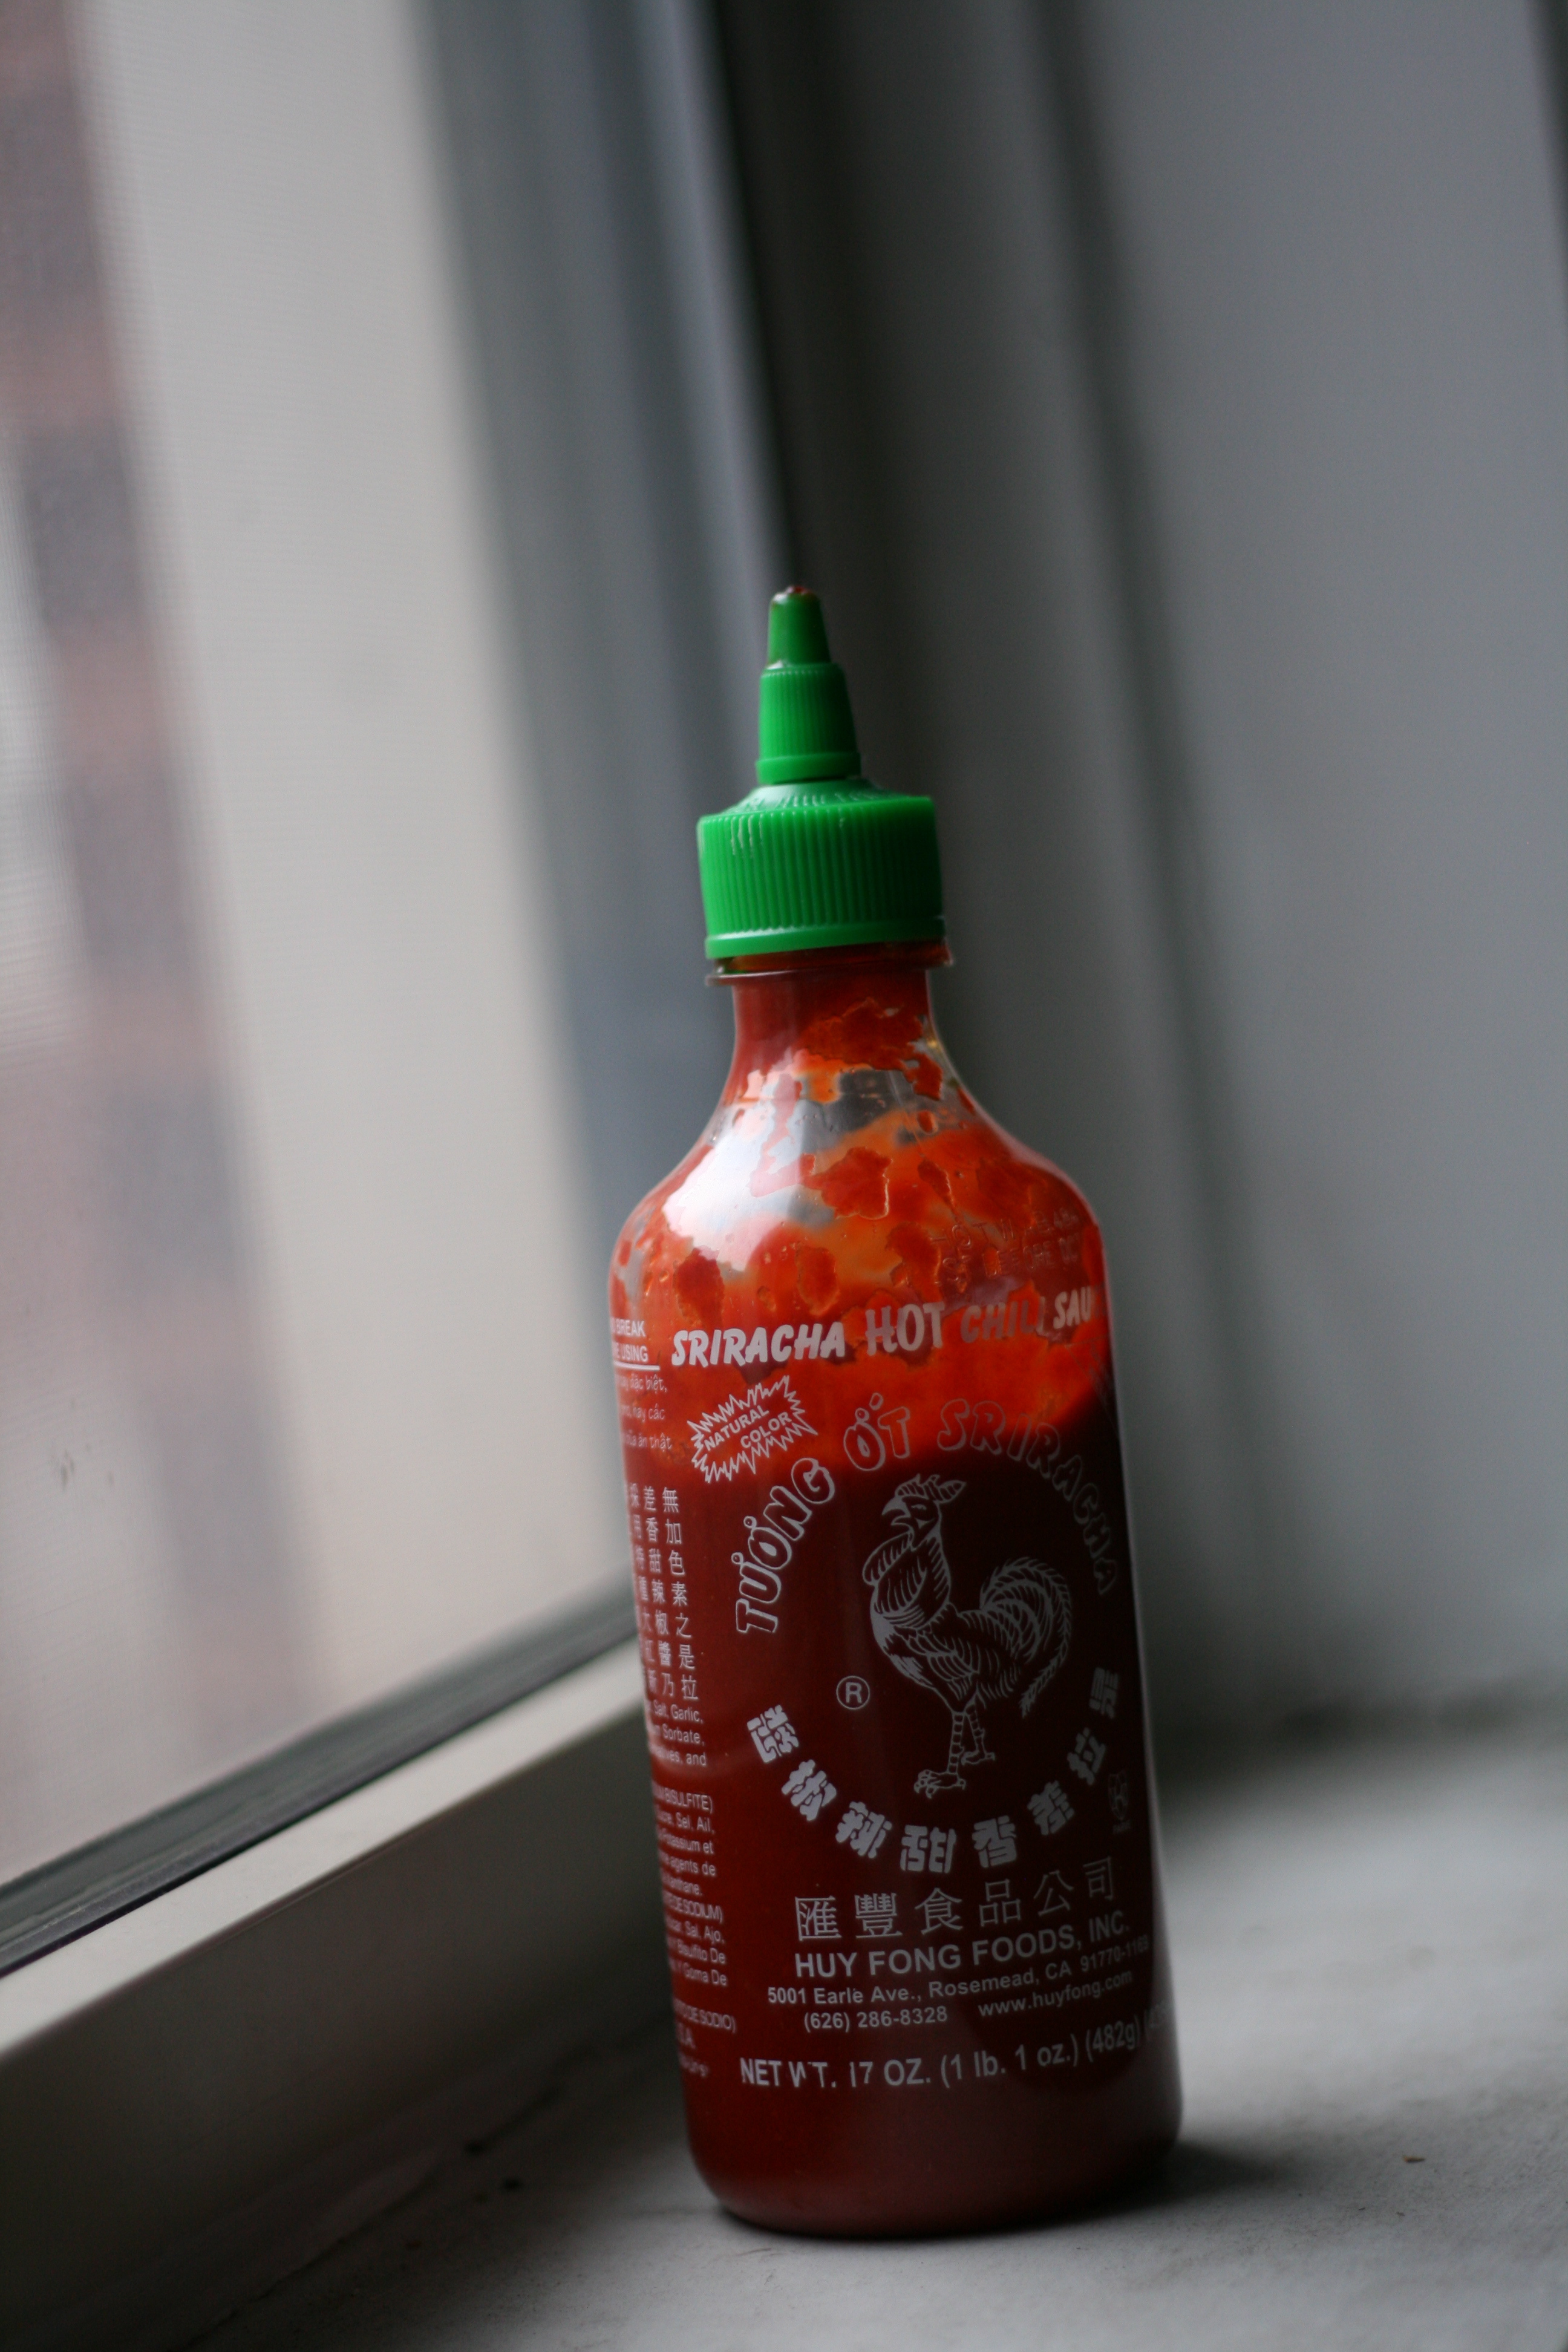
3. Add Sriracha and sea salt to taste.
4. Taste. Add more where you see fit. It’s usually salt or cumin for me.
5. Press plastic wrap on surface of guacamole. This will keep oxygen from creeping in and turning things brown before you serve it.

Today marked the start of the farmer’s market season in Oak Park. I’ve been looking forward to this day for weeks. I even popped out of bet a little earlier—with excitement. And the weather was just perfect for a walk. My graduate school husband got a couple homemade donuts—while I got some asparagus, rhubarb, and black raspberry jam. Perfect Saturday morning.

We love asparagus minus it’s after effects, if you know what I mean. It is super easy to cook. Very versatile. With a quick 10 minute cook time. You’re gonna love this recipe, if you can even call it that.

Asparagus

Bunch of fresh asparagus spears (support your local farmers!)
Drizzle of olive oil
Sprinkle of sea salt

1. Preheat oven to 425°.
2. Wash and dry asparagus. Break off hard woody ends.
3. Place on baking sheet covered with foil for easy clean up.
4. Drizzle with olive oil, and sprinkle with sea salt.
5. Bake for 10 minutes. Enjoy.

TIPS
• This recipe is so basic, it’s easy to dress up. Try adding lemon or orange zest, lemon juice, orange slices, garlic slices, balsamic vinegar, or parmesan cheese.
• If you overcook your asparagus, they will no longer be spear-like, but limp and soggy and a little less nutritious. 

PS—Do you notice anything different around here? The ole blog was in need of an update. I’m trying to do it myself with the little web knowledge that I have—scary! If only it was as easy as cooking asparagus.

Brioche Burger Buns | The Fauxmartha

Post and recipe updated: 5.25.2014

Finally, it’s that season again. I think. We had a horribly long winter in Chicago. And spring has been anything but spring. Depending on the day, it’s felt more like winter, summer, and fall. We were supposed to go camping this weekend, but the cold rainy weather kept us away. Saturday night, when I should have been roasting marshmallows, I tried to will the weather warmer by making burgers on the indoor grill. According to the 5-day forecast, it’s working! Read more

You know what day tomorrow is. The day where you’re supposed to do something extra special for your honey. But it’s hard to be creative every year. If you don’t know how to out-do yourself from last year, look no further.

I’ve got two words for you—homemade pasta. And another three words—tomato cream sauce. Don’t get hung up on the first 2 words. If you don’t have a pasta maker, you can usually buy freshly made pasta from Whole Foods or from a specialty grocery store. If you do have a pasta maker, click here for a whole wheat pasta recipe. (Half the recipe, though, because you’ll only need dinner for two). And let me tell you, the tomato cream sauce is decadent. It’ll make you look good. Best part of all, it’s quick and easy to make.


Whole Wheat Pasta
Half the recipe for 2 servings
Click here for the recipe. I made bucatini noodles (they are hollow on the inside), but any type will do.

Tomato Cream Sauce
adapted from the Pioneer Woman

1 tbsp. Olive Oil
1 tbsp. Butter
1/2 Medium Sweet Onion, Finely Diced
2 cloves Garlic, Minced
1 can (15 oz.) Crushed Tomatoes
Salt and Pepper, to taste
Dash of Sugar
1/2 c. Heavy Cream (or 1/4 c. half and half and 1/4 c. heavy cream to cut down a little fat)
Handful of Grated Parmesan
Fresh Basil, Chopped

1. Cook pasta.
2. Heat butter and oil over medium heat. Add onions and garlic, and saute for a minute or so. Pour in tomatoes, and add salt, pepper, and sugar to taste.
3. Cook over low heat for 25 to 30 minutes, stirring occasionally.
4. Remove from heat and stir in cream. Add cheese to taste, then check seasonings.
5. Stir in pasta and chopped basil. Serve immediately.
6. Watch your significant other look to you in awe.

Now you’re probably looking for something to accompany this delicious meal. Get some asparagus, break the tough ends off, sprinkle with salt and olive oil. Bake at 450º for 10 minutes and serve. Don’t forget a glass of wine. Frank Sinatra. Candles. You know the drill. And to top the evening off, make some velvety dark chocolate pudding. We used Lucinda Scala Quinn’s recipe from Mad Hungry (link includes video). It did not disappoint. It’s quick and easy to make as well.

Hope your dinner for two is decadent. Happy Valentine’s Day.

I love chili.

Maybe it’s because of all of the good memories surrounding it. My mom made chili a lot growing up. While she made the chili, I was in charge of adding the egg and milk to the Jiffy Cornbread mix. Without fail, every Halloween we’d have a bowl of it before going trick-or-treating. Those were good times.

When I make chili, it makes home feel a little closer. Two and a half years ago, I married my best friend and moved to Chicago. Here, winter lasts about 5 months out of the year, providing many opportunities to make chili. So, I set out to recreate my mom’s chili. After a couple attempts, “the chili” was concocted. A friend asked me for the recipe last year, only problem being that it was in my head. I guess that’s not the only problem—I rarely use measuring utensils. When I cook, I smell, dump, and taste. Kevin, my husband, alerted me to this the other day. I always open the spice jar and smell it before dumping in the guesstimated amount. I guess I cook with my nose just as much as I do my taste buds. This is no good for sharing recipes.

Today, though, I got out my measuring spoons.

Chili
serves 8

1 large sweet onion (make sure it’s sweet!)
4 garlic cloves
6 roma tomatoes
28 oz. crushed tomatoes
6 oz.  tomato paste
1 lb. lean ground beef
15 oz. can red kidney beans, drained
15 oz. can light red kidney beans, drained
15 oz. can black beans, drained
Hot Chili Sauce (we call this chinese ketchup)
2 tbsp. cumin
2 tbsp. chili powder
1 tbsp. unsweetened chocolate powder
1 1/2 tsp. cinnamon
Salt
Olive oil

1. Dice onion and garlic. Don’t worry about chopping too finely. You’ll take care of that in a minute.
2. In a stock pot with olive oil and salt, sauté onion and garlic for about 10 minutes.
3. Meanwhile, dice tomatoes.
4. Add tomatoes into the stock pot, and allow to cook for another 10 minutes.
5. While the tomato mixture is sautéing, cook ground beef until browned.
6. Pour sautéed tomato mixture into a food processor, and pulse for 20 seconds. (This will help get rid of those pesky tomato skins that curl up and look unappetizing.)
7. Add mixture back into stock pot along with the browned meat, crushed tomatoes, tomato paste, beans, and spices. Add hot chili sauce and salt to taste. Stir.
8. Simmer for an hour. (I recommend tasting 30 minutes in to make sure everything is on par. Go with your gut, or should I say your nose, and add extra spices if needed.)
9. Top with your favorite chili toppings. (We love to add brown rice or pita chips, hot sauce, cheese, and cilantro.) Serve.

For all the people out there like me, here is a visual recipe.

I hope this makes home feel a little closer for you too!

If you know anything about me, you know that I like to do everything myself. If I can make it, then there’s no need to buy the pre-made stuff. And the taste. Do I even need to go there? It’s always better homemade especially when you are whipping up salad dressing.

Salad dressing is very easy to make. And I have something that makes it even easier—a dressing emulsifier! For Christmas, my mother in law bought me one, and it works like a charm. She bought it at William Sonoma, but I have seen them at Crate and Barrel and Sur la Table.

Before I tell you all the perks of this product, lets talk emulsion. The definition of emulsion is “a fine dispersion of minute droplets of one liquid in another in which it is not soluble or miscible.” What in the heck does all that jibber jabber mean? Let’s break it down in layman’s terms. Picture this: oil and water. If you pour them into a glass bowl, they separate. However, if you whisk them vigorously for a length of time, they come together. This my friends is the process of emulsion, and this is how you make dressing.

Now for the perks. This dressing emulsifier emulsifies! Imagine that. According to the product description it has a corkscrew like stir stick which is in charge of emulsifying. This takes out the vigorous whisking you would normally have to do. Even better, this allows you to re-emulsify the dressing after it has been sitting in your fridge for a couple days. It’s also got a great little pouring spout with a cute lid. It’s made of a clear plastic allowing you to see inside the container. And, best of all, it has recipes right on the container with markers showing you how much of each ingredient you need. Are you still reading this, or are you at the store waiting in line to pay? In this case, I hope it’s the later. This is a kitchen must have.

In case you want to make this and you don’t yet have this gadget, here’s the recipe with a couple additions I make to the recipe on the bottle.

Balsamic Vinaigrette

1/2 c. olive oil
1/4 c. balsalmic vinegar
1 clove of garlic, minced
squirt of honey, if desired.
dash of oregano
Salt and pepper to taste

1. In a bowl, add balsamic vinegar, minced garlic, honey, salt, and pepper.
2. Pour olive oil into the mixture slowly while whisking continuously. Whisk until the oil and mixture are combined.
3. Serve immediately. If making ahead, whisk again before serving.

Will keep in fridge for about a month.

Did you lose sleep wondering how I served these homemade pasta noodles? Hopefully not.

Originally, I thought I would coat these cute little guys in a pink vodka sauce. Then I remembered New Years was only days ago. Something lighter was in order. Drum roll please—so I decided to go with Pesto. Spinach Pesto that is.

This recipe comes from one of my favorite cookbooks—Everyday Food. It’s quick. Easy. Healthy. What more could you ask for?

Spinach Pesto
Everyday Food

1/2 c. walnuts
1/2 c. parmesan cheese
4 c. lightly packed fresh spinach leaves
1 garlic clove
1/2 c. extra-virgin olive oil
Coarse salt and ground pepper

1. Preheat oven to 350°. Spread nuts evenly on a rimmed baking sheet; toast in oven until golden and fragrant, 8 to 10 minutes. Let cool completely.
2. In a food processor, combine nuts, spinach, parmesan, and garlic; season generously with salt and pepper. Process until nuts are finely chopped. With machine running, pour oil in a steady stream through the feed tube; process until smooth.
3. In a saucepan, add pesto to your cooked homemade noodles. (I also sauteed a couple chopped tomatoes and an onion for extra veggies prior to adding the noodles with pesto to the saucepan.) Cook for 5 minutes and serve.

Pesto will keep for 1 week in the fridge.

I have to be honest, I was nervous how this would turn out. First time making homemade noodles with my new machine. First time making spinach pesto. This could have spelled disaster. Thankfully, it was just the opposite. We ate every last noodle and then wished for more.

This weekend I ventured into the world of homemade pasta. And I’m never turning back. Grocery store, packaged pasta has nothing on fresh pasta. Sure, I’ll still use the grocery store pasta for convenience during the week. But on the weekend, I’m pulling out the pasta maker.

You’re gonna need one of these, assuming you have a KitchenAid:

It’s a pasta press! You can purchase one at William Sonoma. (The link also has a video about the product if you want a sneak preview.) I am ashamed to say, I got this last Christmas. That is, Christmas of ’09. And I’m just now getting around to using it. Lame. I know. I have a couple excuses I could throw out, but honestly there’s no good excuse not to use this beautiful piece of machinery. Homemade pasta is the bomb.com.

Light Wheat Pasta
recipe from KitchenAid

2 1/2 c. sifted whole wheat flour
1 c. sifted bread or unbleached flour
4 large eggs
6 tbsp. water
1/2 tsp. salt

1. Place all ingredients in mixer bowl. Attach flat beater and turn to Speed 2. Mix 30 seconds.
2. Exchange flat beater for dough hook. Turn to Speed 2 and knead for 2 minutes. Remove dough from bowl and hand knead for 1 to 2 minutes.
3. Get out your pasta press. Use manufacturers instructions and make pasta!

TIPS
• Dough too dry? Add a tablespoon of water at a time.
• Dough too moist? Add a tablespoon of flour at a time.

Stay tuned to hear how I served the pasta.


© The Faux Martha 2024. Privacy Policy. An exclusive Member of Mediavine Food.