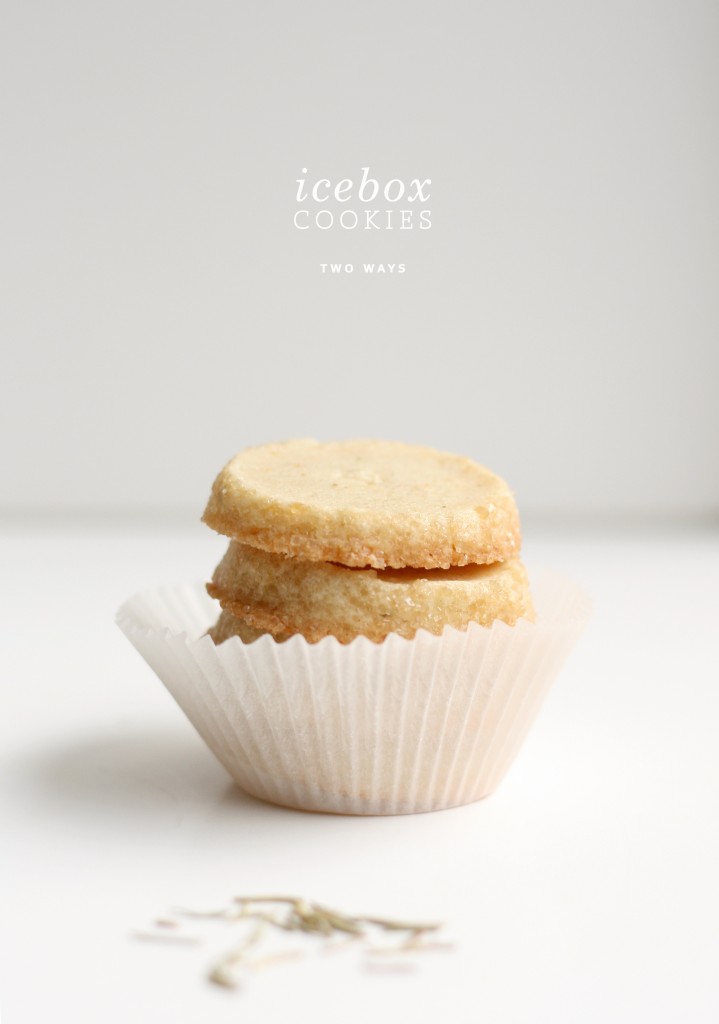
Icebox cookies are some of my faves this time of year. There’s no two ways about it figuratively speaking. But literally speaking, there’s two ways about it. Dueling ways. Cranberry Orange vs. Rosemary Orange ways. Read more
Christmas cookie season is alive and well. Speaking of, have you seen the holiday cookie spread in the new Foodie Crush Magazine? While you’re at it, you should start from the top and read it cover to cover. Pages filled with beautiful stories matched with jaw dropping images, not to mention the impeccably set type. (I’m a typography geek at heart.) Some of my favorite food bloggers like Two Peas & Their Pod, Bev Cooks, Turntable Kitchen, and With Style and Grace make the headlines. You can find my (world peace) cookie contribution on page 51. Take my word, this debut magazine is a beauty. Go. Read it now. Read more
Back to school (for the husband). Back to routine. And back to eating healthy. My, has summer done a number on us. Our consistent workout patterns have been, let’s just say, more organic. Our healthy eating patterns have been in hibernation. And our routine in general has been on vacation. Read more
Just warning you—I’m coming off a migraine while writing this post. Please attribute poor grammar, crazy talk, or confusing sentences to this.
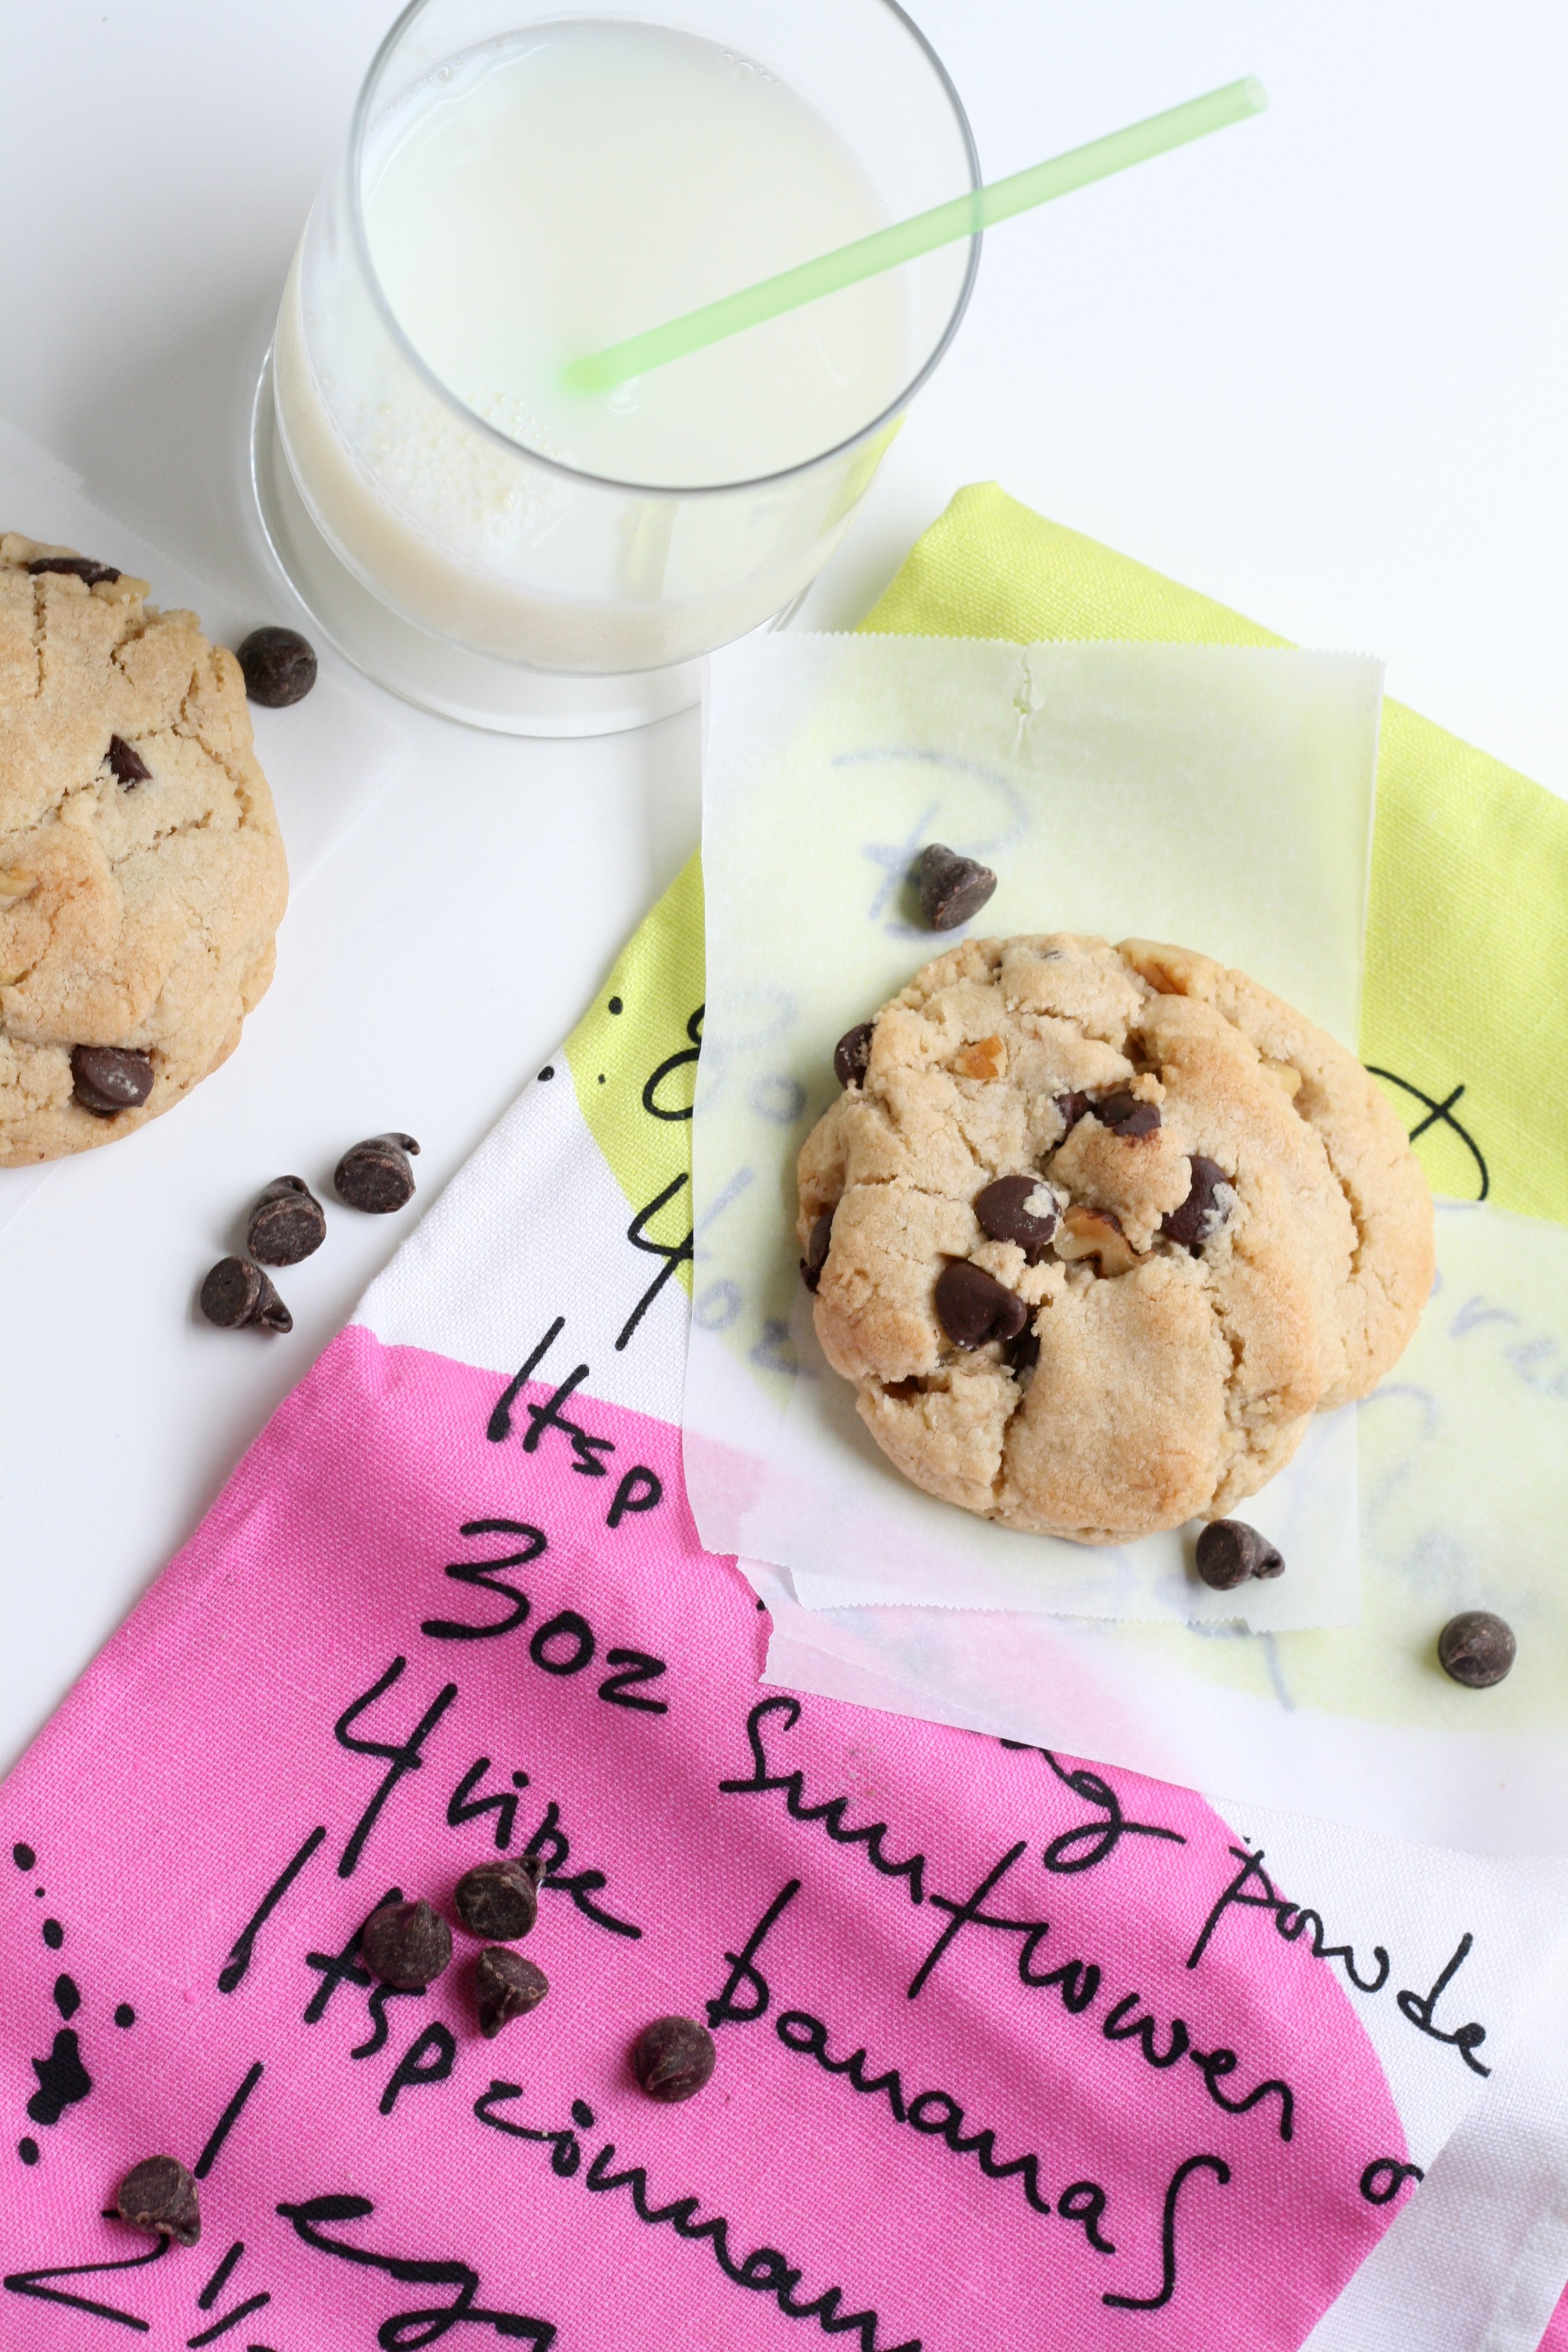
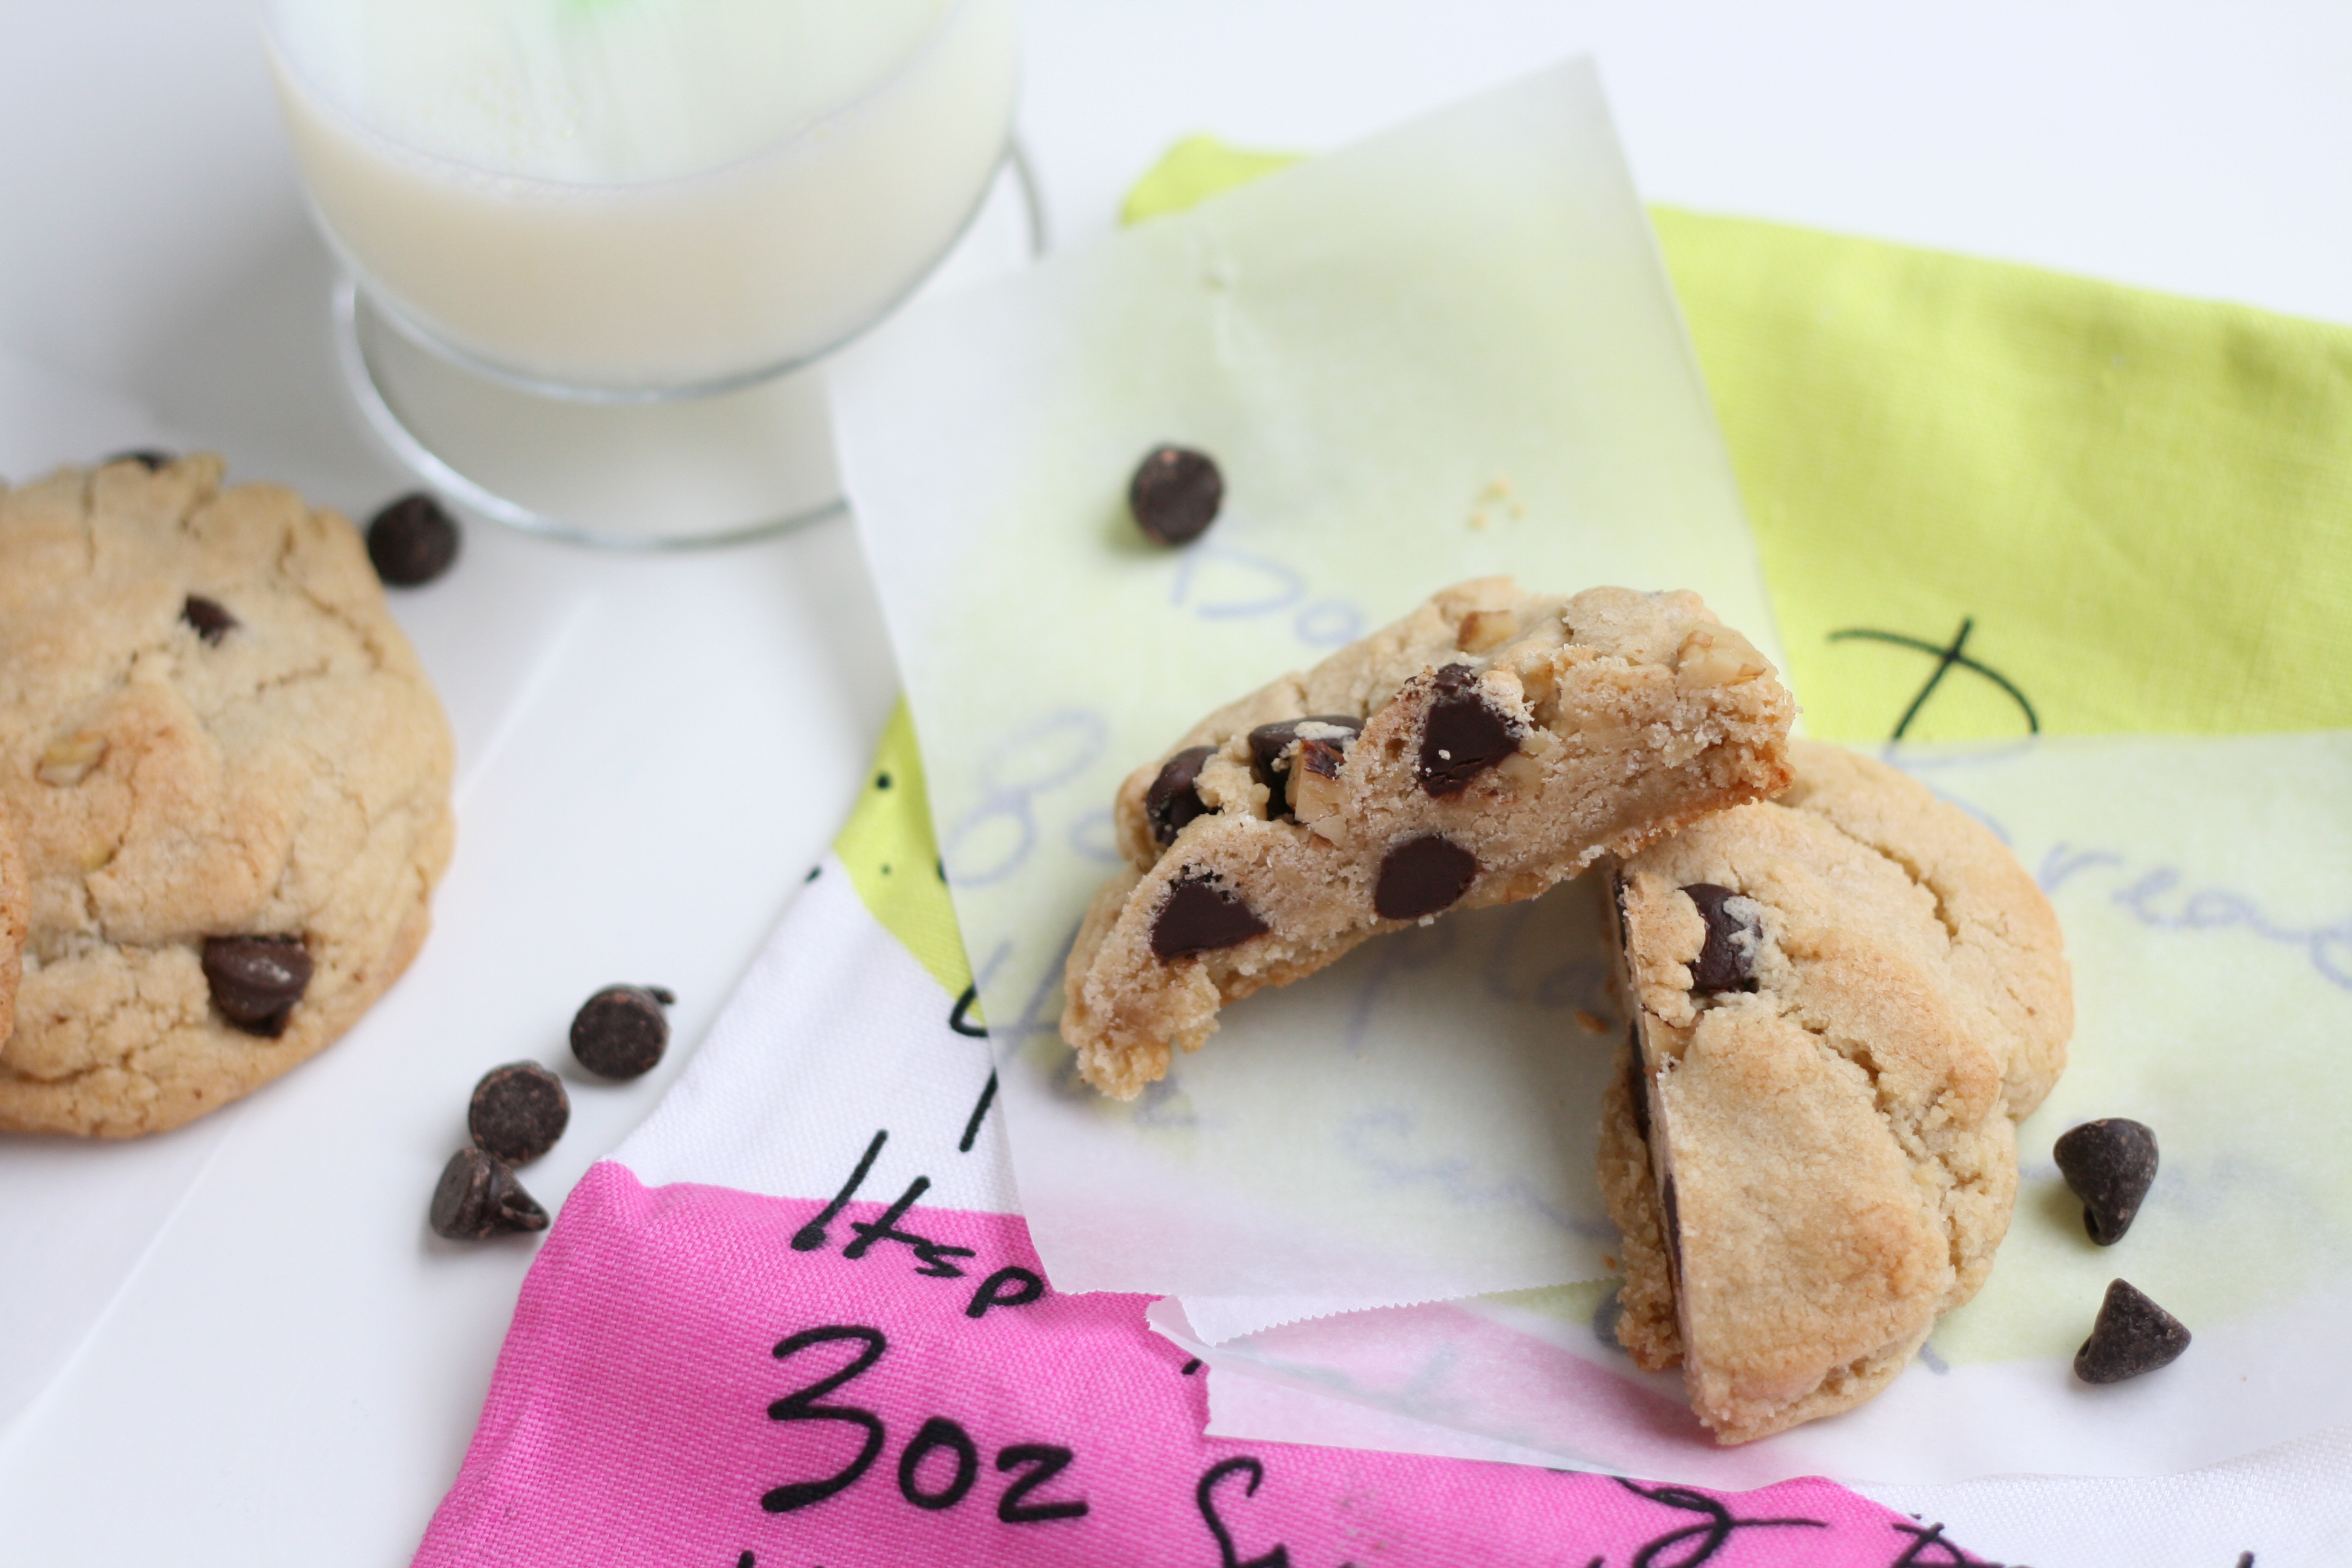
Apple does it. They make revisions. My Mac is on version 10.6.6. So I’m gonna do it too. I’m revising my Not Your Mom’s Chocolate Chip Cookie recipe. 2.0 here we go. It’s not that the last recipe was bad, but I thought it could use a little improving. I’m my own worst critic. You know how it goes.
The last recipe wasn’t sweet enough for me. But I fought and fought adding more sugar. 2 cups is kinda a lot. Eventually, I caved and gave it a try. 2 1/2 cups later, I’m not turning back. Sweeter is definitely better! And with that, my brain is spent. Sorry for the short post. The fog is just too thick. But not as thick as these delish 2.0 cookies!
12 ounces (2 c.) good quality semisweet chocolate chips
1 c. crushed walnuts
Instructions
Using a grater, grate chilled butter into a large bowl. Make sure to scrape out butter left on grater. If butter is too warm, stick it in the freezer for 5 minutes.
Add sugars to the butter. Using a mixer, mix until just combined. Do not over beat.
Add vanilla and eggs, and mix until just combined. Again, do not over beat.
In a separate bowl, whisk together flour, salt, baking powder, and baking soda.
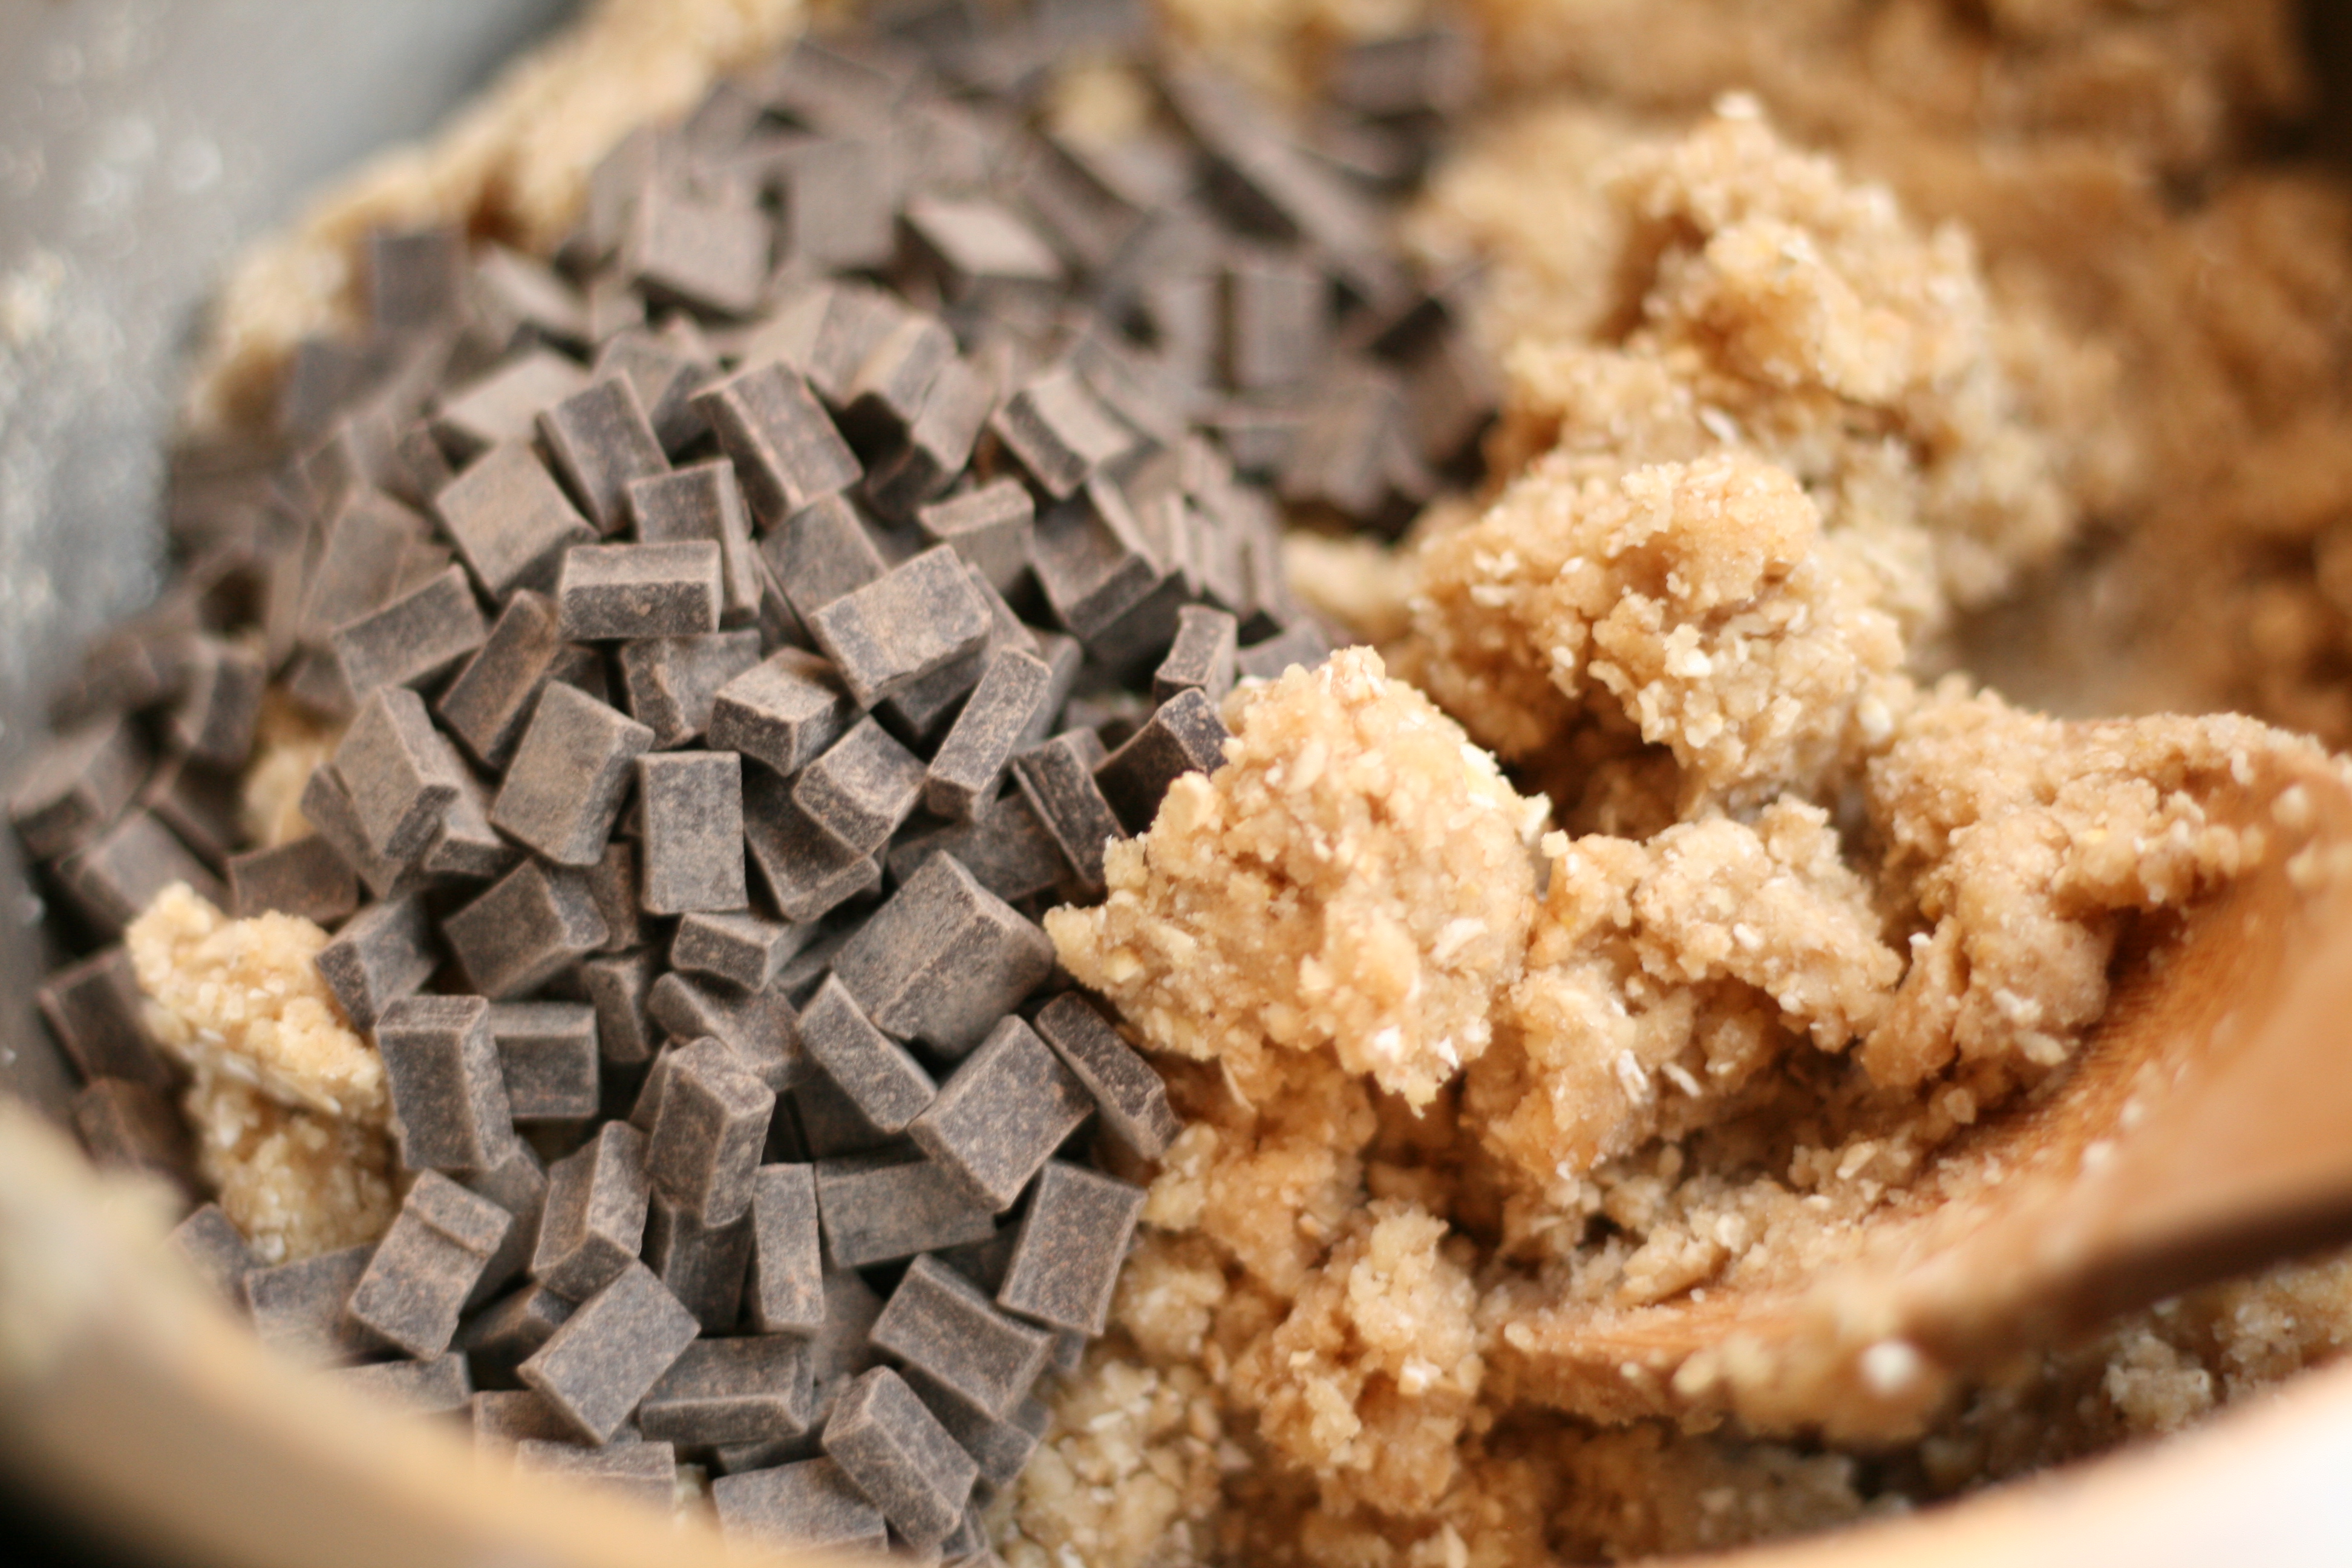
Add flour mixture to butter mixture, and mix until just combined. Dough will look crumbly. You are right on track.
Stir in chocolate and crushed walnuts.
Take off your rings—you’re gonna need your hands for this. Gather dough into a large ball, as you would if you were making a snow ball. Place on pan lined with a Silpat or parchment paper. Only bake 6 cookies at a time, trust me on this. When I baked 12 at a time, they seemed to flatten out a bit more.
Preheat oven to 375°. Meanwhile, place cookies in the fridge.
Bake for 18 minutes or until slightly browned around edges. Cookies will still be doughy in the middle.
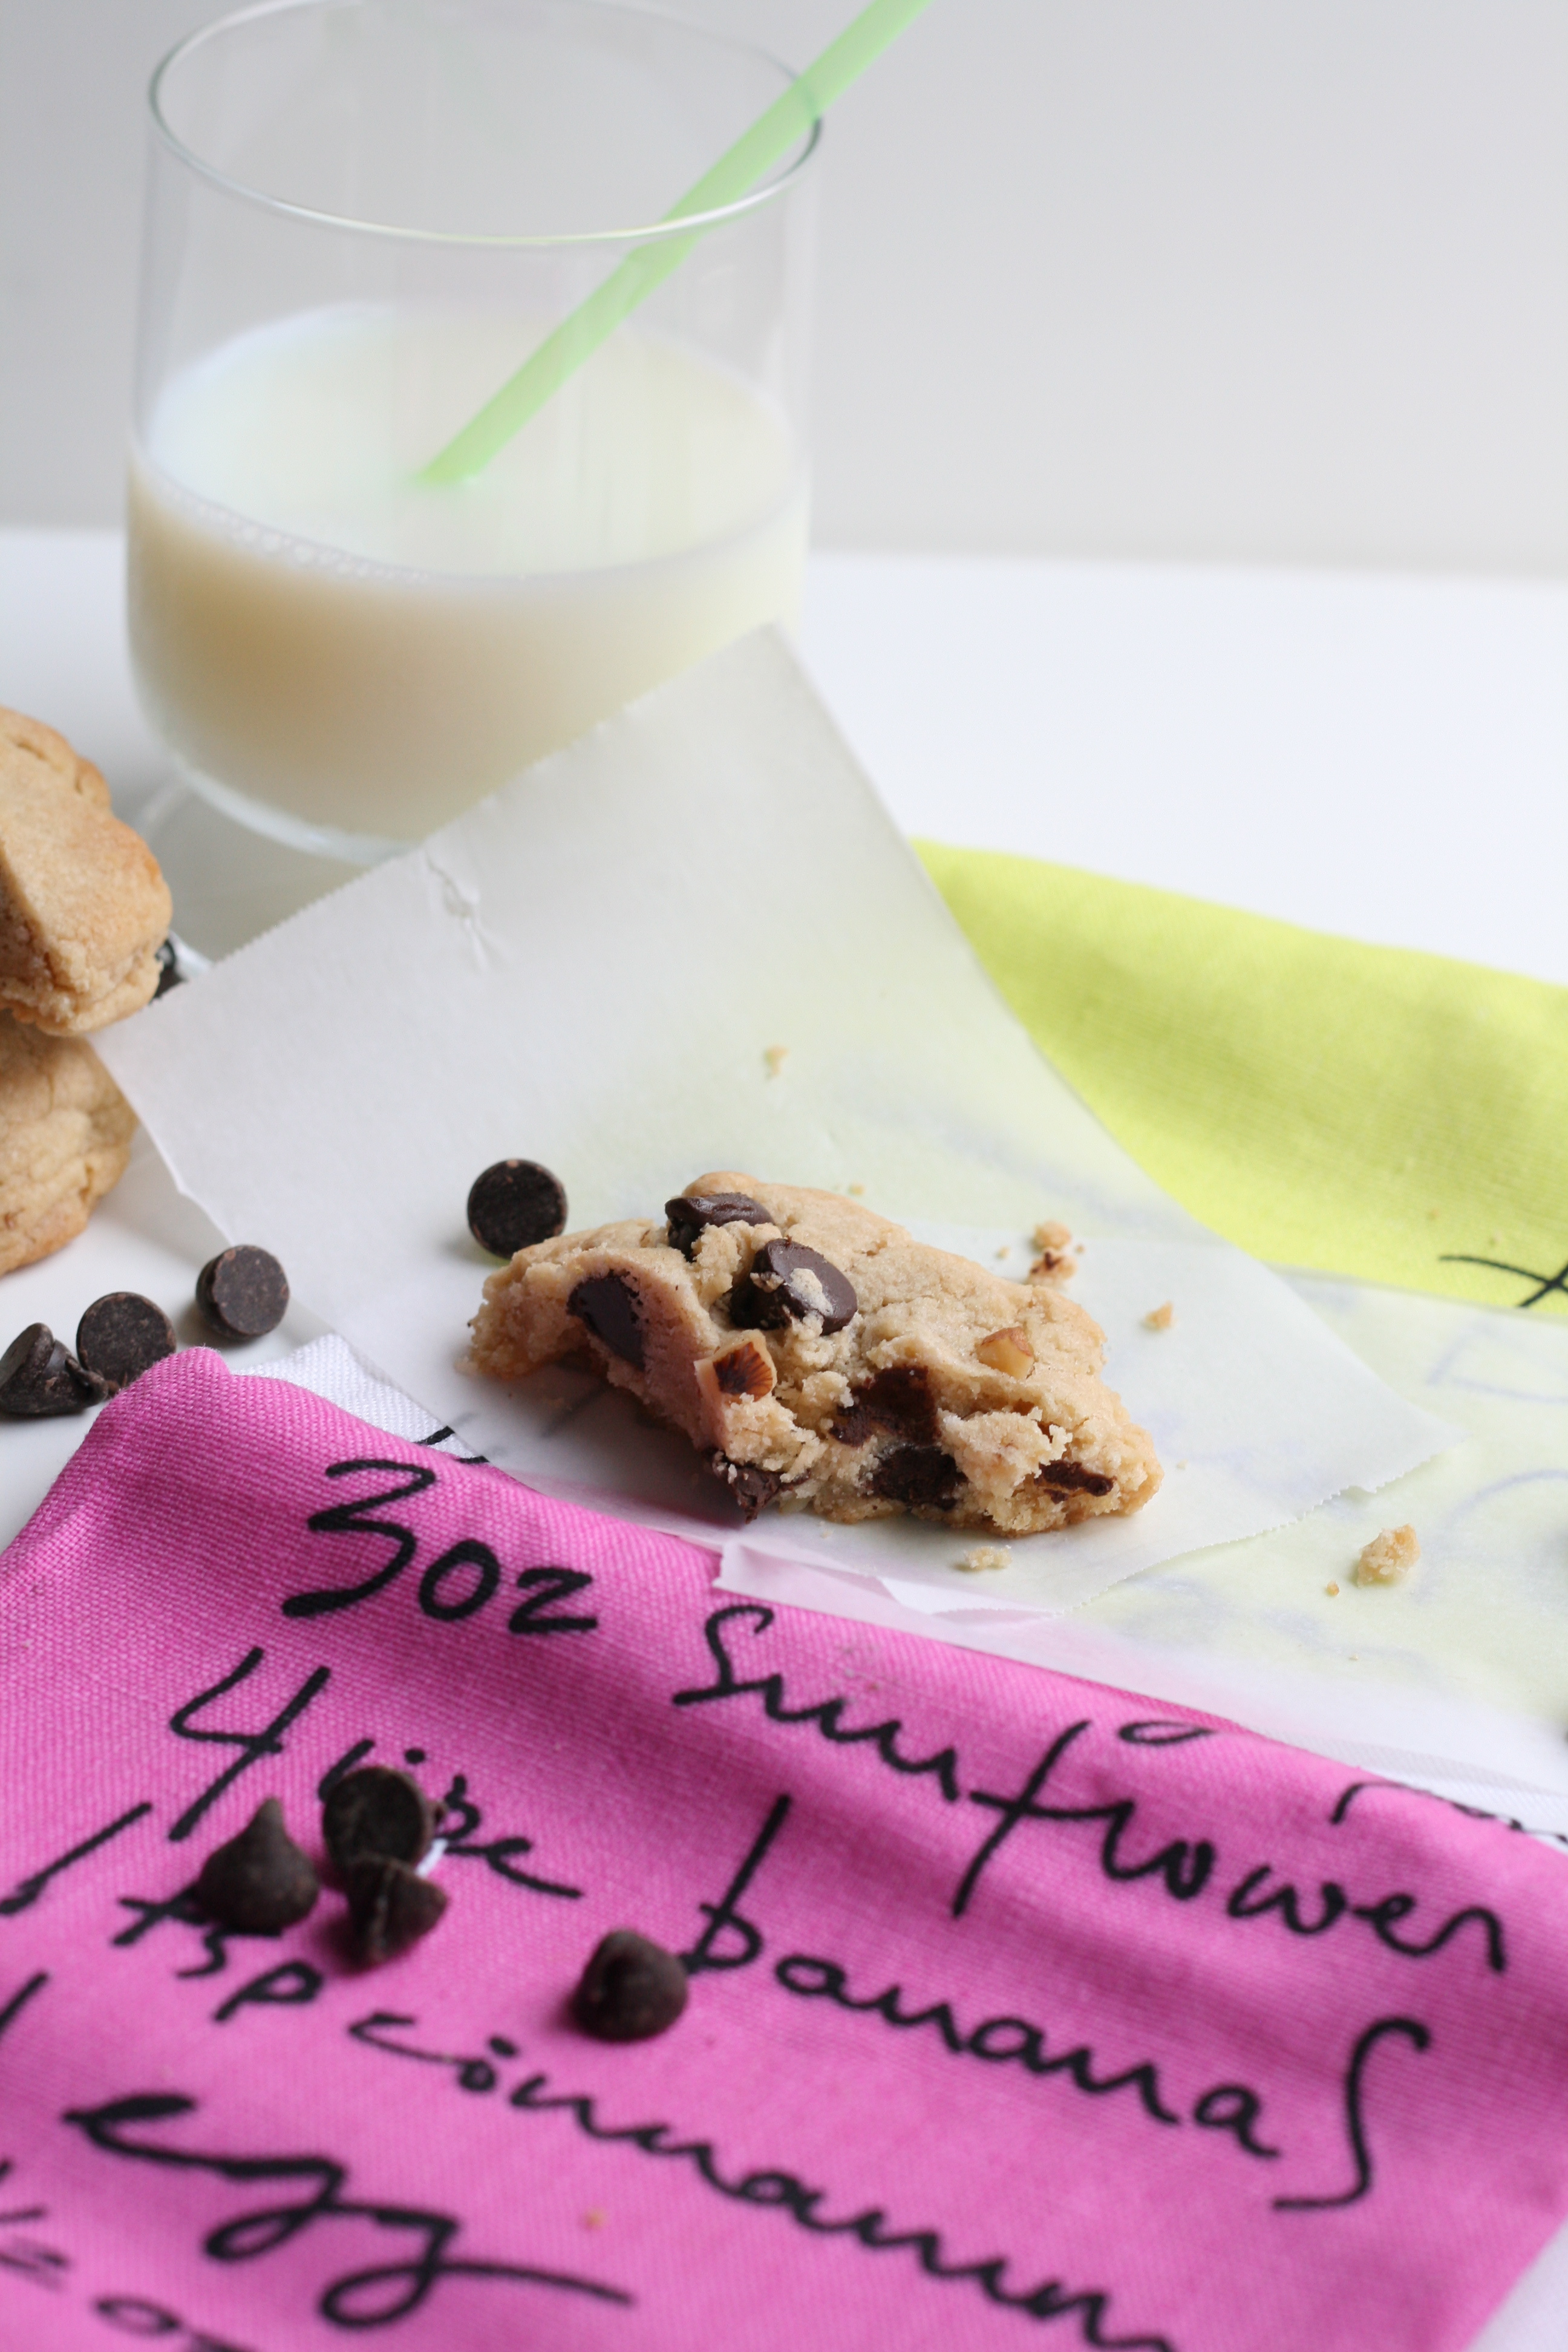
Allow to cool completely before eating. They taste so much better with a rest. The doughy center will stiffen up.
Notes
• You can make smaller versions of these cookies (or rather normal-sized cookies). It will yield double the amount. Bake 8 up at a time and reduce the cook time to 13-15 minutes.
• If you’re a flour sifter, skip it for this recipe.
• Skipping the walnuts will yield a flatter cookie. Additional flour is needed. (I haven’t tested it yet without. If you do, please let me know!)
This cake was supposed to be easy. I was going to brag about how fast I whipped it out. Ha Ha Ha. Oh the irony. One thing got in the way. That stupid virtue. You know the one. Patience. I’m scowling at the word as I type.
This recipe is easy. You just have to be patient. Don’t worry—I was impatient for you. I’ll let you know when you’re about to derail this simple recipe, making it complicated.
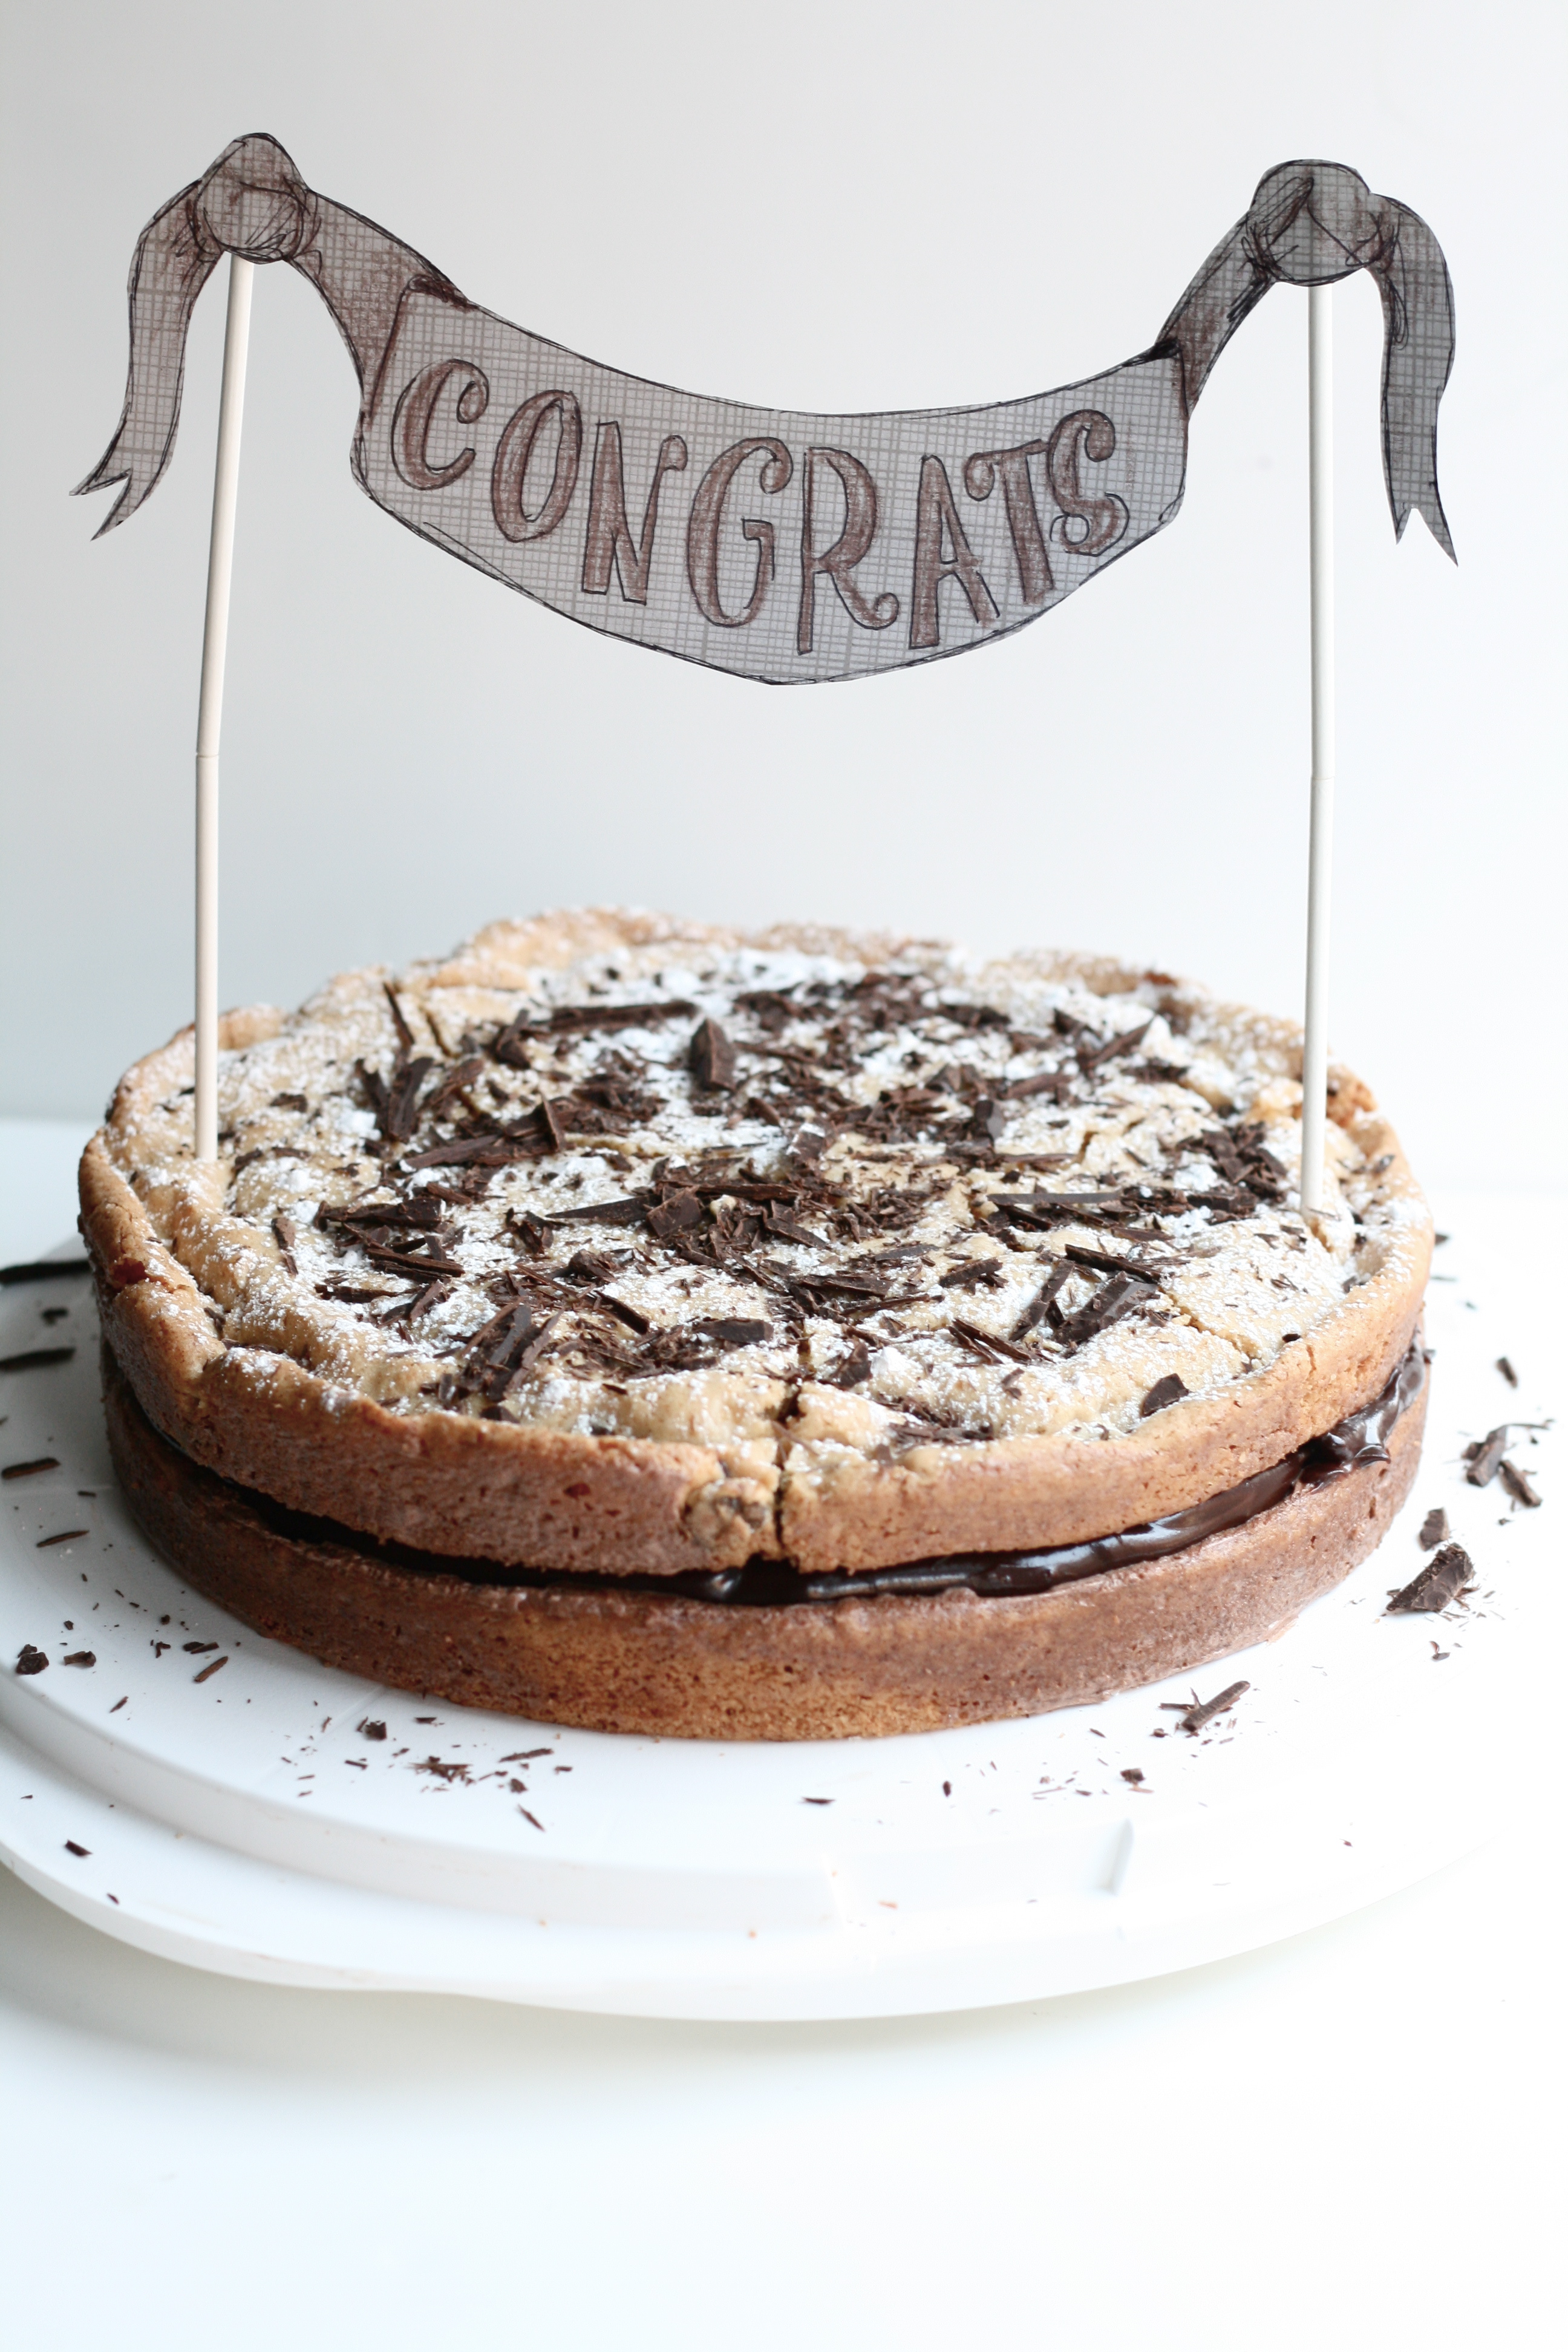
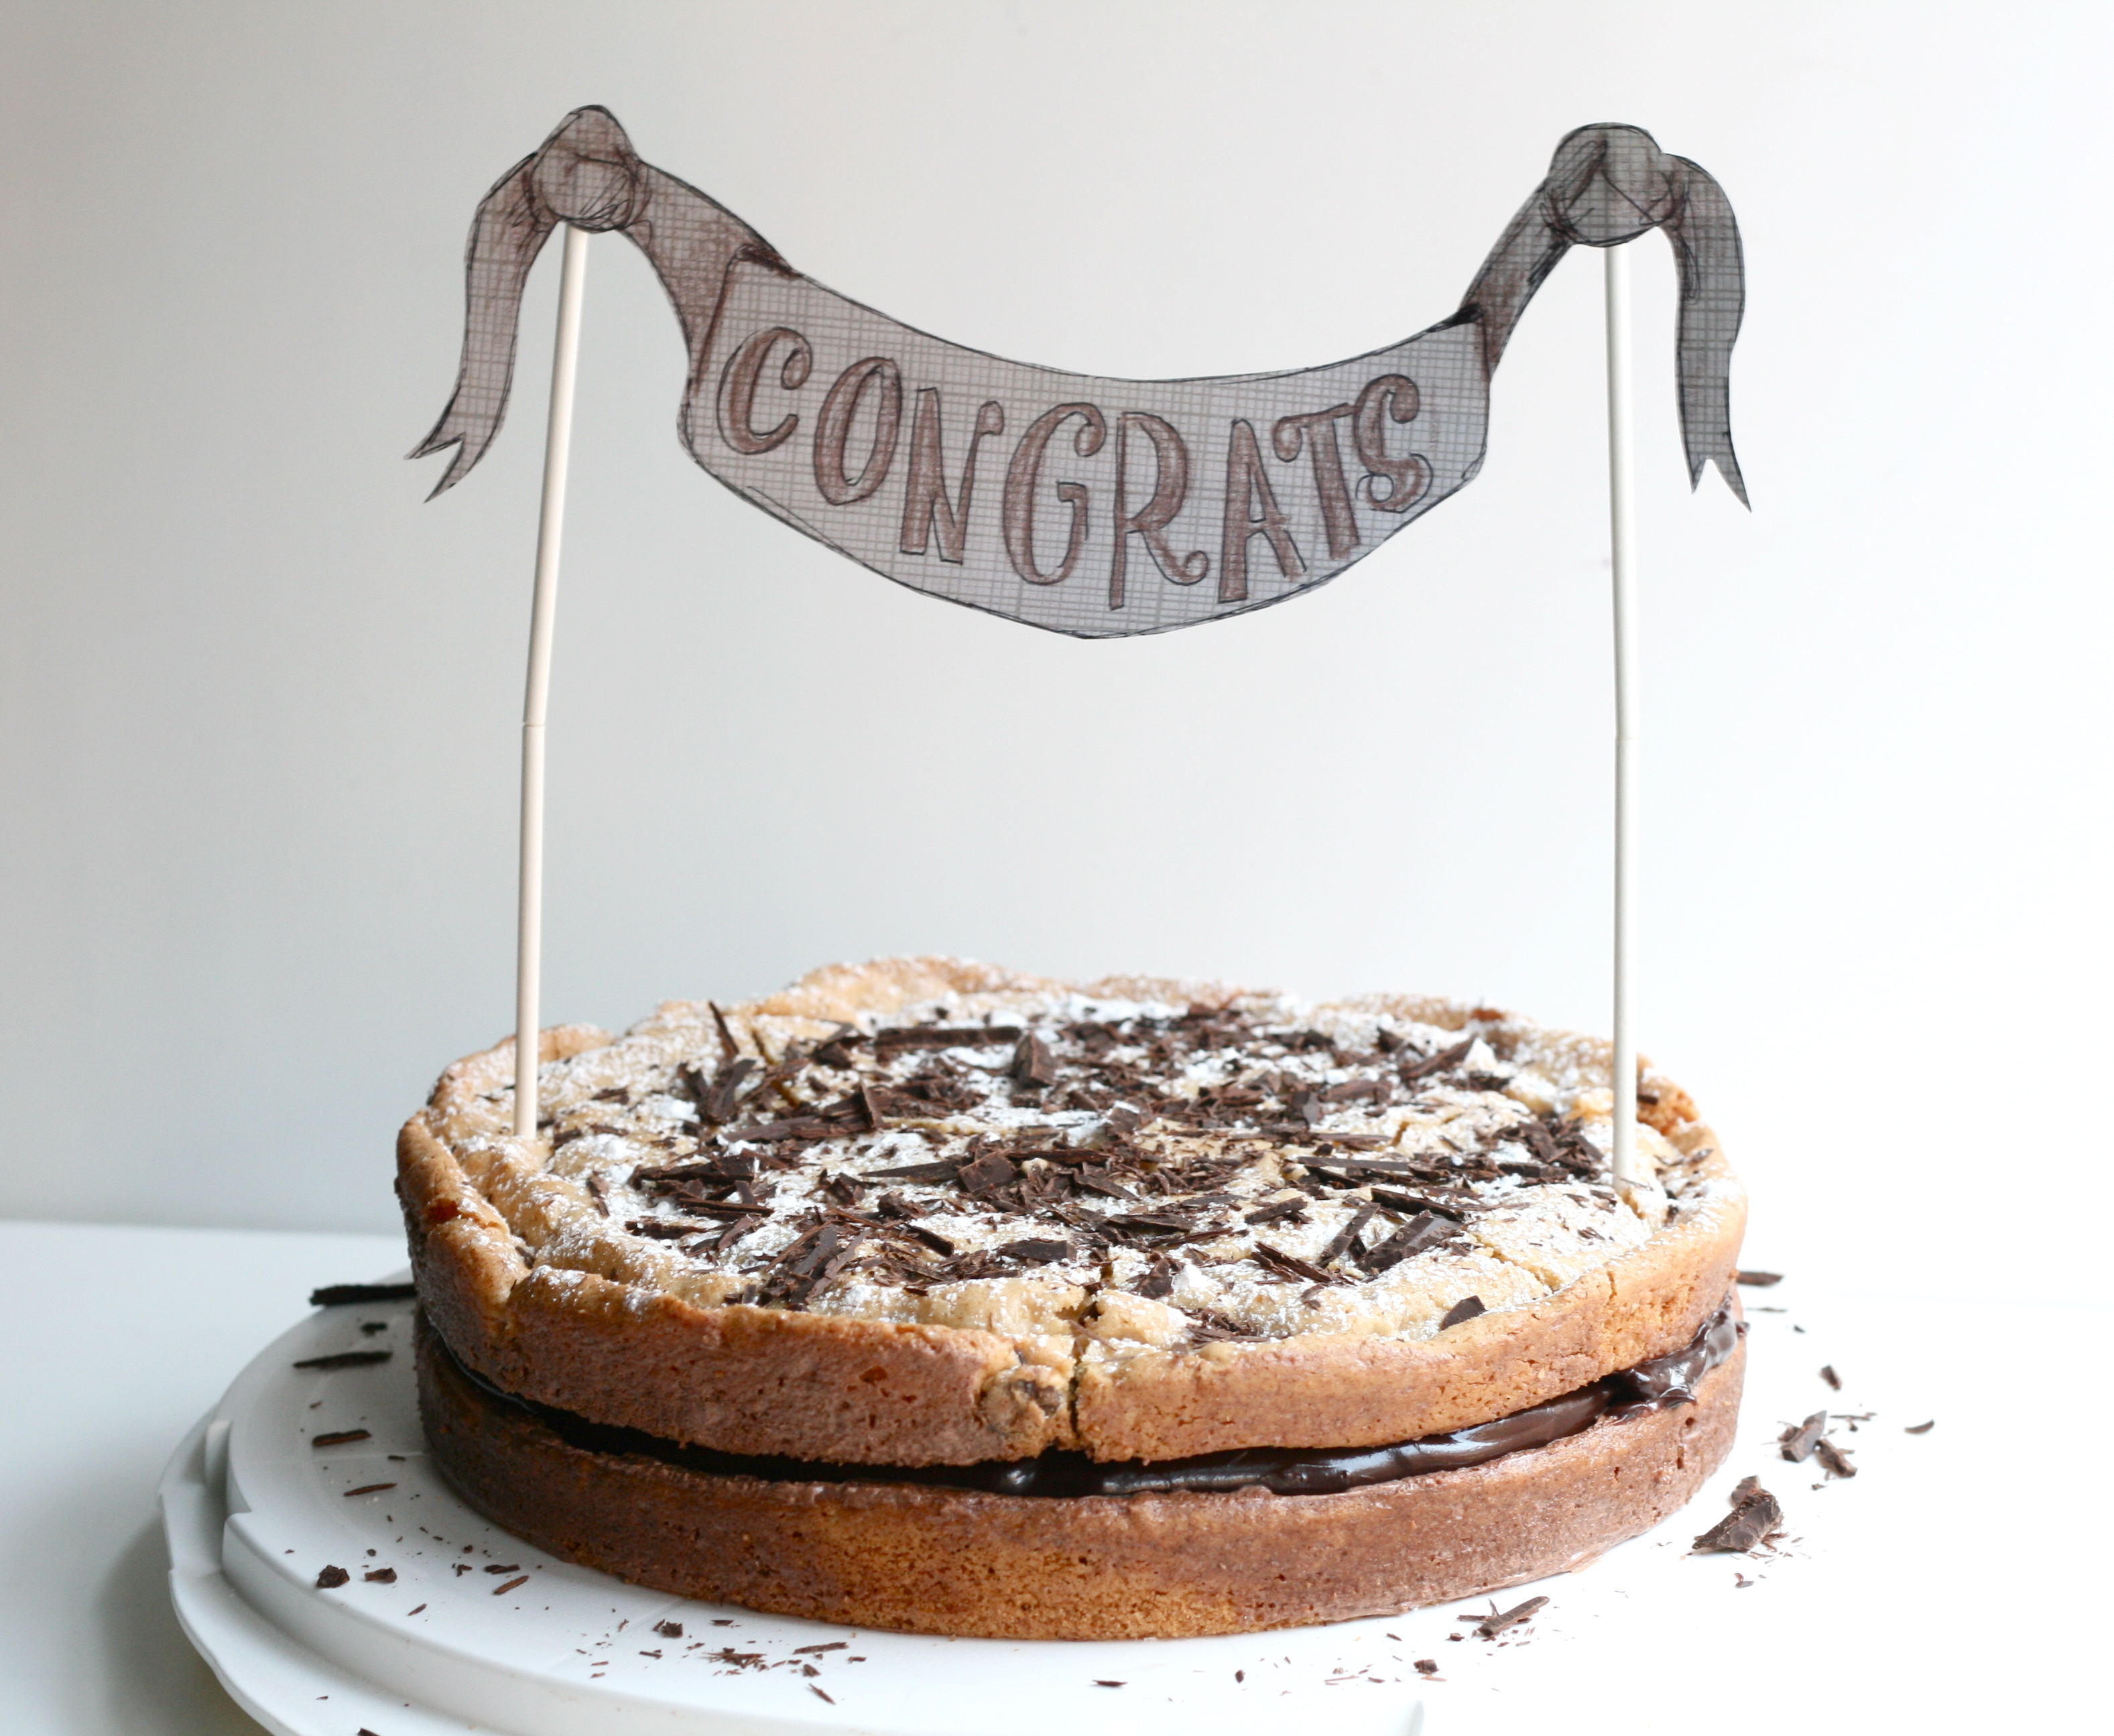
I really needed this cake to be simple. I got home from work at 5:30 pm, and had to be somewhere by 7:43 pm—leaving me a little over 2 hours to make a cake. Not bad. So while I made the cake, graduate school husband went to the grocery store to pick up the goods for the icing. Made the cake, no problem. I was home by 11 and ready to whip up a quick icing. In my defense, the word ‘icing’ was deceiving. Ganache would have been a better word choice. Needless to say, I exercised impatience. The icing wasn’t thickening as fast as I wanted to go to bed. So, I whipped up a meringue and added it to the icing thinking it would help it to stabilize. It was a runny mess. However, I proceeded to pour it all over the cake. What was I thinking? Meanwhile I looked at the remnants of the bowl with the orignal chocolate icing. Guess what. It had thickened up. In an abnormally calm manner, I directed graduate school husband to make another batch of ganache. He normally doesn’t involve himself in my baking adventures, but he was so helpful. I proceeded to scrape the cake of the runny chocolate mess. No lie, I wiped it down with a wet paper towel. We let the ganache set overnight and went to bed. 12:30pm. By morning, the ganache was perfect, so I re-iced the cake. Sprinkled with powdered sugar and shaved dark chocolate.
I was so thankful the cake was still salvageable. I’m not sure if this congrats sign ended up being for me or for my graduate school husband, although it was intended for him. He and his coworkers just finished up their practicum for the year and had a BBQ to celebrate/say goodbye. I’m going to miss those guys. They welcomed me into the group as if I were one of them. They gave me a nickname. They ate my food.
And they devoured this cake. Thank the Lord it turned out. I promise to be more virtuous.
WET INGREDIENTS 1/4 c. milk 2 tsp. vanilla extract
DRY INGREDIENTS 2 c. AP unbleached flour 1 tsp. baking powder 1/2 tsp. sea salt 1/2 c. semi-sweet chocolate chips
CREAMING INGREDIENTS 10 tbsp. unsalted butter, room temp 1 1/4 c. sugar 3/4 c. lightly packed brown sugar 1 large egg 1 egg yolk
1. Preheat oven to 335° and place rack in middle position. Line the bottom of two 9-inch round pans with parchment paper. 2. Combine wet ingredients in a bowl. Combine dry ingredients, except the chocolate chips, in separate bowl. Set aside. 3. Using a spatula, toss 2 tablespoons of the wet ingredients with the chocolate chips in a small bowl. Add 1/4 cup of the dry ingredients. Toss again to coat evenly. This will keep the chocolate chips from sinking to the bottom of the cake. 4. Mix butter and sugars in the bowl of a standing mixer fitted with paddle attachment until well creamed, about 3 minutes. 5. Add egg and egg yolk one at a time. 6. Alternately add dry and wet mixtures about a quarter at a time without pausing between additions. 7. Removed the bowl and fold in the chocolate chips with a spatula. The dough will be thick—more like cookie dough than cake batter. 8. Divide dough into prepared pans. It will be too thick to fill the pan to the edges, but will spread under the heat of the oven. Bake for 30-35 minutes or until edges crown and surface is browned. 9. Cool the cakes in pans to room temperature, then invert them using a small offset spatula to release edges. 10. Make ganache. Spread thick layer between the two cakes. Dust the top with confectioners sugar. Shave dark chocolate and sprinkle on top.
Chocolate Icing/Ganache
1 c. heavy cream 1/4 c. sugar 1 stick unsalted butter, softened 10 oz. bittersweet chocolate 2 tsp. vanilla extract dash of sea salt
1. In a saucepan over medium heat, bring cream and sugar to a light simmer, stirring occasionally. Place the butter, chocolate, vanilla, and sea salt in a large bowl. 2. Pour hot cream over ingredients in the bowl and let stand for a few minutes to melt the chocolate. Whisk until smooth and set aside to cool, but do not refrigerate. Here’s the part where you may derail if you neglect that virtue. Be patient. It will set up. 3. Once the icing has thickened, stir it with a flexible spatula to a spreadable consistency.
For a downloadable PDF of the cake banner and instructions, click here.
This week—I was a graphic designer by day and a baker by night.
I dream of being a full-time baker. Especially after this week, where I made 120+ cookies for a friend’s wedding shower. It wore me out, no lie. But I loved every last second of it. If only I didn’t have to work 8-5.
In regards to most recipes on this blog you’ve probably heard me say—This is easy, I promise. Not the case with these little guys. They are hard work. Back breaking work. And they take tons of practice. So, now that I’ve scared you away, let me also say, You can do it. It will be so rewarding. I promise.
Before you get started, I recommend watching this clip from The Martha Stewart Show (the video is on the lefthand side of the page). The trickiest part about these cookies is working with the royal icing. This segment will teach you how to make the royal icing, as well as all the important lingo like damming and flooding. Best of all, it will teach you how to achieve the chevron-like pattern I did on several of the cookies.
You’re also going to need a couple of tools before you get started, such as a condiment bottles. I found mine in the baking section at Michael’s.
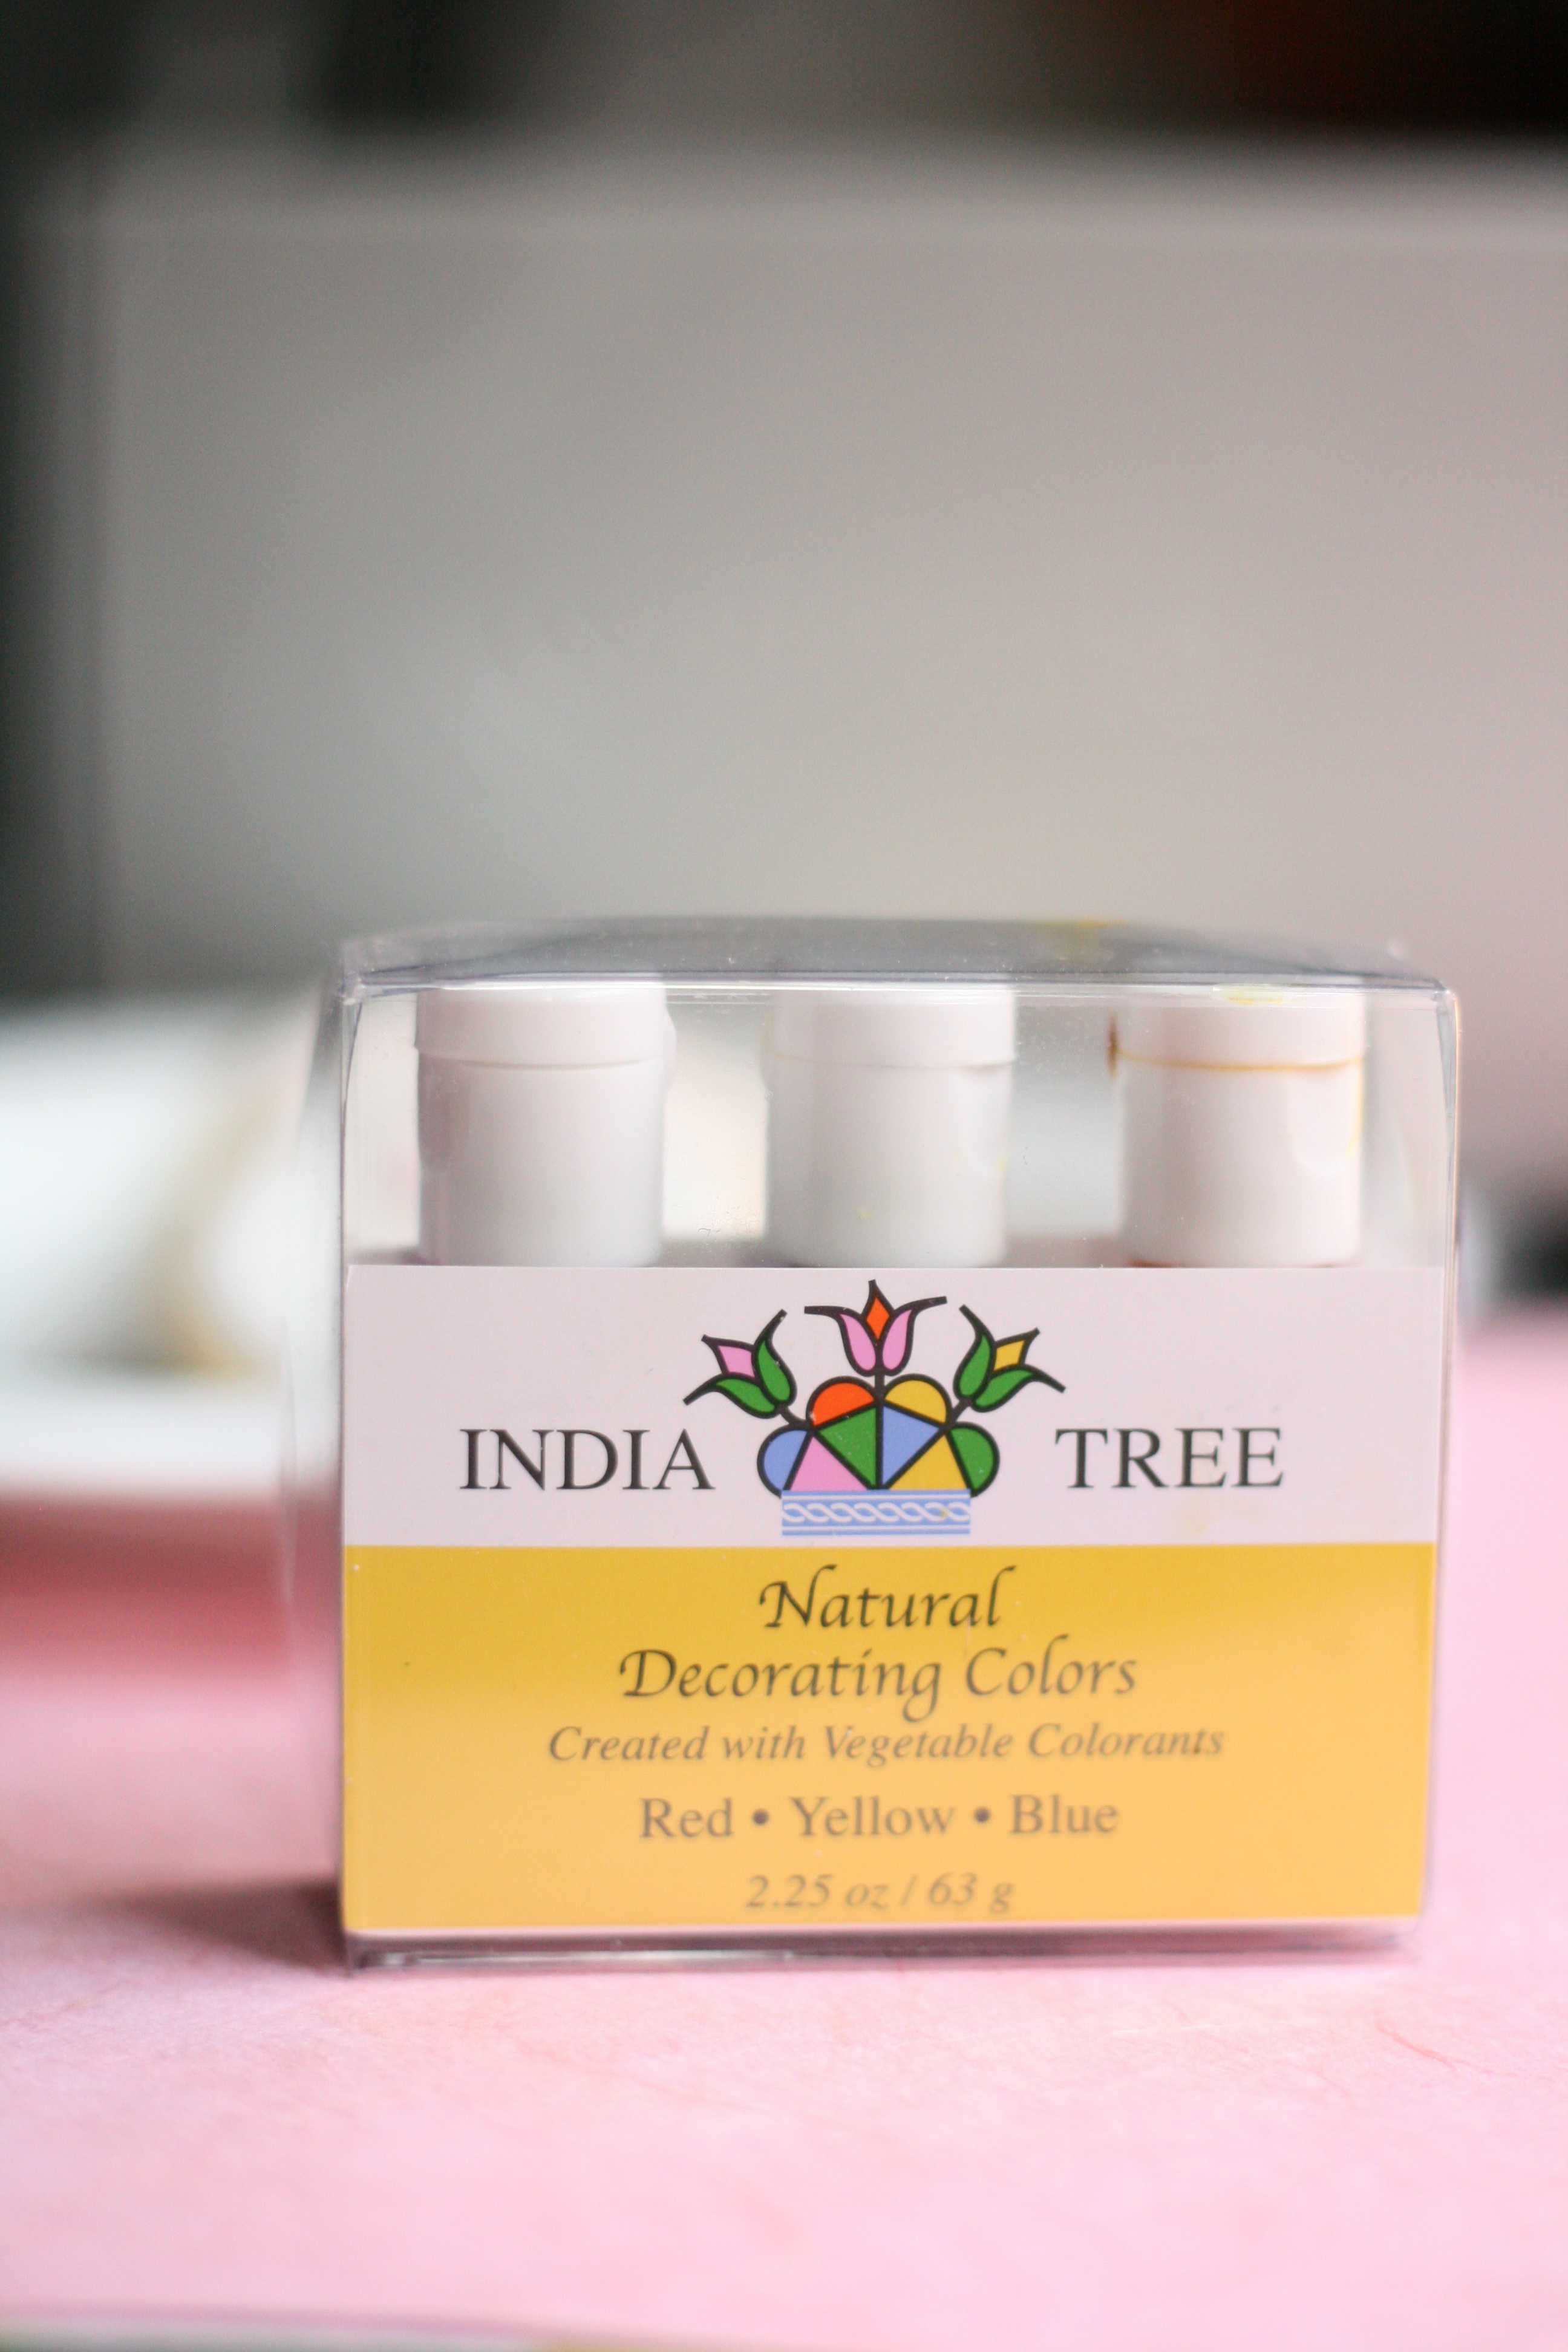
Food coloring is a must. I recommend investing in the all-natural kind although it is a couple dollars more. I went with India Tree (sold at Whole Foods). They make their food coloring out of vegetable pigments. You can still achieve beautiful colors with it, and it doesn’t pepper your icing with a bad aftertaste like so many do.
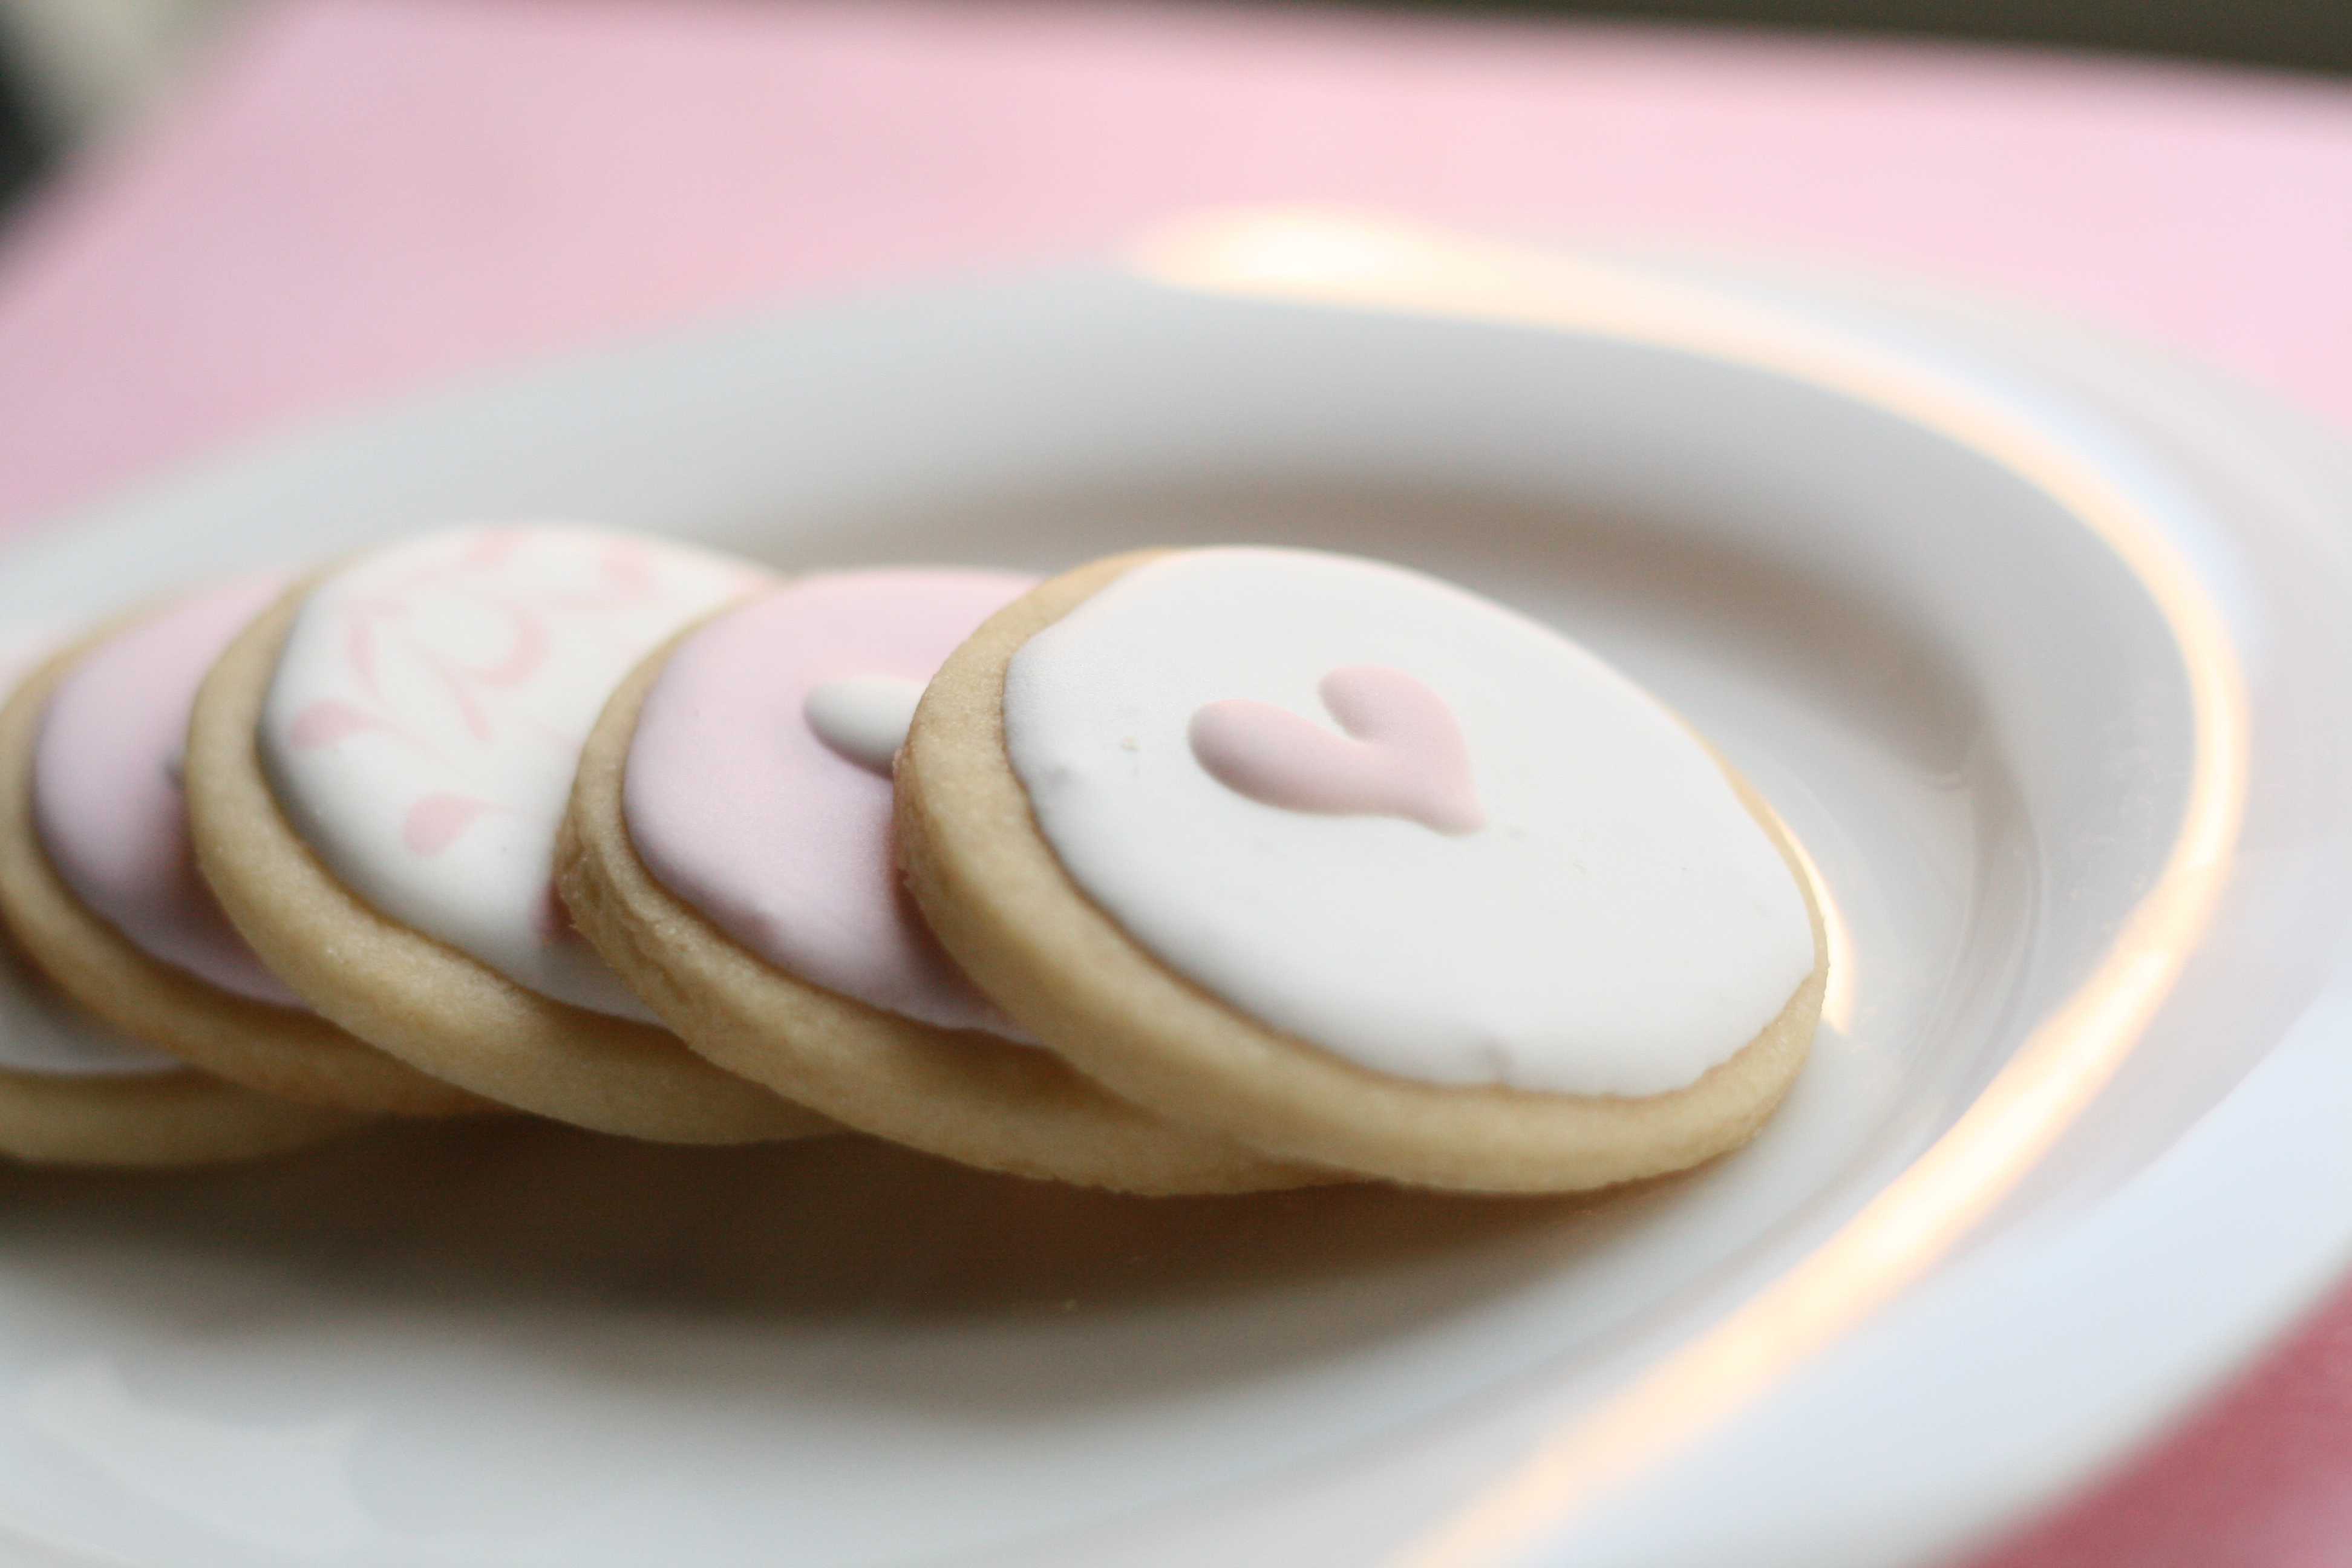
Now on to the good stuff—the recipes! I made these cookies as all-natural as possible. Usually these types of cookies scream fake and over processed to me. But it doesn’t have to be the case, especially if you make them yourself.
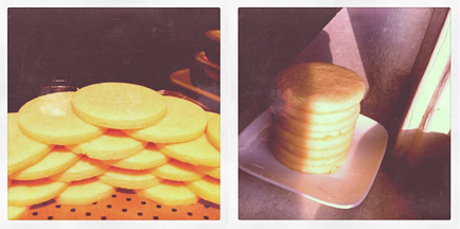
Vanilla-Almond Sugar Cookies recipe from Bake at 350, with slight changes amount of cookies will vary based on size
3 c. unbleached, all-purpose flour 2 tsp. baking powder 1/2 tsp. sea salt 1 c. cane sugar 2 sticks unsalted butter, cold 1 egg 1/2 tsp. pure vanilla extract 3/4 tsp. pure almond extract
1. Preheat oven to 350°. 2. Combine the flour, baking powder and salt. Set aside. 3. Cream the sugar and butter. Add the egg and extracts, and mix. 4. Gradually add the flour mixture, and beat just until combined, scraping down the sides of the bowl. 5. Knead dough together with hands as it will be crumbly. 6. Place dough on floured surface and using a rolling pin, roll out to 1/4″ thickness or thicker. Cut into desired shapes. 7. Place cookies on parchment lined baking sheets or Silpat and freeze for 10 minutes before baking. 8. Bake for 9 minutes. (I pull the cookies out before they begin to golden for a softer texture.) Let sit for a few minutes on the baking sheet, then transfer to a cooling rack. (Make sure cookies are completely cool before icing. I usually wait overnight.)
1/4 c. meringue powder 1 pound confectioners’ sugar (about 3 1/2 to 4 c.) 1/2 c. water
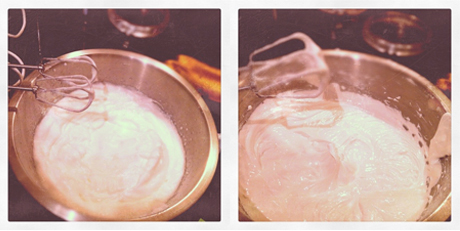
1. Using a hand mixer with the whisk attachment, mix together meringue powder with 1/2 cup water until soft peaks form, about 1 minute. Using the beater attachments, add sugar one cup at a time; continue mixing until well combined, scraping down the sides of the bowl as necessary. Icing will become thick and glossy in appearance. 2. Ice cookies.* (Do not cover or stack until completely dry. I usually wait overnight.)
*Throughout the decorating process, you will need different consistencies of royal icing. Writing icing will need to be thick while “flooding” icing will need to be a bit thinner. To do this, add more water. If frosting becomes to thin, add more powdered sugar.
Below are pictures of the process with a couple decorating how-to’s.
Royal icing: When beating, it will go from soft peaks, to stiff glossy peaks as you add in the sugar.
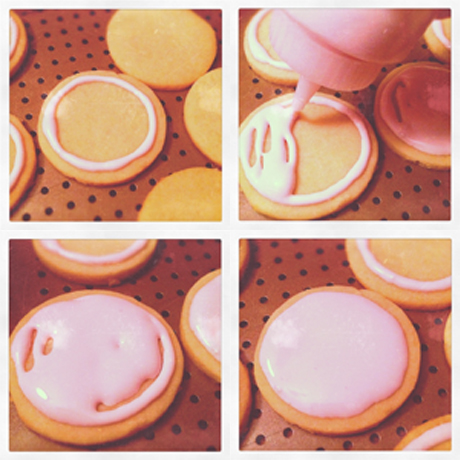
Applying Icing: In a seperate bowl, add a tiny bit of water to icing. Add food coloring if necessary. Dam, flood, watch it flood, fill in any blank areas, let dry.
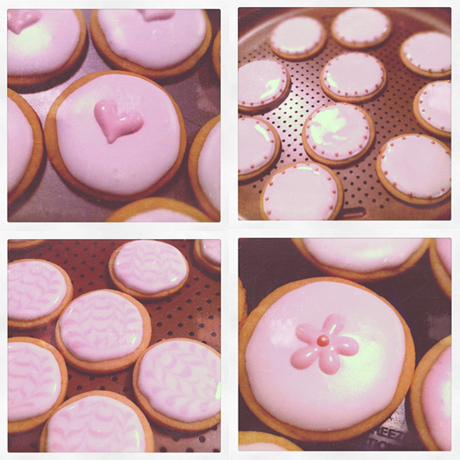
Decorating: HEARTS—use original icing (not thinned icing). Pipe 2 circles. Pull the icing down with tip to form a heart. DOTS—while icing is wet, place nonpareils on cookie using tweezers. CHEVRON PATTERN—while the base icing is still wet, draw horizontal lines with original icing (not thinned). Using a toothpick, lightly pull icing down in a vertical manner. Make sure to wipe off toothpick each time. Pull up to create zig-zag effect. FLOWER—much like the heart, use original icing and pipe 5 circles. Using the tip, pull in to center. Place nonpareil in center with tweezers.
They are hard work. Back breaking work. And they take tons of practice. But, you can do it. It will be so rewarding. I promise.
I’ve been a big lazy bum this weekend. Reason being—Broomball.
We played Broomball Friday night, and it did me in for the whole weekend. After all the years of playing competitive soccer, I don’t think my body has ever hurt this bad. Maybe I’m getting old. In hindsight, I should have come armed with knee pads, elbow pads, and a helmet. Speaking of helmets, I took a nasty spill about 10 minutes into playing, hitting my head on the ice. A goose egg bump ensued. Being the competitive kamikaze athlete that I am, if you can even still call me an athlete, I kept playing. But, oh, I payed for it the rest of the weekend.
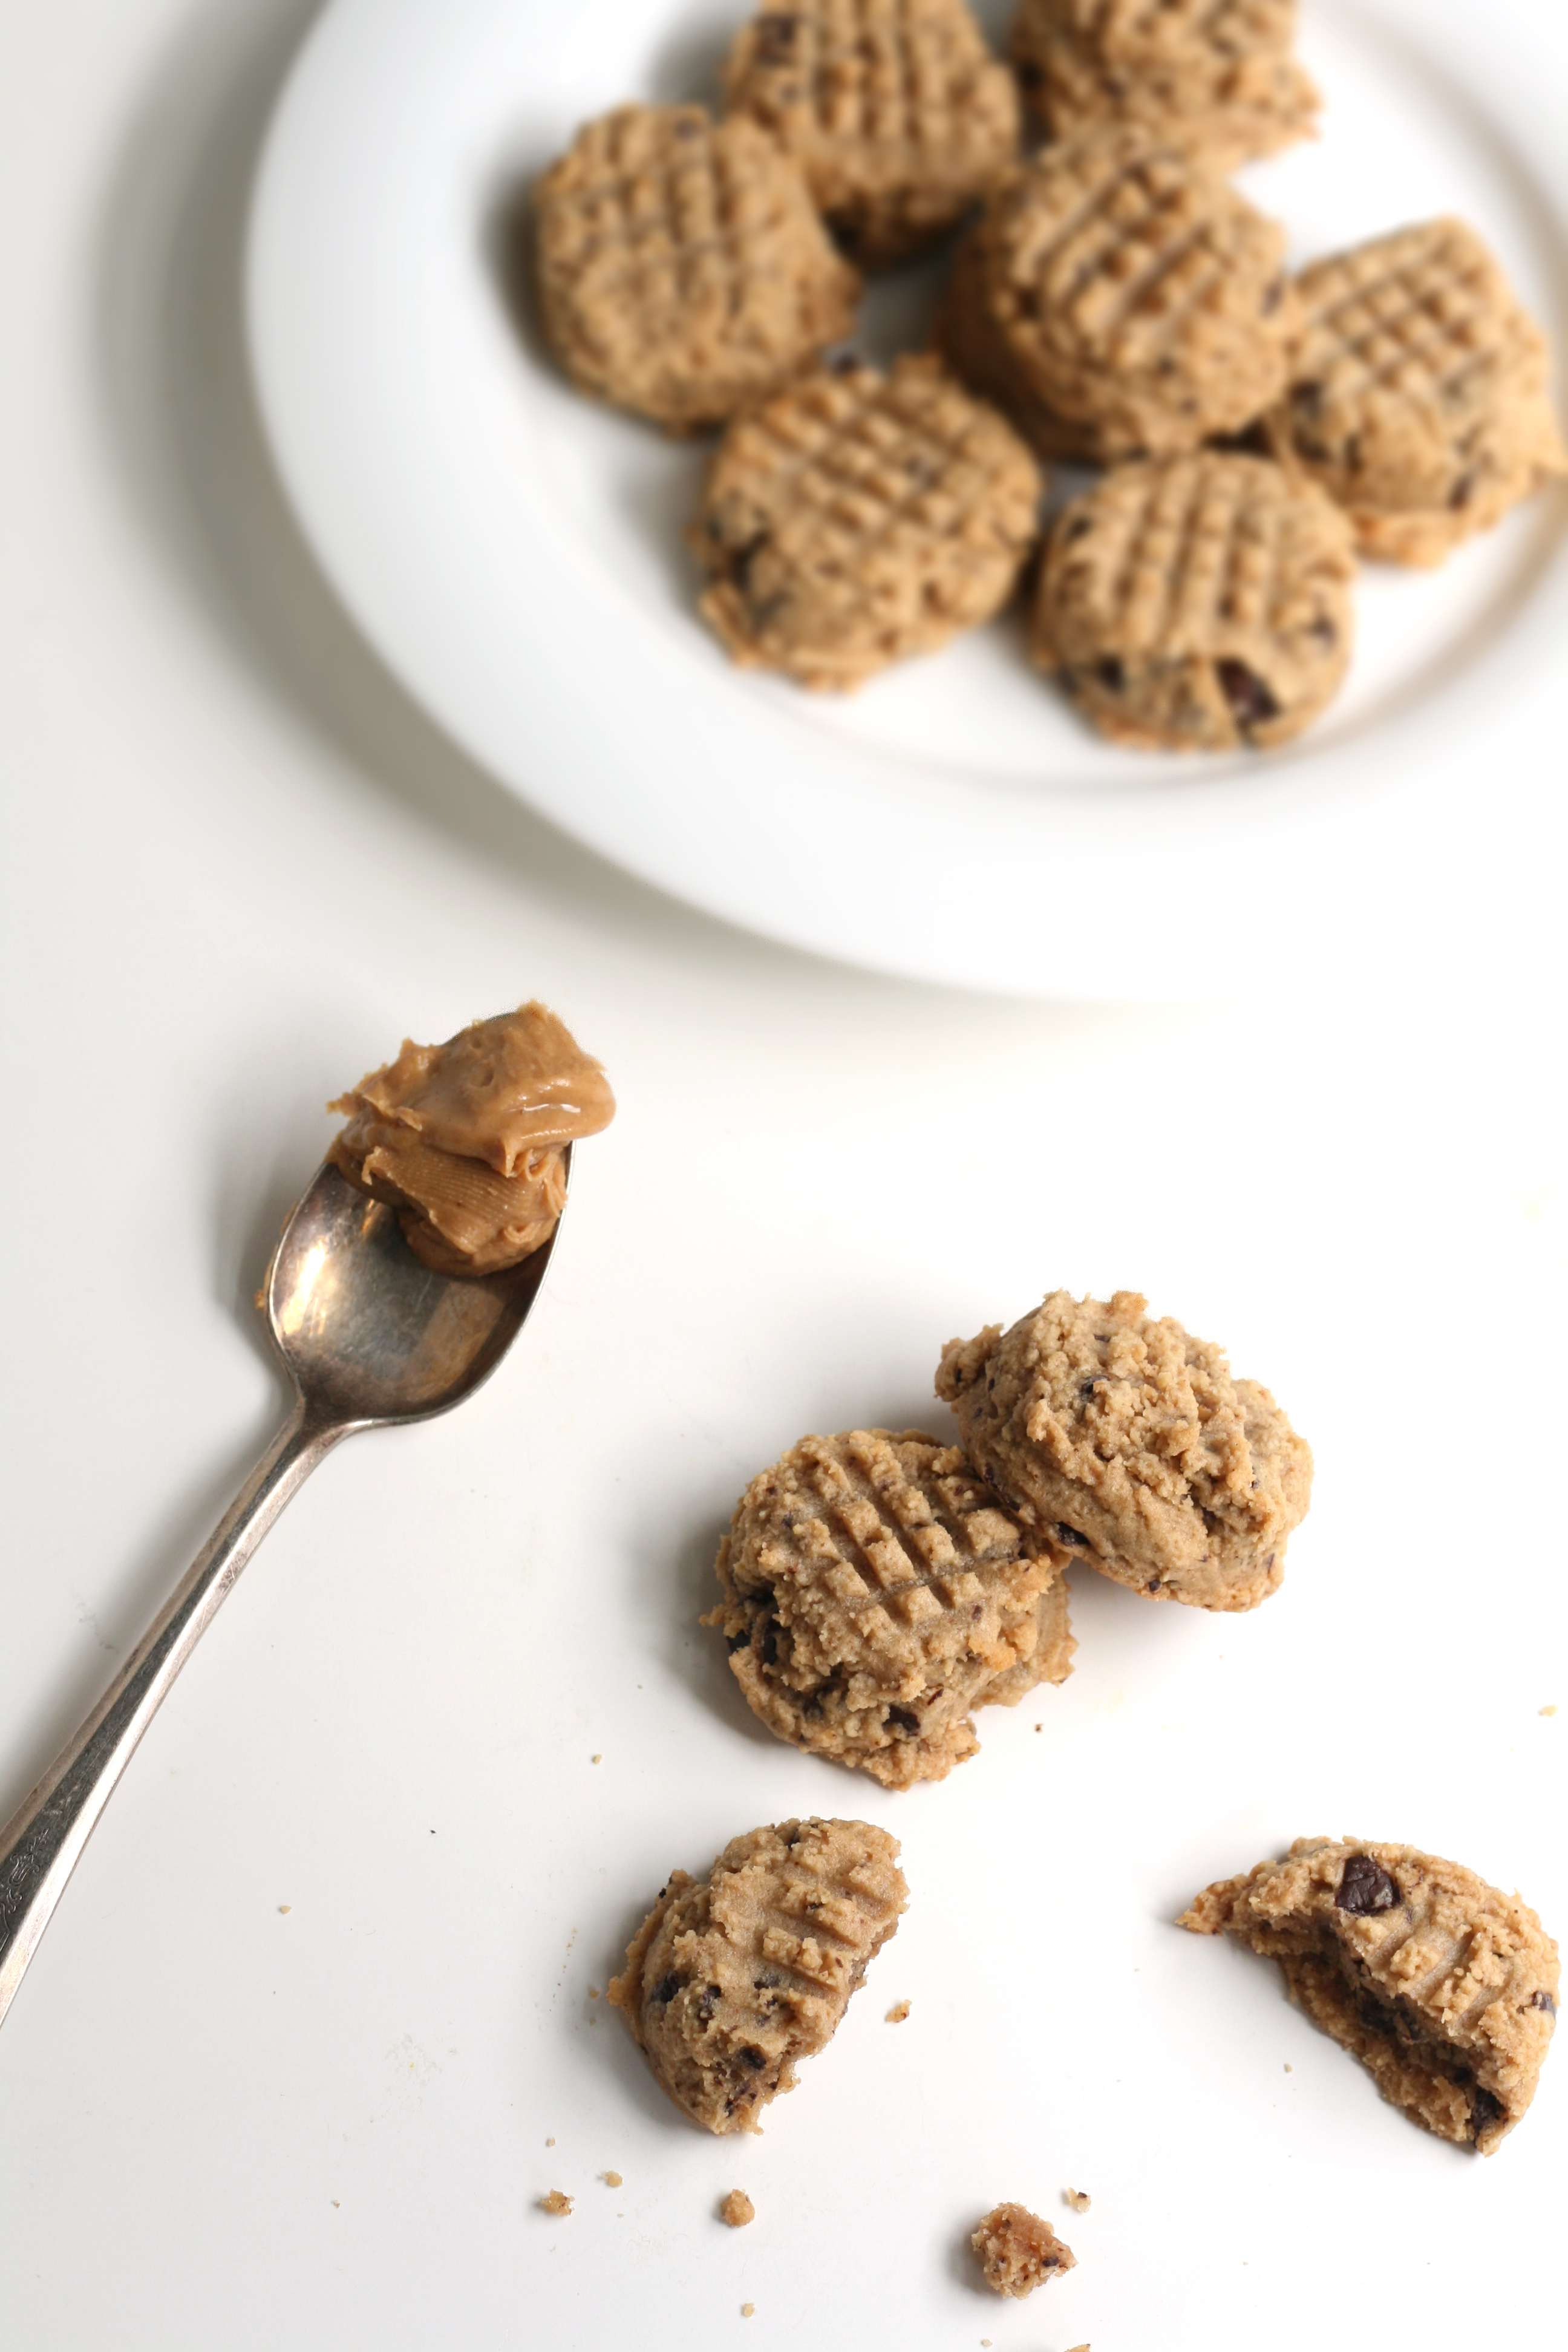
You’re probably thinking—”Does she want some cheese, with that whine?” I’ll pass on the cheese, but I’ll take a cookie instead. And that’s exactly what I did yesterday. I soothed my soul with a healthy chocolate chip cookie. I wasn’t about to try making a new recipe to blog about with my head being a little more foggy than normal. There’s no telling how it would have turned out. So I stuck with what I knew—an oldie but a favorite.
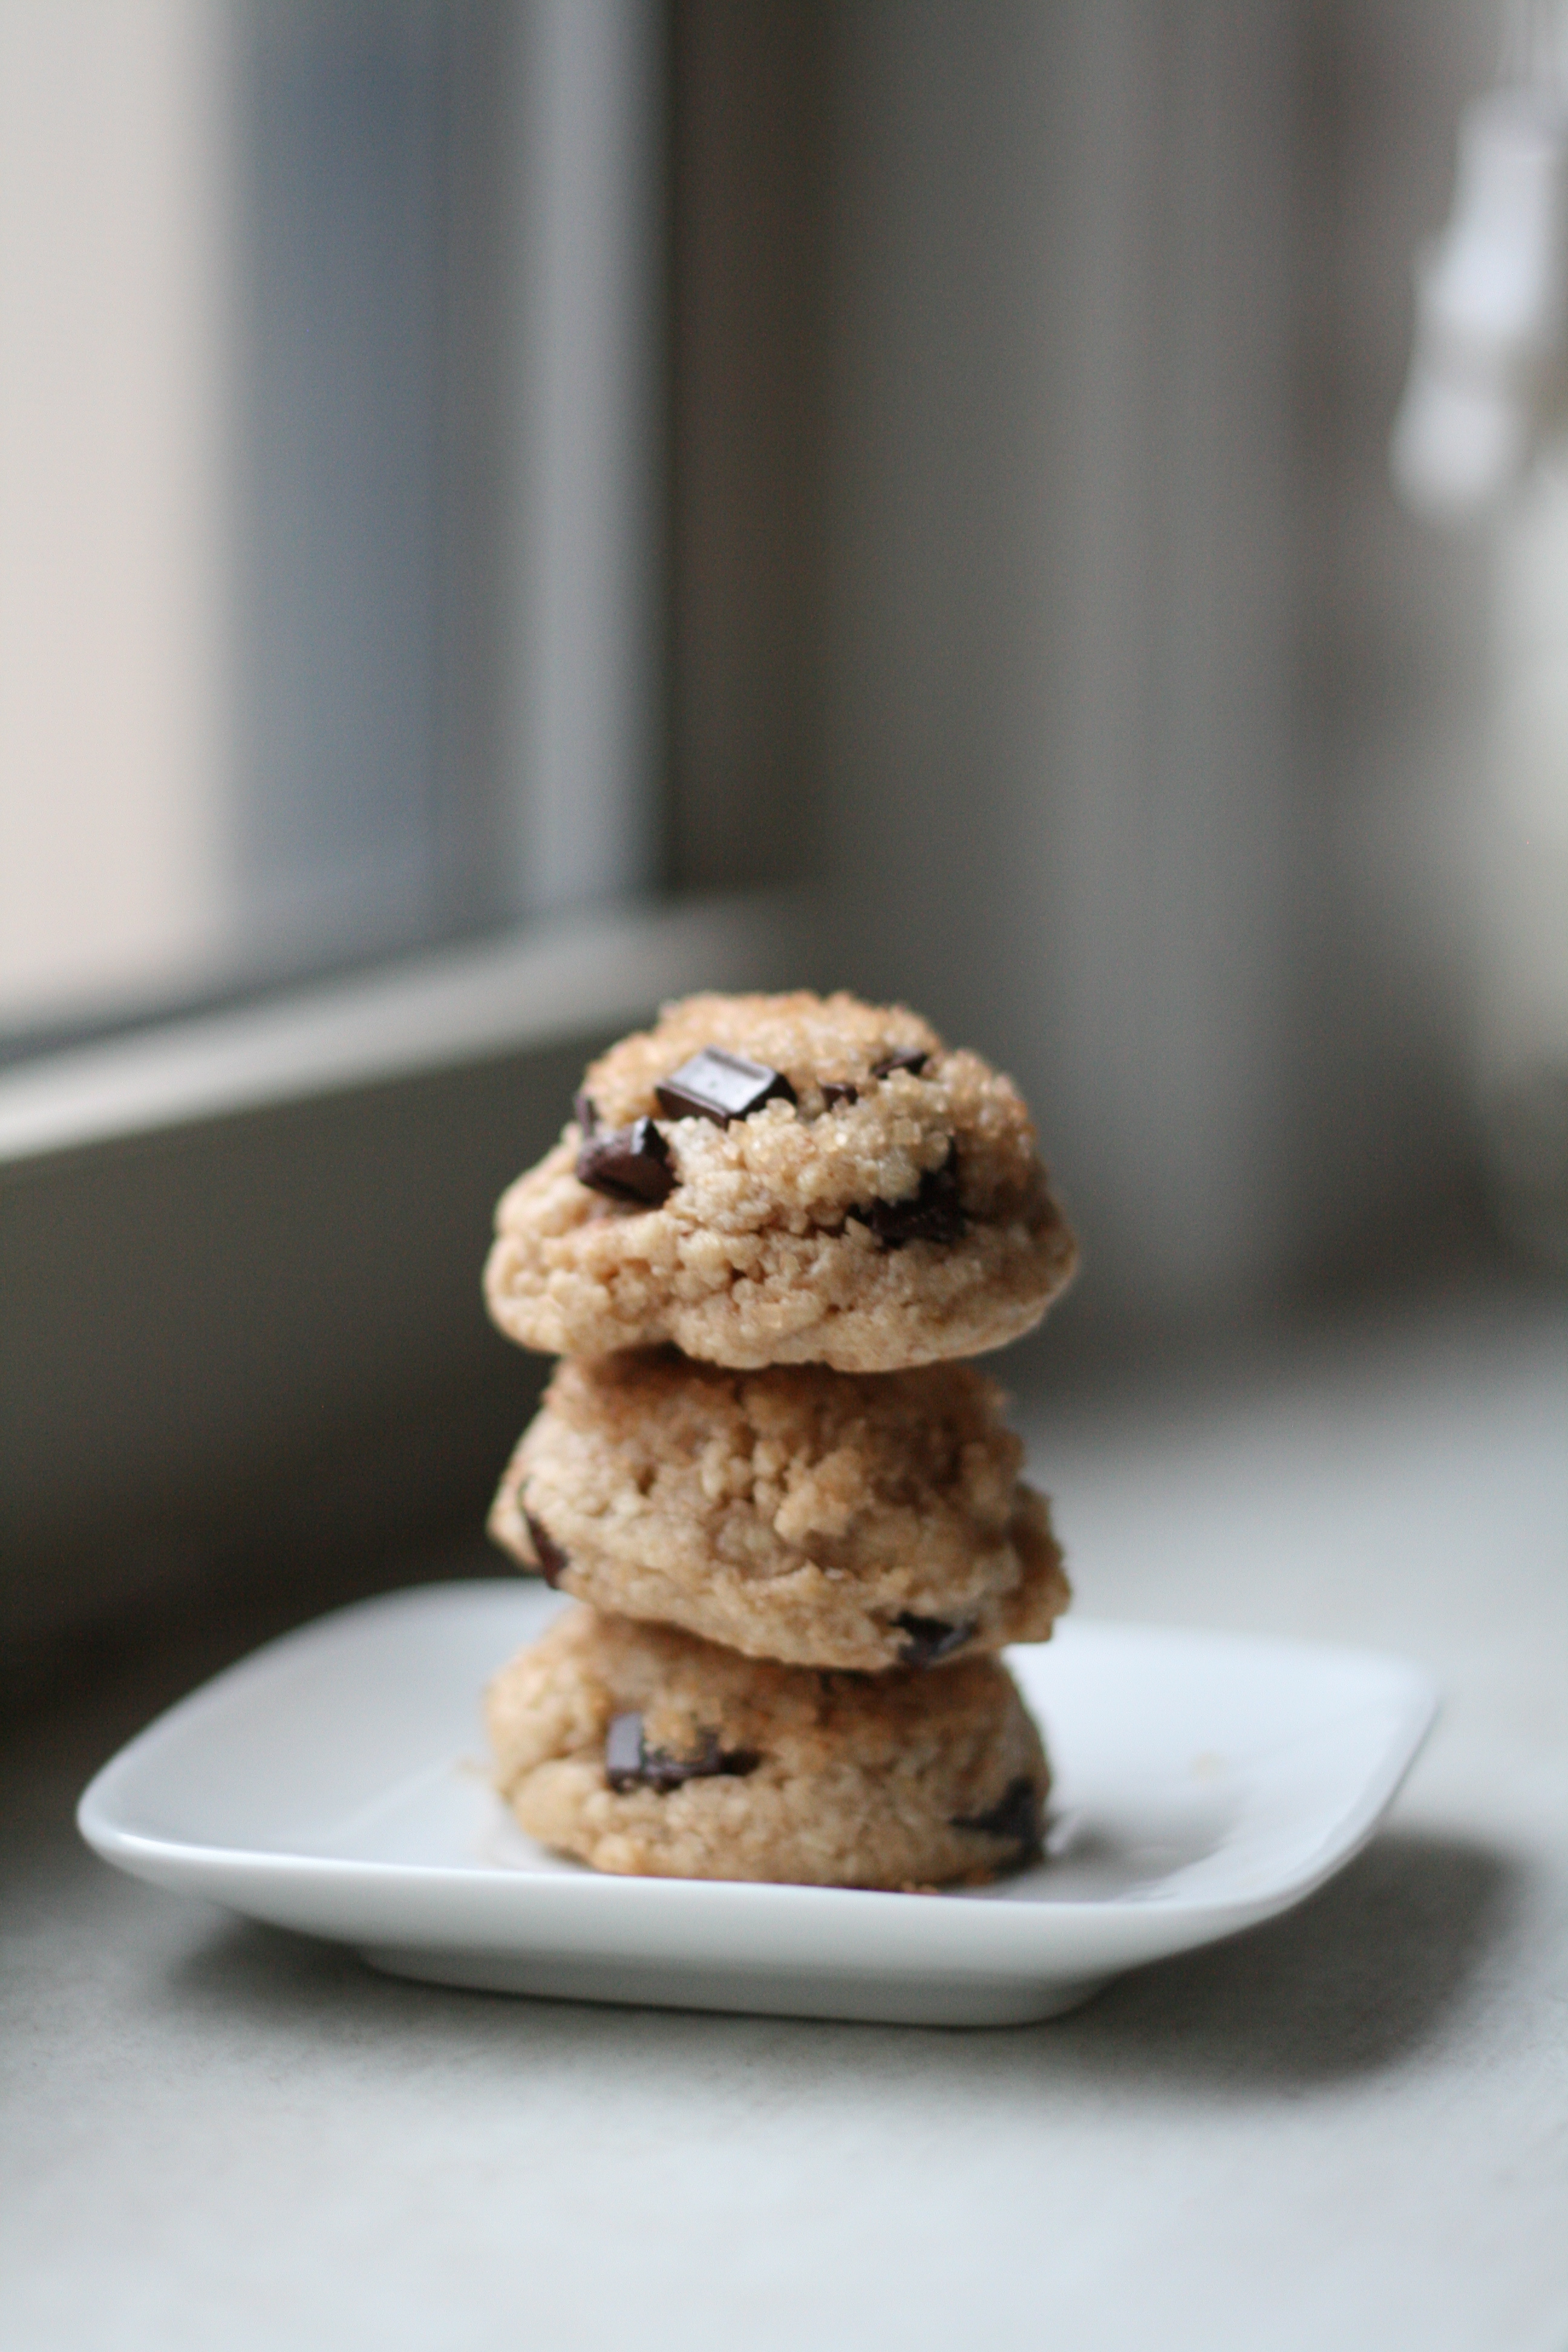
This little gem of a cookie will delight your palette. It’s tiny. Cute. With hints of maple. Filled with dark chocolate. And hidden with healthy morsels of whole wheat flour, oats, walnuts, and honey. Even college students, known for their fast food pizza eating habits, love these cookies.
In a sauce pan, melt butter and allow to cool for about 15 minutes.
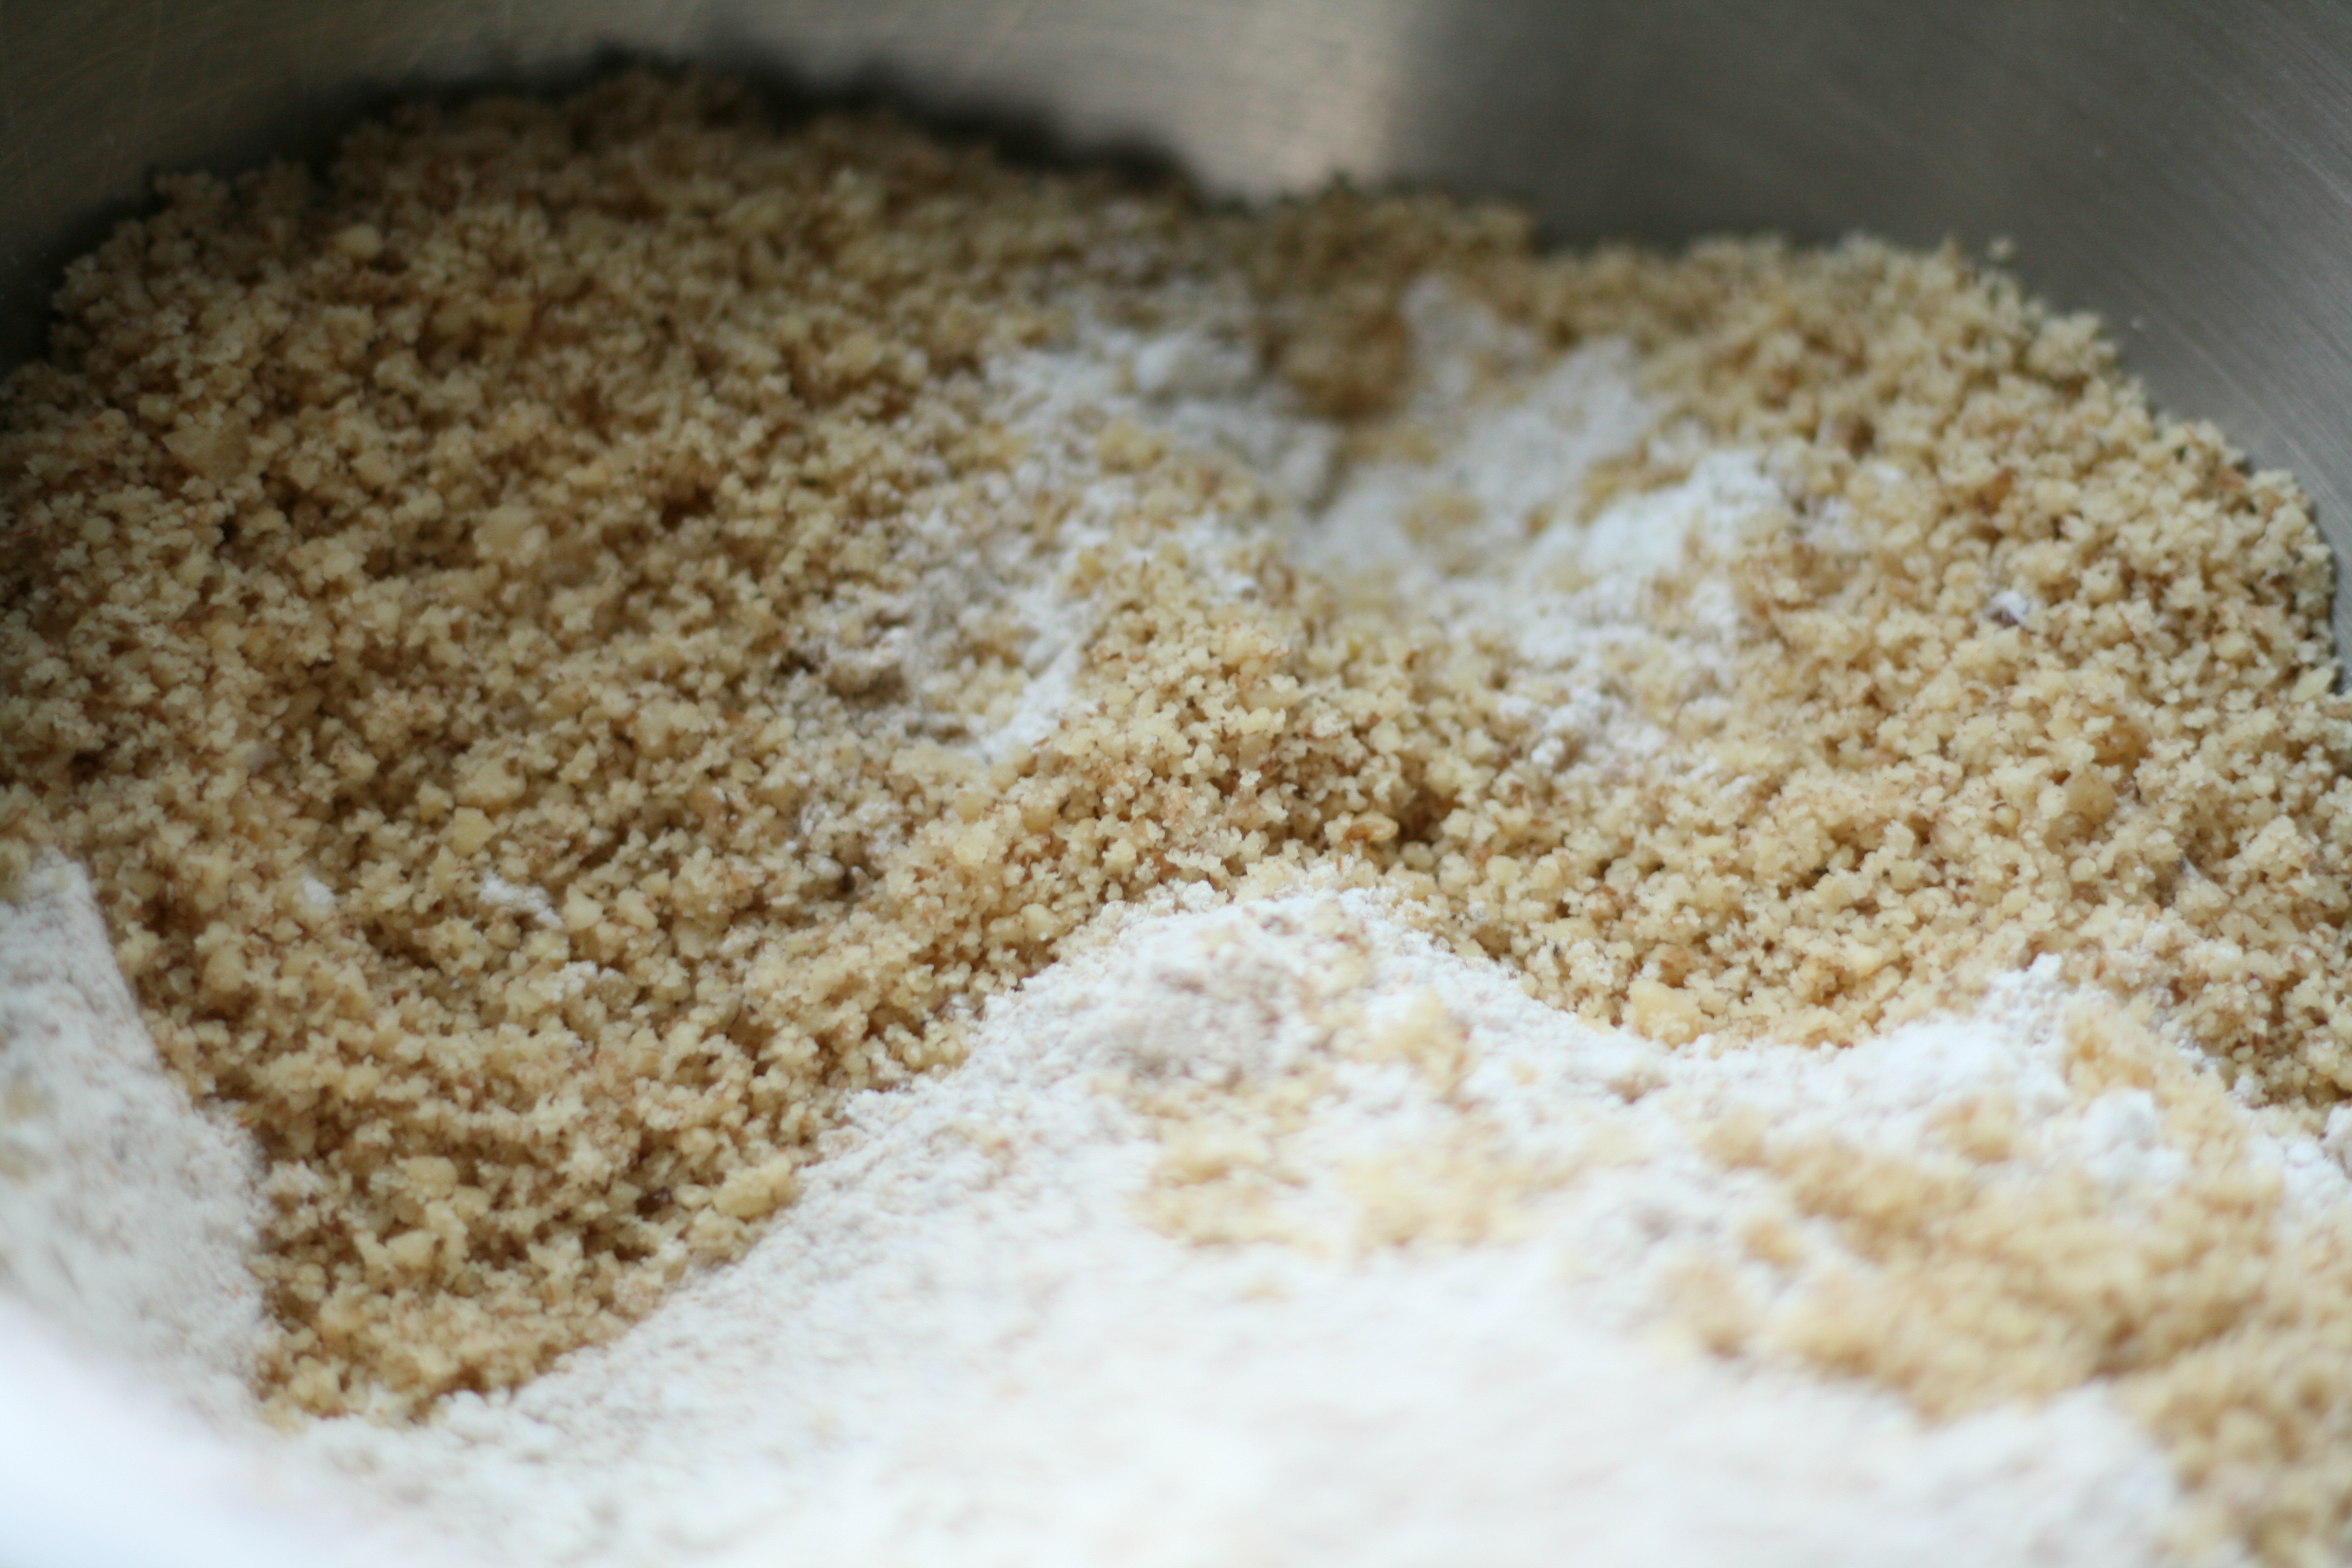
Meanwhile, Whisk together flours, baking soda, baking powder, and salt in bowl.
In food processor or high-powered blender, finely grind oats, and add to flour mixture. Then finely grind walnuts. add to flour mixture.
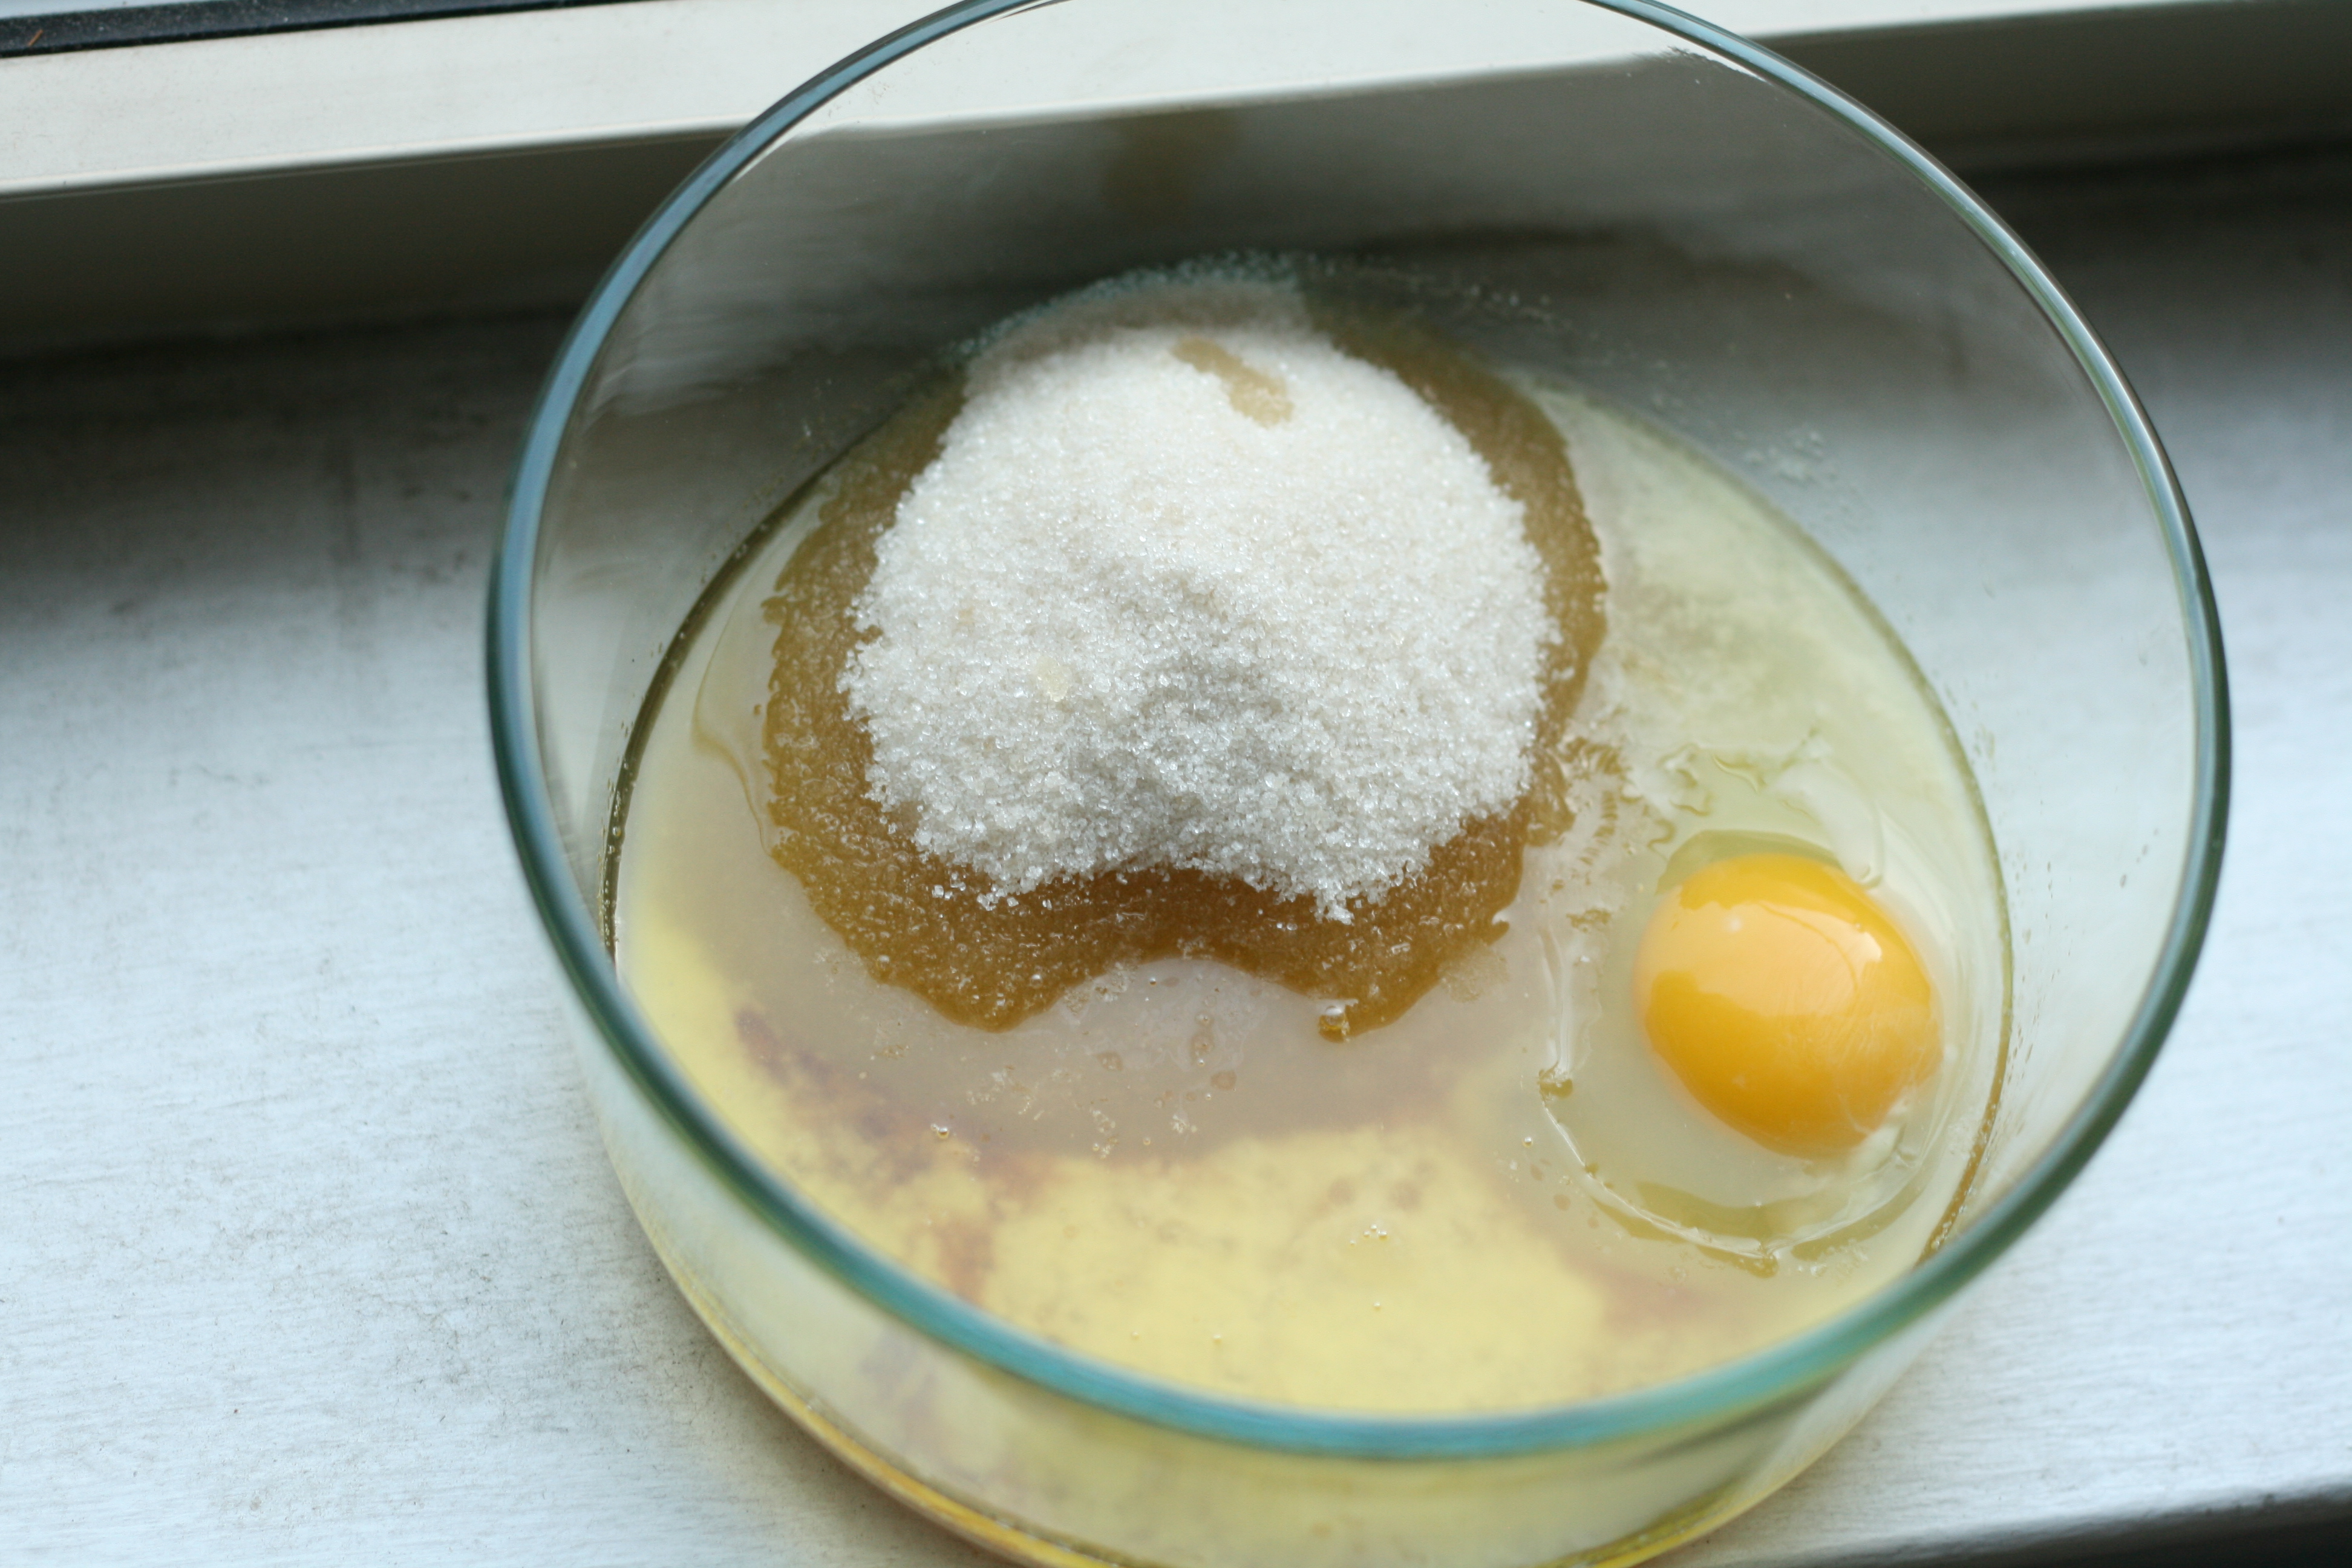
Into cooled butter mixture, whisk in sugar, honey, egg, and vanilla extract until sugar is dissolved and all ingredients are well combined.
Pour butter mixture into flour mixture, and mix until just combined. (Dough will be somewhat dry.)
Mix in chocolate chips.
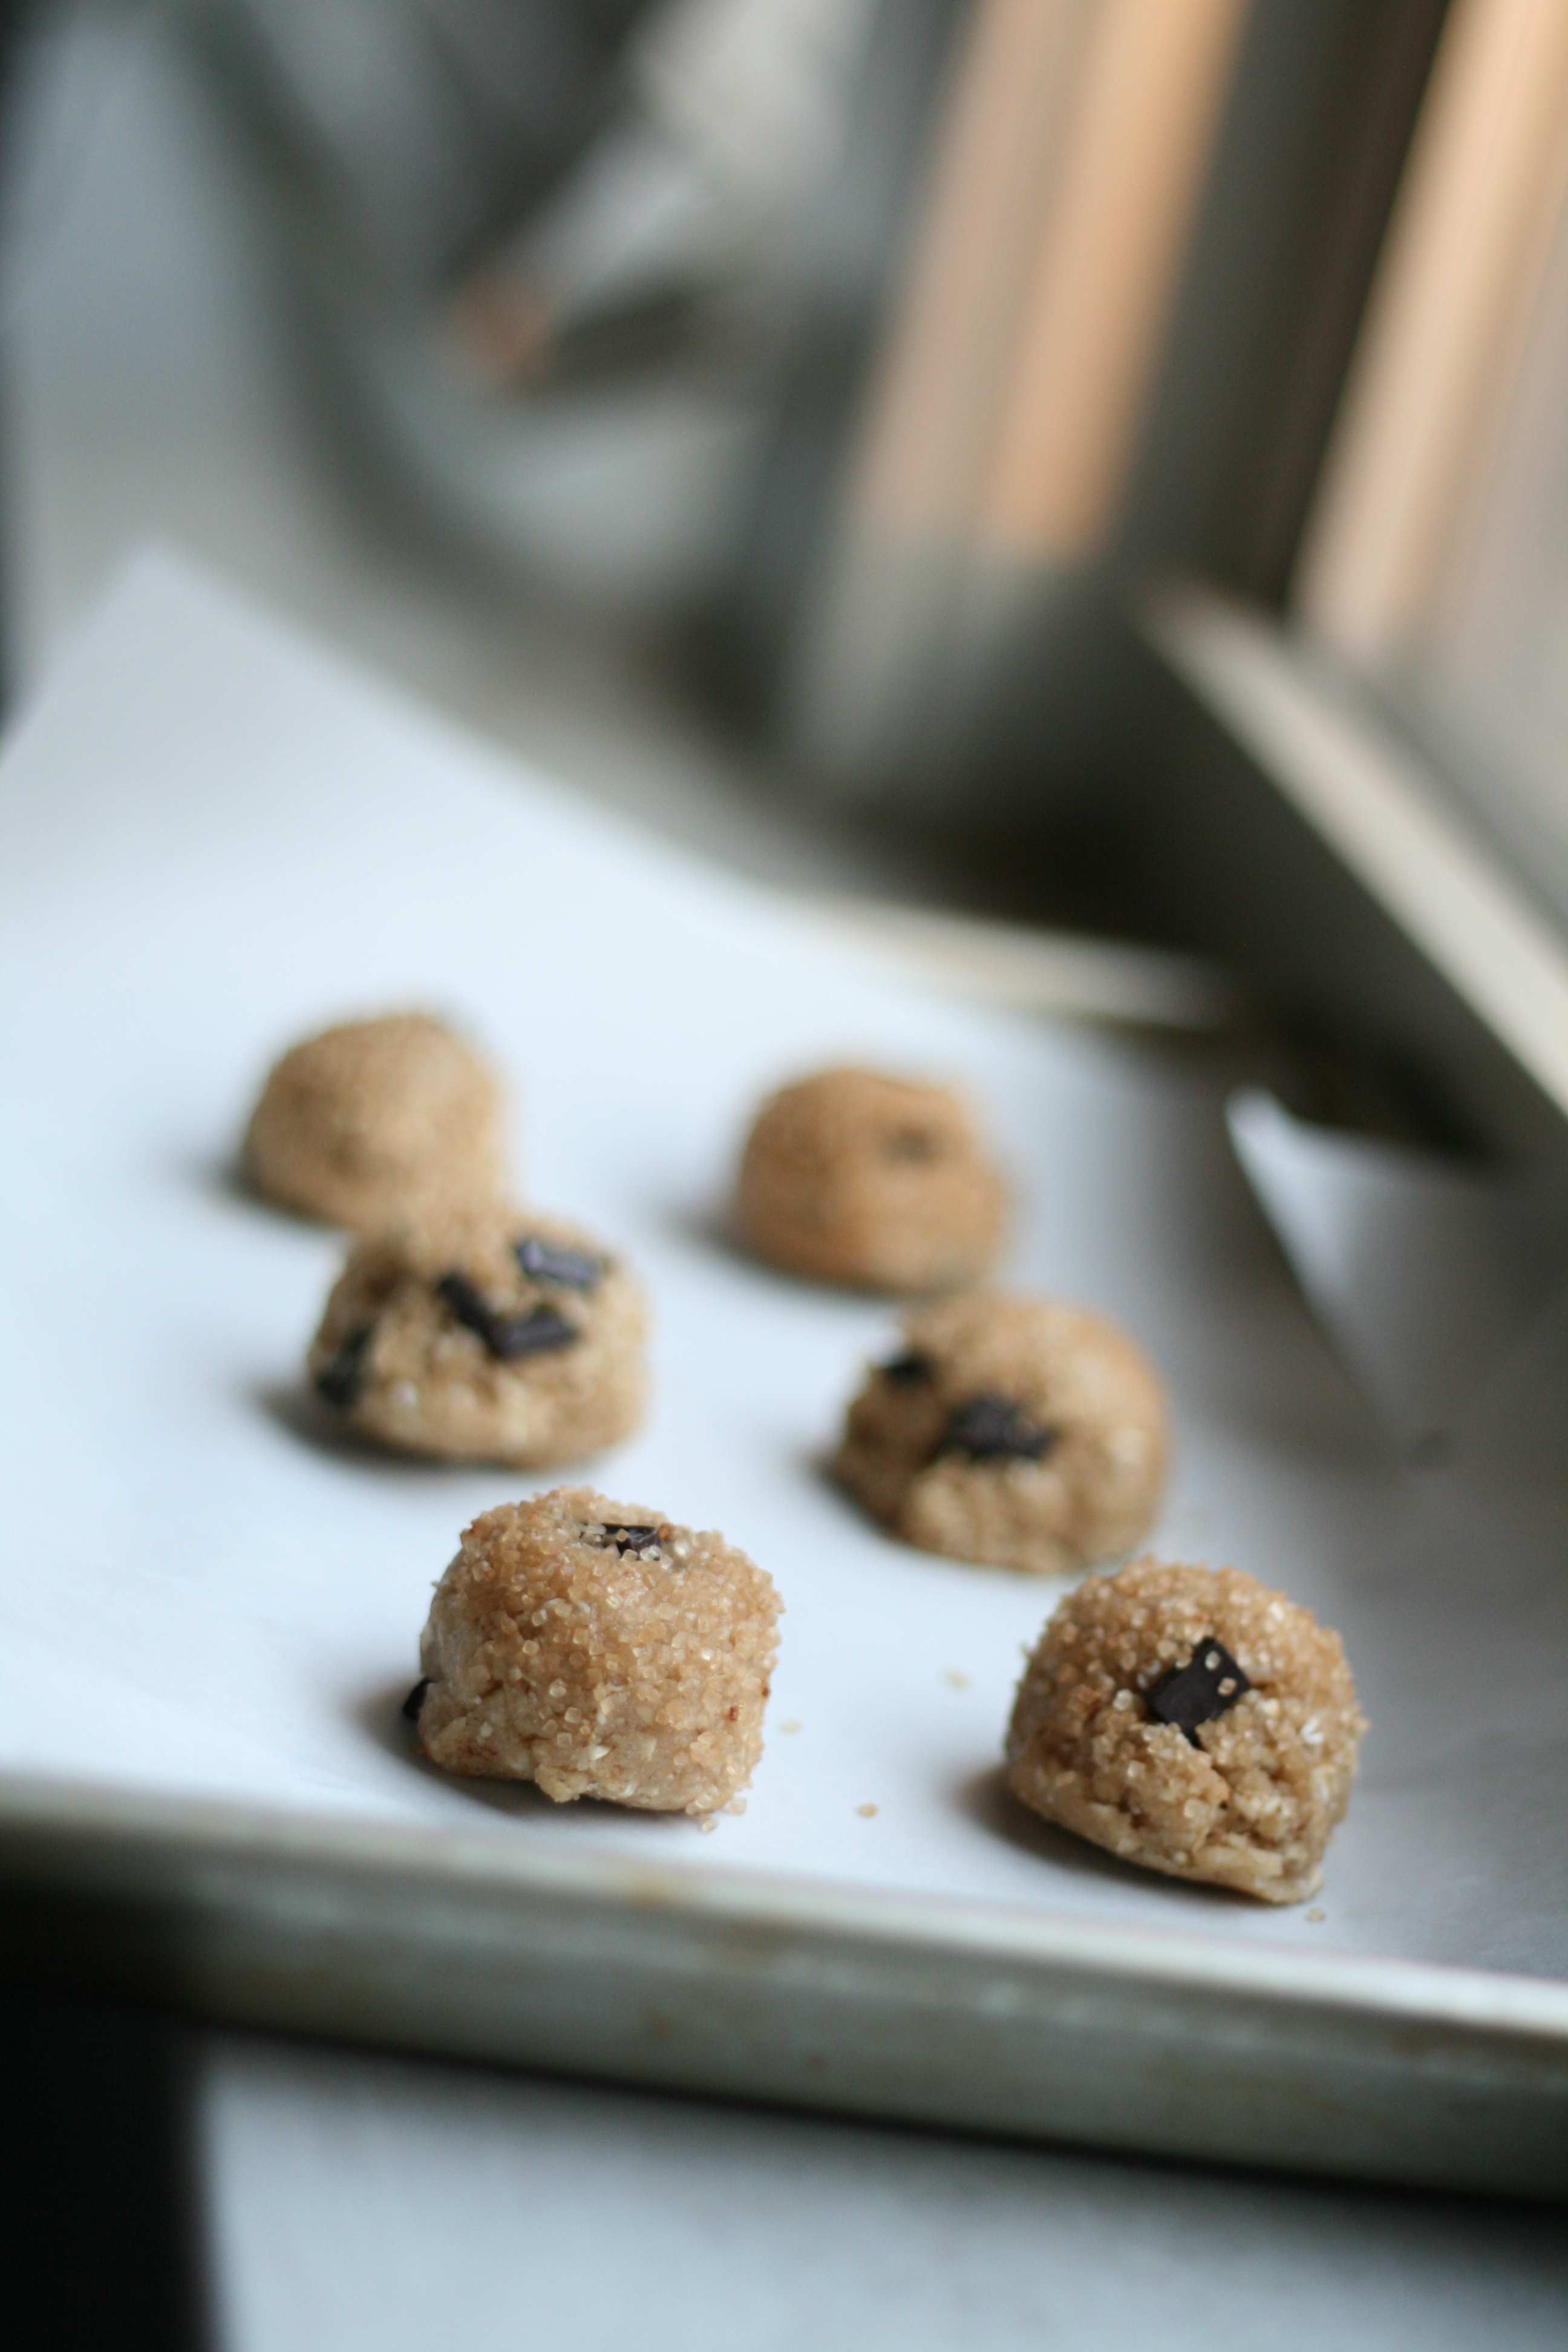
Scoop cookies with a spring release scoop or roll in ball by hand. Chocolate chips will have a nasty tendency to drop out of the cookies. Give them a little nudge to stay inside. Roll cookies in turbinado and cinnamon mixture and place on silpat or parchment paper lined pan. Do not flatten.
Bake for about 10 minutes. Let cool on pan for 5 minutes.
Notes
You can also freeze these cookies before baking. Do everything up to step 9. Instead of placing the cookies in the cookies in the oven, place them in the freezer on the cookie sheet for 10-15 minutes. This process is called flash freezing. Once they are frozen or hard, you can put them in a freezer proof bag and store up to 2 months in freezer. When you are ready for a cookie or two, set the cookie(s) out on your pan while preheating the oven. Bake for the same amount of time. You may have to add 2 minutes or so. With this method, you can have a freshly baked cookie instead of eating a week old cookie.
Recipe Card powered by
Go ahead and treat yourself to a cookie. A healthy(ish) one at that!