A couple weeks ago, we had friends over for the first time since moving to Connecticut. It was monumental. I had been putting it off for weeks. Things still felt a little out of place. My desk area was a disaster. And our kitchen still looked too tiny to prepare a meal for more than two. But we did it. We christened it. And now it feels like home.
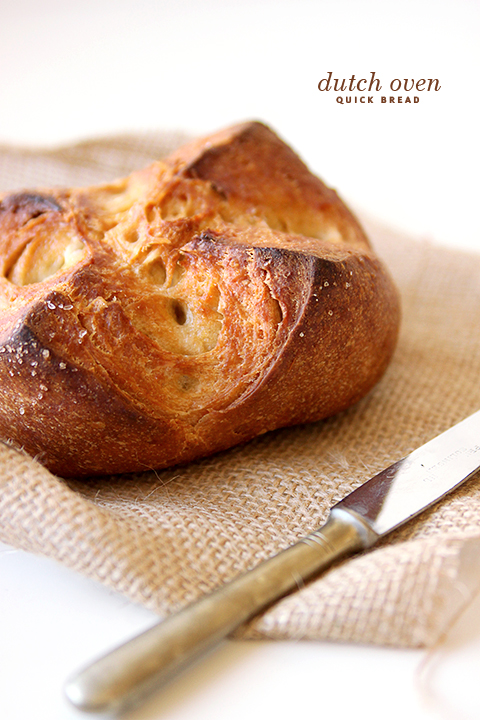
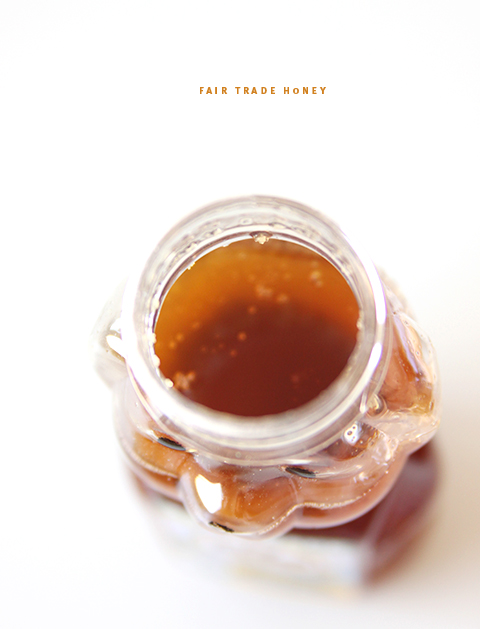
I wanted to keep it simple though. Soup and bread. But with only 5 hours till their arrival, homemade bread seemed out of the picture. Until a google search pulled up this and this. A quick dutch oven bread to the rescue. I decided to go sweet and salty after seeing this little Fair Trade Honey Bear staring at me on my desk. How could you say no?
We loved, like really loved, this honey. Maybe it was because we knew we were doing our small part to support fair wages and sustainable business development in third world countries. Or maybe because it was really that good. I think it was both.
There’s two days left of Fair Trade Month. If you are unsure exactly what they do, or if you need a refresher like me, check out their site. They have a super cute infographic and video explaining exactly what Fair Trade is all about. Did you know Fair Trade helps more than 1.2 million farmers and workers around the globe, protects the planet, builds sustainable businesses, empowers women, and supports education? I didn’t either. We can all make small purchases that have a big impact. Look for the Fair Trade logo or check out brands they partner with. Whatever you do, try to get your hands on some GloryBee Honey. And then, of course, make this bread.
Add the warmed water to a small bowl. Pour in yeast and allow to proof and get puffy. Set aside. If you’re new to using yeast, check out this video.
Add flours and salt together into a bowl of a standing mixer using the paddle attachment.
To the melted butter, add honey. (Dip measuring utensil in the butter before measuring the honey. It’ll slide right out.)
Add yeast and butter mixture to the flour and mix on medium-low speed until dough comes together. Add in a tablespoon of warm water at a time if necessary to bring dough together. Continue to mix for another 8 minutes to knead dough.
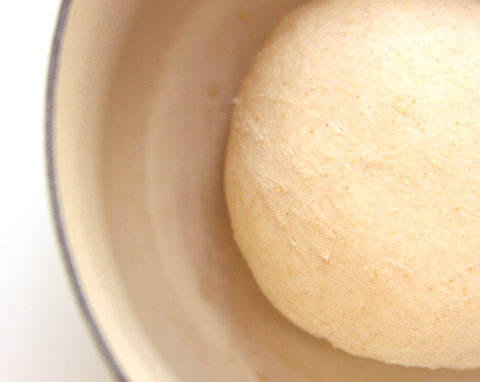
Shape dough into a ball by pulling the sides of the dough down to the bottom. Place in a dutch oven and cover. Allow to rise for 4 hours.
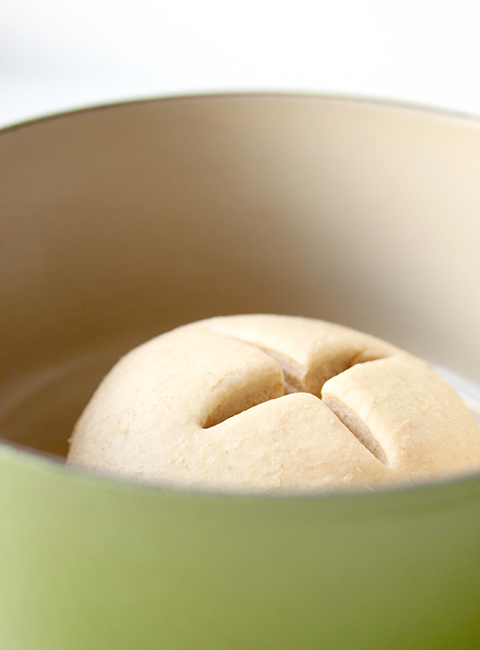
Punch dough down and knead for another minute or two. Shape again into a ball and place back in dutch oven.
Cut a large X in the top of the dough. Sprinkle with sea salt and drizzle with olive oil.
Preheat oven to 425 degrees. Bake covered for about 20 minutes. Pull cover off and cook for another 10 minutes to brown.
Serve warm.
Notes
Bread Flour makes a huge difference when making bread as it has higher amounts of gluten in it. It can be expensive though. The trick, buy it at Target. It’s usually half the price of what you find at Whole Foods.
This blog is made possible by your support (thank you), select brand partnerships, advertisements, and affiliate links to items I love and use. READ MORE >
I just updated the recipe. I usually include a link to a yeast video I made awhile back but I must have forgotten to include it. You can use a thermometer to make sure you have the correct temperature. After awhile, you’ll get the hang of the temperature. I now wait until my sink gets to almost the hotest temperature and use that, however, everyones sink temp varies. If my yeast doesn’t get puffy, I throw it out since its killer to have a bad batch of bread. So so sorry that happened to you! Sometimes, I initially only use half of the warm water in the recipe to proof the yeast and then I’ll add the other half to the mix. Aside from yeast, under kneading the dough can sometimes cause it to be tough. Kneading helps to build gluten. I hope this helps! Let me know if you have any other questions.
I have been scared to make a yeast bread here in Denver because of the altitude! When it cools down I will try this recipe and christen our own kitchen with the glorious smell of fresh bread. (ps, what beautiful snow you had today!)
Rave reviews from friends aged 4-35 tonight. Followed the times you recommended for the mixer with the hand-kneeding and it turned out great. Next time will add a little more sea salt to the top. All in all, a lovely recipe. Thanks, friend!
I love crusty bread! The pictures you posted are just beautiful! I’ll be pinning this recipe and hope to make it sometime soon. Eventhough I’ve taken bread classes before, I still find the process to be intimidating!
Lovely photos. Did you love this bread enough to make it again and again? Praytell, what is your favorite soup? PS I do not own a cast iron pan–do you think a SS soup pot would work?
Am hoping you weathered the storm, If you continue to cook, please share the ways you are able to do so, due to power outage etc. Hoping you did not have any real difficuties and can continue to share good ideas and recipes with us.


in the oven…again! yum. thankful for your talent, mel.
I tryed your recipe but the bread didn’t rised at all… could you help me if i did something wrong??
thank you!
Oh no! This can happen if the yeast is under activated (water too cold) or over activated (water too hot). Did the yeast get all poofy in the water?
it was puffy but it was mostly disolved… was my water too hot? Warm water, is it room tempered?
I just updated the recipe. I usually include a link to a yeast video I made awhile back but I must have forgotten to include it. You can use a thermometer to make sure you have the correct temperature. After awhile, you’ll get the hang of the temperature. I now wait until my sink gets to almost the hotest temperature and use that, however, everyones sink temp varies. If my yeast doesn’t get puffy, I throw it out since its killer to have a bad batch of bread. So so sorry that happened to you! Sometimes, I initially only use half of the warm water in the recipe to proof the yeast and then I’ll add the other half to the mix. Aside from yeast, under kneading the dough can sometimes cause it to be tough. Kneading helps to build gluten. I hope this helps! Let me know if you have any other questions.
This looks amazing! I’m definitely making this weekend for a harvest party I’m throwing for friends (friends-giving if you will)!
Love!
I have been scared to make a yeast bread here in Denver because of the altitude! When it cools down I will try this recipe and christen our own kitchen with the glorious smell of fresh bread. (ps, what beautiful snow you had today!)
That is the one thing that scares me about moving to Denver. The altitude and baking. Maybe you can teach me your ways?!
Homemade bread is the best, this looks incredible!
I’m bookmarking this to make once we are unpacked! I’ve been wanting to make Dutch oven bread for like a year! This bread looks awesome!
about to pull it out of the oven… don’t have the fancy mixer so I did the kneeding by hand. will let you know how it turned out!
Ohhhh fingers crossed! Let me know how it is!
Rave reviews from friends aged 4-35 tonight. Followed the times you recommended for the mixer with the hand-kneeding and it turned out great. Next time will add a little more sea salt to the top. All in all, a lovely recipe. Thanks, friend!
Yeah! Glad you guys liked it. Hugs to you Kate!
THANK YOU FOR THIS! I have seen this recipe around the web for a while now- but never one with whole wheat flour used. Wheeeeee!
That bread looks amazing! We haven’t made bread in a while, so this has piqued my interest again 🙂
This sounds so lovely!
Gosh that bread looks tasty and I love that it uses fair trade honey. You sure know the way to my heart!
I need to try this! I love crusty bread!
My husband is the baker in the family but he loves a good, crusty bread. (And so do I!) Thank you for sharing.
Yummm!! 🙂
This is beyond stunning. I love nice crusty bread.
That looks great and, I have to say, the photographs are really, really beautiful. Thanks so much!
I love crusty bread! The pictures you posted are just beautiful! I’ll be pinning this recipe and hope to make it sometime soon. Eventhough I’ve taken bread classes before, I still find the process to be intimidating!
Lovely photos. Did you love this bread enough to make it again and again? Praytell, what is your favorite soup?
PS I do not own a cast iron pan–do you think a SS soup pot would work?
The bread looks absolutely lovely! I love crusty types like that. Will have to try this – thanks for posting! 🙂
Am hoping you weathered the storm, If you continue to cook, please share the ways you are able to do so, due to power outage etc. Hoping you did not have any real difficuties and can continue to share good ideas and recipes with us.